Home>Garden Essentials>How Long To Bake Pumpkin Seeds At 350
Garden Essentials
How Long To Bake Pumpkin Seeds At 350
Modified: August 23, 2024
Discover how long to bake your garden pumpkin seeds at 350 degrees. Find the perfect cooking time for deliciously crispy and flavorful seeds.
(Many of the links in this article redirect to a specific reviewed product. Your purchase of these products through affiliate links helps to generate commission for Storables.com, at no extra cost. Learn more)
Introduction
Pumpkin seeds, also known as pepitas, are a nutritious and delicious snack that can be enjoyed year-round. Whether you’ve carved a pumpkin for Halloween or are simply looking for a tasty treat, baking pumpkin seeds is a great way to make use of this often overlooked ingredient.
Not only are pumpkin seeds tasty, but they also offer several health benefits. They are packed with essential nutrients such as protein, fiber, vitamins, and minerals. Pumpkin seeds are also a good source of antioxidants, which can help protect your cells from damage.
In this article, we’ll guide you through the process of baking pumpkin seeds at 350°F, a common temperature used for roasting various types of seeds and nuts. We’ll cover everything from preparing the seeds to adding delicious seasonings, and we’ll provide you with tips and variations to customize your snack. So let’s get started and discover how to bake the perfect pumpkin seeds!
Key Takeaways:
- Don’t toss those pumpkin seeds! Baking them at 350°F with simple steps and creative seasonings creates a tasty, nutritious snack for all year round.
- Experiment with flavors! From sweet and spicy to savory herb, baking pumpkin seeds at 350°F offers endless possibilities for delicious, crunchy snacks.
Read more: How Long To Soak Pumpkin Seeds
Preparing the Pumpkin Seeds
Before you can start baking pumpkin seeds, you’ll need to properly prepare them. Follow these simple steps:
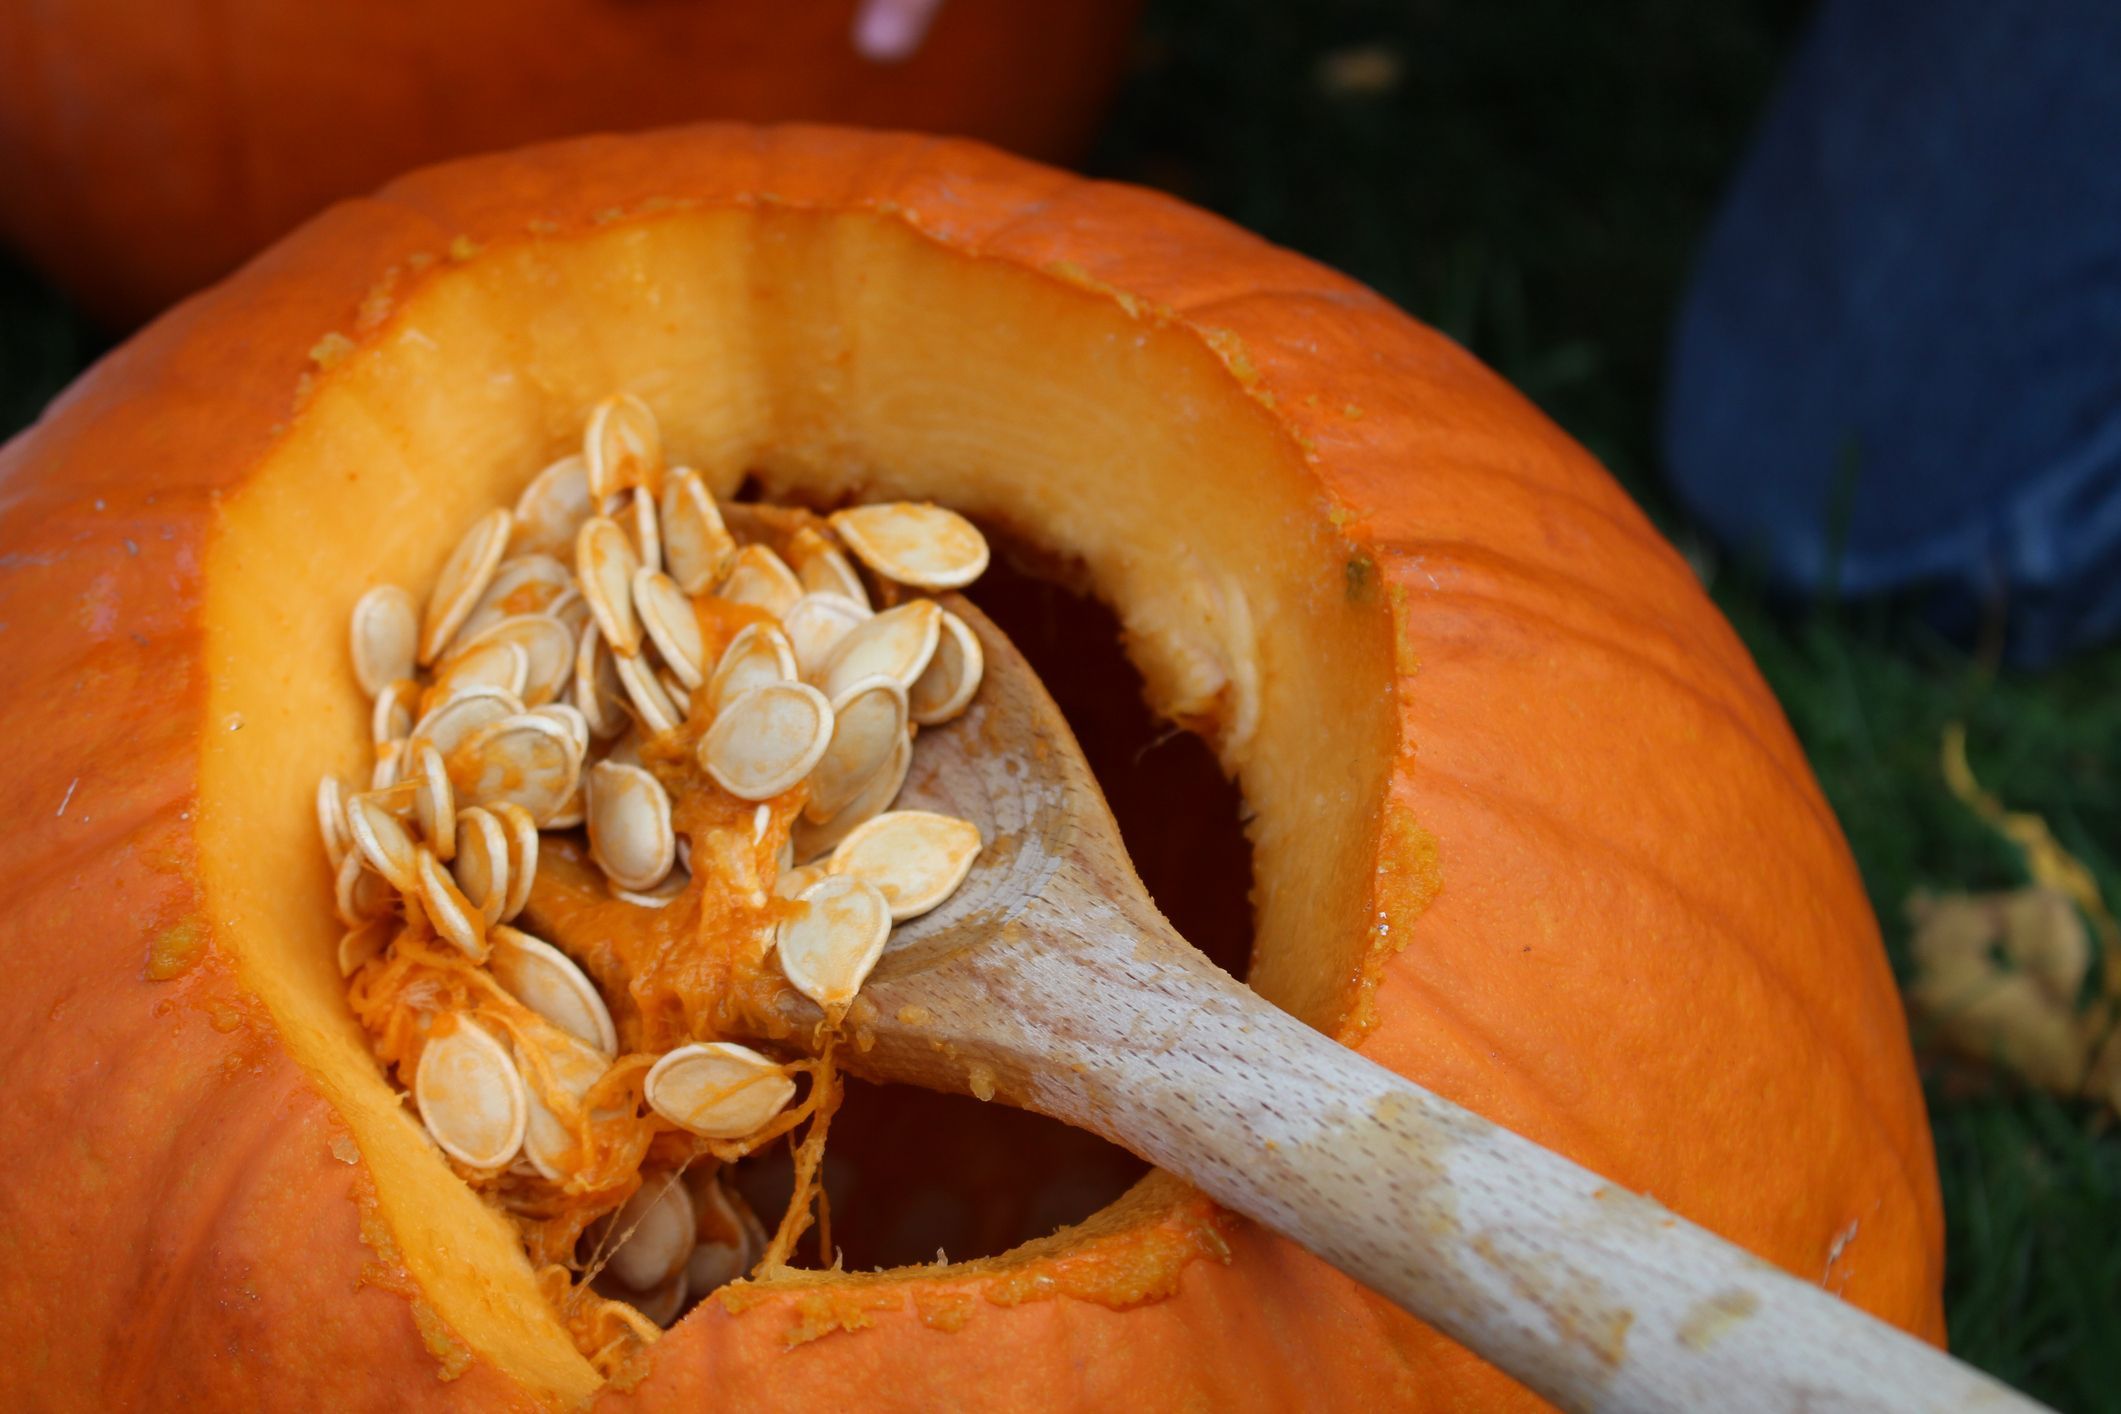
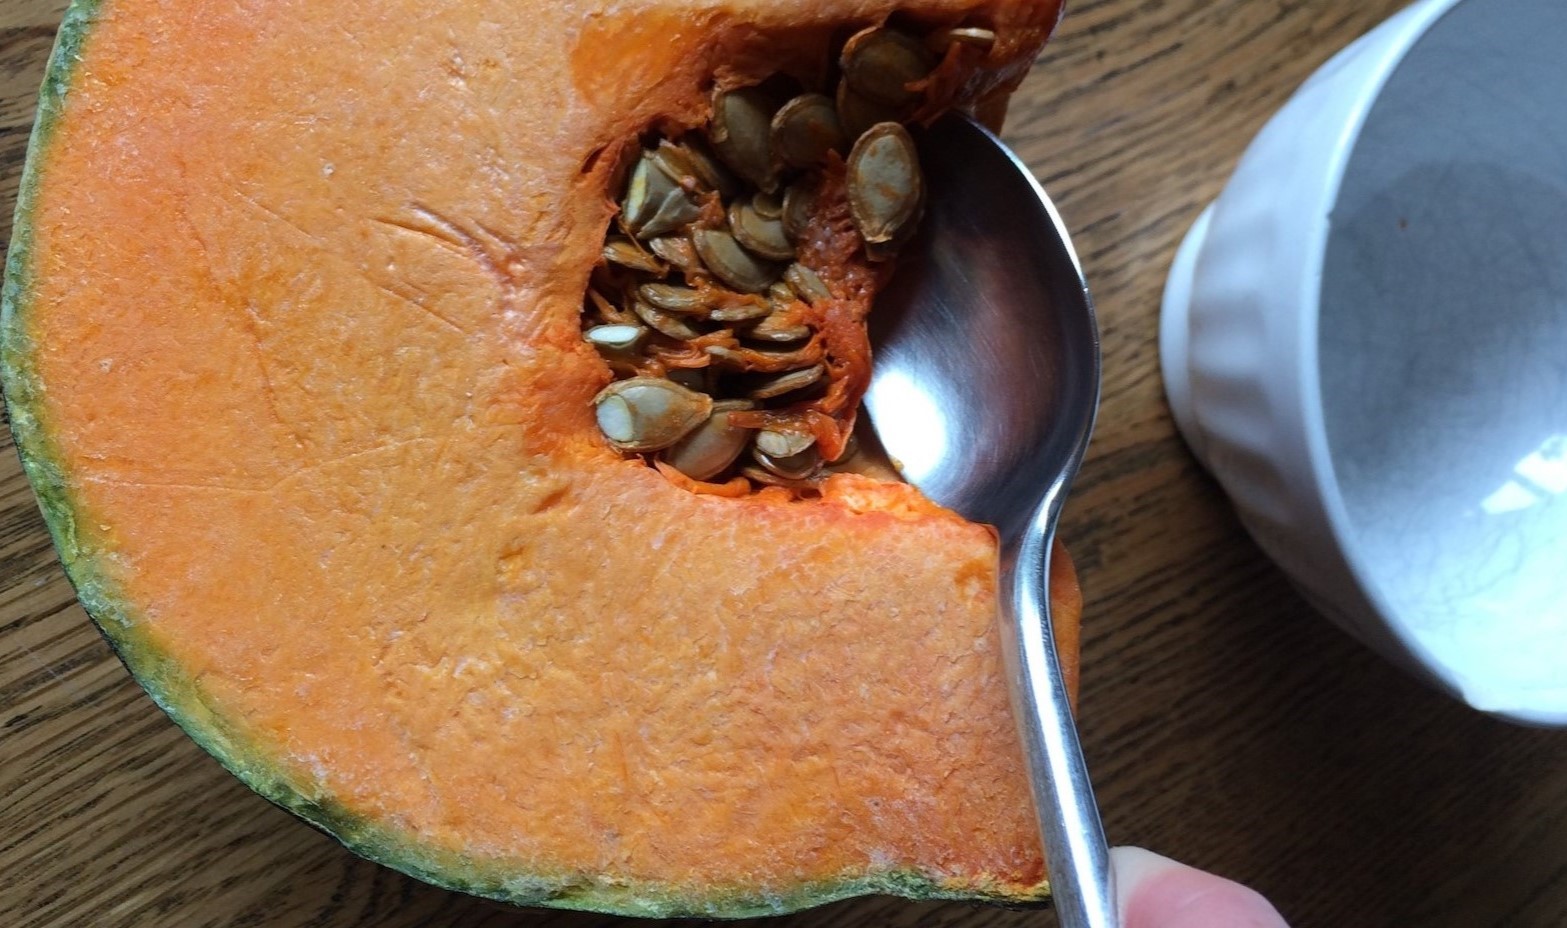
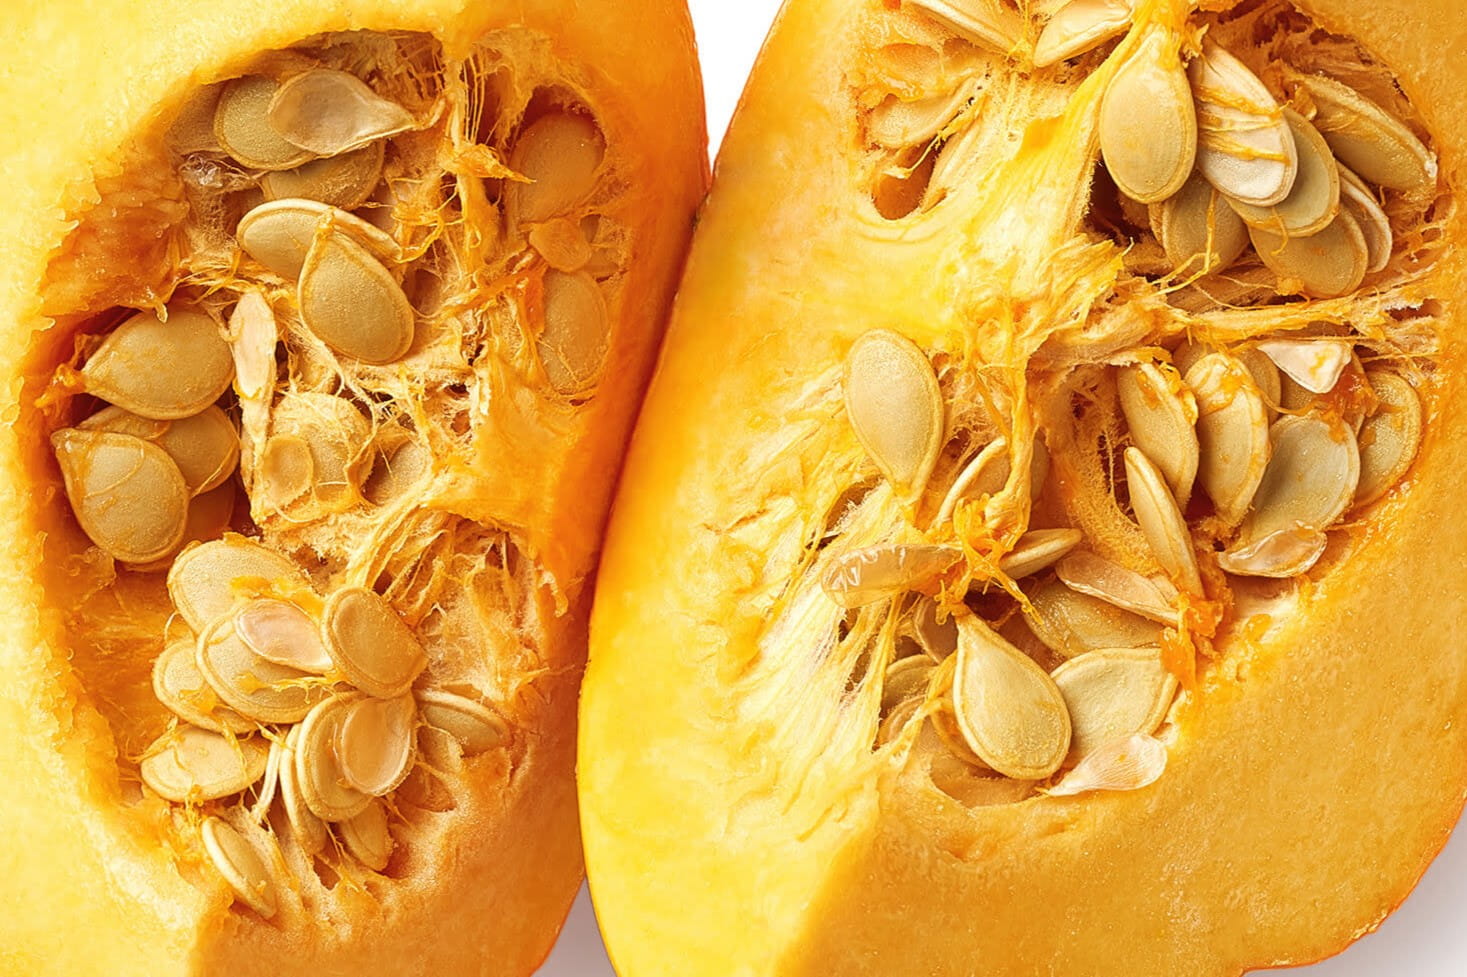
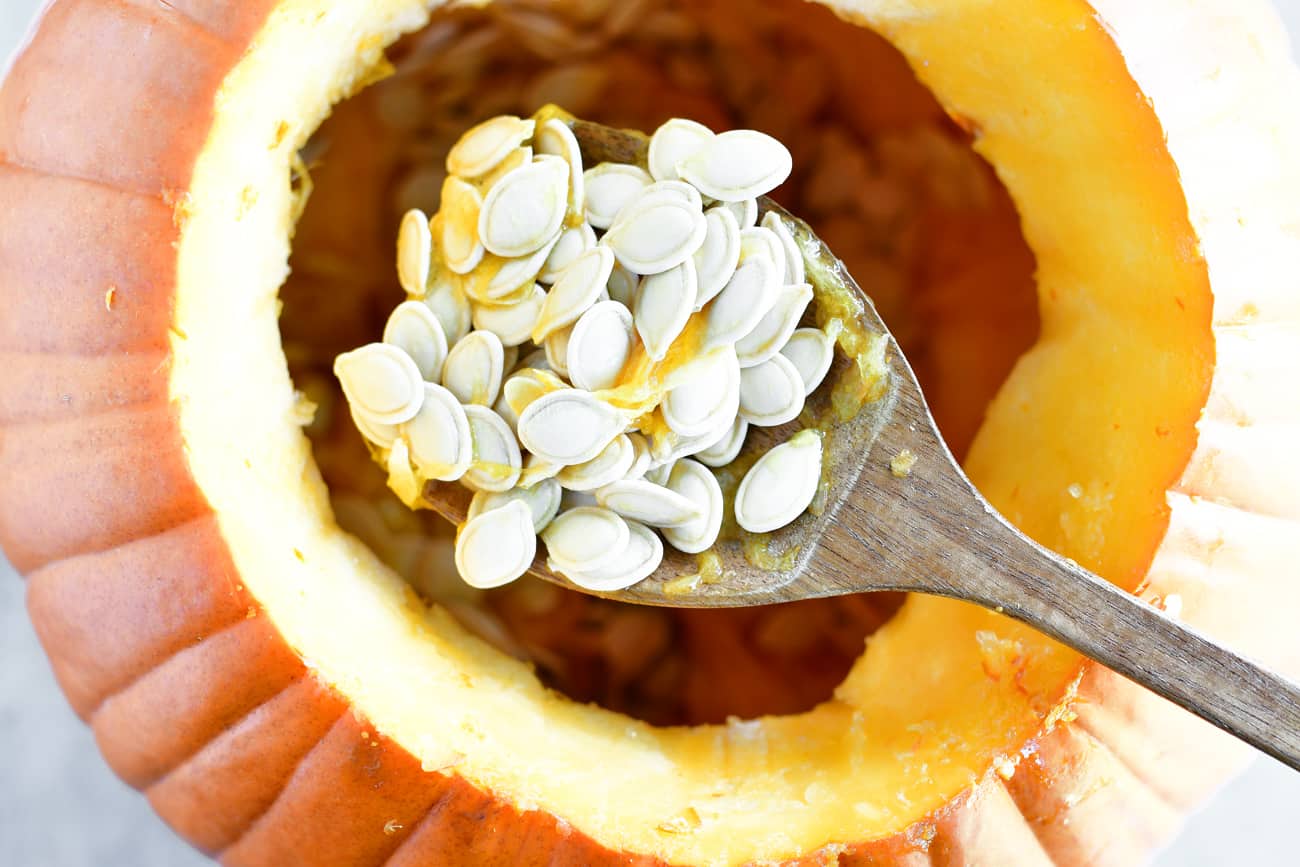
- Remove the seeds from the pumpkin: After carving or scooping out the pumpkin, separate the seeds from the pulp and place them in a colander or strainer.
- Rinse the seeds: Give the seeds a thorough rinse under cold water to remove any remaining pulp or debris. Use your hands to help separate the seeds from any stubborn pulp.
- Pat dry the seeds: After rinsing, gently pat dry the seeds with a clean kitchen towel or paper towels. Avoid rubbing them too vigorously to prevent damaging the seeds or removing their natural outer shell.
- Remove any remaining pulp or strings: Check each seed individually for any remaining pieces of pulp or strings, as they can burn and affect the taste of the finished seeds. Using your fingers or a pair of tweezers, carefully remove any unwanted debris.
Once you’ve completed these steps, your pumpkin seeds are ready to be seasoned and baked. Keep in mind that you can also save seeds from multiple pumpkins and combine them for a larger batch, as long as you adjust your seasonings and baking time accordingly.
Seasoning Options
Now that your pumpkin seeds are prepped and ready, it’s time to add some delicious flavors. Here are a few popular seasoning options to consider:
- Salted: For a classic and simple option, toss the pumpkin seeds with melted butter or olive oil and sprinkle them with sea salt. This enhances their natural nutty flavor.
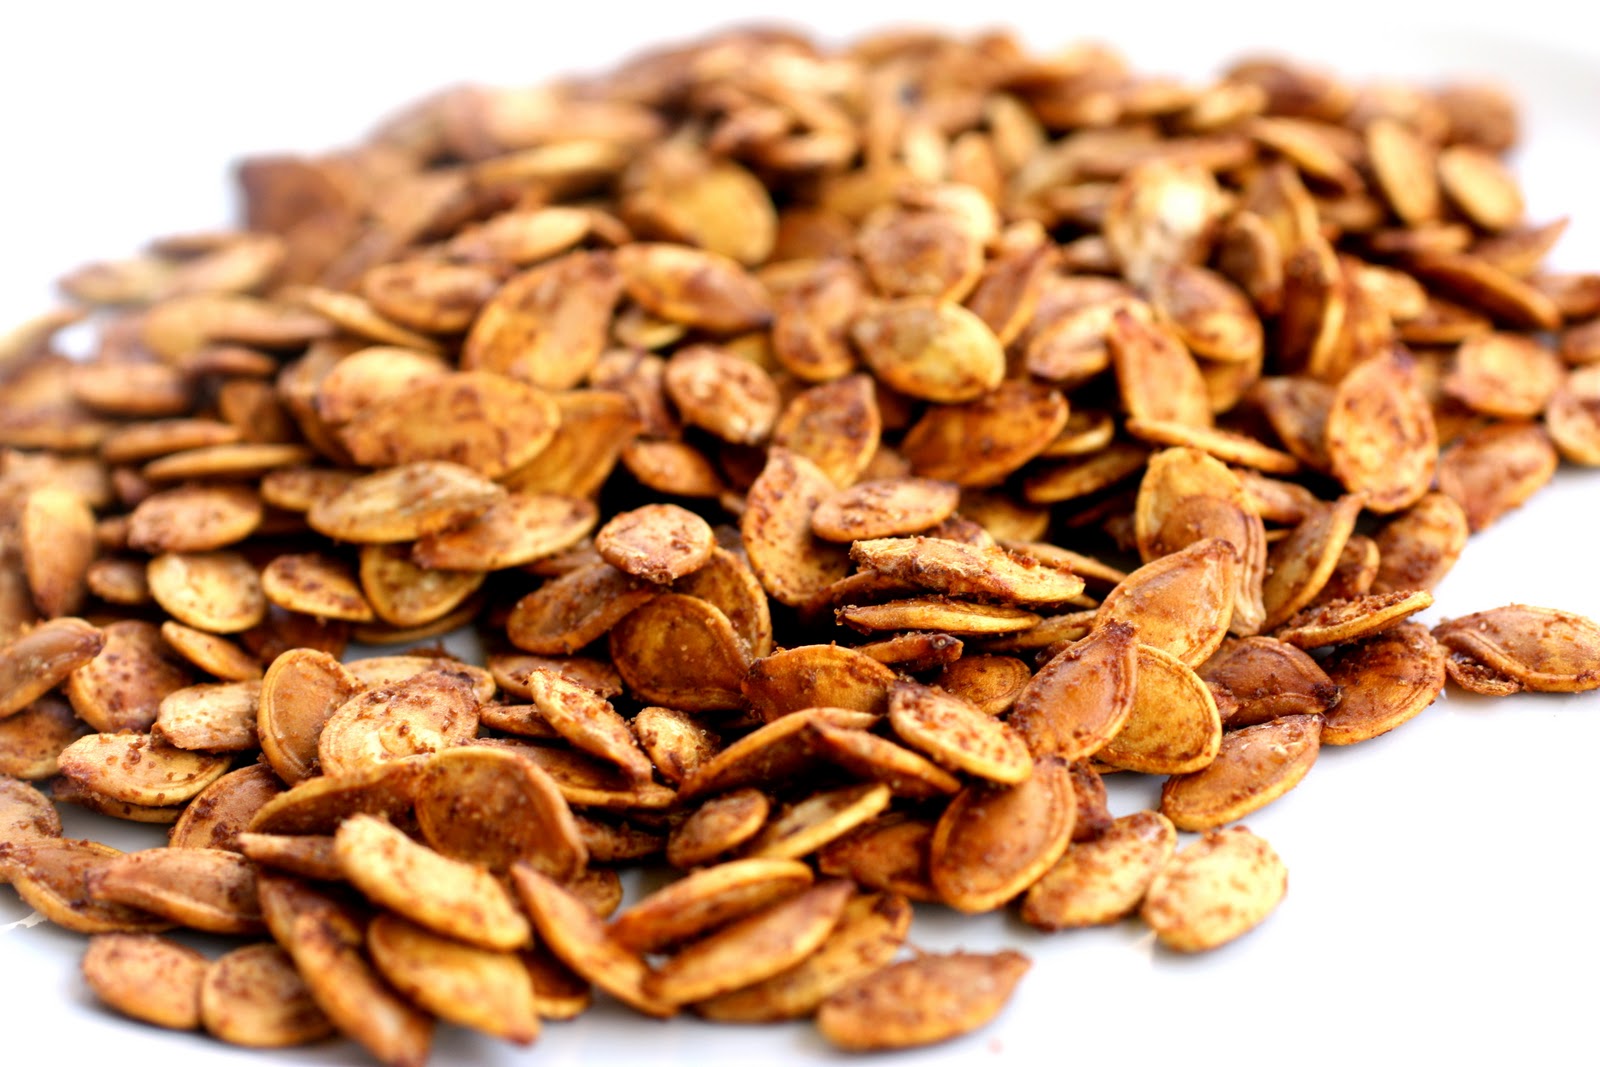
- Sweet and Spicy: If you prefer a combination of flavors, try mixing brown sugar, cinnamon, and a pinch of cayenne pepper for a sweet and spicy twist on your pumpkin seeds.
- Savory Herb: For an herb-infused taste, toss the seeds with melted butter or olive oil and add a mixture of dried herbs such as rosemary, thyme, and garlic powder.
- Barbecue: If you’re a fan of smoky flavors, mix together smoked paprika, chili powder, and a bit of brown sugar to create a BBQ seasoning for your pumpkin seeds.
- Curry: Give your pumpkin seeds an exotic kick by combining curry powder, turmeric, cumin, and a touch of coconut oil.
Feel free to experiment with different combinations and adjust the seasoning quantities to suit your taste preferences. Remember, the seasoning is what takes your pumpkin seeds from ordinary to extraordinary!
Once you’ve chosen your seasoning, evenly coat the pumpkin seeds in the mixture. The best way to do this is by placing the seeds in a bowl, adding the seasoning, and tossing them until they are well coated.
Now that your pumpkin seeds are seasoned to perfection, it’s time to bake them at 350°F. Let’s move on to the next step!
Baking Instructions at 350°F
Once your pumpkin seeds are seasoned, it’s time to bake them to perfection. Follow these simple instructions to achieve crispy and golden pumpkin seeds:
- Preheat your oven: Start by preheating your oven to 350°F (175°C). This temperature provides an ideal balance between toasting the seeds and preventing them from burning.
- Spread the seeds on a baking sheet: Line a baking sheet with parchment paper or lightly grease it to prevent the seeds from sticking. Then, spread the seasoned pumpkin seeds in a single layer on the baking sheet. Avoid overcrowding to ensure even baking.
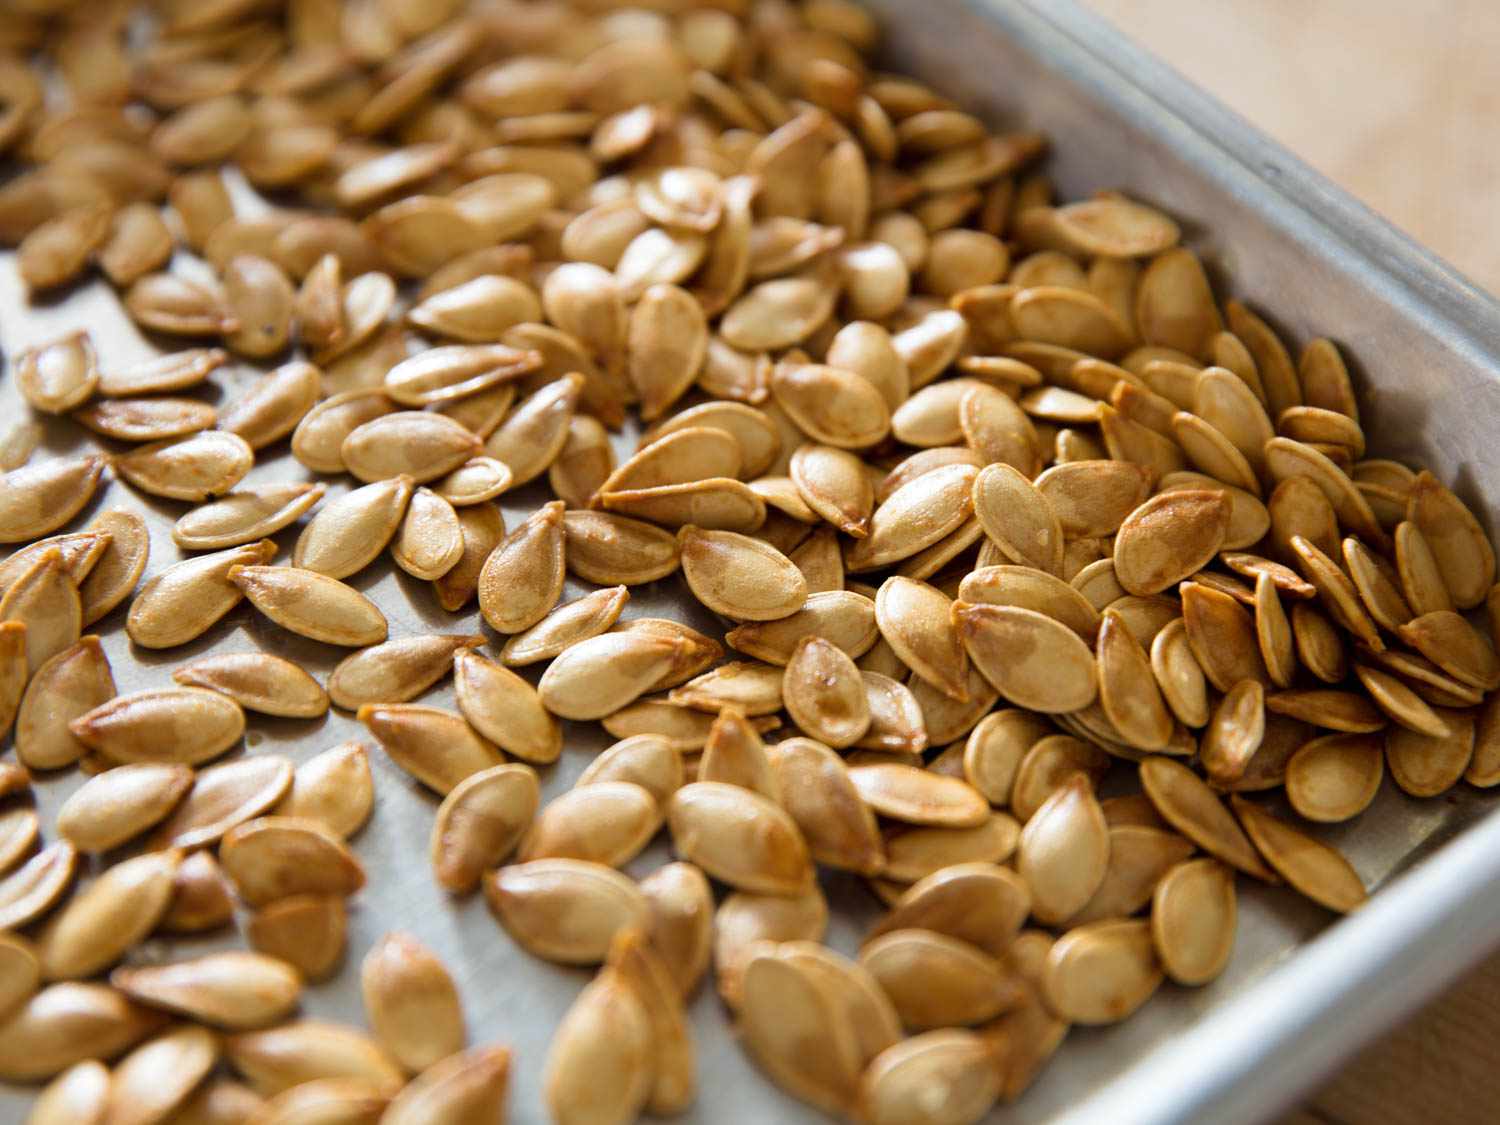
- Bake for 15-20 minutes: Place the baking sheet in the preheated oven and let the pumpkin seeds bake for approximately 15-20 minutes. Check them periodically to prevent overcooking or burning. The exact baking time can vary depending on the size, moisture content, and desired level of crunchiness.
- Stir the seeds: After the first 10 minutes of baking, gently stir the seeds with a spatula or spoon to promote even browning and prevent any sticking. This step ensures that all sides of the pumpkin seeds receive equal heat and crisp up uniformly.
Keep a close eye on the seeds during the final minutes of baking. You want them to turn golden brown but not become burnt. Remember that the baking time can vary, so adjust it accordingly to achieve your desired level of crunchiness.
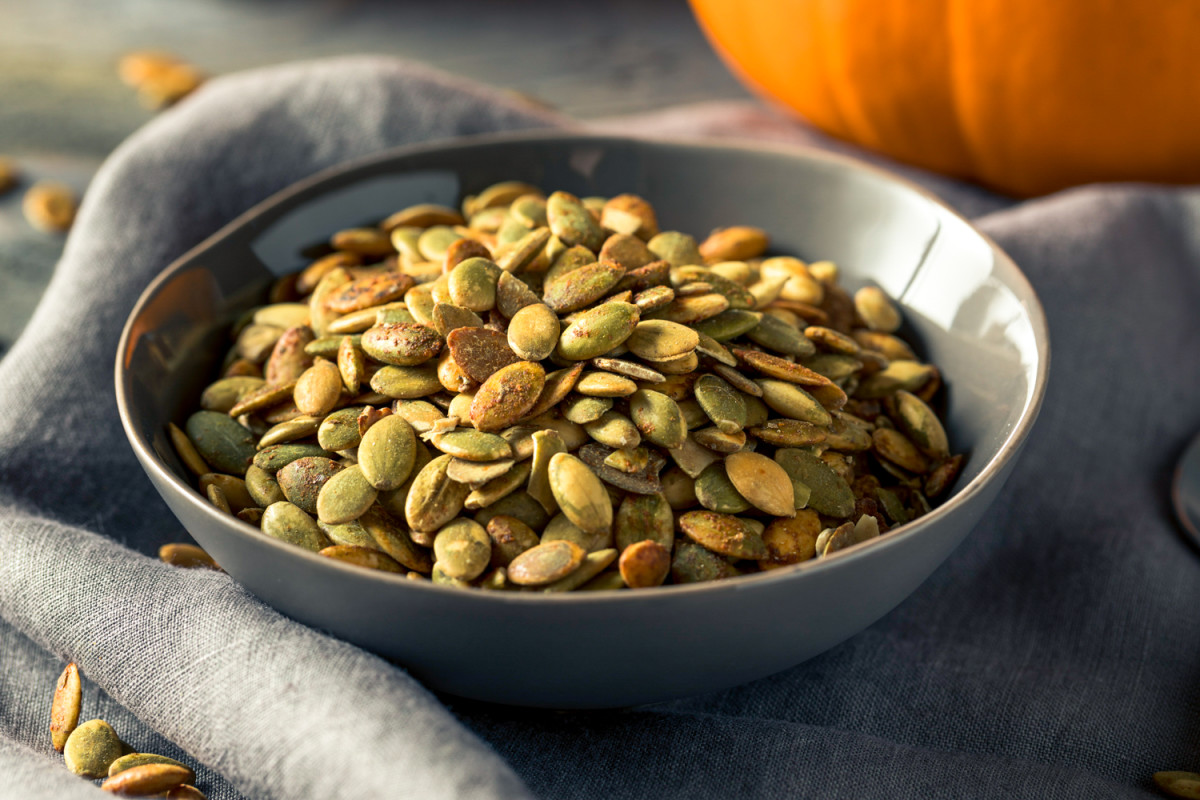
Once the pumpkin seeds are evenly golden and crispy, they’re ready to be taken out of the oven. But don’t rush to enjoy them just yet! It’s important to check for doneness before diving into this delicious snack.
After cleaning and drying the pumpkin seeds, toss them in oil and seasoning, then spread them on a baking sheet. Bake at 350°F for 20-30 minutes, stirring occasionally, until golden brown and crispy. Enjoy!
Checking for Doneness
Checking for doneness is a crucial step to ensure that your baked pumpkin seeds are perfectly cooked. Here’s how you can determine if they are ready:
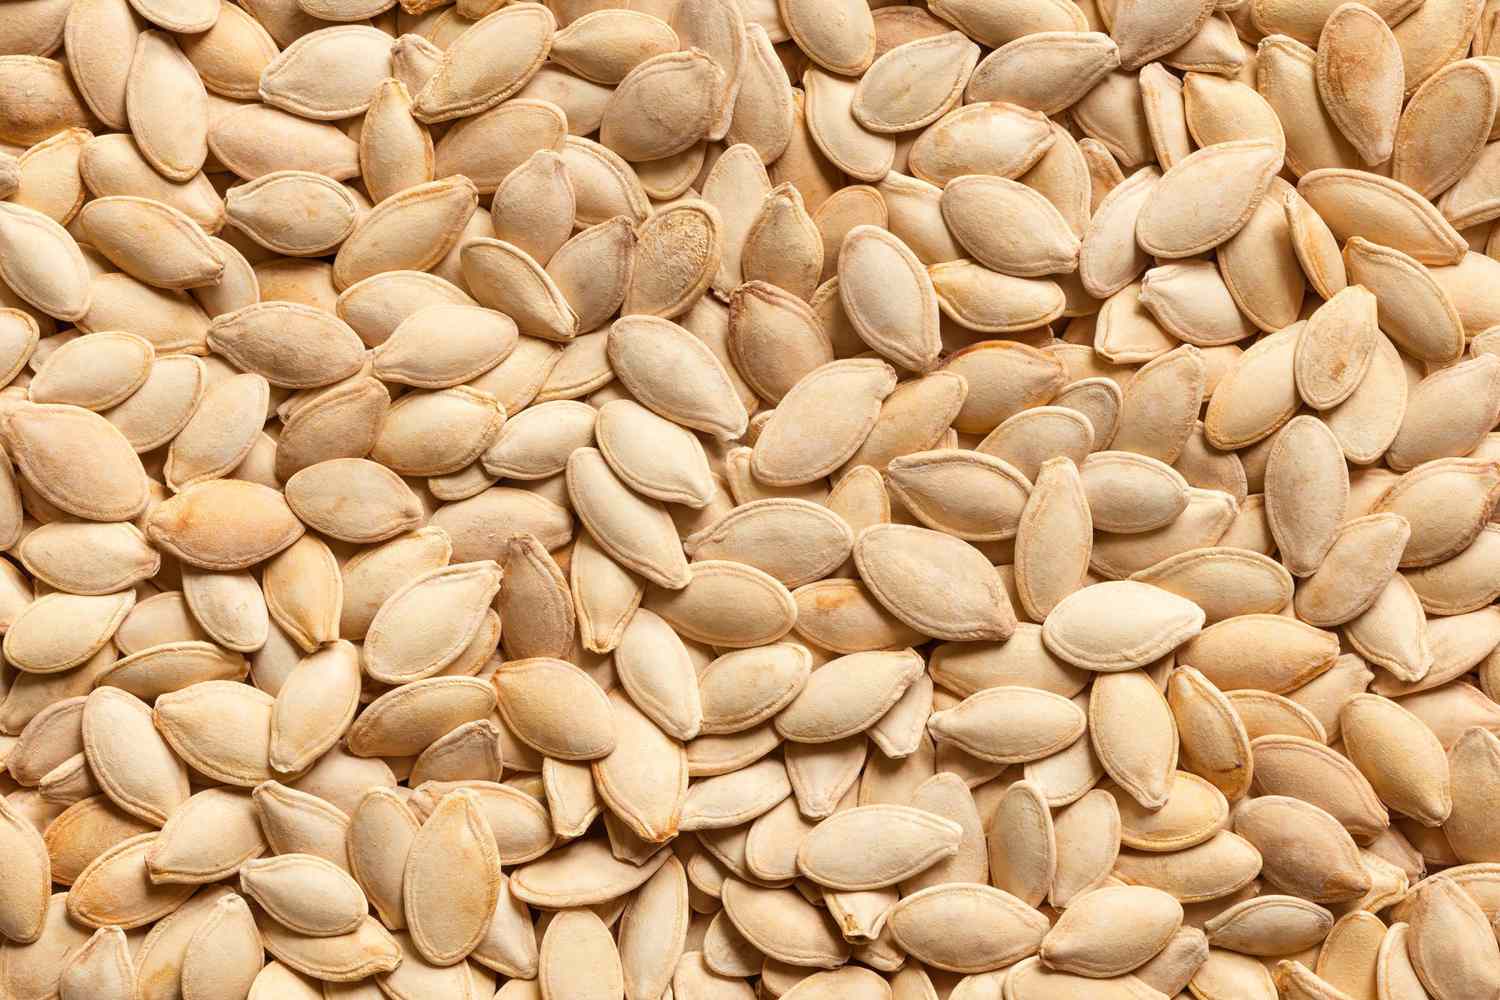
- Color and Texture: The pumpkin seeds should be golden brown in color and have a crisp texture. If they appear pale or soft, they may need a few more minutes in the oven.
- Crunch Test: Take a sample pumpkin seed and allow it to cool for a moment. Then, take a bite. It should have a satisfying crunch without being too hard or chewy. If it’s still soft in the middle, it needs more baking time.
- Taste Test: Lastly, taste a few seeds to check if they are flavorful and well-seasoned. Adjust the seasoning if necessary, while the seeds are still warm, to ensure they have the desired taste.
Remember that the seeds will continue to harden as they cool, so even if they seem slightly undercooked in the oven, they may become crispy once they’ve cooled down.
If you find that your pumpkin seeds need more baking time, simply return them to the oven for a few more minutes, checking on them regularly to prevent burning.
Once you’re satisfied with the taste and texture of the seeds, it’s time to move on to the next step: cooling and storing.
Read more: How Long To Let Pumpkin Seeds Dry
Cooling and Storing Pumpkin Seeds
After the pumpkin seeds are baked to perfection, it’s important to allow them to cool before enjoying or storing them. Follow these steps:
- Cooling: Transfer the baking sheet with the roasted pumpkin seeds to a cooling rack or a heat-resistant surface. Let them cool completely, allowing them to crisp up even further. Avoid eating them right out of the oven, as they will be hot and not fully set.
- Storage: Once the pumpkin seeds have cooled, you can store them in an airtight container or a resealable bag. This will help them retain their crispness and prevent them from getting stale. Make sure to label the container or bag with the date to keep track of their freshness.
Pumpkin seeds can typically stay fresh for up to a month if stored properly in a cool, dry place. However, they are so delicious that they rarely last that long!
When you’re ready to enjoy your pumpkin seeds, you can grab a handful as a quick snack or use them in various recipes. They make a crunchy topping for salads, soups, and roasted vegetables. You can also incorporate them into granola bars, trail mixes, or pesto for added texture and flavor.
Remember to store any unused pumpkin seeds promptly to maintain their freshness. If stored for an extended period, they may lose some of their crispness, but they will still be tasty.
Now that you know how to cool and store your pumpkin seeds, let’s explore some additional tips and variations to take your snacking experience to the next level.
Tips and Variations
To enhance your pumpkin seed baking experience, consider these helpful tips and variations:
- Experiment with different spices: Aside from the seasoning options mentioned earlier, feel free to get creative with your spice combinations. Try adding paprika, cayenne pepper, garlic powder, onion powder, or even a dash of soy sauce for a unique twist.
- Add a sweet touch: For a touch of sweetness, consider adding a sprinkle of brown sugar, honey, or maple syrup to your seasoned pumpkin seeds before baking. This creates a delightful balance of flavors.
- Go nutty: Add some chopped nuts, such as almonds, cashews, or pecans, to your pumpkin seeds before baking. This will add extra crunch and create a deliciously nutty blend.
- Roast with a hint of citrus: Before baking, toss your pumpkin seeds with a little citrus zest, such as lemon or lime. This adds a refreshing aroma and flavor to your snack.
- Make them cheesy: If you love cheesy snacks, sprinkle grated Parmesan or your favorite cheese over the pumpkin seeds before baking. The cheese will melt and create a savory coating.
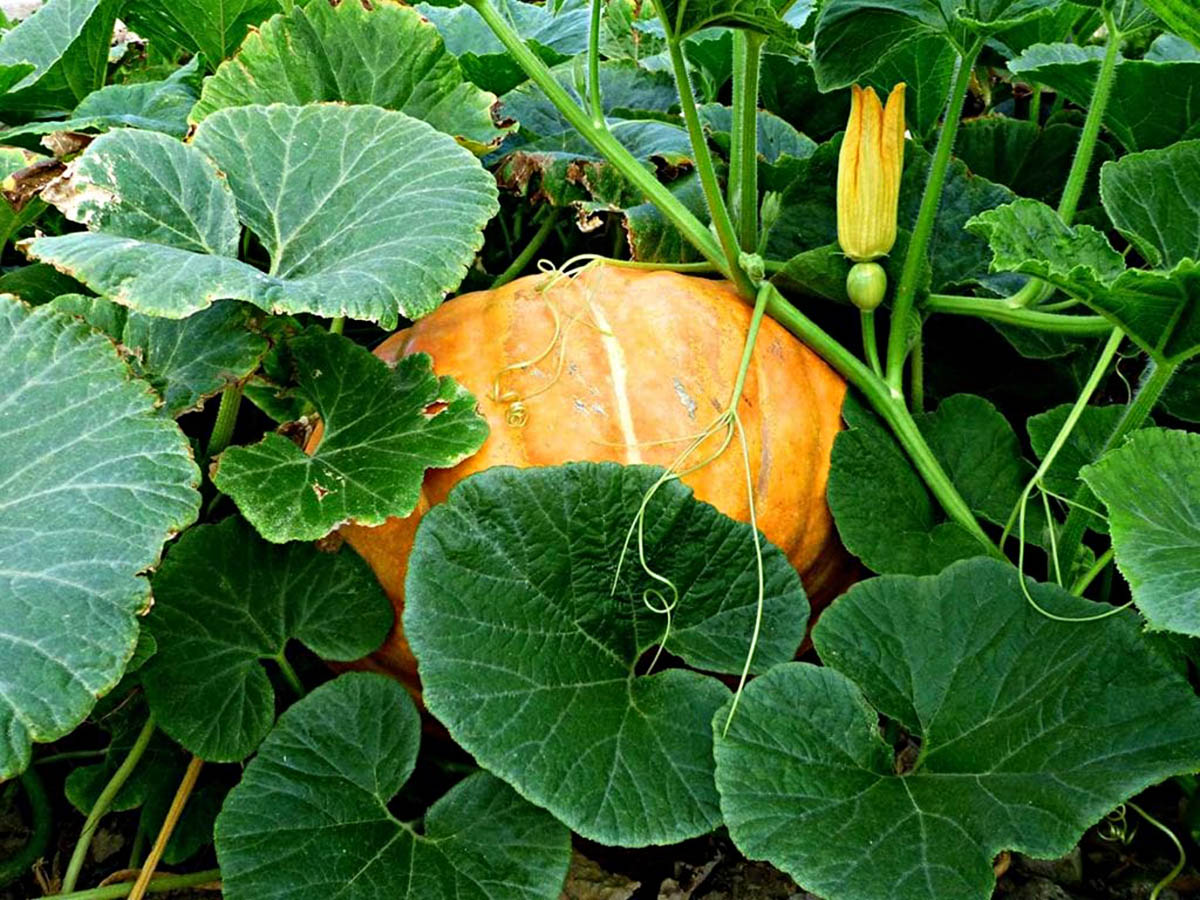
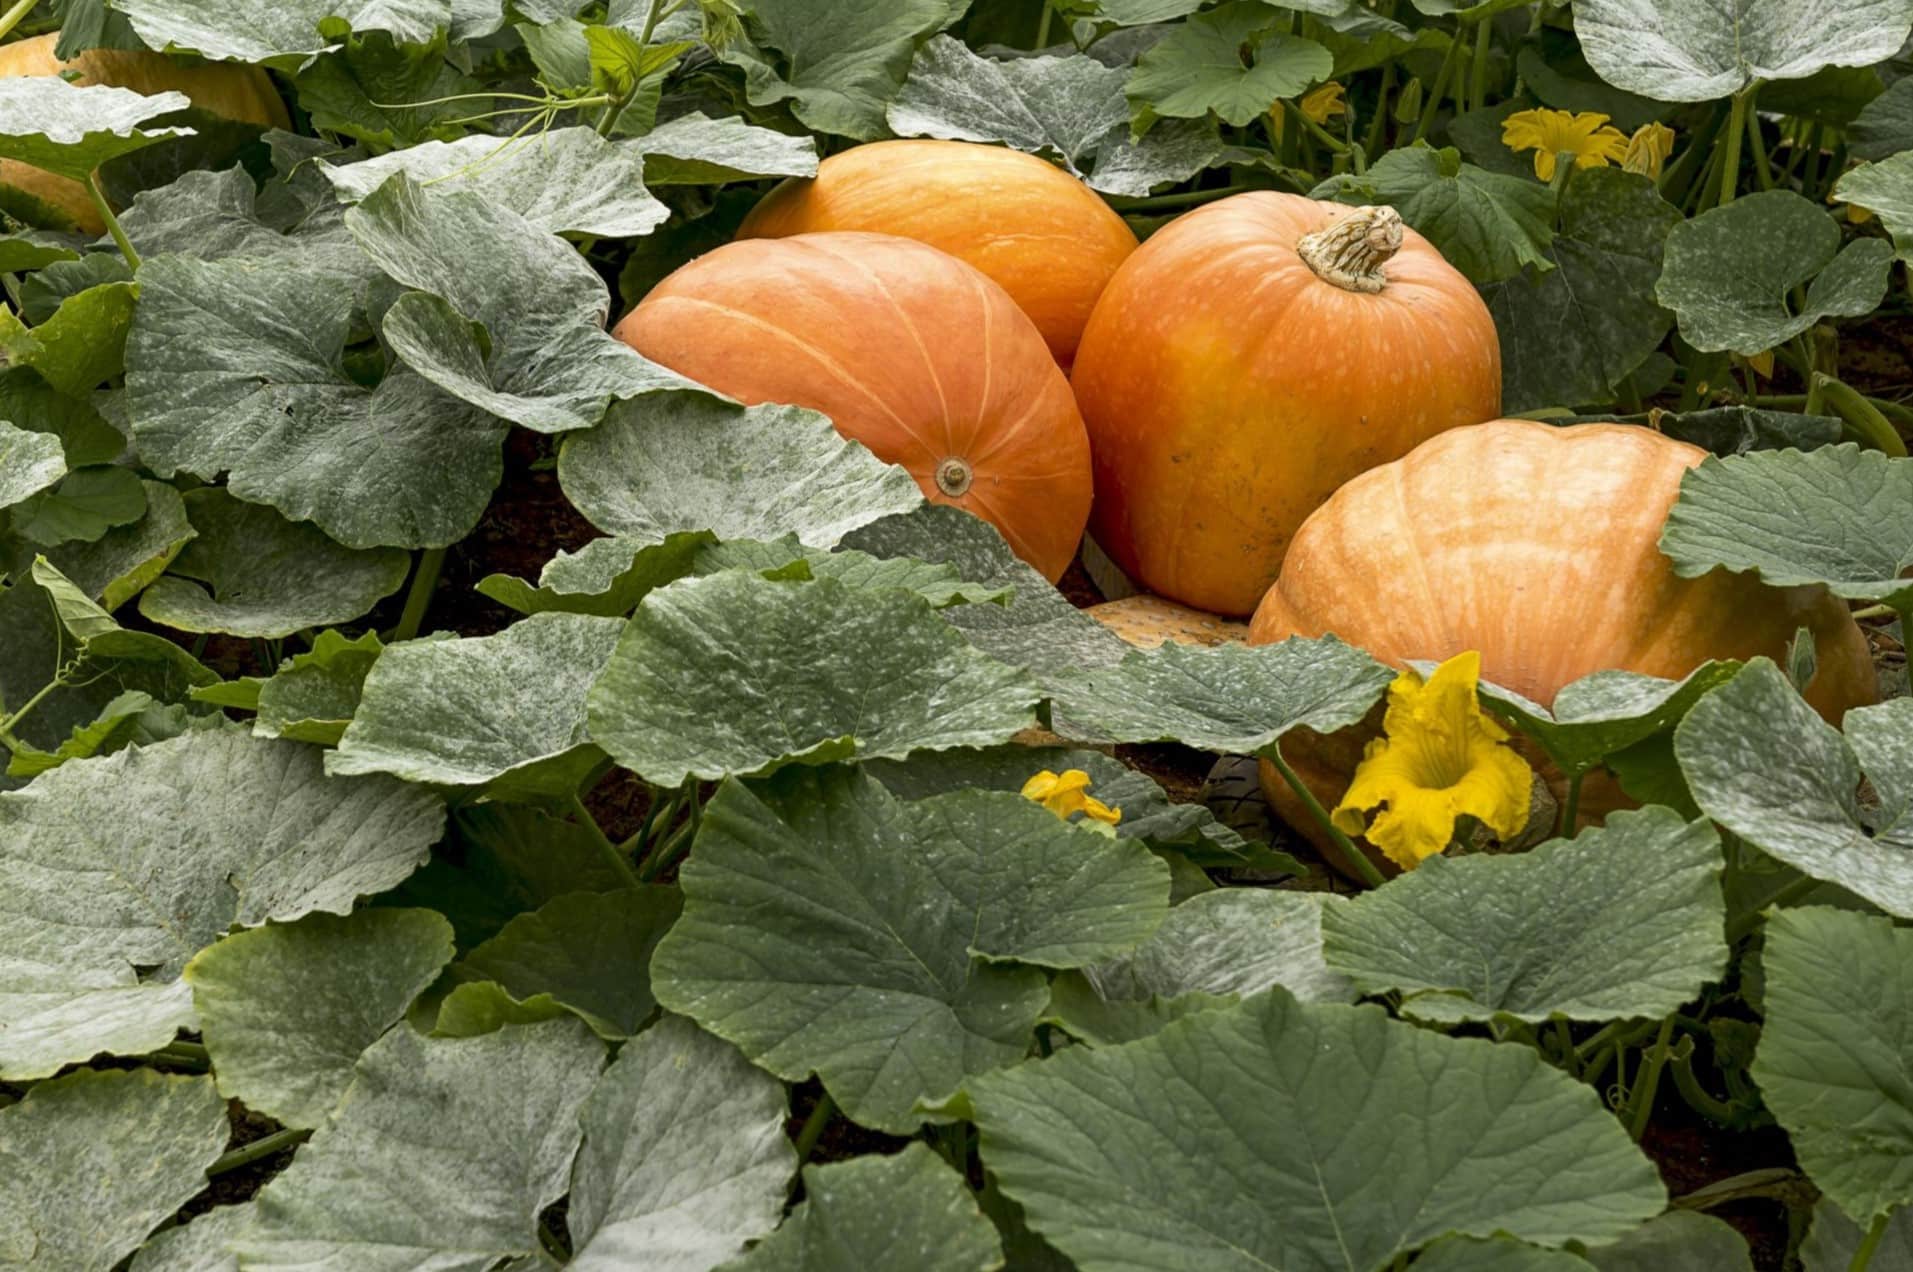
- Try different pumpkin varieties: While the most common type of pumpkin seeds used for baking are from carving pumpkins, don’t hesitate to try seeds from other pumpkin varieties. Each type may offer a slightly different flavor and texture.
Now that you have these tips and variations, you can customize your pumpkin seed recipe to suit your taste preferences. Have fun experimenting and creating your own unique flavor combinations!
Lastly, keep in mind that pumpkin seeds can be a choking hazard for young children, so it’s important to supervise them while enjoying this snack.
Now that you’re equipped with all the necessary information, it’s time to roll up your sleeves and start baking some delicious pumpkin seeds!
Conclusion
Baking pumpkin seeds at 350°F is a simple and flavorful way to transform a humble ingredient into a delicious and nutritious snack. With just a few easy steps, you can take advantage of the pumpkin seeds from your carved Jack-o’-Lantern or any other pumpkin variety you have on hand.
Preparing the seeds by removing any pulp and strings, rinsing them, and patting them dry is the first crucial step. From there, you can get creative with your seasoning options, ranging from savory and spicy to sweet and smoky.
Once seasoned, the seeds are ready to be baked at 350°F for 15-20 minutes, or until they turn a golden brown color and have a satisfying crunch. Be sure to check for doneness by testing their color, texture, and taste to ensure they are perfectly cooked.
After baking, allow the seeds to cool completely before storing them in an airtight container. They can stay fresh for up to a month, but with their irresistible taste and versatility, they’re likely to be devoured much sooner!
Remember, you can always experiment with different spice blends, additions like nuts or cheese, or unique flavors like citrus to create your own signature pumpkin seed snack.
So whether you’re enjoying them as a topping for salads, incorporating them into recipes, or simply savoring them as a standalone snack, baking pumpkin seeds at 350°F will yield a truly satisfying and delightful treat.
Now it’s time to explore the art of baking pumpkin seeds and make a flavorful batch to enjoy. Happy baking and snacking!
Frequently Asked Questions about How Long To Bake Pumpkin Seeds At 350
Was this page helpful?
At Storables.com, we guarantee accurate and reliable information. Our content, validated by Expert Board Contributors, is crafted following stringent Editorial Policies. We're committed to providing you with well-researched, expert-backed insights for all your informational needs.


0 thoughts on “How Long To Bake Pumpkin Seeds At 350”