Home>Garden Essentials>How To Fix Astro Turf Down
Garden Essentials
How To Fix Astro Turf Down
Modified: August 17, 2024
Learn how to fix your garden's astro turf and bring it back to life. Simple and effective tips to ensure your garden stays green and beautiful.
(Many of the links in this article redirect to a specific reviewed product. Your purchase of these products through affiliate links helps to generate commission for Storables.com, at no extra cost. Learn more)
Introduction
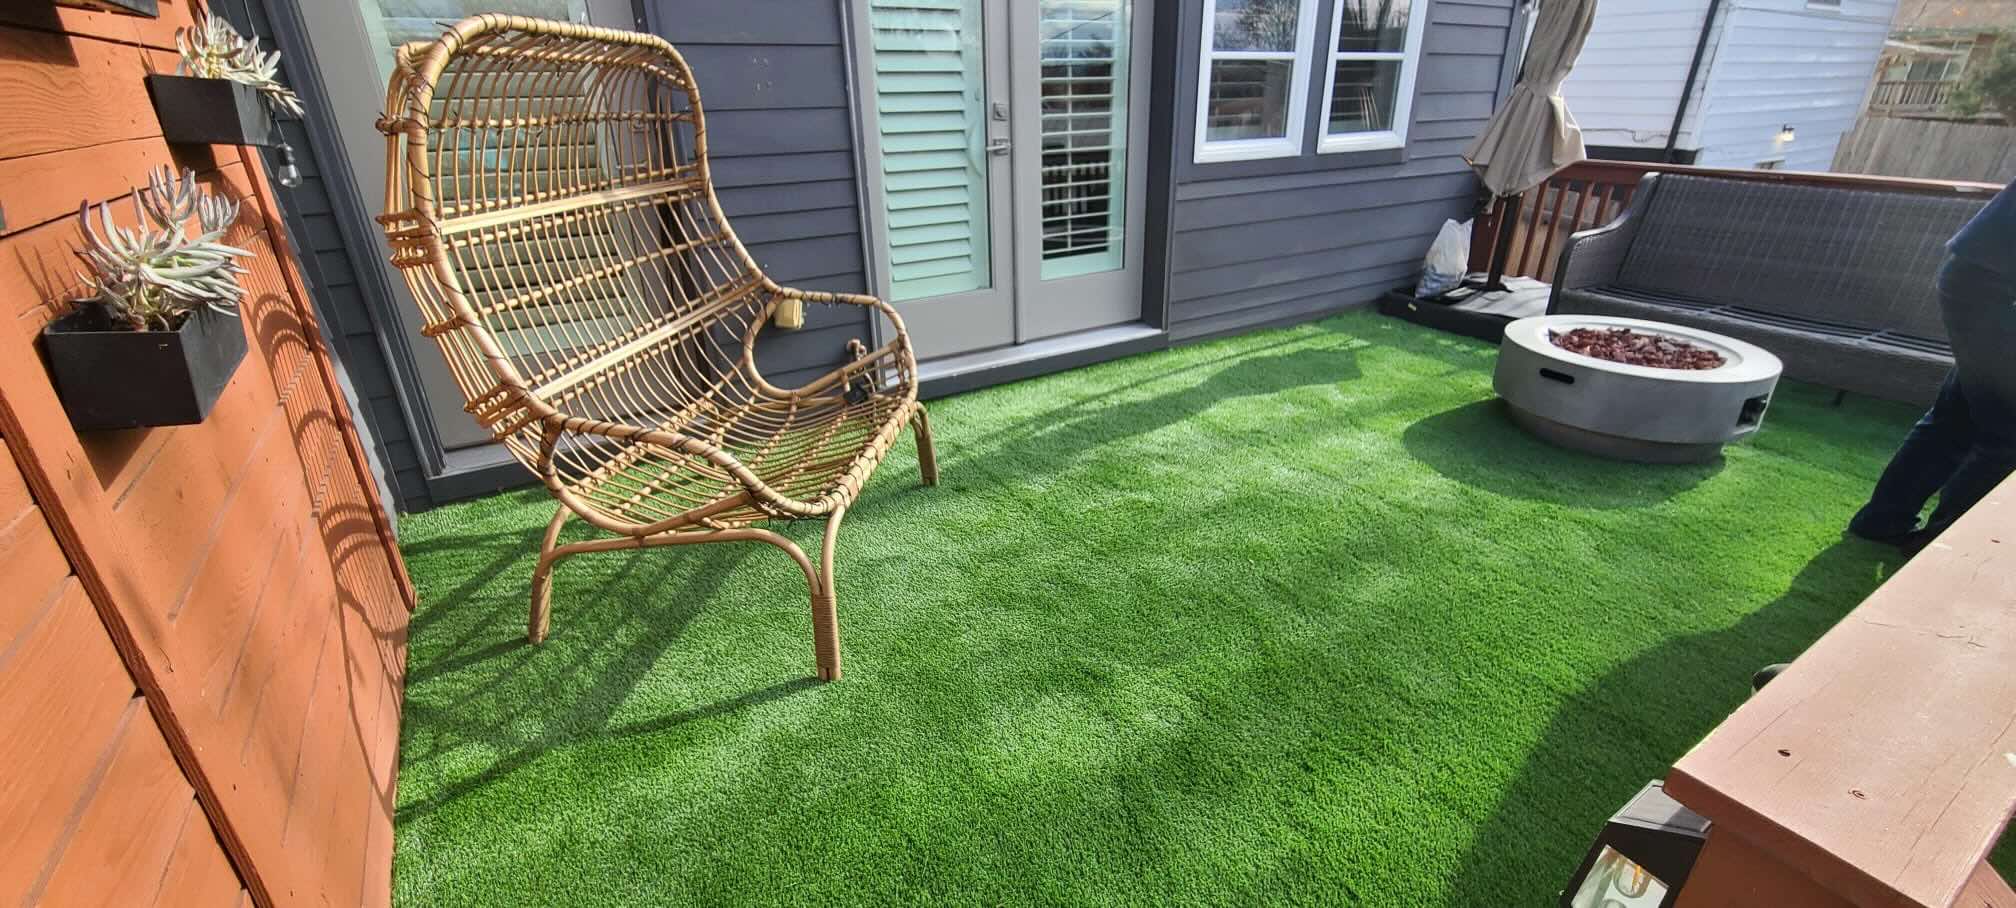
Gardens are often considered as extensions of our homes, offering a space where we can relax, unwind, and connect with nature. Whether you have a sprawling lawn or a small balcony garden, maintaining its beauty and functionality is essential. However, when it comes to garden care, people often neglect an important component – the astro turf.
Astro turf, also known as artificial grass, has gained popularity in recent years due to its low maintenance requirements and the ability to provide a year-round green space. However, just like natural grass, astro turf is not completely immune to wear and tear. Over time, it can become damaged or worn out, impacting the overall aesthetic appeal of your garden.
If you have noticed that your astro turf is looking worse for wear, don’t worry; there are ways to fix it and restore its lush appearance. In this article, we will walk you through the necessary steps to assess the damage, clean the area, repair tears or holes, and even replace damaged sections. By following these tips, you can keep your astro turf in top shape and enjoy a beautiful garden year-round.
So, let’s jump right into it and learn how to bring back the life to your astro turf!
Key Takeaways:
- Keep your astro turf in top shape by assessing, cleaning, and repairing it regularly. Don’t forget to replace damaged sections and follow maintenance tips for a lush and vibrant garden year-round.
- Regularly maintain your astro turf by brushing, removing debris, addressing stains, controlling weeds, managing pet waste, preventing furniture indentations, protecting from sharp objects, and conducting regular inspections. Enjoy a beautiful and long-lasting outdoor space!
Read more: How Was Astro Turf Named
Assessing the Damage
The first step in fixing your astro turf is to assess the extent of the damage. Take a thorough look at your lawn and note any areas that appear faded, discolored, or have visible wear and tear. This will help you determine the severity of the issue and the specific repairs needed.
Start by checking for any uneven patches or depressions in the astro turf. These can occur due to heavy foot traffic or the settling of the ground beneath. Use a broom or rake to lift the turf gently and inspect the base. If you notice any unevenness, you may need to add a layer of compacted sand or gravel to level the surface.
Next, examine the fibers of the astro turf. Look for signs of fraying, matting, or discoloration. Minor fraying can often be fixed by trimming the affected area with a sharp pair of scissors. If the fraying is extensive or you notice bald spots, you may need to consider replacing the entire section if it cannot be repaired.
If your astro turf has infill material, such as sand or rubber pellets, check if it has become compacted or displaced. Use a rake or brush to evenly distribute the infill material, making sure it fills the gaps and maintains a consistent level throughout the lawn.
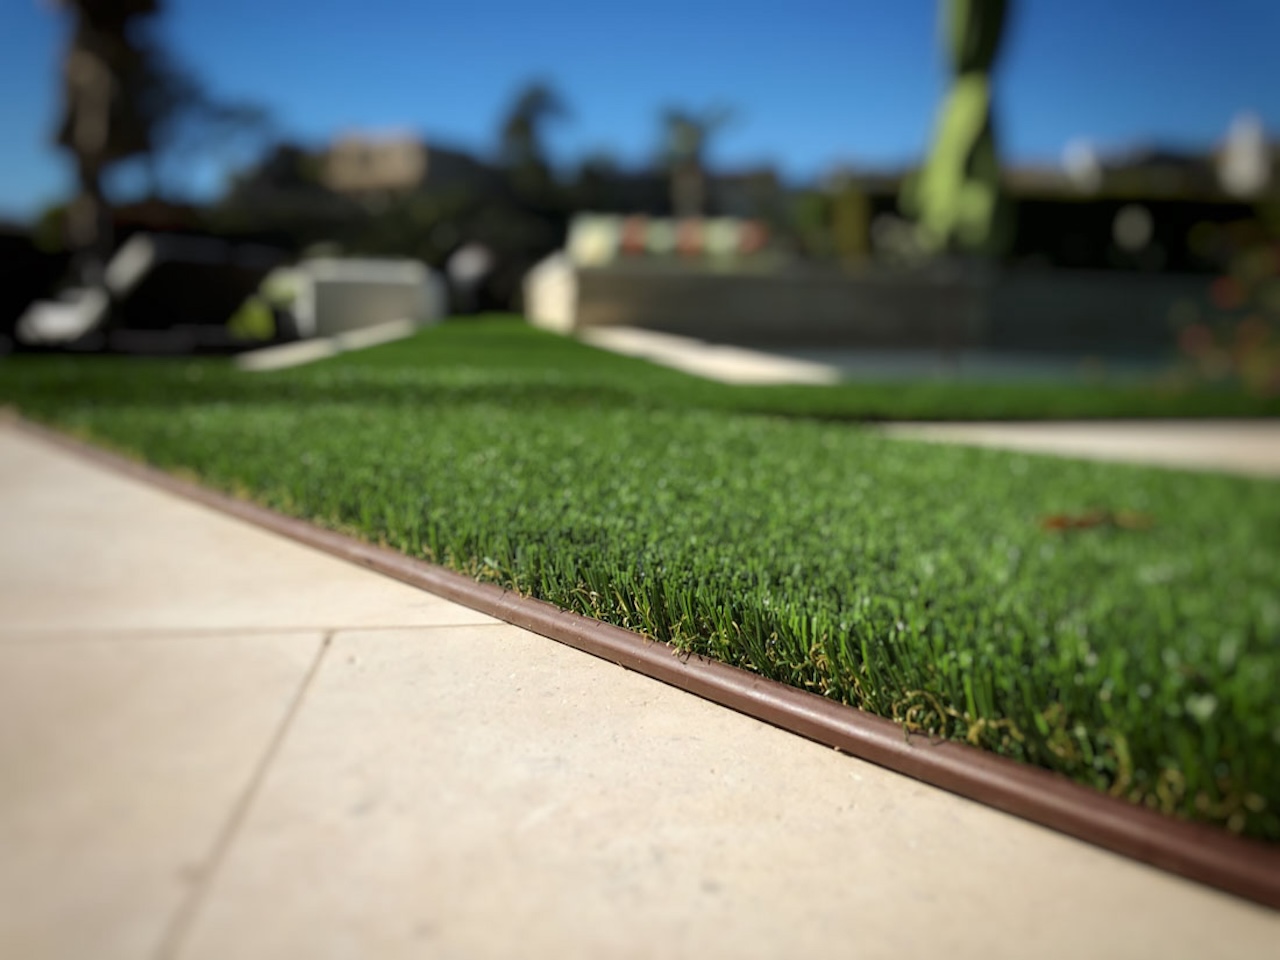
Lastly, inspect the edges of the astro turf. Over time, the edges may start to lift or become loose, especially in high traffic areas or if the installation was not done correctly. Use lawn adhesive or turf pegs to secure the edges back into place, ensuring a seamless and secure fit.
By thoroughly assessing the damage, you will have a clearer understanding of the repairs needed and can proceed with confidence in restoring your astro turf.
Cleaning the Area
Before you can proceed with any repairs or replacements, it is essential to clean the astro turf thoroughly. Over time, dust, dirt, leaves, and other debris can accumulate on the surface, making it look dull and unattractive. Cleaning not only improves the overall appearance but also helps you identify hidden damages that may require attention.
Start by removing any large debris, such as fallen branches or leaves, by hand or using a leaf blower. Once the larger debris is cleared, use a stiff-bristled brush or rake to loosen any embedded dirt or debris from the turf fibers. Brush in different directions to ensure all areas are covered.
Next, prepare a mixture of mild soap or detergent and warm water. Avoid using harsh chemicals or cleaning agents that can damage the astro turf. Apply the soapy solution to the affected areas using a soft-bristled brush or a foam sponge. Gently scrub the surface in circular motions, paying extra attention to heavily soiled areas.
After scrubbing, rinse the astro turf thoroughly with clean water. You can use a hose or a watering can to ensure even distribution of water. Make sure to remove all traces of soap or detergent to prevent residue buildup. Allow the astro turf to dry naturally under the sun or use a leaf blower to speed up the drying process.
If you notice any stubborn stains or discoloration that cannot be removed with soap and water, there are specialized astro turf cleaners available in the market. Follow the manufacturer’s instructions carefully and test the cleaner on a small, inconspicuous area before applying it to the entire lawn.
Regularly cleaning your astro turf not only keeps it looking vibrant and fresh but also helps prolong its lifespan. By removing dirt and debris, you can prevent further damages and maintain the overall health of your artificial grass.
Repairing Tears or Holes
If your astro turf has tears or holes, it’s important to address them as soon as possible to prevent further damage and ensure a seamless appearance. Fortunately, fixing these issues is relatively simple and can be done with a few basic tools.
Start by cleaning the area around the tear or hole using the cleaning process outlined earlier. This will ensure that the surface is free of dirt and debris, allowing for better adhesion during the repair.
To repair small tears or holes, you will need astro turf adhesive or specialized astro turf repair tape. Apply a generous amount of adhesive to the torn edges, then press them back together firmly. For larger tears or holes, place a piece of repair tape over the damaged area, ensuring it is slightly larger than the hole itself. Press the tape firmly onto the astro turf, smoothing out any wrinkles or air bubbles.
Once the adhesive or repair tape is in place, place a heavy object, such as a stack of books, on top of the repaired area to apply pressure. This will help the adhesive or tape bond securely with the astro turf fibers. Leave the weight in place for the recommended drying time specified by the manufacturer.
If the tear or hole is located in a high traffic area or is too large to be repaired, you may need to consider replacing the entire section of astro turf. The replacement process will be covered in the following section.
In some cases, you may find that the astro turf fibers around the tear or hole have become frayed or damaged. To fix this, carefully trim the damaged fibers with a sharp pair of scissors. Make sure to blend the trimmed area with the surrounding turf for a seamless look.
By promptly repairing tears or holes in your astro turf, you can prevent them from spreading and ensure that your garden maintains a flawless appearance.
To fix astro turf that has come loose, use turf adhesive to reattach it to the base. Clean the area first and apply the adhesive according to the manufacturer’s instructions.
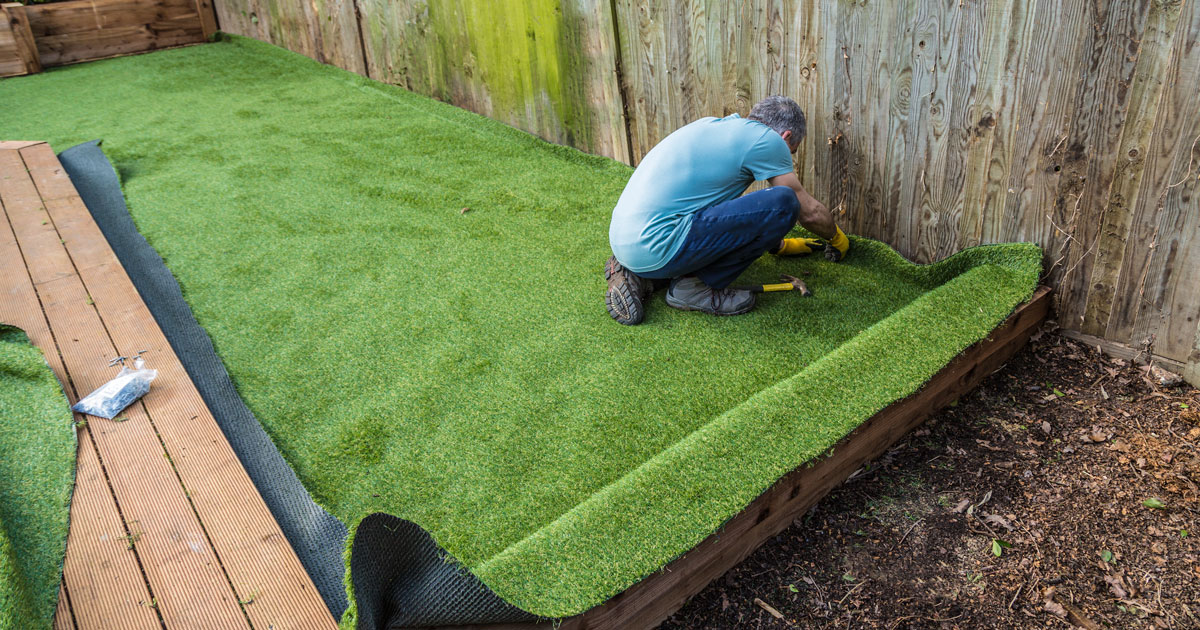
Replacing Damaged Sections
If you have extensive damage to your astro turf or if the tear or hole is too large to be repaired, you may need to consider replacing the entire section. While this may seem like a daunting task, it can be easily accomplished with the right tools and techniques.
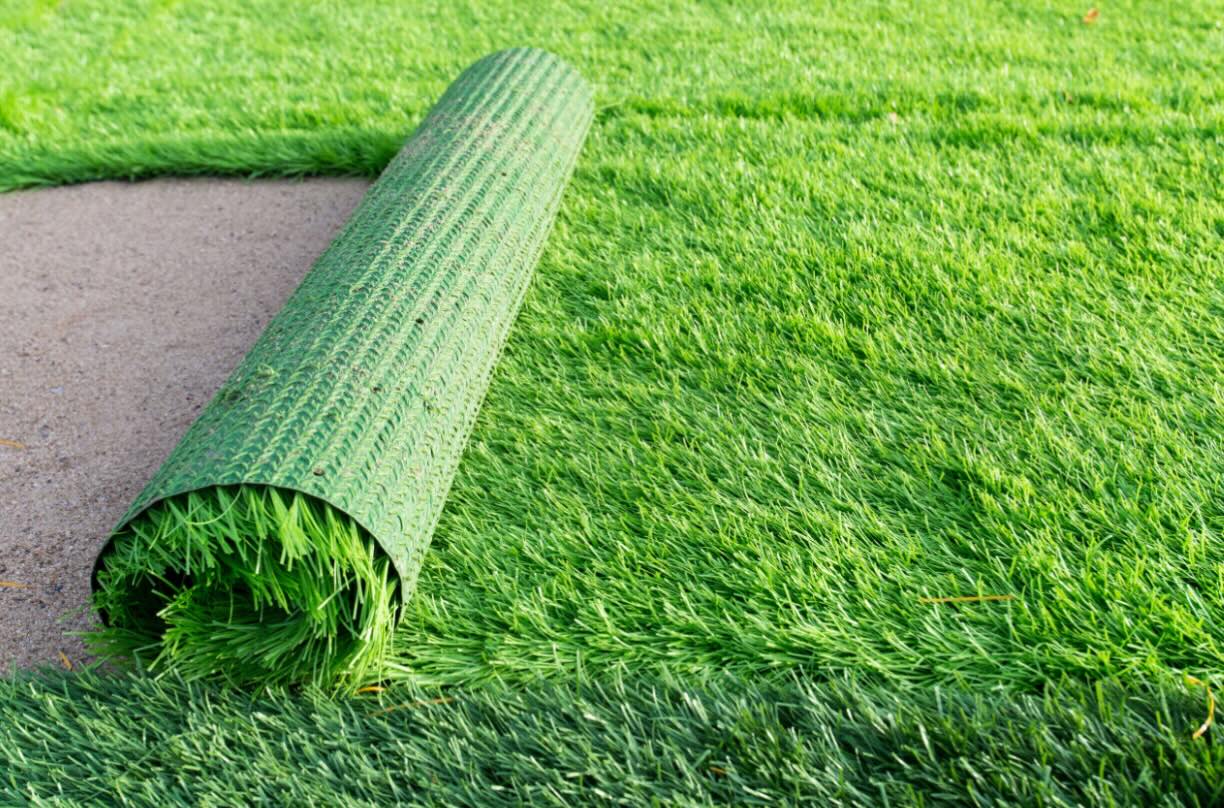
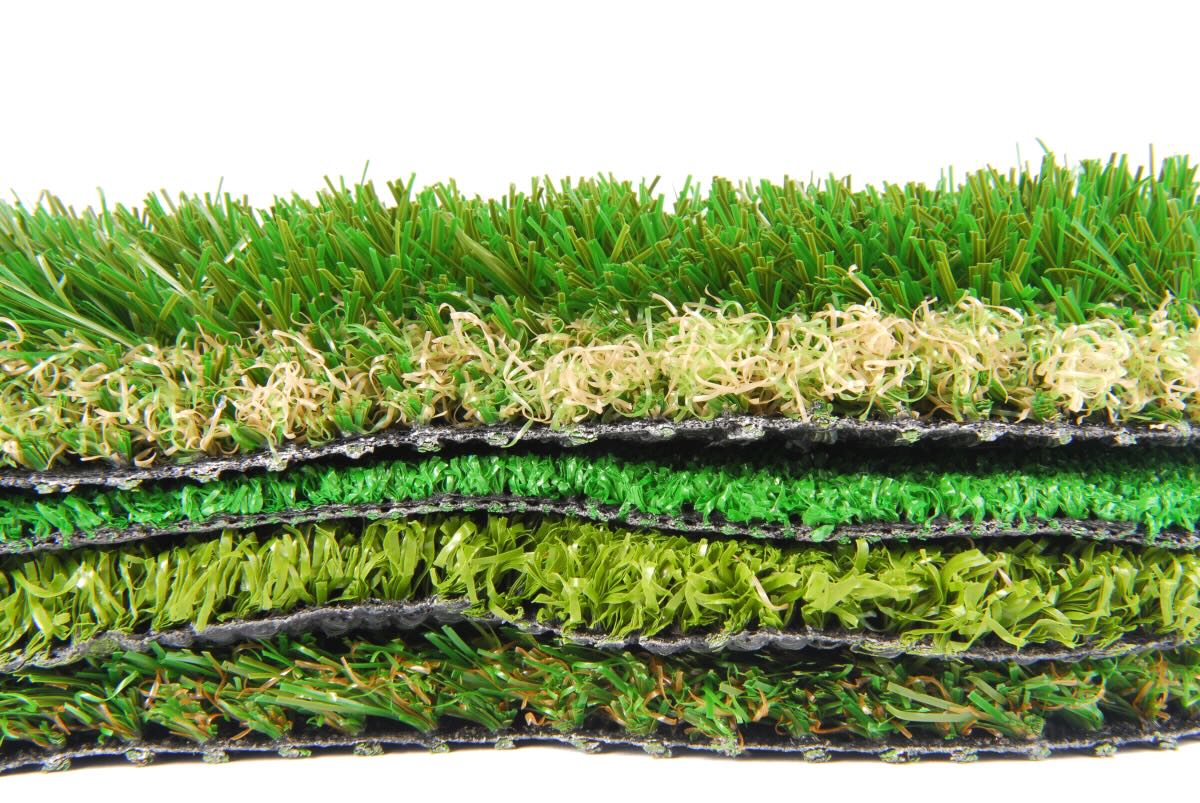
Start by measuring the damaged area and determining the size of the replacement section you will need. It’s important to ensure that the replacement piece matches the existing astro turf in terms of color, texture, and pile height. You can contact the manufacturer or a local supplier to find a suitable match.
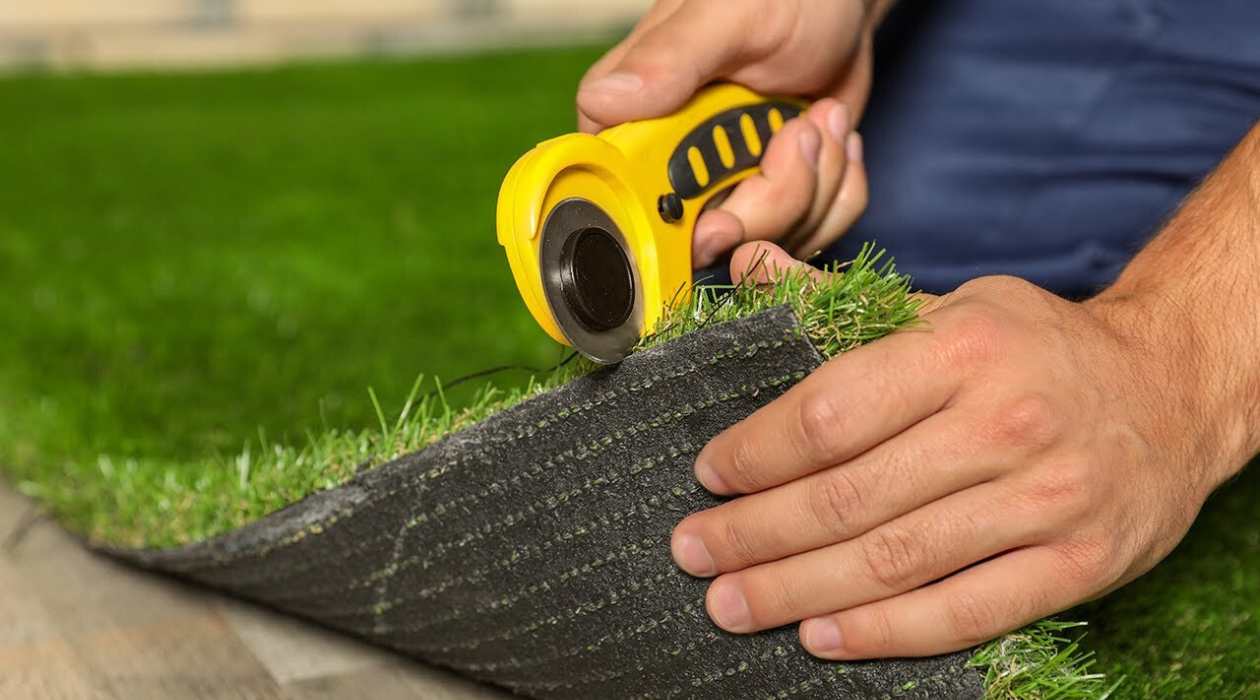
Once you have obtained the replacement section, carefully cut out the damaged portion using a utility knife or a carpet cutter. Make sure to cut along the edges of the seams to ensure a clean and precise removal. Remove any adhesive or tape residue from the surrounding area to provide a smooth surface for the new section.
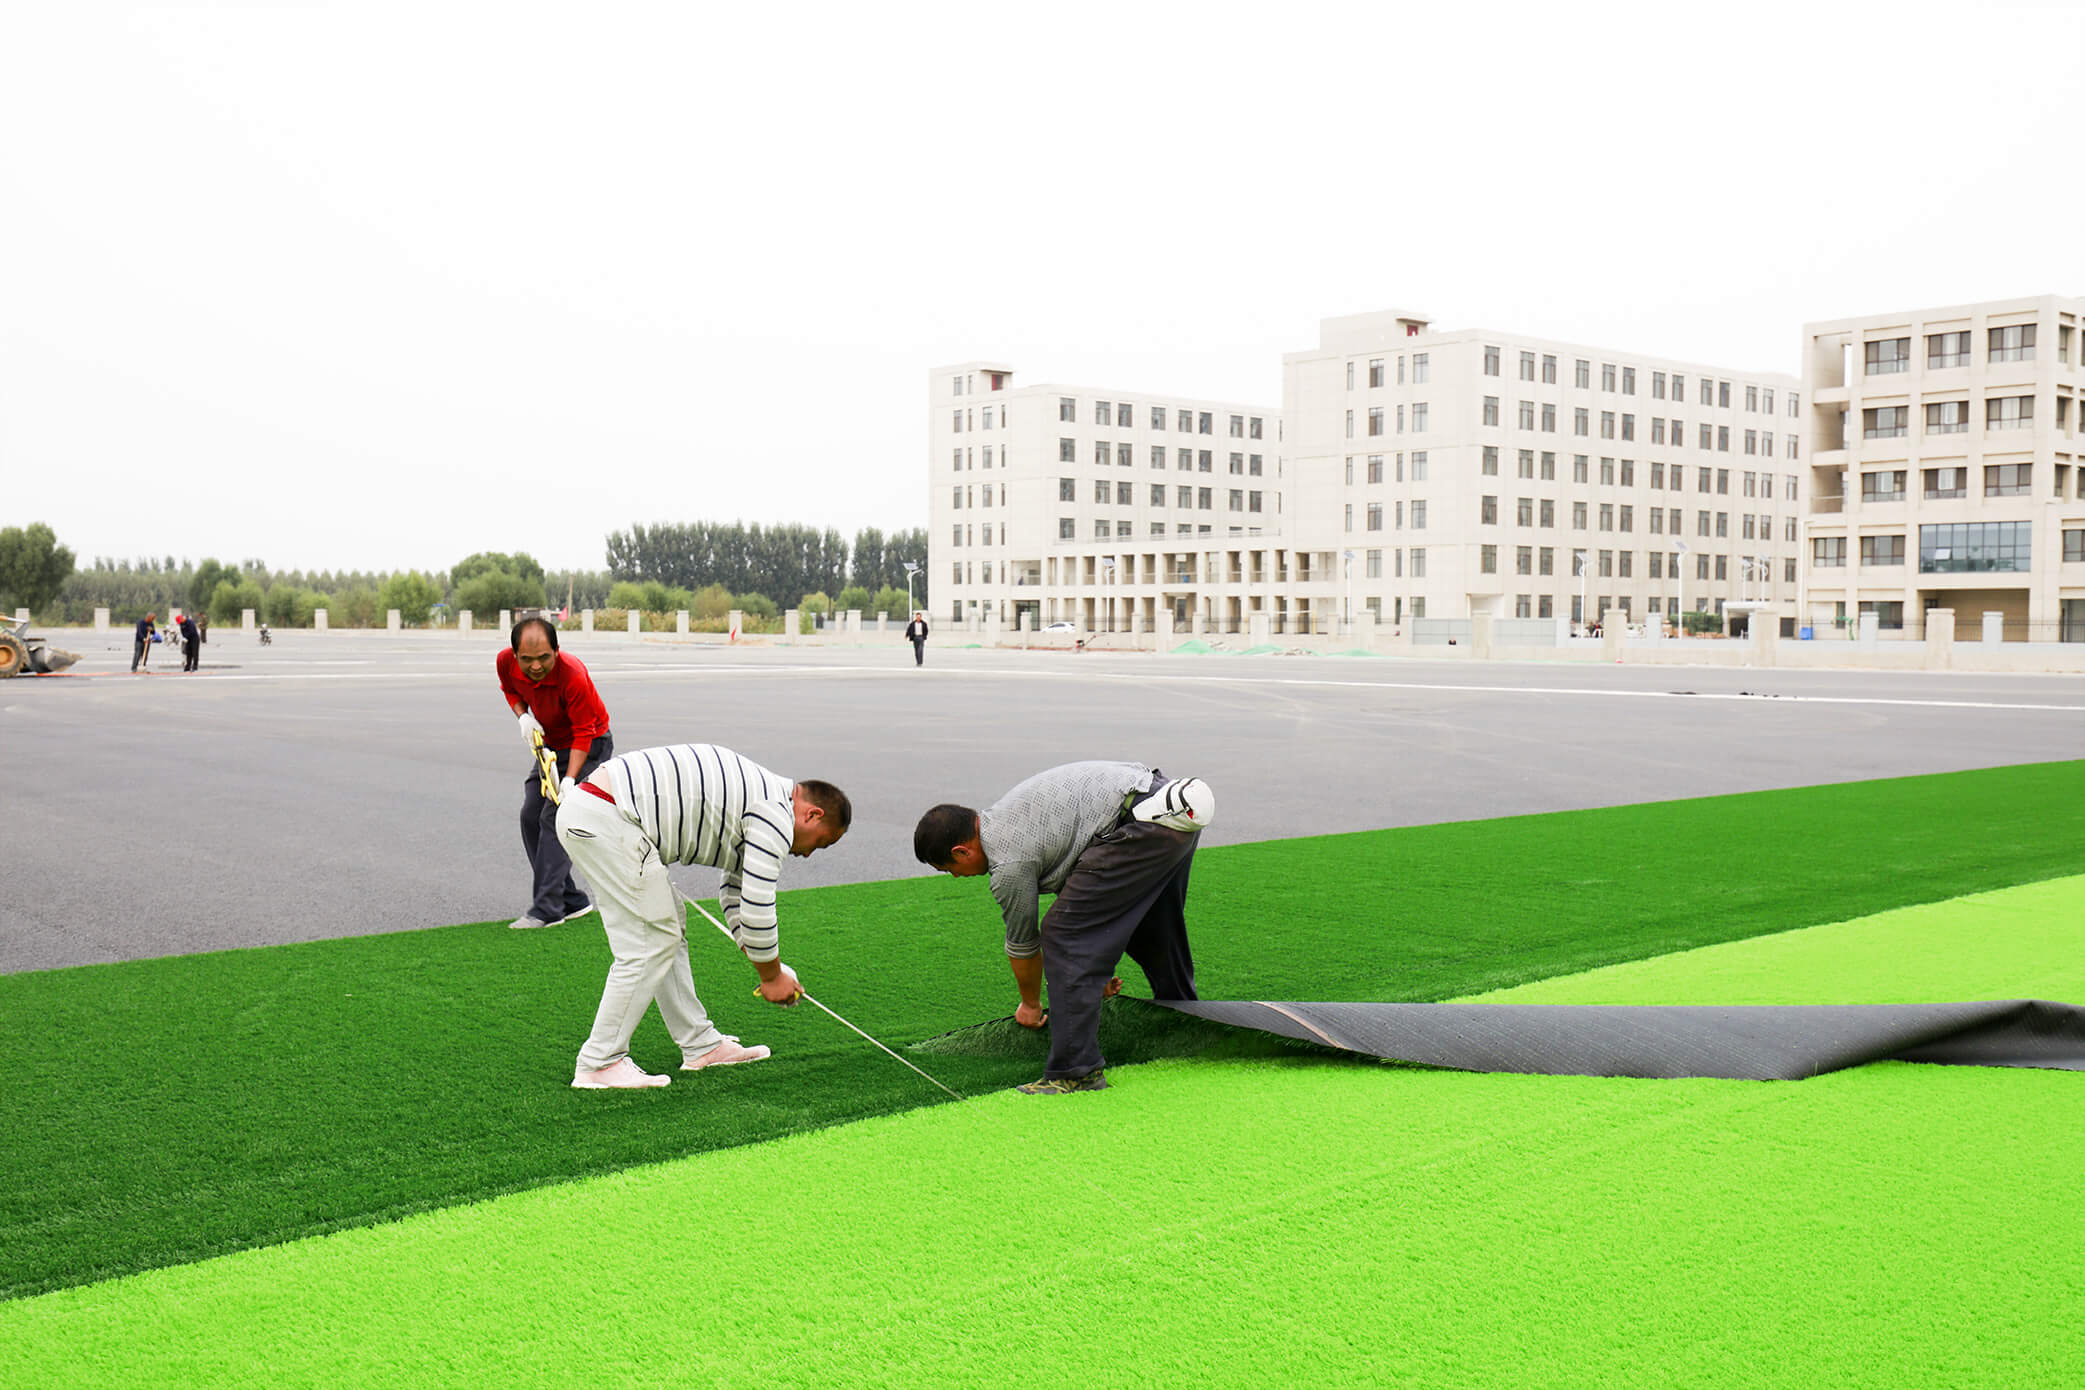
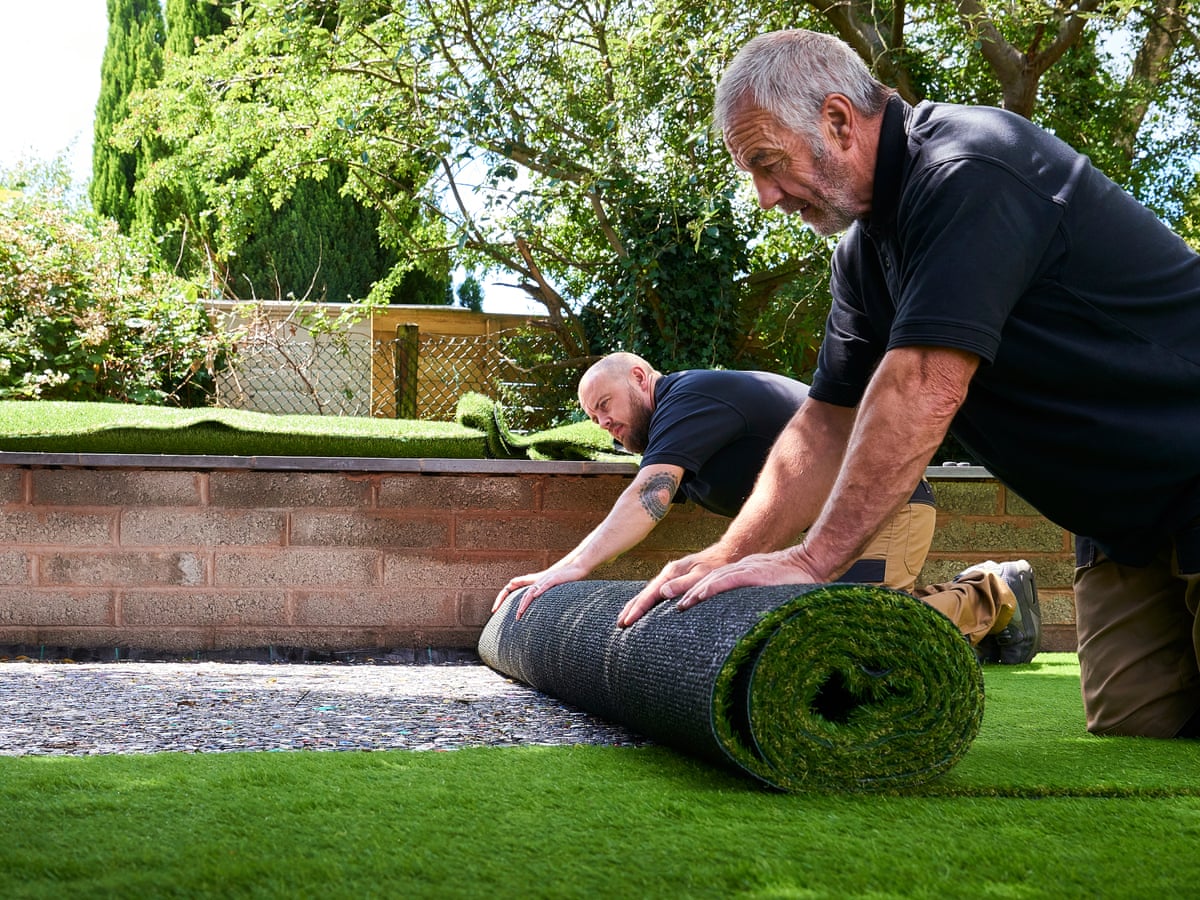
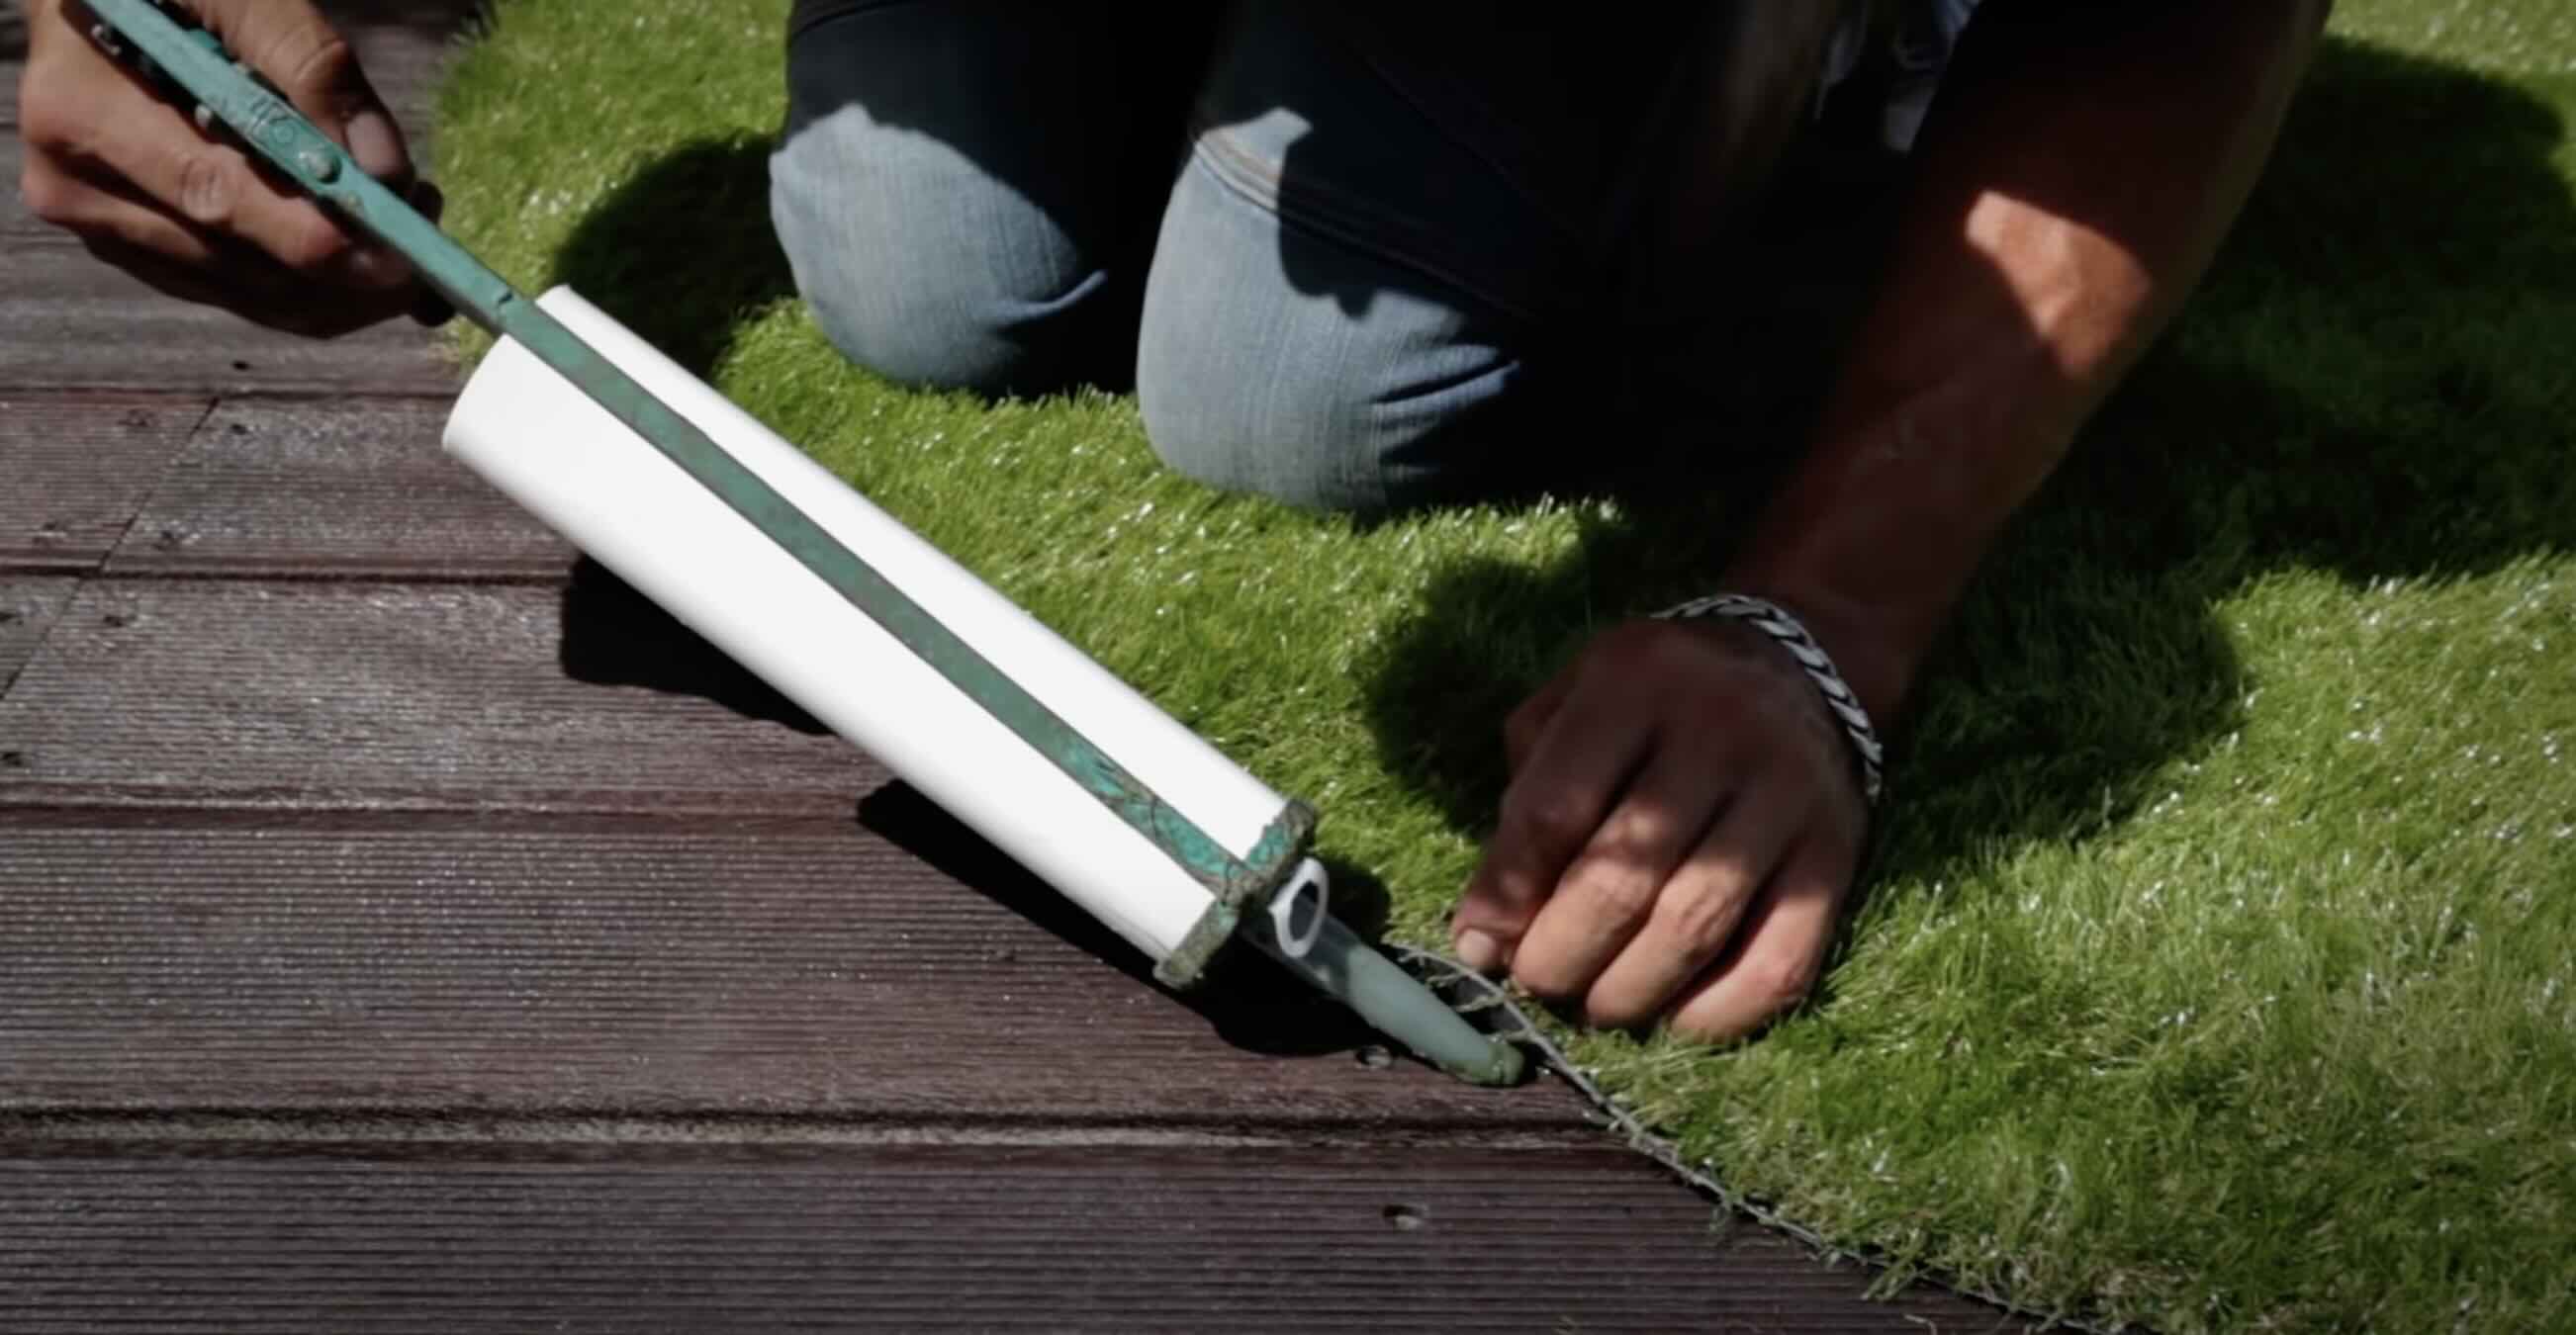
Before installing the replacement section, it’s a good idea to apply a layer of astro turf adhesive along the edges of the existing turf. This will help secure the new piece and prevent it from shifting or lifting over time. Carefully lay down the replacement section, aligning it with the surrounding astro turf and pressing it firmly into place.
Once the replacement piece is in position, use a carpet roller or a weighted object to ensure even adhesion and seamless integration with the surrounding turf. Apply gentle pressure to the entire area, paying special attention to the seams, to create a smooth transition between the old and new sections.
Allow the adhesive to dry fully according to the manufacturer’s instructions before using the astro turf. This will ensure a secure bond and prevent any potential shifting or movement of the replacement section.
Replacing damaged sections of your astro turf not only improves the appearance of your garden but also restores the functionality and durability of the artificial grass. With proper installation and care, the replacement section should seamlessly blend with the rest of your lawn, providing a lush and vibrant outdoor space.
Read more: How To Cut Astro Turf
Regular Maintenance Tips
Maintaining your astro turf regularly is key to keeping it in pristine condition and ensuring its longevity. Here are some essential maintenance tips to incorporate into your routine:
- Regular Brushing: Use a stiff-bristled brush or a power broom to brush the astro turf fibers in different directions. This helps prevent matting and keeps the grass looking lush and upright.
- Remove Debris: Regularly remove leaves, twigs, and other debris from the astro turf. This can be done by hand, using a leaf blower, or with a soft-bristled rake. Removing debris prevents it from accumulating and potentially causing damage to the turf fibers.
- Address Stains Promptly: If you notice any spills or stains on the astro turf, clean them up immediately using a mild soap and water solution. Acting quickly helps prevent stubborn stains from setting into the fibers.
- Control Weeds: Although astro turf is designed to be weed-resistant, occasional weeds may still find their way through. Remove any weeds promptly to prevent them from spreading and damaging the turf.
- Manage Pet Waste: If you have pets, promptly remove solid waste from the astro turf and rinse the area with water. Regularly sanitize the turf with a pet-friendly cleaner to prevent odors and keep it hygienic.
- Prevent Furniture Indentations: To avoid unsightly indentations from furniture or heavy objects, periodically move them to different locations on the astro turf. This allows the turf to recover its shape and prevents permanent marks.
- Protect from Sharp Objects: Avoid placing sharp objects on the astro turf, as they can cause tears or punctures. Be cautious when using garden tools or equipment near the turf to prevent accidental damage.
- Regular Inspections: Periodically inspect your astro turf for signs of damage, fraying, or wear and tear. Address any issues promptly to prevent them from worsening and requiring extensive repairs.
By implementing these regular maintenance practices, you can keep your astro turf looking beautiful and ensure its longevity for years to come.
Conclusion
Your astro turf is a valuable asset to your garden, providing a low-maintenance and visually appealing alternative to natural grass. By following the steps outlined in this article, you can effectively fix and restore any damage to your astro turf, ensuring a vibrant and long-lasting outdoor space.
Assessing the damage is the first step in determining the extent of repairs needed. From there, cleaning the area thoroughly helps improve the overall appearance and reveals any hidden damages. Repairing small tears or holes with adhesive or specialized repair tape can easily be done, while larger damages may require replacing the damaged sections entirely.
To maintain the beauty and functionality of your astro turf, regular maintenance is crucial. Remember to brush the fibers regularly, remove debris promptly, address stains promptly, control weeds, manage pet waste, prevent furniture indentations, protect from sharp objects, and conduct regular inspections.
By implementing these maintenance practices and addressing any repairs promptly, you can enjoy a lush and beautiful astro turf that enhances the overall appeal of your garden throughout the year.
So, take the time to care for your astro turf, and it will reward you with a stunning and long-lasting outdoor space for you and your loved ones to enjoy.
Frequently Asked Questions about How To Fix Astro Turf Down
Was this page helpful?
At Storables.com, we guarantee accurate and reliable information. Our content, validated by Expert Board Contributors, is crafted following stringent Editorial Policies. We're committed to providing you with well-researched, expert-backed insights for all your informational needs.


0 thoughts on “How To Fix Astro Turf Down”