Home>Garden Essentials>How To Join Astro Turf Seams
Garden Essentials
How To Join Astro Turf Seams
Modified: August 17, 2024
Learn how to join astro turf seams in your garden with our step-by-step guide. Achieve a flawless and professional look for your outdoor space.
(Many of the links in this article redirect to a specific reviewed product. Your purchase of these products through affiliate links helps to generate commission for Storables.com, at no extra cost. Learn more)
Introduction
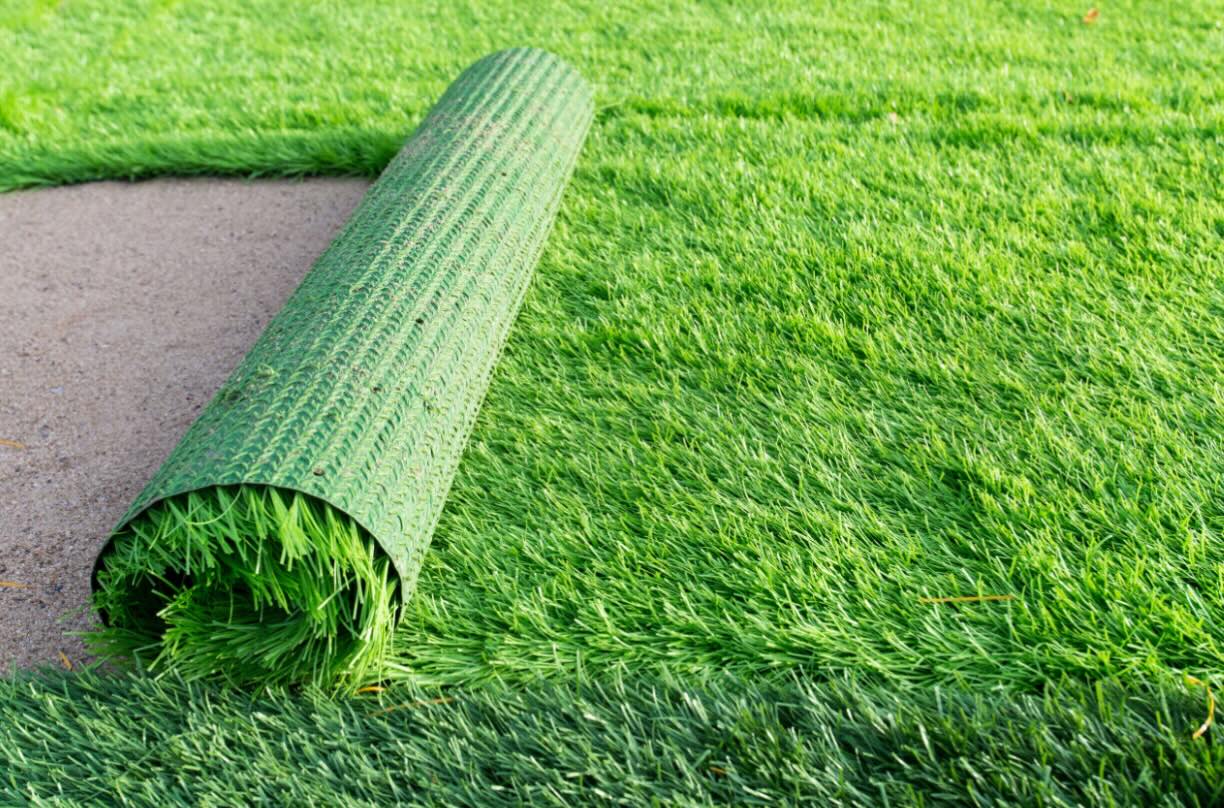
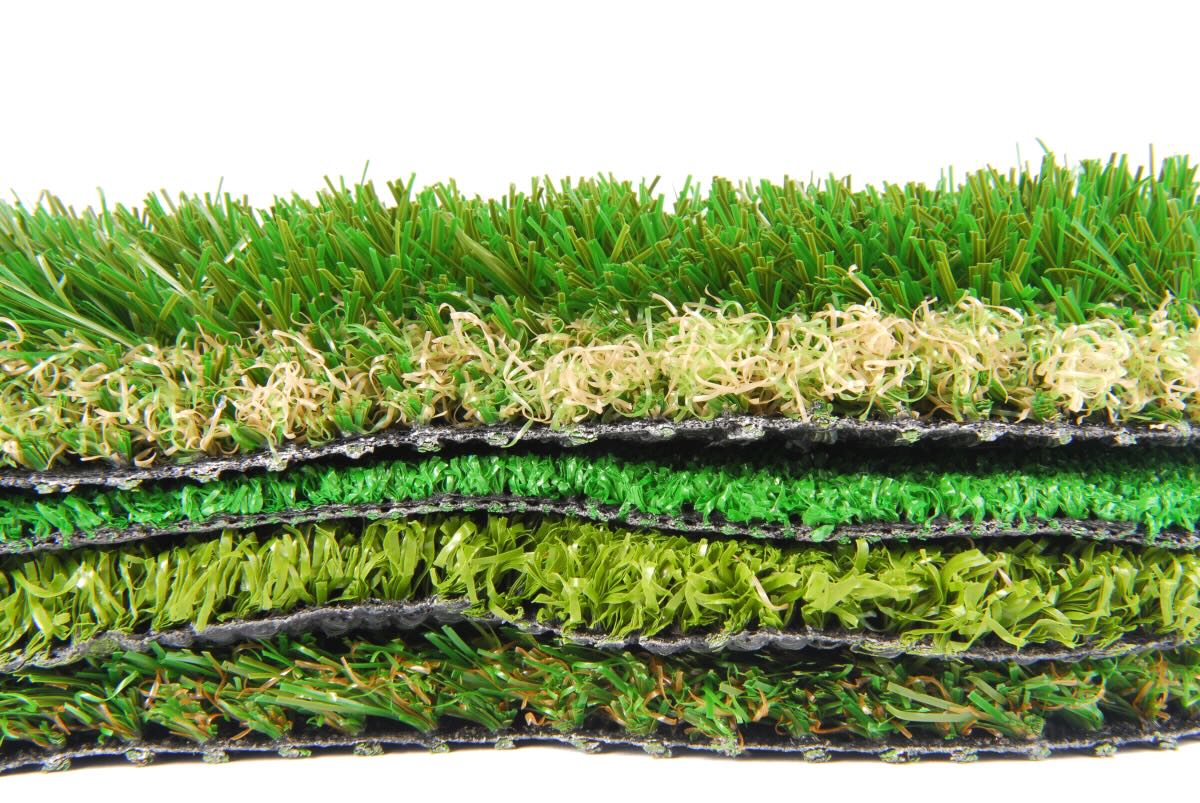
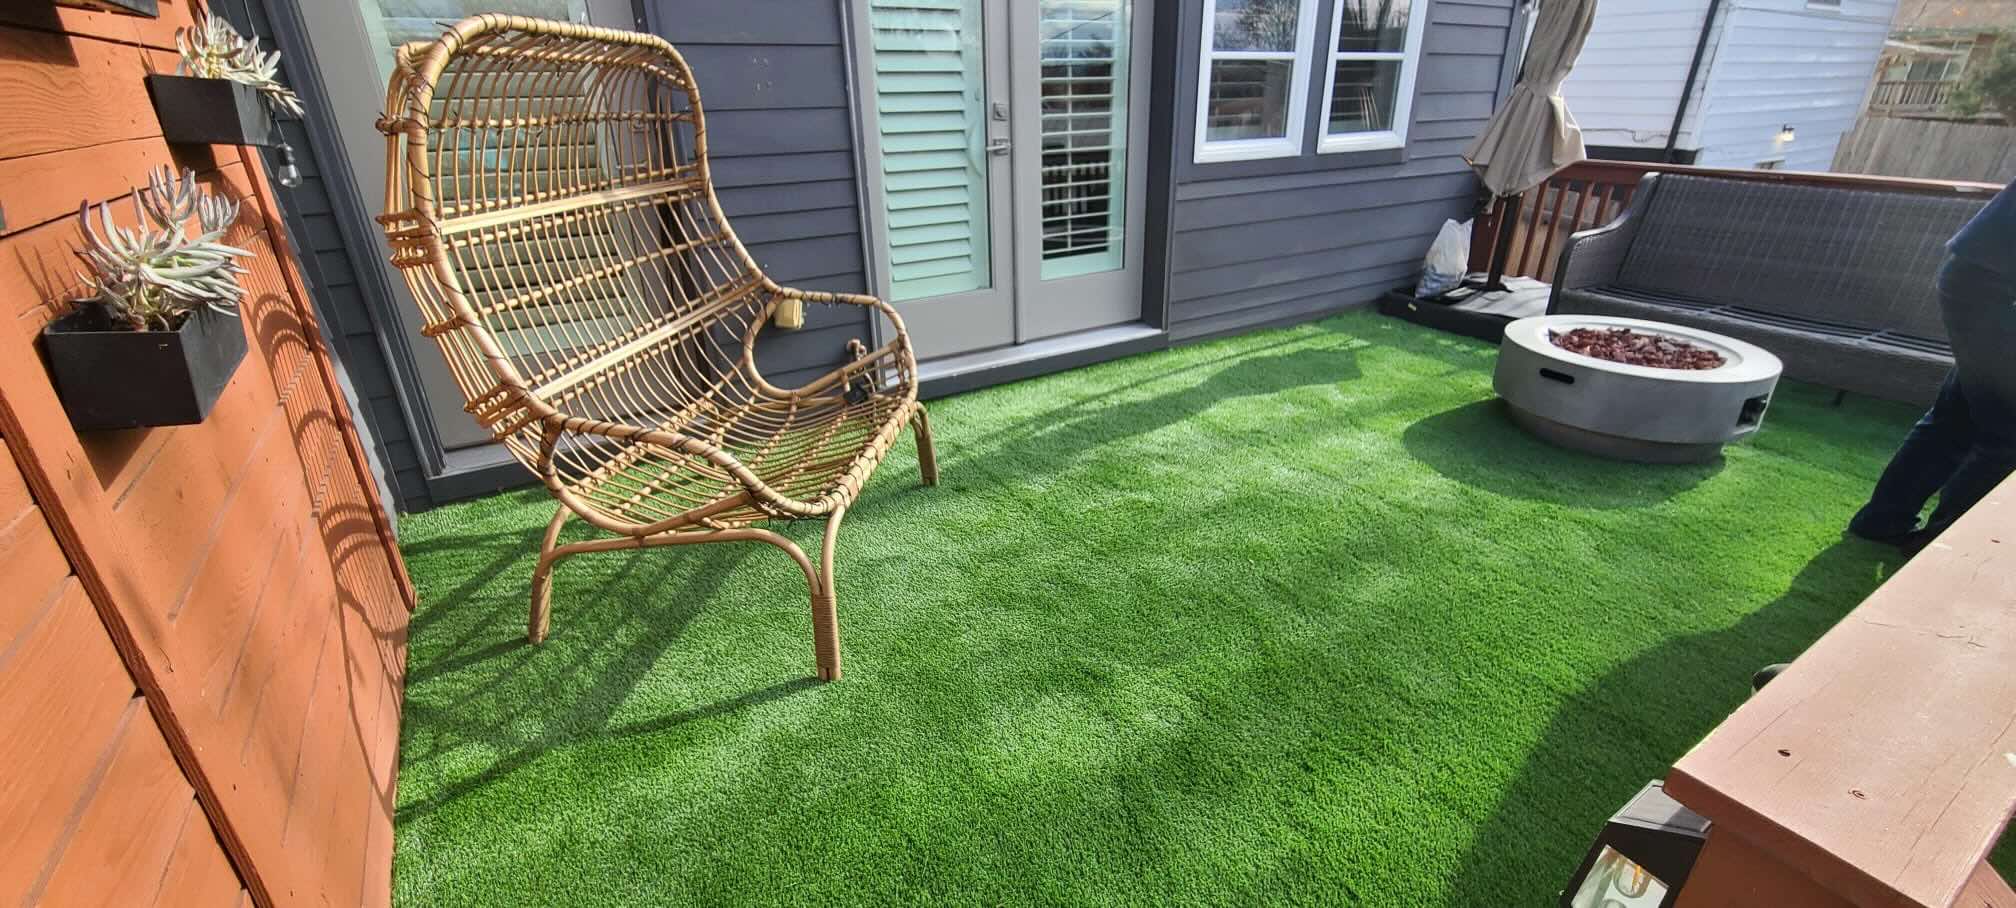
Gardening enthusiasts, homeowners, and professional landscapers all share a common goal: creating a lush and beautiful outdoor space. A key element in achieving this goal is a well-maintained lawn. While natural grass has long been the go-to choice for lawns, an increasing number of people are turning to synthetic alternatives like astro turf. Astro turf offers numerous benefits, including low maintenance requirements and excellent durability.
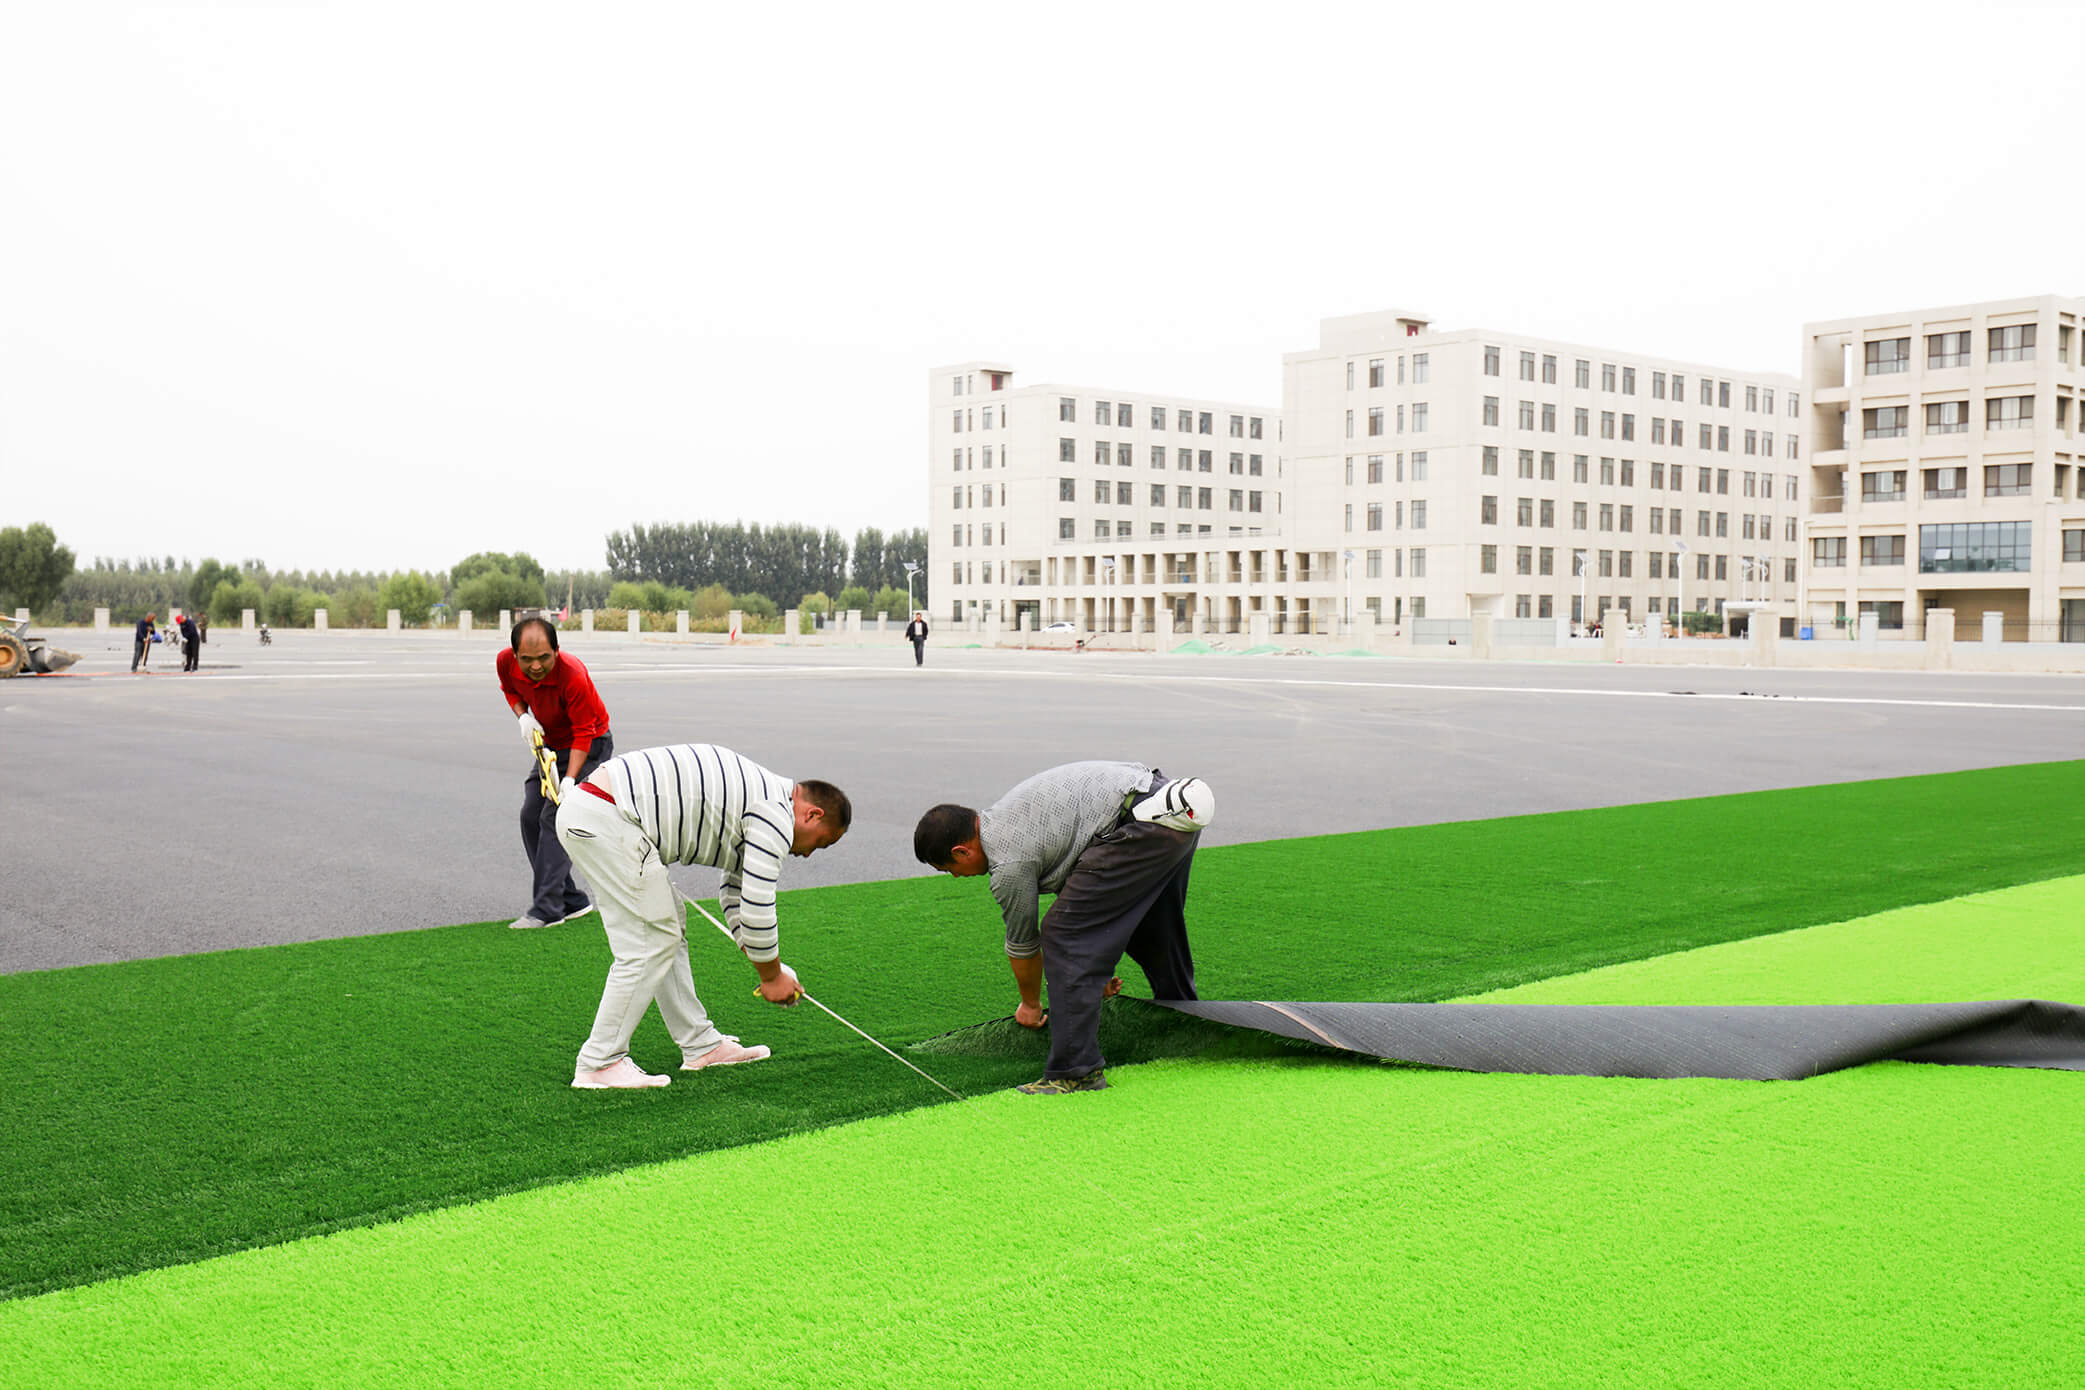
One challenge faced when installing astro turf is joining the seams, particularly when working with large surface areas. Properly joining the seams is crucial for achieving a seamless and professional-looking installation. In this article, we will guide you through the step-by-step process of joining astro turf seams, ensuring a flawless finish.
Before we dive into the details, let’s take a look at the tools and materials you’ll need for this project.
Key Takeaways:
- Achieve a flawless astro turf seam join by preparing, aligning, and securing with adhesive and stakes. Follow with final touch-ups for a polished finish and enjoy a low-maintenance, lush lawn.
- Joining astro turf seams requires proper preparation, precise alignment, and securing with stakes. Follow with final touch-ups for a flawless, long-lasting lawn.
Read more: How To Join Carpet Seams
Tools and Materials Needed
To join astro turf seams effectively, you’ll need the following tools and materials:
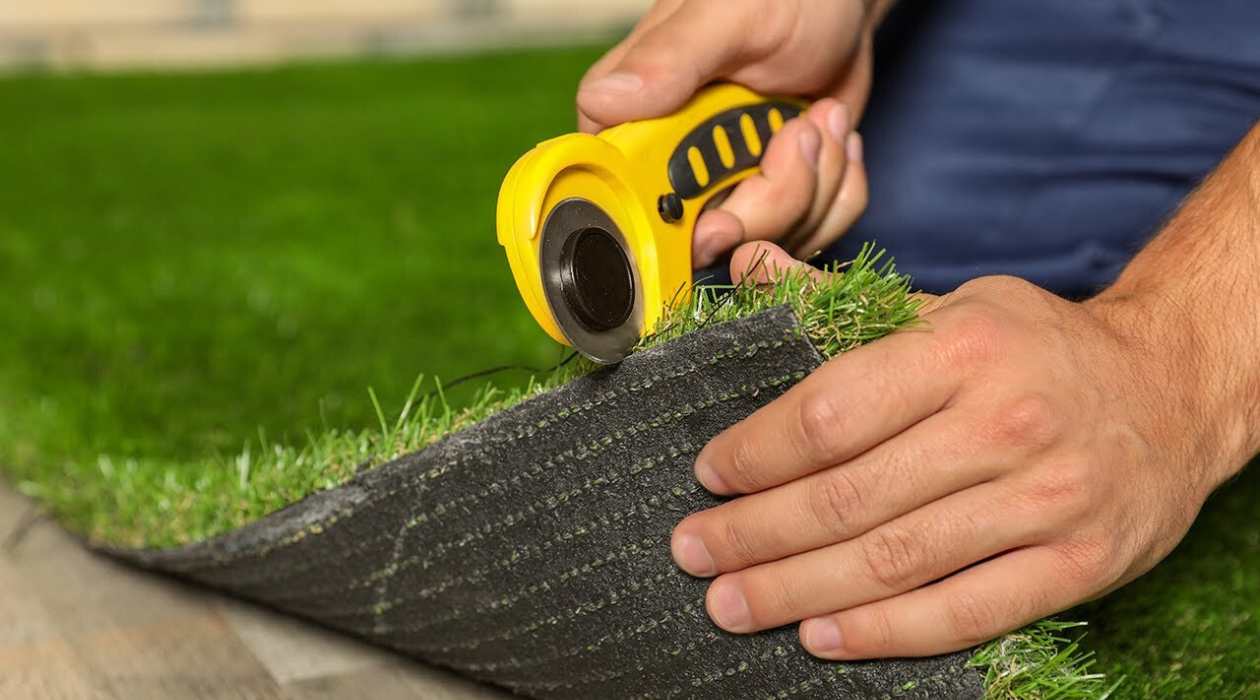
- Utility knife or carpet cutter: These tools will be used to cut the astro turf and trim the edges.
- Measuring tape: Essential for accurately measuring the area and ensuring precise cuts.
- Straight edge or guide: This will help you achieve straight and clean cuts on the astro turf.
- Turf adhesive: Choose a high-quality adhesive specifically designed for synthetic turf installations.
- Turf seam tape: This specialized tape is used to bind and reinforce the seams.
- Turf stakes or pegs: These will be used to secure the astro turf in place during the installation process.
- Turf brush or broom: Helps to fluff and blend the astro turf after installation.
- Gloves: Protect your hands while working with the adhesive and cutting tools.
- Dust mask: To protect against inhaling particles while cutting the astro turf.
- Protective eyewear: Essential for eye safety, especially when cutting the turf.
Ensure you have all the necessary tools and materials before starting the seam joining process. This will make the installation smoother and more efficient.
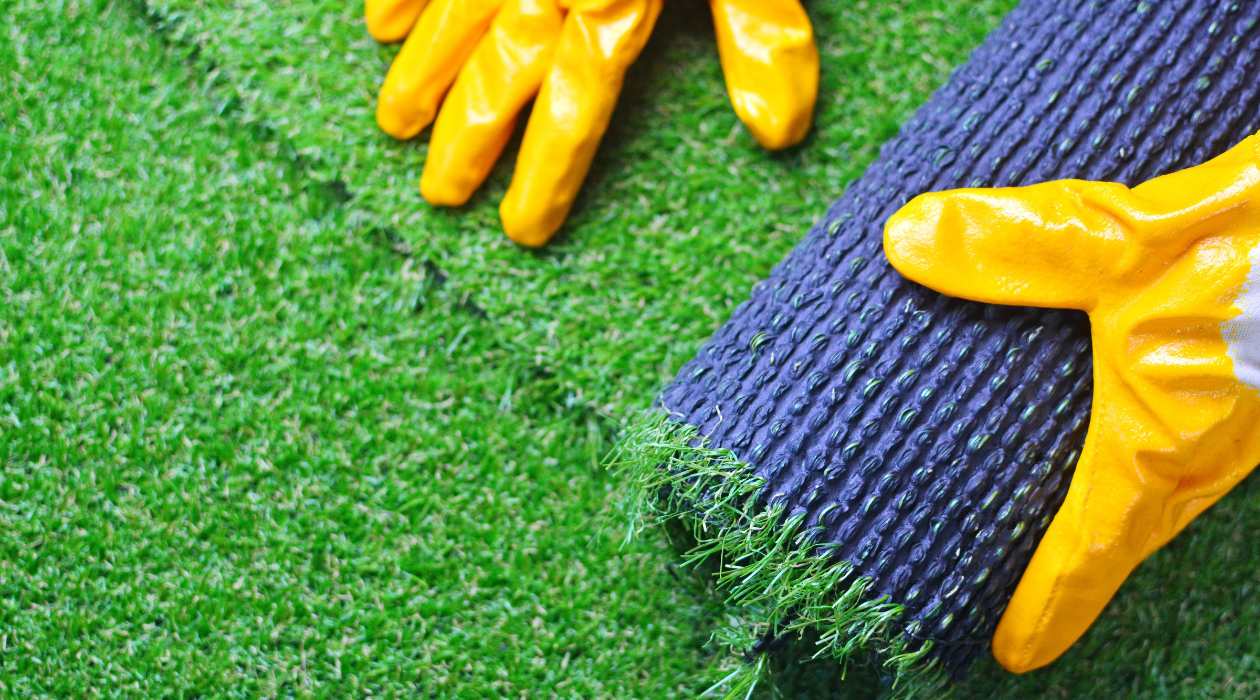
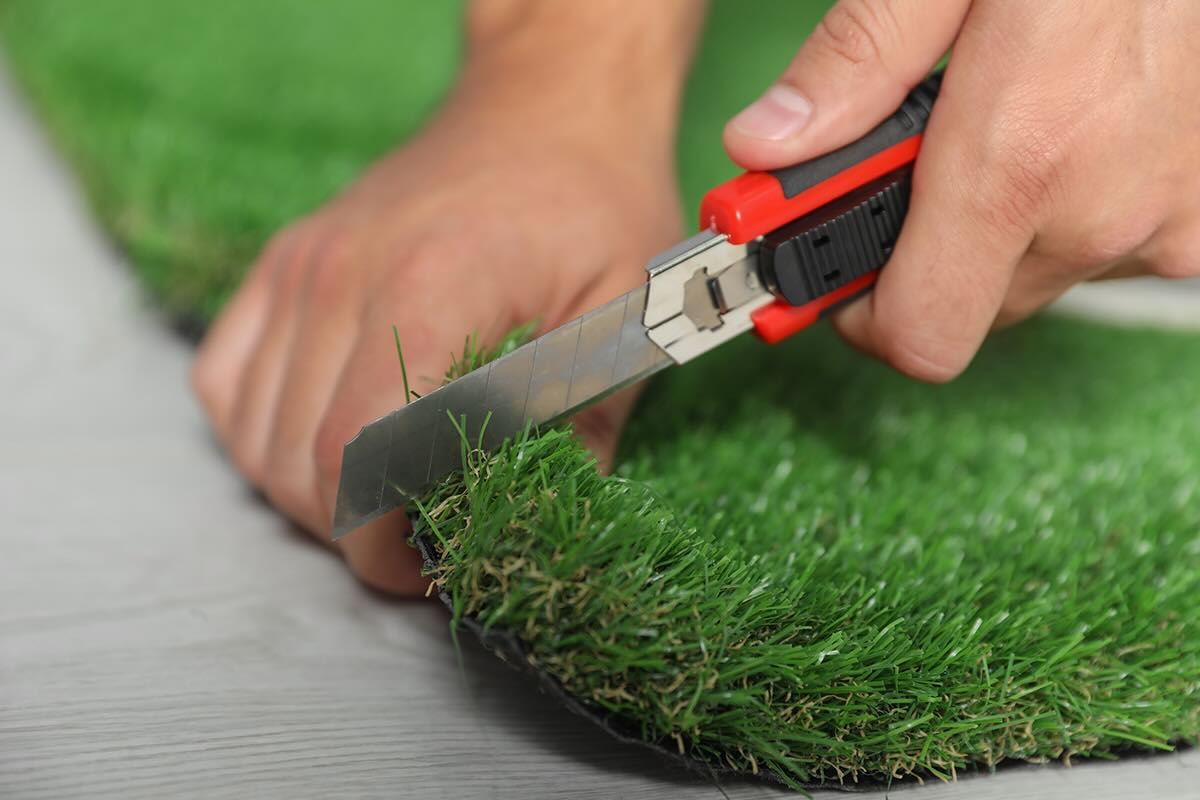
Step 1: Preparing the Seams
Before joining the astro turf seams, it is important to properly prepare the area to ensure a clean and seamless installation. Follow these steps:
- Clean the area: Start by removing any debris, rocks, or vegetation from the seams. A leaf blower or a stiff brush can be used to clear the area effectively. Ensure that the seams are clean and free from any obstructions that may affect the bonding of the turf adhesive.
- Trim the edges: Using a utility knife or carpet cutter, trim the edges of the astro turf along the seams. This will create a clean and straight edge, making it easier to align and join the turf pieces together.
- Overlap the edges: For a secure and seamless join, overlap the edges of the astro turf by at least 1 to 2 inches. Ensure that the overlapping area is consistent across the entire length of the seam.
- Mark the center line: Using a measuring tape, find the center point of the overlap and mark it with a chalk or a temporary marker. This will serve as a guide when applying the adhesive and aligning the turf pieces.
- Apply turf seam tape: Once the edges are trimmed and overlapped, place turf seam tape along the entire length of the seam. Make sure the tape is centered along the seam and adheres well to both sides of the turf.
With the seams properly prepared, you are now ready to move on to the next step of joining the astro turf seams.
Step 2: Applying Adhesive
After preparing the astro turf seams, the next step is to apply the turf adhesive. The adhesive will ensure a strong and durable bond between the turf pieces. Follow these guidelines to apply the adhesive:
- Read the manufacturer’s instructions: Different turf adhesives may have specific application instructions and drying times. It is important to carefully read and follow the instructions provided by the adhesive manufacturer.
- Use a trowel or notched trowel: Apply the adhesive to the turf seam tape using a trowel or a notched trowel. The notches on the trowel will help spread the adhesive evenly and create grooves for better adhesion.
- Apply adhesive to one side: Begin by applying the adhesive to one side of the seam, following the center line marked in Step 1. Spread the adhesive evenly and ensure that it covers the entire width of the seam tape.
- Apply adhesive to the other side: Once the adhesive is applied to one side, carefully fold back the other side of the astro turf seam. Apply the adhesive to the exposed side, again following the center line and ensuring even coverage.
- Overlap the edges: After applying the adhesive, carefully fold the turf pieces back together, aligning the edges and overlapping them as per the initial preparation. The adhesive will bind the turf pieces together, creating a secure and seamless join.
Allow the adhesive to dry according to the manufacturer’s instructions before moving on to the next step. This will ensure that the astro turf seams are properly bonded and ready for the final touches.
When joining astro turf seams, use a seam adhesive specifically designed for artificial turf. Clean and dry the seams thoroughly before applying the adhesive to ensure a strong and durable bond.
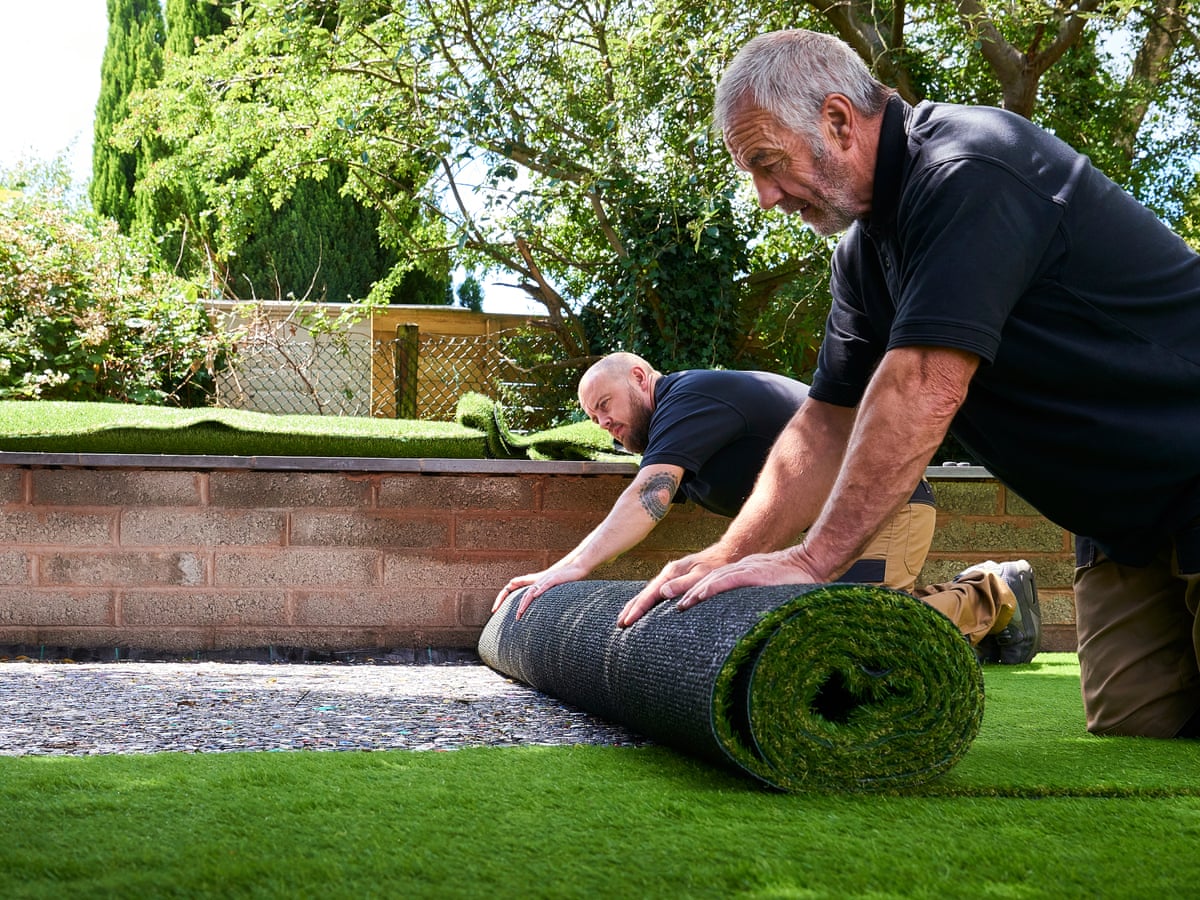
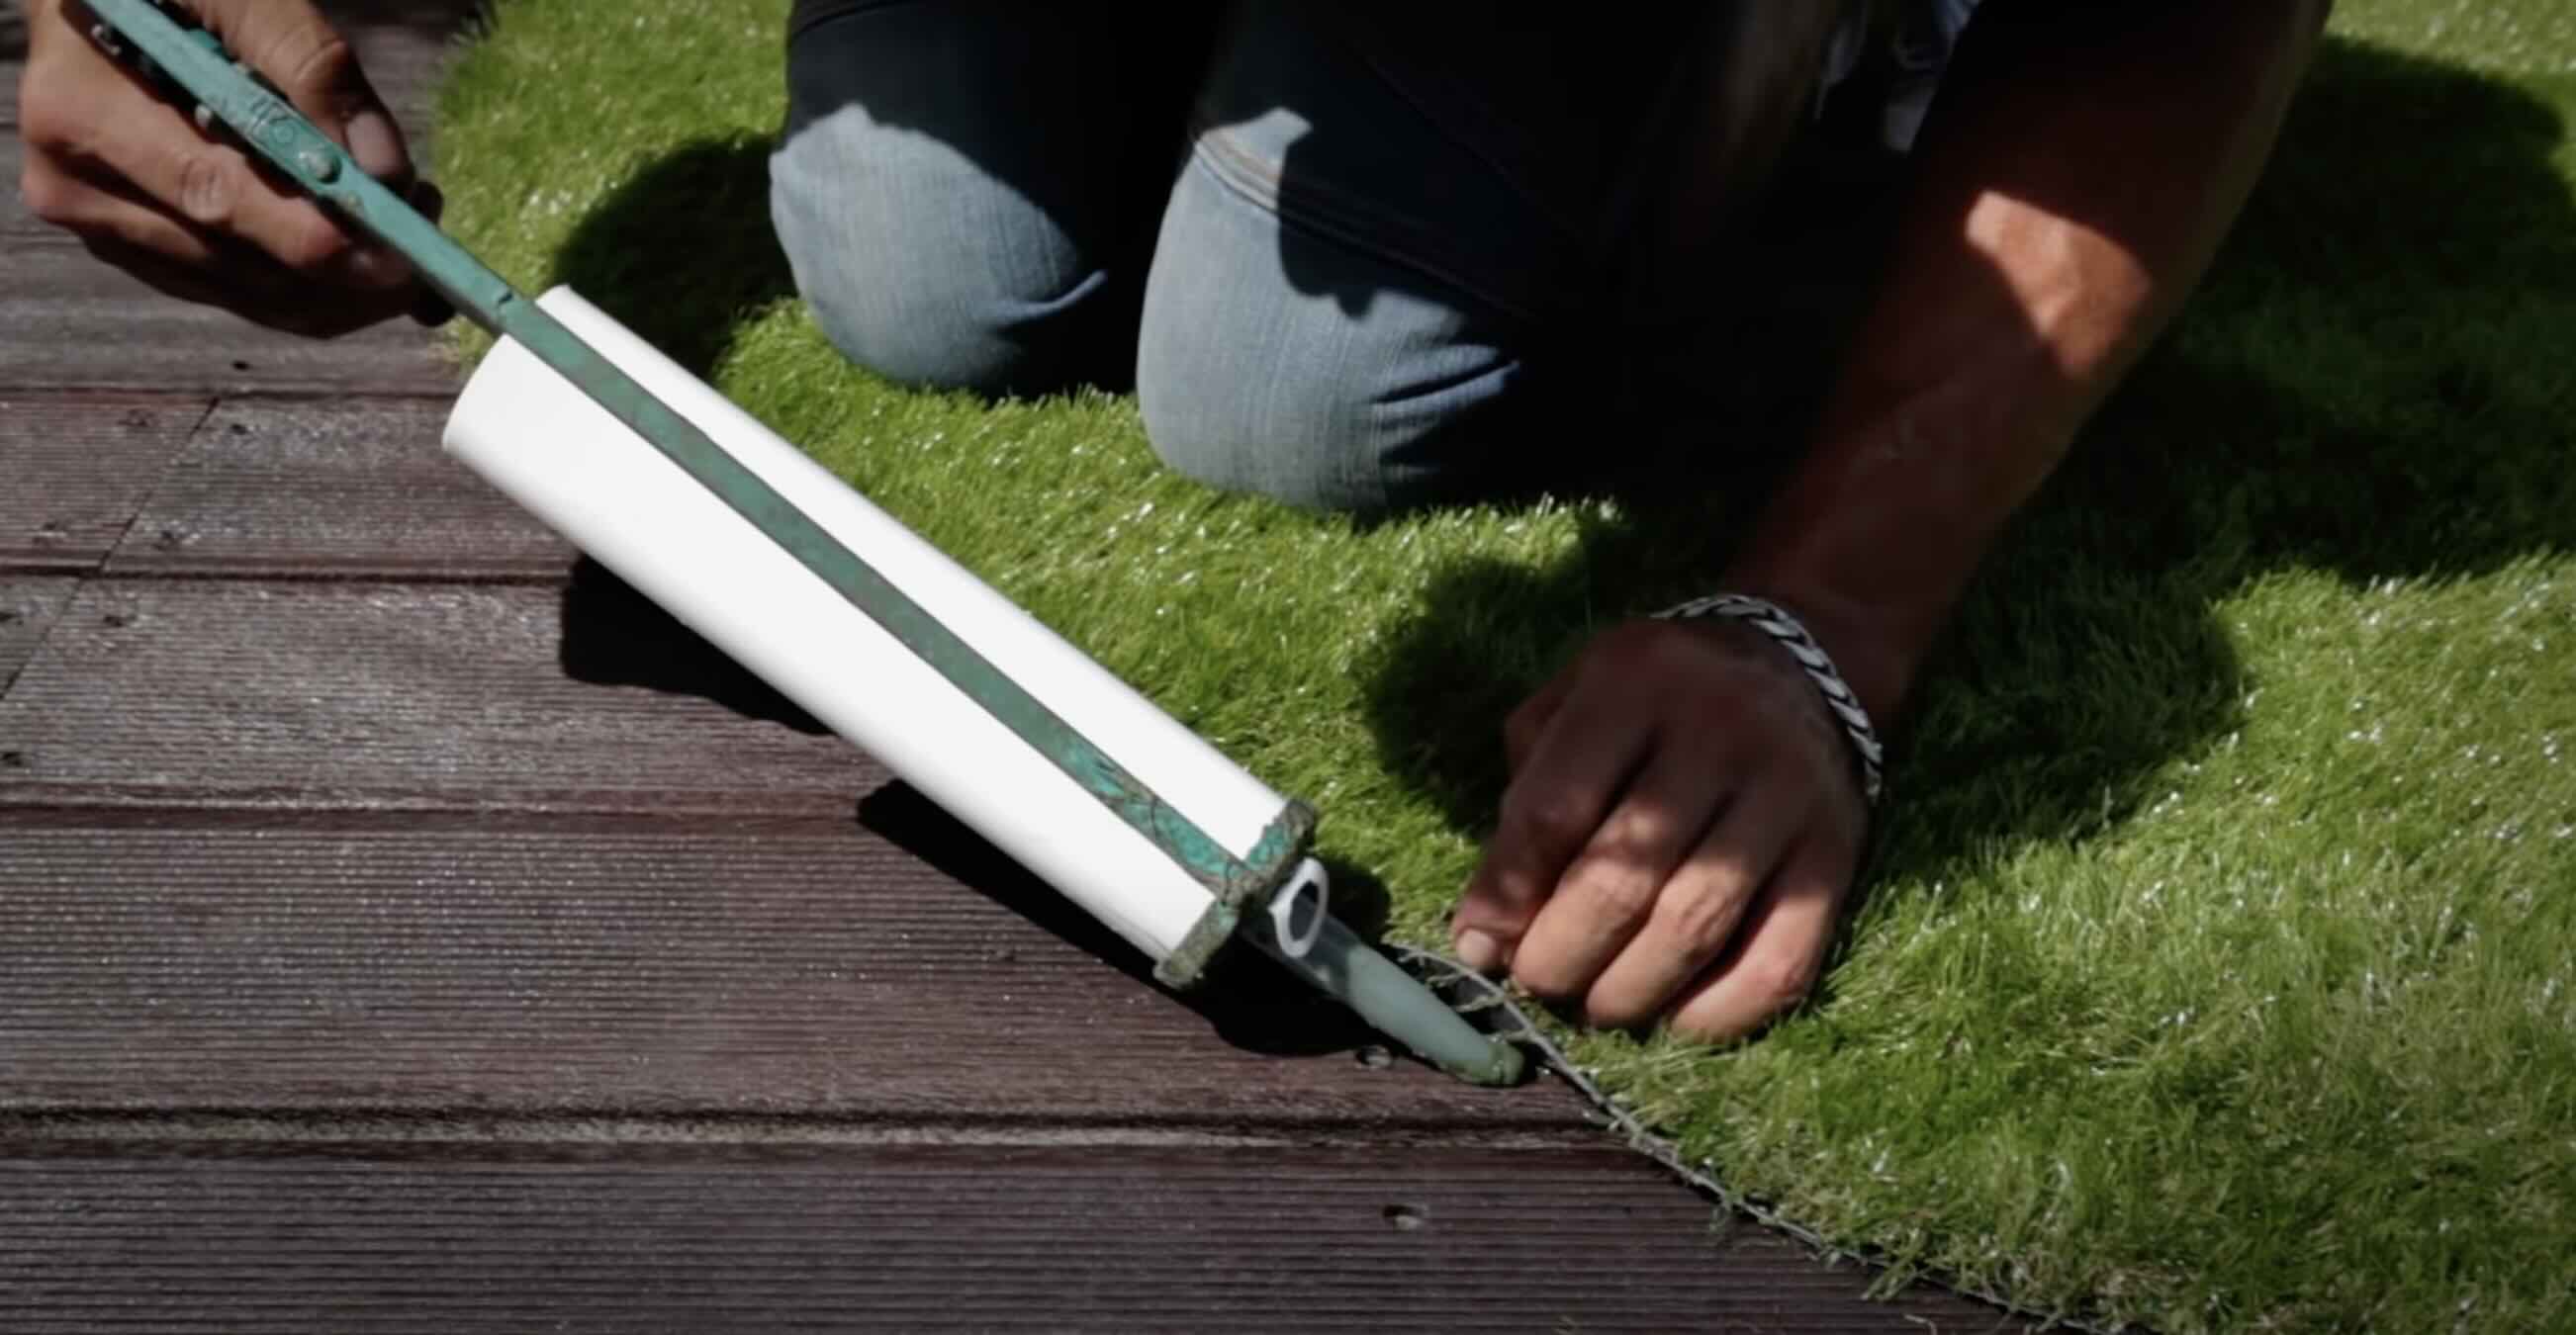
Step 3: Joining the Seams
With the adhesive applied, it’s time to join the astro turf seams together. This step requires precision and careful handling to achieve a seamless and professional finish. Follow these steps to join the seams:
- Align the edges: Carefully bring the edges of the astro turf together, ensuring they are properly aligned and overlapping according to the initial preparation. Take your time to make sure the seams match up perfectly.
- Press down: Once the edges are aligned, apply firm and even pressure along the length of the seam. This will help the turf adhere to the adhesive and create a solid bond.
- Smooth out wrinkles: As you press down on the seam, carefully smooth out any wrinkles or bumps that may have formed. Use your hands or a turf brush to gently flatten the turf and create a seamless appearance.
- Check for gaps: Inspect the joined seam for any gaps or visible lines. If you notice any, gently lift the edges and apply a bit more adhesive to fill in the gaps. Press down again to ensure a tight seal.
- Repeat for multiple seams: If you have multiple seams to join, go through the same process for each seam. Proper alignment and tight bonding are essential for a professional-looking astro turf installation.
Take your time during this step to ensure the seams are joined securely and without any visible gaps. It’s better to invest a bit more effort now to achieve a flawless finish.
Read more: How Was Astro Turf Named
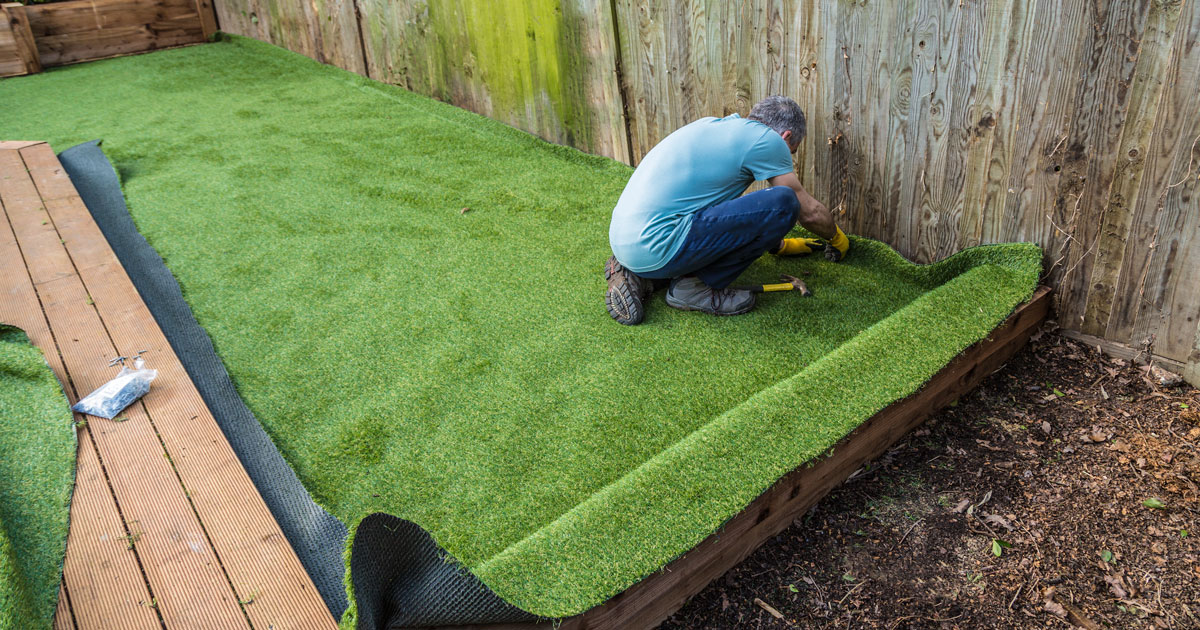
Step 4: Securing the Seams
Securing the astro turf seams is crucial to ensure their long-term durability and prevent any shifting or separation. Follow these steps to secure the seams effectively:
- Insert turf stakes or pegs: Along the length of the seam, insert turf stakes or pegs at regular intervals. These stakes will help hold the turf in place and prevent any movement while the adhesive sets.
- Drive stakes into the ground: Using a mallet or hammer, drive the turf stakes into the ground, ensuring they are firmly secured. Place the stakes just outside the edges of the seam to provide added support.
- Check alignment: Once the stakes are in place, check the alignment of the seams again to ensure they haven”t shifted during the stake installation process. Make any necessary adjustments to realign the turf as needed.
- Secure with adhesive and stakes: Apply a small amount of adhesive on top of the stakes, where they penetrate the turf. This will help secure the stakes further and provide extra reinforcement to the joined seams.
- Allow time to dry: Leave the stakes in place until the adhesive has fully cured and dried. This will typically take several hours to overnight, depending on the adhesive and environmental conditions.
- Remove stakes: Once the adhesive is completely dry, carefully remove the turf stakes or pegs from the ground. Take care not to disturb the seams or cause any damage to the turf during this process.
By securing the astro turf seams with stakes and allowing the adhesive to fully dry, you ensure a stable and long-lasting installation.
Step 5: Final Touch-ups
After joining and securing the astro turf seams, there are a few final touch-ups you can do to enhance the overall appearance and ensure a polished finish. Follow these steps for the final touch-ups:
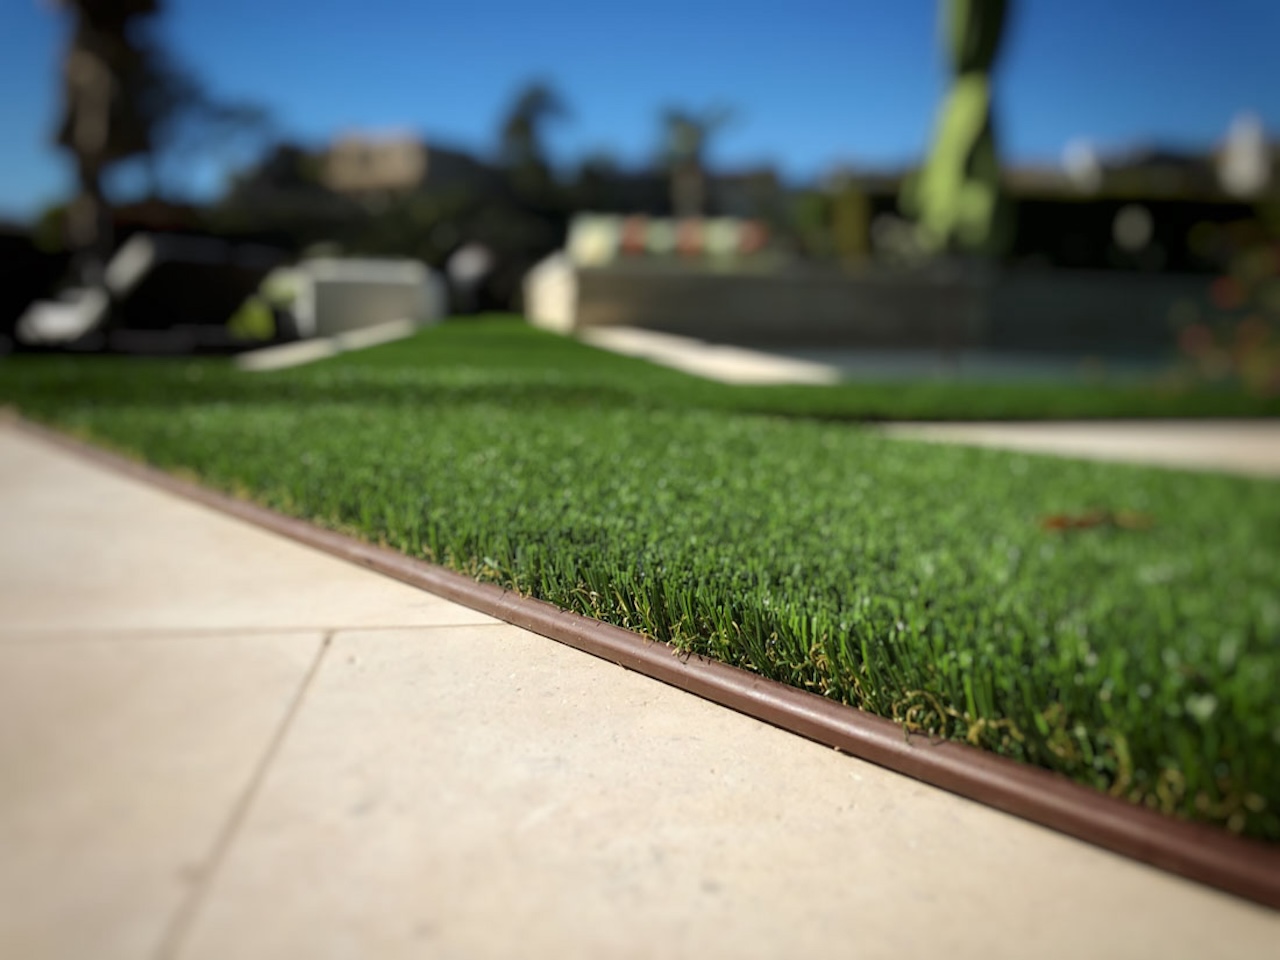
- Trim excess turf: Use a utility knife or carpet cutter to carefully trim any excess turf that may extend beyond the edges of the seam. This will create a clean and neat appearance, ensuring that the seam blends seamlessly with the surrounding turf.
- Brush or broom the turf: Use a turf brush or broom to lightly brush or sweep the astro turf. This will help fluff up the fibers and blend the individual turf pieces together, improving the overall aesthetic of the installation.
- Check for any visible lines or irregularities: Inspect the entire area to ensure that there are no visible lines or gaps along the joined seams. If you notice any, gently lift the edges and apply additional adhesive or make slight adjustments to achieve a seamless appearance.
- Add infill (optional): If desired, you can add infill material to the astro turf to enhance its look and improve its performance. Infill helps to support the turf fibers and maintain their upright position. Consult the manufacturer’s recommendations for the appropriate type and amount of infill to use.
- Maintain regular maintenance: To keep your astro turf looking its best, be sure to follow the recommended maintenance practices. This may include regular brushing, occasional rinsing, and removing any debris that accumulates on the surface.
By completing these final touch-ups, you will ensure that your astro turf installation looks impeccable and is ready to be enjoyed for years to come.
Conclusion
Joining astro turf seams is a critical step in creating a seamless and professional-looking installation. By following the step-by-step process outlined in this article, you can achieve a flawless join and enjoy the many benefits of a well-maintained astro turf lawn.
Remember to prepare the seams properly, apply the adhesive evenly, and align and press down the turf edges firmly. Securing the seams with stakes or pegs provides extra stability, while the final touch-ups ensure a polished finish. With proper maintenance, your astro turf lawn will continue to provide a beautiful and durable outdoor space.
Whether you are a DIY enthusiast or a professional landscaper, these steps will help you achieve outstanding results. Don’t forget to check the manufacturer’s instructions for specific guidelines on the adhesive and also consider consulting with experts in the field for additional advice.
By following these procedures, you can confidently join astro turf seams, creating a visually appealing and long-lasting lawn that requires minimal maintenance. Enjoy your pristine astro turf and bask in the beauty of your outdoor oasis!
Frequently Asked Questions about How To Join Astro Turf Seams
Was this page helpful?
At Storables.com, we guarantee accurate and reliable information. Our content, validated by Expert Board Contributors, is crafted following stringent Editorial Policies. We're committed to providing you with well-researched, expert-backed insights for all your informational needs.


0 thoughts on “How To Join Astro Turf Seams”