
Articles
How To Make Wooden Picture Frames
Modified: August 26, 2024
Learn how to make beautiful wooden picture frames with our step-by-step articles. Enhance your home decor with these DIY projects and unleash your creativity.
(Many of the links in this article redirect to a specific reviewed product. Your purchase of these products through affiliate links helps to generate commission for Storables.com, at no extra cost. Learn more)
Introduction
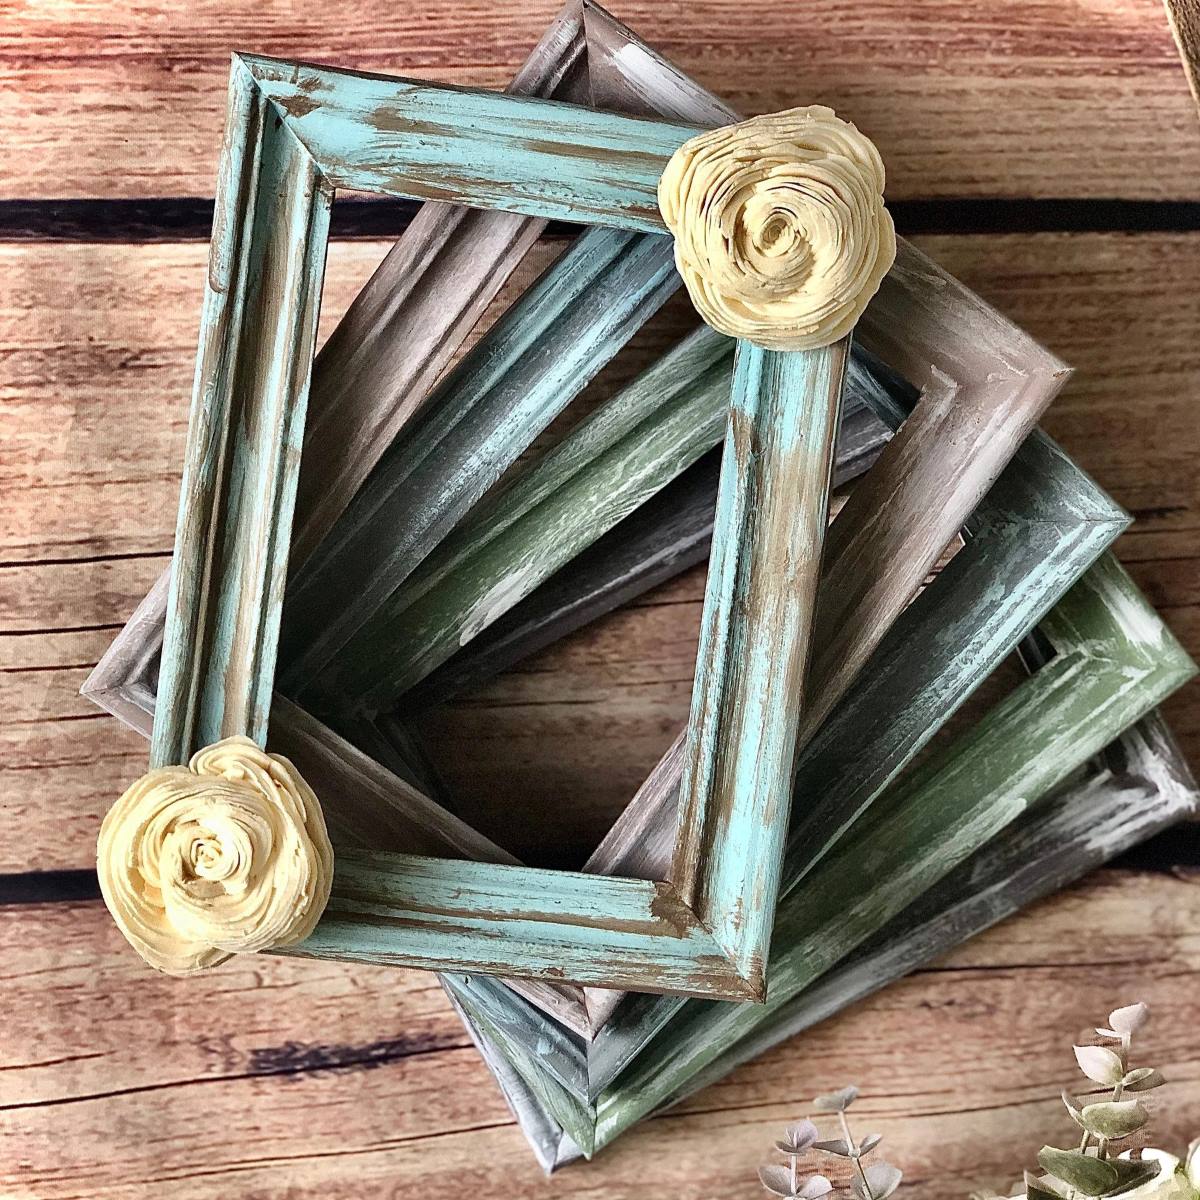
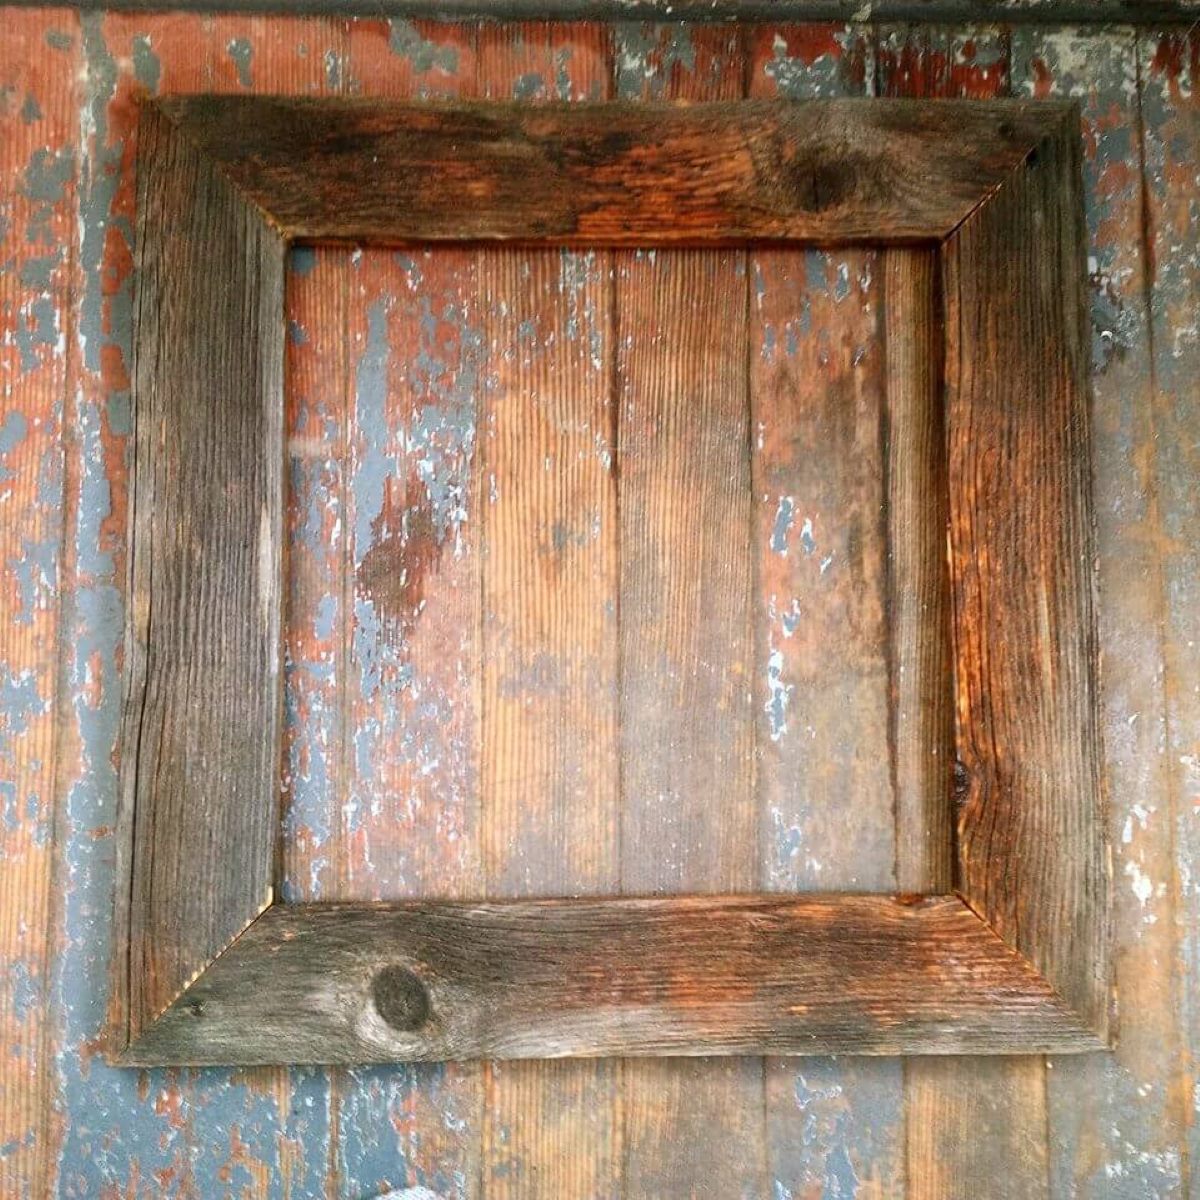
Picture frames serve as a wonderful way to showcase cherished memories, artwork, or photographs. While there are various types of picture frames available in the market, creating your own wooden picture frames can be a rewarding and enjoyable DIY project. Not only will you have a custom-made frame tailored to your specific needs, but you’ll also have the satisfaction of knowing that it was crafted with your own hands.
In this article, we will guide you through the process of making wooden picture frames from scratch. We’ll cover everything from choosing the right wood to the final finishing touches, ensuring that you end up with a beautiful and durable frame that will beautifully display your precious images.
Key Takeaways:
- Crafting your own wooden picture frames allows for personalization, durability, and a sense of accomplishment. From wood selection to finishing touches, this DIY project offers a rewarding and creative experience.
- Attention to detail, precision in measurements, and careful assembly are crucial for creating a well-fitted and polished wooden picture frame. Embrace woodworking as a fulfilling craft that unleashes creativity.
Read more: How To Make Picture Frames
Materials Needed
To make wooden picture frames, you will need the following materials:
- Wood boards – Choose a high-quality and sturdy wood, such as oak, maple, or walnut. The size of the boards will depend on the desired dimensions of your frame.
- Miter saw or miter box and backsaw – These tools will be used to cut the wood at precise angles.
- Measuring tape or ruler – Essential for measuring and marking the wood accurately.
- Sanding block or sandpaper – To smooth out any rough edges or surfaces.
- Wood glue – Use a strong wood glue to secure the joints of the frame.
- Clamps – These will hold the frame together while the glue dries.
- Picture hanging hardware – Choose hooks or brackets that are appropriate for the weight and size of your frame.
- Finishing materials – This can include wood stain, varnish, or paint, depending on your desired aesthetic.
- Paintbrush or applicator – Used to apply the finishing materials to the wood.
Having these materials readily available will ensure a smooth and successful woodworking session. Now that you have the necessary materials, let’s move on to choosing the right wood for your picture frames.
Choosing the Right Wood
When it comes to making wooden picture frames, selecting the right type of wood is crucial. The wood you choose will not only impact the overall aesthetics of your frame but also its durability and longevity. Here are a few factors to consider when choosing the right wood for your project:
- Strength and Durability: Opt for a hardwood variety that is known for its strength and durability. Woods like oak, maple, walnut, and cherry are excellent choices for picture frames.
- Grain and Color: Consider the grain pattern and color of the wood. Each wood species has its unique characteristics, so choose one that complements the artwork or photograph you plan to display.
- Availability: While some wood species may be harder to find or more expensive, there are often alternative options that offer similar qualities. Explore different varieties and choose the one that best suits your preferences and budget.
- Finish Compatibility: Certain wood species react better to certain finishes. If you have a specific finish in mind, ensure that the wood you choose is compatible with it.
Ultimately, the choice of wood will depend on your personal taste and the specific requirements of your project. Once you have selected the right wood, it’s time to move on to measuring and cutting the wood to the desired dimensions.
Measuring and Cutting the Wood
Accurate measurements and precise cuts are essential for creating a well-fitted wooden picture frame. Here is a step-by-step guide on how to measure and cut the wood for your frame:
- Measure the Artwork: Take measurements of the artwork or photograph that you plan to display in the frame. Add a small margin to ensure a snug fit.
- Calculate Frame Dimensions: Determine the dimensions of the frame based on the artwork measurements. Consider the desired width of the frame and add it to the artwork dimensions to determine the overall frame size.
- Mark the Wood: Measure and mark the dimensions on the wood boards using a measuring tape or ruler. Double-check the measurements to ensure accuracy.
- Cut the Wood: Use a miter saw or a miter box and backsaw to cut the wood at precisely measured angles. For a traditional picture frame, cut the ends of the wood at a 45-degree angle so that they can be joined together to form the corners of the frame.
- Dry Fit the Pieces: After cutting the wood, dry fit the pieces together to ensure that they align properly and create a square frame. Make any necessary adjustments to the angles or lengths of the wood if needed.
Remember to wear appropriate safety gear, such as safety glasses and gloves, when operating power tools. Take your time with the cutting process and double-check your measurements to avoid any mistakes.
Once you have cut the wood to the correct dimensions, you’re ready to move on to the next step – assembling the frame.
Assembling the Frame
Assembling the wooden picture frame is a critical step in the construction process. Here’s a step-by-step guide on how to assemble your frame:
- Dry Fit the Corners: Place the cut pieces of wood together to ensure that the corners align correctly. This dry fitting allows you to make any adjustments or corrections before applying adhesive.
- Apply Wood Glue: Once you’re satisfied with the dry fit, apply a small amount of wood glue to the mitered edges of the frame.
- Join the Corners: Carefully bring the corners together, aligning them precisely. Apply gentle pressure to ensure a tight bond.
- Use Clamps: Secure the corners with clamps, making sure they hold the frame tightly together. Wipe off any excess glue that may squeeze out.
- Let the Glue Dry: Follow the manufacturer’s instructions regarding drying time for the wood glue. Allow the frame to dry completely before proceeding.
During the assembly process, it’s crucial to ensure that the frame corners are perfectly aligned. Taking care and using clamps will help to achieve a strong and secure joint. Once the glue has dried, you can move on to the next step – sanding and finishing the frame.
When cutting the wood for your picture frame, make sure to measure and mark the cuts accurately to ensure a precise and professional-looking finished product.
Read more: How To Make Stands For Picture Frames
Sanding and Finishing
Sanding and finishing your wooden picture frame is an essential step to achieve a smooth, polished, and professional look. Here’s what you need to do:
- Sand the Frame: Use a sanding block or sandpaper to smooth out any rough edges or surfaces on the frame. Start with a coarse grit sandpaper and gradually work your way up to a finer grit for a smooth finish.
- Remove Dust: After sanding, wipe down the frame with a clean cloth to remove any dust or debris.
- Choose a Finish: Decide on the final look you want for your frame. You can opt for a natural finish by applying a clear varnish, use wood stain for a richer color, or even paint the frame to match your decor.
- Apply the Finish: Use a paintbrush or applicator to apply the chosen finish to the frame. Follow the instructions on the product for the best application method and drying times.
- Let it Dry: After applying the finish, allow the frame to dry completely. This will ensure that the finish adheres properly and provides a protective layer.
Sanding the frame not only smooths out imperfections but also prepares the surface for the finish to adhere better. Choosing the right finish will add depth and protect the wood from moisture and damage. Once the frame is dry, you can move on to the final step – attaching the picture hanging hardware.
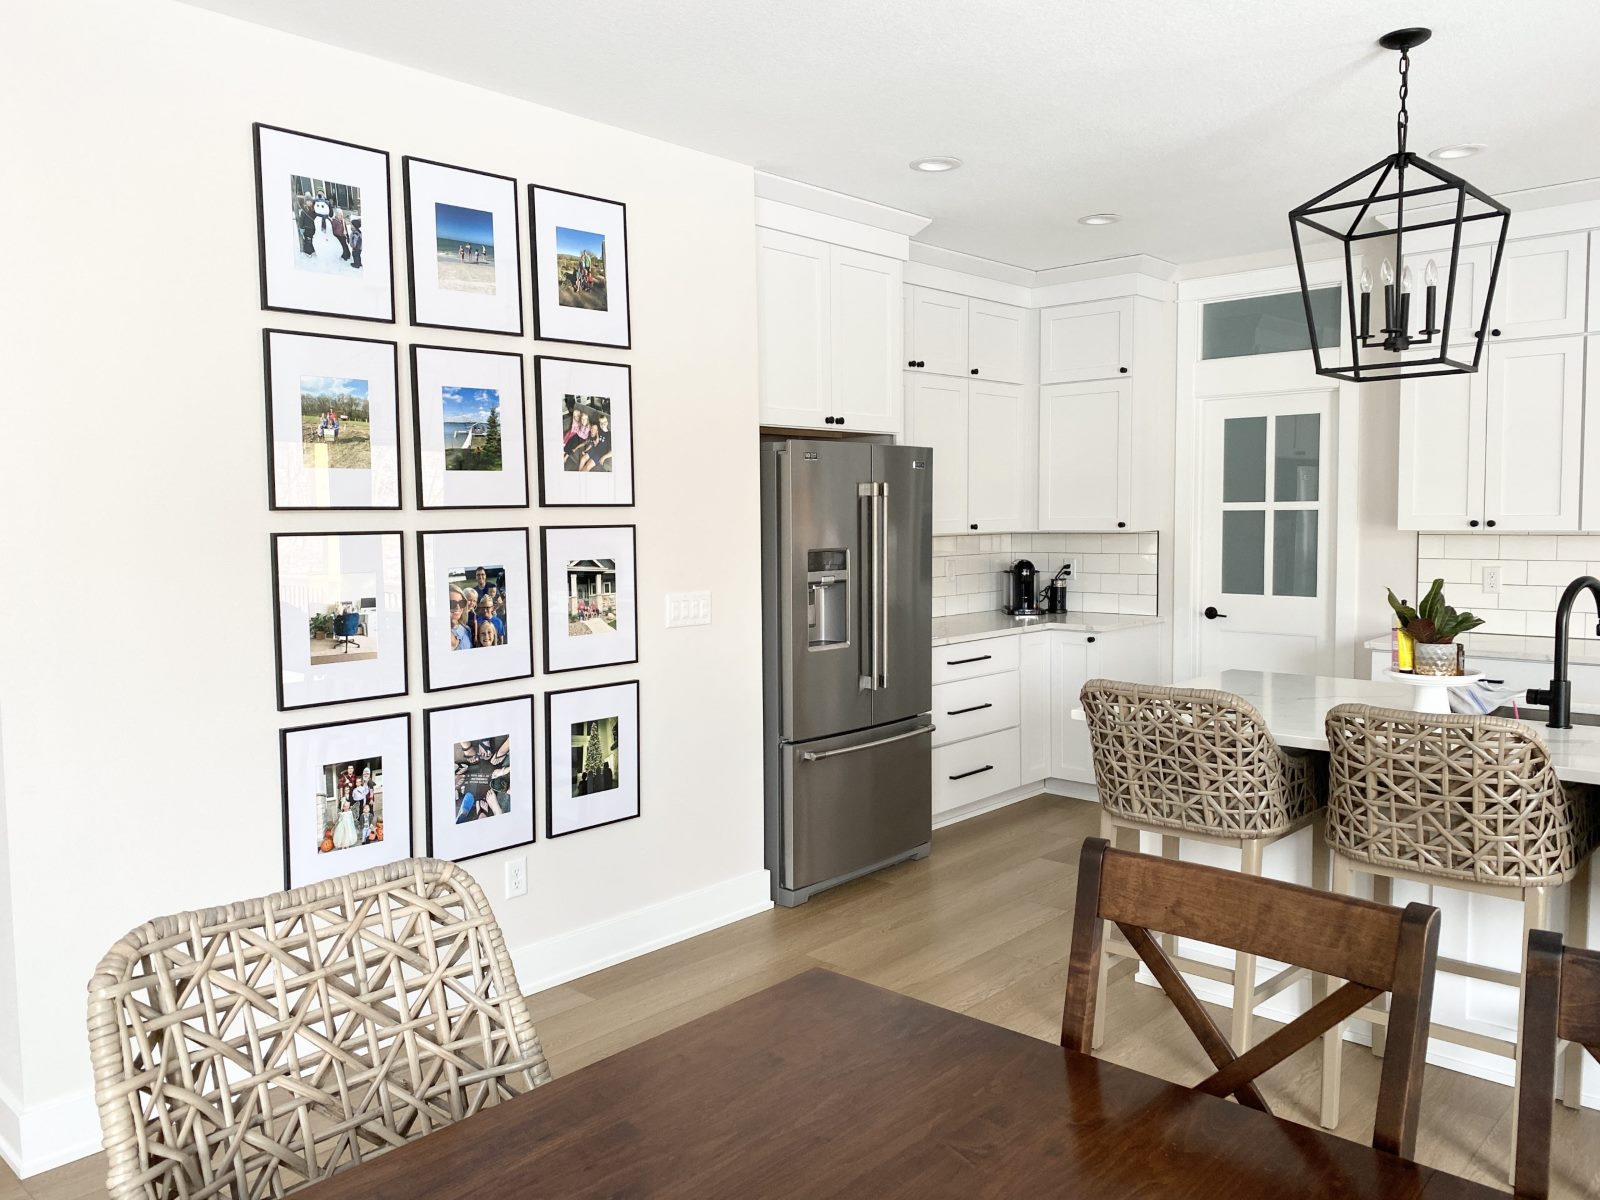
Attaching the Picture Hanging Hardware
Attaching the picture hanging hardware is the last step in completing your wooden picture frame. Here’s how you can securely hang your frame on the wall:
- Choose the Hardware: Select the appropriate picture hanging hardware based on the weight and size of your frame. Common options include picture wire, D-rings, sawtooth hangers, or keyhole brackets.
- Mark the Placement: Measure and mark the desired placement of the hanging hardware on the back of the frame. Ensure that the hardware is centered and positioned at the correct height for proper balance.
- Attach the Hardware: Depending on the type of hardware chosen, follow the manufacturer’s instructions for proper installation. This may involve screwing or nailing the hardware securely into place.
- Test for Stability: Before hanging the frame on the wall, test the stability by gently pulling on it. Make sure the hardware is firmly attached and can comfortably support the weight of the frame.
By choosing and installing the appropriate hanging hardware, you can ensure that your wooden picture frame is securely mounted on the wall. Double-check the stability of the hardware to prevent any accidents or damage to your frame and artwork. Now that you’ve finished attaching the hanging hardware, let’s go over some tips and tricks to enhance your woodworking skills.
Tips and Tricks
As you embark on your wooden picture frame-making journey, consider these helpful tips and tricks to enhance your woodworking skills:
- Measure twice, cut once: Double-check your measurements before making any cuts to ensure accuracy and avoid waste.
- Use a miter sled or stop block: These tools can help you achieve consistent and precise cuts for perfectly mitered corners.
- Practice proper safety precautions: Always wear safety goggles, gloves, and ear protection when using power tools. Follow all safety guidelines provided by the tools and materials you’re using.
- Evaluate wood grain direction: Take note of the direction of the wood grain when assembling your frame. This can affect the stability and appearance of the final product.
- Minimize glue squeeze-out: Apply a thin layer of glue and use clamps to prevent excess glue from staining the wood.
- Experiment with different finishes: Consider trying out various wood stains, paints, or finishes on scrap pieces of wood to find the perfect finish for your frame.
- Invest in quality tools: High-quality tools will not only make your woodworking experience easier but also produce better results. It’s worth investing in durable and reliable tools for long-term use.
- Take your time: Patience is key in woodworking. Rushing through the process can lead to mistakes and compromised quality. Take your time, work carefully, and enjoy the craftsmanship.
By incorporating these tips and tricks into your woodworking practice, you can improve your skills and create stunning wooden picture frames that will exceed your expectations.
Conclusion
Creating your own wooden picture frames allows you to add a personal touch to your cherished photographs or artwork. Through careful selection of wood, precise measurements, and skillful assembly, you can craft a beautiful and custom-made frame that enhances the visual appeal of your displayed pieces.
In this article, we discussed the materials needed for making wooden picture frames, including the importance of choosing the right wood. We also provided a step-by-step guide on measuring and cutting the wood, assembling the frame, sanding and finishing, and attaching the picture hanging hardware. Along with these instructions, we shared some valuable tips and tricks to help you refine your woodworking skills.
Remember, woodworking is a fulfilling craft that requires patience, attention to detail, and a passion for creating something unique. As you embark on your woodworking journey, don’t be afraid to experiment with different wood species, finishes, and designs to unleash your creativity and bring your vision to life.
Now that you are equipped with the knowledge and guidance to make your own wooden picture frames, it’s time to get started on your next DIY project. Enjoy the process and take pride in the finished result – a stunning, handmade wooden picture frame that will be a testament to your craftsmanship for years to come.
Frequently Asked Questions about How To Make Wooden Picture Frames
Was this page helpful?
At Storables.com, we guarantee accurate and reliable information. Our content, validated by Expert Board Contributors, is crafted following stringent Editorial Policies. We're committed to providing you with well-researched, expert-backed insights for all your informational needs.


0 thoughts on “How To Make Wooden Picture Frames”