Home>Furniture>Bedroom Furniture>How To Paint A Wooden Bed Frame

Bedroom Furniture
How To Paint A Wooden Bed Frame
Modified: October 23, 2024
Learn how to properly paint a wooden bed frame with our step-by-step guide. Transform your bedroom furniture with our tips and techniques.
(Many of the links in this article redirect to a specific reviewed product. Your purchase of these products through affiliate links helps to generate commission for Storables.com, at no extra cost. Learn more)
Introduction
Welcome to this step-by-step guide on how to paint a wooden bed frame. If you’re looking to give your bedroom furniture a fresh new look, painting your bed frame is a cost-effective and creative way to do so. Whether you want to revamp an old bed frame or personalize a new one, painting it can completely transform its appearance and match your personal style.
Painting a wooden bed frame not only allows you to choose a color that complements your bedroom decor, but it also helps protect the wood from wear and tear. Plus, with a little bit of effort and the right tools, you can easily tackle this DIY project and achieve professional-looking results.
In this guide, we will walk you through the step-by-step process of painting a wooden bed frame. We’ll cover everything from gathering the necessary materials to adding the final touches. So, let’s get started and create a stunning focal point in your bedroom!
Key Takeaways:
- Transform your bedroom with a personalized touch by painting your wooden bed frame. Follow the step-by-step guide for professional-looking results and a stunning focal point in your bedroom.
- Choose high-quality materials, take your time, and enjoy the creative process to achieve a smooth and flawless finish. Let your imagination guide you in selecting the perfect color and finish for your painted bed frame.
Read more: How To Disassemble A Wooden Bed Frame
Step 1: Gather Materials
Before diving into the painting process, it’s essential to gather all the necessary materials. Here’s a list of items you’ll need:
- Drop cloth or old newspapers
- Painter’s tape
- Sandpaper (medium and fine grit)
- Tack cloth or damp cloth
- Primer (specifically designed for wood)
- Paint (water-based or oil-based, depending on your preference)
- Paintbrushes (angled brush and a smaller brush for corners)
- Paint tray or bucket
- Stir sticks
- Protective gloves and goggles
- A well-ventilated work area
It’s important to choose high-quality materials to ensure a smooth and long-lasting finish. Opt for paints and primers specifically formulated for wood surfaces, as they provide better adhesion and durability. Additionally, consider the type of paint that suits your needs and preferences. Water-based paints offer easy cleanup and less odor, while oil-based paints provide a more durable and glossy finish.
Once you have gathered all the materials, set up a well-ventilated work area. This can be a garage, outdoor space, or a well-ventilated room with open windows or fans.
Note: If you are working indoors, make sure to cover the surrounding area with a drop cloth or old newspapers to protect against accidental spills or drips.
With all the necessary materials in hand and a suitable work environment established, you’re ready to move on to the next step: preparing the bed frame for painting.
Step 2: Prepare the Bed Frame
Preparing the bed frame before painting is crucial to ensure a smooth and flawless finish. Follow these steps:
- Clear the area: Start by removing any bedding, pillows, and other objects from the bed frame. This will allow you to work more efficiently and prevent any paint from accidentally getting on these items.
- Disassemble the bed frame (if applicable): If your bed frame can be easily taken apart, disassemble the different parts. This will make the painting process easier and allow you to reach all the nooks and crannies.
- Clean the surface: Use a mild detergent mixed with water or a wood cleaner to thoroughly clean the bed frame. Remove any dust, dirt, or grease that may have accumulated over time. Wipe it down with a damp cloth or sponge, and allow it to dry completely before moving on to the next step.
- Fill any cracks or imperfections: Inspect the bed frame for any cracks, dents, or imperfections. If you find any, use wood filler or putty to fill them in. Smooth out the surface with a putty knife and let it dry as per the manufacturer’s instructions. Sand the repaired areas lightly to create a level surface.
- Protect areas you don’t want to paint: Apply painter’s tape to any areas of the bed frame that you don’t want to paint, such as decorative hardware, metal accents, or any parts you plan to leave unpainted. This will help create clean lines and prevent any accidental paint spills or smudges.
By taking the time to properly prepare the bed frame, you’ll ensure better paint adhesion and a more professional-looking final result. Once you’ve completed these steps, you’re ready to move on to the next stage: sanding the surface.
Step 3: Sand the Surface
Sanding the surface of the bed frame is an important step in the painting process. It helps create a smooth and even surface, removes any existing paint or finish, and allows the new paint to adhere better. Follow these steps to sand the bed frame:
- Select the right sandpaper: Depending on the condition of the bed frame and the level of roughness you want to achieve, choose a medium grit sandpaper (around 120-150 grit) to start. If the bed frame has a particularly glossy or uneven surface, you may need to begin with a coarser grit sandpaper (around 80-100 grit) and then switch to a finer grit (around 220 grit) for a smoother finish.
- Sand the entire surface: Use a sanding block or sandpaper wrapped around a block of wood to ensure even pressure. Start sanding the bed frame in the direction of the wood grain. This helps prevent any scratches or swirl marks. Sand with long, steady strokes, being sure to cover the entire surface of the bed frame. Remember to sand any hard-to-reach areas as well.
- Check for smoothness: After sanding, run your hand over the surface of the bed frame to check for smoothness. If you still feel rough patches or imperfections, continue sanding until the surface is consistently smooth to the touch.
- Remove sanding dust: Use a tack cloth or a damp cloth to wipe away the sanding dust. This will ensure that the surface is clean and ready for the next step.
- Optional: Use a sanding sealer: If you want to achieve an exceptionally smooth finish, you can apply a sanding sealer after sanding. This sealer fills in any remaining pores and helps create an even surface for the paint. Follow the manufacturer’s instructions for applying the sealer and allow it to dry completely before moving on to the next step.
Sanding the bed frame not only improves the paint adhesion but also helps create a professional-looking and long-lasting finish. Once you’ve completed this step, you’re ready to move on to applying the primer.
Step 4: Apply Primer
Applying a primer to the bed frame is essential for several reasons. It helps create a smooth, uniform surface for the paint, improves paint adhesion, and seals the wood to prevent any stains or knots from bleeding through. Follow these steps to apply the primer:
- Choose the right primer: Select a high-quality primer specifically designed for wooden surfaces. Look for a primer that is compatible with the type of paint you will be using.
- Stir the primer: Open the primer can and use a stir stick to thoroughly mix the contents. This ensures that any settling or separation is evenly distributed throughout the primer.
- Apply the primer: Start by using a paintbrush to cut in along the edges and corners of the bed frame. Then, use a larger brush or a paint roller to apply the primer to the larger areas. Apply the primer in thin, even coats, working in the direction of the wood grain. This helps minimize brush or roller marks and ensures an even coverage. Allow the primer to dry as per the manufacturer’s instructions.
- Sand the primed surface: Once the primer is dry, lightly sand the surface with fine-grit sandpaper (around 220 grit). This step helps smooth out any brush or roller marks and provides a better surface for the paint to adhere to. Be sure to remove any sanding dust with a tack cloth or damp cloth.
- Optional: Apply a second coat of primer: Depending on the condition of the bed frame and the type of paint you plan to use, you may want to apply a second coat of primer. This can help further improve the paint adhesion and provide a solid base for the final paint color. Allow the second coat to dry completely before proceeding to the next step.
Applying a primer is a crucial step that helps ensure a professional-looking and long-lasting paint finish on your bed frame. Once the primer is dry and sanded (if necessary), you’re ready to move on to selecting and applying the paint.
Before painting a wooden bed frame, make sure to sand the surface to remove any existing finish and create a smooth base for the new paint. This will help the paint adhere better and result in a more professional-looking finish.
Read more: How To Assemble A Wooden Bed Frame
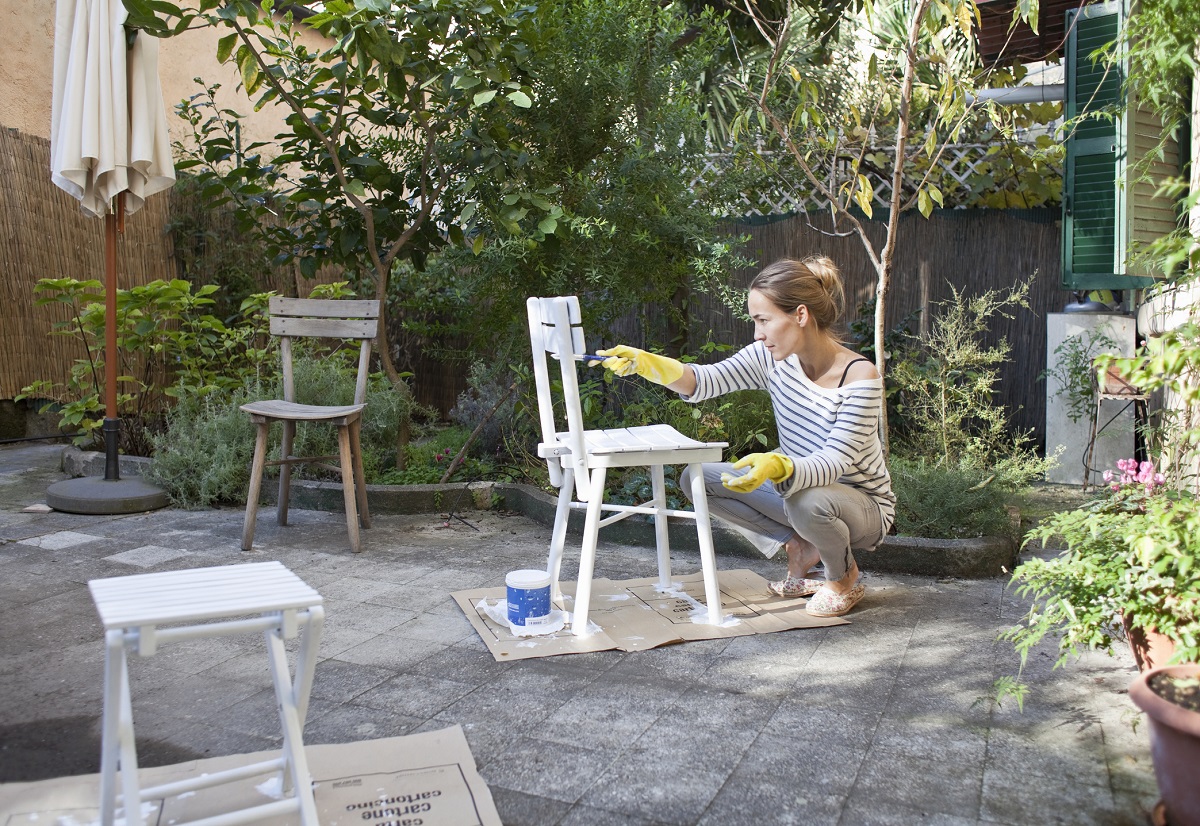
Step 5: Select and Apply Paint
Now that you’ve prepped the bed frame with primer, it’s time to select the right paint and apply it. Choosing the right paint color and type will help achieve the desired look and ensure a durable and beautiful finish. Follow these steps for selecting and applying paint:
- Select the paint color: Consider the overall color scheme and style of your bedroom when choosing a paint color for the bed frame. You can opt for a bold and vibrant color to make a statement or a neutral shade to blend seamlessly with the rest of the room’s decor. Don’t be afraid to get creative and experiment with different hues!
- Choose the right paint type: Select the type of paint based on your preference and the desired look. Water-based paints are easy to clean up and have less odor, while oil-based paints provide a more durable and glossy finish. Consider the pros and cons of each type and choose the one that aligns with your needs.
- Stir the paint: Open the paint can and use a stir stick to thoroughly mix the paint. This ensures that any settling or separation is evenly distributed throughout the paint.
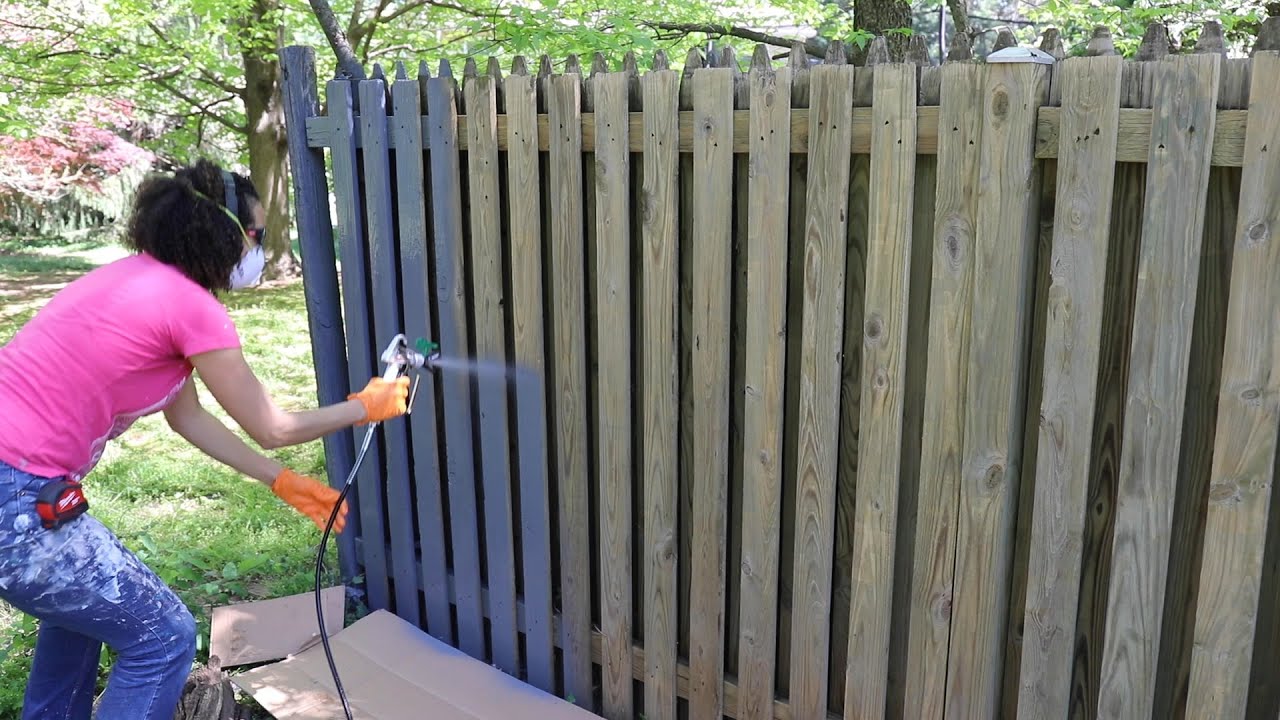
- Apply the paint: Start by cutting in along the edges and corners of the bed frame with a paintbrush. Then, use a larger brush or a paint roller to apply the paint to the larger areas. Work in small sections, applying the paint in thin, even coats. Paint in the direction of the wood grain for a smoother finish. Allow the first coat to dry as per the manufacturer’s instructions.
- Optional: Apply a second coat: Depending on the color and coverage of the first coat, you may need to apply a second coat to achieve the desired opacity and finish. Allow the first coat to dry completely before applying the second coat. This will ensure a more vibrant and even color.
Take your time during the painting process to ensure a neat and professional-looking result. Allow the final coat of paint to dry completely before moving on to the next step.
By selecting the right paint color and type, and applying it with care and precision, you’ll be on your way to transforming your bed frame into a stunning focal point in your bedroom.
Step 6: Add Additional Coats (if necessary)
After applying the initial coat of paint, it’s essential to assess the coverage and decide if additional coats are necessary. Adding extra coats of paint can help achieve a more uniform color and a flawless finish. Follow these steps for adding additional coats:
- Inspect the coverage: Once the first coat of paint is completely dry, carefully inspect the bed frame for any areas that have uneven coverage or visible brush strokes. Assess whether the color appears as desired or if it needs more depth and intensity.
- Apply the additional coats: If you find areas that require additional coverage, lightly sand those specific areas with fine-grit sandpaper (around 220 grit) to smooth any imperfections. Use a tack cloth or a damp cloth to remove the sanding dust.
- Proceed with the next coat: Apply the next coat of paint following the same techniques used in Step 5. Use a brush for precision in smaller areas and a roller for larger expanses.
- Allow each coat to dry: Allow each additional coat of paint to dry completely before assessing the coverage and deciding if more coats are needed.
- Repeat if necessary: Depending on the color and type of paint you’re using, you may need to apply several coats to achieve the desired depth and coverage. Take your time and apply additional coats as needed until you are satisfied with the final result.
Adding additional coats of paint enhances the overall finish and ensures a consistent, seamless appearance. Be patient throughout this process to achieve a professional and polished final look for your bed frame.
Once you are satisfied with the coverage, allow the final coat to dry completely before moving on to the next step.
Step 7: Let the Paint Dry
After applying all the necessary coats of paint, it is crucial to allow the paint to dry thoroughly before proceeding with the final steps. Proper drying time ensures that the paint sets and hardens, resulting in a durable and long-lasting finish. Follow these guidelines for letting the paint dry:
- Check the paint can: Refer to the manufacturer’s instructions on the paint can for the recommended drying time. Different types and brands of paint may have varying drying times. It is essential to follow these guidelines to ensure the best results.
- Provide proper airflow: To facilitate the drying process, ensure that the bed frame is placed in a well-ventilated area. Open windows or use fans to promote air circulation, which helps the paint dry faster and reduces the risk of dust or debris settling on the surface.
- Avoid touching or moving the bed frame: During the drying period, refrain from touching or moving the bed frame unnecessarily. This can disrupt the paint and cause smudges or imperfections. Allow the paint to cure undisturbed according to the drying time provided.
- Perform a touch test: Before proceeding with the final steps, perform a touch test to ensure that the paint has fully dried. Lightly touch a discreet area of the bed frame to check if the paint feels dry to the touch and does not transfer onto your fingers.
Keep in mind that paint drying times can vary depending on factors such as humidity, temperature, and the number of coats applied. It’s always better to allow extra drying time to ensure that the paint has fully cured.
Once you are confident that the paint has completely dried, you are ready to move on to the final step: reassembling the bed frame.
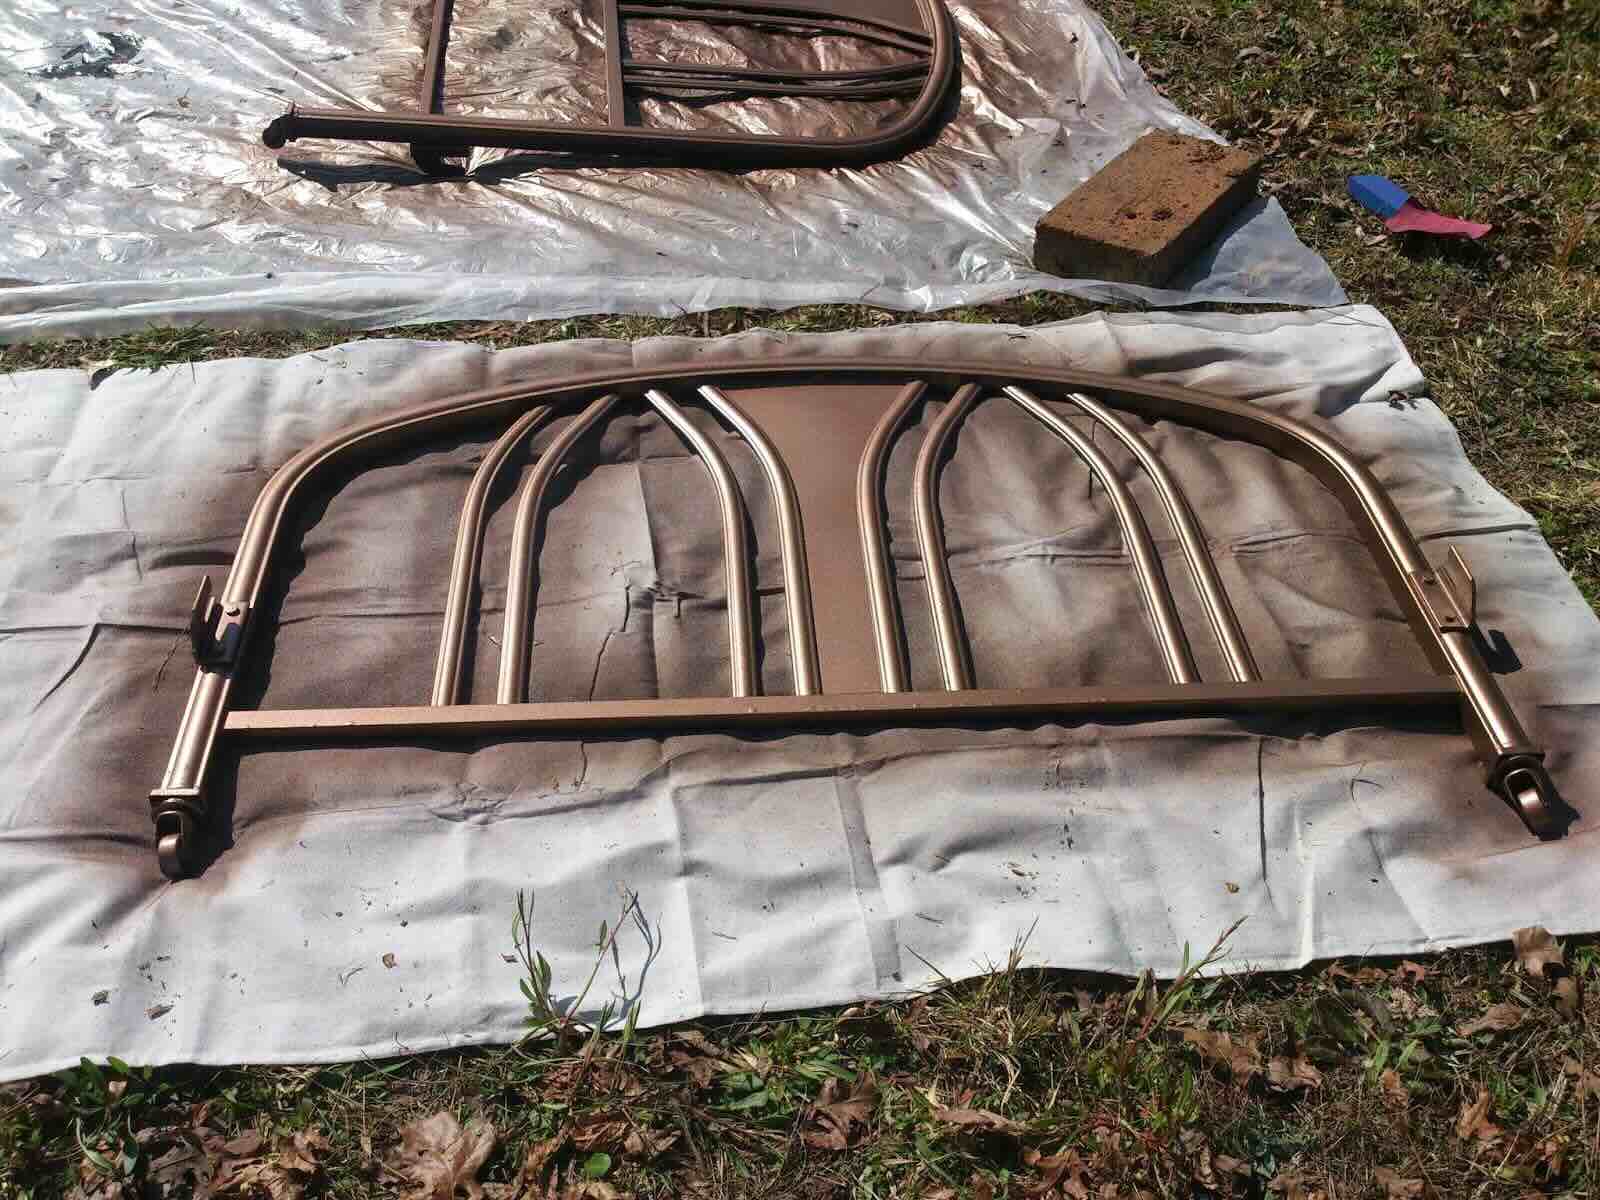
Step 8: Reassemble the Bed Frame
Now that the paint has dried and you’ve achieved the desired finish, it’s time to reassemble the bed frame. Follow these steps to put everything back together:
- Gather all the bed frame components: Ensure that you have all the necessary parts of the bed frame, including the headboard, footboard, side rails, and any additional hardware or support components.
- Refer to the manufacturer’s instructions: If you have the instruction manual or any guidelines provided by the manufacturer, review them to ensure you follow the correct steps for reassembly.
- Start with the headboard and footboard: Begin by aligning the headboard and footboard in the correct positions. Depending on the type of bed frame you have, you may need to insert dowels, screws, or attach brackets to secure the pieces together.
- Attach the side rails: Connect the side rails to the headboard and footboard according to the manufacturer’s instructions. This may involve inserting metal brackets or fastening screws or bolts.
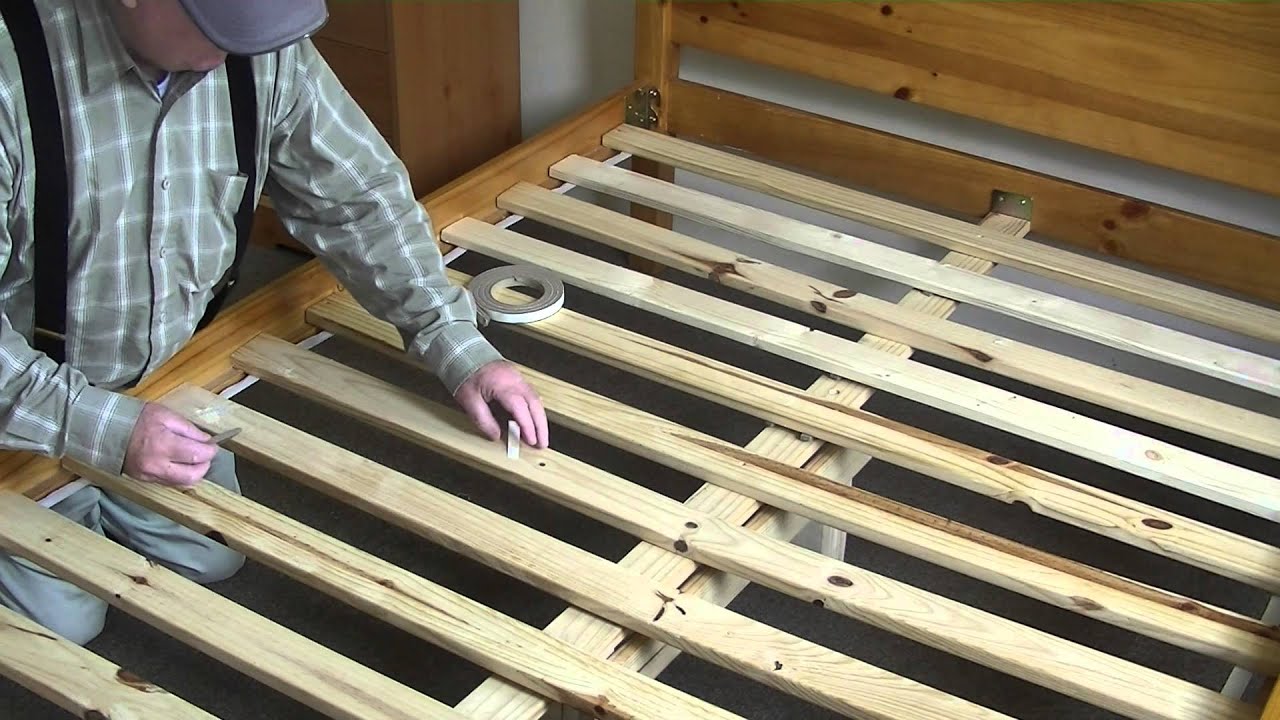
- Secure the slats or support system: If your bed frame includes slats or a support system, ensure they are properly positioned and secured to provide stability and support for the mattress.
- Tighten all connections: Double-check that all connections are tightened and secure. Use the appropriate tools, such as a screwdriver or wrench, to tighten any screws, bolts, or fittings.
- Perform a stability check: Once the bed frame is reassembled, give it a gentle shake to ensure it is sturdy and stable. Make any necessary adjustments or tighten any loose connections.
With the bed frame successfully reassembled, make sure to take a step back and admire your newly painted piece of bedroom furniture. The fresh paint adds a stunning touch and can breathe new life into your bedroom decor.
Remember to follow any additional instructions provided by the manufacturer for maintenance and care of the painted bed frame. This will help ensure its longevity and preserve the beauty of your hard work.
Now it’s time to enjoy a restful night’s sleep in your revamped and personalized bed frame!
Read more: How To Fix A Broken Wooden Bed Frame
Conclusion
Painting a wooden bed frame is a fantastic way to give your bedroom furniture a fresh new look and reflect your personal style. With the right materials, proper preparation, and attention to detail, you can achieve a professional and long-lasting finish that will transform your bed frame into a stunning focal point in your bedroom.
By following the step-by-step guide provided in this article, you have learned how to gather the necessary materials, prepare the bed frame, sand the surface, apply primer, select and apply paint, add additional coats if necessary, allow the paint to dry, and reassemble the bed frame. Each step plays a crucial role in ensuring optimal results and a beautiful end product.
Remember to choose high-quality paint and primer designed specifically for wooden surfaces. Take your time during the sanding and painting process, allowing each coat of paint to dry thoroughly before proceeding. By being patient and meticulous, you will achieve a smooth and flawless finish that will enhance the overall appearance of your bedroom.
Enjoy the creative process of painting your bed frame and let your imagination guide you in selecting the perfect color and finish. Whether you prefer a bold and vibrant hue or a subtle and neutral shade, the painted bed frame will undoubtedly become a statement piece in your bedroom.
Once your bed frame is painted and reassembled, take a moment to appreciate the transformation you have accomplished. Your newly painted bed frame adds a personal touch, elevates the atmosphere of your bedroom, and creates a space that truly reflects your style and personality.
Remember to properly maintain and care for your painted bed frame to ensure its longevity. Regular cleaning and gentle handling will help preserve the beauty of the painted surface for years to come.
We hope this guide has been helpful in your bed frame painting journey. Embrace your creativity, have fun, and enjoy the satisfaction of revitalizing your bedroom with a beautifully painted wooden bed frame.
Frequently Asked Questions about How To Paint A Wooden Bed Frame
Was this page helpful?
At Storables.com, we guarantee accurate and reliable information. Our content, validated by Expert Board Contributors, is crafted following stringent Editorial Policies. We're committed to providing you with well-researched, expert-backed insights for all your informational needs.


0 thoughts on “How To Paint A Wooden Bed Frame”