Home>Furniture>Bedroom Furniture>How To Assemble A Wooden Bed Frame
Bedroom Furniture
How To Assemble A Wooden Bed Frame
Modified: May 6, 2024
Learn how to assemble a sturdy wooden bed frame for your bedroom with our step-by-step guide. Discover the best techniques for installing bedroom furniture.
(Many of the links in this article redirect to a specific reviewed product. Your purchase of these products through affiliate links helps to generate commission for Storables.com, at no extra cost. Learn more)
Introduction
When it comes to creating a comfortable and inviting bedroom space, having the right furniture is essential. One of the key pieces that sets the tone for the entire room is the bed. A well-made wooden bed frame can not only provide a sturdy foundation for your mattress, but it can also add a touch of elegance and sophistication to your bedroom decor.
While purchasing a pre-assembled bed frame may seem like the easier option, assembling your own wooden bed frame can be a rewarding experience, allowing you to customize the design and ensure its durability. Plus, with a few basic tools and the right instructions, it is a straightforward process that you can easily accomplish in just a few hours.
In this guide, we will take you through each step of assembling a wooden bed frame, providing detailed instructions and tips along the way. Whether you are a seasoned DIY enthusiast or a beginner looking to embark on your first furniture project, this article will equip you with the knowledge and confidence to create a beautiful and functional bed frame.
Key Takeaways:
- Assembling a wooden bed frame is a rewarding DIY project that allows for personalization and customization, enhancing the overall look and feel of the bedroom.
- Attention to detail, accurate measurements, and the right tools and materials are crucial for a smooth and successful assembly process, ensuring a sturdy and visually appealing bed frame.
Read more: How To Assemble A Bed Frame
Materials and Tools Needed
Before you begin assembling your wooden bed frame, make sure you have all the necessary materials and tools on hand. Here is a list of what you will need:
Materials:
- Wooden bed frame parts (headboard, footboard, side rails, slats, and support beams)
- Screws
- Wood glue
Tools:
- Power drill
- Screwdriver
- Measuring tape
- Pencil
- Sanding block
- Clamps
- Level
It is important to ensure that all the materials are of good quality and suitable for your specific bed frame design. The type and size of the screws may vary depending on the thickness and type of wood used, so always refer to the manufacturer’s instructions or consult a hardware store professional for guidance.
Having the right tools is equally important for a smooth assembly process. A power drill will make it easier to insert screws and speed up the process. Make sure you have a variety of screwdriver tips that fit the screws you are using. A measuring tape and pencil will help you accurately mark the placement of the components. A sanding block will come in handy for smoothing any rough edges or surfaces. Clamps are useful for holding parts together while you work, and a level will help ensure that your bed frame is perfectly balanced.
Once you have gathered all the materials and tools, you are ready to start assembling your wooden bed frame. Let’s move on to the first step – preparing the bed frame parts.
Step 1: Preparing the Bed Frame Parts
Before diving into the assembly process, it’s important to prepare the bed frame parts. This step involves inspecting the wooden pieces, making any necessary adjustments or repairs, and ensuring everything is ready for assembly. Here’s what you need to do:
- Inspect the wooden bed frame parts, including the headboard, footboard, side rails, slats, and support beams. Check for any visible defects, such as cracks, splinters, or uneven surfaces. If you notice any issues, use a sanding block to smooth out the rough areas or apply wood glue to secure any loose joints. Allow the glue to dry before proceeding.
- Double-check that all the bed frame parts are in good condition and match the dimensions specified in the instructions or your design plan. If there are any discrepancies, contact the manufacturer or make the necessary adjustments to ensure that the pieces fit together properly.
- Organize the bed frame parts in a clear and spacious area. This will make it easier to access the components throughout the assembly process.
- Take a few moments to familiarize yourself with the assembly instructions or design plan. Make sure you understand the order in which the pieces need to be connected and any specific requirements or considerations.
- Gather all the necessary tools and materials, ensuring they are within reach. This will prevent any unnecessary delays or interruptions once you start assembling.
By taking the time to prepare the bed frame parts, you’ll ensure that your assembly process goes smoothly and that your finished product is sturdy and visually appealing. Once you’ve completed these preparations, you’re ready to move on to the next step: attaching the side rails to the headboard and footboard.
Read more: How To Assemble A Metal Bed Frame
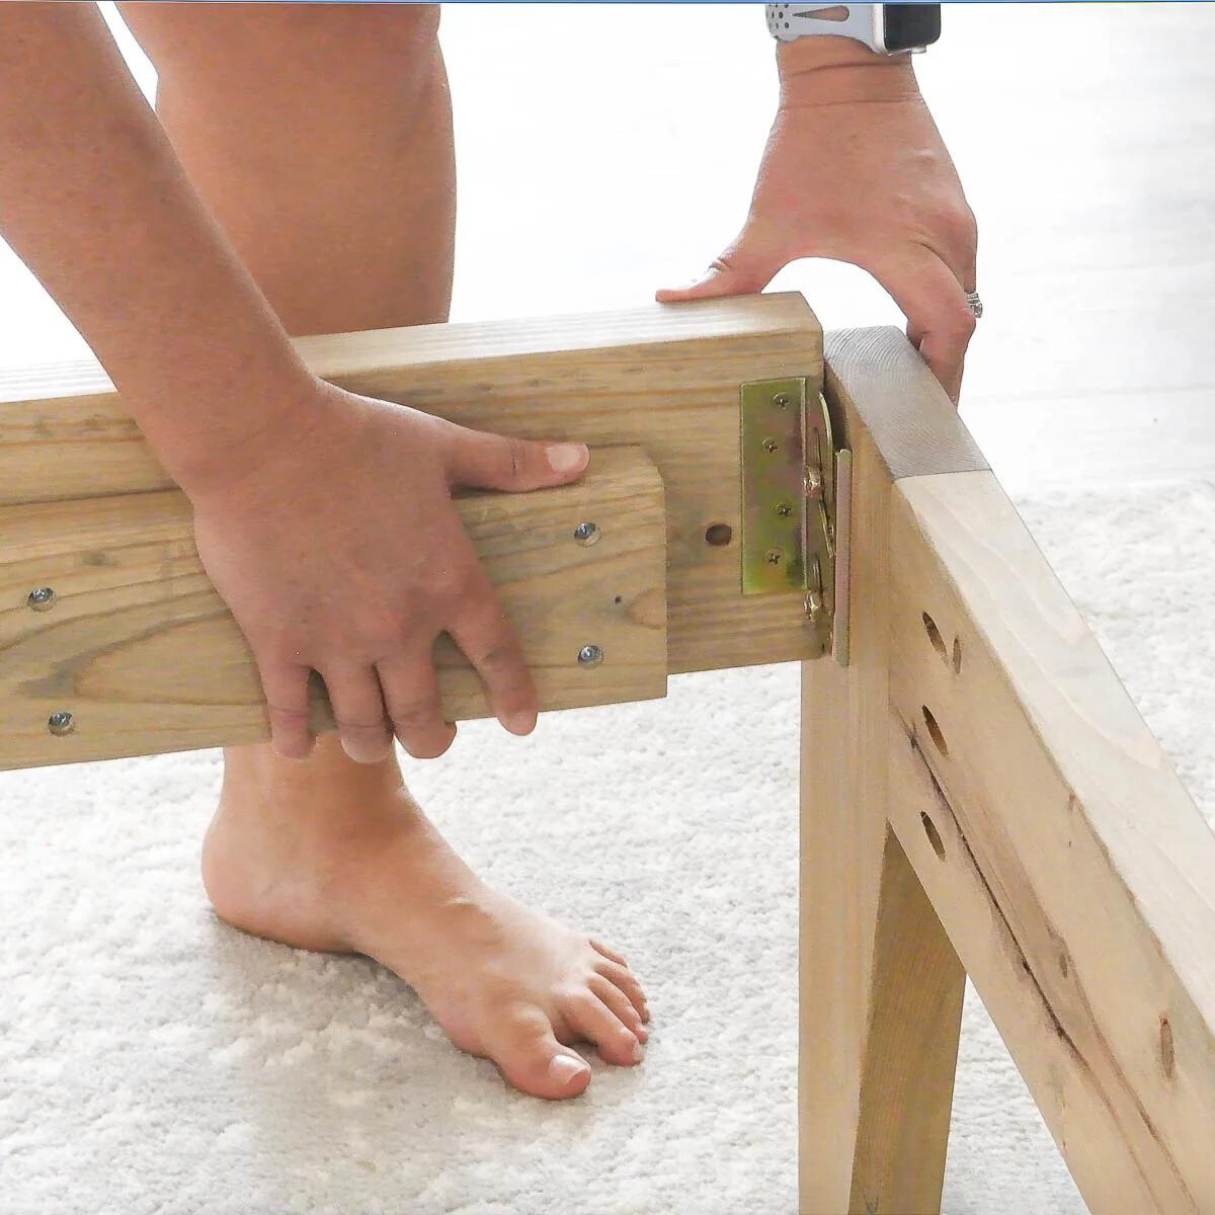
Step 2: Attaching the Side Rails to the Headboard and Footboard
Now that you have prepared the bed frame parts, it’s time to start assembling the wooden bed frame. The first major step is attaching the side rails to the headboard and footboard. Here’s how you can do it:
- Position the headboard and the footboard in the desired location for your bed. Ensure that they are aligned and facing the correct direction.
- Place the side rails on each side of the headboard and footboard, ensuring that they are properly aligned and flush with the top edges of the headboard and footboard.
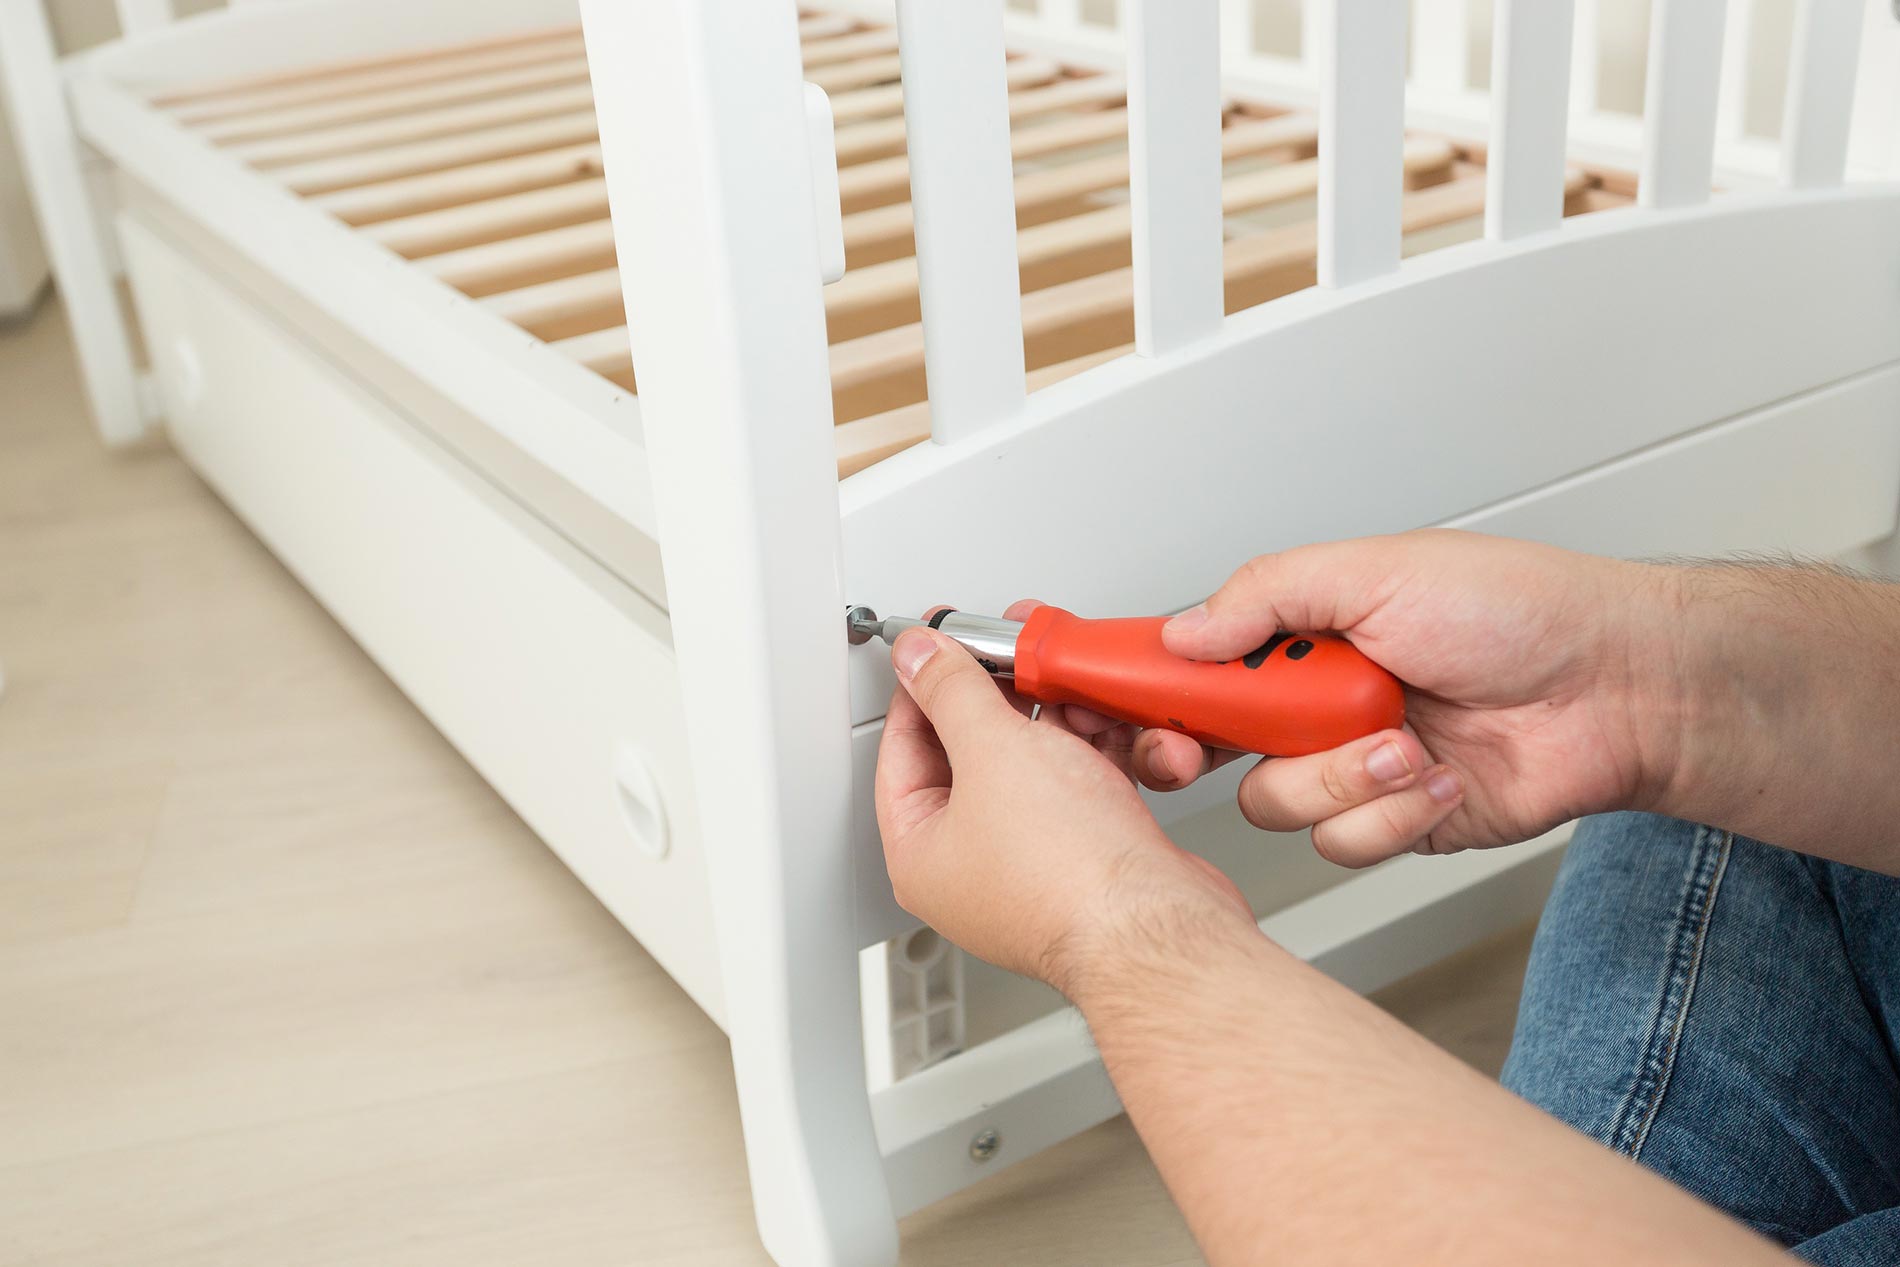
- Using a power drill and screws, secure the side rails to the headboard and footboard. Make sure to choose screws that are long enough to penetrate the wood and provide a secure connection. Alternatively, you can use a combination of screws and wood glue for added stability.
- Double-check the alignment and stability of the side rails. Adjust as necessary to ensure a snug fit.
- Repeat the process on the opposite side of the bed, attaching the remaining side rails to the headboard and footboard using screws or screws and wood glue.
Throughout this step, it’s essential to ensure that the side rails are securely attached to the headboard and footboard. This will provide the structural stability needed to support the weight of the mattress and occupants. Take your time to double-check the alignment and make any necessary adjustments to ensure a proper fit. Once you’ve completed this step, you’re ready to move on to the next phase: connecting the slats.
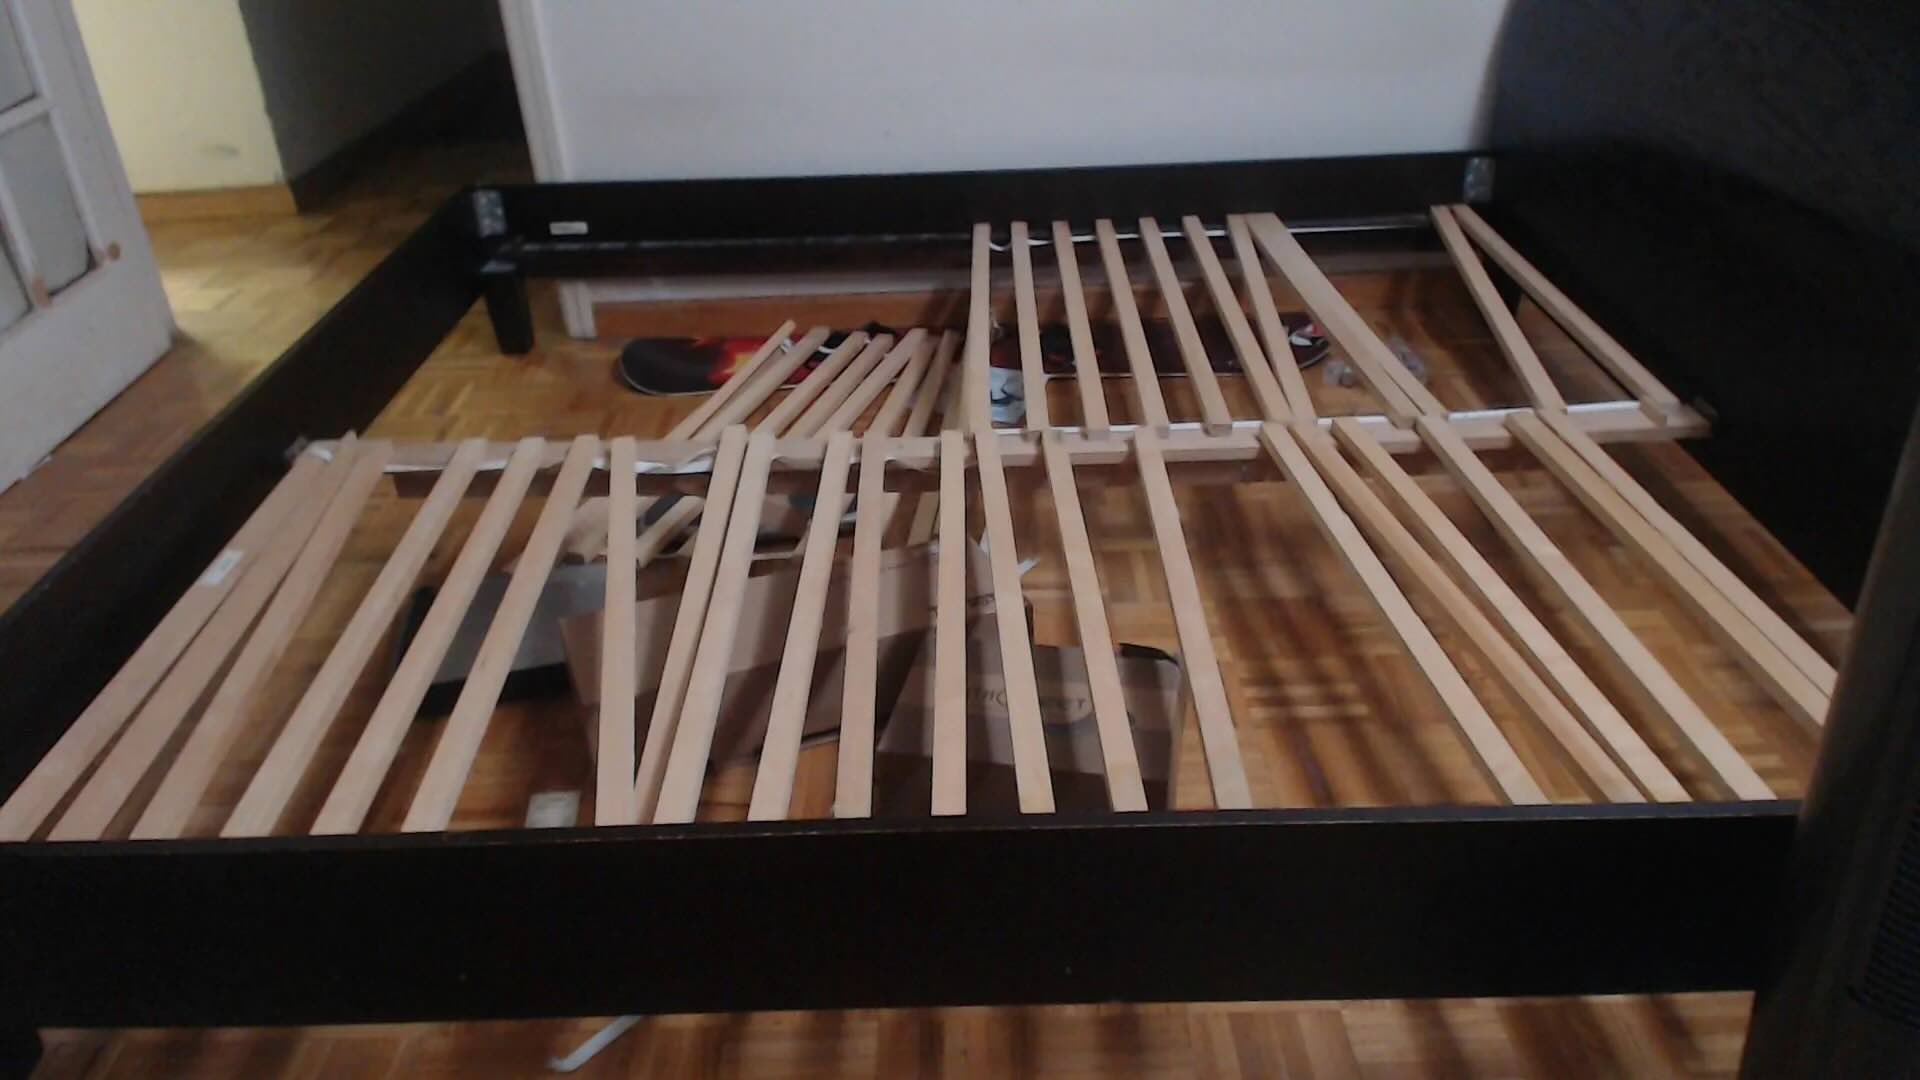
Step 3: Connecting the Slats
With the side rails securely attached to the headboard and footboard, it’s time to connect the slats. The slats play a crucial role in providing support for the mattress and ensuring optimal comfort. Here’s how you can connect the slats to your wooden bed frame:
- Start by measuring the distance between the two side rails to determine the spacing for the slats. This will ensure that they are evenly distributed and properly support the mattress.
- Cut the slats to the appropriate length using a saw or have them pre-cut according to your specific bed frame design.
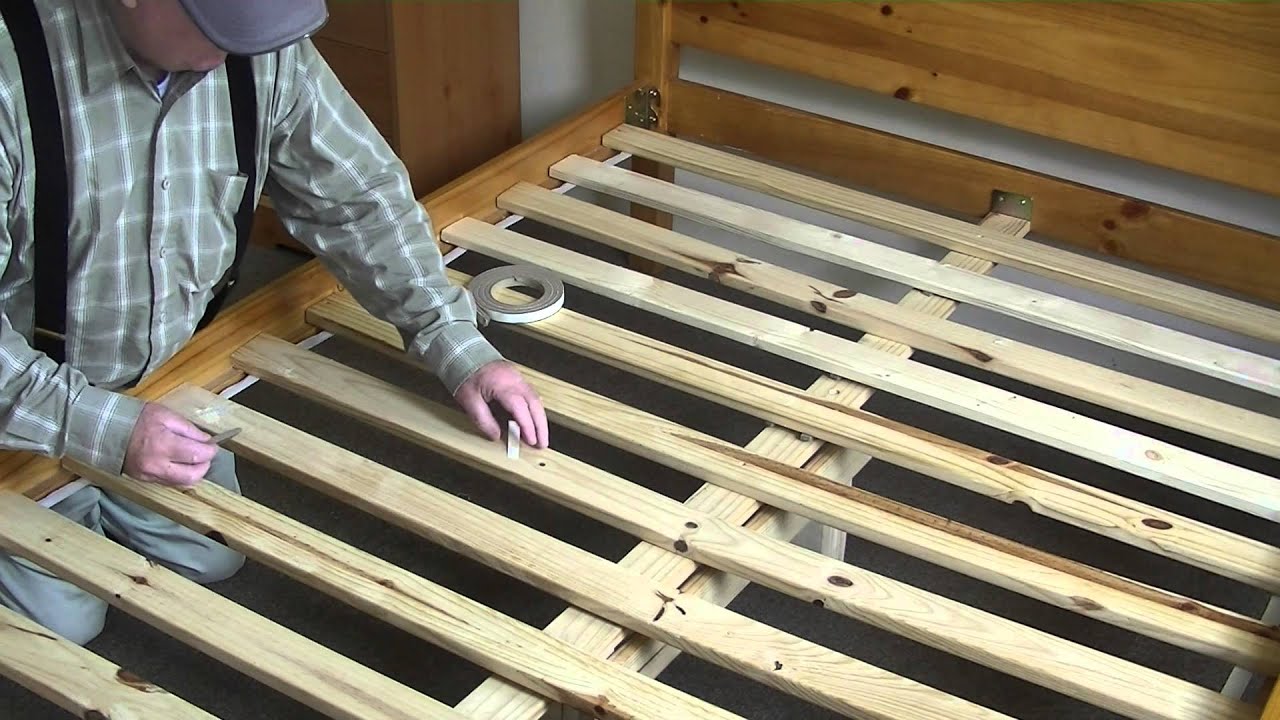
- Place the first slat at the foot of the bed, flush against the side rails. Use a power drill and screws to attach the slat to the side rails.
- Continue adding the remaining slats, evenly spaced along the bed frame. Make sure they are aligned and flush with the side rails.
- For added support, you can install additional slats in the center of the bed frame, evenly spaced between the side rails.
As you connect the slats, it’s important to ensure they are securely fastened to the side rails. This will prevent any sagging or shifting of the mattress and provide a stable foundation for a good night’s sleep. Take the time to double-check the alignment and spacing of the slats to ensure they are evenly distributed.
Once you’ve connected all the slats, you’re ready to move on to the next step: reinforcing the frame for enhanced durability and stability.
When assembling a wooden bed frame, make sure to lay out all the pieces and hardware before starting. This will help you stay organized and ensure you have everything you need before beginning the assembly process.
Step 4: Reinforcing the Frame
To ensure that your wooden bed frame is sturdy and built to last, it’s important to reinforce the frame. Reinforcing the frame will provide added durability and stability, preventing any potential weaknesses or wobbling. Follow these steps to reinforce your bed frame:
- Inspect the joints and connections of the bed frame to identify any areas that may need reinforcement.
- If necessary, apply wood glue to the joints to strengthen the bond between the individual pieces.
- Using clamps, hold the joints together firmly while the wood glue dries. Follow the manufacturer’s instructions for the recommended drying time.
- After the wood glue has dried, add additional screws or brackets to further strengthen the connections.
- Check the stability of the bed frame by gently shaking it and ensuring that all joints are secure and there is no wobbling.
- If you notice any instability, make necessary adjustments such as adding extra screws or brackets, or reinforcing weak spots with additional support beams.
By reinforcing the frame, you can ensure that your bed is stable and capable of withstanding regular use. This step is particularly important if you plan to use your bed frame with a heavy or memory foam mattress that requires extra support.
Once you’ve reinforced the frame, you’re almost done! There’s just one more step left to complete the assembly of your wooden bed frame: adding the finishing touches.
Step 5: Finishing Touches
The final step in assembling your wooden bed frame is adding the finishing touches. These touches not only enhance the overall appearance of the bed but also contribute to its longevity and functionality. Here’s what you need to do for the finishing touches:
- Inspect the entire bed frame for any rough edges or splinters. Use a sanding block to smooth out these areas, ensuring that the frame is safe and comfortable.
- If desired, apply a wood finish or paint to protect the wood from wear and tear and to match the bed frame to your bedroom decor.
- Allow the wood finish or paint to dry completely, following the manufacturer’s instructions.
- Check the overall stability and levelness of the bed frame. Use a level to ensure that the bed frame is perfectly balanced.
- If necessary, adjust the legs or add felt pads to the bottom of the legs to protect your floors from scratches.
- Place the mattress on the bed frame and secure it according to the manufacturer’s instructions.
- Add any desired bedding, pillows, and accessories to complete your cozy and inviting bed setup.
By paying attention to these finishing touches, you’ll create a well-crafted and visually appealing bed frame that is comfortable and durable. Taking the time to properly finish your bed frame will also protect it from moisture, scratches, and other elements that can lead to damage over time.
Congratulations! You’ve successfully assembled your wooden bed frame. Now you can enjoy a restful night’s sleep in style and comfort.
That wraps up our guide on how to assemble a wooden bed frame. We hope you found this article helpful and that it provided you with the necessary information and guidance to successfully complete your bed frame assembly. Happy sleeping!
Read more: How To Assemble A Bed Frame With Headboard
Conclusion
Assembling a wooden bed frame can be a rewarding and fulfilling DIY project that allows you to personalize your bedroom space. By following the step-by-step instructions outlined in this guide, you can confidently create a sturdy and visually appealing bed frame that will enhance the overall look and feel of your bedroom.
Remember to prepare the bed frame parts, attach the side rails to the headboard and footboard, connect the slats, reinforce the frame, and add the finishing touches. Each step plays a crucial role in ensuring the stability, durability, and comfort of your bed frame.
Throughout the assembly process, it’s important to pay attention to detail, take measurements accurately, and use the right tools and materials. This will ensure a smooth and successful assembly experience.
Customizing your wooden bed frame with a wood finish or paint can add a personal touch and match your bedroom decor. Additionally, regularly inspecting and maintaining your bed frame will help prolong its lifespan and keep it in excellent condition.
Remember, a well-made bed frame sets the foundation for a good night’s sleep. So, take the time to assemble it properly and enjoy the benefits for years to come.
We hope this guide has provided you with the knowledge and confidence to embark on your bed frame assembly journey. Now it’s time to get creative, put your DIY skills to work, and enjoy the satisfaction of completing a beautiful and functional wooden bed frame.
Sleep tight and sweet dreams!
Just finished setting up your wooden bed frame? Well, you're already halfway to becoming a woodworking pro! Why stop there? Dive into our latest article about the best woodworking projects you can tackle next year. Whether you're looking to craft furniture or decorative items, getting ahead with these top picks will surely keep your creativity flowing and your tools busy!
Frequently Asked Questions about How To Assemble A Wooden Bed Frame
Was this page helpful?
At Storables.com, we guarantee accurate and reliable information. Our content, validated by Expert Board Contributors, is crafted following stringent Editorial Policies. We're committed to providing you with well-researched, expert-backed insights for all your informational needs.


0 thoughts on “How To Assemble A Wooden Bed Frame”