Home>Garden Essentials>How To Disable Retraction On Infill

Garden Essentials
How To Disable Retraction On Infill
Modified: August 16, 2024
Learn how to disable the retraction on infill in your garden. Enhance your gardening experience with this simple step-by-step guide.
(Many of the links in this article redirect to a specific reviewed product. Your purchase of these products through affiliate links helps to generate commission for Storables.com, at no extra cost. Learn more)
Introduction
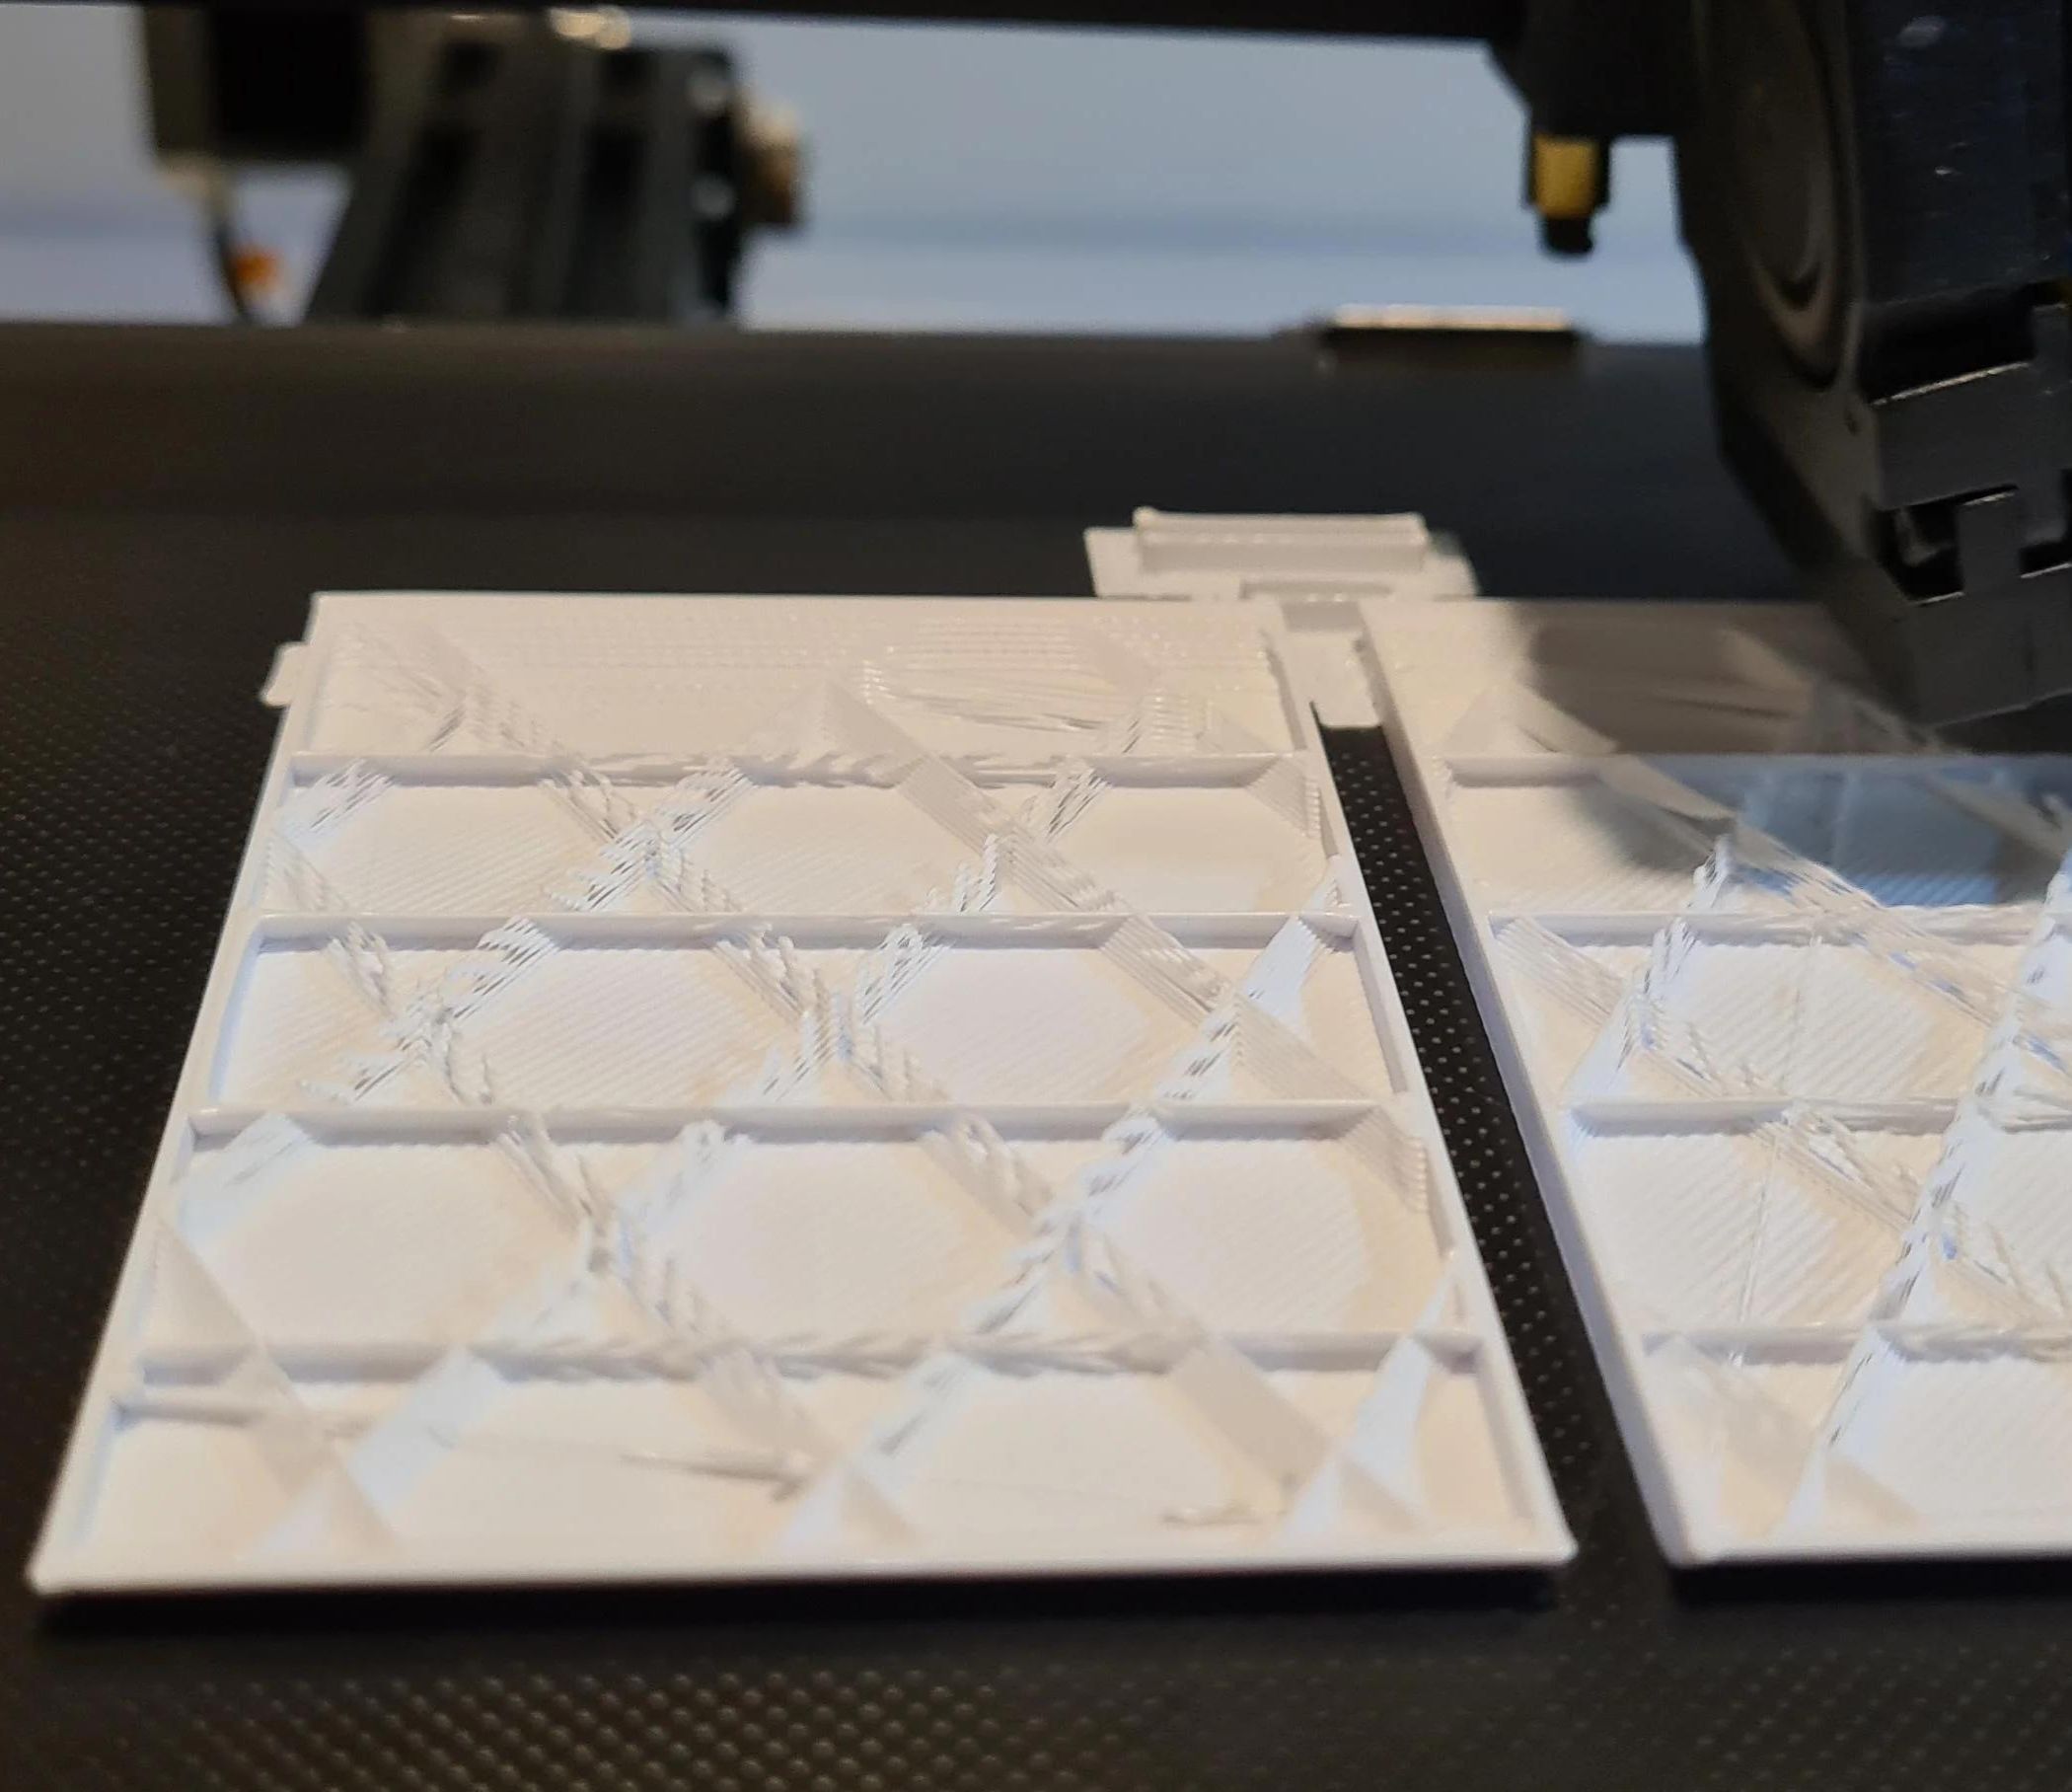
3D printing has revolutionized the way we create objects, allowing us to turn digital designs into physical reality with ease. One crucial aspect of 3D printing is the infill – the internal structure that provides support and strength to the printed object. Infill is typically printed in a grid or honeycomb pattern, which creates a solid interior while minimizing the amount of material used.
However, when printing infill, a common issue that often arises is the retraction of the filament. Retraction is the process of pulling the filament back into the nozzle to prevent oozing and stringing between different sections of the print. While retraction is necessary for the outer walls and top layers of the print, it might not be desired for the infill. Disabling retraction on infill can bring several benefits, such as reducing print time, minimizing the chances of clogs, and producing a smoother surface finish.
This article will provide you with two methods to disable retraction on infill: through slicer settings and by editing the G-code directly. Let’s dive in and explore how to achieve this.
Key Takeaways:
- Save time and improve 3D print quality by disabling retraction on infill. It reduces print time, minimizes filament waste, and creates a smoother surface finish, making your prints more efficient and visually appealing.
- Easily control retraction on infill using slicer settings or manual G-code editing. Choose the method that suits your needs to optimize 3D printing for efficiency, quality, and performance.
Read more: How To Disable Alexa On Phone
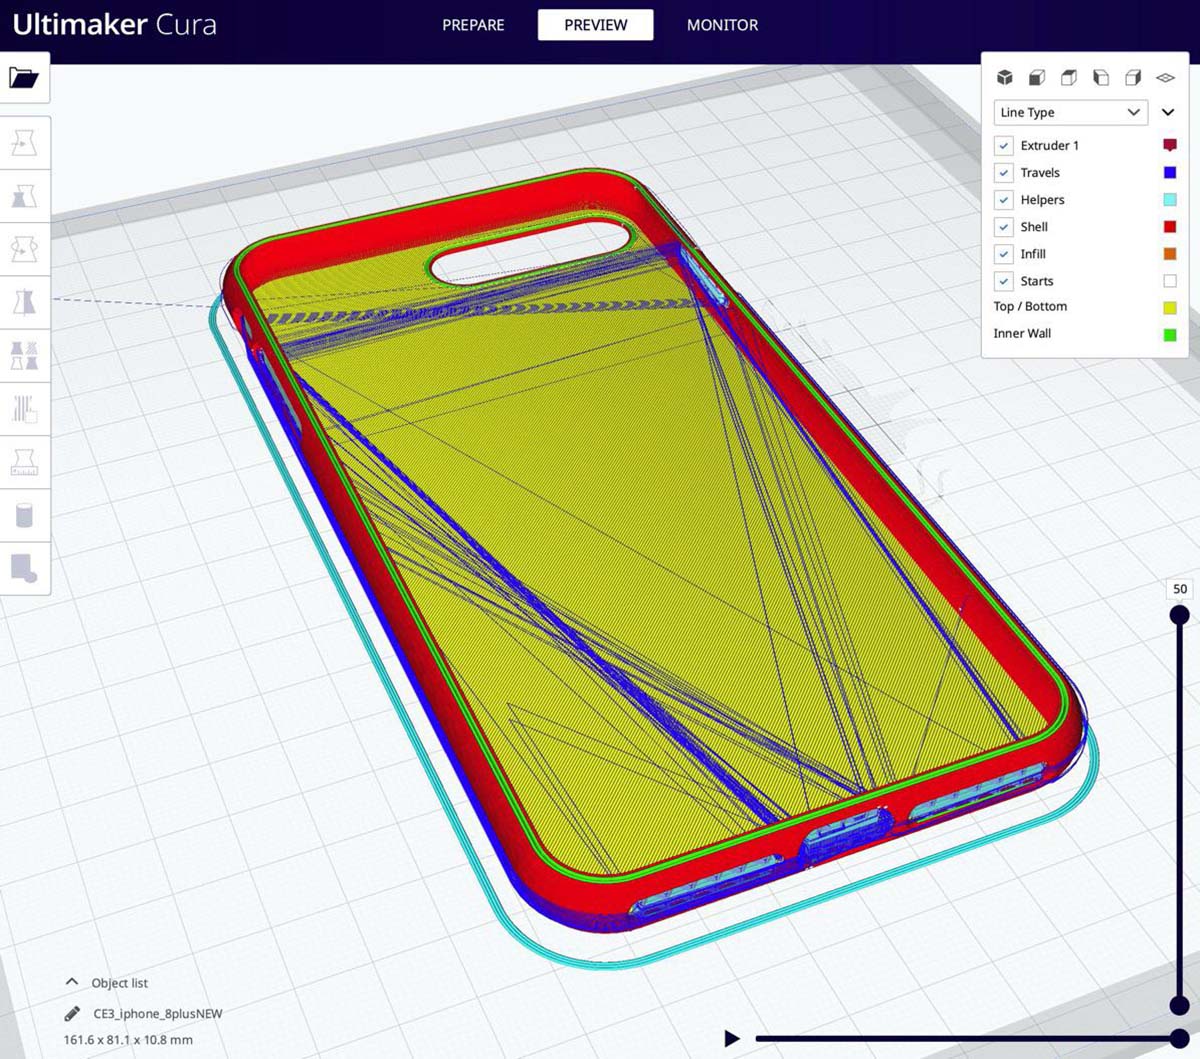
Understanding Infill in 3D Printing
In 3D printing, infill refers to the internal structure of a printed object. It plays a crucial role in determining the strength, stability, and overall quality of the printed part. The infill pattern is typically designed to optimize the balance between structural integrity and material usage.
When you slice a 3D model using slicing software, you can adjust various parameters related to infill, such as infill density, infill pattern, and infill angle. Infill density refers to the percentage of the internal space filled with material, with higher density indicating a more solid interior. Infill patterns vary, but common options include grid, honeycomb, and triangles.
Choosing the appropriate infill for your print depends on the intended use of the object. For objects that require high strength, such as structural components, a higher infill density will be more suitable. On the other hand, for objects that require less structural strength, such as decorative items, a lower infill density can help save material and reduce printing time.
It’s important to note that the infill is usually not visible in the final print, as it is hidden beneath the outer walls and top layers. However, it still plays a vital role in providing support and stability to the object. By optimizing the infill pattern and density, you can achieve a balance between structural integrity, material usage, and print speed.
Why Disable Retraction on Infill?
While retraction is an essential process in 3D printing to prevent filament ooze and stringing, disabling retraction on infill can offer several advantages in certain scenarios.
1. Reduced Print Time: When retraction is enabled for infill, the printer needs to perform the retraction and priming movements each time it moves between infill lines. This can significantly increase the total print time, especially for large and complex objects. By disabling retraction on infill, you eliminate these additional movements, resulting in faster print times.
2. Minimized Filament Waste: Retraction and priming movements can lead to filament waste during the printing process. For infill, where appearance is not as critical, disabling retraction can help minimize the amount of filament wasted in these unnecessary movements. This can be especially beneficial if you are using expensive or limited-supply filaments.
3. Smoother Surface Finish: Retraction can sometimes result in small imperfections on the outer surface of the print, such as tiny gaps or blobs. By disabling retraction on infill, you can achieve a smoother and more uniform surface finish. This is particularly useful when printing objects that require a high level of detail or a visually appealing finish.
4. Reduced Risk of Clogs: Retraction involves pulling the filament back into the nozzle, and multiple retractions in quick succession can increase the chances of filament clogs or jams. Disabling retraction on infill can help mitigate this risk, as the filament will continue to flow smoothly without interruption. This is especially important when working with filaments that are prone to clogging, such as flexible or abrasive materials.
It’s important to note that disabling retraction on infill may not be suitable for all types of prints. If your print requires strong adhesion between the infill and outer layers, or if you are experiencing issues like stringing or filament oozing, it may be beneficial to keep retraction enabled. However, for prints where these concerns are not a major factor, disabling retraction can bring significant advantages in terms of time savings, material efficiency, and improved surface quality.
To disable retraction on infill, increase the “Minimum Travel” setting in your slicer software. This will reduce the frequency of retraction during infill printing.
Method 1: Disabling Retraction through Slicer Settings
One of the easiest ways to disable retraction on infill is by adjusting the settings in your slicing software. Slicers like Cura, Simplify3D, and PrusaSlicer offer options to customize retraction settings for different parts of the print. Here’s how you can disable retraction on infill using these popular slicers:
- Cura: In Cura, open your model and navigate to the “Infill” section in the sidebar. Look for the “Material” section and uncheck the “Enable Retraction” box. This will disable retraction for the infill, while keeping it enabled for the outer walls and top layers. Adjust any other infill settings as desired and slice your model.
- Simplify3D: In Simplify3D, go to the “Edit Process Settings” window. Under the “Infill” tab, locate the “Retraction” section. Set the “Minimum Travel for Retraction” value to a high number, such as 999mm, to effectively disable retraction for the infill. Make sure to save the changes and slice your model.
- PrusaSlicer: In PrusaSlicer, open your model and go to the “Print Settings” tab. Look for the “Filament” section and find the “Retraction” settings. Set the “Minimum Travel” value to a high number, effectively disabling retraction for the infill. Save the changes and slice your model.
Remember to adjust other infill settings, such as infill density and pattern, according to your specific requirements. By disabling retraction through slicer settings, you can easily control whether retraction is applied to the infill or not, allowing you to achieve desired results for your prints.
Method 2: Editing G-code to Disable Retraction on Infill
If you prefer more precise control over your 3D printing settings, you can disable retraction on infill by manually editing the G-code file. This method allows you to have complete control over when and where retraction is applied during the printing process. Here’s how you can do it:
- Open your sliced G-code file in a text editor, such as Notepad++ or Sublime Text.
- Search for the section of the code where the infill starts. Look for the start G-code or the layer change section.
- Find the command that triggers retraction. It is usually a command that starts with “G10” or “G11”.
- Delete or comment out the retraction command. You can comment it out by adding a semicolon (;) at the beginning of the line.
- Save the changes to the G-code file.
By removing or disabling the retraction command specifically for the infill lines, you ensure that retraction is not performed during those sections of the print. This allows the filament to flow freely without unnecessary retraction movements.
Remember, manually editing G-code requires some understanding of the structure and commands used in G-code files. Make sure to create a backup of the original G-code file before making any modifications. Additionally, keep in mind that editing the G-code is specific to each print and may not be suitable for all situations or slicers.
Once you have made the necessary modifications to the G-code file, you can load it into your 3D printer and proceed with the printing process. With retraction disabled on infill, you can enjoy faster print times, improved surface finish, reduced filament waste, and a reduced risk of clogs.
Read more: How To Spread Infill Without Infill Machine
Conclusion
Disabling retraction on infill in 3D printing can offer several benefits, including reduced print time, minimized filament waste, improved surface finish, and reduced risk of filament clogs. By understanding infill and the importance of retraction, you can optimize your printing settings according to your specific needs.
In this article, we explored two methods to disable retraction on infill. The first method involves adjusting the settings in your slicing software, such as Cura, Simplify3D, or PrusaSlicer. By disabling retraction through the slicer settings, you can easily control whether retraction is applied to the infill or not, achieving desired results for your prints.
The second method involves manually editing the G-code file. By removing or commenting out the retraction commands specifically for the infill lines, you can ensure that retraction is not performed during those sections of the print. This method provides more precise control over the retraction settings, allowing for a custom approach tailored to your preferences.
Remember to choose the method that best suits your needs and printing setup. Consider factors such as print speed, material usage, surface finish, and the risk of filament clogs when deciding whether to disable retraction on infill.
With a deeper understanding of infill and the ability to disable retraction on infill, you can optimize your 3D prints for efficiency, quality, and performance. Experiment with different settings and techniques to find the perfect balance for your specific projects, and enjoy the benefits of streamlined 3D printing.
Frequently Asked Questions about How To Disable Retraction On Infill
Was this page helpful?
At Storables.com, we guarantee accurate and reliable information. Our content, validated by Expert Board Contributors, is crafted following stringent Editorial Policies. We're committed to providing you with well-researched, expert-backed insights for all your informational needs.








0 thoughts on “How To Disable Retraction On Infill”