Home>Gardening & Outdoor>Outdoor Structures>How To Retract An RV Awning
Outdoor Structures
How To Retract An RV Awning
Published: January 30, 2024
Learn the step-by-step process of retracting an RV awning for safe outdoor structure maintenance. Discover expert tips and tricks for hassle-free retraction.
(Many of the links in this article redirect to a specific reviewed product. Your purchase of these products through affiliate links helps to generate commission for Storables.com, at no extra cost. Learn more)
Introduction
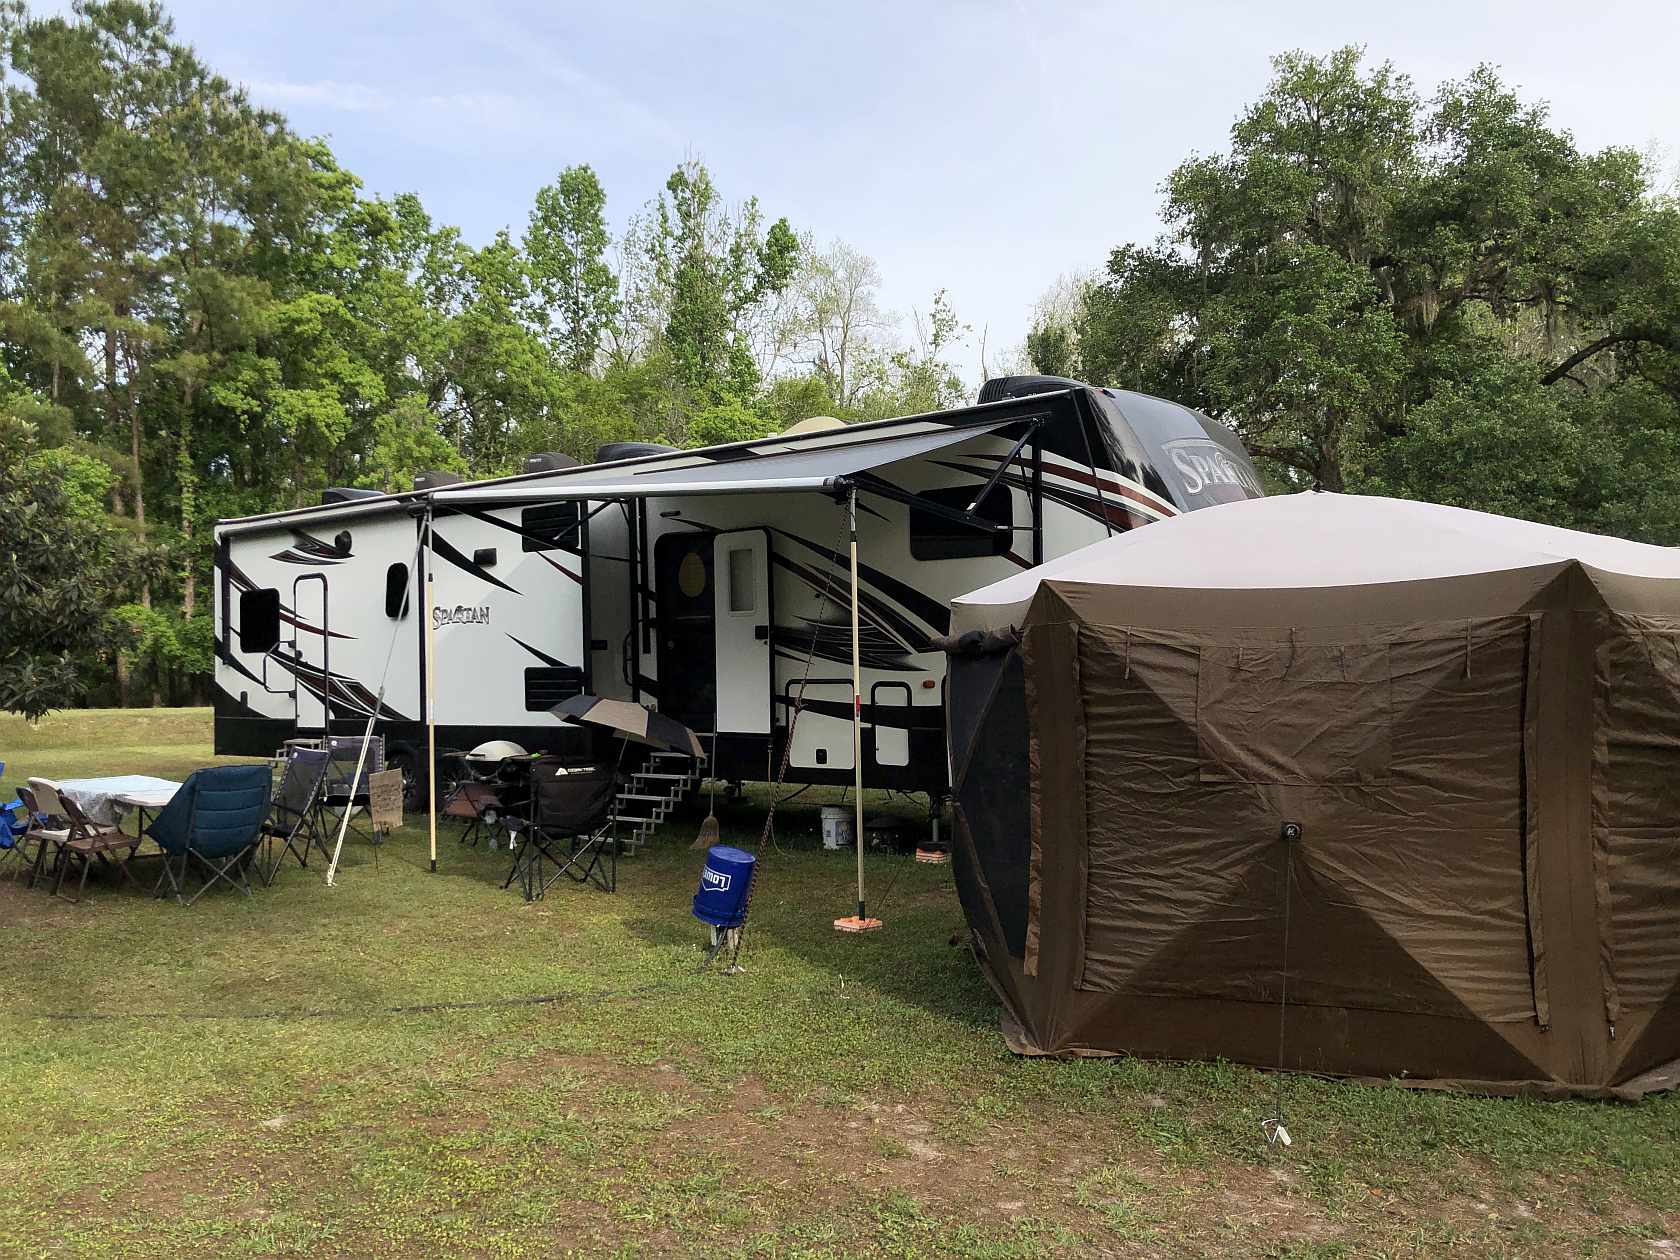
Retracting an RV awning is a crucial skill for any outdoor enthusiast. Whether you're preparing to hit the road or bracing for inclement weather, knowing how to properly retract your RV awning is essential for the safety of your vehicle and the longevity of your awning. This comprehensive guide will walk you through the step-by-step process of retracting your RV awning, ensuring that you can do so confidently and efficiently.
Retracting an RV awning may seem daunting at first, especially for beginners, but with the right guidance and a bit of practice, you'll soon master this essential task. By following the steps outlined in this article, you'll not only protect your awning from potential damage but also safeguard your RV and ensure a smooth and safe journey.
So, let's delve into the process of retracting an RV awning, starting with gathering the necessary tools and materials.
Key Takeaways:
- Mastering the art of retracting an RV awning ensures a safe and smooth outdoor adventure. Prioritize safety, gather necessary tools, and secure the area for hassle-free retraction.
- By following the step-by-step process, you can confidently retract your RV awning, safeguarding it from damage and ensuring a secure travel experience. Prioritize safety, meticulous preparation, and attention to detail for a seamless journey.
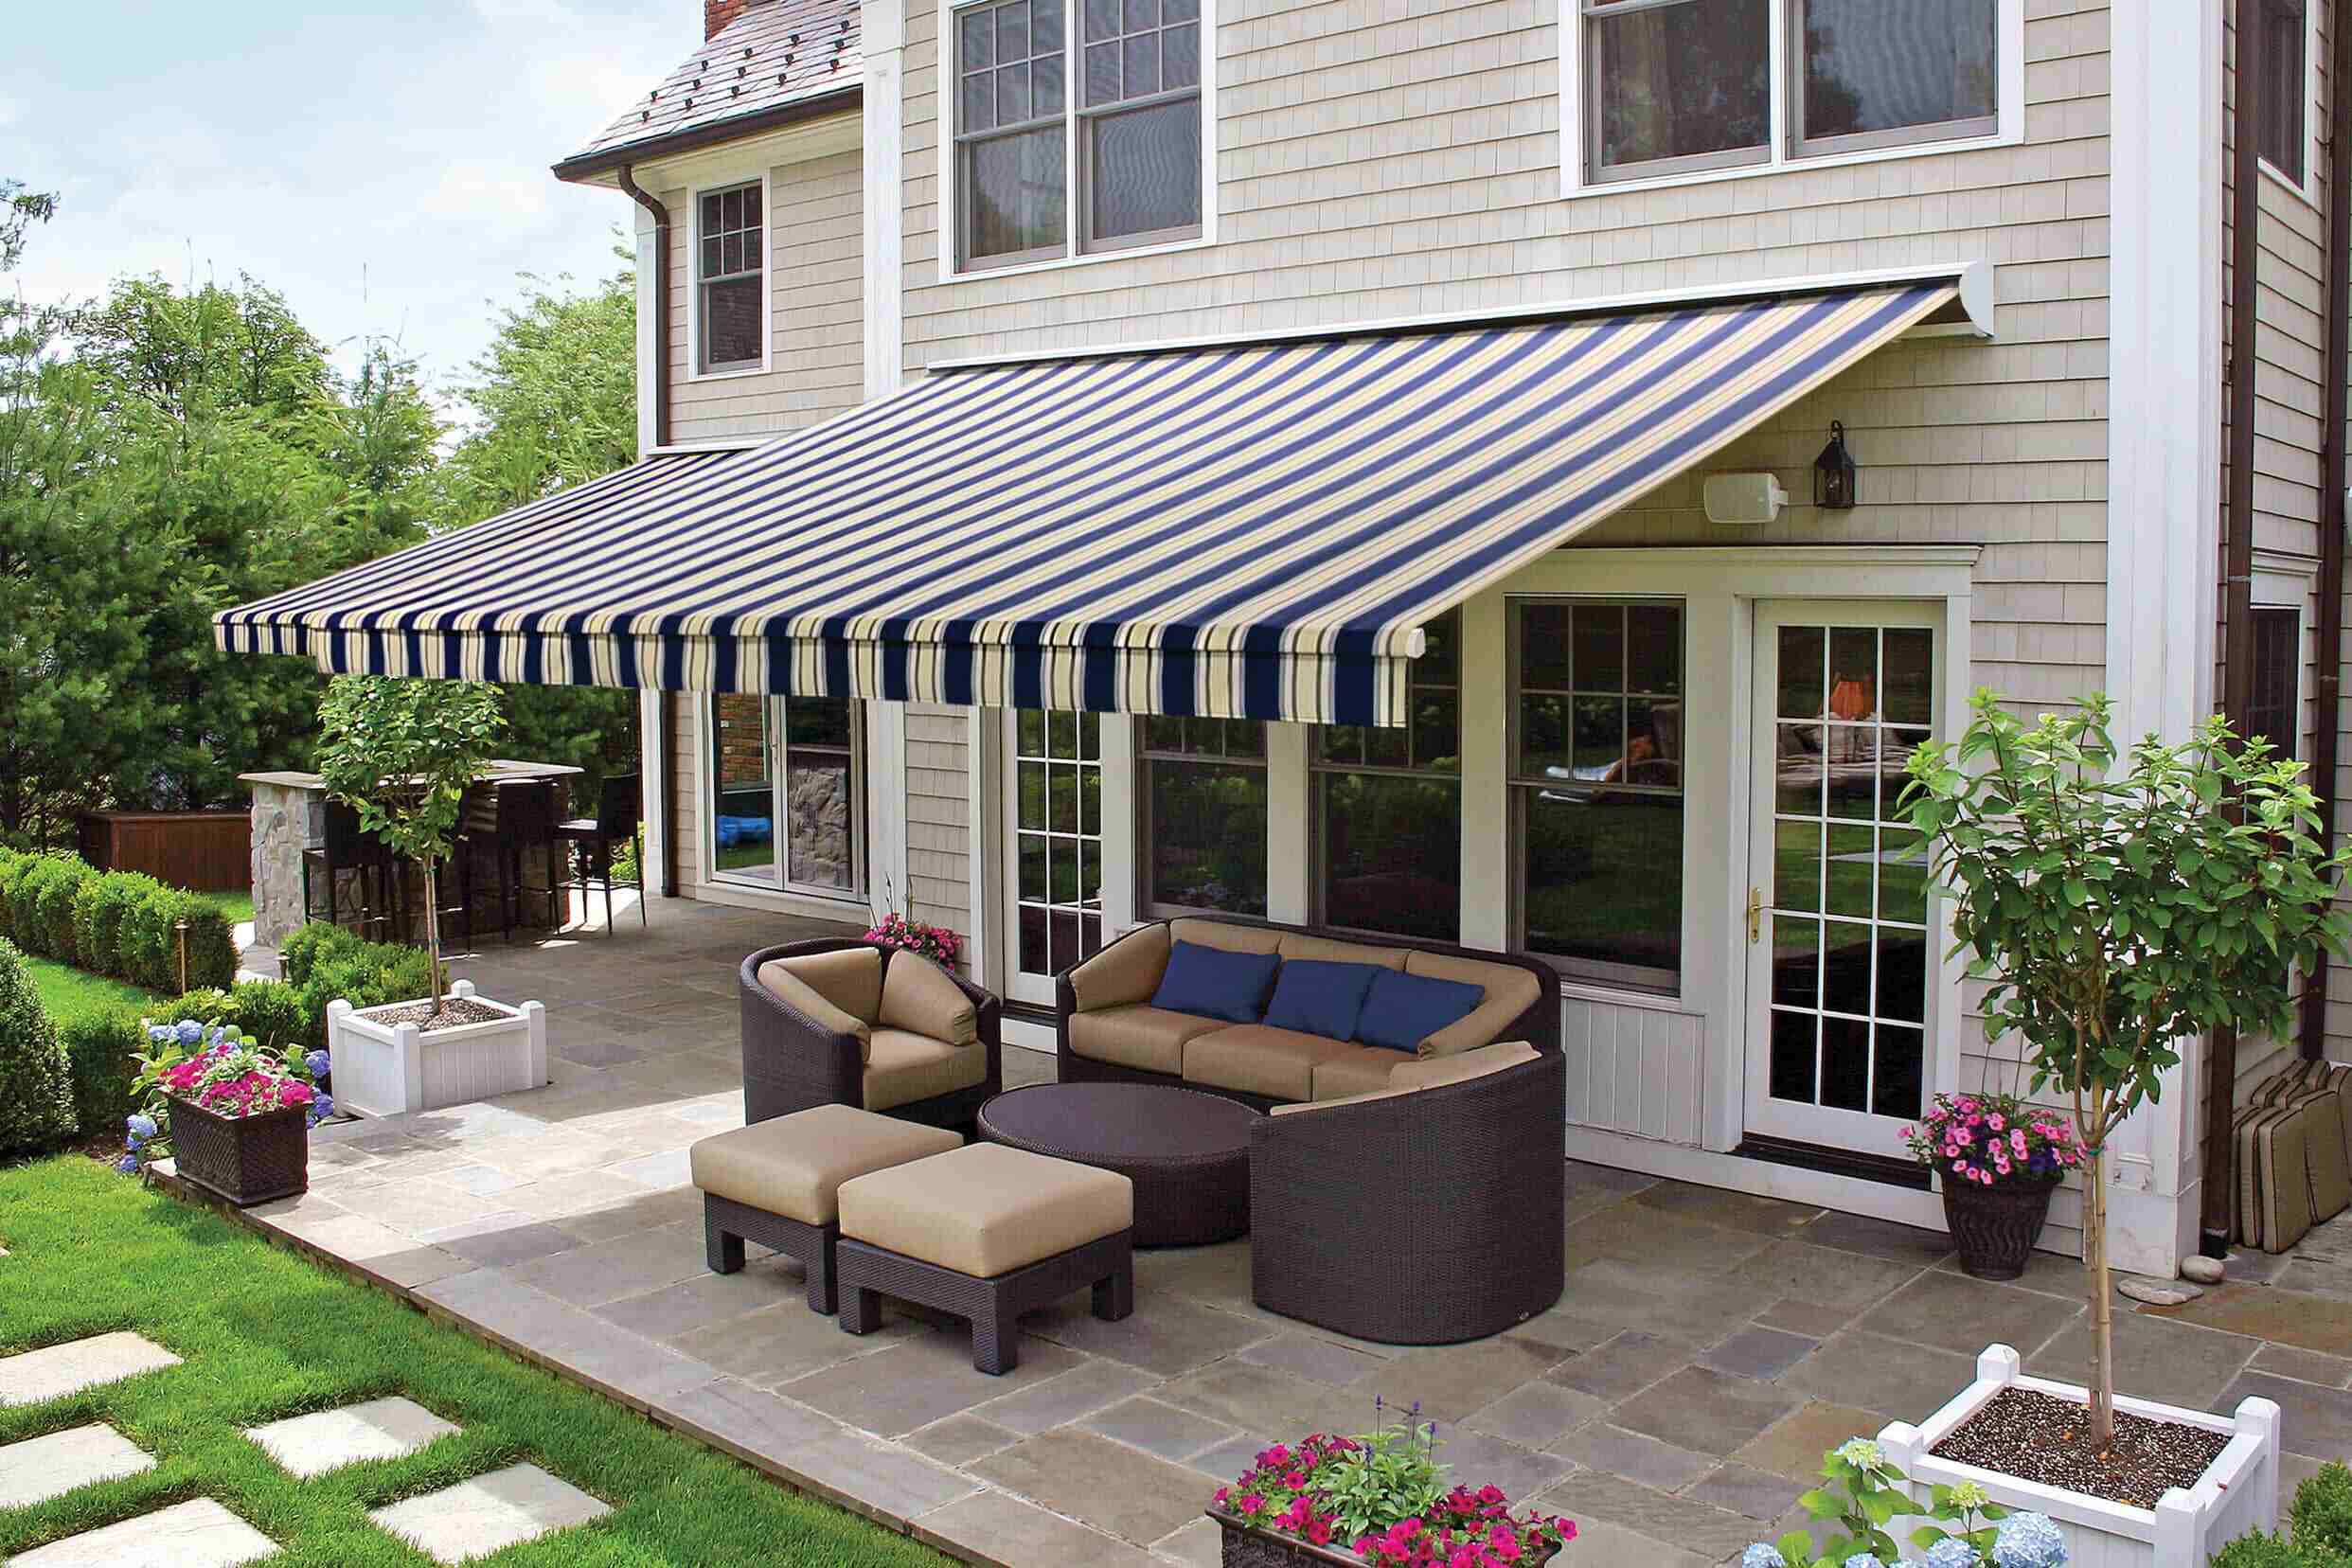
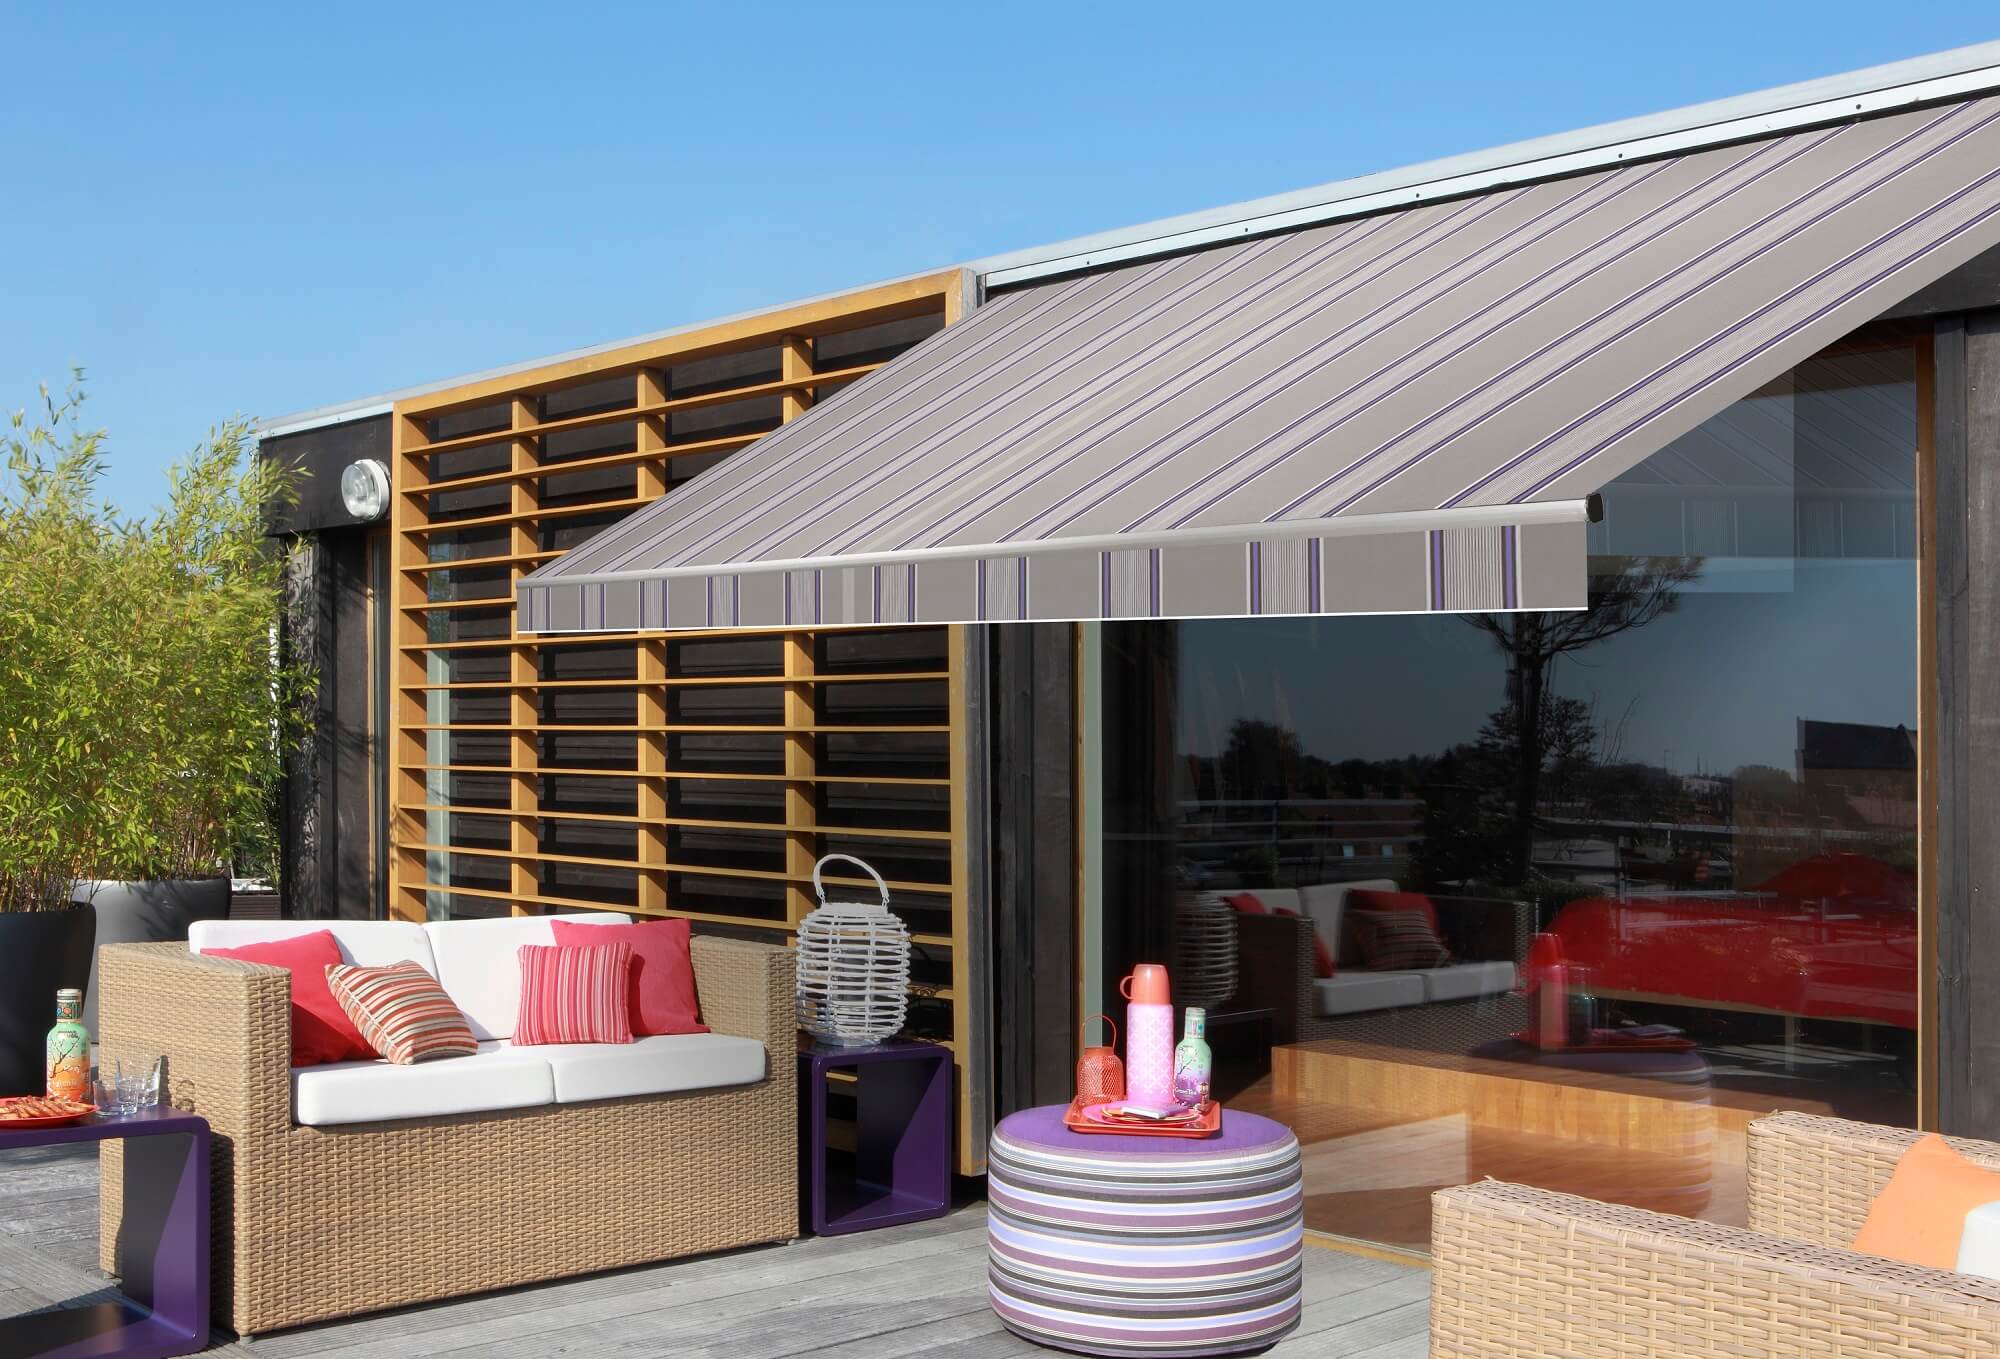
Read more: What Is A Retractable Awning
Step 1: Gather necessary tools and materials
Before retracting your RV awning, it's essential to gather the required tools and materials to ensure a smooth and efficient process. Here's what you'll need:
-
Safety Gear: Prioritize safety by wearing appropriate gear such as gloves and safety glasses to protect yourself from any potential hazards during the retraction process.
-
Ladder: Depending on the height of your RV, a sturdy ladder may be necessary to reach the awning mechanism safely.
-
Awning Rod or Hook: This tool is essential for releasing the awning and retracting it properly. It allows you to reach the awning mechanism without risking injury.
-
Assistance: If possible, enlist the help of a friend or family member. An extra set of hands can make the process smoother and safer, especially when retracting larger awnings.
-
Weather Check: Before retracting the awning, assess the current weather conditions. If strong winds or storms are forecasted, it's advisable to postpone the retraction to prevent potential damage to the awning and RV.
By ensuring that you have all the necessary tools and materials on hand, you'll be well-prepared to proceed with the next steps of retracting your RV awning. With safety gear in place and the right tools at your disposal, you can approach the retraction process with confidence and peace of mind.
Step 2: Secure the area
Before proceeding with retracting your RV awning, it's crucial to secure the surrounding area to ensure a safe and unobstructed process. Here's a detailed guide on how to secure the area effectively:
-
Clear the Surroundings: Begin by removing any obstacles or debris near the awning. This includes outdoor furniture, camping gear, or any other items that could impede the retraction process. Clearing the surroundings creates a clear path for the awning to retract without encountering any obstructions.
-
Check for Overhanging Branches: Inspect the area above the RV for overhanging branches or potential hazards. Trim any branches that could interfere with the awning's retraction, ensuring that there are no obstructions that could cause damage during the process.
-
Stabilize the RV: If your RV is equipped with stabilizing jacks, ensure that they are engaged to provide additional stability during the retraction. This minimizes any unnecessary movement or swaying of the vehicle, creating a safer environment for the retraction process.
-
Secure Loose Items: Take a moment to secure any loose items within the RV and awning area. This includes folding and securing outdoor rugs, stowing away loose items, and ensuring that all belongings are safely stored to prevent them from being caught in the awning during retraction.
-
Alert Nearby Individuals: If you're in a campground or RV park, consider alerting nearby individuals of your intention to retract the awning. This simple courtesy can prevent accidental collisions or interference during the retraction process, promoting a safer environment for everyone in the vicinity.
By diligently securing the area before retracting your RV awning, you create a controlled and safe environment for the retraction process. These proactive measures not only safeguard your surroundings but also contribute to a smooth and hassle-free retraction, allowing you to proceed with confidence and peace of mind.
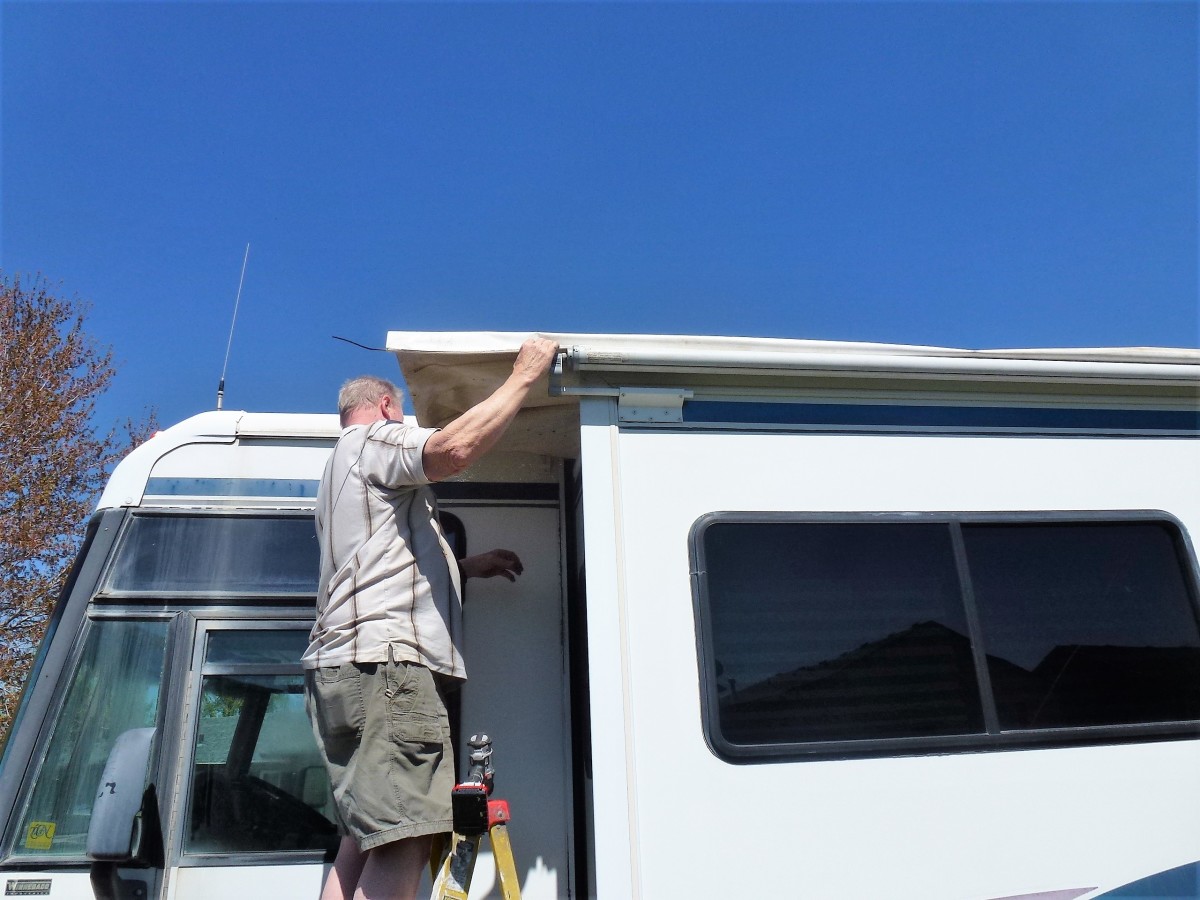
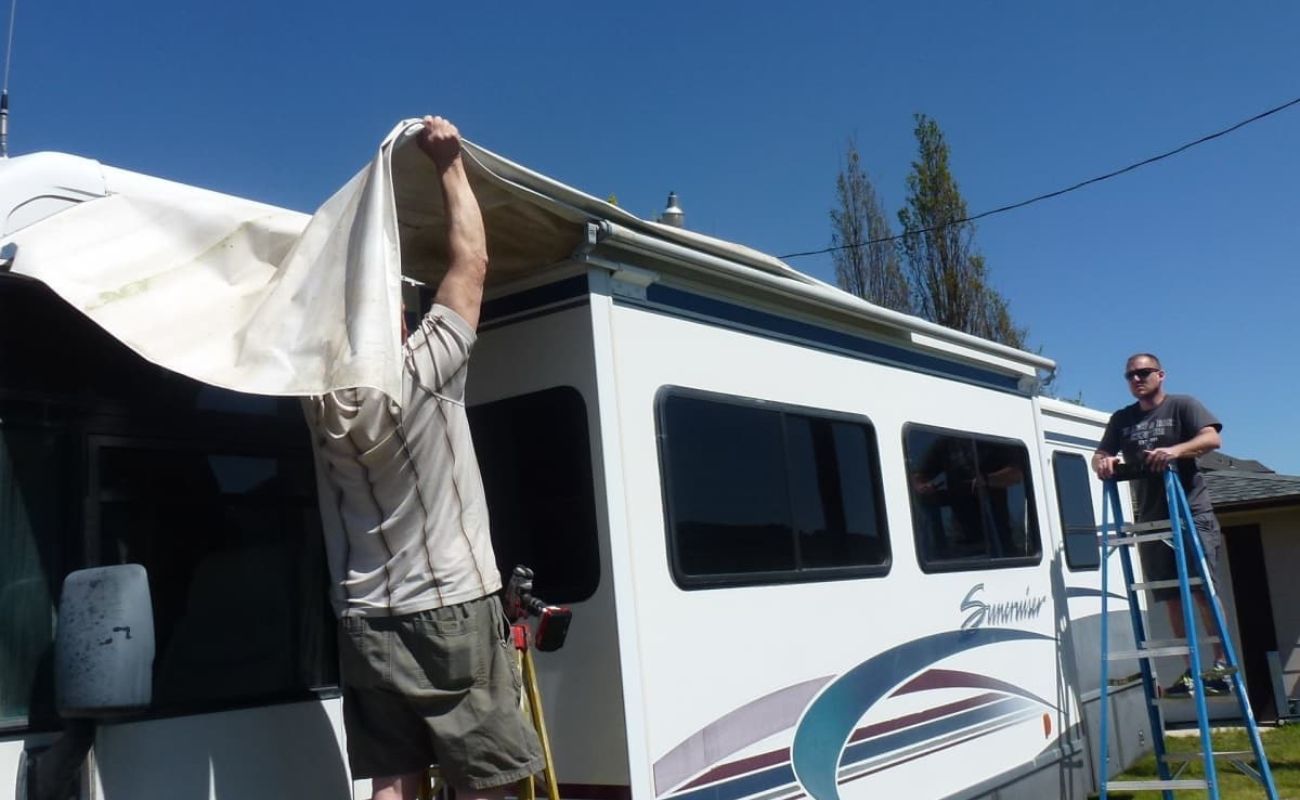
Step 3: Release the awning
Releasing the RV awning is a critical step in the retraction process, and it requires careful attention to ensure a smooth and controlled operation. Here's a detailed guide on how to release the awning effectively:
-
Positioning: Begin by positioning yourself at a safe distance from the awning mechanism. If your RV is equipped with an electric awning, locate the control panel and ensure that it is accessible for the retraction process. For manual awnings, identify the awning rod or hook that will be used to release the mechanism.
-
Safety Precautions: Prioritize safety by wearing protective gloves and ensuring that the area beneath the awning is clear of any obstructions. This precaution minimizes the risk of injury and ensures a safe environment for releasing the awning.
-
Electric Awning Release: If your RV is equipped with an electric awning, locate the control panel and follow the manufacturer's instructions for retracting the awning. Typically, this involves pressing the designated retraction button and allowing the awning to begin its inward motion. It's important to monitor the retraction process closely to ensure that the awning moves smoothly and without any obstructions.
-
Manual Awning Release: For manual awnings, use the designated awning rod or hook to release the awning mechanism. Carefully insert the rod into the designated slot or hook on the awning mechanism and disengage the locking mechanism. Exercise caution and ensure that the awning is released smoothly and without any resistance.
-
Assistance: If possible, enlist the help of a companion to assist with the release process. An additional set of eyes can help ensure that the awning retracts smoothly and that any potential issues are addressed promptly.
By following these steps, you can release the RV awning safely and efficiently, setting the stage for the subsequent retraction process. With the awning released and ready for retraction, you can proceed to the next step with confidence, knowing that you've taken the necessary precautions for a smooth and hassle-free operation.
Always check the weather before retracting your RV awning. Strong winds or storms can damage the awning. Make sure the awning is clean and free of debris before retracting to prevent damage.
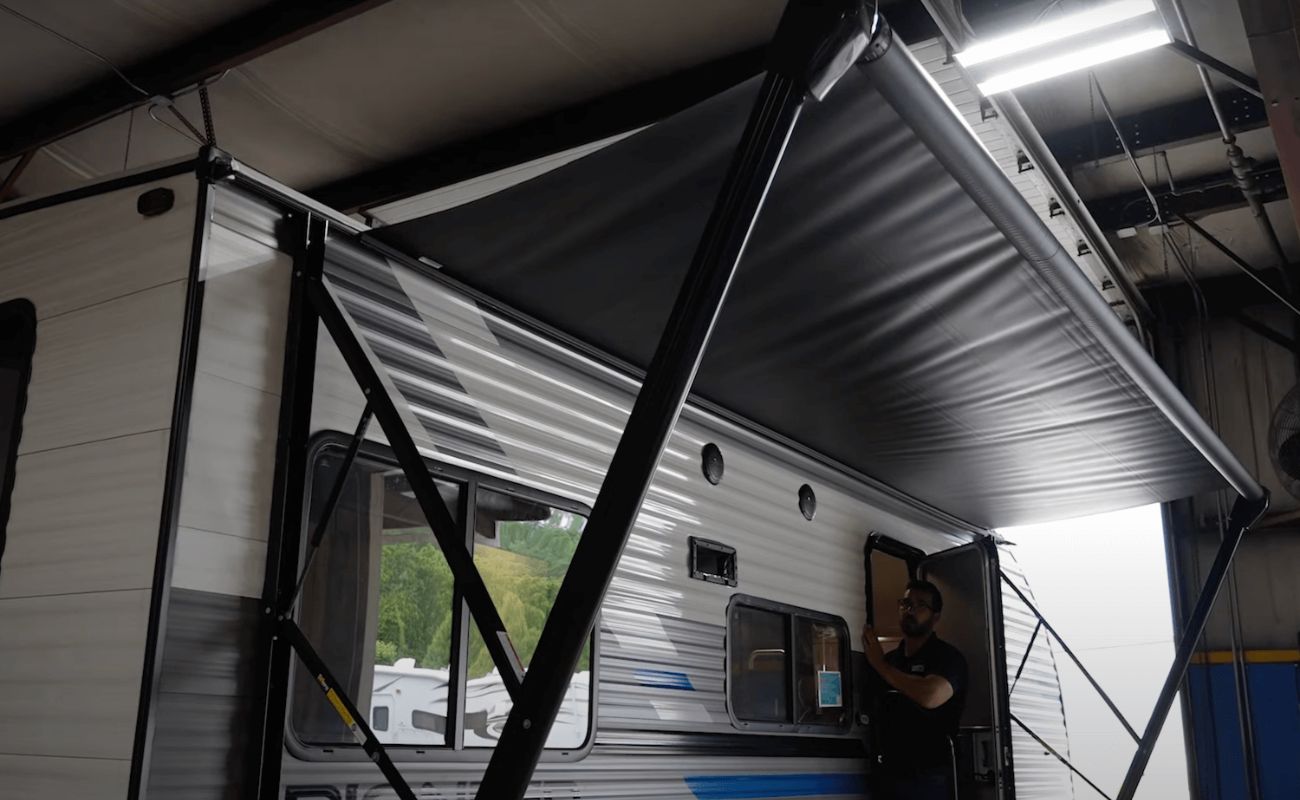
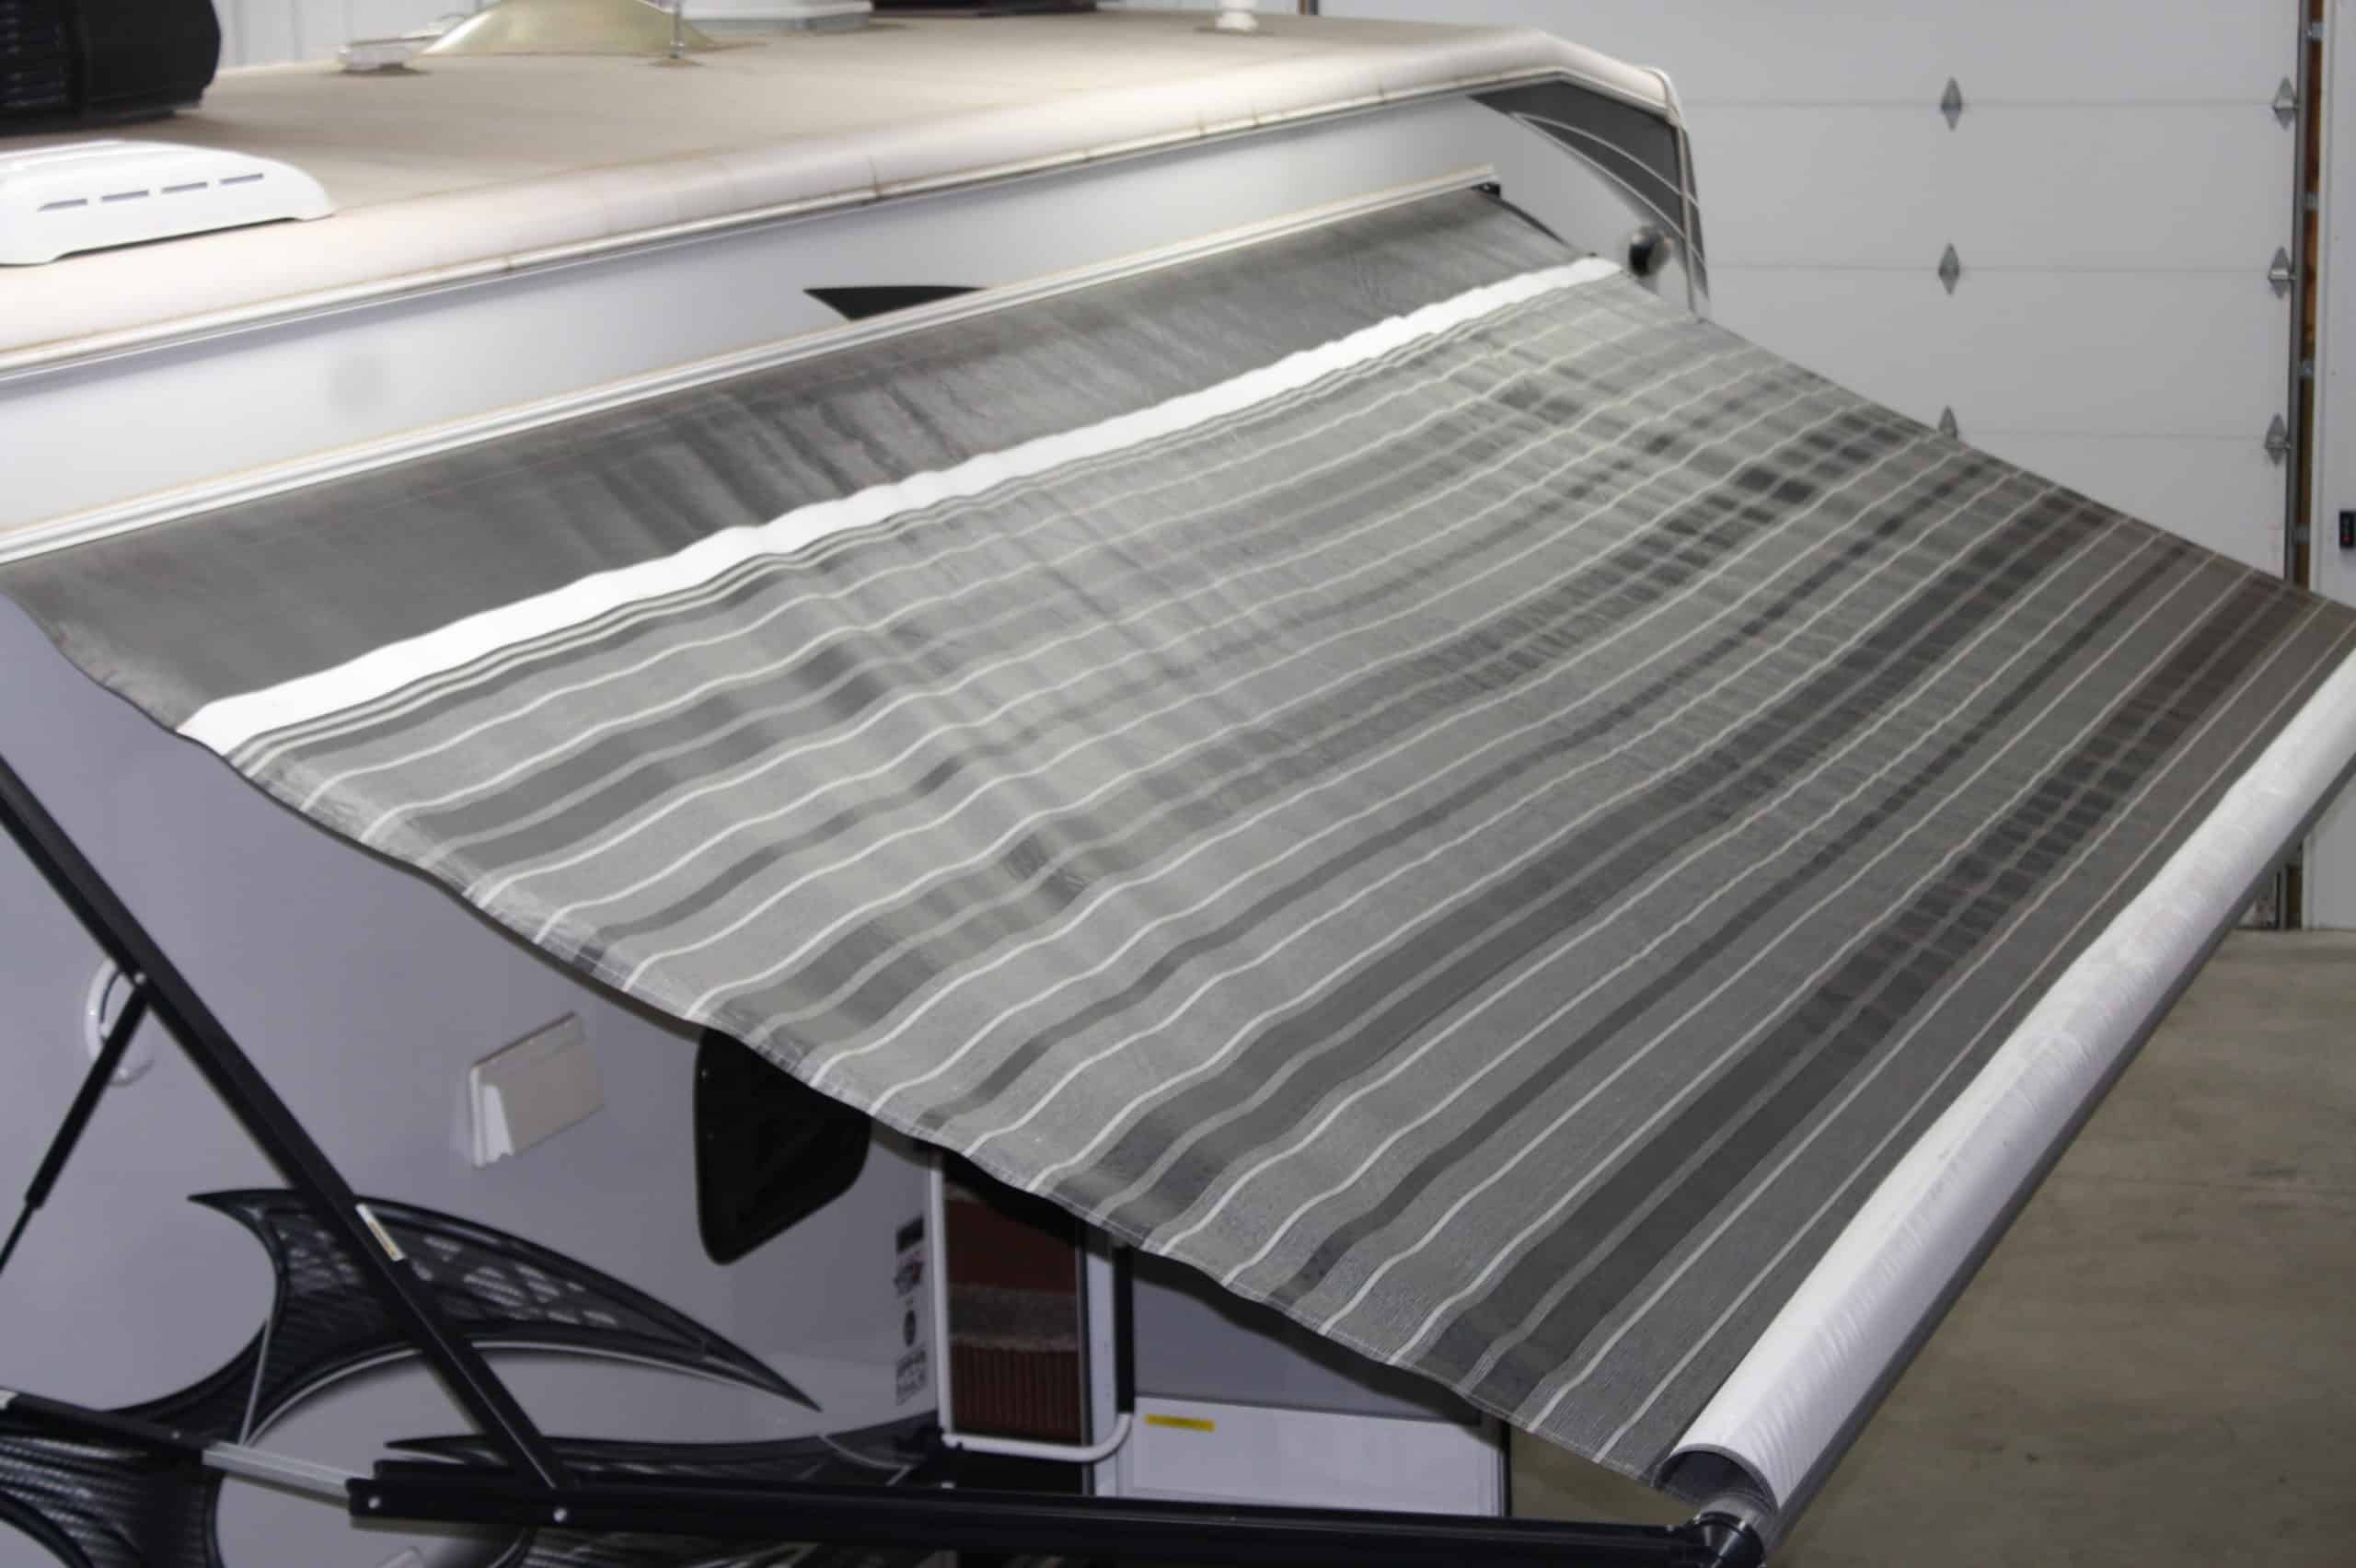
Step 4: Retract the awning
With the RV awning successfully released, the next crucial step is to retract it securely and efficiently. This process ensures that the awning is properly stowed, safeguarding it from potential damage during travel or adverse weather conditions. Here's a detailed guide on how to retract the awning effectively:
-
Monitor the Retraction: Whether you have an electric or manual awning, it's essential to monitor the retraction process closely. For electric awnings, observe the motion of the awning as it retracts inward, ensuring that it moves smoothly without any signs of resistance or misalignment. If any irregularities are observed, such as unusual sounds or uneven retraction, pause the process immediately and address the issue before proceeding.
-
Manual Retraction: If you have a manual awning, use the designated awning rod or hook to guide the retraction process. Apply gentle and consistent pressure to guide the awning as it folds inward. Exercise caution to prevent any abrupt movements that could potentially damage the awning or cause injury.
-
Check for Obstructions: Throughout the retraction process, be vigilant for any obstructions that may impede the smooth operation of the awning. This includes ensuring that fabric or support arms do not catch on any nearby objects or vehicle components. Address any potential obstructions promptly to prevent damage to the awning or surrounding structures.
-
Maintain Tension: As the awning retracts, ensure that the fabric remains taut and evenly aligned. This prevents unnecessary strain on the awning mechanism and promotes a balanced retraction. If any signs of fabric bunching or uneven tension are observed, pause the retraction process and make the necessary adjustments to ensure a smooth and uniform fold.
-
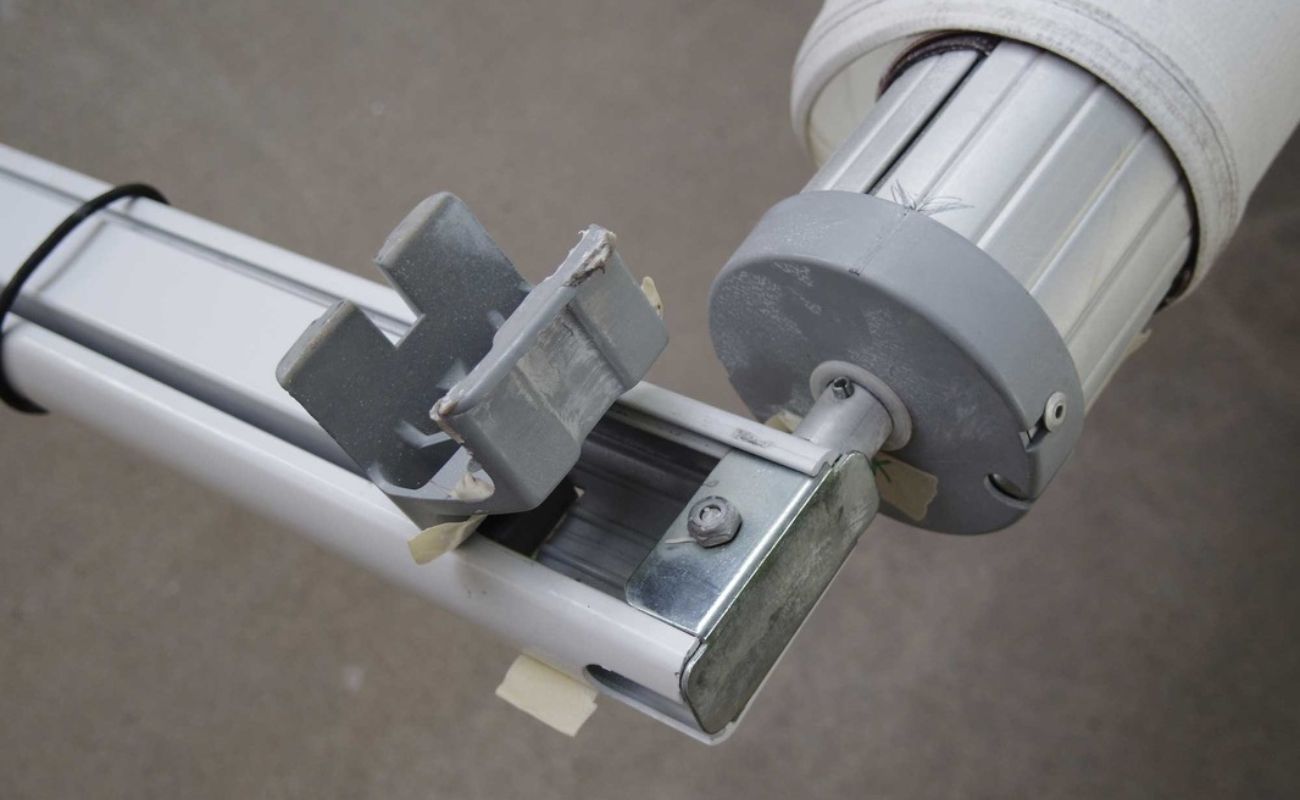
Secure the Awning: Once the awning is fully retracted, engage any locking mechanisms or fasteners to secure it in place. This prevents the awning from unfurling during travel and minimizes the risk of damage caused by unexpected movements. Double-check that the awning is securely fastened before proceeding to the next steps of preparing for travel.
By following these steps, you can retract the RV awning with precision and care, ensuring that it is stowed securely for travel or storage. A methodical approach to the retraction process minimizes the risk of damage to the awning and promotes a safe and hassle-free experience. With the awning successfully retracted, you can proceed to the final step of securing it for travel, knowing that you've executed this essential task with diligence and attention to detail.
Read more: How To Install A Retractable Awning
Step 5: Secure the awning for travel
Securing the RV awning for travel is the final crucial step in the retraction process, ensuring that the awning remains safely stowed during transit. By following these detailed guidelines, you can effectively secure the awning, mitigating the risk of damage and ensuring a smooth journey.
-
Double-Check Fastenings: Before proceeding, double-check all fastenings and locking mechanisms to ensure that the awning is securely latched in its retracted position. This includes verifying the integrity of any latches, straps, or fastening devices that hold the awning in place. A thorough inspection provides peace of mind and minimizes the risk of unexpected unfurling during travel.
-
Stow Accessories: If your awning is equipped with accessories such as sunshades, screen rooms, or wind deflectors, ensure that they are properly stowed and secured. Remove any loose accessories and stow them in designated storage compartments within the RV to prevent damage or loss during transit. This proactive measure safeguards both the awning and its accompanying accessories.
-
Inspect Support Arms: For awnings with adjustable support arms, ensure that they are securely locked in their retracted position. Verify that the arms are aligned and fastened to prevent any potential movement or shifting during travel. This inspection minimizes the risk of support arm deployment and maintains the awning's compact profile for safe transit.
-
Weather Considerations: If you're retracting the awning in anticipation of inclement weather, such as strong winds or storms, consider additional precautions. While the awning is securely retracted, assess the weather conditions and take necessary measures to safeguard the RV against adverse elements. This may include securing additional tie-downs or implementing supplementary anchoring methods to fortify the awning's stability.
-
Routine Maintenance: As part of the retraction process, take the opportunity to conduct a brief visual inspection of the awning fabric and mechanism. Look for any signs of wear, damage, or irregularities that may require attention. Addressing minor issues proactively can prevent potential complications and contribute to the overall longevity of the awning.
By meticulously securing the awning for travel, you ensure that it remains safely stowed and protected during transit. This comprehensive approach minimizes the risk of damage, promotes a seamless travel experience, and underscores the importance of proper awning maintenance and care. With the awning securely stowed, you can embark on your journey with confidence, knowing that this essential task has been executed with precision and diligence.
Conclusion
Retracting an RV awning is a fundamental aspect of outdoor adventure preparation, and mastering this skill is essential for every RV owner. By following the step-by-step process outlined in this guide, you can confidently and safely retract your RV awning, safeguarding it from potential damage and ensuring a smooth and secure travel experience.
Throughout this comprehensive guide, we've emphasized the importance of meticulous preparation, safety precautions, and a methodical approach to the retraction process. From gathering the necessary tools and materials to securing the area, releasing the awning, retracting it with care, and finally, securing it for travel, each step plays a crucial role in safeguarding your RV awning and promoting a hassle-free journey.
By prioritizing safety and attention to detail, you not only protect your RV and awning but also contribute to their longevity and optimal performance. The proactive measures outlined in this guide, such as clearing the surroundings, monitoring the retraction process, and securing the awning for travel, underscore the significance of a thorough and conscientious approach to outdoor structure maintenance.
Furthermore, the process of retracting an RV awning serves as an opportunity to familiarize yourself with your vehicle's components, cultivate a sense of responsibility for its upkeep, and enhance your overall outdoor adventure experience. As you become proficient in retracting your RV awning, you'll gain confidence in handling essential tasks and ensuring the safety and well-being of your recreational vehicle and its occupants.
In conclusion, by following the guidelines presented in this article, you've equipped yourself with the knowledge and skills necessary to retract your RV awning effectively. Embracing a proactive and safety-oriented mindset, along with a commitment to meticulous preparation and execution, empowers you to navigate the retraction process with confidence and ease.
As you embark on your outdoor adventures, may this guide serve as a valuable resource, guiding you through the essential task of retracting your RV awning and contributing to a seamless and enjoyable travel experience. Remember, by prioritizing safety, maintenance, and attention to detail, you're not only safeguarding your RV awning but also enhancing the overall quality of your outdoor excursions.
Frequently Asked Questions about How To Retract An RV Awning
Was this page helpful?
At Storables.com, we guarantee accurate and reliable information. Our content, validated by Expert Board Contributors, is crafted following stringent Editorial Policies. We're committed to providing you with well-researched, expert-backed insights for all your informational needs.


0 thoughts on “How To Retract An RV Awning”