Home>Gardening & Outdoor>Outdoor Structures>How To Install A Retractable Awning
Outdoor Structures
How To Install A Retractable Awning
Modified: November 2, 2024
Learn how to install a retractable awning and enhance your outdoor space with our step-by-step guide. Create a comfortable and stylish outdoor area with our outdoor structures expertise.
(Many of the links in this article redirect to a specific reviewed product. Your purchase of these products through affiliate links helps to generate commission for Storables.com, at no extra cost. Learn more)
Introduction
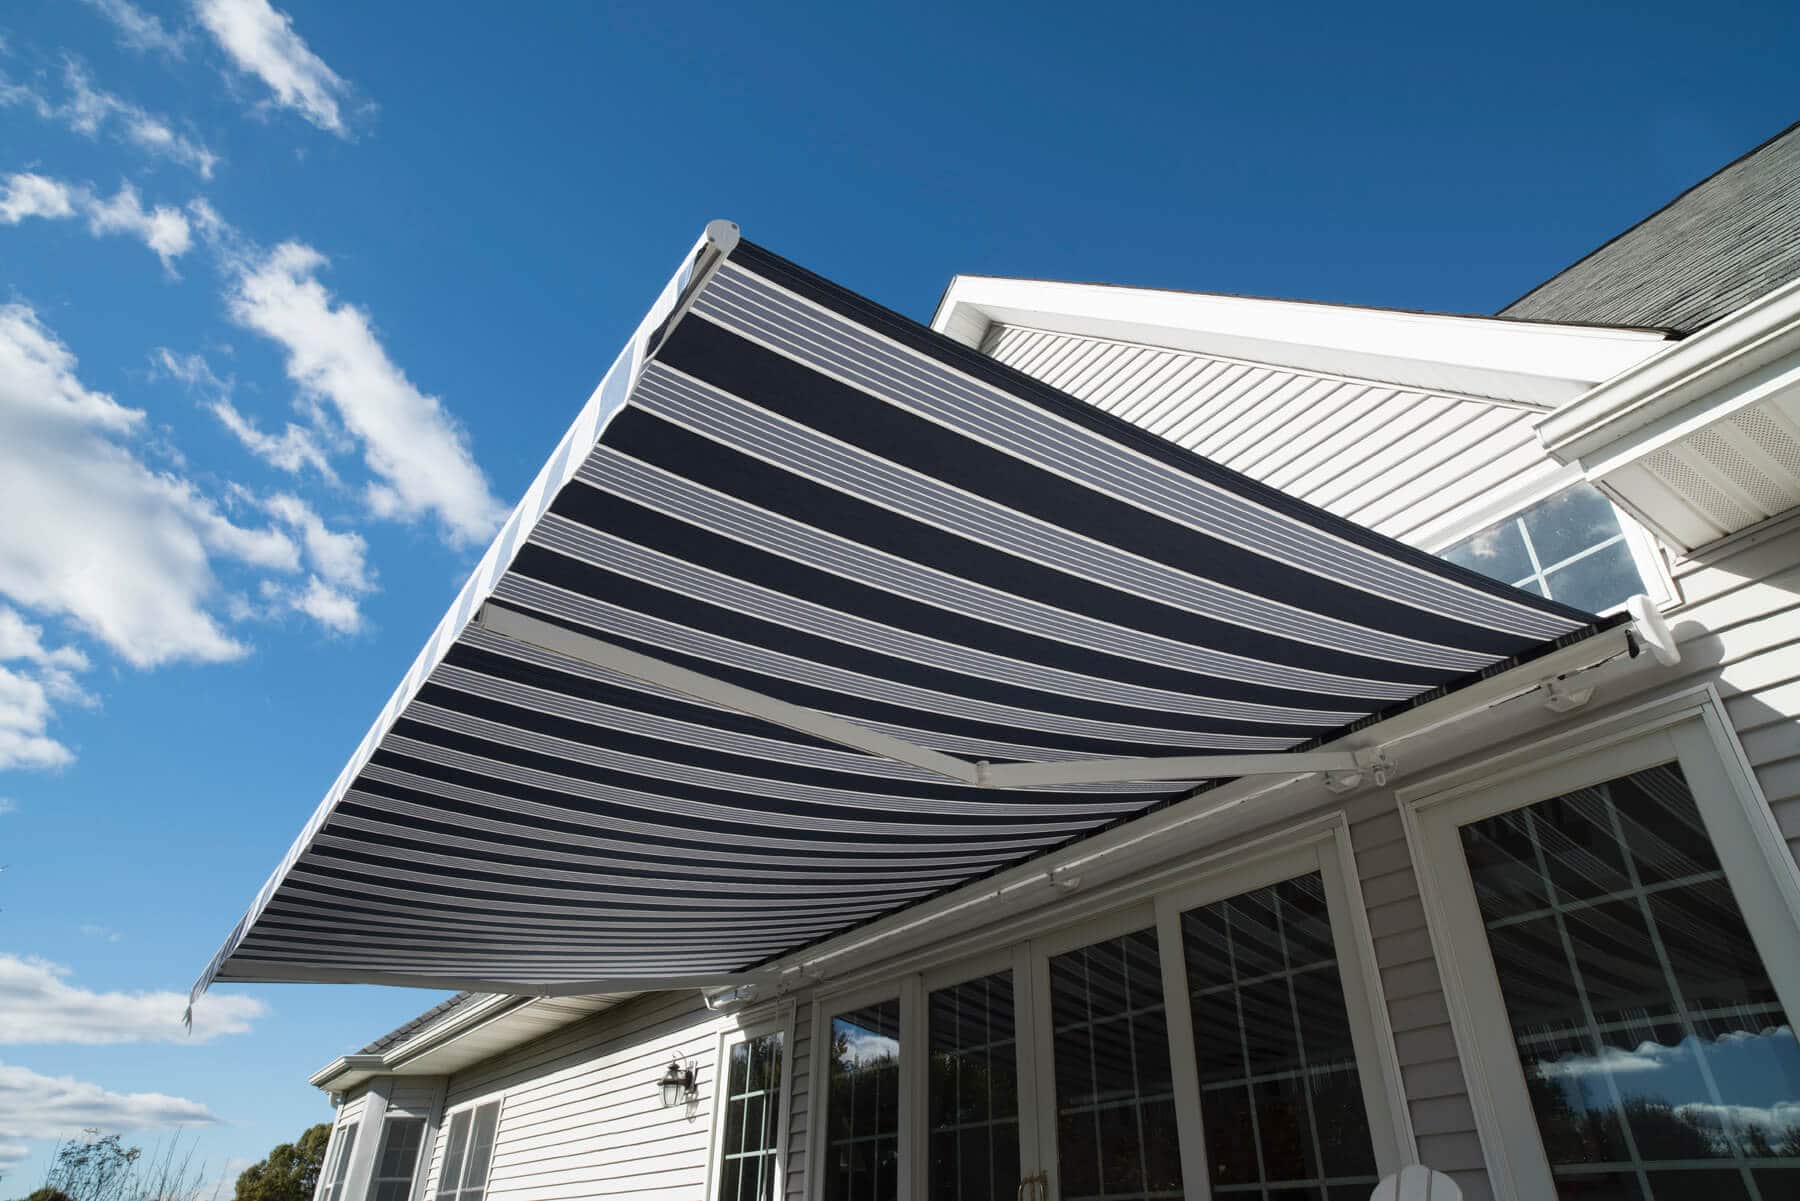
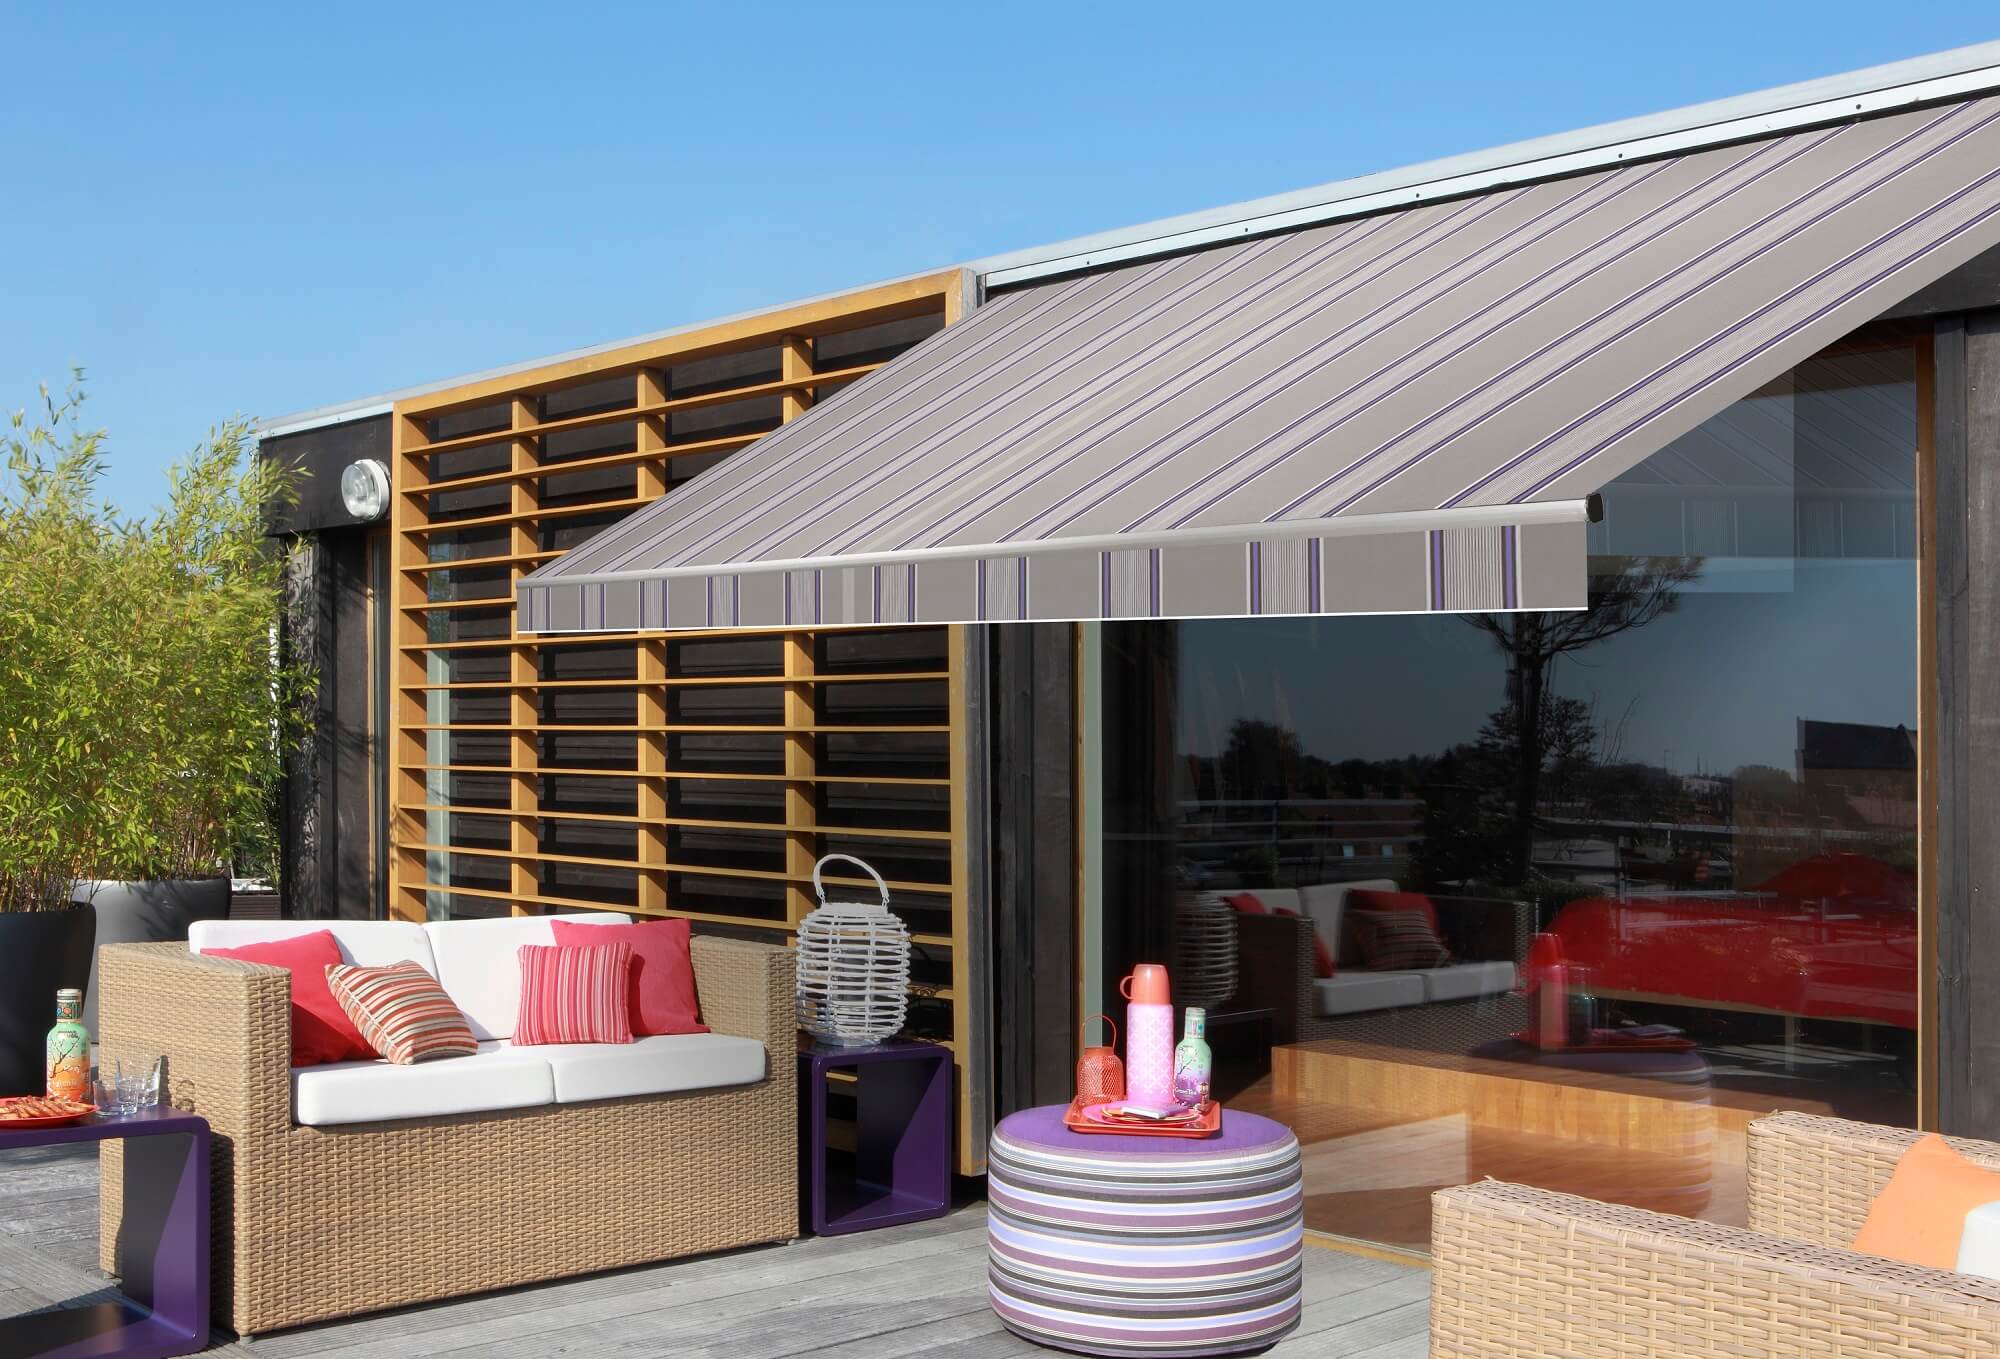
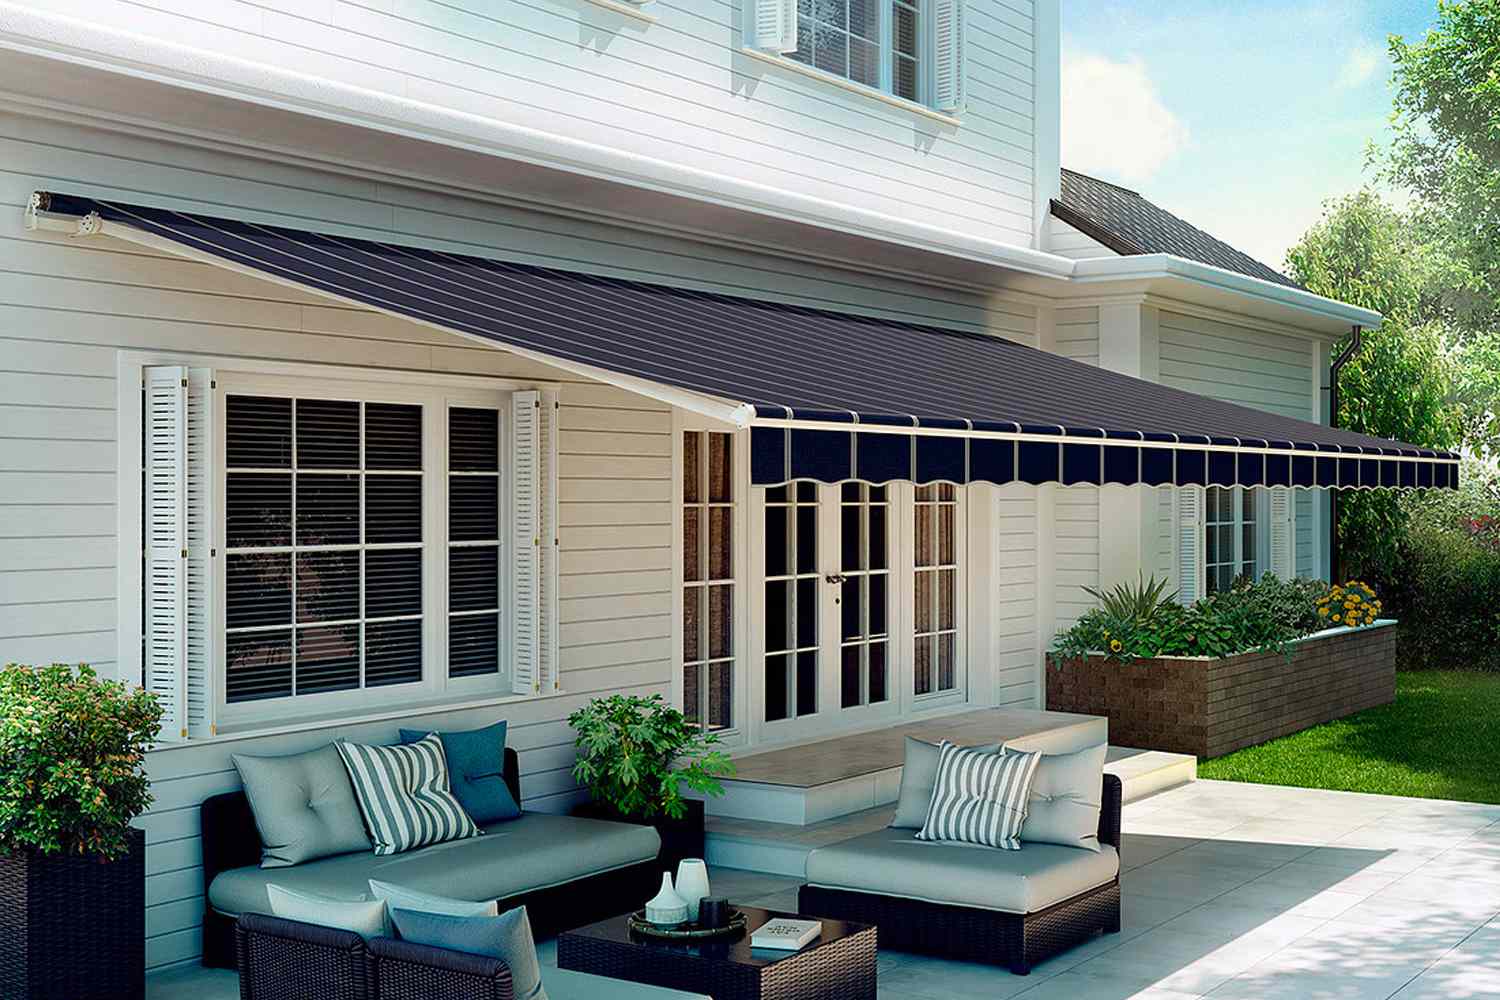
Retractable awnings are a fantastic addition to any outdoor space, providing shade and protection from the elements while enhancing the aesthetic appeal of your home. Whether you’re looking to create a cozy spot for outdoor gatherings or simply want to enjoy your patio without being exposed to harsh sunlight or light rain, a retractable awning is a versatile solution that offers both style and functionality.
In this guide, we’ll walk you through the process of installing a retractable awning, from choosing the right location to adjusting and testing the final setup. By following these steps, you can ensure a smooth and successful installation, allowing you to make the most of your outdoor living area.
Key Takeaways:
- Find the perfect spot for your retractable awning by considering sun exposure, structural support, clearance, and aesthetic appeal. This ensures a shady, stylish, and sturdy addition to your outdoor space.
- Assemble and install your retractable awning with care, following the manufacturer’s instructions. Test the mechanism, adjust tension and angle, and enjoy a comfortable and stylish outdoor retreat.
Read more: What Is A Retractable Awning
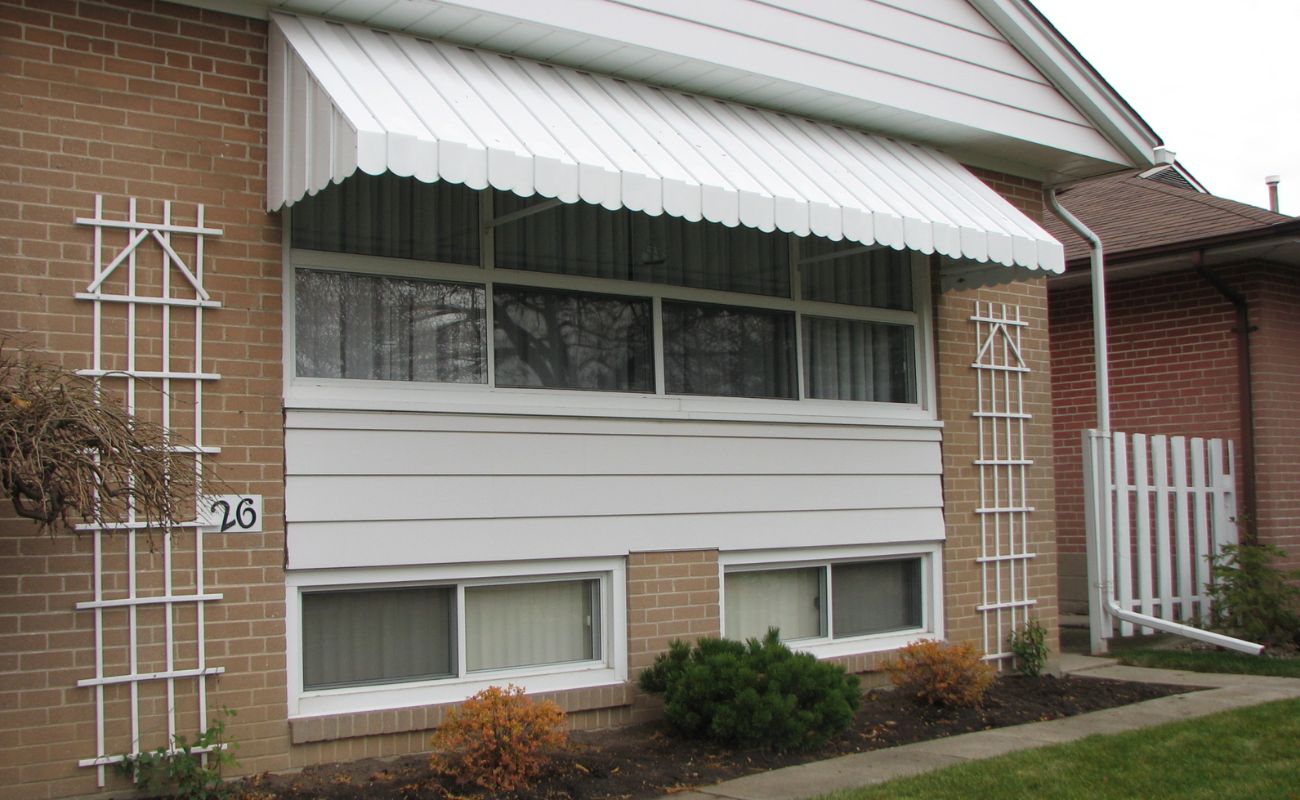
Choosing the Right Location
Before you start the installation process, it’s crucial to carefully select the ideal location for your retractable awning. Consider the following factors to ensure that you make the best choice:
- Sun Exposure: Assess the sun’s path throughout the day to determine the areas of your outdoor space that receive the most sunlight. Ideally, you’ll want to install the awning in a spot that provides ample shade during the hottest times of the day.
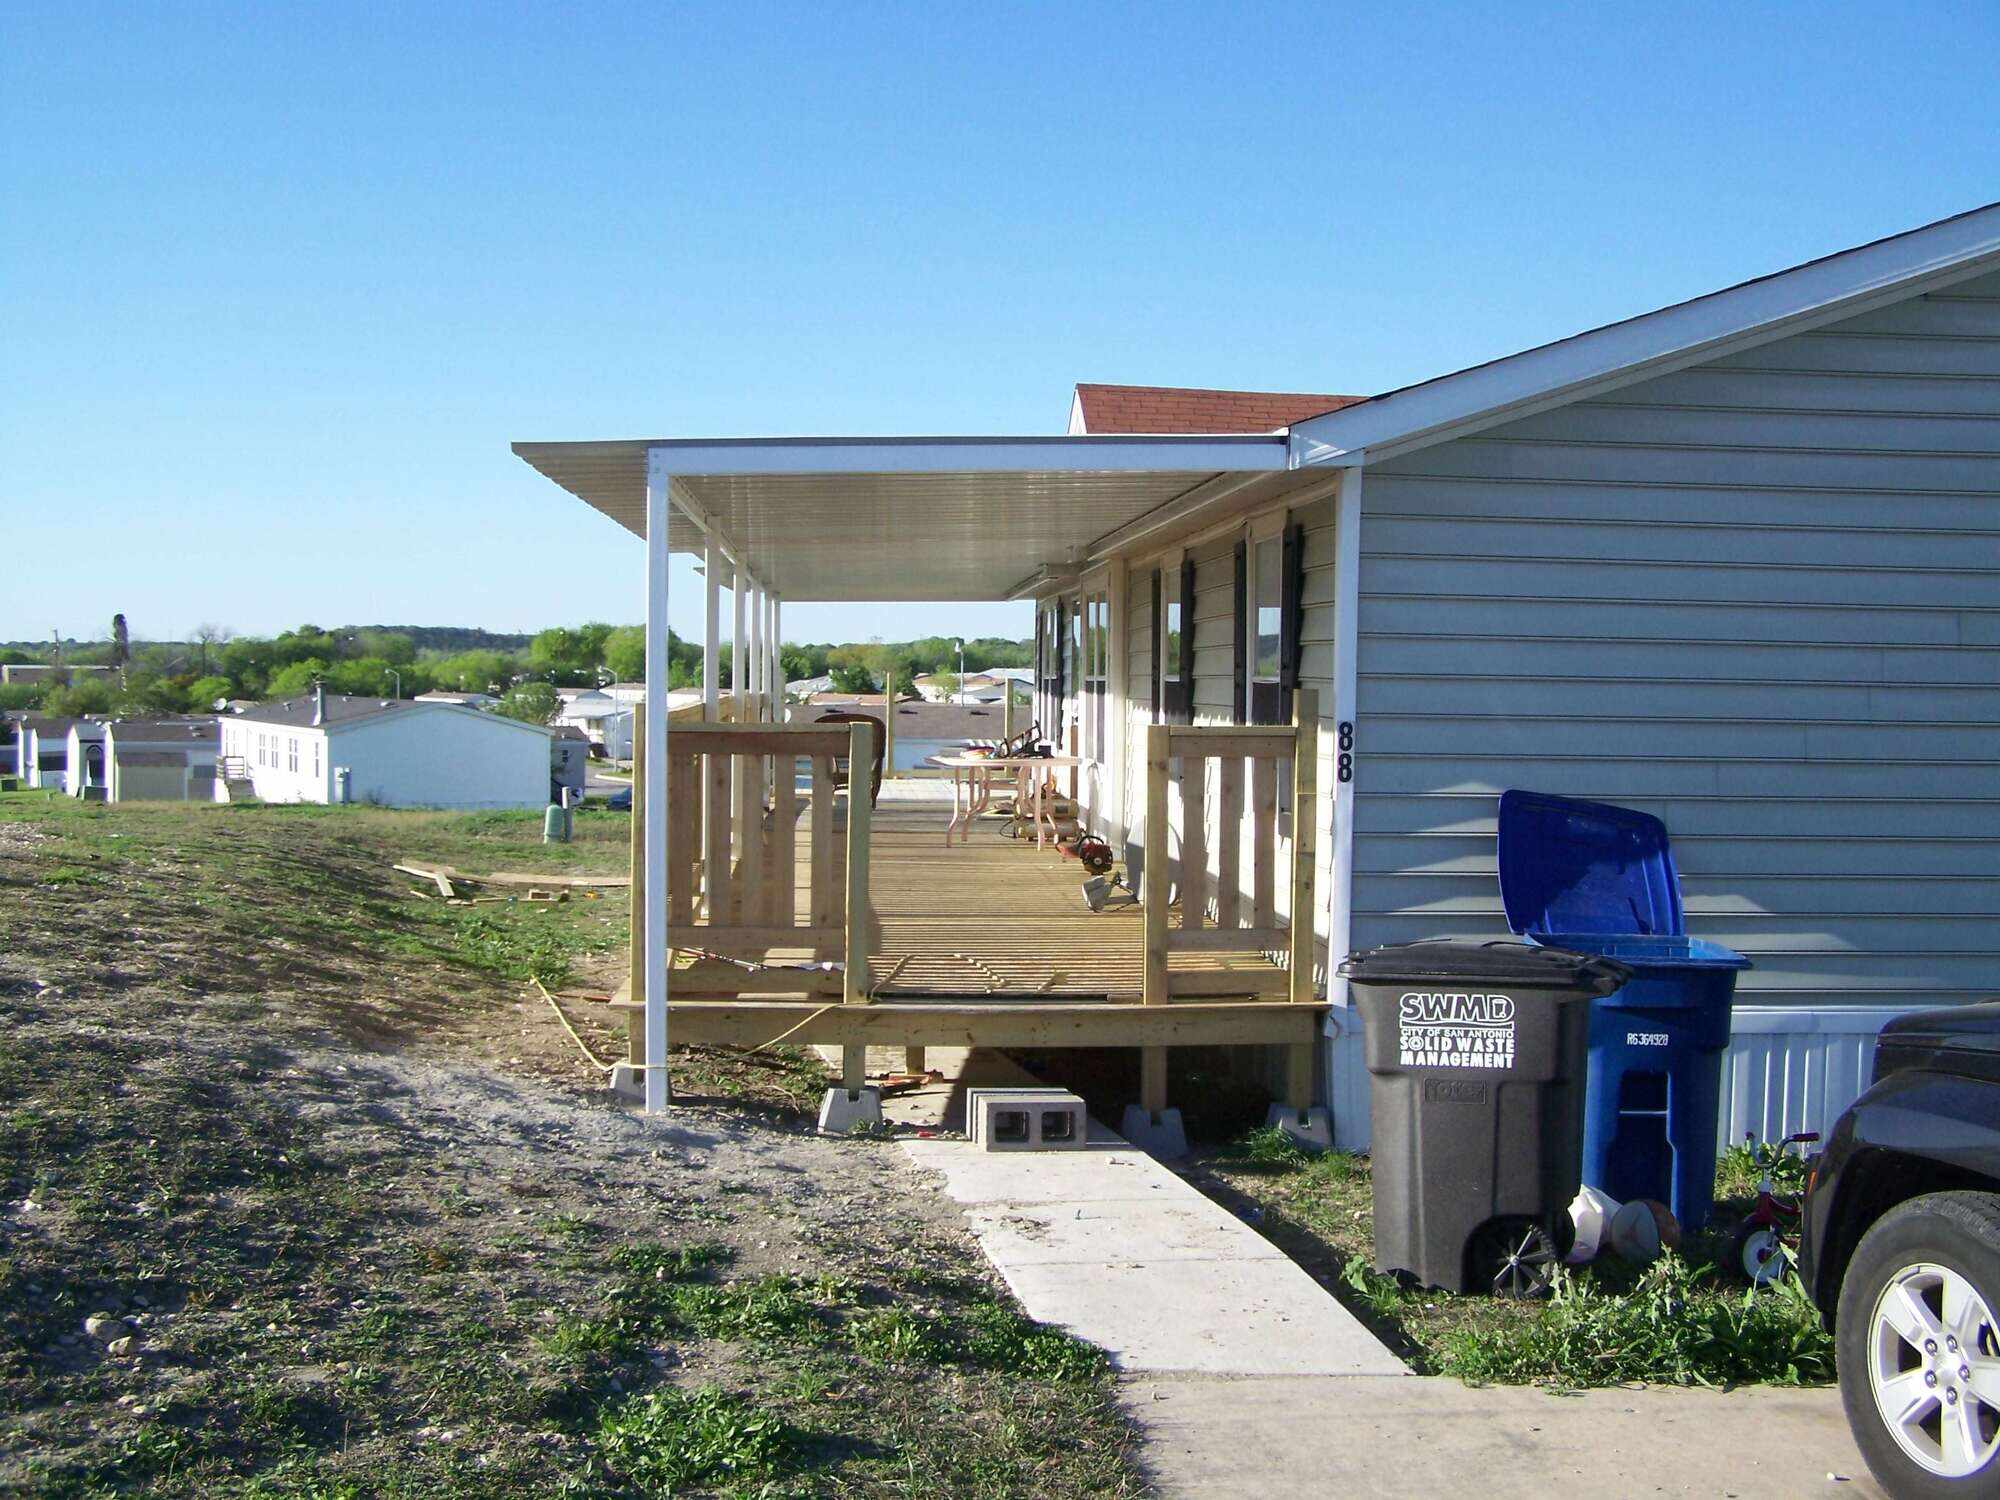
- Structural Support: Ensure that the chosen location offers sufficient structural support for the awning. This may involve attaching the awning to a sturdy wall, beam, or other load-bearing structure. It’s essential to verify that the installation area can bear the weight and stress of the awning.
- Clearance: Consider the surrounding elements and ensure that there is enough clearance for the awning to extend and retract without obstruction. This includes checking for any nearby trees, light fixtures, or architectural features that could interfere with the awning’s movement.
- Aesthetic Appeal: Take into account the visual impact of the awning in the chosen location. Consider how the awning will complement the overall design of your outdoor space and enhance its appeal.
By carefully evaluating these factors, you can pinpoint the optimal location for your retractable awning, setting the stage for a successful and satisfying installation process.
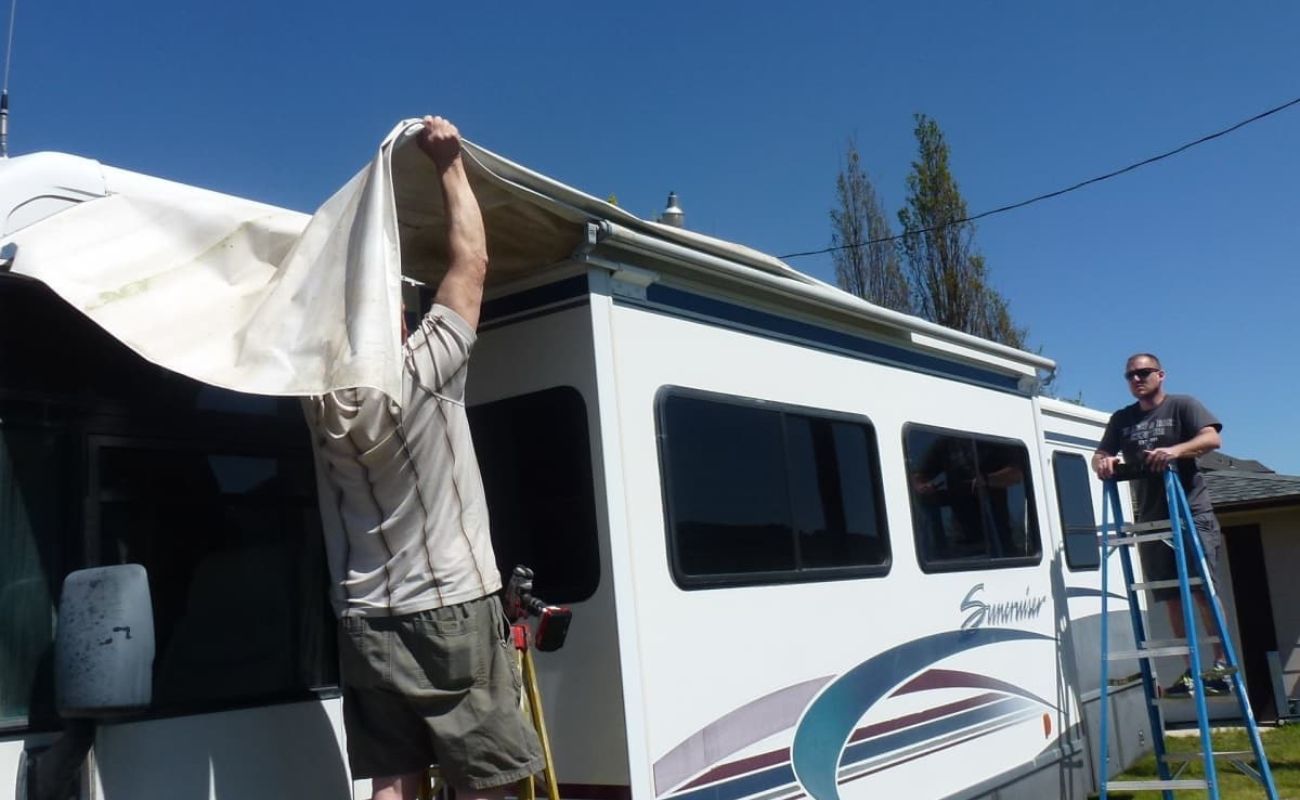
Assembling the Awning
Once you’ve determined the perfect location for your retractable awning, the next step is to assemble the components before installation. Follow these steps to ensure a smooth assembly process:
- Unpack the Components: Carefully unpack the awning and its accompanying parts, ensuring that all components are present and undamaged. Lay them out in an organized manner to facilitate the assembly process.
- Read the Instructions: Take the time to thoroughly review the manufacturer’s instructions provided with the awning. Familiarize yourself with the various components and their respective functions.
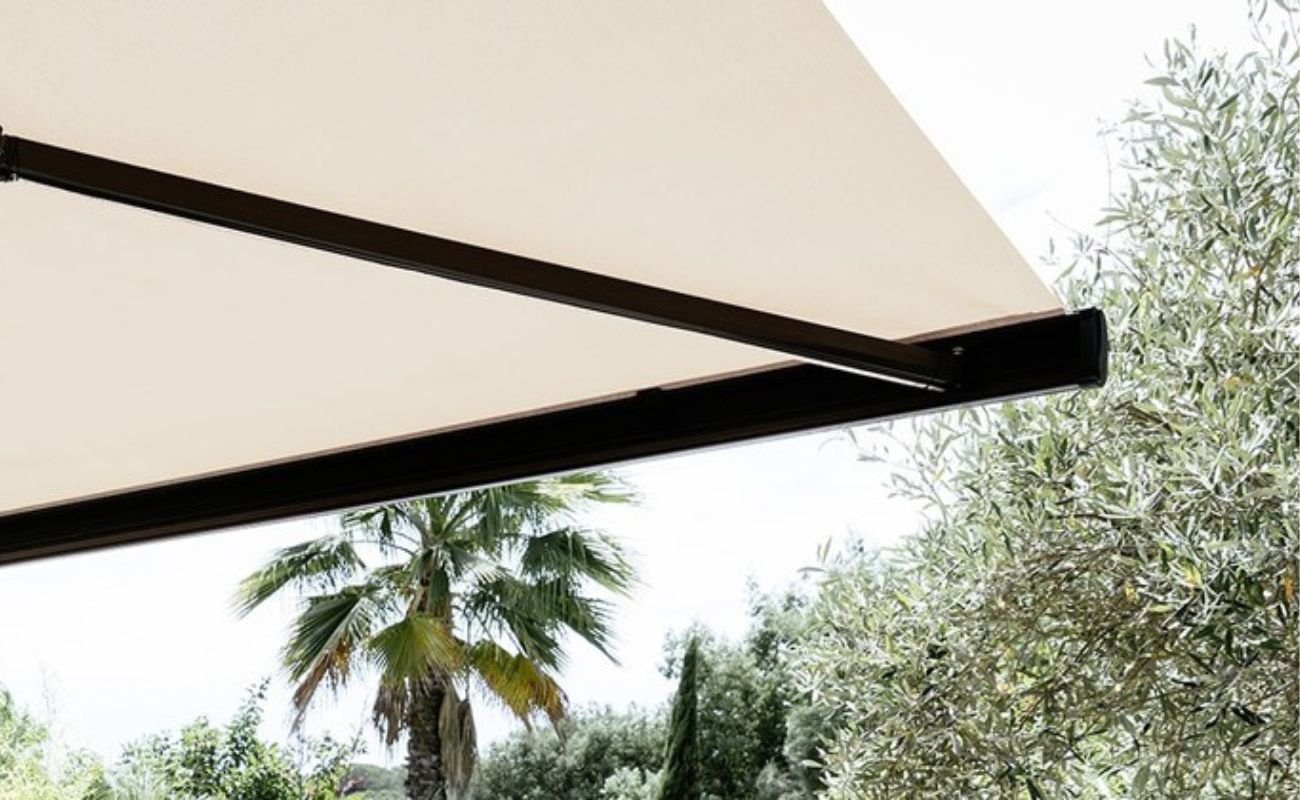
- Assemble the Frame: Begin by assembling the frame of the awning according to the manufacturer’s guidelines. This typically involves connecting the support arms, crossbars, and other structural elements to form the framework of the awning.
- Attach the Fabric: Once the frame is assembled, carefully attach the awning fabric to the structure, ensuring a snug and secure fit. Follow the specific instructions for securing the fabric to the frame, as this may vary depending on the awning model.
- Test the Mechanism: After assembling the frame and attaching the fabric, test the retracting and extending mechanism to ensure smooth operation. This step allows you to identify any potential issues before proceeding with the installation.
By meticulously following these assembly steps, you can prepare the awning for installation, setting the stage for the next phase of the process.
When installing a retractable awning, make sure to carefully follow the manufacturer’s instructions. It’s important to securely attach the mounting brackets to a sturdy surface to ensure the awning operates safely and effectively.
Installing the Awning
With the awning fully assembled, it’s time to proceed with the installation process. Follow these guidelines to ensure a successful and secure installation:
- Gather the Necessary Tools: Before beginning the installation, gather all the tools and hardware required for the job. This typically includes a drill, screws, a level, and any additional items specified in the manufacturer’s instructions.
- Position the Awning: With the assistance of a friend or family member, carefully position the assembled awning in the chosen location. Take precise measurements and use a level to ensure that the awning is positioned correctly and evenly.
- Secure the Mounting Brackets: Depending on the type of awning and the installation surface, attach the mounting brackets to the designated area using the appropriate hardware. It’s essential to secure the brackets firmly to provide stable support for the awning.
- Attach the Awning: Once the mounting brackets are in place, carefully lift the awning into position and secure it to the brackets according to the manufacturer’s instructions. Double-check the alignment and ensure that the awning is securely fastened.
- Verify Stability: Test the stability of the installed awning by gently extending and retracting it. Confirm that the movement is smooth and that the awning remains secure and level during operation.
- Weatherproofing (If Applicable): If the installation instructions recommend weatherproofing measures, such as applying silicone sealant or waterproofing the mounting points, follow these guidelines to enhance the awning’s durability and weather resistance.
By carefully following these installation steps, you can ensure that your retractable awning is securely and professionally installed, ready to provide shade and comfort in your outdoor space.
Adjusting and Testing the Awning
After installing the retractable awning, it’s essential to perform thorough adjustments and testing to ensure optimal functionality and performance. Follow these steps to fine-tune the awning and verify its operation:
- Tension Adjustment: Depending on the specific model, your awning may feature adjustable tension settings. Follow the manufacturer’s instructions to adjust the tension of the awning fabric, ensuring that it extends and retracts smoothly without sagging or excessive resistance.
- Angle Adjustment: If your awning allows for angle adjustments, consider the desired pitch for water runoff and optimal shade coverage. Make any necessary adjustments to the awning’s angle to suit your preferences and the prevailing weather conditions.
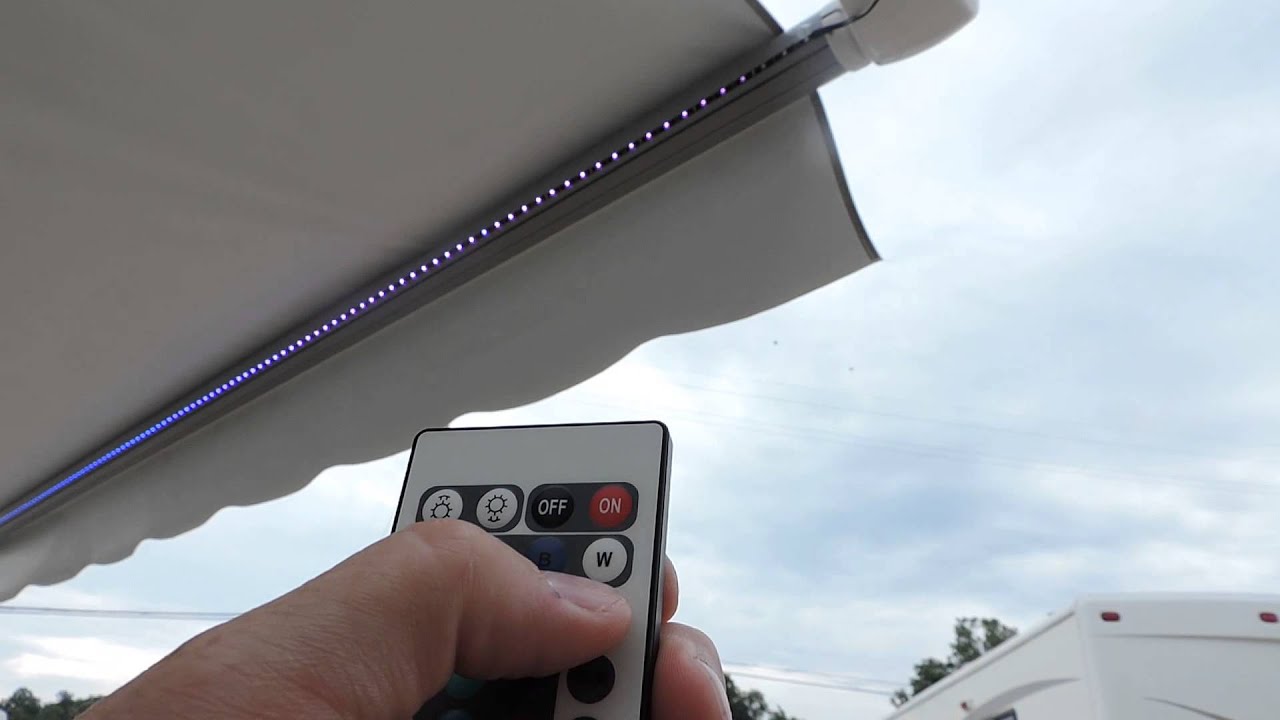
- Motorized Operation (If Applicable): If your retractable awning is motorized, thoroughly test the motorized operation to ensure that it functions as intended. Familiarize yourself with the remote control or switch, and verify that the motorized mechanism operates smoothly and without unusual noise or resistance.
- Wind and Sun Sensors (If Applicable): If your awning is equipped with wind or sun sensors for automatic retraction, test these features to confirm their responsiveness and accuracy. Ensure that the sensors detect changing conditions and trigger the awning’s movement accordingly.
- Full Extension and Retraction: Test the awning by fully extending and retracting it multiple times, observing its movement and verifying that it operates seamlessly without binding or irregularities.
- Final Inspection: Conduct a comprehensive visual inspection of the installed awning, checking for any signs of misalignment, loose components, or other issues that may require adjustment or tightening.
By meticulously adjusting and testing the retractable awning, you can fine-tune its operation and ensure that it delivers the expected functionality and convenience in your outdoor space.
Read more: How To Retract An RV Awning
Conclusion
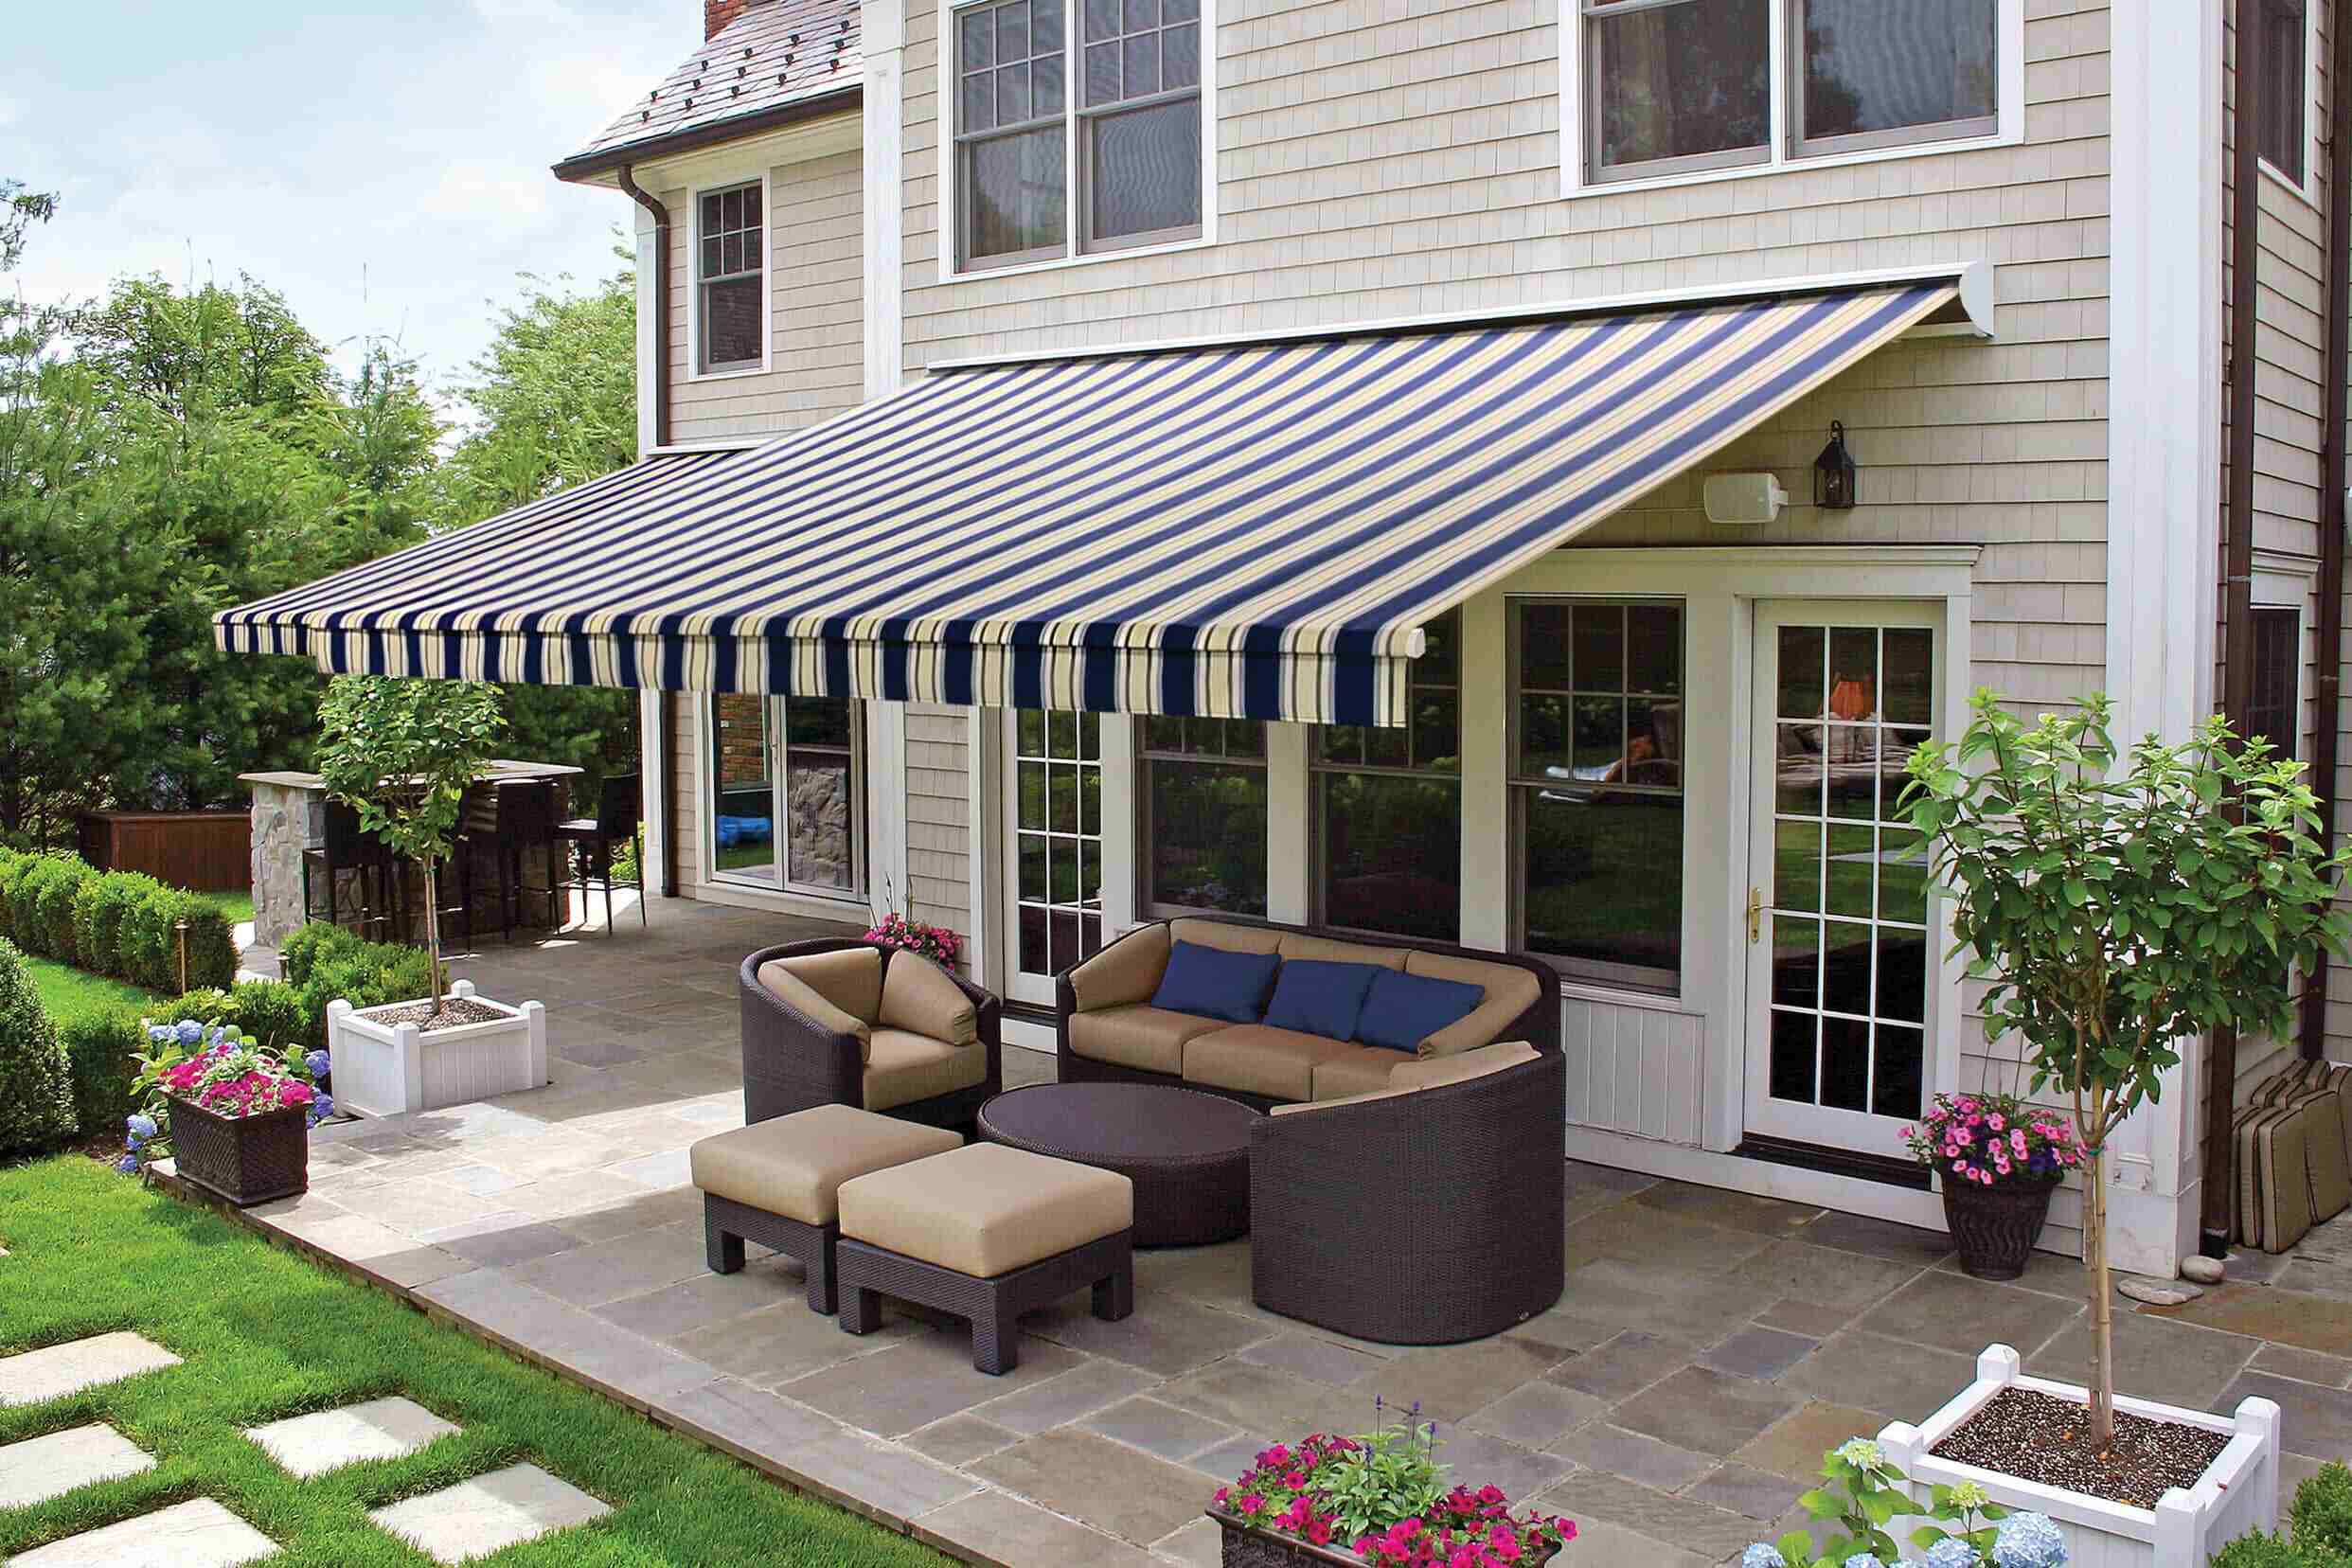
Installing a retractable awning can significantly enhance the comfort and versatility of your outdoor living area, providing a shaded retreat for relaxation and entertainment. By carefully selecting the installation location, assembling the awning components, and following the proper installation procedures, you can create a functional and stylish addition to your home.
As you complete the installation and adjustment process, take the time to appreciate the transformation of your outdoor space. The retractable awning not only offers practical benefits, such as protection from the sun’s rays and light rain, but also contributes to the aesthetic appeal of your home, creating an inviting atmosphere for outdoor activities.
With the installation complete and the awning adjusted to your preferences, you can look forward to enjoying countless hours of outdoor relaxation, whether it’s a leisurely afternoon with a good book or a gathering with family and friends. The versatility and convenience of a retractable awning make it a valuable investment that enhances your outdoor lifestyle.
Remember to maintain your awning regularly, following the manufacturer’s recommendations for cleaning and upkeep, to ensure its longevity and continued performance. By caring for your retractable awning, you can prolong its lifespan and continue to benefit from its functionality and visual appeal for years to come.
Embrace the transformation of your outdoor space with a beautifully installed retractable awning, and savor the comfort and style it brings to your home.
Frequently Asked Questions about How To Install A Retractable Awning
Was this page helpful?
At Storables.com, we guarantee accurate and reliable information. Our content, validated by Expert Board Contributors, is crafted following stringent Editorial Policies. We're committed to providing you with well-researched, expert-backed insights for all your informational needs.


0 thoughts on “How To Install A Retractable Awning”