Home>Gardening & Outdoor>Outdoor Structures>How To Make A Retractable Awning
Outdoor Structures
How To Make A Retractable Awning
Modified: August 16, 2024
Learn how to make a retractable awning for your outdoor space with our step-by-step guide. Create a stylish and functional outdoor structure with ease.
(Many of the links in this article redirect to a specific reviewed product. Your purchase of these products through affiliate links helps to generate commission for Storables.com, at no extra cost. Learn more)
Introduction
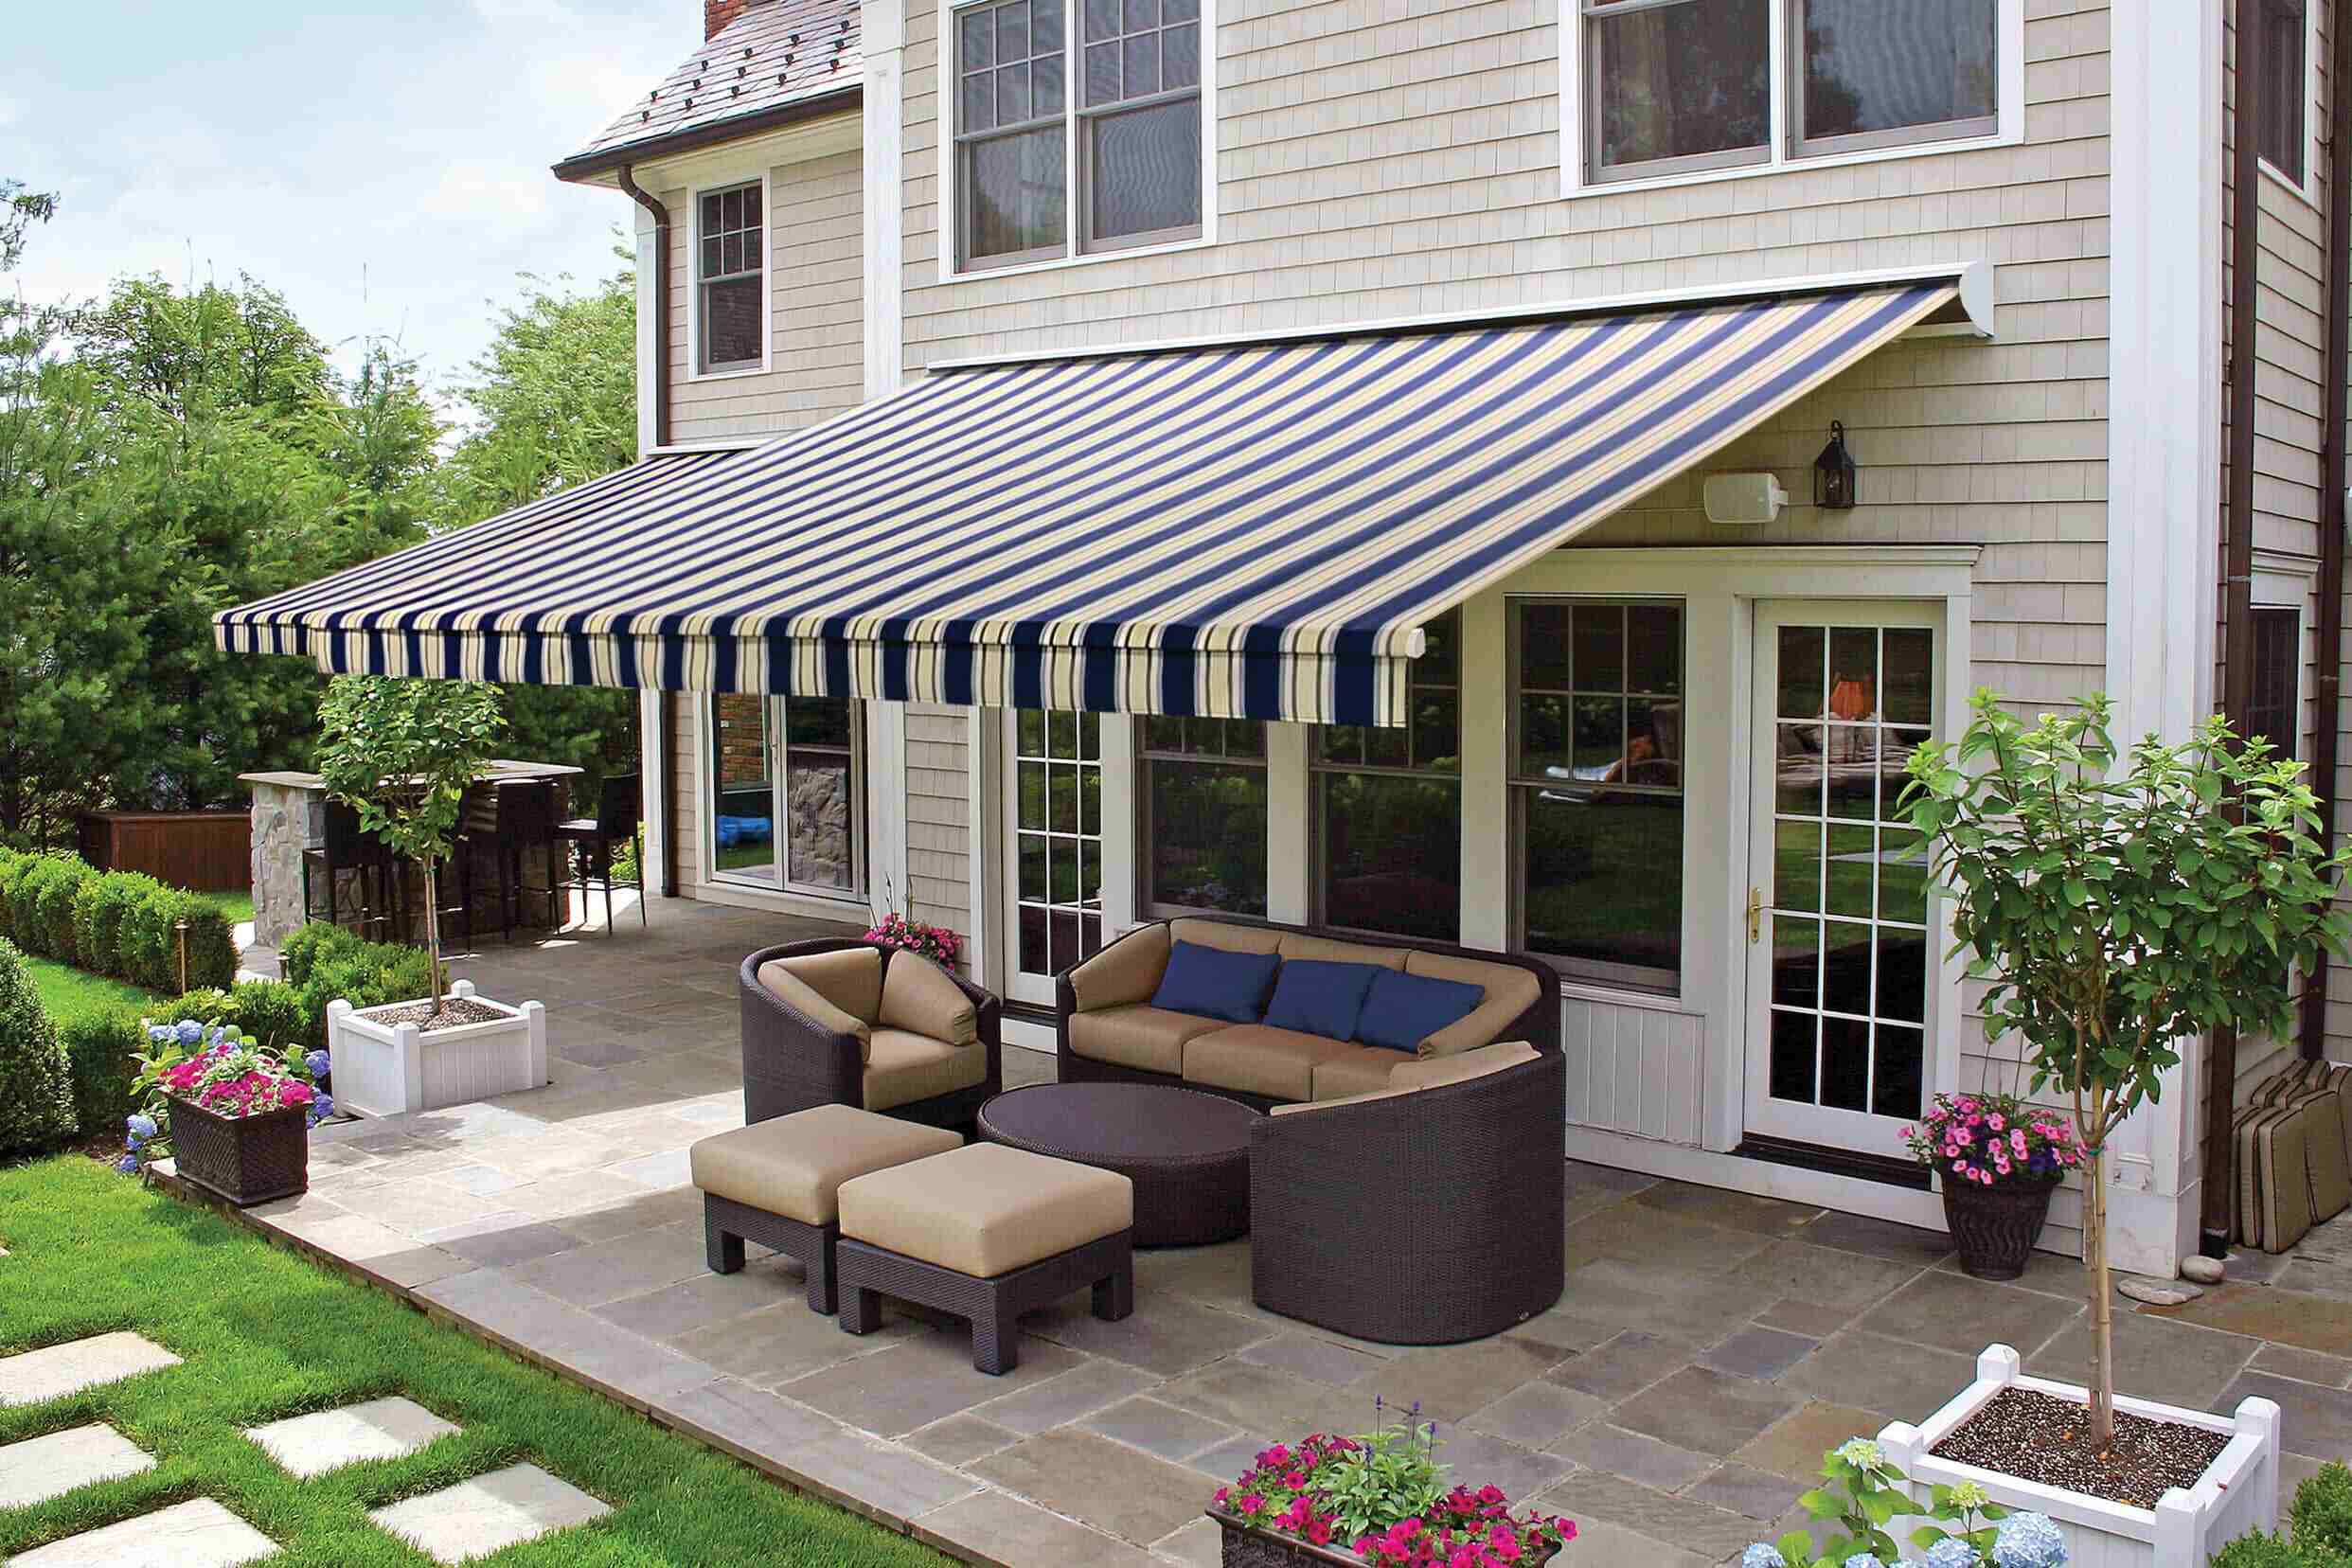
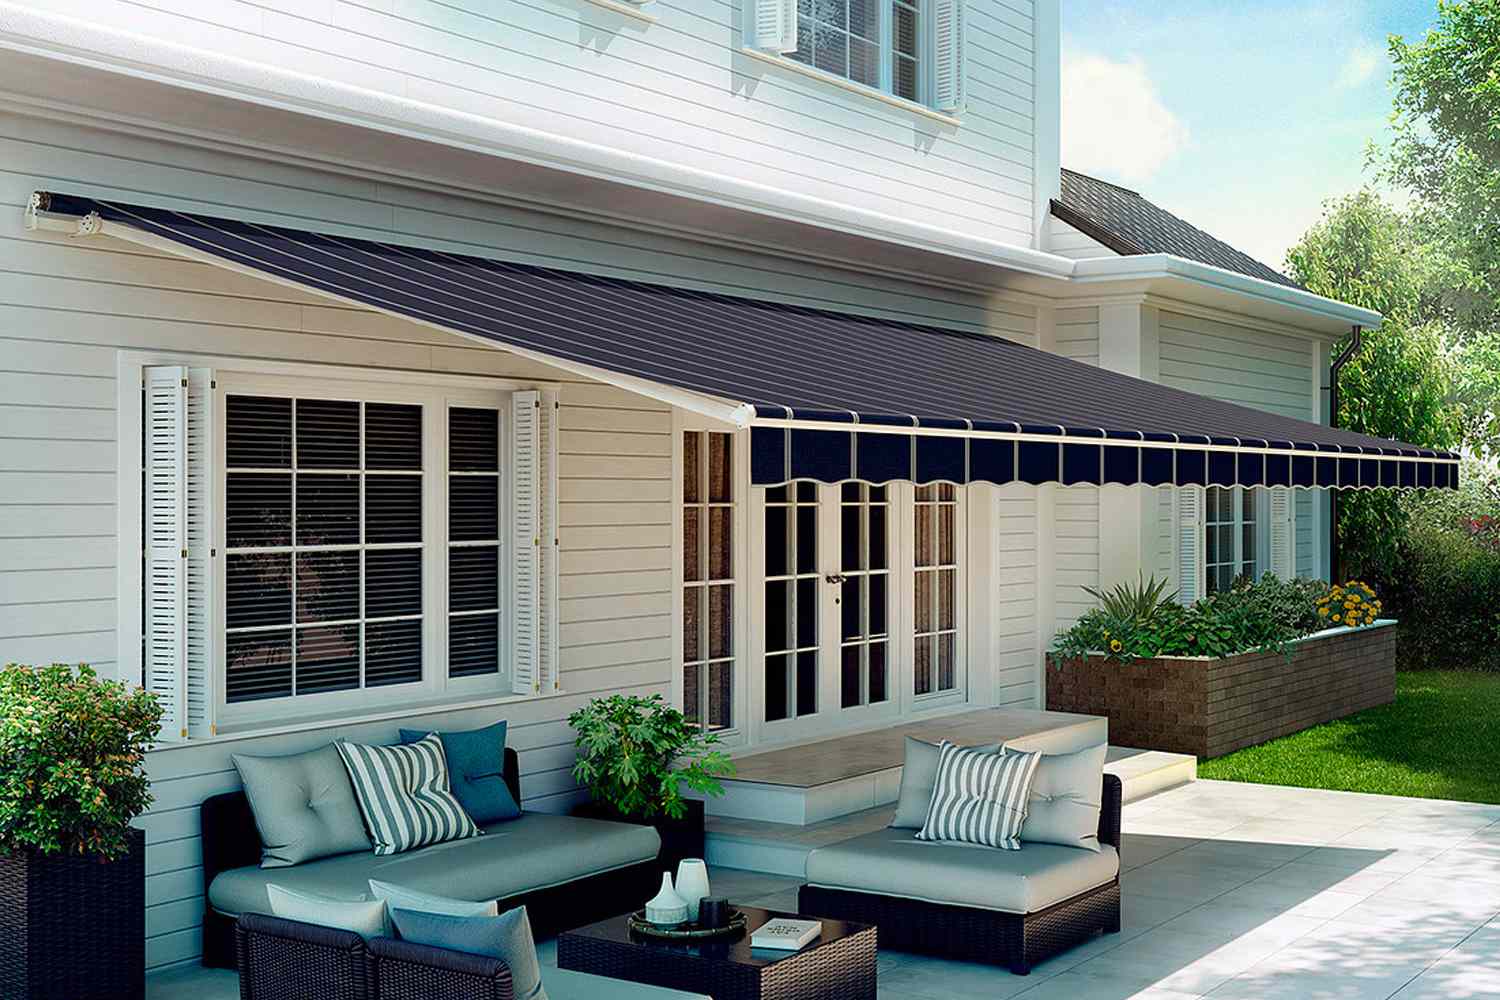
Are you longing for a comfortable outdoor space that provides shade and protection from the elements? A retractable awning might be the perfect solution for your patio, deck, or any outdoor area. Not only does it offer relief from the sun's rays, but it also adds a touch of elegance to your home. In this comprehensive guide, we will walk you through the process of creating and installing your very own retractable awning. Whether you're a seasoned DIY enthusiast or a newcomer to the world of outdoor structures, this step-by-step tutorial will equip you with the knowledge and confidence to embark on this exciting project.
Installing a retractable awning not only enhances the functionality of your outdoor space but also increases the value of your property. With the ability to expand and retract the awning as needed, you'll have the flexibility to enjoy the outdoors on your own terms. Imagine hosting a barbecue on a hot summer day, knowing that your guests can seek shelter under the cool shade of your awning. Additionally, with the right materials and a bit of elbow grease, you can customize the awning to complement the aesthetic of your home, creating a seamless and stylish addition to your outdoor living area.
Throughout this guide, we'll cover everything from the essential materials and tools required to the nitty-gritty details of constructing the frame, attaching the fabric, and installing the retractable mechanism. We'll also provide insights into the maintenance needed to ensure that your retractable awning stands the test of time. By the end of this journey, you'll not only have a newfound understanding of the construction process but also a newfound appreciation for the transformative power of a well-crafted outdoor structure. So, roll up your sleeves and get ready to embark on a rewarding and fulfilling project that will elevate your outdoor living experience.
Key Takeaways:
- Create your own retractable awning to enhance your outdoor space with shade and style. Follow the step-by-step guide to build, install, and maintain a functional and visually appealing addition to your home.
- From planning and building the frame to attaching the fabric and installing the retractable mechanism, this guide equips you with the knowledge and confidence to embark on a rewarding DIY project.
Read more: How To Make A Retractable Patio Awning
Materials and Tools
Before diving into the construction of your retractable awning, it’s crucial to gather all the necessary materials and tools. Ensuring that you have everything at your disposal will streamline the building process and minimize interruptions. Here’s a comprehensive list to guide you through the preparation phase:
Materials:
- High-quality awning fabric
- Pressure-treated lumber or metal tubing for the frame
- Stainless steel or galvanized fasteners
- Concrete mix for footings (if mounting on concrete)
- Primer and outdoor paint or sealant
- Concrete anchors or expansion bolts
- Retractable awning kit (including the motor, arms, and roller tube)
- Weather-resistant screws
- End caps and other decorative elements
- Concrete or gravel (if installing footings)
- Awning cleaning solution and protective spray
Tools:
- Tape measure
- Level
- Drill with masonry and wood bits
- Screwdriver (electric screwdriver recommended)
- Saw (circular saw or miter saw)
- Wrenches
- Shovel
- Wheelbarrow (if using concrete mix)
- Paintbrushes or sprayer
- Utility knife
- Ladder
- Protective gear (gloves, safety glasses, etc.)
As you gather these materials and tools, consider the specific requirements of your outdoor space and the awning design you envision. Quality materials and the right tools will not only make the construction process smoother but also contribute to the longevity and durability of your retractable awning.
Planning and Preparation
Embarking on the construction of a retractable awning requires careful planning and meticulous preparation. Before swinging your hammer, take the time to consider the following crucial aspects:
1. Design and Layout: Begin by envisioning the ideal location and size of your retractable awning. Consider the dimensions of your outdoor space, the angle of the sun throughout the day, and any architectural features that could impact the installation. Sketching out a rough design and taking precise measurements will provide a clear roadmap for the construction process.
2. Local Regulations and Permits: It’s essential to research and comply with any local building codes, zoning regulations, and permit requirements. Some areas may have specific rules regarding the installation of outdoor structures, and obtaining the necessary permits will ensure that your project proceeds smoothly and legally.
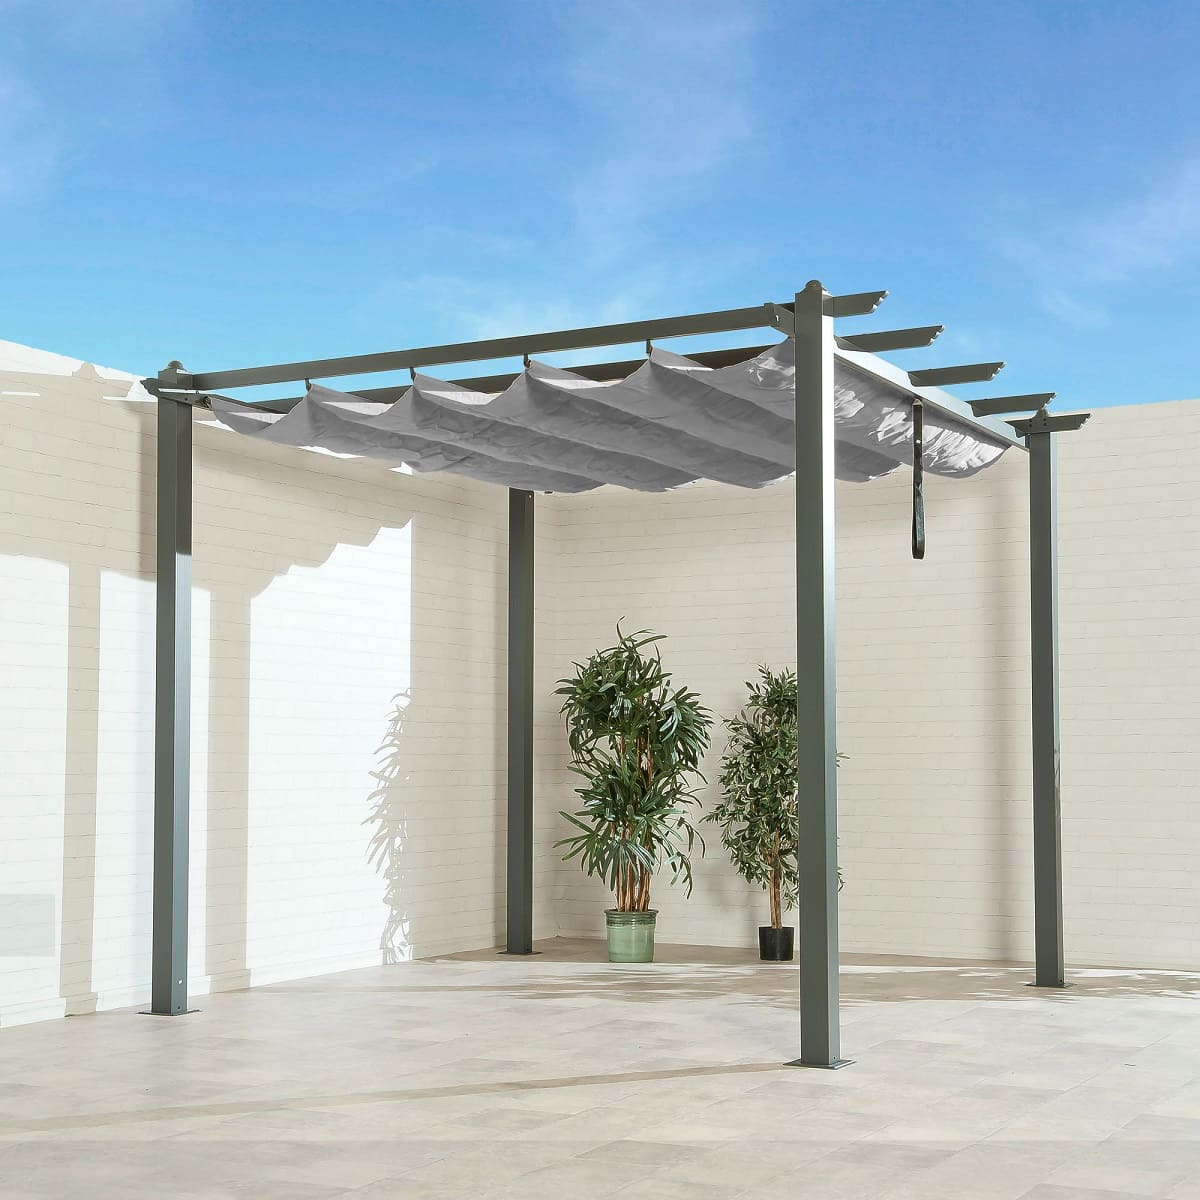
3. Foundation and Mounting: Determine whether your retractable awning will be mounted on the exterior wall of your home or if it will require freestanding supports. If the latter, consider the foundation requirements, such as concrete footings or gravel beds, to ensure stability and longevity.
4. Awning Operation: Selecting the appropriate retractable mechanism is pivotal. Consider whether you prefer a manual crank or a motorized system for extending and retracting the awning. Each option has its own set of advantages, so choose the one that aligns with your convenience and budget.
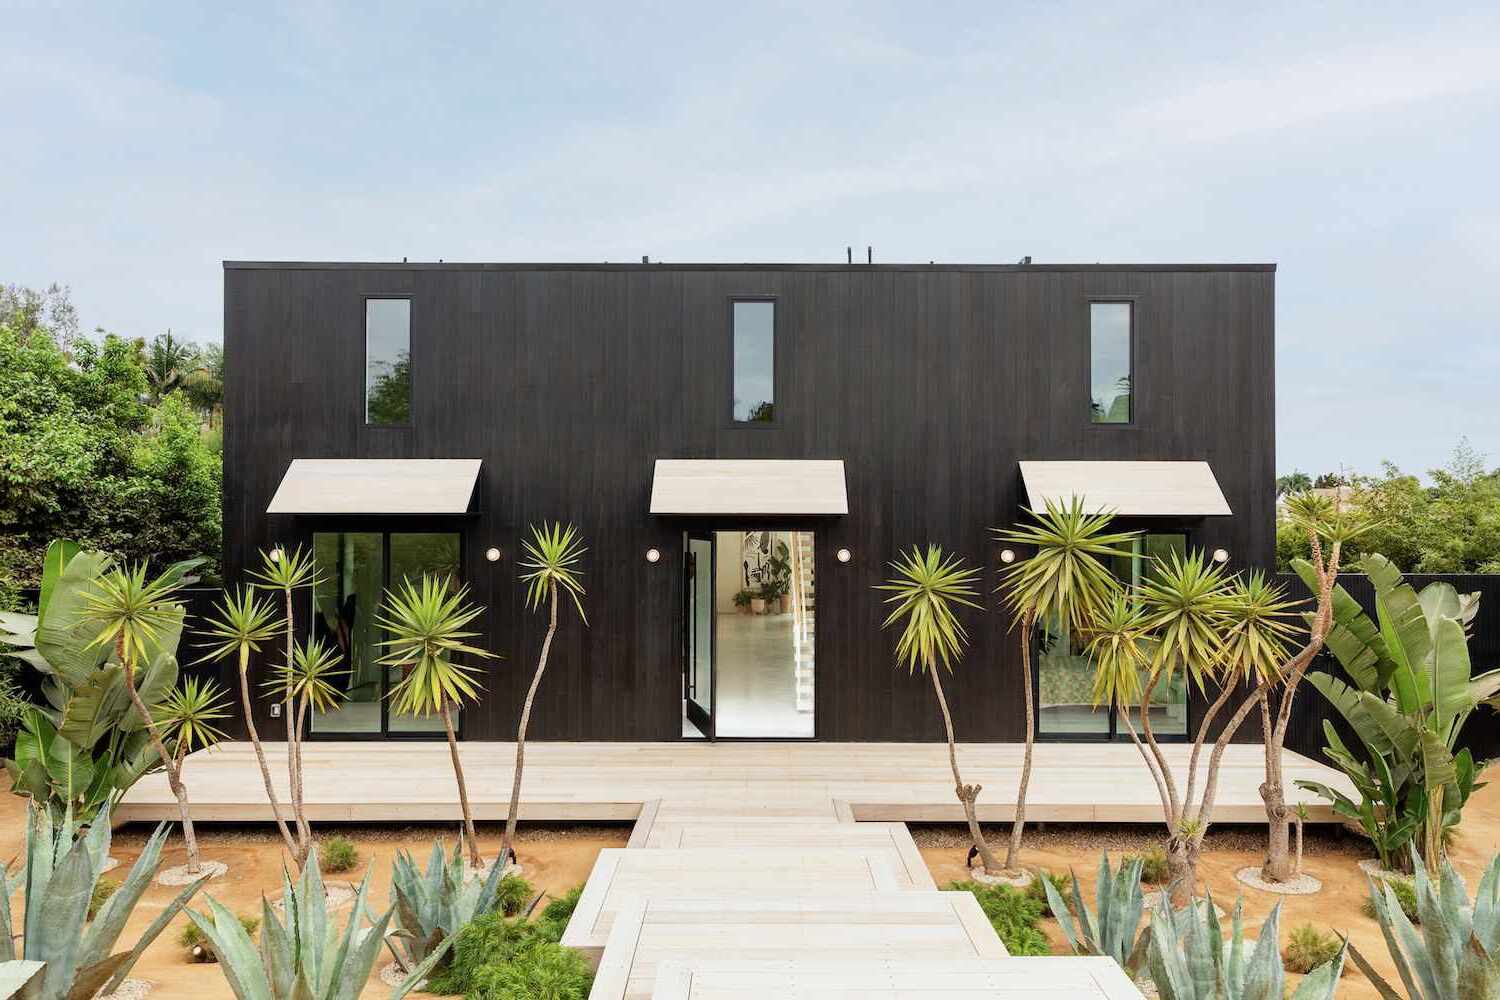
5. Aesthetic Enhancements: Beyond its functional purpose, your retractable awning can contribute to the overall aesthetic of your outdoor space. Consider the color, pattern, and quality of the awning fabric, as well as any additional decorative elements that will complement your home’s exterior.
By delving into these preparatory considerations, you’ll lay a solid foundation for the construction phase and mitigate potential challenges along the way. This thoughtful planning will set the stage for a seamless and rewarding experience as you bring your retractable awning to life.
Read more: What Is A Retractable Awning
Building the Frame
With the planning and preparation phase complete, it’s time to dive into the construction of the frame for your retractable awning. The frame serves as the backbone of the structure, providing stability and support for the awning fabric. Here’s a step-by-step guide to building the frame:
1. Cutting the Lumber: If you’re opting for a wooden frame, begin by cutting the pressure-treated lumber to the required dimensions. Ensure that the cuts are precise and that the pieces fit together seamlessly.
2. Assembling the Frame: Using weather-resistant screws and a drill, assemble the cut pieces of lumber to create the frame structure. It’s crucial to maintain precise angles and measurements to guarantee the structural integrity of the frame.
3. Adding Cross Braces: To reinforce the frame and prevent sagging, install cross braces at strategic intervals. These braces will bolster the frame’s ability to withstand the weight of the awning fabric and any external forces, such as wind and rain.
4. Priming and Painting: If you’re using wooden lumber, apply a high-quality primer to seal the wood and protect it from moisture. Follow up with outdoor paint or sealant to enhance the frame’s durability and weather resistance.
5. Mounting the Frame: Depending on your design, either attach the frame directly to the exterior wall of your home or secure it to the previously prepared footings. Use appropriate fasteners and ensure that the frame is level and securely anchored.
6. Professional Assistance: If you’re working with metal tubing for the frame, consider enlisting the help of a professional welder to ensure precise and secure connections. This will guarantee the structural integrity of the frame and the overall safety of the awning.
By meticulously constructing and installing the frame, you’ll establish a sturdy and reliable foundation for your retractable awning. Whether you opt for the natural charm of wood or the sleek durability of metal, the frame is a critical component that sets the stage for the next phases of the construction process.
Attaching the Awning Fabric
With the frame in place, it’s time to add the crowning element to your retractable awning: the fabric. The awning fabric not only provides shade and protection but also contributes significantly to the aesthetic appeal of the structure. Here’s a detailed guide to attaching the awning fabric:
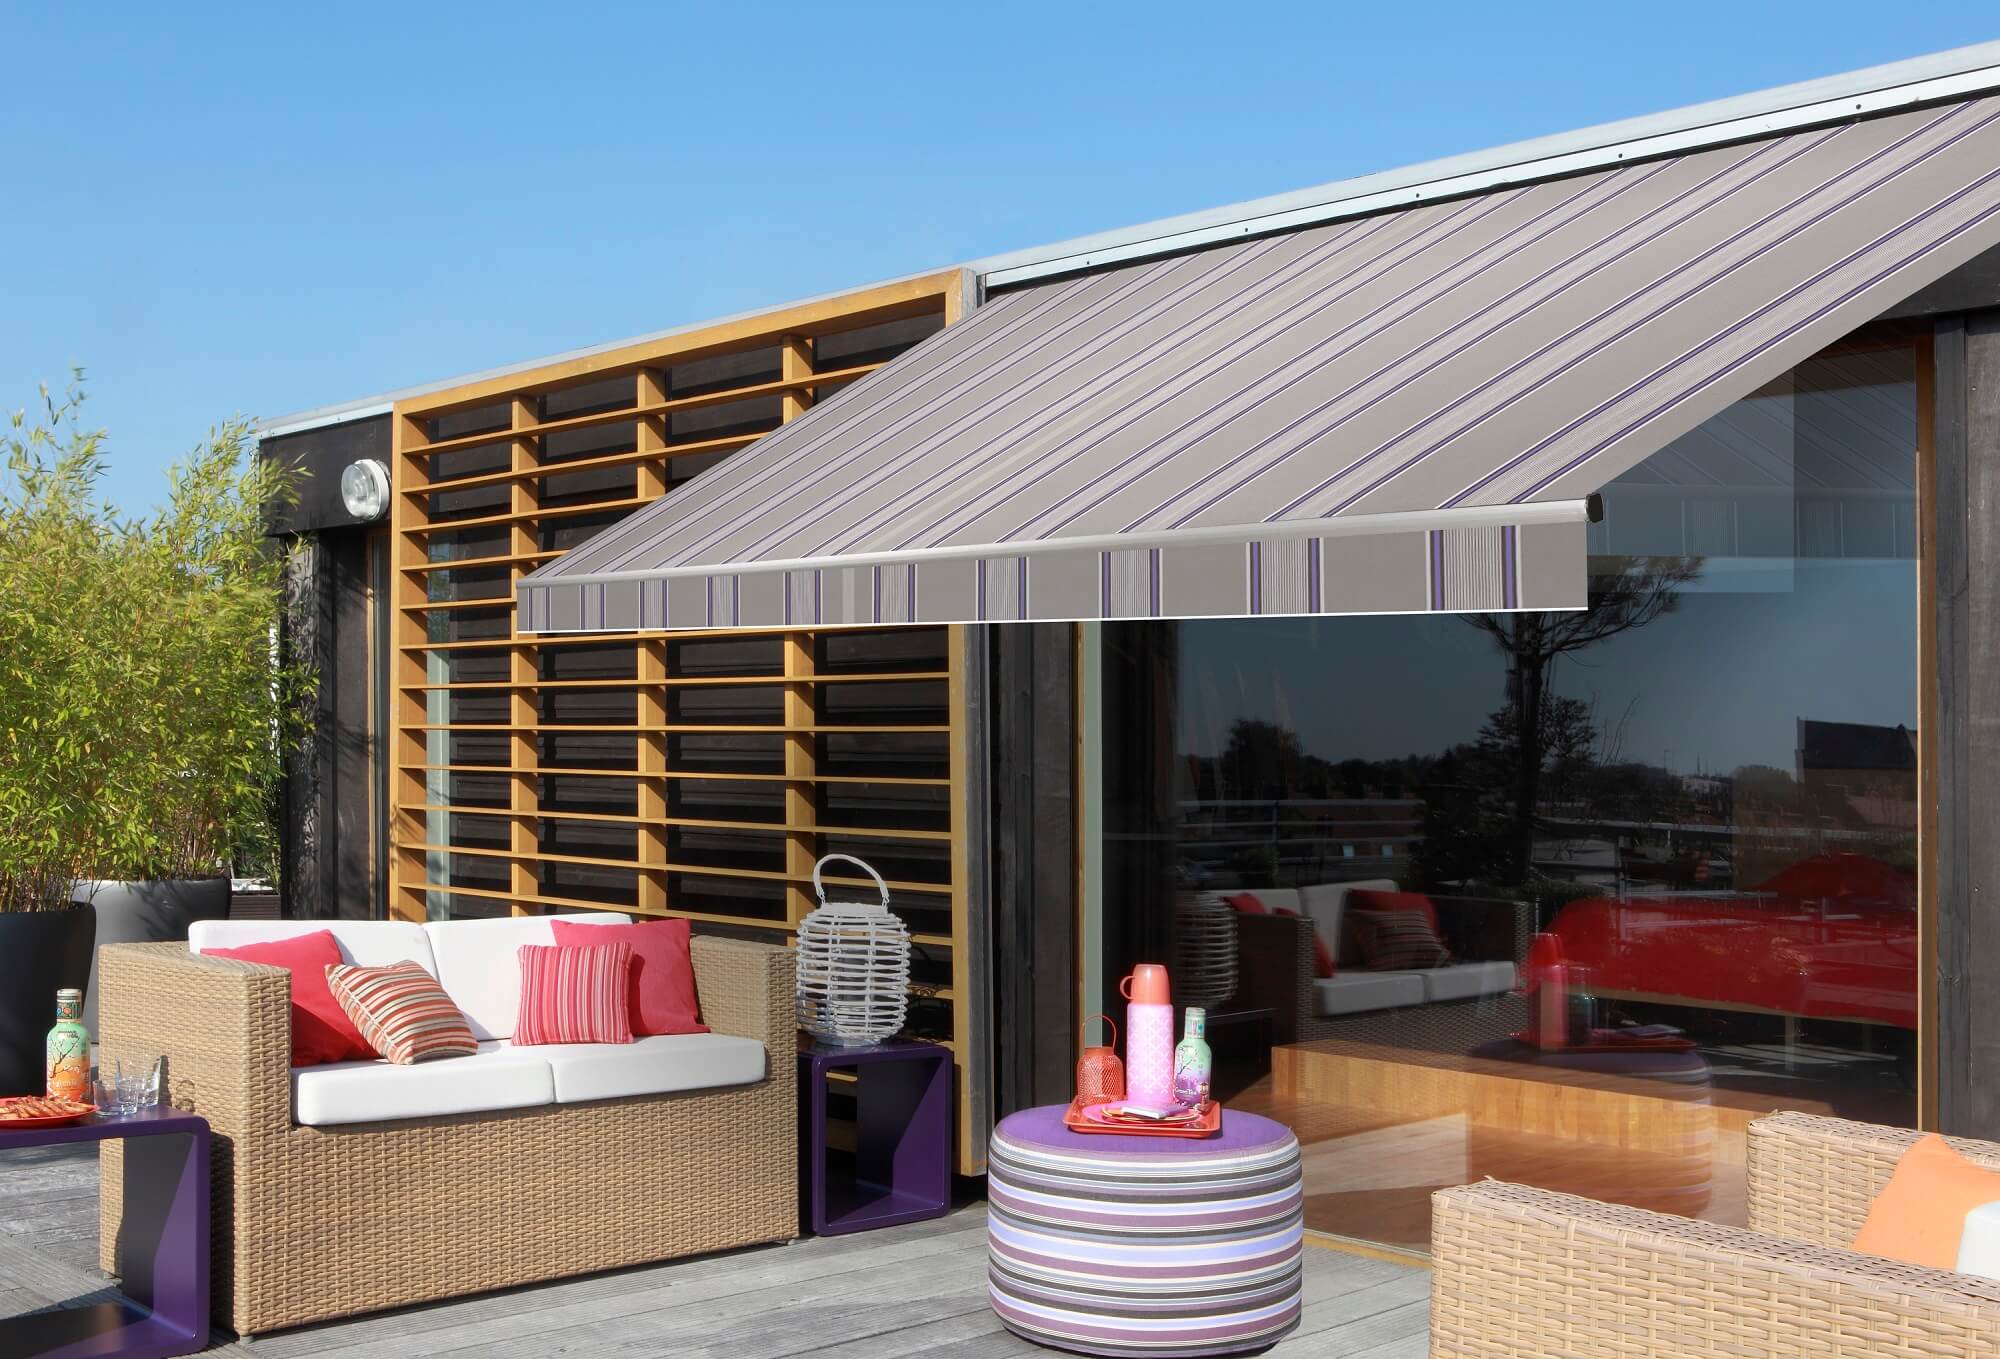
1. Selecting High-Quality Fabric: Choose a durable, weather-resistant fabric specifically designed for outdoor use. Look for materials that offer UV protection and are resistant to mold, mildew, and fading. The fabric should be sized to fit the dimensions of your frame with a slight allowance for tensioning.
2. Securing the Fabric: Begin by attaching one end of the fabric to the roller tube or support beam using weather-resistant screws or the designated fastening method specified in the awning kit. Ensure that the fabric is taut and evenly aligned before securing it in place.
3. Tensioning the Fabric: Gradually unroll the fabric across the frame, ensuring that it remains taut and wrinkle-free. Use the designated mechanisms or adjustments provided in the awning kit to achieve the desired level of tension, which is crucial for the functionality and appearance of the awning.
4. Securing the Edges: Once the fabric is properly tensioned, secure the remaining edges to the frame using the appropriate fasteners or clamps. Pay close attention to the alignment and symmetry of the fabric to achieve a polished and professional finish.
5. Optional Valance Installation: If your design includes a valance, a decorative fabric extension that hangs from the front of the awning, carefully attach it to the designated area. The valance adds an extra touch of style and can further enhance the shade provided by the awning.
6. Quality Checks: After securing the fabric, conduct a thorough inspection to ensure that it is securely fastened, free of wrinkles, and properly tensioned. Address any irregularities promptly to guarantee the functionality and longevity of the awning fabric.
By meticulously executing the process of attaching the awning fabric, you’ll transform the frame into a functional and visually appealing retractable awning. The fabric’s resilience and aesthetic contribution will elevate your outdoor space, providing a welcoming haven from the elements.
When installing a retractable awning, make sure to properly anchor the mounting brackets to a sturdy surface to ensure stability and prevent damage from wind or rain.
Installing the Retractable Mechanism
With the frame and fabric in place, the next critical step in creating your retractable awning is the installation of the retractable mechanism. This mechanism allows you to effortlessly expand and retract the awning, providing control over the amount of shade and exposure to the elements. Here’s a comprehensive guide to installing the retractable mechanism:
1. Selecting the Mechanism: Depending on your preference and budget, choose between a manual crank or a motorized system. A manual crank offers simplicity and cost-effectiveness, while a motorized system provides convenience and effortless operation. Follow the manufacturer’s instructions for your chosen mechanism.
2. Mounting the Components: If you opt for a motorized system, mount the motor and associated components as per the manufacturer’s guidelines. Ensure that the motor is securely attached and aligned for optimal functionality. For a manual crank, attach the crank handle to the designated mechanism securely.
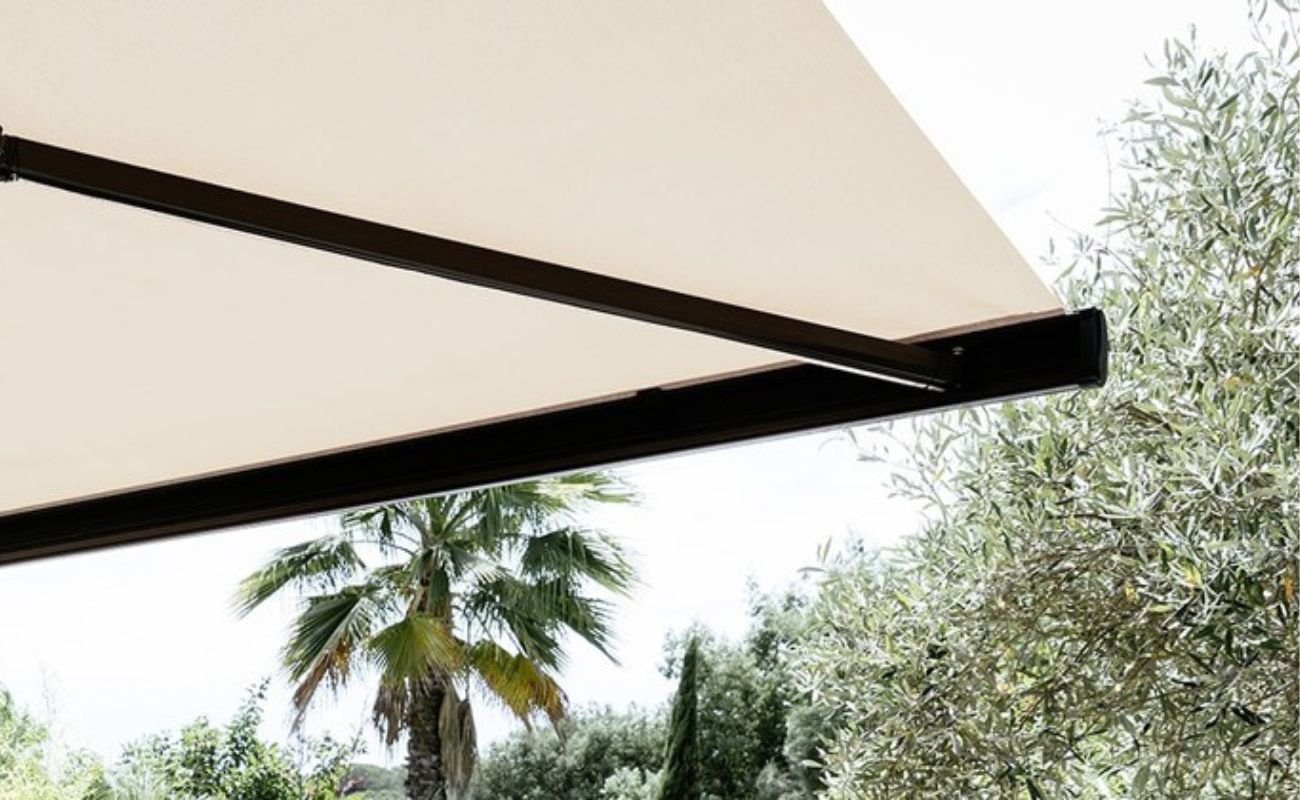
3. Attaching the Arms: The retractable arms play a crucial role in extending and retracting the awning. Securely attach the arms to the frame and the roller tube, ensuring that they are aligned and properly synchronized to facilitate smooth operation.
4. Testing the Mechanism: Before finalizing the installation, test the retractable mechanism to ensure that it operates smoothly and without any obstructions. For motorized systems, check the functionality of the motor, remote control (if applicable), and any integrated safety features.
5. Adjusting Tension and Alignment: Fine-tune the tension adjustments on the retractable arms to achieve the desired level of tautness in the awning fabric. Additionally, ensure that the awning retracts and extends evenly, with no misalignments or snags in the fabric.
6. Safety Considerations: If you’re installing a motorized retractable mechanism, familiarize yourself with the safety protocols and emergency procedures outlined in the manufacturer’s instructions. It’s essential to prioritize safety and adhere to all recommended precautions.
By methodically installing the retractable mechanism, you’ll unlock the full potential of your retractable awning, granting you control over your outdoor space’s ambiance and protection. Whether you opt for the simplicity of a manual crank or the convenience of a motorized system, the retractable mechanism will be the linchpin of your awning’s functionality and versatility.
Final Touches and Maintenance
As you near the completion of your retractable awning project, it’s time to add the final touches that will enhance its visual appeal and functionality. Additionally, understanding the essential maintenance practices will ensure that your awning remains in optimal condition for years to come. Here’s a comprehensive guide to final touches and maintenance:
1. Decorative End Caps and Trim: Consider adding decorative end caps and trim to the frame to provide a polished and cohesive look. These finishing touches can elevate the aesthetic appeal of your retractable awning, seamlessly integrating it with your outdoor space.
2. Cleaning and Protection: Regularly clean the awning fabric using a mild soap solution and a soft brush to remove dirt, debris, and environmental residues. Additionally, apply a protective spray designed for awning fabrics to enhance UV resistance and repel moisture, safeguarding the fabric’s integrity.
3. Lubrication and Inspection: For motorized retractable mechanisms, periodically inspect the components for signs of wear and tear, and apply lubrication to moving parts as recommended by the manufacturer. This routine maintenance will prolong the lifespan of the mechanism and ensure smooth operation.
4. Seasonal Adjustments: As the seasons change, make adjustments to the tension and extension of the awning to accommodate varying sunlight angles and weather conditions. This proactive approach will optimize the awning’s performance and protect it from unnecessary strain.
5. Professional Servicing: Consider scheduling periodic professional servicing and inspections for your retractable awning, especially for motorized mechanisms. A qualified technician can identify and address any potential issues, ensuring the continued reliability and safety of the awning.
6. Winter Storage: If you experience harsh winters, consider removing the awning fabric during the off-season and storing it in a dry, protected area. This precaution will shield the fabric from prolonged exposure to inclement weather and extend its lifespan.
By attending to these final touches and embracing a proactive maintenance regimen, you’ll safeguard the longevity and performance of your retractable awning. These thoughtful practices will not only preserve the aesthetic allure of the awning but also ensure that it remains a cherished and functional asset in your outdoor living space.
Read more: How To Install A Retractable Awning
Conclusion
Congratulations on successfully navigating the construction and installation of your very own retractable awning! This transformative project has empowered you to craft a versatile and visually appealing outdoor structure that will undoubtedly enrich your living experience. As you reflect on this journey, it’s essential to recognize the significance of your accomplishment and the enduring impact it will have on your outdoor space.
By embracing the process of planning, constructing, and fine-tuning your retractable awning, you’ve not only enhanced the functionality of your outdoor area but also infused it with your personal touch. The shade and protection offered by the awning will create an inviting retreat for relaxation, entertainment, and enjoyment, elevating the value of your home and the quality of your leisure time.
Furthermore, the skills and knowledge gained from this project have equipped you with a deeper understanding of outdoor structures and DIY craftsmanship. The confidence and satisfaction derived from bringing this vision to life will undoubtedly inspire future endeavors and ignite a passion for enhancing your living environment through hands-on projects.
As you bask in the shade of your newly installed retractable awning, take pride in the craftsmanship and dedication that have culminated in a functional and aesthetically pleasing addition to your home. Embrace the versatility and convenience that the awning offers, providing respite from the sun’s rays and shelter from the elements at your command.
Finally, remember that the journey doesn’t end with the completion of the project. Regular maintenance and attentive care will ensure that your retractable awning remains a cherished asset, enhancing your outdoor lifestyle for years to come. As you savor the fruits of your labor, take joy in the memories and moments that will unfold beneath the welcoming canopy of your retractable awning.
With this project, you’ve not only constructed a retractable awning but also cultivated a space for relaxation, connection, and rejuvenation. Your dedication and creativity have transformed a vision into a tangible and enduring feature of your home, leaving a lasting imprint on your outdoor living experience.
Frequently Asked Questions about How To Make A Retractable Awning
Was this page helpful?
At Storables.com, we guarantee accurate and reliable information. Our content, validated by Expert Board Contributors, is crafted following stringent Editorial Policies. We're committed to providing you with well-researched, expert-backed insights for all your informational needs.


0 thoughts on “How To Make A Retractable Awning”