Articles
How To Share Ring Doorbell Access
Modified: September 1, 2024
Learn how to share Ring Doorbell access with others using these informative articles. Gain insights and tips on granting permissions and managing shared access to your Ring device.
(Many of the links in this article redirect to a specific reviewed product. Your purchase of these products through affiliate links helps to generate commission for Storables.com, at no extra cost. Learn more)
Introduction
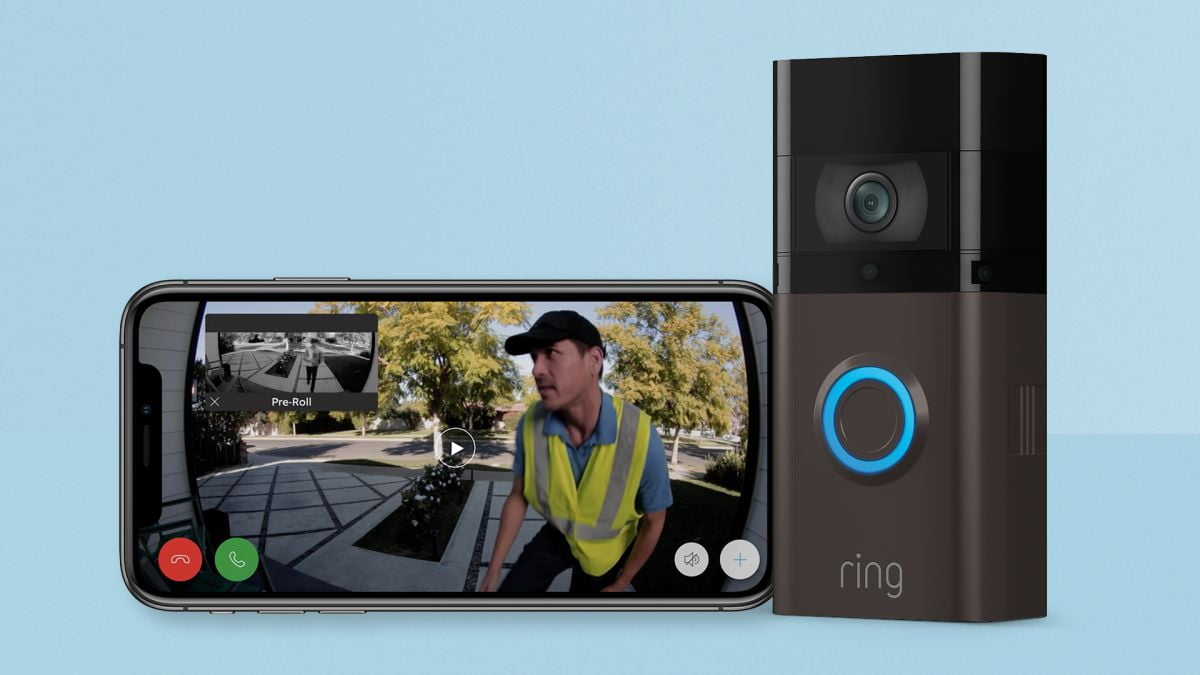
Welcome to the world of Ring doorbell sharing! With a Ring doorbell, you can now easily grant access to your home to your family members, friends, and even trusted neighbors. Whether you want to allow someone to answer the door remotely, monitor your home while you’re away, or simply give them the convenience of controlling the doorbell, sharing Ring doorbell access is a straightforward process.
In this article, we will guide you through the steps to successfully share your Ring doorbell access. From setting up your doorbell to adding authorized users and managing their permissions, we’ll cover it all. So, let’s get started and make your Ring doorbell a hub of connectivity and security!
Key Takeaways:
- Easily share Ring doorbell access with family, friends, and neighbors by following simple steps. Create a secure and connected environment for your home, enhancing convenience and peace of mind.
- Grant and manage access permissions for authorized users, promoting safety and security within your household. Enjoy the flexibility of sharing access with friends or neighbors for specific time periods, while maintaining control over your home security system.
Read more: Why Is My Ring Doorbell Not Ringing
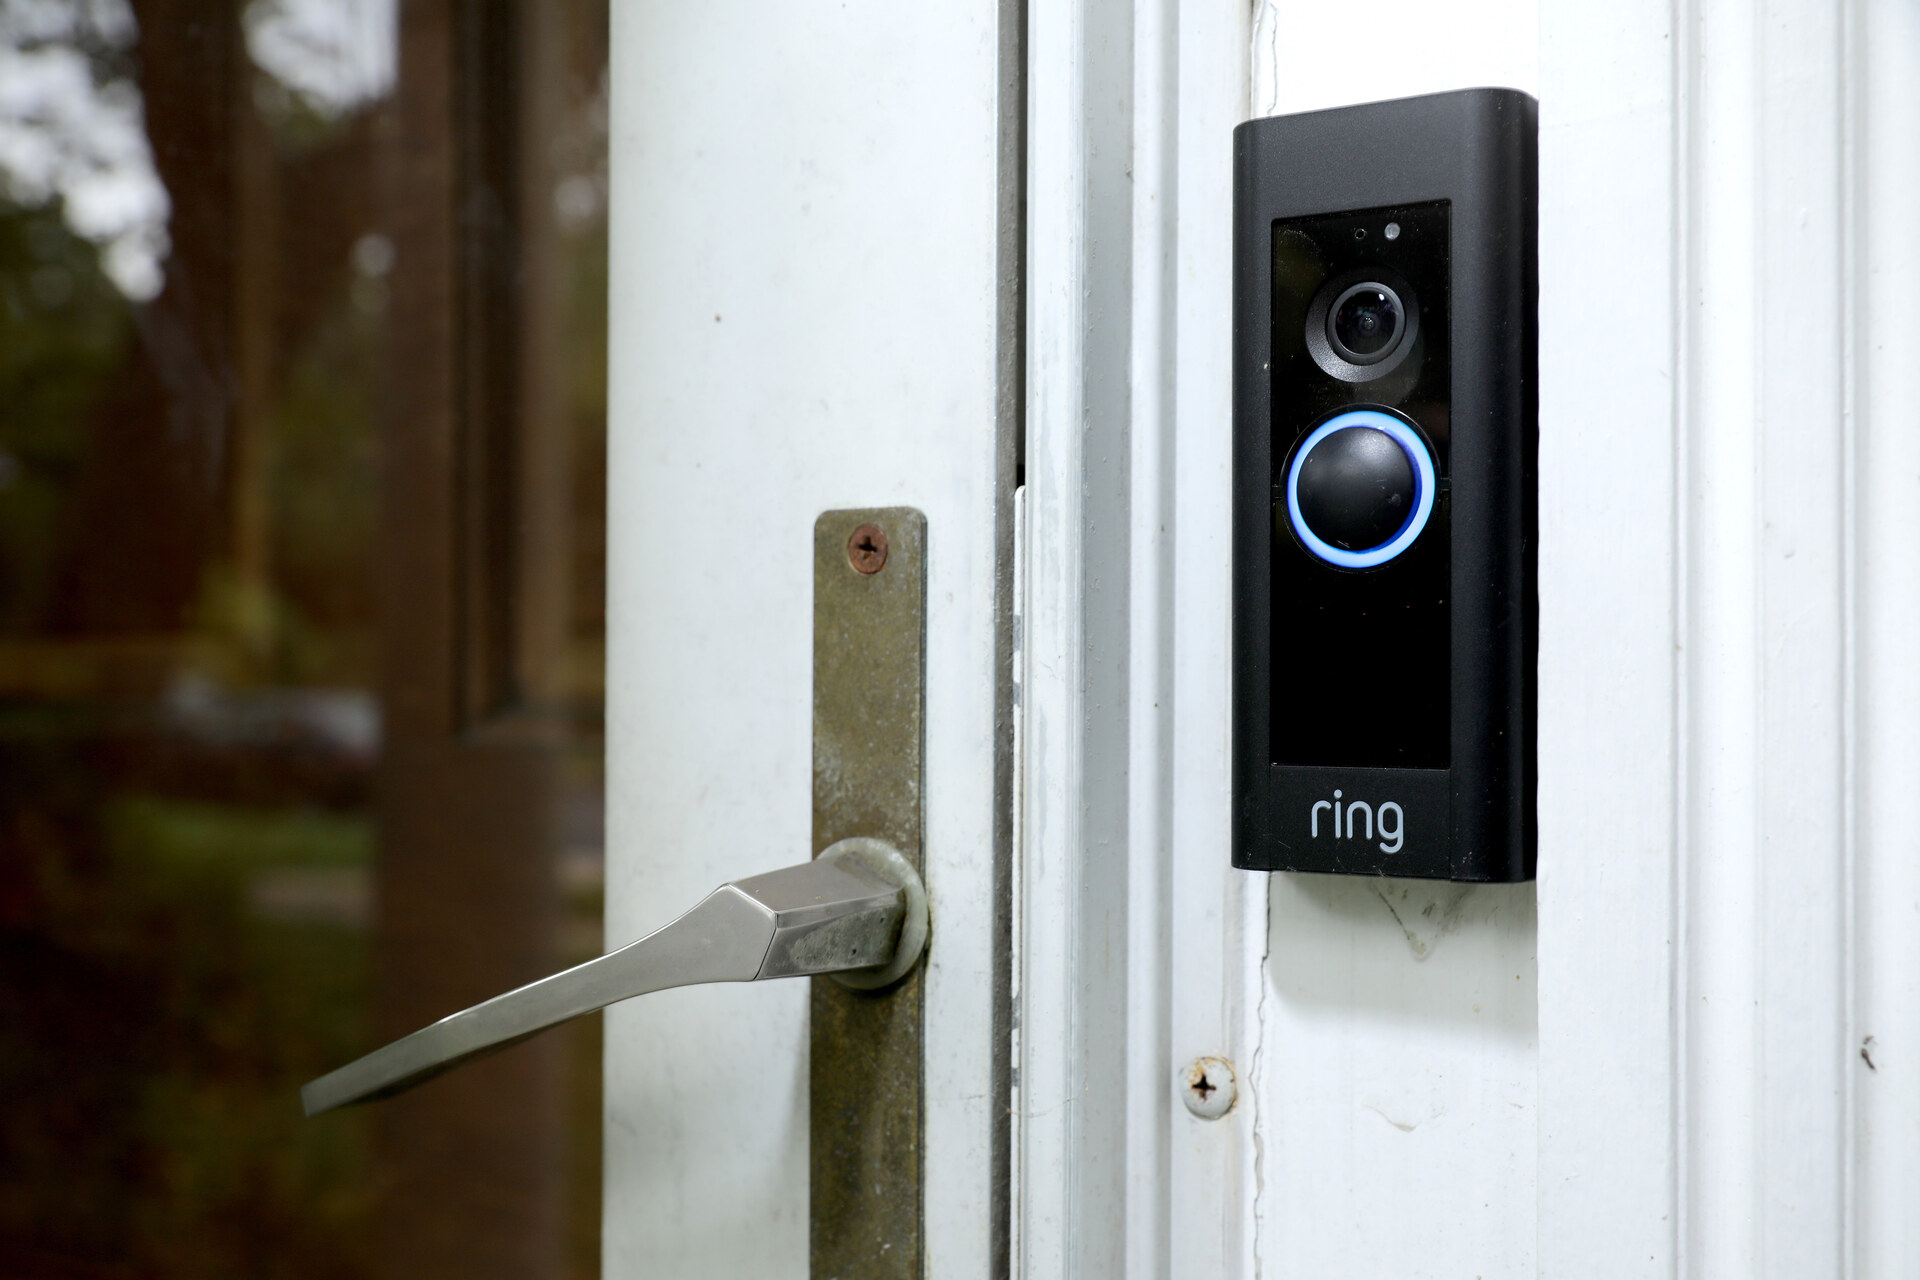
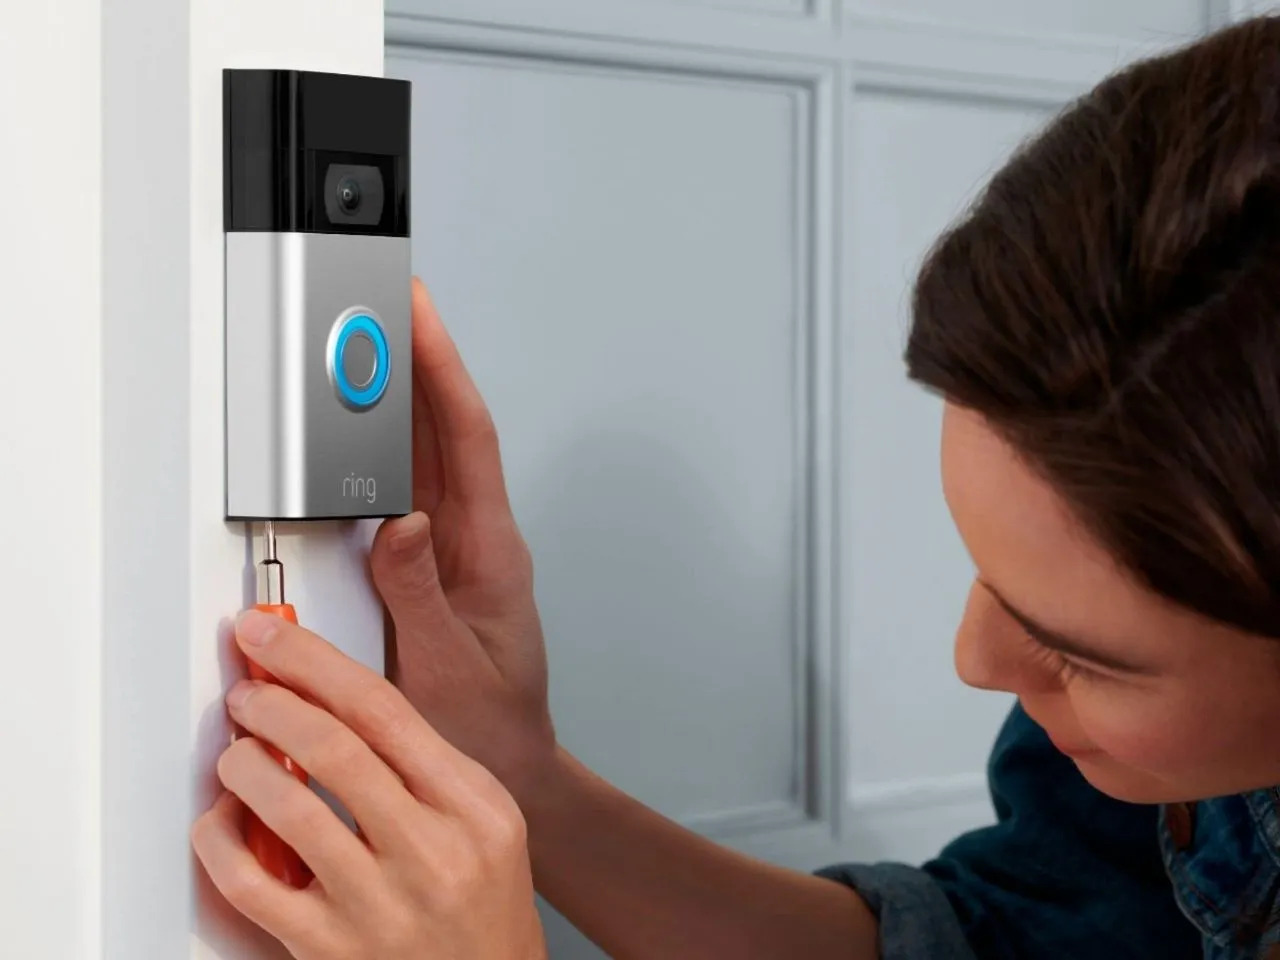
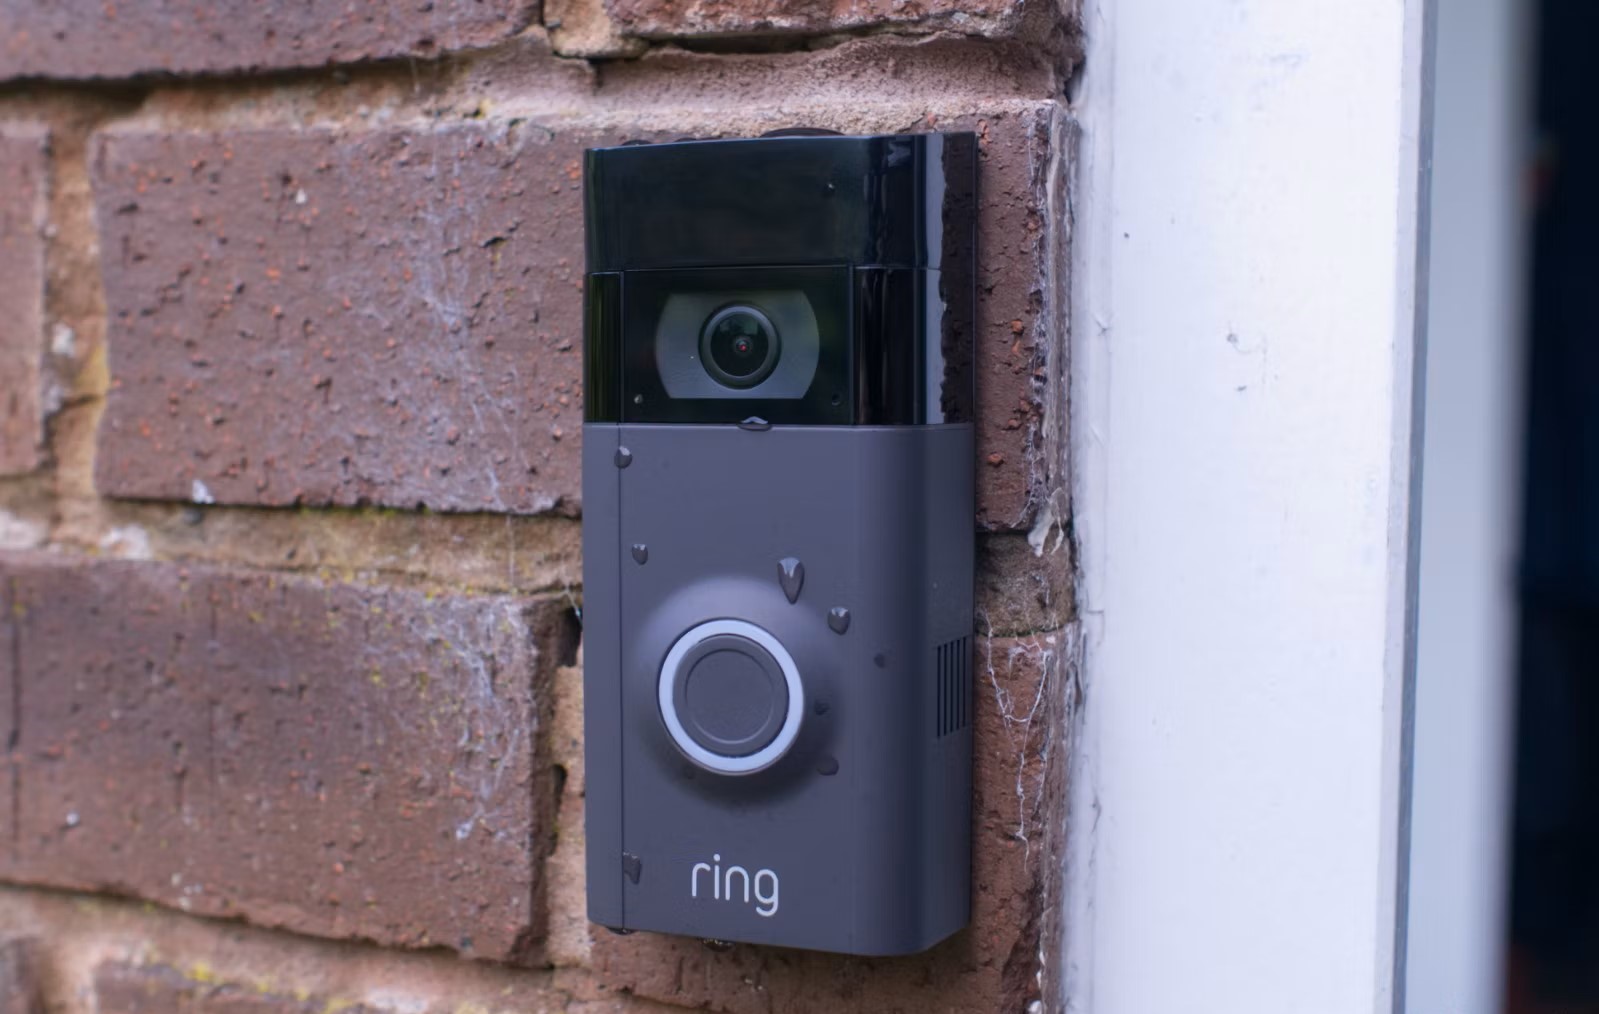
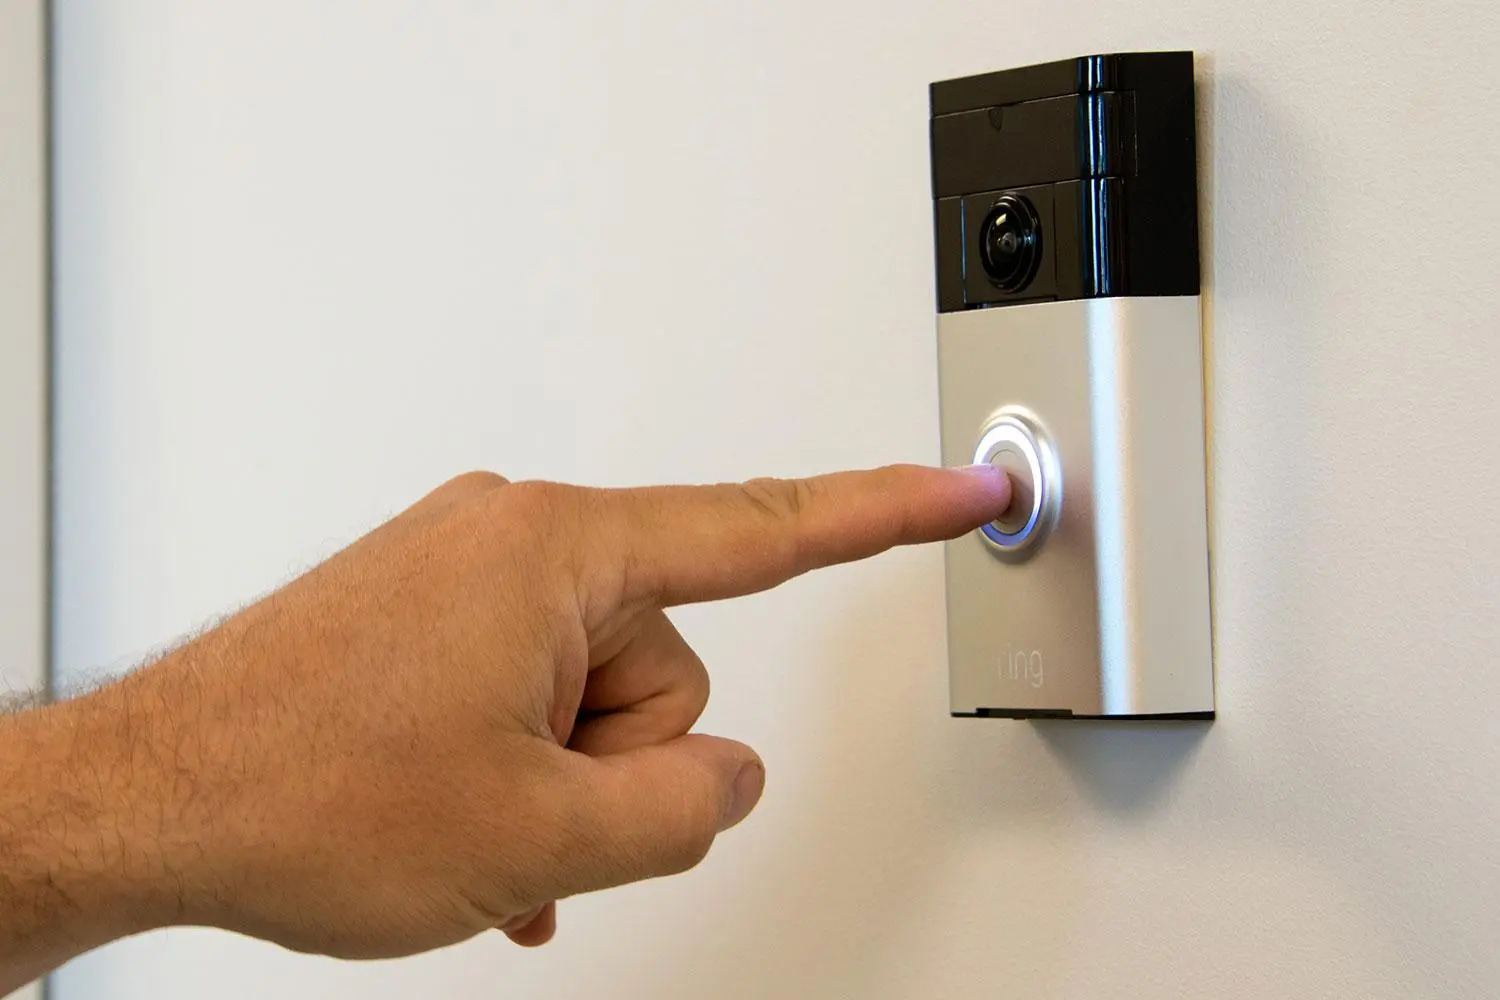
Step 1: Setting up your Ring Doorbell
The first step in sharing Ring doorbell access is setting up your Ring Doorbell device. Begin by following these steps:
- Choose a suitable location for your Ring Doorbell, ensuring that it is near your front door and has a clear view of the entrance.
- Install the Ring Doorbell according to the manufacturer’s instructions. This typically involves attaching it to the wall or door frame using screws or adhesive.
- Connect the Ring Doorbell to your home’s Wi-Fi network. This will enable it to communicate with the Ring mobile app and other authorized users.
- Download the Ring app on your smartphone or tablet from the App Store or Google Play Store.
- Follow the on-screen instructions to create a Ring account or log in to an existing account.
- Once your Ring Doorbell is successfully set up, you are ready to begin sharing access with others.
It’s important to note that different Ring Doorbell models may have slightly different setup processes. Consult the user manual or the Ring website for specific instructions related to your device.
Now that your Ring Doorbell is ready, let’s move on to the next step: creating a Ring account.
Step 2: Creating a Ring account
To share Ring doorbell access, you need to have a Ring account. Follow these steps to create one:
- Open the Ring app on your smartphone or tablet.
- Tap on the “Create Account” button.
- Enter your email address and create a password for your Ring account.
- Agree to the terms of service and privacy policy by checking the boxes.
- Tap on the “Continue” button to proceed.
- Verify your email address by clicking on the verification link sent to your inbox.
- Once your email is verified, you can log in to your Ring account using your credentials.
Having a Ring account allows you to access various features and settings for your Ring Doorbell. It also serves as a central hub for managing and sharing access with others.
Now that you have created a Ring account, it’s time to move on to the next step: adding authorized users.
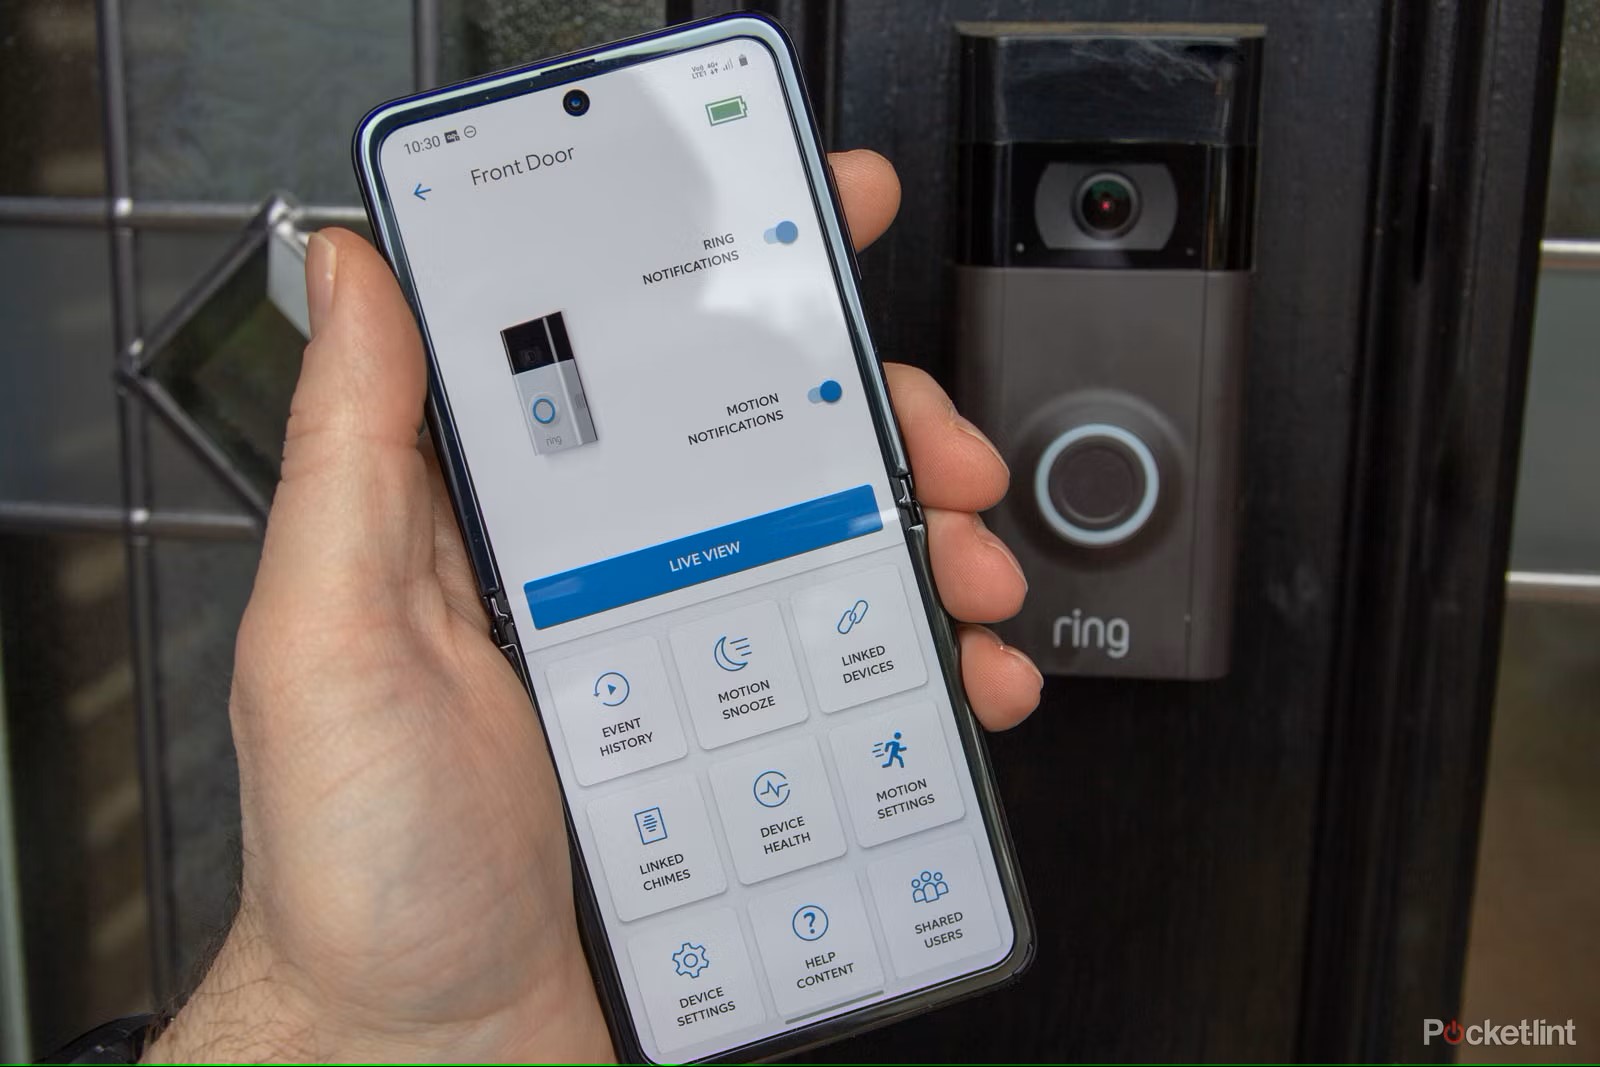
Step 3: Adding authorized users
Adding authorized users to your Ring Doorbell allows them to access and control the device. It’s particularly useful for granting access to family members who live in the same household. Here’s how you can add authorized users:
- Open the Ring app on your smartphone or tablet.
- Tap on the menu icon located in the top left corner of the screen.
- Select “Users” from the menu options.
- Tap on the “Add User” button.
- Enter the email address of the person you want to authorize and tap on “Send Invitation.”
- The authorized user will receive an email invitation to join the Ring account.
- They should open the email and follow the instructions to accept the invitation and create their own Ring account.
- Once they have accepted the invitation and created their account, they will have access to the Ring Doorbell.
It’s important to note that as the owner of the Ring Doorbell, you have administrative control over the device and can manage the settings and permissions for all authorized users.
Now that you’ve added authorized users, let’s move on to the next step: sharing access with family members.
When sharing Ring Doorbell access, only give access to trusted individuals and limit their permissions to ensure the security of your home.
Step 4: Sharing access with family members
Sharing access with family members allows them to have full control and monitoring of your Ring Doorbell. It’s a convenient feature that promotes safety and security within your household. Here’s how you can share access with family members:
- Open the Ring app on your smartphone or tablet.
- Tap on the menu icon located in the top left corner of the screen.
- Select “Users” from the menu options.
- Find the name of the family member you want to share access with and tap on their profile.
- Adjust their access permissions by selecting the appropriate options.
- You can grant them access to view the Ring Doorbell’s live video feed, receive notifications, and even answer the doorbell remotely.
- Save the changes to apply the new access permissions.
By sharing access with family members, you create a connected environment where everyone can contribute to the safety and security of your home. Whether it’s a parent keeping an eye on the front door or a sibling accepting packages on your behalf, having shared access enhances the functionality of your Ring Doorbell.
Now that you’ve shared access with family members, let’s move on to the next step: granting access to friends or neighbors.
Read more: How To Program Ring Doorbell
Step 5: Granting access to friends or neighbors
Occasionally, you may want to grant temporary access to friends, neighbors, or service providers who need to access your home. With the Ring Doorbell, you can easily share access for a specific period of time. Here’s how you can grant access to friends or neighbors:
- Open the Ring app on your smartphone or tablet.
- Tap on the menu icon located in the top left corner of the screen.
- Select “Users” from the menu options.
- Tap on the “Add User” button.
- Enter the email address of the person you want to grant access to and tap on “Send Invitation.”
- Choose the desired access permissions for the invited user.
- Specify the duration for which you want to grant access by setting a start and end date.
- Tap on the “Send Invitation” button to send the access invitation.
Once the invited user accepts the invitation, they will have access to your Ring Doorbell within the specified time frame. This is particularly useful if you’re expecting a guest or if someone needs to enter your home for a specific purpose, such as a repair technician or a pet sitter.
Now that you’ve learned how to grant access to friends or neighbors, let’s move on to the final step: removing access for users.
Step 6: Removing access for users
At times, you may need to revoke access for certain individuals who no longer require access to your Ring Doorbell. Whether it’s a former neighbor or a temporary guest, removing access is a simple process. Here’s how you can remove access for users:
- Open the Ring app on your smartphone or tablet.
- Tap on the menu icon located in the top left corner of the screen.
- Select “Users” from the menu options.
- Find the name of the user you want to remove and tap on their profile.
- Scroll down to the bottom of their profile page.
- Tap on the “Remove User” option.
- You will be prompted to confirm the removal. Proceed with the confirmation.
Once you have removed access for a user, they will no longer be able to view the live video feed, receive notifications, or control your Ring Doorbell. This ensures that only authorized individuals have access to your home security system.
It’s important to regularly review and update the list of authorized users to maintain the security and privacy of your Ring Doorbell system.
Congratulations! You have successfully learned how to share Ring doorbell access with different individuals and manage their permissions. By following these steps, you can create a secure and connected environment for your home.
If you have any further questions or need additional assistance, refer to the Ring support documentation or reach out to their customer support team.
Now go ahead and enjoy the convenience and peace of mind that comes with sharing Ring doorbell access!
Conclusion
Sharing access to your Ring Doorbell is a simple and effective way to enhance your home security and convenience. By following the steps outlined in this article, you can easily set up your Ring Doorbell, create a Ring account, add authorized users, and manage their access permissions.
Sharing access with family members allows everyone in your household to actively participate in monitoring and controlling your Ring Doorbell. This promotes a safer and more connected environment where everyone can contribute to the security of your home.
In addition, granting access to friends or neighbors for a specific period of time adds flexibility and convenience when you have visitors or need to provide temporary access for service providers.
It’s also important to remember that as the owner of the Ring Doorbell, you have the ability to remove access for users at any time. This ensures that only trusted individuals have access to your home security system.
By following these steps and managing access wisely, you can enjoy the benefits of your Ring Doorbell while maintaining the security and privacy of your home.
We hope this article has provided you with the knowledge and guidance to successfully share Ring doorbell access. If you have any further questions or need assistance, consult the Ring support documentation or reach out to their customer support team for additional help.
Now, go ahead and enjoy the convenience, peace of mind, and enhanced security that come with sharing access to your Ring Doorbell!
Frequently Asked Questions about How To Share Ring Doorbell Access
Was this page helpful?
At Storables.com, we guarantee accurate and reliable information. Our content, validated by Expert Board Contributors, is crafted following stringent Editorial Policies. We're committed to providing you with well-researched, expert-backed insights for all your informational needs.


0 thoughts on “How To Share Ring Doorbell Access”