Home>Garden Essentials>How To Germinate A Pinecone

Garden Essentials
How To Germinate A Pinecone
Modified: March 15, 2024
Learn how to germinate a pinecone in your garden and watch it grow into a majestic pine tree. Discover the step-by-step process to successfully cultivate pinecones and enhance the beauty of your outdoor space.
(Many of the links in this article redirect to a specific reviewed product. Your purchase of these products through affiliate links helps to generate commission for Storables.com, at no extra cost. Learn more)
Introduction
Welcome to the wonderful world of gardening! If you have a love for nature and want to try your hand at growing plants from seeds, you’re in for a treat. In this article, we will explore the fascinating process of germinating pinecones.
Pinecones are not only beautiful natural decorations, but they also contain seeds that have the potential to grow into majestic pine trees. Germinating pinecones allows you to start the growth process and nurture these seeds into healthy seedlings.
Before we dive into the step-by-step process, let’s first understand why germinating pinecones is necessary. Pine tree seeds have a natural protective coating that prevents them from germinating right away. This is an adaptation that ensures the seeds don’t sprout prematurely and have the best chance of survival in their native habitats.
By following the germination process, we can replicate the natural conditions that break down the protective coating and simulate the ideal environment for the seeds to sprout. So, let’s roll up our sleeves and get started on this exciting gardening journey!
Key Takeaways:
- Germinating pinecones involves collecting, preparing, soaking, and providing optimal conditions for growth. It’s a rewarding process that requires patience and dedication, resulting in majestic pine trees for your garden.
- The cold stratification process mimics nature’s winter conditions, breaking down seed dormancy and preparing pinecones for growth. With proper care, these seedlings will flourish into magnificent trees, adding beauty and wildlife habitat to your surroundings.
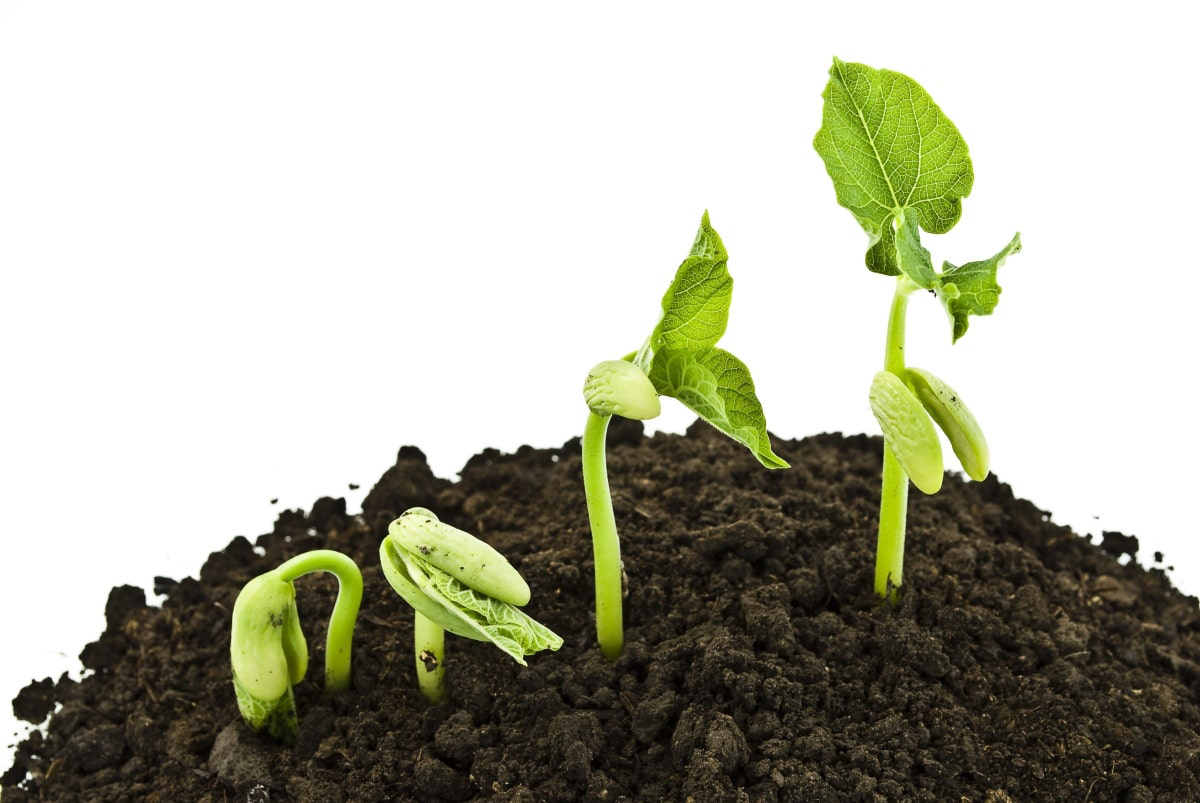
Read more: How To Germinate A Bean
Step 1: Collecting the Pinecones
The first step in germinating pinecones is to collect them from mature pine trees. It’s important to gather pinecones that are relatively fresh, as older pinecones may have dried out or lost their viability. Here’s how you can go about collecting pinecones:
- Identify the pine tree species: Different pine tree species have different types of pinecones. It’s essential to know the specific species you are interested in growing to ensure you collect the right type of pinecones.
- Locate mature pine trees: Look for mature pine trees in parks, forests, or even in your own backyard. Mature trees will have fully developed cones with viable seeds.
- Choose healthy pinecones: Select pinecones that are intact, firm, and have a healthy color. Avoid pinecones that are damaged, moldy, or show signs of insect infestation.
- Gently gather the pinecones: Carefully pluck the pinecones from the tree, holding them near their base to avoid damaging them. If the pinecones are on the ground, use your hands or tongs to pick them up.
- Collect an ample amount: Depending on how many pine trees you have access to, aim to collect a sufficient number of pinecones to increase your chances of successful germination.
Once you have gathered the pinecones, it’s time to move on to the next step: preparing them for the germination process.
Step 2: Preparing the Pinecones
Once you have collected the pinecones, it’s important to prepare them before moving forward with the germination process. This step involves removing any debris, opening the pinecones, and extracting the seeds. Follow the instructions below to properly prepare your pinecones:
- Clean the pinecones: Gently brush off any dirt, twigs, or other debris from the surface of the pinecones. You can use a soft brush or a cloth to clean them.
- Open the pinecones: To access the seeds, you need to open up the pinecones. Place the pinecones in a well-ventilated area or use an oven at a low temperature to help them open up naturally. It may take a few days for the pinecones to fully open, so be patient.
- Extract the seeds: Once the pinecones have opened, carefully remove the seeds. You can use your fingers or a pair of tweezers to extract the seeds from the cone scales. Be gentle to avoid damaging the seeds.
- Inspect and discard damaged seeds: Examine the extracted seeds and remove any that are discolored, shriveled, or damaged. These seeds are unlikely to germinate successfully, so it’s best to discard them.
After preparing the pinecones and extracting the seeds, you are now ready to move on to the next step of the germination process: soaking the pinecones.
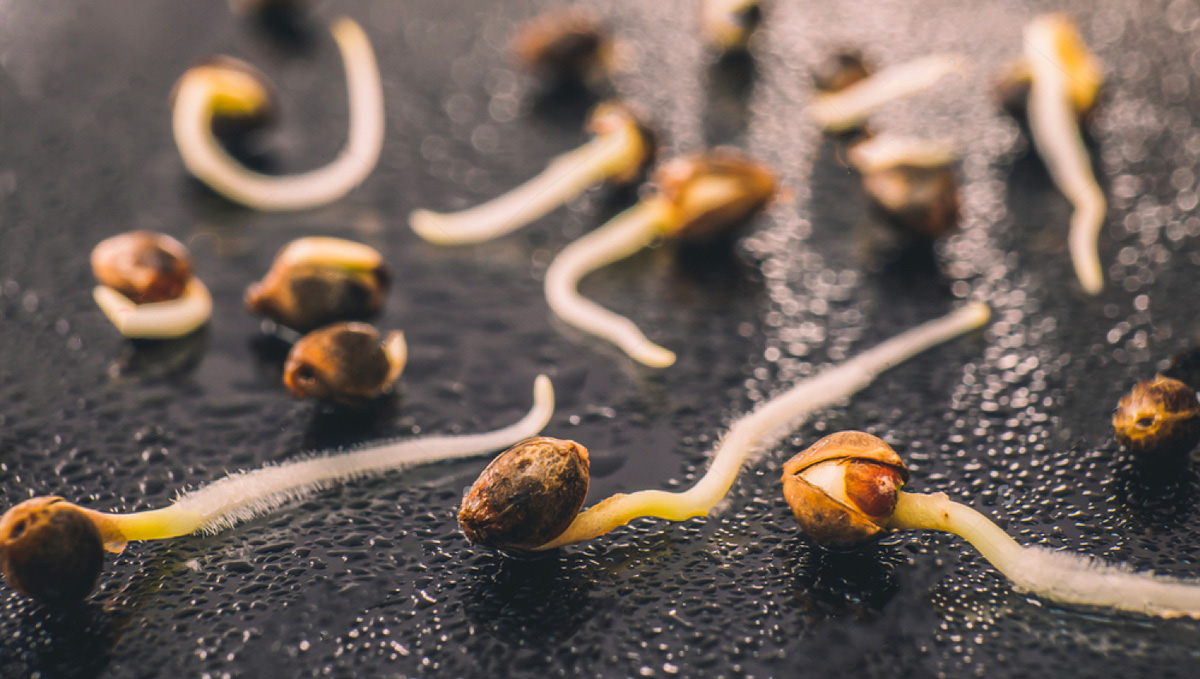
Step 3: Soaking the Pinecones
Soaking the pinecones is an essential step in the germination process as it helps to soften the protective coating and triggers the seeds’ readiness to sprout. Follow the steps below to properly soak your pinecones:
- Prepare a container: Get a container that is large enough to accommodate all of the pinecones you collected. It should also be deep enough to fill with water.
- Add water: Fill the container with room temperature water until the pinecones are fully submerged. The water should cover the pinecones entirely.
- Soak the pinecones: Place the pinecones into the container with water and let them soak for 24-48 hours. During this time, the water helps to soften the protective coating and prepare the seeds for germination.
- Change the water (optional): If the water becomes discolored or starts to smell, you can replace it with fresh water. This will prevent any potential fungal growth that could harm the seeds.
After soaking the pinecones for the recommended time, move on to the next step: the cold stratification process. This process mimics the natural winter conditions that pine tree seeds require for successful germination.
To germinate a pinecone, place it in a plastic bag with damp peat moss for 2-3 weeks. Then, transfer it to a pot with well-draining soil and keep it moist. Keep the pot in a cool, shaded area until the seedlings emerge.
Step 4: Cold Stratification Process
The cold stratification process is an important step in germinating pinecones, especially for pine tree seeds. This process simulates the natural winter conditions that break down the seed’s dormancy and prepare them for germination. Follow these steps to implement the cold stratification process:
- Prepare a damp paper towel: Moisten a paper towel with water until it’s damp but not soaking wet. Ensure that the towel is large enough to wrap around the pinecone seeds.
- Place the seeds on the paper towel: Lay your extracted pinecone seeds on the damp paper towel. Space them out evenly, making sure they’re not touching each other.
- Fold the paper towel: Carefully fold the damp paper towel over the pinecone seeds, covering them completely. Make sure the towel is not tight; leave some room for air circulation.
- Place the towel-seed package in a plastic bag: Put the folded paper towel with the seeds into a resealable plastic bag. Seal the bag tightly to create a humid environment for the seeds.
- Refrigerate the bag: Place the bag containing the towel and seeds in the refrigerator. The cold temperature will simulate the winter conditions needed for stratification.
- Keep the seeds refrigerated for 3-4 weeks: Leave the bag with the seeds in the refrigerator for a period of 3-4 weeks. This extended cold period breaks down the seed’s dormancy and prepares them for germination.
Remember to check on the seeds periodically during the stratification process to ensure they remain moist. If the paper towel dries out, you can lightly mist it with water to maintain the necessary moisture for the seeds.
After the cold stratification period, it’s time to move on to the next step: providing proper light and temperature for the germinated pinecones.
Read more: How To Germinate Pecans
Step 5: Providing Proper Light and Temperature
Once the cold stratification period is complete, it’s crucial to provide the germinated pinecones with the optimal conditions of light and temperature for successful growth. Follow these steps to ensure you’re providing the right environment:
- Choose a suitable location: Select a sunny spot for your germinated pinecones. Pine trees thrive in full sunlight, so find a location where they will receive at least six hours of direct sunlight per day.
- Prepare the planting containers: Fill small pots or seed trays with a well-draining potting mix. Ensure there are drainage holes at the bottom to prevent waterlogging.
- Plant the germinated pinecones: Gently place the germinated pinecone seeds into the prepared planting containers. Bury them about 1-2 inches deep in the soil.
- Water the seeds: After planting, give the seeds a thorough watering. Keep the soil evenly moist but not overly saturated. Avoid letting the soil dry out completely or become waterlogged.
- Provide the right temperature: Pine trees prefer cool to moderate temperatures. Maintain a temperature range between 60-75°F (15-24°C) for optimal growth. Avoid exposing them to extreme heat or cold drafts.
- Maintain consistent moisture: Regularly monitor the soil moisture and water the seedlings as needed. Aim to keep the soil consistently damp, but be cautious of overwatering, which can lead to root rot.
- Monitor the growth progress: Over time, you will start to see the seedlings emerge from the soil. Continue to provide them with proper light, temperature, and consistent moisture as they grow.
With the right combination of light and temperature, your germinated pinecones will begin to flourish into healthy seedlings. Now, let’s move on to the final step: transplanting the germinated pinecones into larger containers or the outdoors.
Step 6: Transplanting the Germinated Pinecones
After your germinated pinecones have grown into strong seedlings, it’s time to transplant them into their permanent location. Whether you choose to plant them in larger containers or directly in your garden, follow these steps for successful transplantation:
- Select the right container or outdoor location: Decide whether you want to transplant your pinecone seedlings into larger pots or directly into the ground. Ensure that the chosen area provides enough space for the pine trees to grow to their full potential.
- Prepare the transplant site: If you’re transplanting into the ground, clear any weeds or debris from the planting area. Loosen the soil and add organic matter to improve its fertility and drainage.
- Remove the seedlings from their current containers: Carefully remove the pinecone seedlings from their small pots or seed trays, holding them by the base of the stem to avoid damaging the delicate roots.
- Plant the seedlings: Dig holes in the prepared transplant site that are slightly larger than the root ball of each seedling. Place the seedlings into the holes and fill in with soil, gently firming it around the roots.
- Water the newly transplanted seedlings: Give the seedlings a good watering immediately after transplanting. This will help settle the soil around the roots and reduce transplant shock.
- Maintain regular care: Once transplanted, continue to provide regular care to your pine trees. Water them deeply and regularly, especially during dry spells. Apply mulch around the base of the trees to help conserve moisture and suppress weed growth.
- Monitor the growth: Keep an eye on the growth of your transplanted pine trees. Prune any dead or damaged branches, and provide support if necessary as the trees grow taller.
It’s important to note that pine trees are long-lived and require patience and dedication as they grow slowly over the years. However, with proper care and attention, your transplanted pinecone seedlings will develop into magnificent trees that will enhance the beauty of your garden or landscape.
Congratulations on successfully germinating and transplanting your pinecones! Enjoy watching them grow and flourish as they contribute to the beauty of nature.
Conclusion
Germinating pinecones can be a rewarding and fulfilling experience for any garden enthusiast. By following the steps outlined in this guide, you can successfully bring pine tree seeds to life and watch them grow into majestic trees.
From collecting fresh pinecones to preparing and soaking them, to providing the right conditions for germination, each step plays a crucial role in ensuring the success of your pinecone germination project. The cold stratification process mimics nature’s winter conditions, breaking down the seed’s dormancy and preparing them for growth.
Once your germinated pinecones have transformed into healthy seedlings, transplanting them into larger containers or the outdoors is the next step. With the right care, these seedlings will continue to thrive and eventually become towering pine trees, adding beauty, shade, and wildlife habitat to your surroundings.
Remember, growing pine trees from pinecones is a long-term commitment. These trees have a slow growth rate, but the reward of witnessing their growth and contributing to the environment is well worth the patience and effort.
So, if you’re ready to embark on this gardening journey, gather some pinecones, follow the steps, and watch the magic unfold as your pinecone seeds germinate, sprout, and flourish into magnificent trees.
Happy germinating and happy gardening!
Frequently Asked Questions about How To Germinate A Pinecone
Was this page helpful?
At Storables.com, we guarantee accurate and reliable information. Our content, validated by Expert Board Contributors, is crafted following stringent Editorial Policies. We're committed to providing you with well-researched, expert-backed insights for all your informational needs.


0 thoughts on “How To Germinate A Pinecone”