Home>Gardening & Outdoor>Outdoor Structures>How To Build A Wood Tool Shed From Pallets

Outdoor Structures
How To Build A Wood Tool Shed From Pallets
Modified: August 28, 2024
Learn how to build a sturdy wood tool shed using pallets for a cost-effective outdoor structure. Get step-by-step instructions and tips for creating your own shed.
(Many of the links in this article redirect to a specific reviewed product. Your purchase of these products through affiliate links helps to generate commission for Storables.com, at no extra cost. Learn more)
Introduction
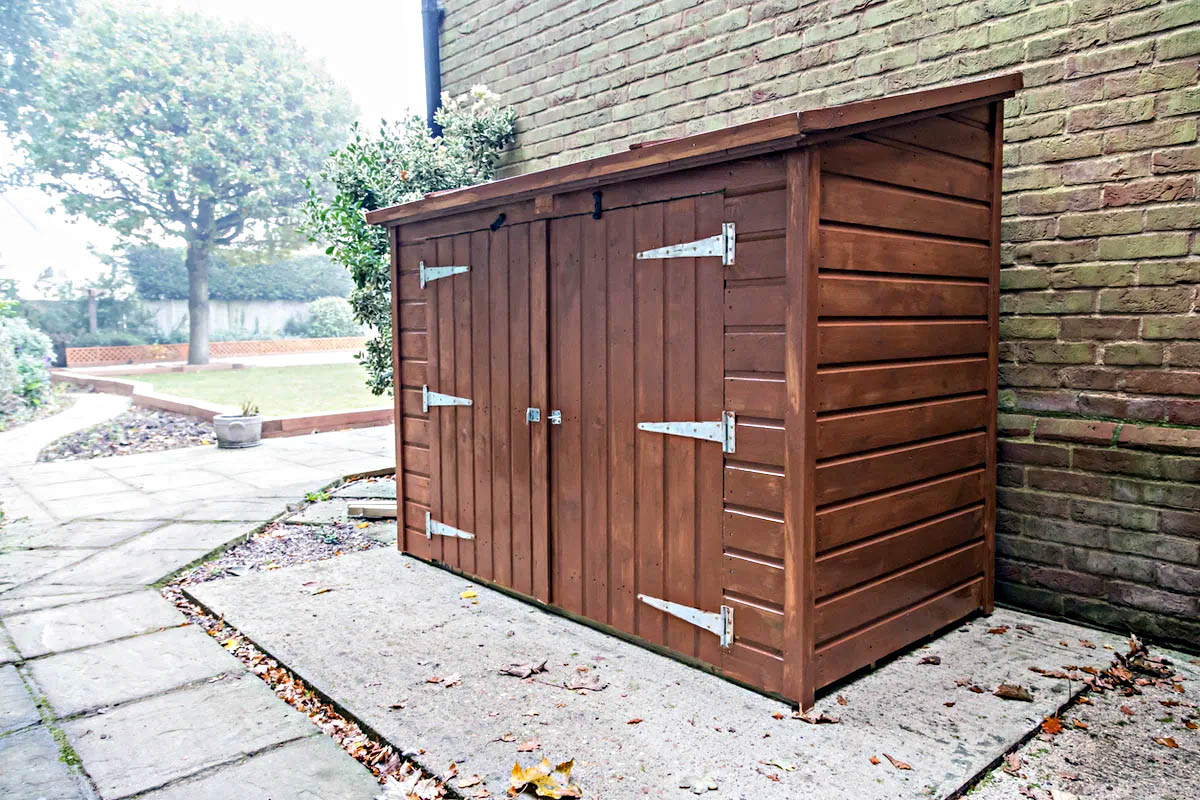
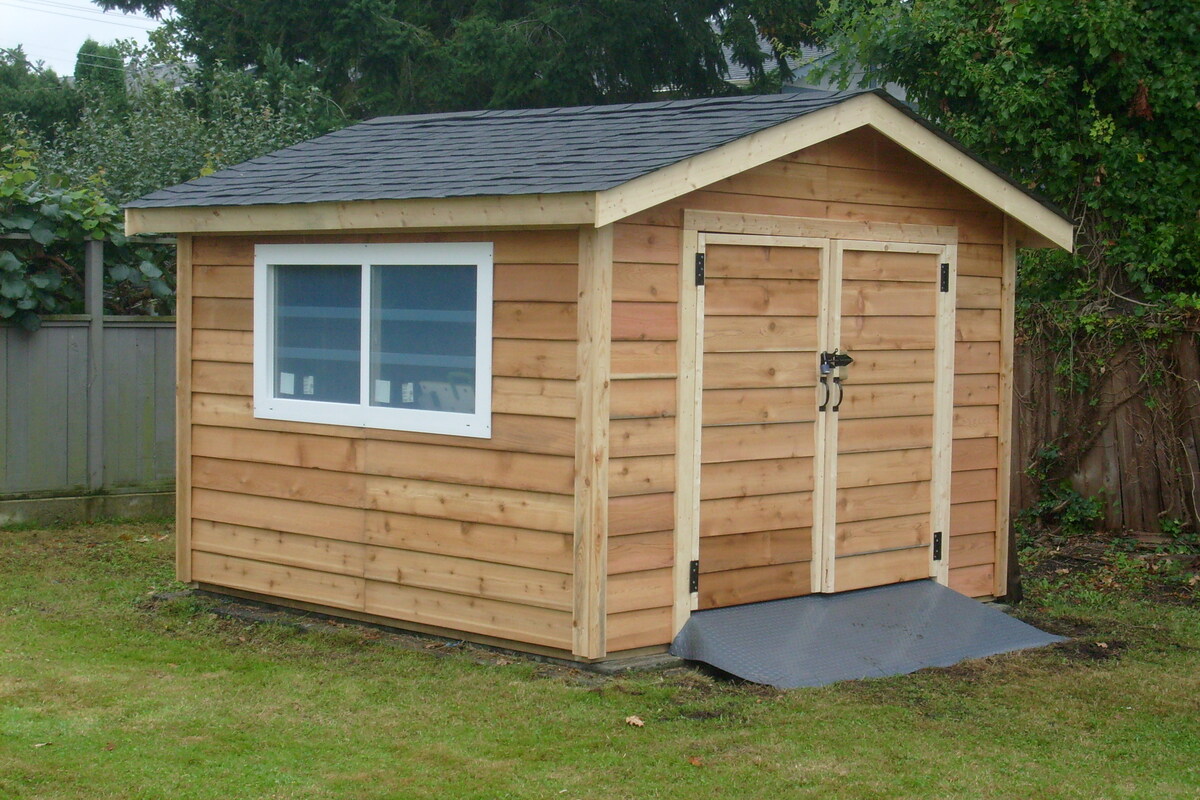
Welcome to the world of DIY woodworking, where creativity and practicality come together to transform simple materials into functional and beautiful structures. In this article, we will explore the process of building a wood tool shed from pallets, a project that not only serves as a testament to sustainability and resourcefulness but also provides a valuable storage solution for your gardening and woodworking tools.
Building a tool shed from pallets is not only a cost-effective endeavor but also an environmentally friendly one. By repurposing pallets, which are often discarded as waste, you can contribute to the reduction of environmental impact while creating a unique and personalized space for your tools.
Throughout this guide, we will delve into the step-by-step process of constructing a wood tool shed from pallets, from selecting the right location and preparing the ground to building the foundation, constructing the walls, adding the roof, installing the door, and adding the finishing touches. Whether you are a seasoned woodworking enthusiast or a novice DIYer, this project offers an opportunity to hone your skills and unleash your creativity while adding a practical and visually appealing structure to your outdoor space.
So, roll up your sleeves, gather your tools, and let's embark on this woodworking adventure together. By the end of this journey, you will not only have a functional tool shed but also a sense of accomplishment and pride in creating something truly remarkable with your own hands. Let's get started!
Key Takeaways:
- Repurpose pallets to build a sustainable and cost-effective wood tool shed, showcasing creativity and practicality while reducing environmental impact.
- Transform basic materials into a functional and visually appealing shed, honing woodworking skills and embracing the joy of hands-on construction.
Read more: How To Build A Wood Shed
Materials Needed
Before diving into the construction process, it’s essential to gather the necessary materials and tools for building your wood tool shed from pallets. Here’s a comprehensive list of items you’ll need to bring your project to life:
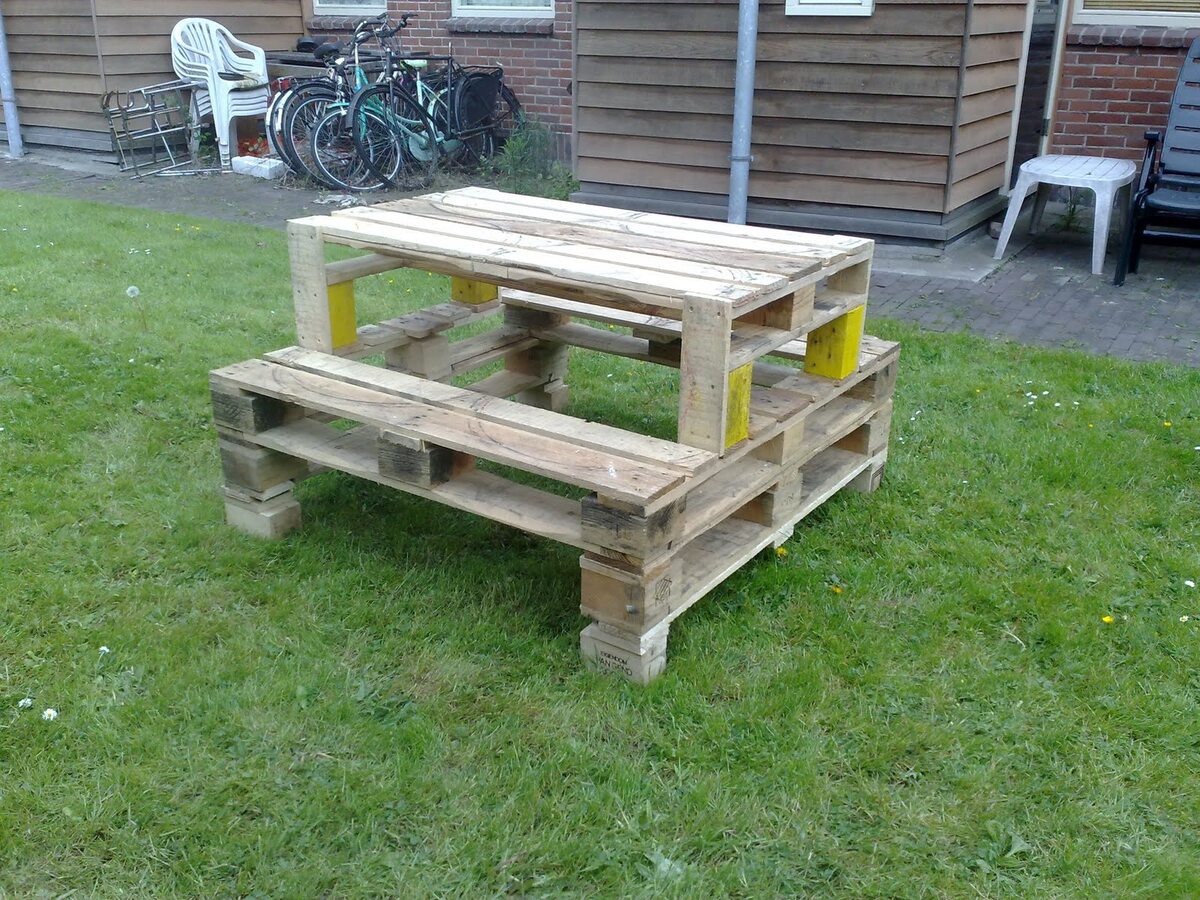
- Wooden pallets: Look for pallets in good condition, free from rot or structural damage. The number of pallets required will depend on the size of the shed you intend to build.
- Pressure-treated lumber: This will be used for framing, floor joists, and any structural components that require added durability.
- Plywood sheets: Opt for sturdy plywood to create the shed’s walls, roof, and door.
- Roofing materials: Depending on your preference and local climate, you can choose from asphalt shingles, metal roofing, or other suitable options.
- Fasteners: Stock up on nails, screws, and other fastening hardware to secure the pallets and other components together.
- Concrete blocks or gravel: These will be used to create a stable foundation for the shed.
- Leveling and measuring tools: Ensure you have a spirit level, tape measure, and other essential tools for accurate construction.
- Circular saw or hand saw: A reliable saw will be indispensable for cutting the pallets, lumber, and plywood to the required dimensions.
- Hammer, screwdriver, and drill: These basic tools will be used extensively throughout the construction process.
- Protective gear: Safety goggles, work gloves, and a dust mask are essential for ensuring your safety during construction.
- Wood preservative and paint: Consider applying a wood preservative to protect the shed from the elements, and choose paint or stain to add a personalized touch and enhance durability.
By gathering these materials and tools, you’ll be well-equipped to commence the construction of your wood tool shed from pallets. With everything in place, you can proceed to select the ideal location for your shed and begin the exciting journey of transforming pallets into a functional and visually appealing structure.
Choosing the Right Location
Before you start building your wood tool shed from pallets, it’s crucial to carefully select the location where the shed will be situated. The right placement can contribute to the shed’s longevity, functionality, and overall aesthetic appeal. Here are key considerations to keep in mind when choosing the ideal spot for your shed:
- Sunlight and shade: Assess the sun’s path throughout the day to determine the best orientation for your shed. Ample natural light can make the interior more inviting and assist in drying out any moisture that may accumulate.
- Accessibility: Consider the proximity of the shed to your garden, workspace, or other areas where you frequently use your tools. Easy access will enhance convenience and efficiency when retrieving and storing items.
- Ground elevation and drainage: Choose a location with good natural drainage to prevent water accumulation around the shed. Additionally, ensure the ground is relatively level to facilitate stable construction and ease of use.
- Property boundaries and regulations: Familiarize yourself with local building codes and regulations regarding shed placement, setbacks from property lines, and any necessary permits. Adhering to these guidelines will prevent potential issues in the future.
- Landscape and surroundings: Take into account the surrounding landscape, including trees, shrubs, and other structures. Position the shed to complement the overall aesthetic of your outdoor space while maintaining a harmonious relationship with existing elements.
By carefully considering these factors, you can identify the optimal location for your wood tool shed. Once you have selected the perfect spot, you can move on to preparing the ground to ensure a solid foundation for your project.
Preparing the Ground
Before commencing the construction of your wood tool shed from pallets, it’s essential to prepare the ground to provide a stable and level foundation. Proper ground preparation will contribute to the longevity and structural integrity of the shed. Here’s a step-by-step guide to preparing the ground for your project:
- Clear the area: Begin by removing any vegetation, rocks, or debris from the chosen site. Clearing the ground will create a clean and level surface for building the shed.
- Mark the shed’s footprint: Use stakes and string to outline the dimensions of the shed on the cleared ground. This will provide a visual guide for excavating and leveling the area.
- Excavate the site: Dig into the soil within the marked perimeter to create a level area for the shed’s foundation. Remove any excess soil and ensure the ground is uniformly graded.
- Install a weed barrier: To prevent weed growth under the shed, consider laying a weed barrier fabric over the excavated area. This will help maintain a clean and low-maintenance environment within the shed.
- Add a layer of gravel: Spread a layer of gravel over the excavated area to enhance drainage and provide a stable base for the shed’s foundation. Use a tamper to compact the gravel for added stability.
- Verify the level: Use a long, straight board and a spirit level to ensure that the gravel base is level and even. Making adjustments at this stage will contribute to a solid and well-aligned foundation.
By meticulously preparing the ground according to these steps, you will establish a solid and level foundation for your wood tool shed. With the groundwork complete, you can now proceed to the exciting phase of building the shed’s foundation using pallets and other essential materials.
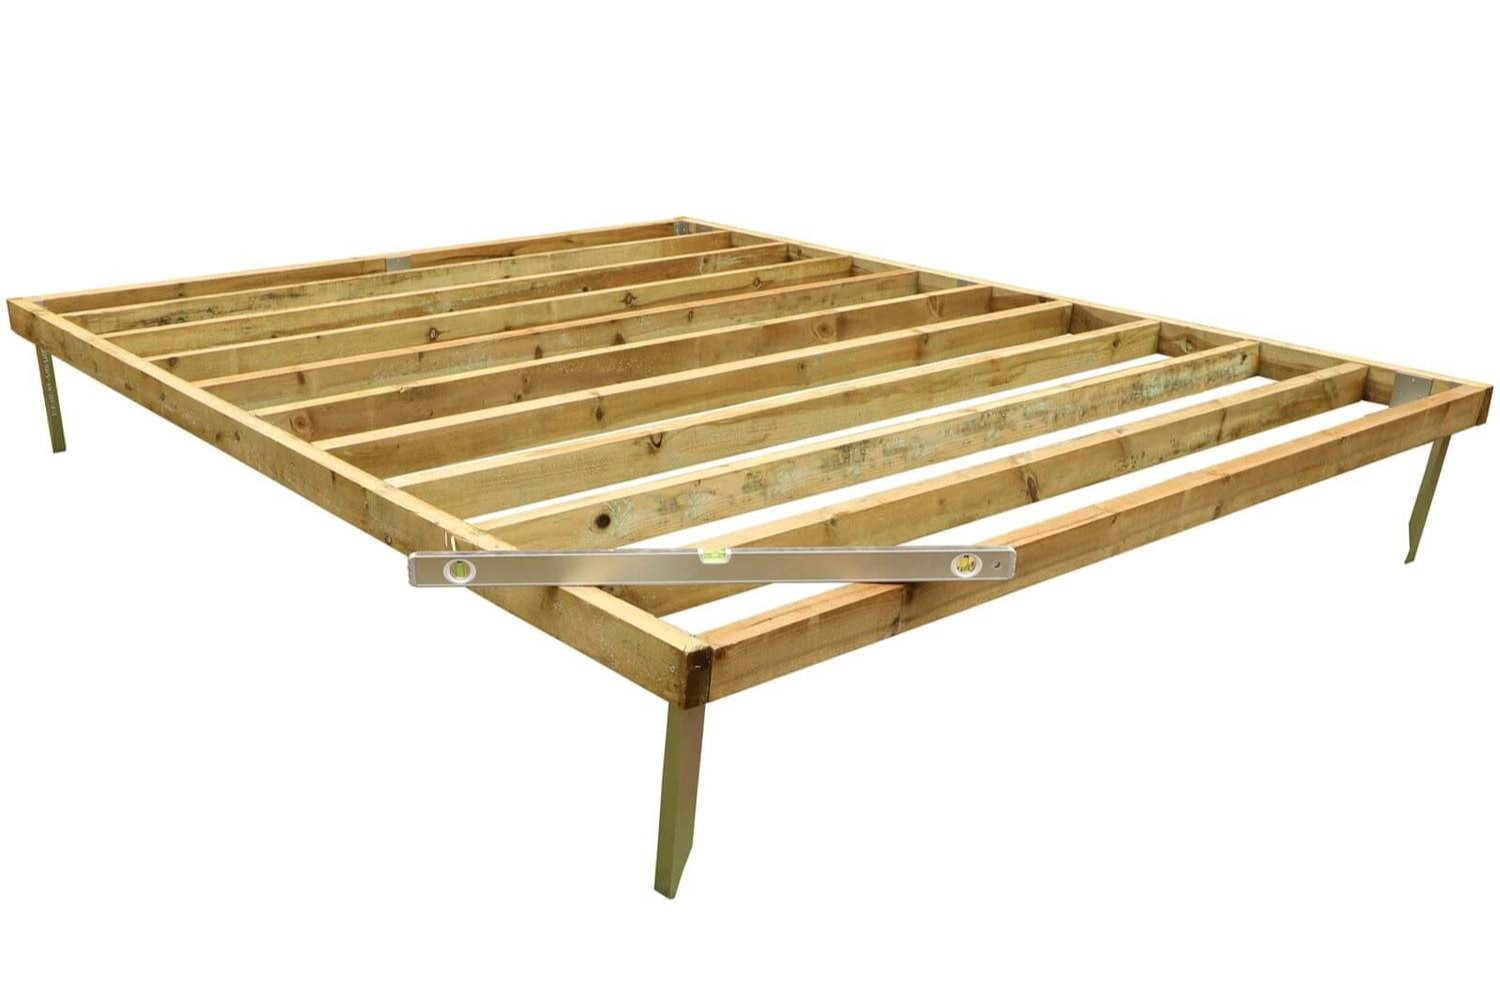
Building the Foundation
With the ground prepared, it’s time to embark on the construction of the foundation for your wood tool shed from pallets. The foundation serves as the base for the entire structure, providing stability and support. Here’s a detailed guide to building the foundation using pallets and other essential materials:
- Lay the first layer of pallets: Position the first layer of pallets on the prepared gravel base, ensuring they are aligned and level. The pallets will form the primary layer of the foundation, so take care to position them securely.
- Secure the pallets together: Use heavy-duty screws or nails to fasten the pallets to each other, creating a unified base. This step is crucial for reinforcing the foundation and preventing shifting or instability.
- Add additional layers: Depending on the desired height of the shed, continue stacking and securing pallets to create multiple layers. Ensure each layer is securely fastened to the one below it, maintaining stability and uniformity.
- Install support beams: Along the perimeter of the pallet foundation, install pressure-treated lumber or additional pallet sections to serve as support beams. These beams will add further strength and stability to the foundation.
- Level the foundation: Use a spirit level to ensure the entire foundation is level and even. Making adjustments at this stage will contribute to the overall stability and structural integrity of the shed.
- Anchor the foundation: For added security, consider anchoring the foundation to the ground using metal stakes or anchor bolts. This will help prevent any potential movement or shifting, especially in areas prone to high winds or inclement weather.
By following these steps, you will successfully construct a sturdy and reliable foundation for your wood tool shed using pallets and additional support materials. With the foundation in place, you are now ready to progress to the next stages of building the shed’s walls, roof, and other essential components.
When building a wood tool shed from pallets, make sure to properly sand and treat the pallets to prevent splinters and rot. This will ensure the longevity of your shed.
Read more: How To Build A Simple Wood Shed
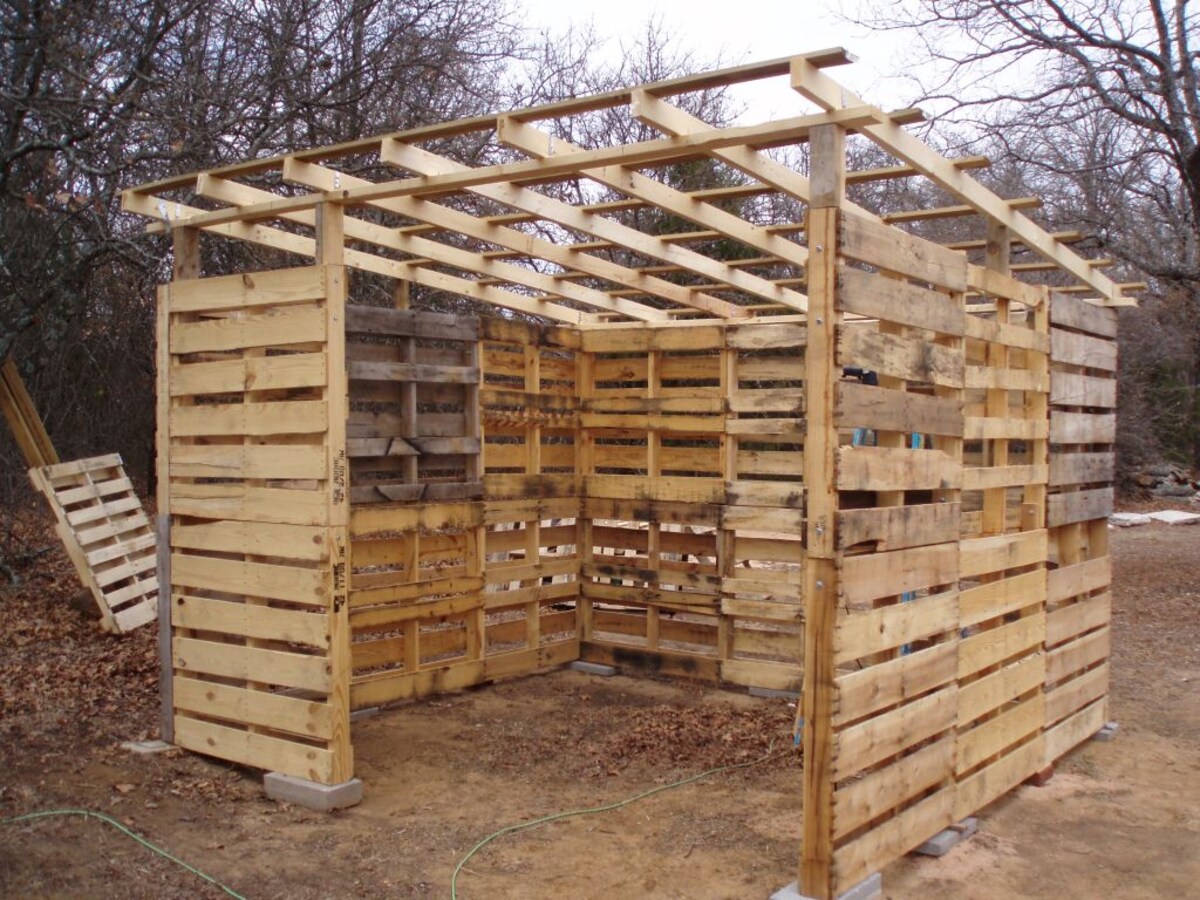
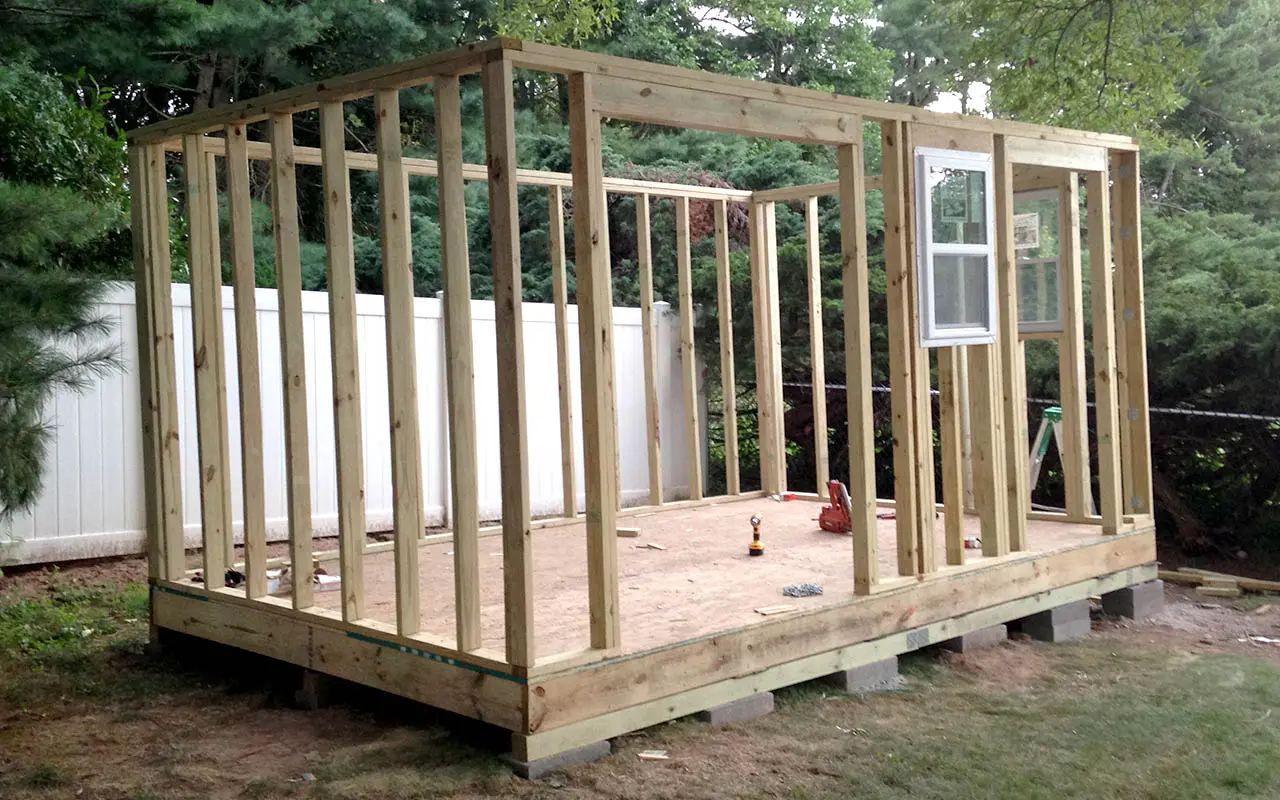
Constructing the Walls
As you progress in building your wood tool shed from pallets, the construction of the walls marks a significant step in shaping the structure and providing enclosure for your tools and equipment. Here’s a comprehensive guide to constructing the walls using pallets and additional materials:
- Prepare the pallets: Inspect the pallets to ensure they are structurally sound and free from damage. Remove any protruding nails or splinters that may pose a hazard during construction.
- Position the pallets: Stand the pallets on their edges to form the walls of the shed. Depending on the shed’s design, you may need to cut and modify some pallets to achieve the desired dimensions.
- Secure the pallets: Use screws or nails to fasten the pallets together, creating a stable and unified wall structure. Ensure the pallets are securely attached to each other and to the foundation for added stability.
- Reinforce the corners: Install additional vertical and horizontal supports at the corners and junctions of the pallet walls to enhance strength and structural integrity.
- Frame openings: If your shed design includes windows or a door, frame the openings using additional lumber or pallet sections. Ensure the openings are accurately positioned and securely framed.
- Weatherproofing: Apply a weather-resistant sealant or paint to the exterior of the walls to protect the wood from moisture, UV exposure, and other environmental factors. This step will enhance the shed’s durability and longevity.
By following these steps, you will successfully construct the walls of your wood tool shed using pallets and other essential materials. The walls not only define the structure but also provide a secure and functional space for organizing and storing your tools. With the walls in place, you are now ready to proceed to the next phase of adding the roof to your shed.
Adding the Roof
As you approach the final stages of building your wood tool shed from pallets, adding the roof is a pivotal step that provides protection from the elements and completes the structure. Here’s a detailed guide to adding the roof to your shed using pallets and other essential materials:
- Measure and cut the roof supports: Using pressure-treated lumber, measure and cut the rafters and joists to the required dimensions for the roof structure. These supports will form the framework for the roof.
- Position the roof supports: Install the rafters and joists across the top of the shed, ensuring they are evenly spaced and securely attached to the top of the walls. This framework will provide the foundation for the roof covering.
- Add plywood sheathing: Cover the roof framework with sturdy plywood sheets, securing them in place with screws or nails. The plywood sheathing serves as the base for the roof covering and adds structural strength to the roof assembly.
- Choose the roofing material: Select the roofing material that best suits your climate and aesthetic preferences. Options include asphalt shingles, metal roofing panels, or corrugated plastic sheets, among others.
- Install the roofing material: Apply the chosen roofing material according to the manufacturer’s guidelines, ensuring proper overlap and secure fastening. Pay careful attention to sealing edges and junctions to prevent water infiltration.
- Weatherproofing and finishing: Apply a weather-resistant coating or paint to the exterior of the roof to enhance durability and protect it from the elements. This step will contribute to the longevity and visual appeal of the shed.
By following these steps, you will successfully add a durable and weather-resistant roof to your wood tool shed, providing essential protection for the contents within. With the roof in place, your shed is now poised to serve as a secure and functional storage space for your tools and equipment.
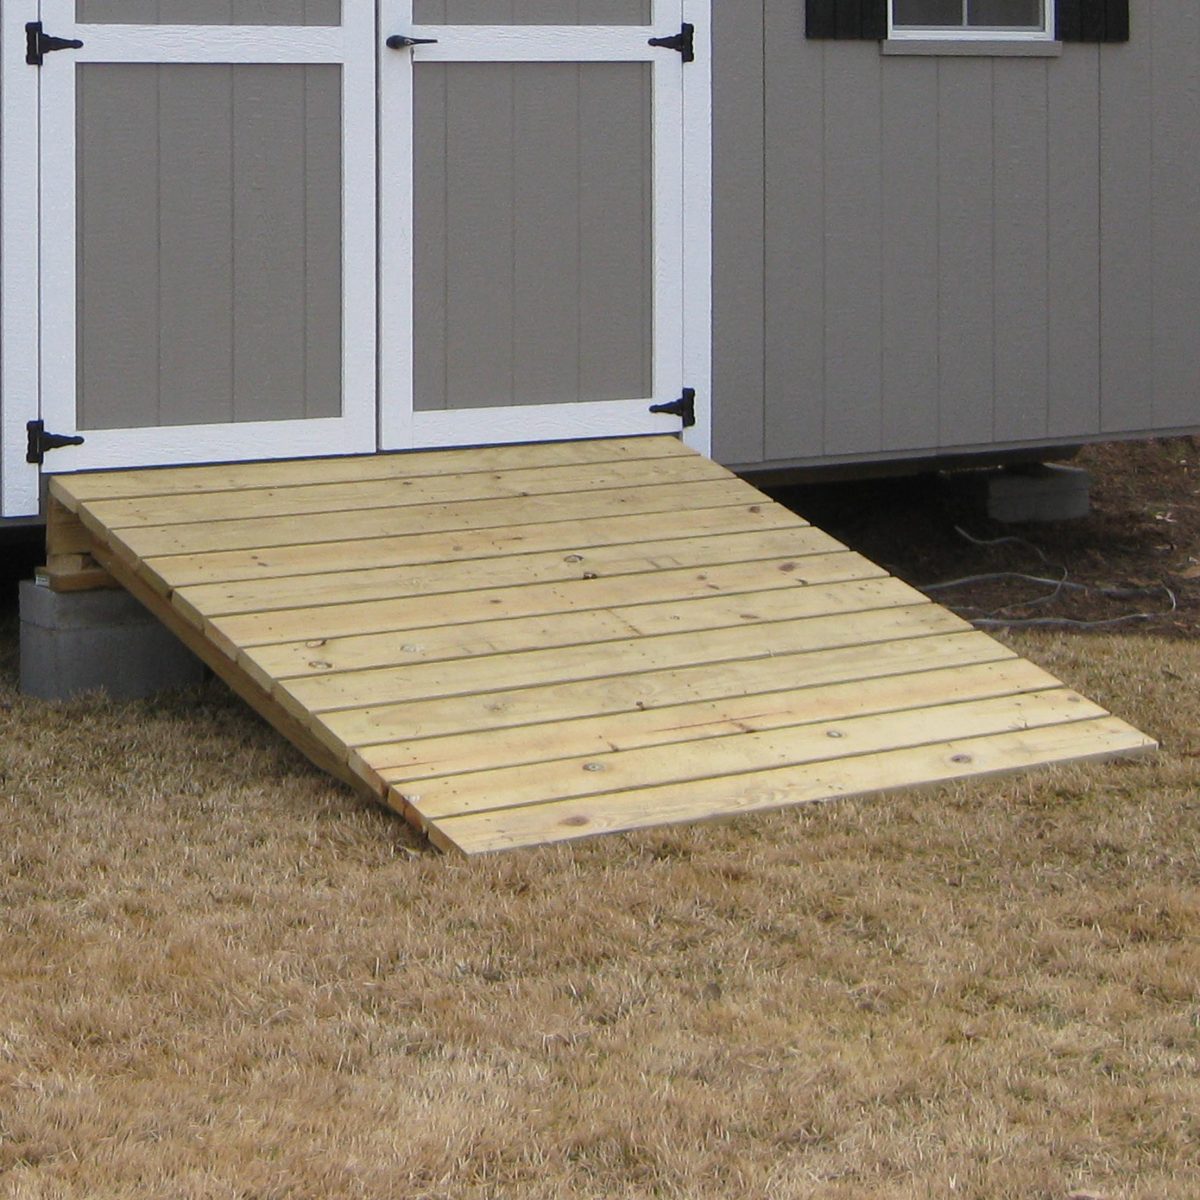
Installing the Door
As you near the completion of your wood tool shed from pallets, installing the door is a crucial step that provides access to the interior space while enhancing functionality and security. Here’s a comprehensive guide to installing the door in your shed using pallets and other essential materials:
- Choose the door location: Select a suitable location for the door, considering ease of access and the overall layout of the shed. Mark the door opening dimensions on the wall where the door will be installed.
- Frame the door opening: Using additional lumber or pallet sections, frame the door opening to accommodate the dimensions of the door. Ensure the frame is securely attached to the surrounding wall structure.
- Construct the door: Build the door using pallet wood or plywood, ensuring it is sturdy and fits the dimensions of the framed opening. Install hinges and a handle according to your preferred door design.
- Install the door: Secure the hinges of the door to the door frame, ensuring smooth operation and a snug fit. Verify that the door opens and closes properly, making any necessary adjustments for alignment.
- Add weatherproofing and security features: Apply weather-stripping around the door frame to prevent drafts and moisture infiltration. Consider adding a latch, lock, or other security features to safeguard the contents of the shed.
- Personalization and finishing touches: Consider adding a personalized touch to the door by painting, staining, or adding decorative elements. This step can enhance the visual appeal of the shed and integrate it with your outdoor space.
By following these steps, you will successfully install a functional and secure door in your wood tool shed, providing convenient access while ensuring the safety and protection of your tools and equipment. With the door in place, your shed is now ready to serve as a reliable storage space and a testament to your woodworking skills and creativity.
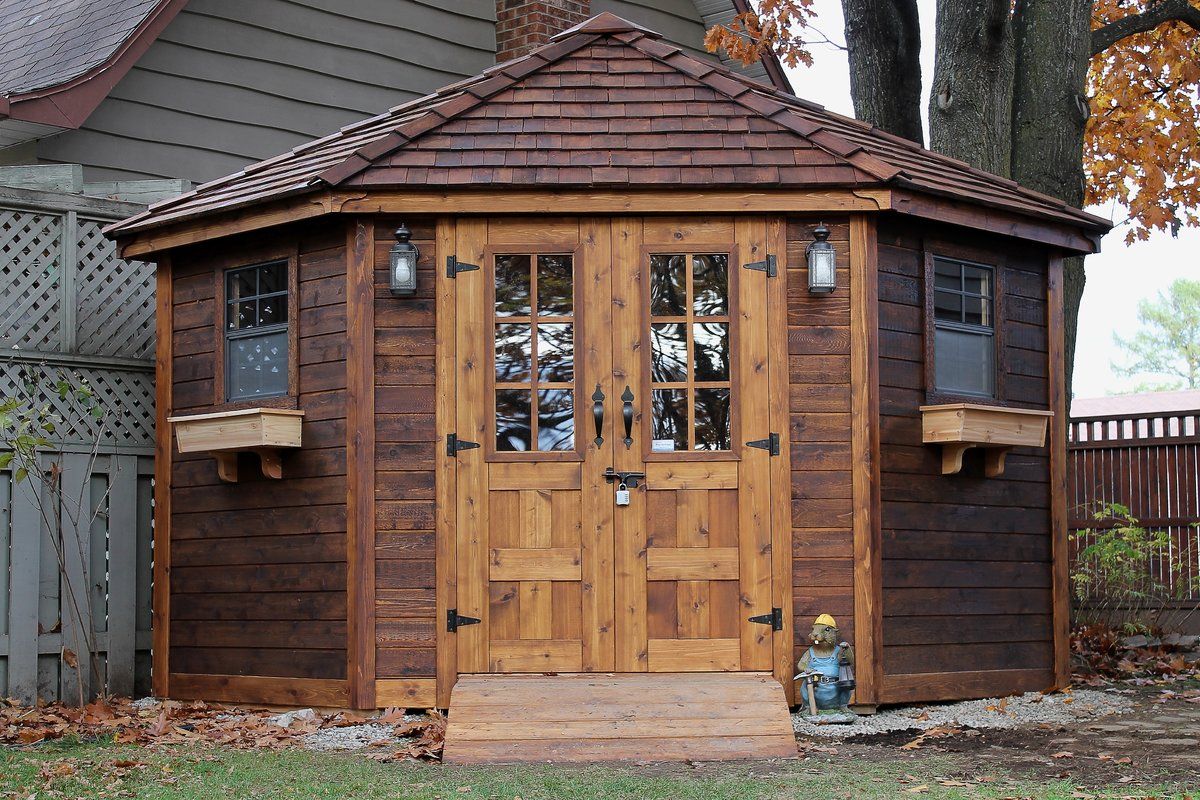
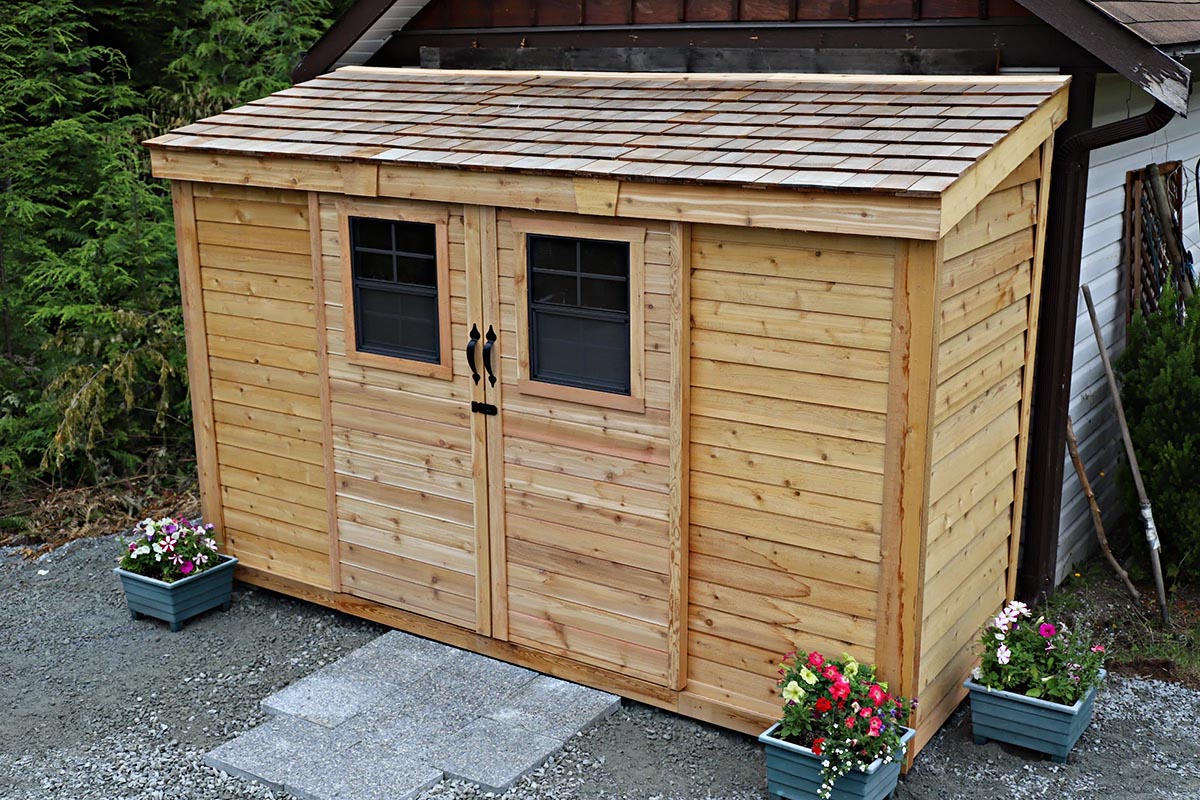
Finishing Touches
As you near the completion of your wood tool shed constructed from pallets, adding finishing touches will not only enhance the shed’s functionality and longevity but also infuse it with personalized style and charm. Here’s a comprehensive guide to the finishing touches that will elevate the visual appeal and utility of your shed:
- Interior organization: Install shelves, hooks, and storage racks to optimize the interior space for organizing and storing tools and equipment. This will enhance efficiency and accessibility within the shed.
- Apply a protective finish: Consider applying a wood preservative or sealant to the interior and exterior surfaces of the shed to protect the wood from moisture, decay, and insect damage. This step will contribute to the shed’s longevity.
- Enhance lighting: Install a solar-powered or battery-operated light fixture inside the shed to ensure visibility and functionality, especially during low-light conditions. Adequate lighting will improve usability and safety.
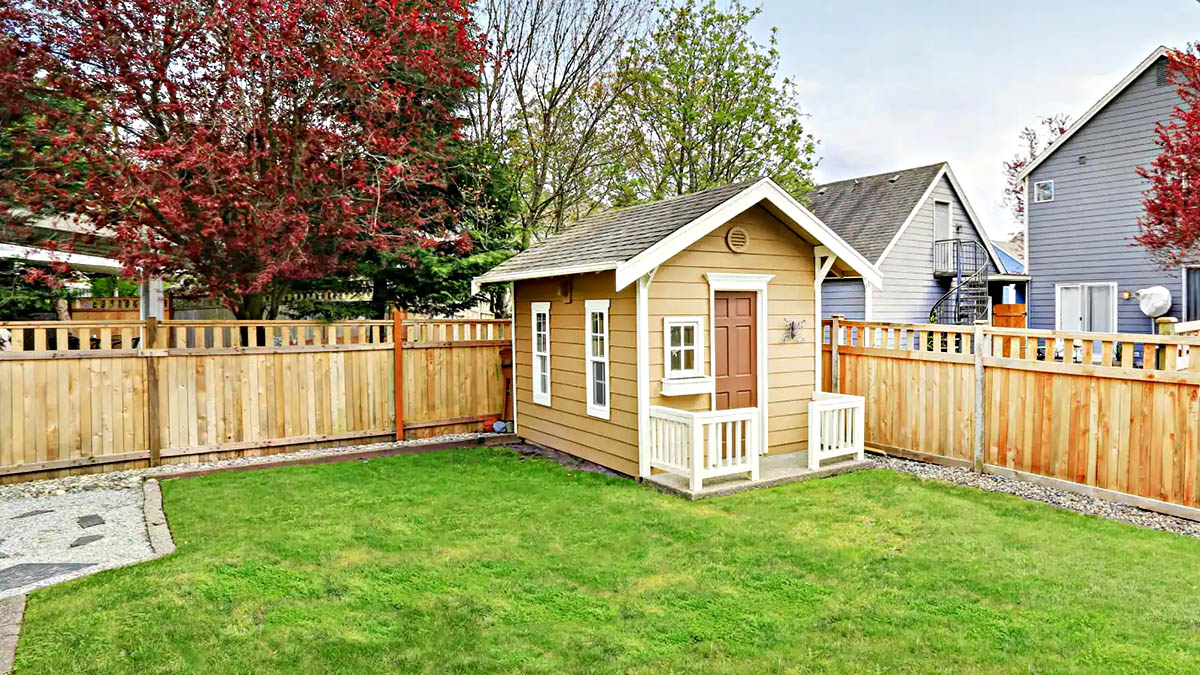
- Personalize the exterior: Add decorative elements such as window boxes, flower pots, or a coat of paint to the exterior walls to integrate the shed with your outdoor space and express your personal style.
- Create a pathway: If applicable, consider laying a pathway leading to the shed using gravel, stepping stones, or pavers. This will not only enhance accessibility but also contribute to the shed’s visual appeal.
- Implement security measures: Install a padlock or security system to safeguard the shed and its contents. This is especially important if you store valuable tools or equipment inside.
By attending to these finishing touches, you will transform your wood tool shed into a functional, visually appealing, and personalized space that reflects your craftsmanship and attention to detail. With these enhancements, your shed will stand as a testament to sustainability, resourcefulness, and the joy of hands-on construction.
Read more: How To Build A Wood Foundation For A Shed
Conclusion
Congratulations on completing the construction of your wood tool shed from pallets! This project represents not only a testament to your woodworking skills and creativity but also a sustainable and resourceful approach to creating a functional outdoor structure. As you stand back and admire the shed you’ve built, it’s essential to reflect on the journey and the valuable lessons learned along the way.
Throughout the construction process, you’ve transformed humble pallets and basic materials into a practical and visually appealing space for storing and organizing your tools and equipment. From selecting the ideal location and preparing the ground to constructing the walls, adding the roof, installing the door, and attending to the finishing touches, each step has contributed to the realization of a unique and personalized shed.
Beyond the tangible outcome, the process of building a wood tool shed from pallets has provided opportunities for skill development, problem-solving, and creative expression. It has allowed you to connect with the materials, embrace sustainability, and derive satisfaction from hands-on construction. Moreover, the shed stands as a reflection of your commitment to practicality and self-sufficiency, embodying the spirit of DIY craftsmanship.
As you begin to utilize the shed for storing and accessing your tools, it will serve as a constant reminder of your dedication and ingenuity. The shed’s presence in your outdoor space adds not only functionality but also a touch of character and individuality, enriching the environment and contributing to a sense of accomplishment.
Whether you embarked on this project as a seasoned woodworking enthusiast or a novice DIYer, the completion of your wood tool shed from pallets marks a significant achievement. It stands as a testament to the transformative power of creativity, perseverance, and the ability to repurpose materials in innovative ways.
As you continue to engage in woodworking and other DIY endeavors, may the experience gained from this project inspire future undertakings and fuel your passion for hands-on construction. Your wood tool shed from pallets not only serves as a functional asset but also embodies the spirit of craftsmanship and the fulfillment that comes from creating something remarkable with your own hands.
With the completion of this project, you have not only built a wood tool shed but also woven a story of ingenuity, sustainability, and the joy of craftsmanship. Your shed stands as a testament to the potential that resides within simple materials and the transformative power of human creativity.
Frequently Asked Questions about How To Build A Wood Tool Shed From Pallets
Was this page helpful?
At Storables.com, we guarantee accurate and reliable information. Our content, validated by Expert Board Contributors, is crafted following stringent Editorial Policies. We're committed to providing you with well-researched, expert-backed insights for all your informational needs.


0 thoughts on “How To Build A Wood Tool Shed From Pallets”