Home>Home Security and Surveillance>How To DIY Wire A Motion Detector To Use 9 Volt Batteries
Home Security and Surveillance
How To DIY Wire A Motion Detector To Use 9 Volt Batteries
Modified: August 27, 2024
Learn how to easily wire a motion detector using 9 volt batteries for your home security and surveillance needs. Increase safety and peace of mind.
(Many of the links in this article redirect to a specific reviewed product. Your purchase of these products through affiliate links helps to generate commission for Storables.com, at no extra cost. Learn more)
Introduction
Welcome to our comprehensive guide on how to DIY wire a motion detector to use 9-volt batteries. Having a motion detector is an excellent addition to any home security system, providing an extra layer of protection for your property. However, power sources can sometimes be a challenge, especially if you want to install a motion detector in an area without access to mains electricity.
In this guide, we will show you step-by-step how to wire a motion detector to operate using 9-volt batteries. This method is perfect for locations where running wires or having a dedicated power source is not feasible or convenient. Whether you want to secure an outdoor shed, a remote area of your property, or simply have a portable motion detector, this DIY project is for you.
By following this guide, you will be able to create a wireless motion detection system that is easy to install and requires minimal maintenance. So, let’s dive in and gather the necessary materials to get started!
Key Takeaways:
- Enhance Your Home Security
Learn how to wire a motion detector to use 9-volt batteries for added protection. No need for mains electricity, just follow the step-by-step guide for a cost-effective solution. - DIY Flexibility and Convenience
Create a wireless motion detection system using 9-volt batteries. Perfect for remote areas or portable security, this DIY project offers flexibility and convenience for your home security needs.
Read more: How To Wire A 12-Volt Motion Detector
Materials Needed
Before you begin wiring your motion detector to use 9-volt batteries, it’s essential to gather all the necessary materials. Here’s a list of items you will need:
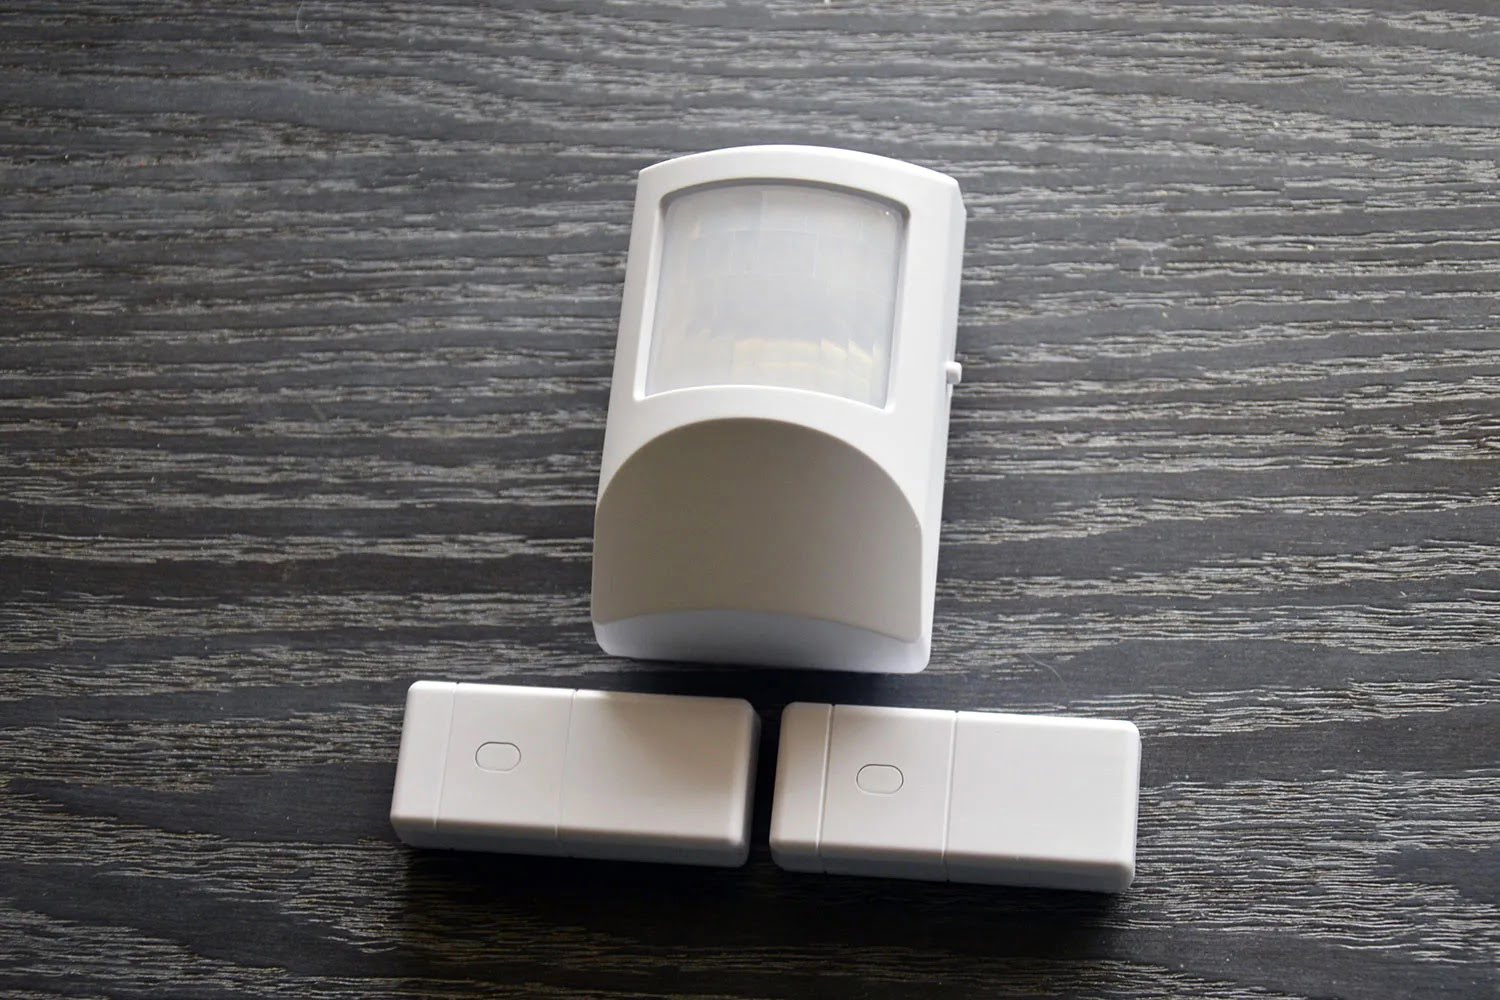
- Wireless motion detector
- 9-volt batteries
- Wire strippers
- Electrical tape
- Wire connectors
- Mounting screws
- Drill and drill bits
- Screwdriver
- Optional: Outdoor weatherproof enclosure
The most crucial component is, of course, the wireless motion detector. Ensure that you purchase one with the capability to operate with a 9-volt battery. You can find a wide range of motion detectors available in home security stores or online retailers.
You will also need a sufficient supply of 9-volt batteries to power your motion detector. It’s recommended to have a few extra batteries on hand for easy replacement when needed.
Wire strippers will come in handy when preparing the wires for connection. Choose wire strippers that are suitable for the gauge of wire you are working with.
Electrical tape is essential for securing and insulating the wire connections. Ensure that you use high-quality electrical tape to prevent any potential shorts or loose connections.
Wire connectors will be used to connect the wires from the motion detector to the battery. Choose connectors that are compatible with the wire gauge you are using.
If you are planning to mount the motion detector outdoors, you will need mounting screws, a drill, and drill bits to secure it in place. A screwdriver will be needed to tighten the screws.
Lastly, consider purchasing an outdoor weatherproof enclosure to protect the motion detector and battery from the elements. This enclosure will help prolong the lifespan of your DIY motion detection system.
Now that you have gathered all the necessary materials, it’s time to move on to the next step: gathering the tools needed for the installation process.
Step 1: Gather the Necessary Tools
Before you begin wiring your motion detector to use 9-volt batteries, it’s important to gather all the tools you will need for the installation process. Here’s a list of the tools required:
- Wire cutters
- Wire strippers
- Electrical tape
- Wire connectors
- Screwdriver
- Drill and drill bits
Wire cutters are essential for cutting and trimming the wires to the desired length. Choose wire cutters that can easily cut through the gauge of wire you are working with.
Wire strippers will come in handy when preparing the wires for connection. Use the appropriate gauge notch on the wire strippers to strip the wire insulation, exposing the copper wire for connection.
Electrical tape is crucial for securing and insulating the wire connections. Use high-quality electrical tape to ensure a secure and reliable connection.
Wire connectors are used to connect the wires from the motion detector to the battery. Choose connectors that are compatible with the wire gauge you are using. These connectors provide a secure and insulated connection between the wires.
A screwdriver will be needed for various parts of the installation process, such as mounting the motion detector or opening battery compartments.
If you plan on mounting the motion detector outdoors, a drill and drill bits are required to create holes in the mounting surface. The drill bits should be suitable for the material you are drilling into, whether it’s wood, metal, or concrete.
Now that you have gathered all the necessary tools, you are ready to move on to the next step: preparing the motion detector for wiring.
Step 2: Prepare the Motion Detector
Now that you have gathered all the necessary tools, it’s time to prepare the motion detector for wiring. Follow these steps to ensure a smooth and successful installation:
- Read the motion detector manual: Before starting, it’s important to familiarize yourself with the specific instructions provided by the motion detector manufacturer. This will ensure that you understand any unique features or requirements of your particular model.
- Choose the installation location: Decide on the ideal location for your motion detector. Consider factors such as the area you want to monitor, the range of the motion detector, and any obstacles that might affect its functionality. Ensure that the location has easy access to the battery compartment and that it is within range of your wireless network if your motion detector has smart features.
- Maintain proper clearance: Make sure there is enough clearance around the motion detector for it to detect motion effectively. Avoid placing it near objects that may obstruct its field of view, such as curtains or plants.
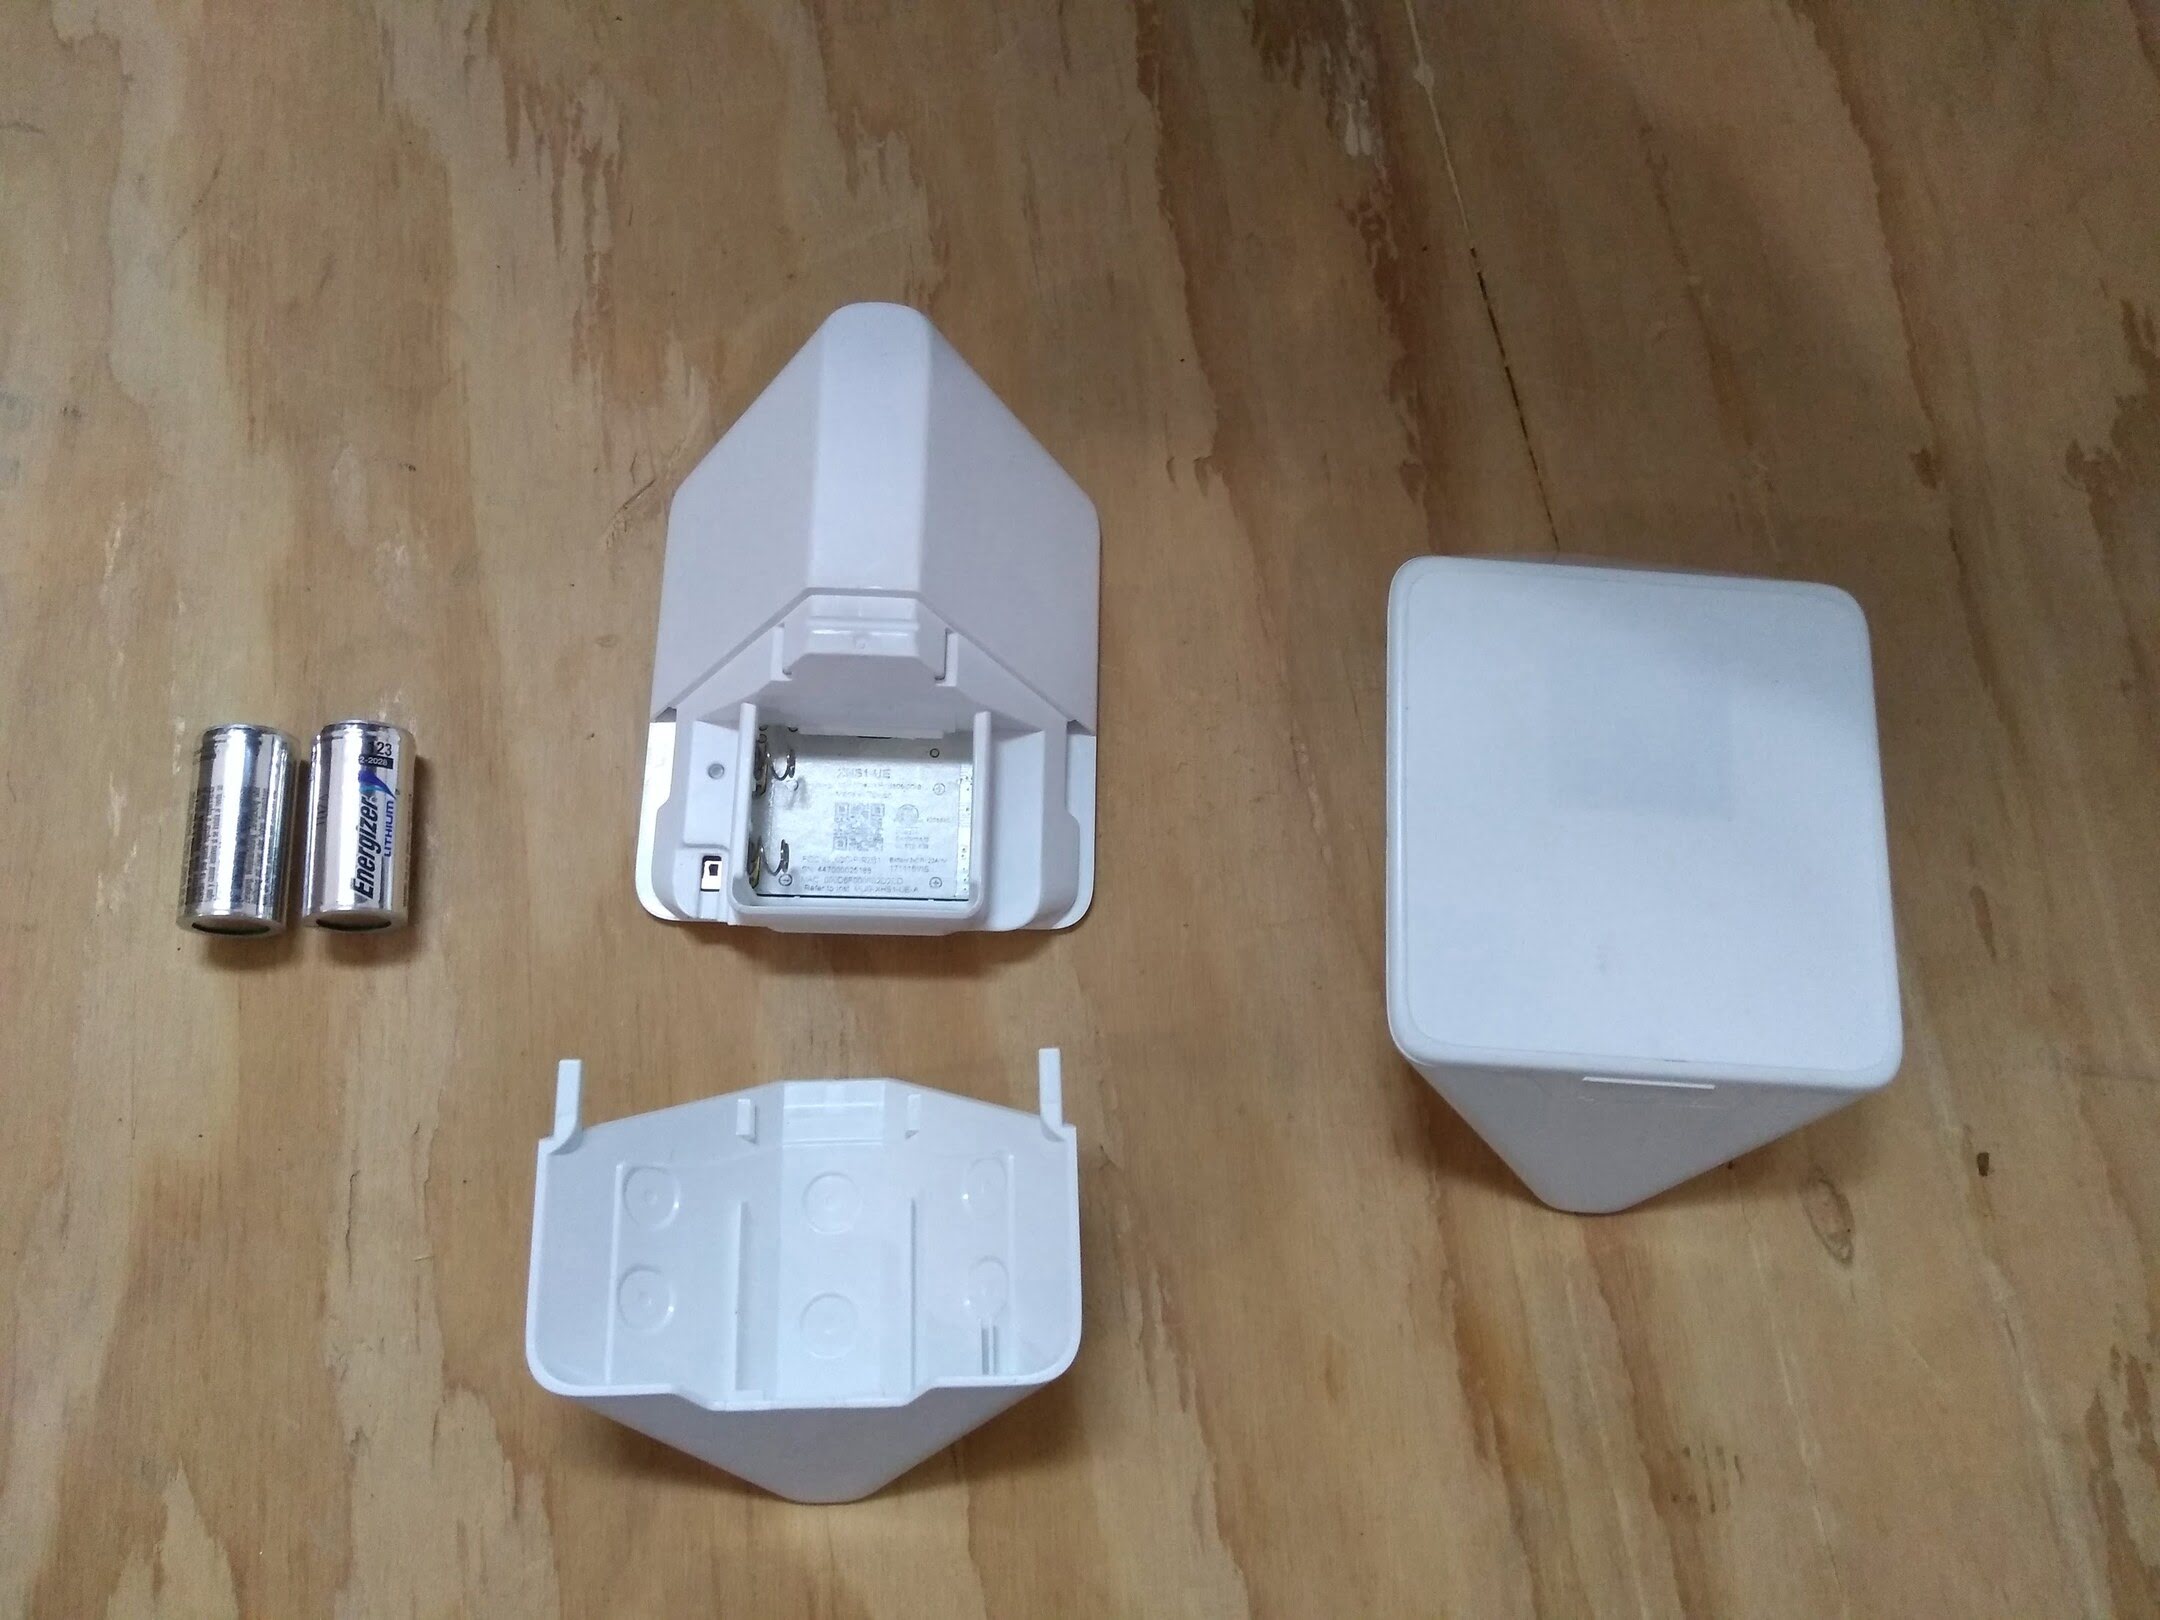
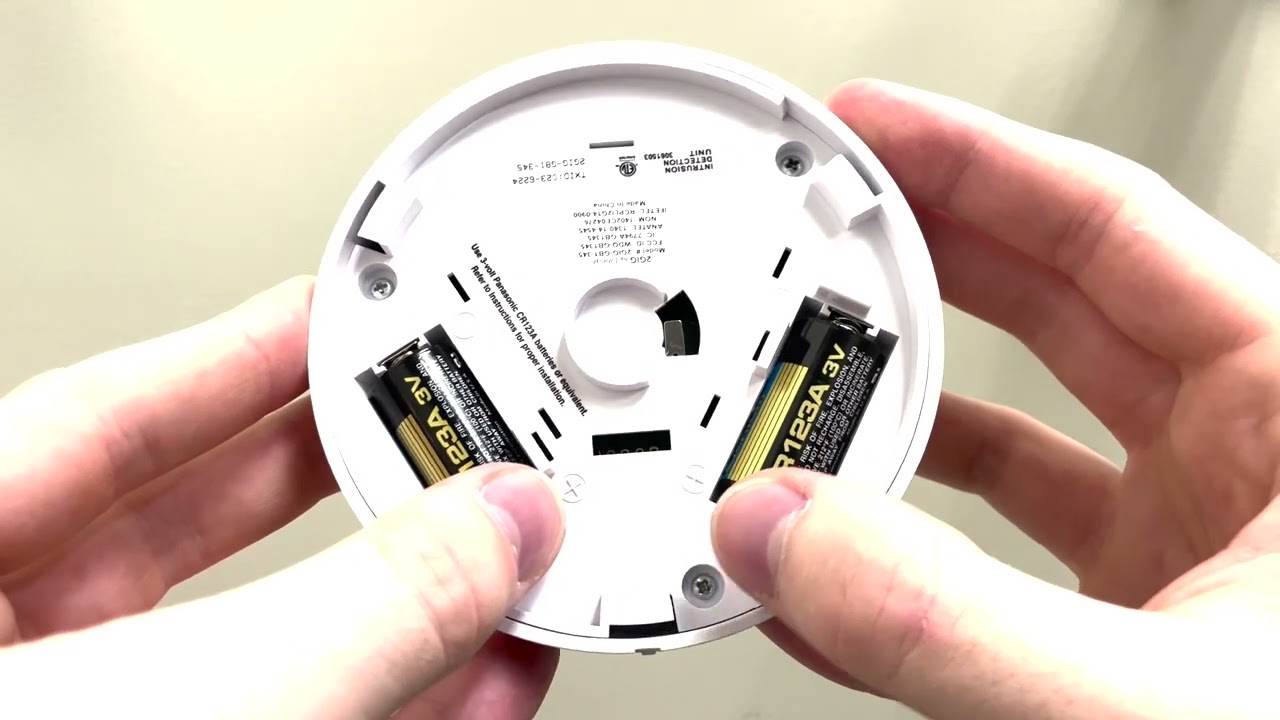
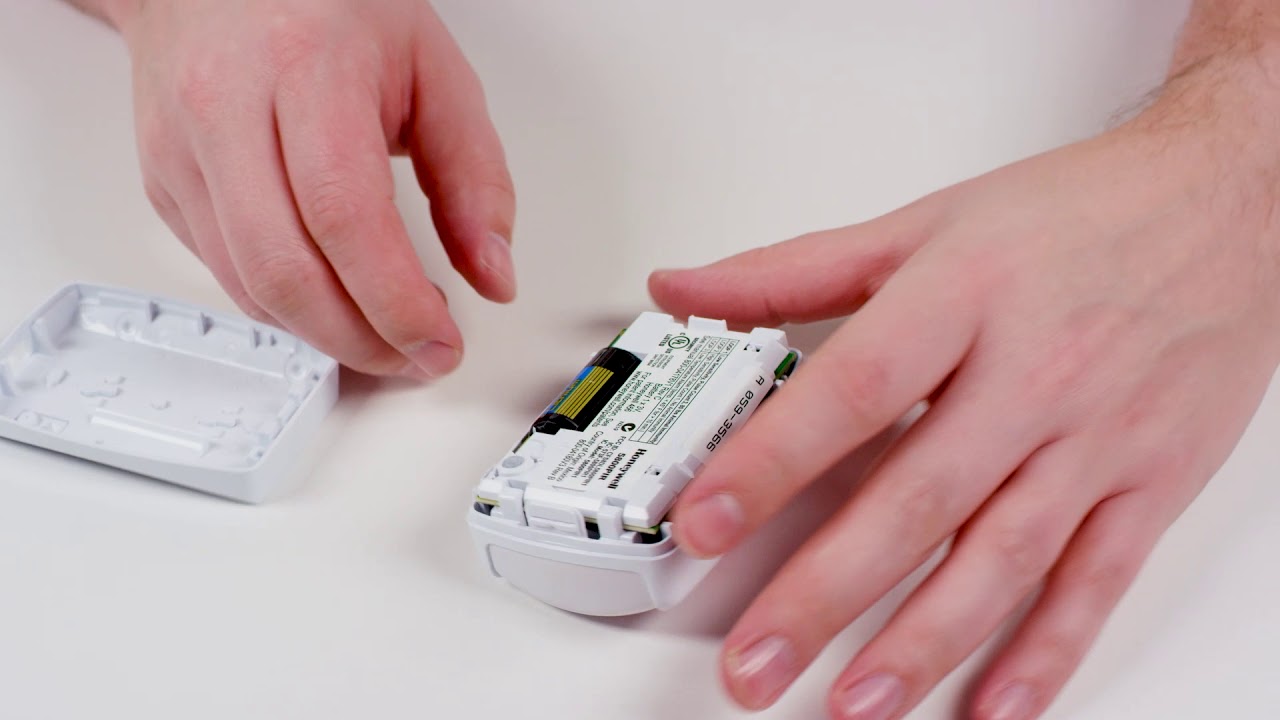
- Prepare the battery compartment: Open the battery compartment of the motion detector, following the manufacturer’s instructions. Some motion detectors may require removing a panel or unscrewing a compartment. Take care not to damage any components while accessing the battery compartment.
- Inspect and clean: Check the inside of the battery compartment for any dirt, debris, or corrosion. If necessary, carefully clean the compartment using a dry, soft cloth. Ensure that the battery contacts are clean and free of any residue.
- Insert the batteries: Insert the 9-volt batteries into the battery compartment, following the correct polarity indicated by the motion detector (positive and negative terminals). Make sure the batteries are securely in place and properly aligned.
- Close the battery compartment: Once the batteries are inserted, close the battery compartment securely, ensuring that it is properly sealed. This will protect the batteries from moisture and maintain a stable connection.
- Test the motion detector: Before proceeding with the wiring, it’s important to test the motion detector to ensure it is functioning correctly. Follow the manufacturer’s instructions to activate the motion detector’s testing mode. Walk in front of it to confirm that it detects motion and triggers the appropriate response, such as lighting up or sounding an alarm.
By following these steps, you have now successfully prepared the motion detector for wiring. In the next step, we will guide you through connecting the wires to the motion detector for your DIY battery-powered setup.
Step 3: Connect the Wires to the Motion Detector
With the motion detector properly prepared, it’s time to connect the wires to the device. Follow these steps to ensure a secure and reliable connection:
- Identify the wire terminals: Take a close look at the motion detector’s wiring terminals. Typically, you will find two terminals labeled “positive” (+) and “negative” (-) or “red” and “black.” These terminals are where you will connect the wires.
- Strip the wires: Use your wire strippers to strip about 1/4 inch of insulation from the end of each wire that will be connected to the motion detector. Be careful not to cut into the wire strands while stripping the insulation.
- Connect the positive wire: Insert the stripped end of the positive wire into the motion detector’s positive terminal. Make sure the wire is securely inserted and the connection is tight. If necessary, use a wire connector to secure the wire to the terminal.
- Connect the negative wire: Follow the same process for the negative wire, inserting the stripped end into the motion detector’s negative terminal. Ensure that the wire is securely connected and the terminal connection is tight. Again, use a wire connector if needed.
- Insulate the connections: Once the wires are securely connected to the motion detector, use electrical tape to insulate and protect the wire connections. Wrap the tape around each terminal and the connected wire, ensuring there are no exposed wires or terminals.
- Double-check the connections: Before proceeding to the next steps, carefully double-check the wire connections to ensure they are tight and properly insulated. This will help prevent any electrical issues or intermittent connections.
With the wires successfully connected to the motion detector, you have completed an important step in creating your DIY battery-powered motion detection system. In the next step, we will guide you through preparing the 9-volt battery for connection.
Step 4: Prepare the 9 Volt Battery
Now that the wires are connected to the motion detector, it’s time to prepare the 9-volt battery for connection. Follow these steps:
- Ensure battery compatibility: Check the motion detector manufacturer’s specifications to confirm that a 9-volt battery is suitable for your device. Additionally, make sure the battery is fresh and has enough power to operate the motion detector effectively.
- Inspect the battery terminals: Take a moment to examine the terminals of the 9-volt battery. You’ll notice that one terminal is positive (+) and the other is negative (-). These terminals correspond to the positive and negative wire connections that you made in the previous step.
- Prepare the positive wire: Attach or connect the positive wire to the battery’s positive terminal. If your battery has a snap-on connector, simply snap it onto the terminal. If not, use a wire connector to securely join the wire and terminal. Ensure the connection is tight and will not easily come loose.
- Prepare the negative wire: Similarly, attach or connect the negative wire to the battery’s negative terminal. Use the appropriate method depending on the type of connector or terminal available. Confirm the connection is secure and stable.
- Insulate the connections: To ensure both safety and durability, insulate the connections using electrical tape. Wrap the tape around each wire terminal and the corresponding battery terminal. Take care to completely cover the exposed metal and ensure there are no loose or exposed wires.
After completing these steps, you have successfully prepared the 9-volt battery for connection. In the next step, we will guide you through connecting the wires to the battery to power your motion detector.
When wiring a motion detector to use 9 volt batteries, make sure to use the correct gauge of wire to handle the current. Also, connect the positive and negative terminals of the battery to the corresponding terminals on the motion detector for proper functionality.
Step 5: Connect the Wires to the Battery
With the 9-volt battery prepared, it’s time to connect the wires from the motion detector to the battery. Follow these steps:
- Ensure proper battery orientation: Take note of the battery’s positive and negative terminals. Check the wire connections on the motion detector to confirm that the positive wire is connected to the positive terminal of the battery, and the negative wire is connected to the negative terminal.
- Connect the positive wire: Attach the positive wire from the motion detector to the positive terminal of the battery. If using a snap-on connector, simply snap it onto the terminal. For wire connectors, ensure a secure and tight connection between the wire and the terminal. Double-check that the positive wire is firmly connected to the positive terminal.
- Connect the negative wire: Similarly, attach the negative wire from the motion detector to the negative terminal of the battery. Use the appropriate method based on the connector or terminal design. Verify that the negative wire is securely connected to the negative terminal.
- Check the connections: Once both wires are connected, carefully inspect the connections to ensure they are tight and secure. Gently tug on the wires to check for any looseness or disconnection. If the wires come loose, reconnect them and double-check their tightness.
- Verify wire insulation: Confirm that the wire connections to the battery are properly insulated. Any exposed wires should be covered with electrical tape to prevent short circuits or accidental contact. Make sure the insulation is securely wrapped around the wires and terminals.
With the wires now connected to the battery, you have successfully established the power source for your motion detector. In the next step, we will guide you through testing the motion detector to ensure it is functioning correctly.
Step 6: Test the Motion Detector
Now that the motion detector is wired to the battery, it’s time to test its functionality. Follow these steps to ensure that the motion detector is working as intended:
- Activate the motion detector: Turn on the motion detector using the appropriate method specified in the manufacturer’s instructions. This could involve flipping a switch, pressing a button, or adjusting the settings on a smart motion detector.
- Trigger the motion detection: Walk in front of the motion detector to test its ability to detect motion. Ensure that you simulate real scenarios by moving at various speeds and distances. Observe the motion detector’s response, such as a flashing LED light or an audible alert.
- Check the range: Test the motion detector’s range by walking at different distances from the device. Take note of the maximum distance at which the motion detector effectively detects motion and triggers a response. This will help you determine the optimal placement of the motion detector for your specific needs.
- Confirm the battery power: Monitor the battery power of the motion detector over time. Keep track of how long the battery lasts before needing replacement or recharging. This will help you plan for regular maintenance and ensure continuous operation of the motion detector.
- Make necessary adjustments: If the motion detector does not respond as expected or fails to detect motion at certain distances or angles, consider making adjustments. This could involve repositioning the motion detector, changing the sensitivity settings, or ensuring there are no obstructions blocking its field of view.
- Repeat the testing process: Conduct multiple tests to ensure consistent and reliable performance of the motion detector. This will help identify any potential issues or variations in its functionality.
By following these steps and conducting thorough testing, you can ensure that your motion detector is functioning properly and providing the desired level of security for your home or property. In the next step, we will guide you through the process of mounting the motion detector in its designated location.
Step 7: Mount the Motion Detector
With the motion detector successfully tested, it’s time to mount it in its designated location. Follow these steps to ensure a secure and optimal placement:
- Choose the mounting location: Based on your security needs, select the ideal location for mounting the motion detector. Consider the range and coverage area of the device, as well as any specific areas you want to monitor.
- Ensure proper angle and height: Position the motion detector at an appropriate angle and height for optimal detection. Most motion detectors have an adjustable mounting bracket that allows you to aim the device precisely. Make sure it is oriented towards the desired monitoring area.
- Mark the mounting holes: With the motion detector in position, use a pencil or marker to mark the locations of the mounting holes on the wall or surface. Ensure that the markings are straight and aligned correctly with the mounting bracket of the motion detector.
- Drill pilot holes: Use a drill and the appropriate drill bit to create pilot holes at the marked locations. The size of the drill bit should correspond to the type of screws or anchors you will be using to mount the motion detector.
- Secure the mounting bracket: Attach the mounting bracket of the motion detector to the wall or surface using screws or anchors. Ensure that the bracket is securely fastened and level.
- Attach the motion detector: Once the mounting bracket is in place, attach the motion detector to the bracket, following the manufacturer’s instructions. Ensure a tight and secure fit to prevent any movement or misalignment.
- Double-check the positioning: Before finalizing the installation, confirm that the motion detector is properly aligned and positioned. Adjust the angle or height if necessary to optimize its detection capabilities.
- Tidy up the wires: If necessary, use cable clips or adhesive hooks to neatly secure the wires along the wall or surface, minimizing any visible cables and maintaining a clean appearance.
By following these steps, you have successfully mounted the motion detector in its designated location. In the next step, we will provide some troubleshooting tips to help you resolve any issues that may arise during or after the installation process.
Step 8: Troubleshooting Tips
After completing the installation of your DIY wired motion detector, it’s important to be aware of common troubleshooting issues that may arise. Here are some tips to help you troubleshoot and resolve any problems:
- Check battery connections: Ensure that the battery connections are secure and properly connected to the motion detector. Loose or incorrectly connected wires can cause intermittent or no power supply to the device.
- Verify battery life: If the motion detector is not functioning as expected, check the battery life. Replace the batteries if they are running low or not providing adequate power.
- Adjust motion detection range: If the motion detector is not detecting motion at the desired distance, adjust the sensitivity or range settings. Refer to the manufacturer’s instructions for the specific adjustments required for your device.
- Remove obstructions: Check for any obstructions that may be blocking the motion detector’s field of view. Objects such as plants, curtains, or furniture can hinder its detection capabilities. Remove or reposition any obstructions that could interfere with the device’s performance.
- Consider environmental factors: Extreme temperatures, humidity, or weather conditions can affect the operation of your motion detector. Ensure that the device is designed to withstand the environmental conditions of its installation location. Consider using weatherproof enclosures for outdoor installations.
- Update firmware or software: If you have a smart motion detector, regularly check for firmware or software updates from the manufacturer. Updating the device’s firmware can address any known issues and improve the overall performance and reliability.
- Check wireless connection: If your motion detector has smart features and is connected to a wireless network, ensure that it has a stable and strong connection. Weak or unreliable Wi-Fi signals can cause communication issues and impact the functionality of the device.
- Consult the manufacturer: If you have followed all troubleshooting steps and are still experiencing difficulties, reach out to the manufacturer’s customer support or consult their online resources. They may have additional troubleshooting tips specific to your motion detector model.
By following these troubleshooting tips, you can quickly identify and address any issues with your DIY wired motion detector. Remember, persistence and patience are key to resolving troubleshooting challenges effectively!
Congratulations! You have successfully completed the process of DIY wiring a motion detector to use 9-volt batteries. This cost-effective and convenient solution provides added security and peace of mind for your home or property.
Remember to regularly test and maintain your motion detector to ensure its continued functionality. Enjoy the added security and convenience that a motion detector brings to your home security system!
Conclusion
In conclusion, DIY wiring a motion detector to use 9-volt batteries is a practical and cost-effective solution for enhancing your home security system. By following the step-by-step guide provided in this article, you have learned how to gather the necessary materials, prepare the motion detector, connect the wires to the motion detector and battery, and mount the motion detector in its desired location. Additionally, troubleshooting tips were provided to help address any issues that may arise during or after the installation process.
Installing a battery-powered motion detector allows you to secure areas of your home or property where access to mains electricity is challenging or not available. Whether you want to monitor a remote outdoor area or have a portable motion detection system, this DIY project offers flexibility and convenience.
Remember to regularly test the motion detector’s functionality, monitor battery life, and make any necessary adjustments to ensure it is operating optimally. Pay attention to environmental factors and remove any obstructions that may affect its performance.
As technology continues to advance, consider exploring smart motion detectors that offer added features such as smartphone connectivity and integration with home automation systems. These smart devices can provide enhanced security and convenience, allowing you to remotely monitor and control your motion detection system.
By taking the time to set up your DIY wired motion detector, you are taking a proactive step towards protecting your home and loved ones. Enjoy the peace of mind that comes with an additional layer of security provided by your motion detection system.
Remember, if you ever face challenges beyond your expertise or have concerns about the installation process, it’s always recommended to consult professional assistance to ensure a safe and secure installation.
Good luck with your DIY motion detector project and may it bring you the security and peace of mind you deserve!
Frequently Asked Questions about How To DIY Wire A Motion Detector To Use 9 Volt Batteries
Was this page helpful?
At Storables.com, we guarantee accurate and reliable information. Our content, validated by Expert Board Contributors, is crafted following stringent Editorial Policies. We're committed to providing you with well-researched, expert-backed insights for all your informational needs.