Home>Garden Essentials>How To Grow Olive Trees From Seed

Garden Essentials
How To Grow Olive Trees From Seed
Modified: March 15, 2024
Learn how to grow olive trees from seed in your garden and enjoy the fruits of your labor. Follow our step-by-step guide for successful cultivation.
(Many of the links in this article redirect to a specific reviewed product. Your purchase of these products through affiliate links helps to generate commission for Storables.com, at no extra cost. Learn more)
Introduction
Growing olive trees from seed can be a rewarding and fulfilling experience for any gardening enthusiast. Not only do olive trees add beauty to your garden, but they also provide you with a bountiful harvest of delicious and nutritious olives. Whether you’re a seasoned gardener or just starting out, this comprehensive guide will walk you through the process of growing olive trees from seed.
Olive trees, scientifically known as Olea europaea, are native to the Mediterranean region and have been cultivated for thousands of years. They are known for their slender gray-green leaves, gnarled trunks, and, of course, their small, oval-shaped fruits. Olive trees are not only aesthetically appealing, but they also have many practical uses. The fruits can be pressed to extract olive oil, which is not only a staple in Mediterranean cuisine but also known for its health benefits.
While growing olive trees from seed takes patience and time, it is a cost-effective way to add these remarkable trees to your garden. Additionally, growing olive trees from seed allows you to experience the full life cycle of these plants, from seed to seedling to mature tree. It’s a fascinating journey that connects you to the natural world and the timeless traditions of olive cultivation.
Before we dive into the steps of growing olive trees from seed, it’s important to note that while this method can be a rewarding endeavor, it does come with a few challenges. Olive trees are slow-growing, and it can take several years before your seedlings reach maturity and start producing fruit. However, the satisfaction and joy of seeing your olive grove flourish are well worth the wait.
Now, let’s get started on our journey to grow olive trees from seed. The first step is gathering the seeds.
Key Takeaways:
- Growing olive trees from seed is a patient gardener’s journey, from gathering and preparing seeds to nurturing seedlings and finally harvesting delicious olives. It’s a rewarding experience that connects you to nature’s timeless traditions.
- Caring for olive trees involves providing sunlight, proper watering, pruning, and protection from pests. With attention and nurturing, your olive trees will flourish, rewarding you with a bountiful harvest and a delightful culinary experience.
Read more: How To Grow Olive Tree From Seed
Step 1: Gathering the Seeds
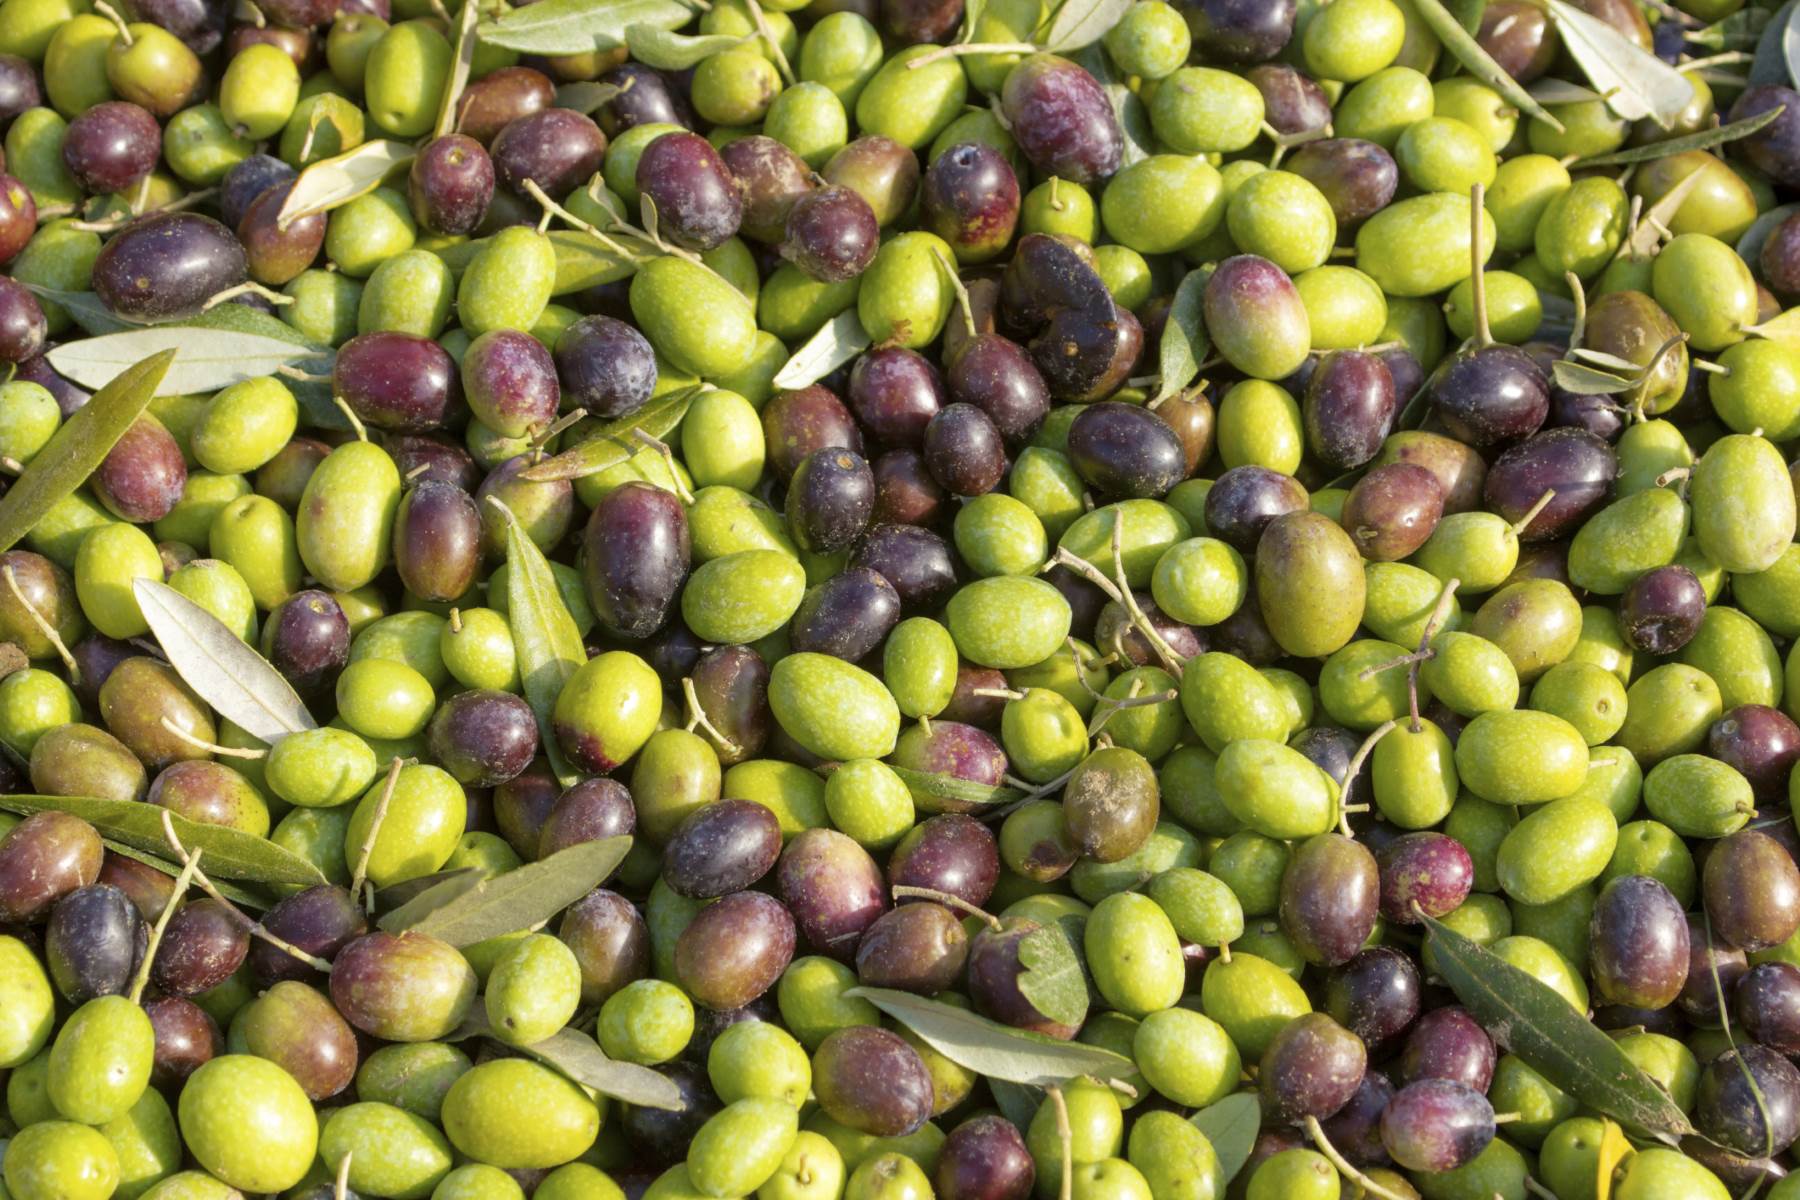
Gathering the seeds is the first crucial step in growing olive trees from seed. While you can purchase olive tree seeds from nurseries or online suppliers, you can also collect them from ripe olives that you find or buy from the grocery store.
To gather the seeds from ripe olives, begin by selecting fully mature olives that are plump and have a deep color. Avoid using olives that are overripe or damaged, as they may not produce viable seeds.
Once you have selected your olives, it’s time to extract the seeds. Begin by gently crushing the olives to separate the flesh from the seeds. You can do this by using a rolling pin or a hammer, being careful not to damage the seeds in the process. After crushing the olives, remove the flesh and clean the seeds to ensure they are free from any remaining pulp or debris.
It’s important to note that olive seeds have a hard outer shell, which needs to be scarified or nicked before planting. This process helps to increase the germination success rate by breaking the seed’s dormancy and allowing moisture and air to penetrate. To scarify the seeds, you can use sandpaper or carefully make a small cut with a sharp knife on one side of each seed. Be cautious not to damage the inner core of the seed.
Once the seeds have been scarified, they are ready to be planted. However, if you’re not able to immediately plant the seeds, it’s essential to store them properly to maintain their viability. Place the cleaned and scarified seeds in a damp paper towel or a moist peat moss and store them in a cool and dark place. This will help to prevent the seeds from drying out.
Now that you have gathered and prepared the seeds, it’s time to move on to the next step: preparing the soil.
Step 2: Preparing the Soil
Proper soil preparation is vital for the successful growth and development of your olive tree seedlings. Olive trees prefer well-draining soil with a pH level between 6 and 8.5. Before planting the seeds, it’s important to ensure that the soil conditions are favorable for olive tree growth.
Start by selecting a sunny location in your garden for planting the olive tree seedlings. Olive trees thrive in full sunlight, so choose an area that receives at least 6 to 8 hours of direct sunlight each day.
Next, prepare the soil by removing any weeds, rocks, or debris. Olive trees require loose and well-aerated soil for healthy root development. If your soil has a heavy clay texture, consider amending it with organic matter such as compost or well-rotted manure to improve its drainage and fertility.
Once the soil is free from obstacles and well-prepared, it’s time to plant the olive tree seeds. Create small holes in the soil, approximately 1-2 inches deep, and space them about 2-3 inches apart. Place the scarified olive seeds into the holes and cover them gently with soil, ensuring that they are adequately covered but not buried too deeply.
Water the newly planted seeds thoroughly to provide the necessary moisture for germination. Be careful not to oversaturate the soil, as overly wet conditions can lead to rotting of the seeds. Maintain regular watering to keep the soil consistently moist but not waterlogged.
Now that you have prepared the soil and planted the seeds, it’s time to move on to the next step: germinating the seeds.
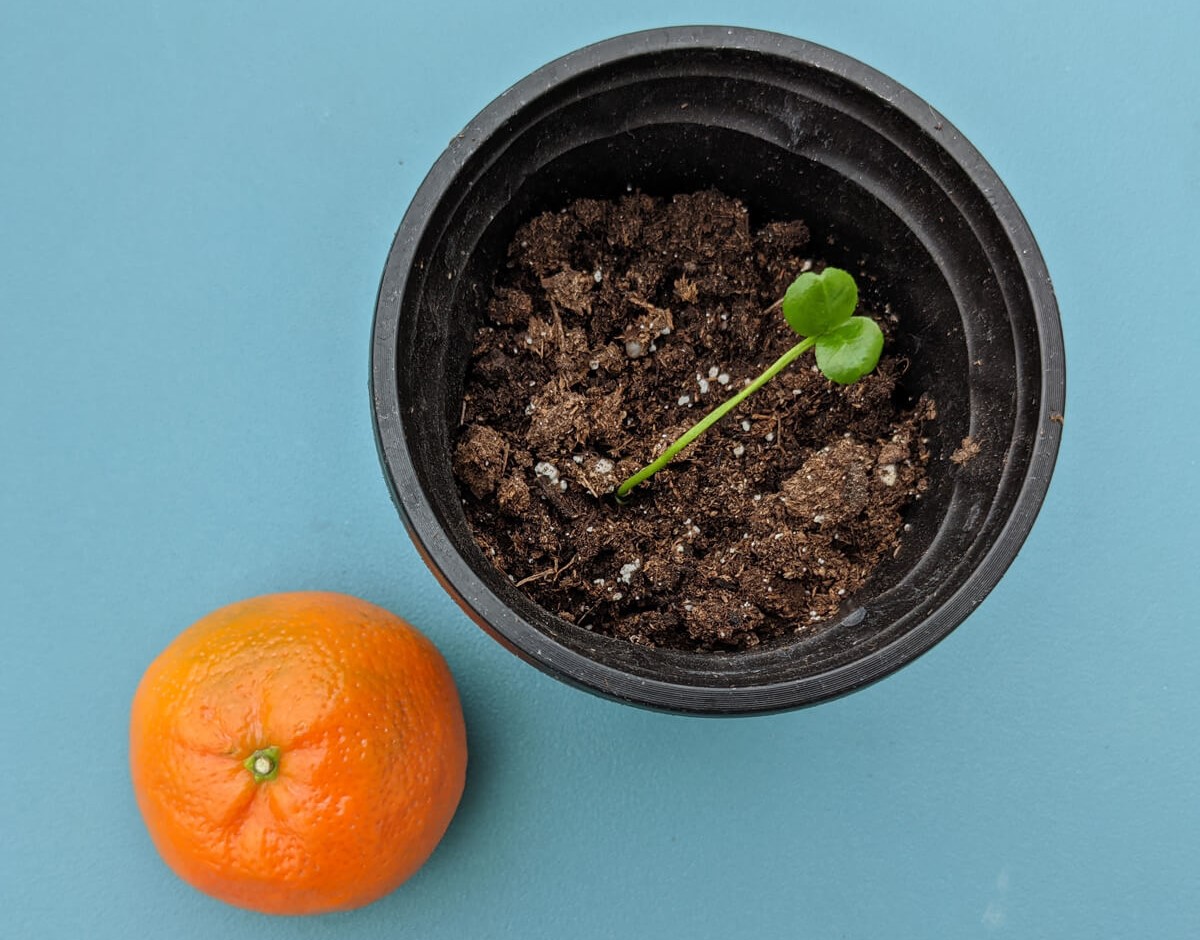
Step 3: Germinating the Seeds
Germinating the olive tree seeds is an exciting stage in the growing process. This is when the seeds begin to sprout and develop into seedlings, marking the beginning of your olive tree journey.
To encourage germination, it’s important to provide the seeds with optimal conditions. Keep the pots or planting trays in a warm location, ideally between 70-80°F (21-27°C). You can use a heat mat or place the containers near a heat source, such as a radiator, to maintain the desired temperature.
It’s also important to maintain consistent moisture levels while germinating the seeds. Avoid overwatering, as excess moisture can lead to rotting. Instead, mist the soil lightly with water whenever it begins to dry out. Ensure that the soil remains slightly moist throughout the germination process.
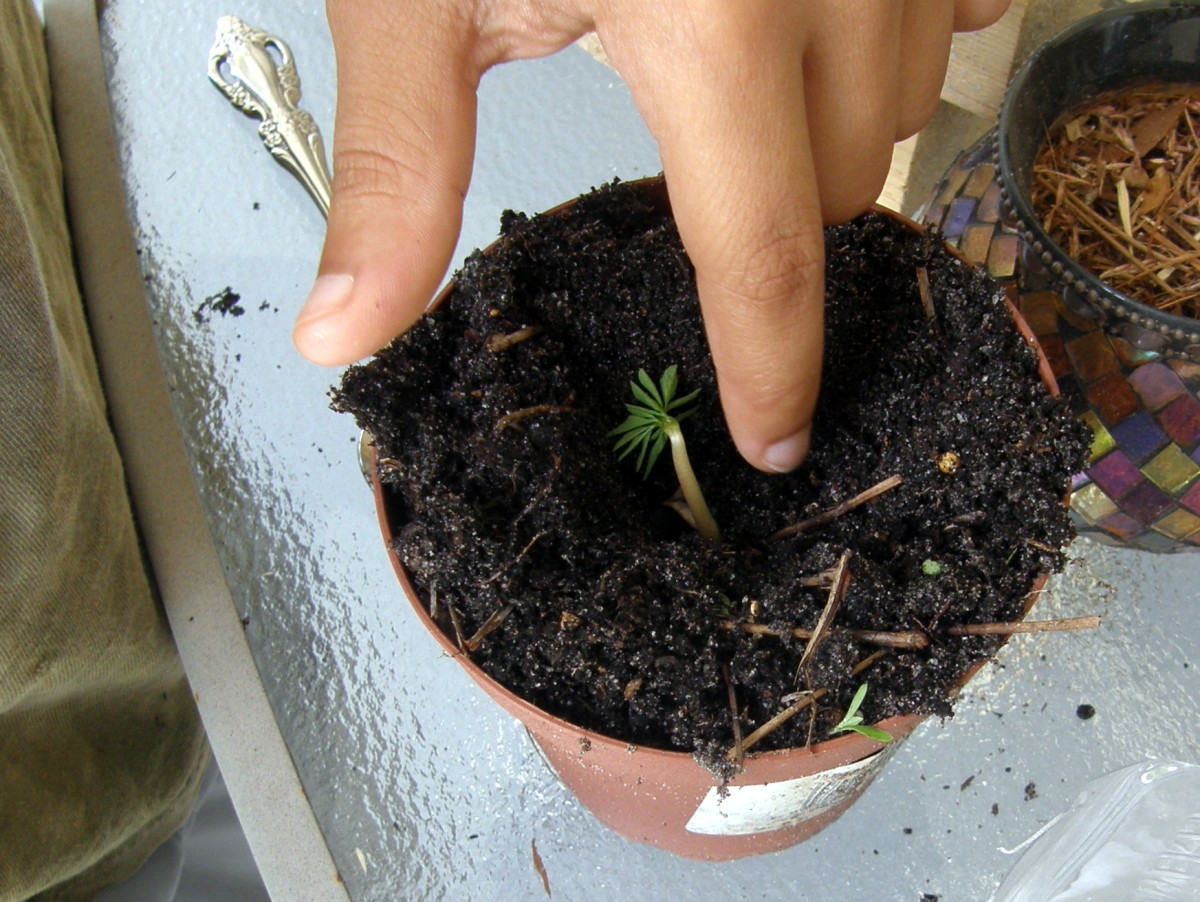
Germination times can vary, but typically, you can expect the olive tree seeds to start sprouting within 2-8 weeks. Be patient during this stage and avoid disturbing the seeds or their delicate roots. Once the seedlings have emerged and developed their first set of true leaves, they are ready to be transplanted into individual pots.
To transplant the seedlings, gently remove them from the tray or pot, being careful not to damage their fragile roots. Place each seedling into a separate pot filled with well-draining soil, leaving enough space for root growth. Water the newly transplanted seedlings thoroughly and continue to provide them with adequate sunlight and regular watering.
During the germination phase, it’s important to monitor the seedlings for any signs of nutrient deficiencies or pests. Adjust the watering and fertilization as needed to ensure the seedlings receive the necessary nutrients for healthy growth.
As the seedlings continue to develop, it’s essential to provide them with proper care to ensure their long-term success. In the next step, we will explore how to care for the olive tree seedlings as they grow into mature trees.
To grow olive trees from seed, soak the seeds in water for 24 hours, then plant them in well-draining soil. Keep the soil moist and place the pot in a warm, sunny spot. It may take several weeks for the seeds to germinate.
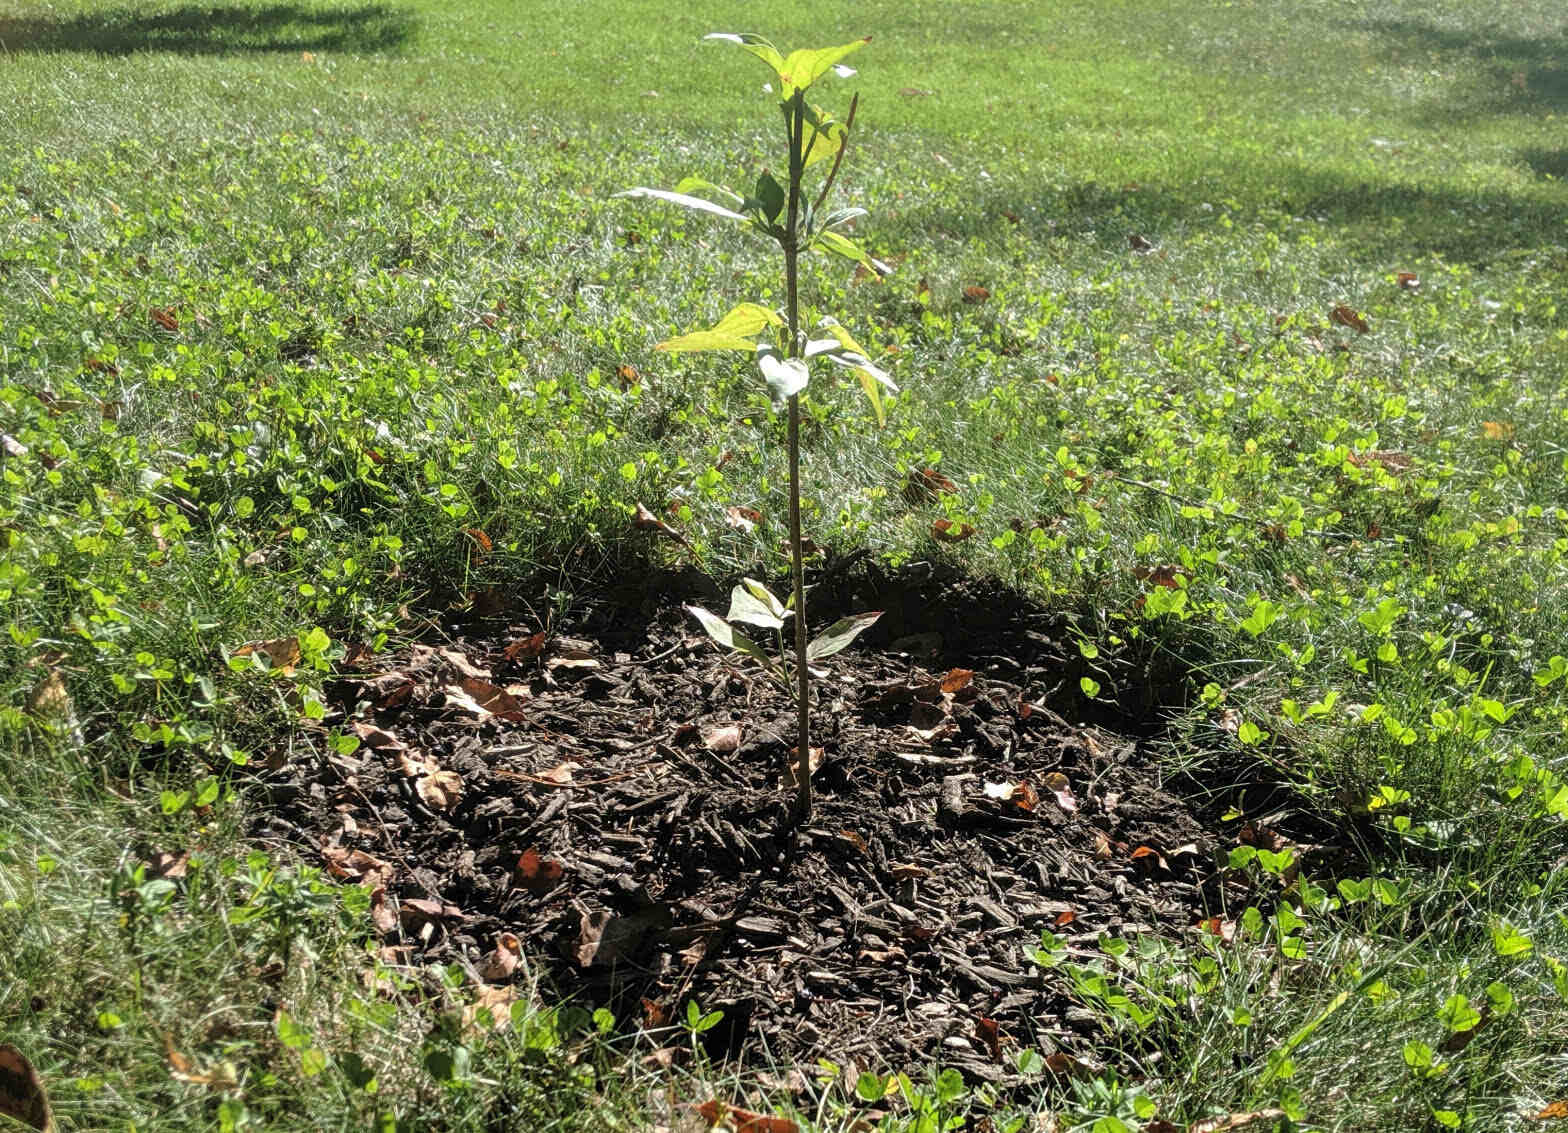
Step 4: Transplanting the Seedlings
Transplanting the olive tree seedlings is a crucial step in their growth journey, as it allows them to establish their roots in a larger container or in the ground. This step is essential for their continued development into mature olive trees.
Before transplanting, it’s important to choose the right time. Wait until the seedlings have developed a strong root system and have grown to a size where they can handle the stress of transplantation. This usually occurs when the seedlings have reached a height of 6-8 inches and have developed multiple sets of true leaves.
When selecting a location for transplanting, consider the mature size of olive trees. They can grow to be quite large, with an average height of 15-25 feet. Choose a spot in your garden with enough space to accommodate the tree’s eventual size, and ensure that it receives full sunlight.
Prepare the transplant site by digging a hole that is slightly larger and deeper than the root ball of the seedling. Gently remove the seedling from its container, being careful not to disturb the root system. If the seedling is growing in a biodegradable container, you can simply place it directly into the hole, as the container will decompose over time.
Position the seedling in the hole, making sure that the top of its root ball is level with or slightly above the surrounding soil. Backfill the hole with soil, firming it gently around the base of the seedling to provide stability.
After transplanting, water the seedling thoroughly to help settle the soil around its roots and provide adequate moisture. Maintain regular watering for the first few weeks to ensure the seedling receives enough hydration as it adjusts to its new environment.
As the seedlings grow, it’s important to continue monitoring their health and providing proper care. Mulching around the base of the transplanted seedlings can help conserve moisture, suppress weed growth, and regulate soil temperature. Additionally, regular fertilization with a balanced organic fertilizer can provide essential nutrients for healthy growth.
Transplant shock is normal after moving seedlings, so be patient and allow the seedlings time to acclimate to their new surroundings. With proper care, your transplanted olive tree seedlings will thrive and grow into magnificent trees that will beautify your garden and provide you with a bountiful olive harvest.
In the next step, we will explore how to care for the olive trees as they continue to grow and mature.
Step 5: Caring for the Olive Trees
Caring for your olive trees is essential to ensure their overall health and vitality. Proper care involves providing them with the right conditions, including adequate sunlight, water, and nutrients, as well as protecting them from pests and diseases.
Sunlight: Olive trees thrive in full sunlight, so make sure they receive at least 6-8 hours of direct sunlight per day. Position them in a location without any obstructions that may shade them from the sun. Adequate sunlight is crucial for the trees to produce a bountiful harvest of olives.
Watering: Olive trees are drought-tolerant but still require regular watering, especially during the first few years of growth. Water deeply and thoroughly, allowing the soil to dry out slightly between watering sessions. Be cautious not to overwater, as excessive moisture can lead to root rot. Monitor the moisture levels in the soil and adjust your watering schedule accordingly.
Pruning: Pruning is an important part of caring for olive trees. It helps to shape the tree, control its size, and promote better airflow and light penetration. Prune your olive trees during the dormant season, typically in late winter or early spring, before new growth begins. Remove any dead or diseased branches, and thin out crowded areas to maintain an open canopy.
Fertilizing: Olive trees have moderate fertilizer needs. Apply a balanced organic fertilizer specifically formulated for fruit trees in the early spring, just before new growth emerges. Follow the package instructions for application rates. It’s also beneficial to incorporate compost or well-rotted manure around the base of the trees annually to provide additional nutrients.
Pest and Disease Control: Olive trees are generally resilient to pests and diseases; however, they can still be susceptible to certain issues. Monitor your trees regularly for signs of pests such as olive fruit flies, scale insects, or aphids. If necessary, use organic insecticidal soap or horticultural oils to control infestations. Additionally, be on the lookout for common diseases such as olive knot, which causes swollen growths on branches. Prune affected branches and dispose of them properly to prevent further spread of the disease.
Harvesting: Olive trees typically begin to produce fruit within 3-5 years, but it may take longer for them to reach full productivity. Harvesting time varies depending on the olive variety and desired ripeness. Olives can be harvested when they are still green and firm for pickling, or when they turn black and soft for oil extraction. Harvest by handpicking the olives or by using small rakes or combs to gently remove them from the tree.
Caring for your olive trees requires consistency and attention to detail. By providing them with the right conditions, proper watering, pruning, and protection against pests and diseases, your olive trees will flourish, providing you with years of beauty and a rewarding olive harvest.
In the next step, we will explore the final stage: harvesting the olives.
Step 6: Harvesting the Olives
Harvesting the olives is the exciting culmination of your hard work and patience in growing olive trees. It’s the stage where you get to enjoy the fruits of your labor and savor the flavors of fresh olives or homemade olive oil.
The timing of olive harvest depends on the variety of olives and the desired end product. Olives can be harvested when they are still green and firm for pickling or when they turn black and soft for oil extraction. The ideal time for harvesting can vary, so it’s essential to monitor the color and texture of the olives to determine their ripeness.
When harvesting olives, it’s important to handle them gently to avoid bruising or damaging the fruits. It’s recommended to harvest olives using your hands or small handheld rakes or combs. Place a tarp or cloth under the tree to catch the falling olives and make clean-up easier. Be patient and take your time to ensure that you harvest the olives in the best condition possible.
After harvesting, it’s important to sort the olives, separating any damaged or spoiled fruits from the good ones. Discard any olives that show signs of rot or pest infestation. Keep in mind that olives are best used or processed as soon as possible after harvest to retain their freshness and quality.
If you plan to pickle the olives, soak them in a brine solution for several days or weeks, following a tried and tested recipe. The pickling process imparts flavor and enhances the texture of the olives, bringing out their full potential.
Alternatively, if you wish to extract olive oil, you will need a press or a mechanical method for oil extraction. This process requires further preparation, including crushing and pressing the olives to extract the oil. Seek guidance from a local olive oil production facility or research reputable sources for detailed instructions on olive oil extraction techniques.
Remember, your harvested olives can be enjoyed in various culinary creations. Whether you use them in salads, pasta dishes, or as a snack, the flavors of homegrown olives will undoubtedly elevate your culinary experience.
Congratulations on successfully growing and harvesting your olives! The journey of nurturing olive trees from seed has culminated in a fruitful and satisfying experience. As you enjoy the fruits of your labor, take a moment to appreciate the beauty and versatility of these remarkable trees.
Finally, don’t forget to save some of the seeds from your harvested olives for future plantings. This beautiful cycle of growth and harvest can continue, allowing you to share the joys of growing olive trees with others.
With step-by-step guidance and proper care, you can successfully grow, care for, and harvest olives from your own olive trees. Happy gardening and enjoy the delicious rewards of your homegrown olives!
Conclusion
Growing olive trees from seed is a rewarding and fulfilling journey that connects you with nature and the timeless traditions of olive cultivation. From gathering the seeds to nurturing the seedlings, and finally, harvesting the olives, each step in the process is filled with anticipation and satisfaction.
Throughout this comprehensive guide, we have explored the essential steps required to successfully grow olive trees from seed. We discussed gathering the seeds from ripe olives, preparing the soil for optimal growth, germinating the seeds, transplanting the seedlings, caring for the olive trees, and finally, harvesting the olives.
It’s important to remember that growing olive trees from seed requires patience, as it can take several years for the trees to reach maturity and produce a bountiful harvest. However, the rewards are well worth the wait. Olive trees not only add beauty to your garden with their slender leaves and gnarled trunks, but they also provide you with a versatile and nutritious crop.
By following the steps outlined in this guide, you can create your own olive grove and savor the flavors of fresh olives or homemade olive oil. While the process may have its challenges, the experience of seeing your olive trees thrive and flourish is truly gratifying.
Remember to provide your olive trees with adequate sunlight, proper watering, and regular care, including pruning and monitoring for pests and diseases. With proper attention and nurturing, your olive trees will reward you with a bountiful harvest that you can enjoy and share with others.
As you embark on your journey of growing olive trees from seed, embrace the beauty of nature, the satisfaction of nurturing life, and the joy of savoring the fruits of your labor. Happy gardening!
Frequently Asked Questions about How To Grow Olive Trees From Seed
Was this page helpful?
At Storables.com, we guarantee accurate and reliable information. Our content, validated by Expert Board Contributors, is crafted following stringent Editorial Policies. We're committed to providing you with well-researched, expert-backed insights for all your informational needs.


0 thoughts on “How To Grow Olive Trees From Seed”