Home>Garden Essentials>How To Grow An Orange Tree From Seed
Garden Essentials
How To Grow An Orange Tree From Seed
Modified: October 18, 2024
Learn how to grow an orange tree from seed in your own garden. Follow our step-by-step guide to ensure a successful and fruitful harvest.
(Many of the links in this article redirect to a specific reviewed product. Your purchase of these products through affiliate links helps to generate commission for Storables.com, at no extra cost. Learn more)
Introduction
Welcome to the wonderful world of citrus gardening! Growing your own oranges is not only a rewarding experience but also a great way to enjoy the delicious fruits fresh from your own backyard. While it may seem daunting at first, with a little knowledge and a lot of patience, you can successfully grow an orange tree from seed.
There’s something magical about watching a tiny seed germinate and grow into a beautiful tree that bears tasty fruit. But before you dive into the process, it’s important to gather all the necessary supplies and understand the steps involved.
In this comprehensive guide, we will walk you through the entire process of growing an orange tree from seed, from gathering supplies to harvesting your first juicy oranges. So, grab your gardening gloves and let’s get started!
Key Takeaways:
- Growing an orange tree from seed is a magical journey that requires patience, proper care, and attention to detail. From preparing the seeds to harvesting the fruits, each step is a rewarding experience in citrus gardening.
- By providing your orange tree with the right environment, including light, water, nutrients, and regular maintenance, you can enjoy the satisfaction of nurturing your own fruit-bearing tree and relishing the delightful taste of homegrown oranges.
Step 1: Gathering Supplies
Before you begin planting your orange seed, it’s important to gather all the necessary supplies. Here’s a list of what you’ll need:
-
Orange seeds: You can obtain seeds from store-bought oranges or from a trusted nursery. Make sure to choose fresh and healthy-looking seeds.
-
Potting soil: Use a well-draining potting soil mix that is suitable for citrus plants.
-
Pots: Select suitable pots with drainage holes to plant your seeds. Opt for pots that are at least 6-8 inches deep to allow for root growth.
-
Watering can or spray bottle: A watering can or spray bottle will be handy for watering your seeds without disturbing the soil.
-
Plastic wrap or a greenhouse dome: Covering your pots with plastic wrap or using a greenhouse dome will create a humid environment ideal for seed germination.
-
Grow lights or a sunny location: If you don’t have access to ample sunlight, consider using grow lights to provide your seedlings with the necessary light.
-
Fertilizer: Citrus-specific fertilizer will help provide the necessary nutrients for healthy seedling growth.
-
Shears or pruning scissors: These will come in handy for trimming any unwanted growth or roots during the transplanting process.
Once you’ve gathered all these supplies, you’ll be fully equipped to begin the journey of growing your very own orange tree from seed. Let’s move on to the next step: seed preparation.
Step 2: Seed Preparation
Properly preparing the orange seeds before planting will increase their chances of germination and growth. Follow these steps to prepare your seeds:
-
Extracting the seeds: Cut open a fresh orange and carefully remove the seeds. Rinse them with water to remove any pulp or residue.
-
Seed selection: Choose the largest, healthiest-looking seeds for planting. Avoid using seeds that are damaged, discolored, or visibly immature.
-
Seed scarification: Orange seeds have a hard outer coat that may hinder germination. To speed up the process, you can gently scarify the seeds using sandpaper or a nail file. Simply rub the surface of the seed until you see a slight abrasion, being careful not to damage the seed itself. This will help water penetrate the seed more easily.
-
Soaking the seeds: Place the scarified seeds in a bowl of room-temperature water and let them soak for about 24 hours. This process helps to soften the outer coat and allows for better water absorption, promoting germination.
Once you’ve completed these steps, your orange seeds are now ready to be planted. Move on to the next step: planting the seed.
Step 3: Planting the Seed
Now that your orange seeds are properly prepared, it’s time to plant them and kickstart their growth. Follow these steps to plant your orange seed:
-
Fill the pot with potting soil: Fill the chosen pot with well-draining potting soil, leaving about an inch of space below the rim.
-
Make a small hole: Using your finger or a pencil, create a small hole in the center of the soil that is deep enough to accommodate the seed.
-
Place the seed: Gently place the prepared seed into the hole, ensuring that it is oriented with the pointed end facing downward and the scarified portion facing upward.
-
Cover the seed: Carefully cover the seed with soil, ensuring that it is completely buried, leaving no part exposed.
-
Water the soil: Using a watering can or spray bottle, moisten the soil thoroughly but be careful not to overwater. The soil should be damp, but not waterlogged.
-
Provide proper label and date: Label the pot with the date of planting and the type of orange seed to keep track of its progress.
-
Cover the pot: Place a plastic wrap or a greenhouse dome over the pot to create a humid environment that promotes germination. This helps retain moisture and warmth, aiding in the seed’s development.
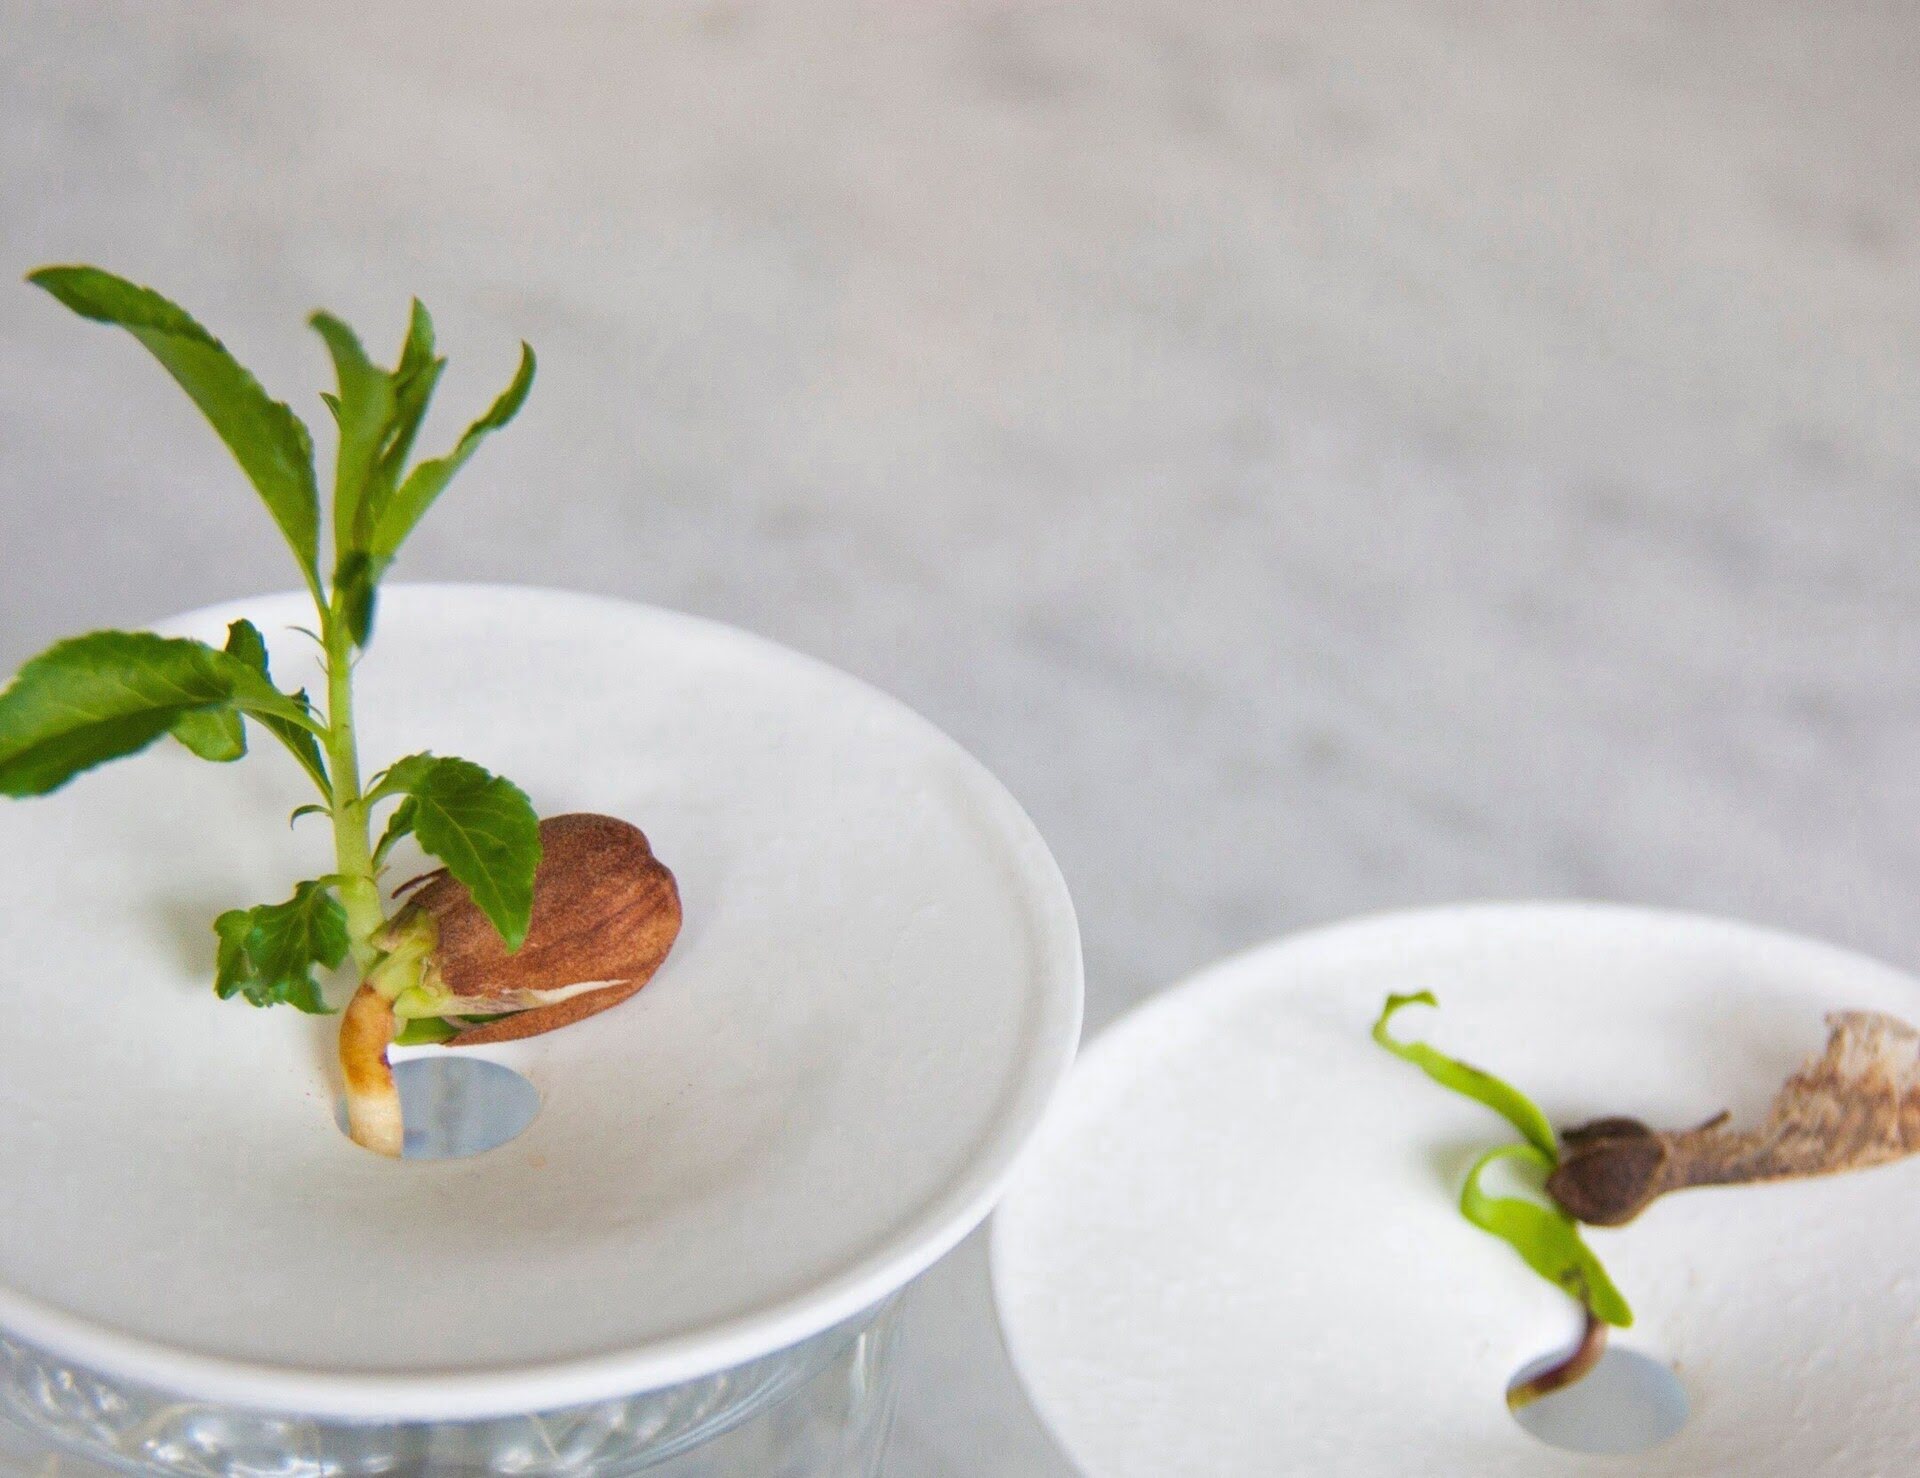
Find a warm and well-lit spot for your pot, preferably near a window with indirect sunlight. Over the next few weeks, keep a close eye on the pot and maintain moisture levels by lightly watering when needed. Soon enough, you’ll start to see the magic of germination as your orange seed begins to sprout. Congratulations! You’re one step closer to growing your own orange tree.
In the next step, we will discuss how to provide proper care for your orange seedling. Let’s continue our journey towards becoming successful orange tree gardeners.
Step 4: Providing Proper Care
Now that your orange seed has germinated and you have a tiny seedling, it’s crucial to provide it with the proper care it needs to thrive. Follow these guidelines to ensure the healthy growth of your orange tree:
-
Light and temperature: Place your seedling in a location where it can receive at least 6-8 hours of sunlight daily. If natural sunlight is limited, supplement it with the use of grow lights. Maintain a temperature of around 70-85°F (21-29°C) for optimal growth.
-
Watering: Keep the soil consistently moist but not soggy. Allow the top inch of soil to dry out before watering again. Overwatering can lead to root rot, while underwatering can stunt growth. Use a spray bottle or watering can to gently water the soil, avoiding direct contact with the seedling.
-
Fertilizer: After the seedling develops its first set of true leaves, begin fertilizing with a citrus-specific fertilizer. Follow the label instructions for the proper dosage and frequency. Avoid overfertilizing, as it can harm the young plant.
-
Transplanting: As your seedling grows and develops a stronger root system, it will outgrow its initial pot. When the roots start to fill the pot or become visible through the drainage holes, it’s time to transplant it into a larger container. Select a pot that is one size larger and fill it with fresh potting soil.
-
Pruning: As your orange tree grows, prune away any weak, damaged, or crossing branches to maintain a strong and open structure. Pruning also helps airflow and sunlight penetration, ultimately improving the tree’s overall health.
Remember to monitor the growth of your orange seedling regularly and make adjustments to ensure it receives the necessary care it needs. By providing proper light, water, nutrients, and appropriate pruning, you will encourage healthy growth and set the stage for a bountiful harvest.
In the next step, we will discuss how to transplant the seedling into a larger pot. Let’s continue our journey to growing an orange tree from seed.
To grow an orange tree from seed, plant the seed in well-draining soil, keep it consistently moist, and provide plenty of sunlight. It can take several years for the tree to produce fruit, so be patient and consistent with care.
Read more: How To Grow A Tree From A Seed
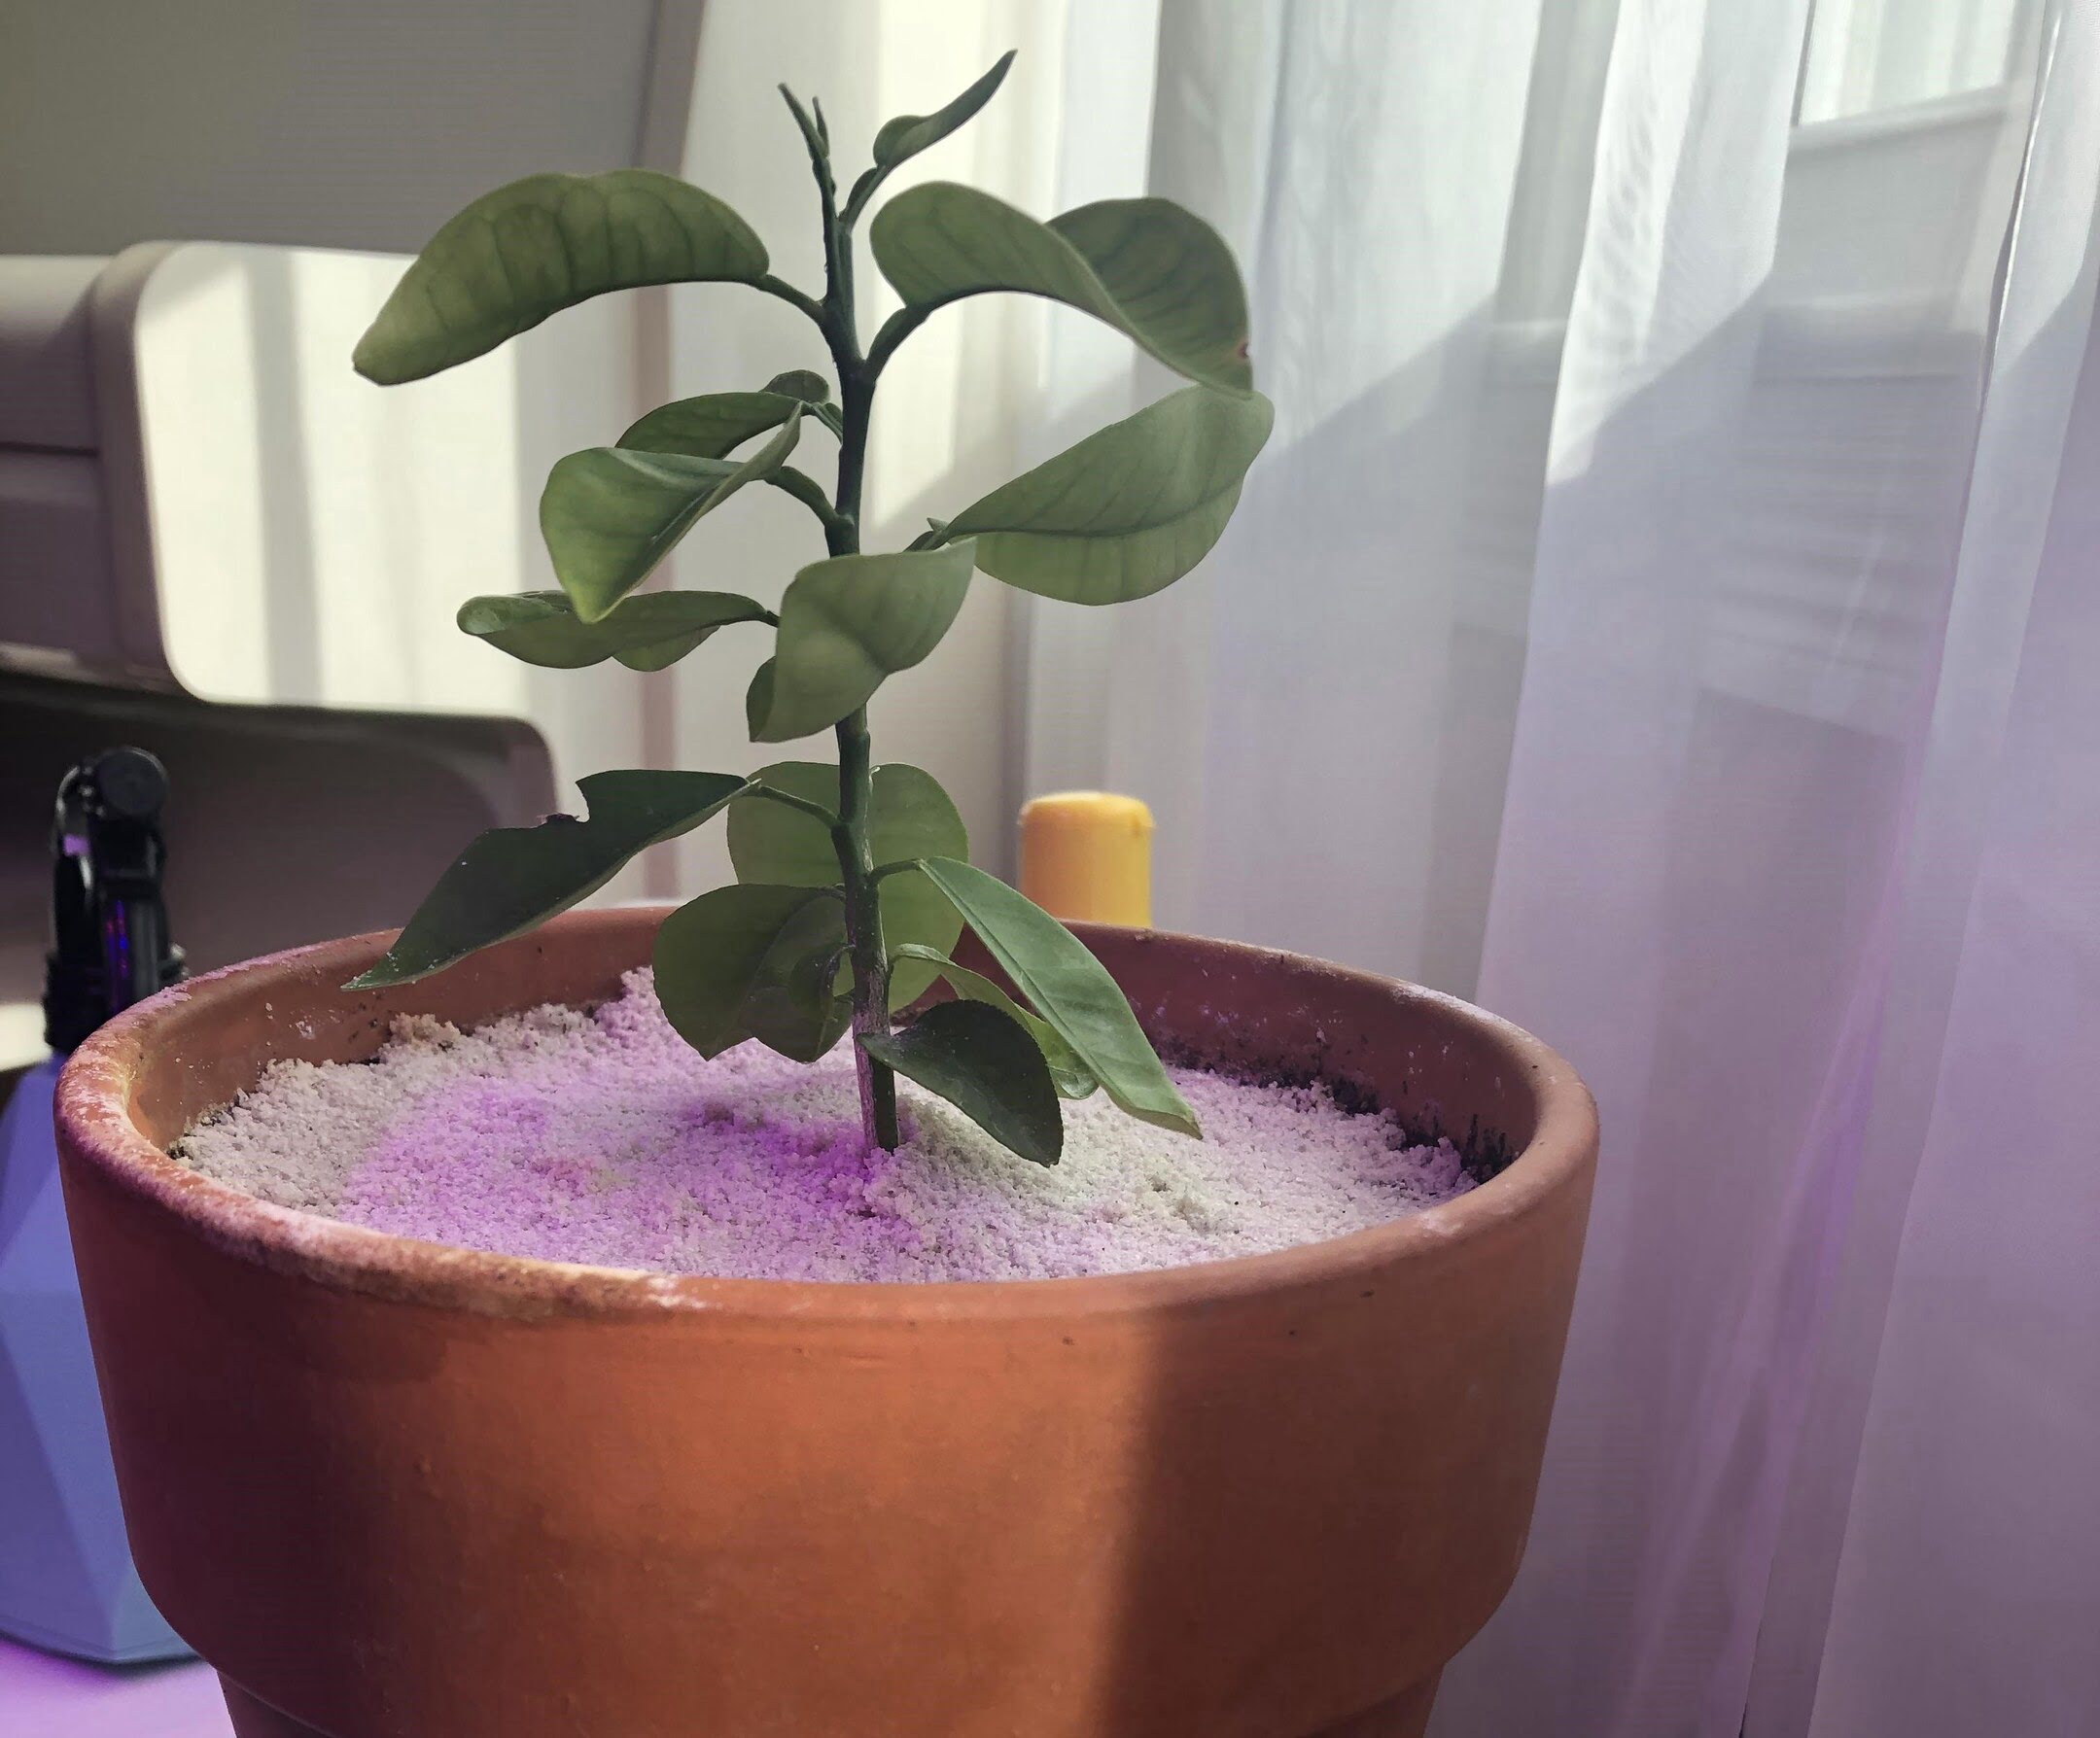
Step 5: Transplanting the Seedling
As your orange seedling continues to grow, it will eventually outgrow its initial pot and require transplanting into a larger container. Follow these steps to successfully transplant your seedling:
-
Choose a larger pot: Select a pot that is one size larger than the current one. Ensure that it has drainage holes to prevent waterlogging.
-
Prepare the new pot: Fill the new pot with fresh, well-draining potting soil. Leave enough space at the top to accommodate the seedling’s root ball.
-
Wet the soil: Moisten the soil in the new pot to aid in easier transplantation and root adjustment.
-
Remove the seedling: Gently loosen the soil around the seedling’s base and carefully lift it out, trying to preserve as much of the root system as possible.
-
Prepare the root ball: If the roots are tightly wound around the root ball, use your fingers to gently tease them apart, facilitating their spread in the new pot.
-
Place the seedling in the new pot: Position the seedling in the center of the new pot and use your hands to fill the surrounding space with soil. Gently press down to secure the seedling in place.
-
Water thoroughly: Give the newly transplanted seedling a good watering to settle the soil and help with root establishment.
-
Provide post-transplant care: Place the pot in a location with adequate light and maintain regular watering and care as outlined in Step 4.
Transplanting can be a sensitive process, so it’s essential to handle the seedling with care and monitor its progress closely after transplanting. Ensure that the new pot and soil provide sufficient space and nutrients for the growing plant. Within a few weeks, you’ll see your seedling adjusting to its new home and continuing its journey towards becoming a mature orange tree.
In the next step, we will discuss how to provide continued care and maintenance for your orange tree. Let’s dive deeper into the world of citrus gardening!
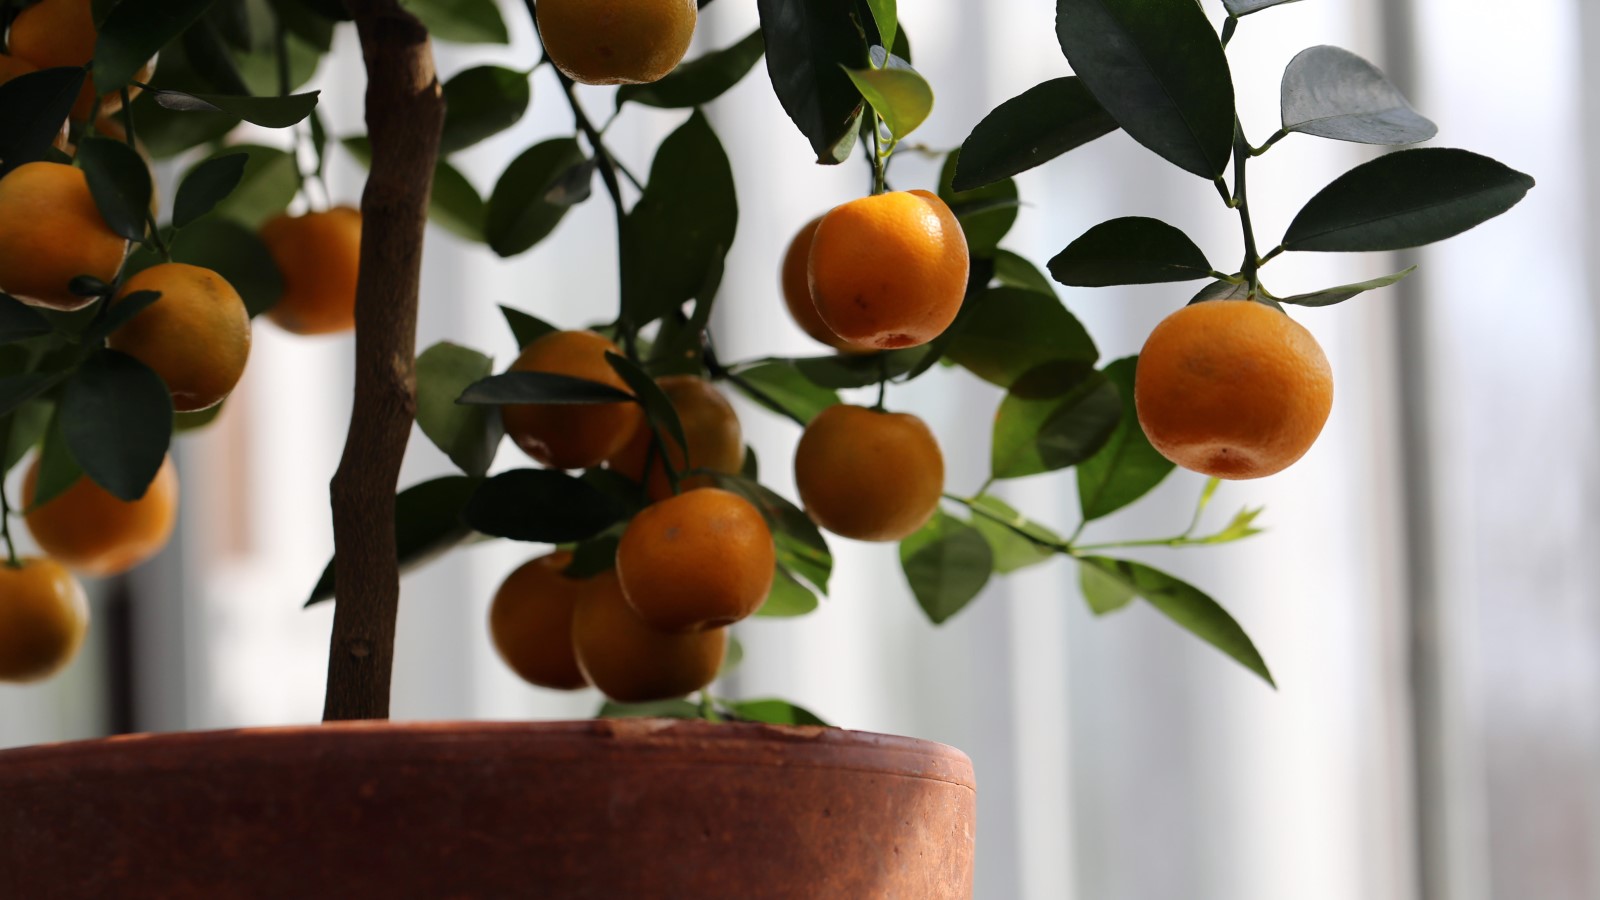
Step 6: Continued Care and Maintenance
Once your orange tree is transplanted into its new pot, it’s important to provide continued care and maintenance to ensure its long-term health and productivity. Follow these guidelines for the ongoing care of your orange tree:
-
Watering: Continue to water your orange tree regularly, keeping the soil moist but not waterlogged. Adjust the frequency of watering based on the weather conditions and the moisture level of the soil. Be mindful that overwatering can lead to root rot, while underwatering can cause stress and poor fruit development.
-
Fertilizing: Feed your orange tree with a balanced citrus fertilizer according to the instructions on the package. Apply the fertilizer during the growing season, typically in spring and early summer. Avoid fertilizing during the dormant season, as it may stimulate new growth that can be susceptible to frost damage.
-
Pruning: Regularly prune your orange tree to maintain its shape, remove dead or diseased branches, and promote airflow and sunlight penetration. Pruning should be done during the dormant season to avoid disrupting the tree’s growth cycle.
-
Pest and disease control: Keep a keen eye out for common citrus pests such as aphids, mealybugs, and scale insects. If you notice any signs of pest infestation or disease, take appropriate measures to control and treat the issue, whether through organic methods or with the help of insecticides or fungicides.
-
Protecting from frost: If you live in an area with freezing temperatures, take measures to protect your orange tree from frost. Cover the tree with a frost cloth or carefully move it indoors during periods of extreme cold. Frost can damage the tree and affect its fruit production.
-
Harvesting: Once your orange tree matures and starts producing fruits, monitor their ripening. Harvest the oranges when they reach their full color and easily detach from the tree with a gentle twist. Enjoy the fruits of your labor by savoring the sweet, tangy flavor of your homegrown oranges.
By providing consistent care, regular maintenance, and addressing any issues that arise promptly, you’ll ensure a healthy and thriving orange tree. Remember to stay observant and remain attentive to the needs of your tree throughout its growth journey.
In the final step, we’ll wrap up our guide with a discussion on harvesting oranges and celebrating the success of your gardening endeavors.
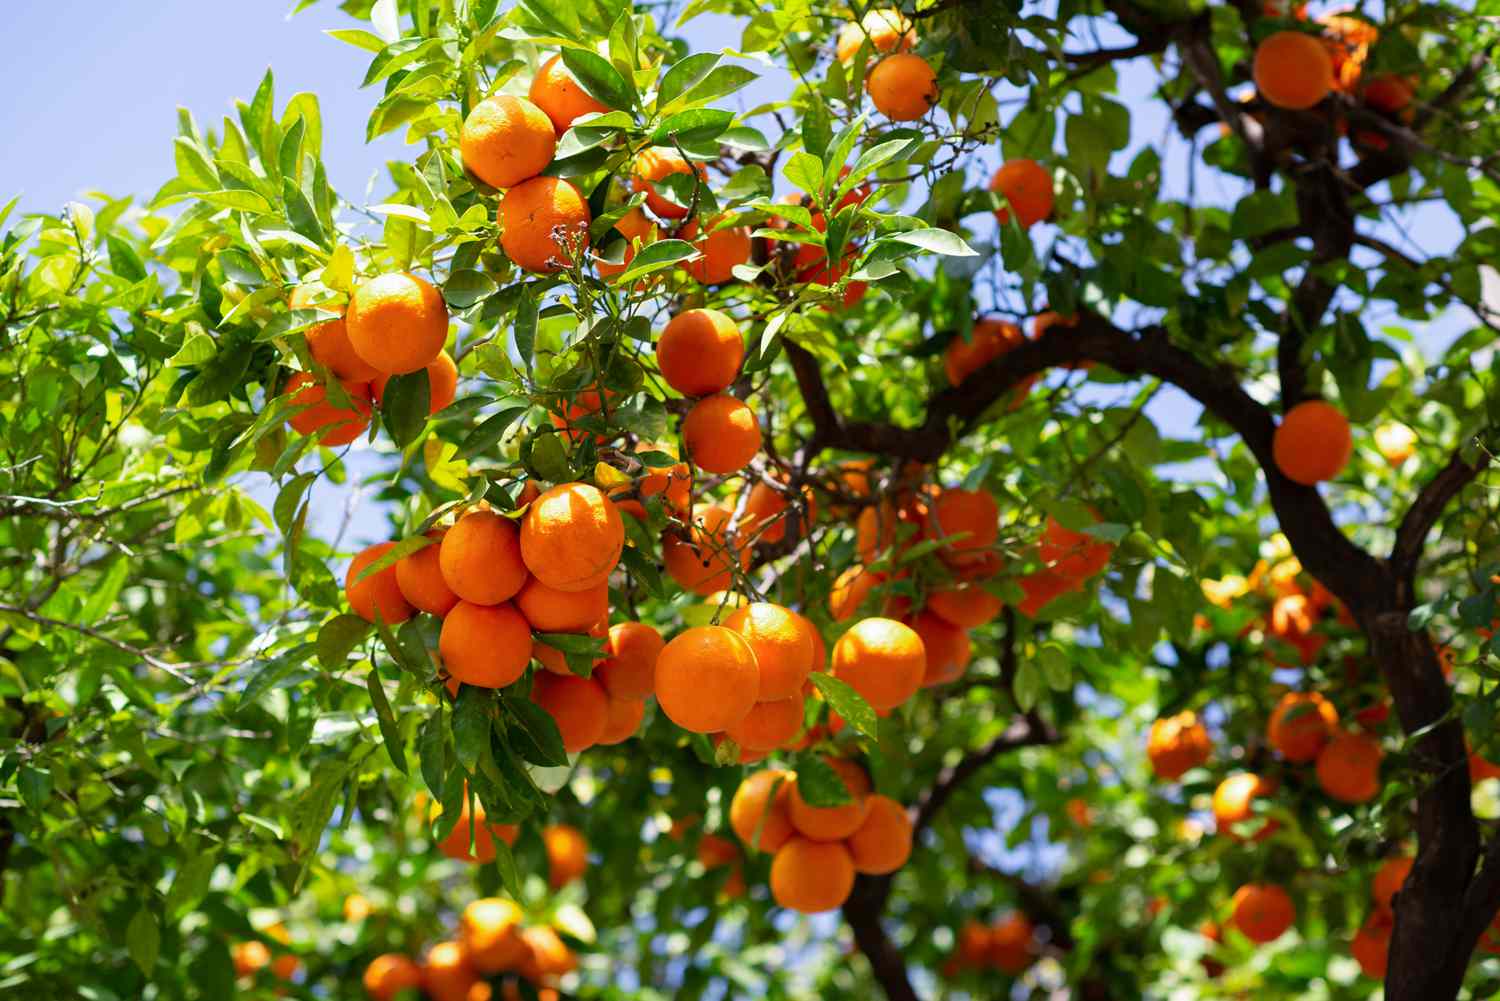
Step 7: Harvesting Oranges
After months of nurturing and caring for your orange tree, the time for harvesting the fruits of your labor has finally arrived. Here are some essential guidelines for harvesting oranges:
-
Check for ripeness: Monitor your oranges closely and wait until they have reached their full color. Different orange varieties have varying ripening times, so refer to the specific variety for guidance.
-
Perform a taste test: Select a few oranges and conduct a taste test. Sample one to determine if it has developed the desired flavor profile.
-
Test for firmness: Gently squeeze an orange to assess its firmness. It should be firm but yield slightly to pressure. Overly soft fruits may be overripe.
-
Detach with a twist: To harvest an orange, gently twist it from the stem while simultaneously lifting it. Avoid pulling or tugging forcefully, as this can damage both the fruit and the tree.
-
Handle with care: Handle harvested oranges with care to minimize bruising or damage. Place them gently into a harvesting container or basket, ensuring they don’t stack or crush each other.
-
Store properly: If you’re not going to consume the oranges immediately, store them in a cool and well-ventilated area. Optimal storage temperature is around 45-50°F (7-10°C) with a moderate humidity level.
-
Enjoy your homegrown oranges: Once harvested and properly stored, savor the sweetness and tanginess of your freshly picked oranges. Share them with friends and family or use them in zestful recipes and refreshing juices.
Remember that the taste and quality of homegrown oranges can be exceptionally flavorful, as they are harvested at their peak ripeness. Enjoy the satisfaction of your efforts as you relish the abundant harvest from your own orange tree.
Congratulations on successfully growing an orange tree from seed! Embrace the joy of gardening and the fulfillment that comes from nurturing a fruit-bearing tree. May your citrus journey continue to flourish, bringing you the delight of fresh, homegrown oranges for years to come.
Happy harvesting!
Conclusion
Growing an orange tree from seed is a rewarding and fulfilling experience. From the initial seed preparation to the joyful harvest of citrus fruits, each step along the way allows you to connect with nature and witness the miracle of plant life. By following the steps outlined in this guide and providing the necessary care and attention, you can cultivate your own thriving orange tree.
Throughout this gardening journey, you have learned how to gather the essential supplies, prepare the seeds, plant them with care, and provide the proper conditions for growth. You have discovered the importance of light, water, nutrients, and regular maintenance in nurturing your orange tree into maturity.
As you continue to care for your orange tree, remember that gardening is a continuous learning process. Observe your tree closely, adapt to its needs, and address any challenges that may arise. Patience and perseverance are key as you wait for your tree to bear fruit, knowing that the delicious rewards will be worth the wait.
Whether you enjoy the sweet tang of freshly picked oranges or marvel at the beauty of your tree’s fragrant blossoms, your orange tree will bring you joy and a sense of accomplishment. Share the fruits of your labor with loved ones, savoring the flavor of homegrown citrus and showcasing the fruits of your gardening expertise.
Embrace the journey of tending your orange tree, and don’t be afraid to experiment and explore new techniques along the way. With each season, you will refine your skills and deepen your connection with nature.
Now, armed with the knowledge and understanding of growing an orange tree from seed, you have the power to create a lush and fruitful garden. So, go forth, cultivate, and enjoy the beauty, taste, and satisfaction that comes from nurturing your own orange tree.
Happy gardening!
Frequently Asked Questions about How To Grow An Orange Tree From Seed
Was this page helpful?
At Storables.com, we guarantee accurate and reliable information. Our content, validated by Expert Board Contributors, is crafted following stringent Editorial Policies. We're committed to providing you with well-researched, expert-backed insights for all your informational needs.


0 thoughts on “How To Grow An Orange Tree From Seed”