Home>Garden Essentials>How To Grow A Dogwood Tree From Seed
Garden Essentials
How To Grow A Dogwood Tree From Seed
Modified: March 16, 2024
Learn how to grow a beautiful dogwood tree from seed in your garden. Discover tips and techniques for successful dogwood tree propagation.
(Many of the links in this article redirect to a specific reviewed product. Your purchase of these products through affiliate links helps to generate commission for Storables.com, at no extra cost. Learn more)
Introduction
Growing a dogwood tree from seed can be a rewarding and fulfilling experience. Dogwood trees are known for their beautiful blooms and vibrant foliage, making them a popular choice for adding beauty to any garden or landscape. While it may take some time and patience, starting a dogwood tree from seed allows you to have a deeper connection with the tree, as you witness its growth from a tiny seed to a flourishing tree.
In this article, we will guide you through the process of growing a dogwood tree from seed. We will provide step-by-step instructions on collecting and preparing the seeds, planting them, and caring for the seedling until it is ready to be transplanted. We will also offer tips on providing the right growing conditions and ongoing care and maintenance.
Before we dive into the process, it’s important to note that growing a dogwood tree from seed requires patience and dedication. It can take several years for the tree to reach maturity and start producing flowers. However, the journey is well worth it, as you will have a beautiful dogwood tree that you nurtured from its very beginning.
So, if you’re ready to embark on this exciting gardening adventure, gather your gardening tools and let’s get started on growing a dogwood tree from seed!
Key Takeaways:
- Growing a dogwood tree from seed requires patience and dedication, but the rewarding journey allows you to witness the miraculous transformation of a tiny seed into a majestic tree, adding timeless elegance to your garden.
- Providing the right growing conditions, ongoing care, and maintenance are essential for nurturing a dogwood tree from seed to maturity. With proper attention, your tree will thrive and bring joy for generations to come.
Read more: How To Grow A Tree From A Seed
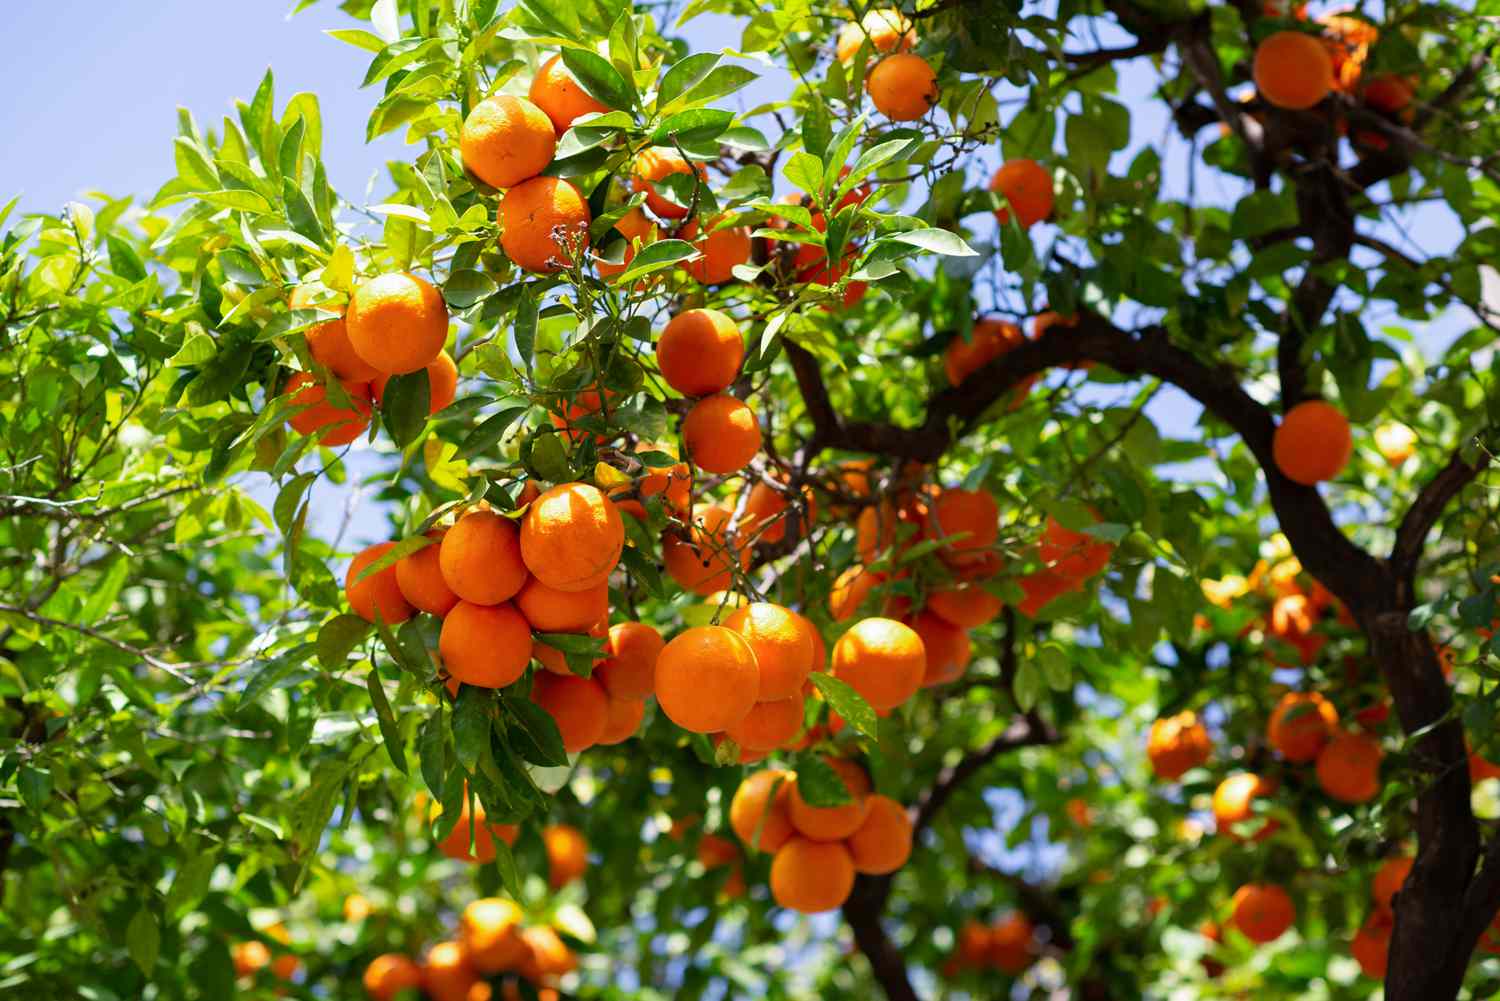
Step 1: Collecting Dogwood Seeds
The first step in growing a dogwood tree from seed is to collect the dogwood seeds. Dogwood trees produce small, round fruits known as drupes, which contain the seeds. These drupes typically mature and ripen in the late summer to early fall.
To collect the dogwood seeds, locate the mature drupes on the tree. Ensure that the drupes are fully ripe and have a deep red or purple color. Gently twist or pull the drupes from the tree, being careful not to damage the seeds inside. It’s important to collect the seeds when they are fully ripe, as they will have a higher chance of germination.
After harvesting the drupes, remove the seeds from the fruit. You can do this by gently cutting open the drupe with a knife and carefully extracting the seeds. Make sure to handle the seeds with care to avoid damaging them.
Once you have collected the seeds, it’s important to clean them to remove any pulp or debris. Fill a bowl with warm water and place the seeds in it. Gently rub the seeds against each other to remove the pulp. You can also use a fine mesh sieve or strainer to rinse the seeds under running water. After cleaning, carefully pat them dry with a clean towel.
After collecting and cleaning the dogwood seeds, it’s best to sow them immediately. Fresh seeds have a higher germination rate compared to seeds that have been stored for a long period of time. However, if you are unable to plant the seeds right away, you can store them in a cool, dry place in a sealed container for a short period of time.
Now that you have successfully collected the dogwood seeds, it’s time to move on to the next step: preparing the seeds for planting.
Step 2: Preparing the Seeds for Planting
Before planting the dogwood seeds, it’s important to prepare them to improve their chances of successful germination. Preparing the seeds involves a process called stratification, which mimics the natural conditions that the seeds experience during the winter months.
To begin the stratification process, start by placing the cleaned and dry dogwood seeds in a damp paper towel or a plastic bag filled with moist peat moss or vermiculite. Make sure the seeds are spread out in a single layer and not touching each other.
Once the seeds are in the damp medium, seal the bag or wrap the paper towel and place them in a refrigerator. The seeds require a cold stratification period of about 90 to 120 days to break their dormancy and promote germination. This process simulates the winter conditions that the seeds would naturally experience before sprouting in the spring.
Check the seeds regularly during stratification to ensure that the medium remains slightly moist and doesn’t dry out. This will help to create the ideal conditions for germination.
After the recommended stratification period is complete, remove the seeds from the refrigerator and prepare them for planting. Keep in mind that not all seeds may have germinated during stratification, so it’s normal to have some seeds that did not sprout.
Before planting, it’s recommended to perform a germination test on a few seeds to check their viability. Place a few seeds on a damp paper towel or in a small container filled with moist soil and cover them lightly. Keep the seeds in a warm location with indirect sunlight and monitor them for germination. If the seeds show signs of sprouting within a couple of weeks, they are ready for planting.
Now that you have prepared the dogwood seeds for planting, it’s time to move on to the next step: planting the seeds.
Step 3: Planting the Dogwood Seeds
Now that your dogwood seeds are prepared, it’s time to plant them and begin the process of growing your own dogwood tree.
Start by selecting a suitable planting location for your dogwood seeds. Dogwood trees thrive in well-draining soil that is slightly acidic, with a pH range of 5.5 to 6.5. Choose an area in your garden that receives partial shade, as dogwoods prefer dappled sunlight or filtered shade rather than direct and intense sunlight.
Prepare the soil by removing any weeds, rocks, or debris. Loosen the soil to a depth of about 12 inches, ensuring it is crumbly and well-aerated. It’s also helpful to add organic matter, such as compost or well-rotted manure, to improve soil fertility and drainage.
Next, dig small holes in the prepared soil, each about 1 inch deep. Place one or two dogwood seeds in each hole, spacing them at least 6 inches apart. Cover the seeds with soil, gently firming it down to ensure good seed-to-soil contact.
Water the newly planted seeds thoroughly but gently. It’s important to keep the soil consistently moist but not waterlogged. Avoid overwatering, as this can lead to rotting of the seeds or seedlings.
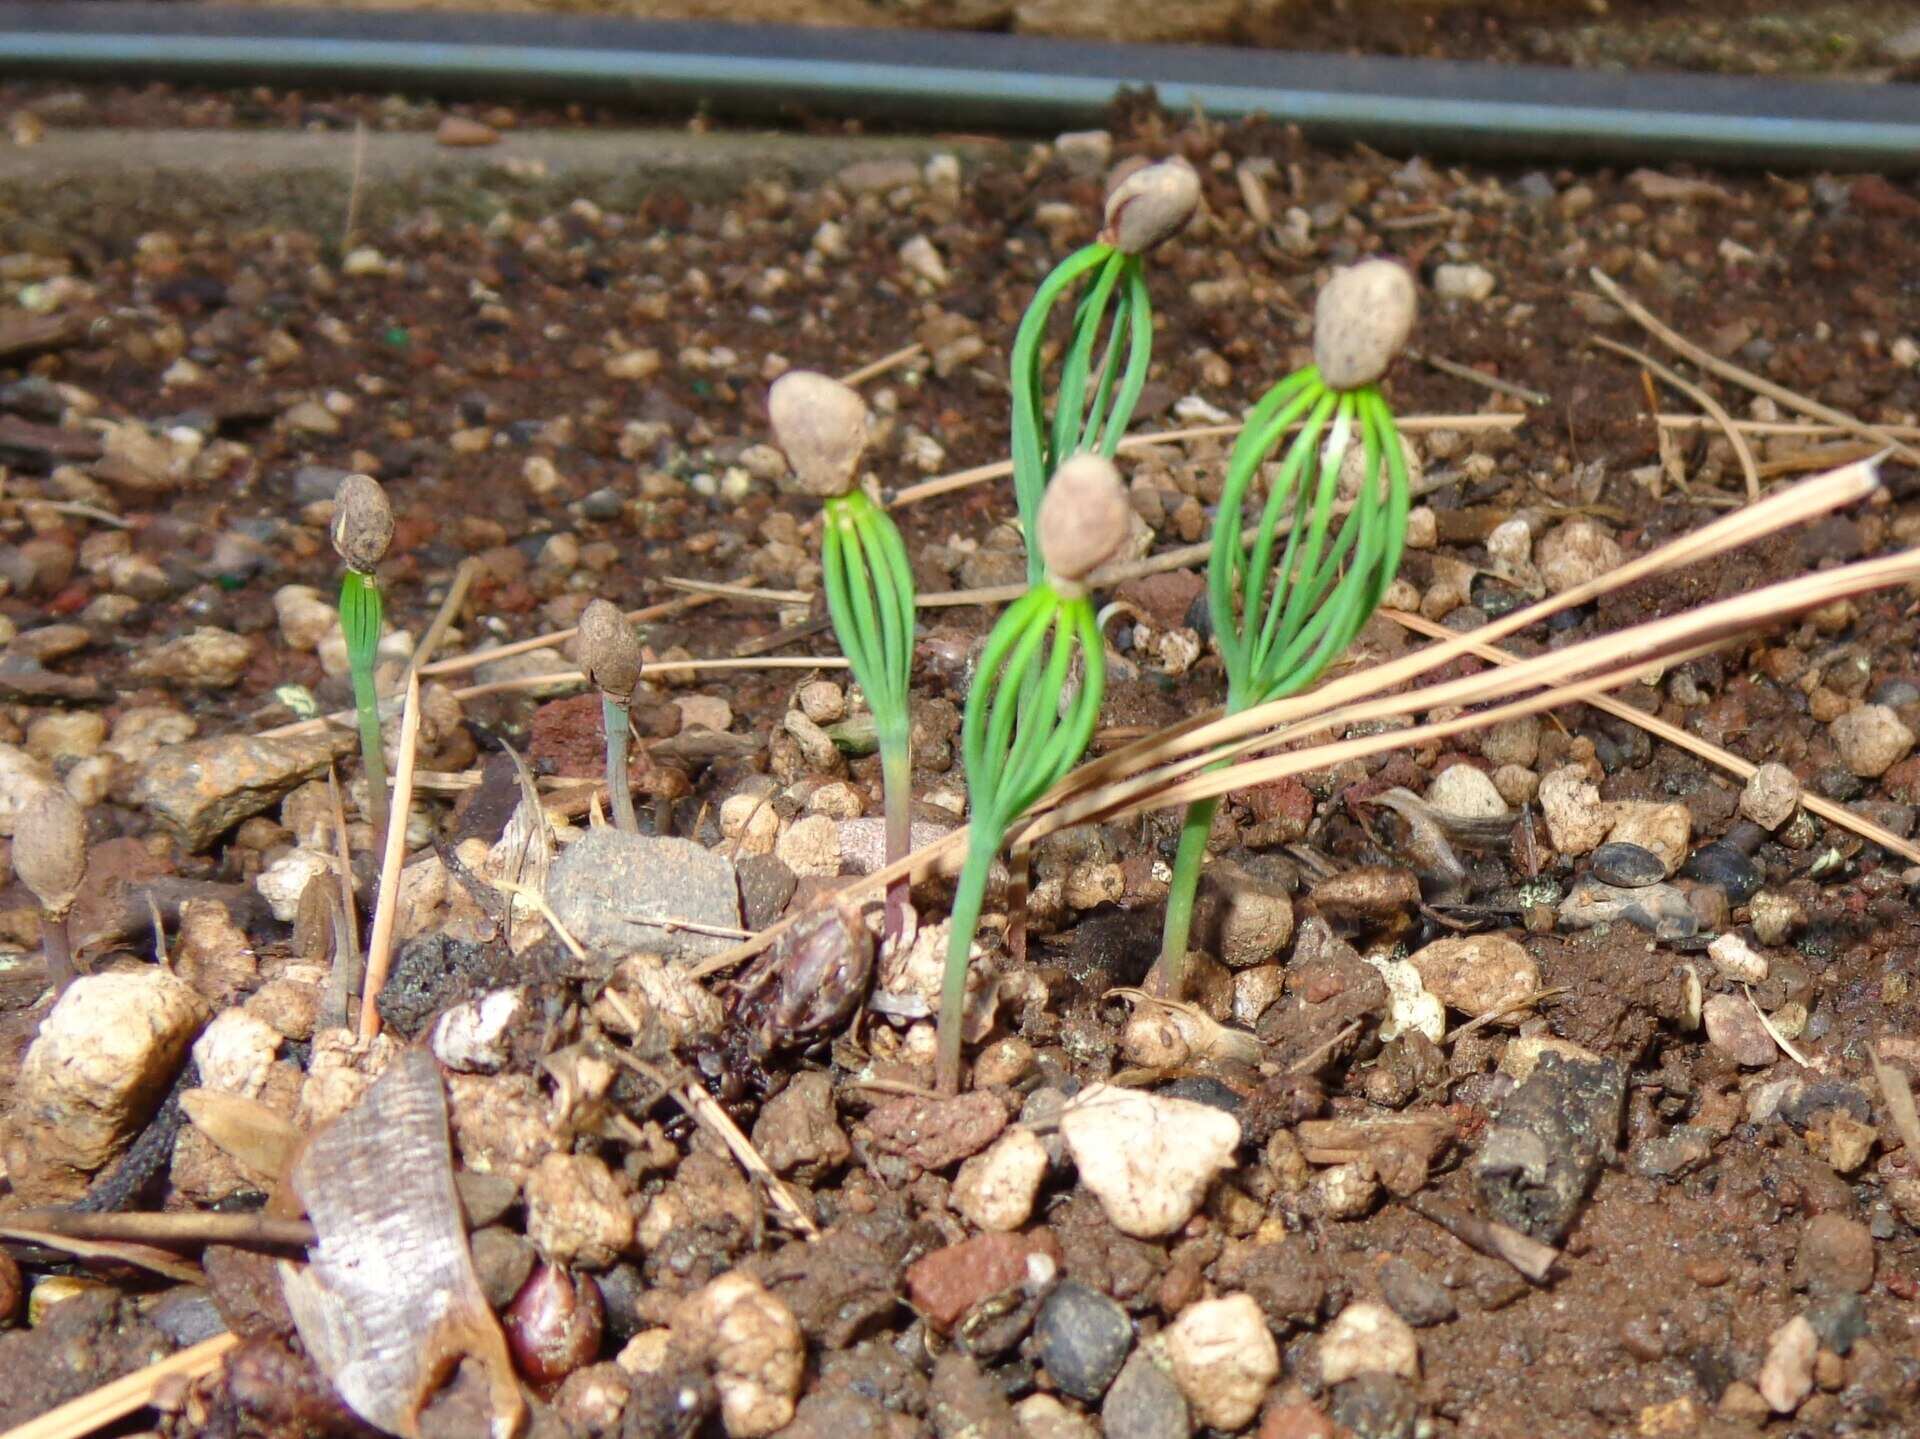
As your dogwood seeds begin to germinate and seedlings emerge, it’s important to thin them out. Choose the strongest and healthiest seedlings and remove the weaker ones, leaving only one seedling per planting hole. This will allow the remaining seedling to have ample space and resources to grow and develop into a strong tree.
Continue to monitor the soil moisture levels and water as needed. In dry weather conditions, you may need to water more frequently to ensure that the seedlings don’t dry out.
Now that you have successfully planted your dogwood seeds, move to the next step: providing the right growing conditions for the seedlings.
Step 4: Providing the Right Growing Conditions
To ensure the healthy growth and development of your dogwood seedlings, it’s important to provide them with the right growing conditions. Here are some key factors to consider:
1. Sunlight: Dogwood trees thrive in partial shade or dappled sunlight. Avoid planting them in areas with intense, direct sunlight, as it can scorch the leaves and hinder their growth. Choose a location that offers filtered sunlight or shade for optimal growth.
2. Soil: Dogwood trees prefer well-draining soil that is slightly acidic, with a pH range of 5.5 to 6.5. Ensure the soil is rich in organic matter and well-aerated. If your soil is heavy clay or sandy, consider amending it with compost or well-rotted manure to improve its fertility and water drainage.
3. Watering: Consistent and appropriate watering is crucial for the healthy growth of dogwood seedlings. Water the seedlings regularly to keep the soil moist but not waterlogged. Avoid overwatering, as it can lead to root rot. During hot and dry periods, you may need to increase the frequency of watering to prevent stress to the seedlings.
4. Mulching: Apply a layer of organic mulch around the base of the seedlings to help retain soil moisture, regulate soil temperature, suppress weeds, and provide nutrients as it breaks down. Use materials like wood chips, shredded bark, or compost, and keep the mulch a few inches away from the base of the seedlings to prevent moisture-related issues.
5. Fertilizing: Dogwood seedlings generally do not require heavy fertilization in the early stages. However, you can lightly fertilize them with a balanced slow-release fertilizer in the spring to provide essential nutrients. Follow the instructions on the fertilizer package and avoid over-fertilizing, as it can damage the young roots.
6. Pruning: Young dogwood seedlings generally do not require much pruning. However, it’s a good practice to remove any dead, damaged, or crossing branches. Pruning can be done during the dormant season to shape the tree and improve its structure.
By providing the appropriate growing conditions, you will give your dogwood seedlings the best chance to thrive and mature into beautiful trees. With the right conditions in place, your seedlings are on their way to becoming a stunning addition to your garden or landscape.
In the next step, we will discuss how to care for the growing seedlings.
To grow a dogwood tree from seed, collect ripe berries in the fall, remove the pulp, and plant the seeds in a pot with well-draining soil. Keep the soil moist and place the pot in a sunny spot. The seeds will germinate in the spring.
Read more: How To Grow Tree From Seed
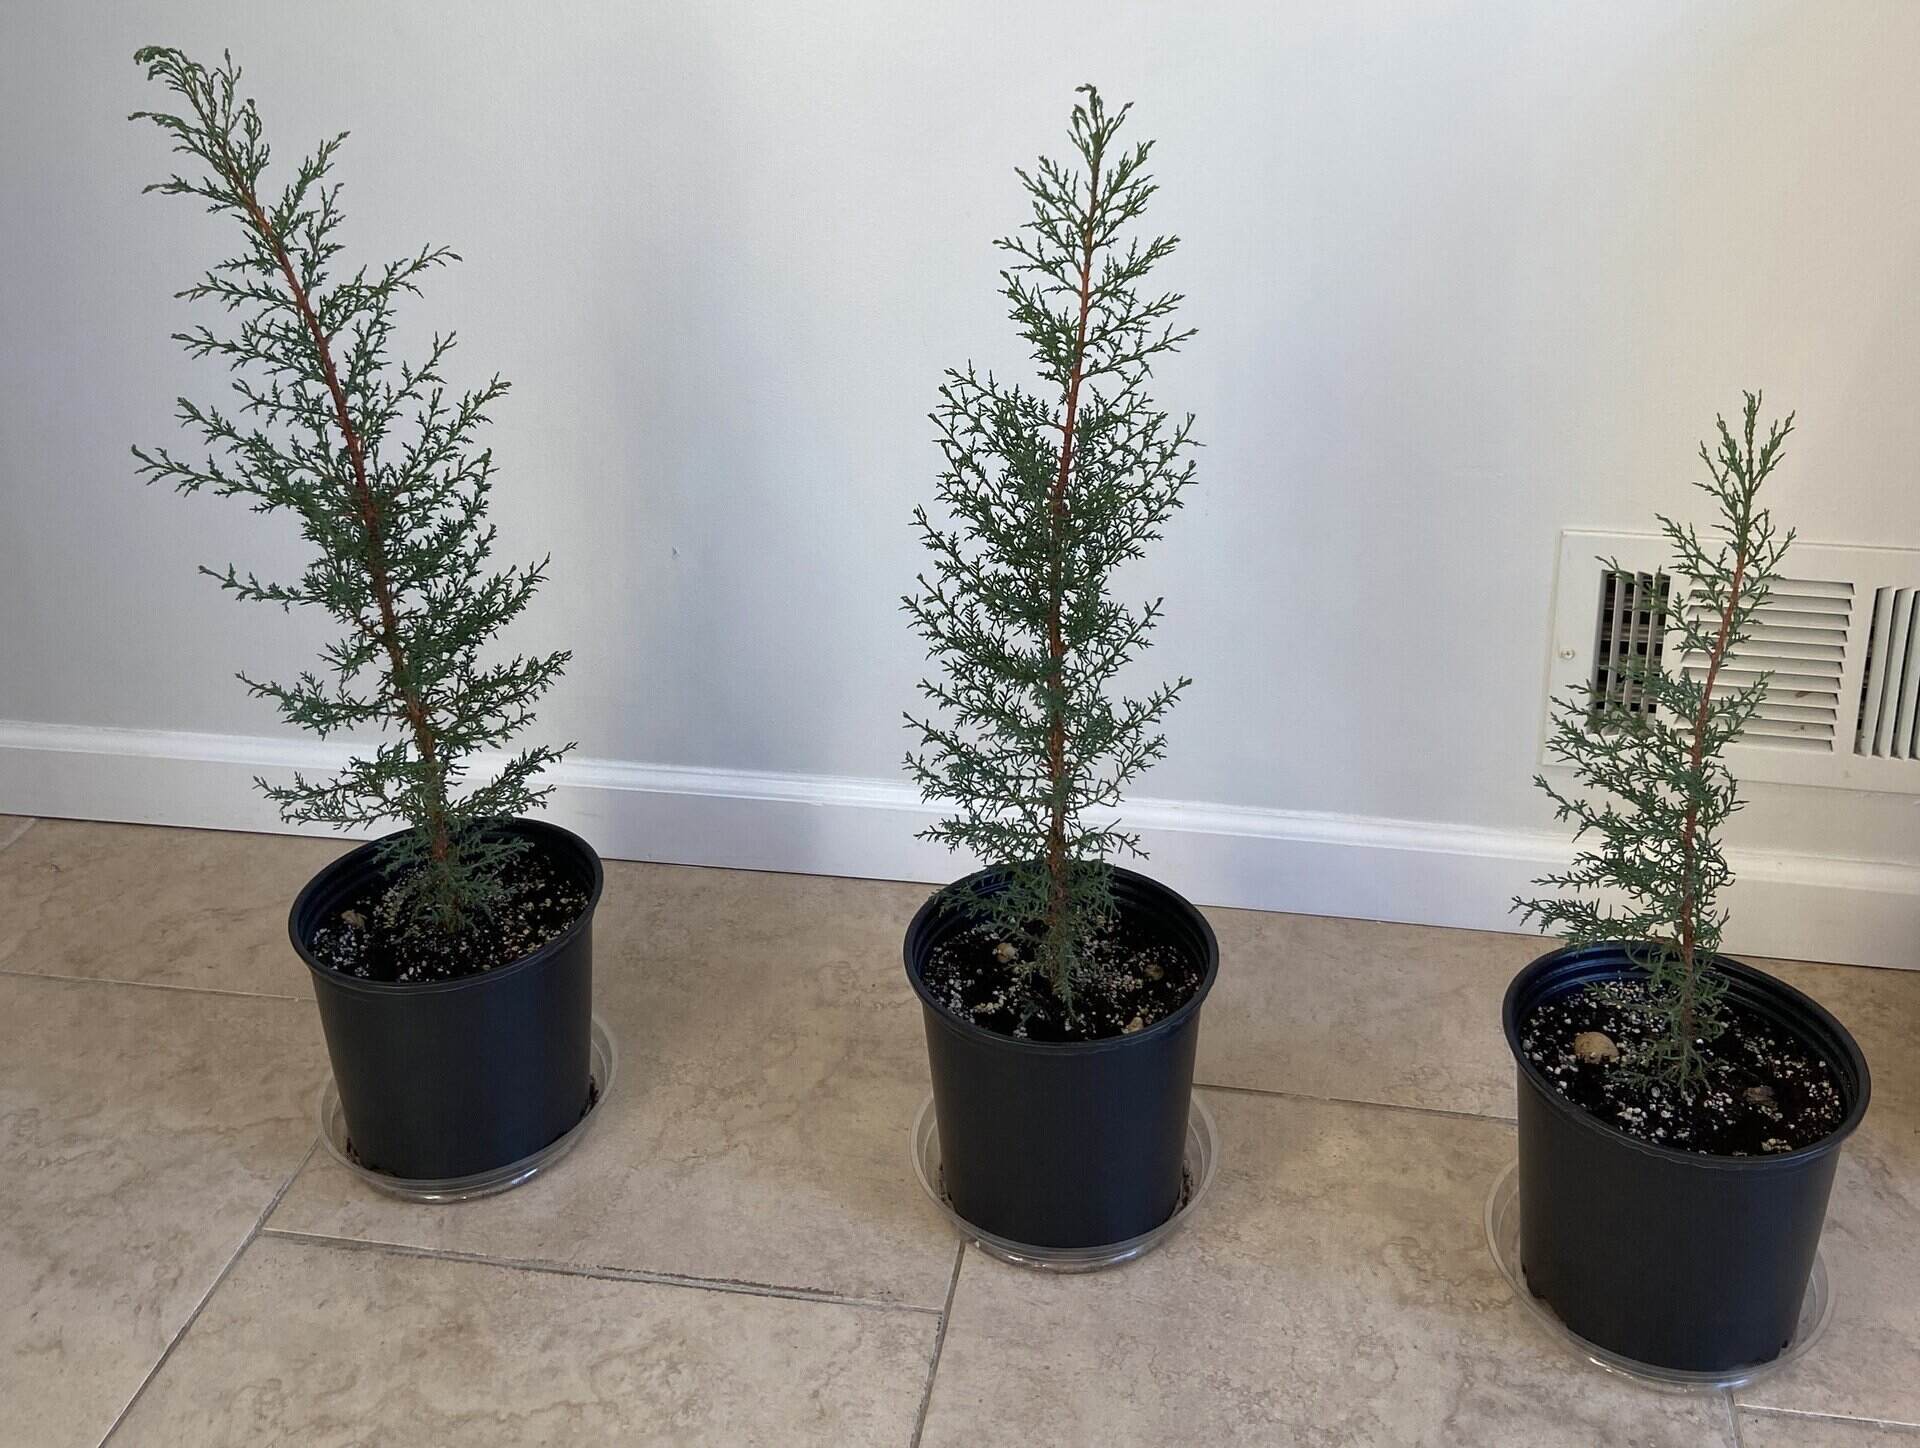
Step 5: Caring for the Seedling
As your dogwood seedlings continue to grow, it’s important to provide proper care to promote their healthy development. Here are some essential steps to follow when caring for your dogwood seedlings:
1. Watering: Regular and consistent watering is crucial, especially during the seedlings’ first year. Keep the soil consistently moist but not overly wet. Water deeply, ensuring that the water reaches the root zone. Monitor the moisture levels regularly and adjust watering frequency based on weather conditions.
2. Mulching: Apply a layer of organic mulch around the base of the seedlings, taking care to keep it a few inches away from the trunk. Mulching helps conserve soil moisture, regulate soil temperature, and suppress weed growth. It also provides gradual nutrients as it decomposes. Renew the mulch layer periodically to maintain its effectiveness.
3. Protection from Extreme Weather: Young dogwood seedlings are vulnerable to extreme weather conditions. In hot summers, provide shade or use a temporary shade cloth to protect them from scorching sunrays. In colder climates, consider covering the seedlings with a frost blanket or burlap during freezing temperatures to shield them from frost damage.
4. Pest and Disease Control: Monitor your dogwood seedlings regularly for any signs of pests or diseases. Common pests include aphids, scale insects, and powdery mildew. If necessary, use organic pest control methods such as spraying with neem oil or insecticidal soap. Proper sanitation and good airflow around the seedlings can help prevent disease outbreaks.
5. Support and Staking: As your dogwood seedlings grow taller, provide support by installing a stake near the main stem. This will help prevent the seedling from bending or breaking due to strong winds or heavy rains. Use soft ties or cloth strips to secure the seedling to the stake gently. Avoid tying too tightly to allow room for trunk expansion.
6. Regular Inspections: Regularly inspect your dogwood seedlings for any signs of stress, damage, or abnormal growth. Look for wilting, yellowing leaves, or stunted growth, which may indicate a problem that needs attention. Early detection and intervention can prevent further damage and help the seedlings recover.
By following these care practices, you will provide the optimal conditions for your dogwood seedlings to flourish and establish themselves in your garden. With proper care, they will grow into beautiful and resilient trees that will add beauty and charm to your outdoor space.
In the next step, we will discuss how to transplant the seedlings once they are ready.
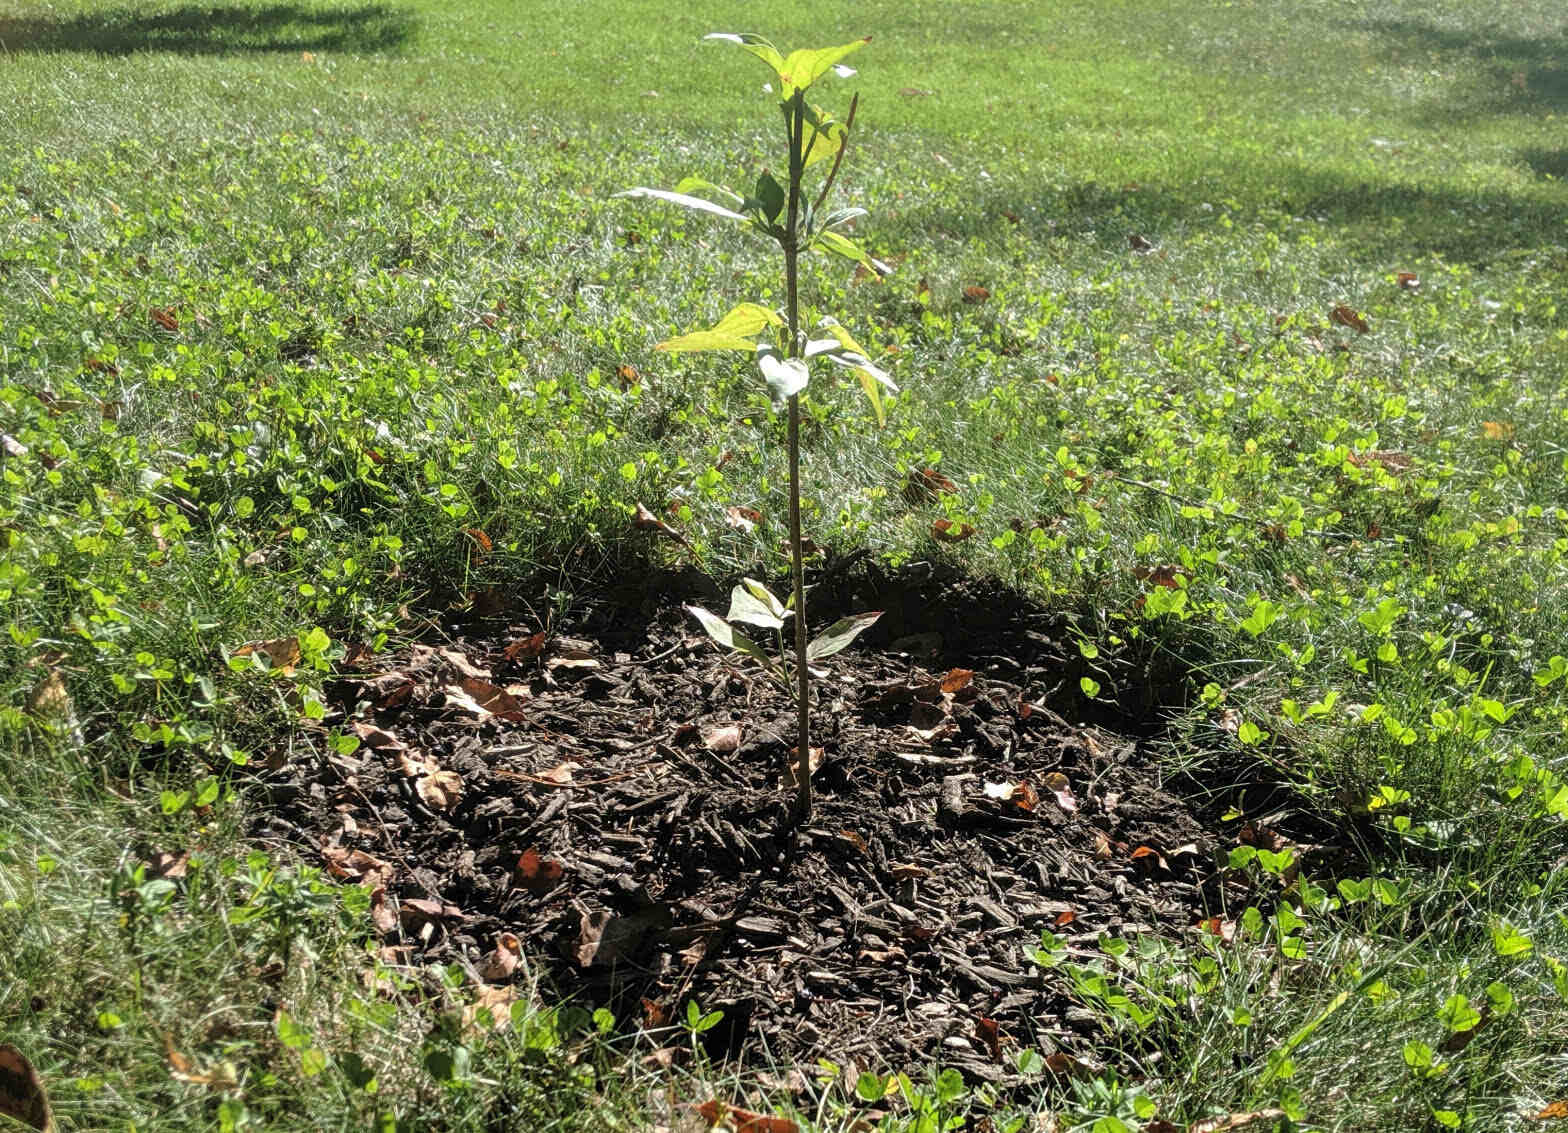
Step 6: Transplanting the Seedling
Transplanting your dogwood seedling is an exciting milestone in its journey to becoming a full-grown tree. This step allows you to provide the optimal growing conditions for your dogwood and gives it more space to spread its roots. Here’s how to successfully transplant your dogwood seedling:
1. Timing: The best time to transplant dogwood seedlings is during the dormant season, typically in late winter or early spring before new growth begins. Transplanting during this time allows the seedling to establish its root system before the onset of new growth.
2. Choose a New Location: Select a new planting site that provides the right growing conditions for a dogwood tree. Ensure the spot offers well-draining soil, partial shade, and enough space for the tree to grow. Prepare the new planting hole by loosening the soil and incorporating organic matter to improve soil fertility and drainage.
3. Digging the Seedling: Carefully dig around the seedling, keeping the root ball intact. Start at a distance of about 12 inches from the base of the seedling, and gradually work your way inward to avoid damaging any of the roots. Lift the seedling gently, ensuring that the root ball remains intact and undisturbed.
4. Transplanting: Place the dogwood seedling into the new planting hole, making sure it sits at the same depth as it was in its previous location. Backfill the hole with soil, gently firming it around the roots to eliminate any air pockets. Water the seedling thoroughly to settle the soil and encourage root growth.
5. Watering and Mulching: After transplanting, provide ample water to the seedling. Keep the soil evenly moist but not waterlogged. Apply a layer of mulch around the base of the tree, leaving a gap around the trunk to prevent moisture-related issues. The mulch will help conserve soil moisture, regulate temperature, and suppress weed growth.
6. Stake for Support: If the seedling is tall or exposed to windy conditions, provide support by staking it. Place a stake next to the main stem and gently tie the seedling to the stake using soft ties or cloth strips. Avoid tying too tightly to allow for trunk movement and growth.
7. Ongoing Care: Continue to provide regular care and maintenance to the transplanted seedling. Monitor soil moisture levels, water as needed, and watch for any signs of stress or issues. Regularly inspect the tree for pests and diseases and take appropriate action if necessary.
Transplanting can be a critical moment for your dogwood seedling, so it’s important to handle it with care and provide the necessary support and attention. With proper transplantation and ongoing care, your dogwood seedling will have the opportunity to establish itself in its new location and grow into a magnificent tree.
In the next step, we will discuss continued care and maintenance for your dogwood tree.
Step 7: Continued Care and Maintenance
Once your dogwood seedling has been successfully transplanted, it’s important to continue providing care and maintenance to ensure its long-term health and growth. Here are some essential steps to follow:
1. Watering: Water your dogwood tree regularly, especially during dry periods. Adequate moisture is crucial for the tree’s growth and establishment. Water deeply, ensuring that the water reaches the root zone. Avoid overwatering, as it can lead to root rot. As the tree matures, it will become more tolerant of drought conditions.
2. Mulching: Maintain a layer of organic mulch around the base of the tree, renewing it as needed. Mulch helps conserve soil moisture, regulate temperature, suppress weed growth, and provide nutrients as it breaks down. Keep the mulch a few inches away from the trunk to prevent moisture-related issues.
3. Fertilizing: Dogwood trees generally do not require heavy fertilization. However, applying a balanced slow-release fertilizer in early spring can provide additional nutrients. Follow the instructions on the fertilizer package and avoid over-fertilizing, as it can harm the tree.
4. Pruning: Prune your dogwood tree during the dormant season to remove any dead, diseased, or crossing branches. Pruning helps maintain the tree’s shape, allows for proper airflow, and reduces the risk of pest and disease infestations. Avoid excessive pruning, as it can stress the tree.
5. Pest and Disease Control: Monitor your dogwood tree for any signs of pests or diseases, such as aphids, scale insects, powdery mildew, or dogwood anthracnose. Take appropriate measures to control pests or treat diseases promptly. Regularly inspect and maintain good sanitation practices to prevent infestations.
6. Regular Inspections: Conduct regular inspections of your dogwood tree to check for any signs of stress, damage, or abnormalities. Look for wilting leaves, discolored foliage, or any other changes. Early detection and intervention can help address issues before they become severe and impact the overall health of the tree.
7. Continued Support: If your dogwood tree requires support as it grows, such as during windy conditions, continue to stake it. Monitor the trunk and ties regularly to ensure they are not constricting the tree’s growth. Adjust or remove the stakes and ties once the tree becomes self-supporting.
By providing ongoing care and maintenance, you will help your dogwood tree thrive and flourish. Regular attention to watering, mulching, fertilizing, pruning, and pest control will support its overall health and longevity.
Congratulations! You have successfully learned the steps involved in growing a dogwood tree from seed and providing the necessary care. With time and proper care, your dogwood tree will reward you with its stunning blooms and graceful presence in your garden or landscape.
Happy gardening!
Conclusion
Growing a dogwood tree from seed is a rewarding and fulfilling experience that allows you to witness the miraculous journey of a tiny seed transforming into a majestic tree. Throughout the steps of collecting seeds, preparing them for planting, planting, providing the right growing conditions, caring for the seedling, transplanting, and continued care and maintenance, you have learned the essential techniques to ensure the success of your dogwood tree.
Patience and dedication are key when growing a dogwood tree from seed. It may take several years for your tree to reach maturity and produce those iconic blooms, but the wait is well worth it. It’s a true testament to the beauty and resilience of nature.
Remember to choose a suitable location for your dogwood tree, providing it with partial shade, well-draining soil, and the right watering and fertilization schedule. Engage in regular inspections for pests and diseases, and handle them promptly to maintain the tree’s health and vitality.
As your dogwood tree grows, it will become a stunning focal point in your garden or landscape, attracting birds and butterflies with its blossoms. You will have the satisfaction of knowing that you nurtured this tree from its humble beginnings and witnessed its transformation into a natural masterpiece.
Enjoy the beauty and wonder of your dogwood tree, and continue to provide it with the care it needs throughout its lifespan. With the right care and attention, your dogwood tree will bring joy and beauty for generations to come.
So, gather your gardening tools, embrace the journey, and enrich your surroundings with the timeless elegance of a dogwood tree grown from a humble seed. Happy gardening!
Frequently Asked Questions about How To Grow A Dogwood Tree From Seed
Was this page helpful?
At Storables.com, we guarantee accurate and reliable information. Our content, validated by Expert Board Contributors, is crafted following stringent Editorial Policies. We're committed to providing you with well-researched, expert-backed insights for all your informational needs.


0 thoughts on “How To Grow A Dogwood Tree From Seed”