Home>Garden Essentials>How To Grow A Redbud Tree From Seed
Garden Essentials
How To Grow A Redbud Tree From Seed
Modified: August 25, 2024
Learn the step-by-step process of growing a redbud tree from seed in your garden and beautify your outdoor space with these vibrant and stunning trees.
(Many of the links in this article redirect to a specific reviewed product. Your purchase of these products through affiliate links helps to generate commission for Storables.com, at no extra cost. Learn more)
Introduction
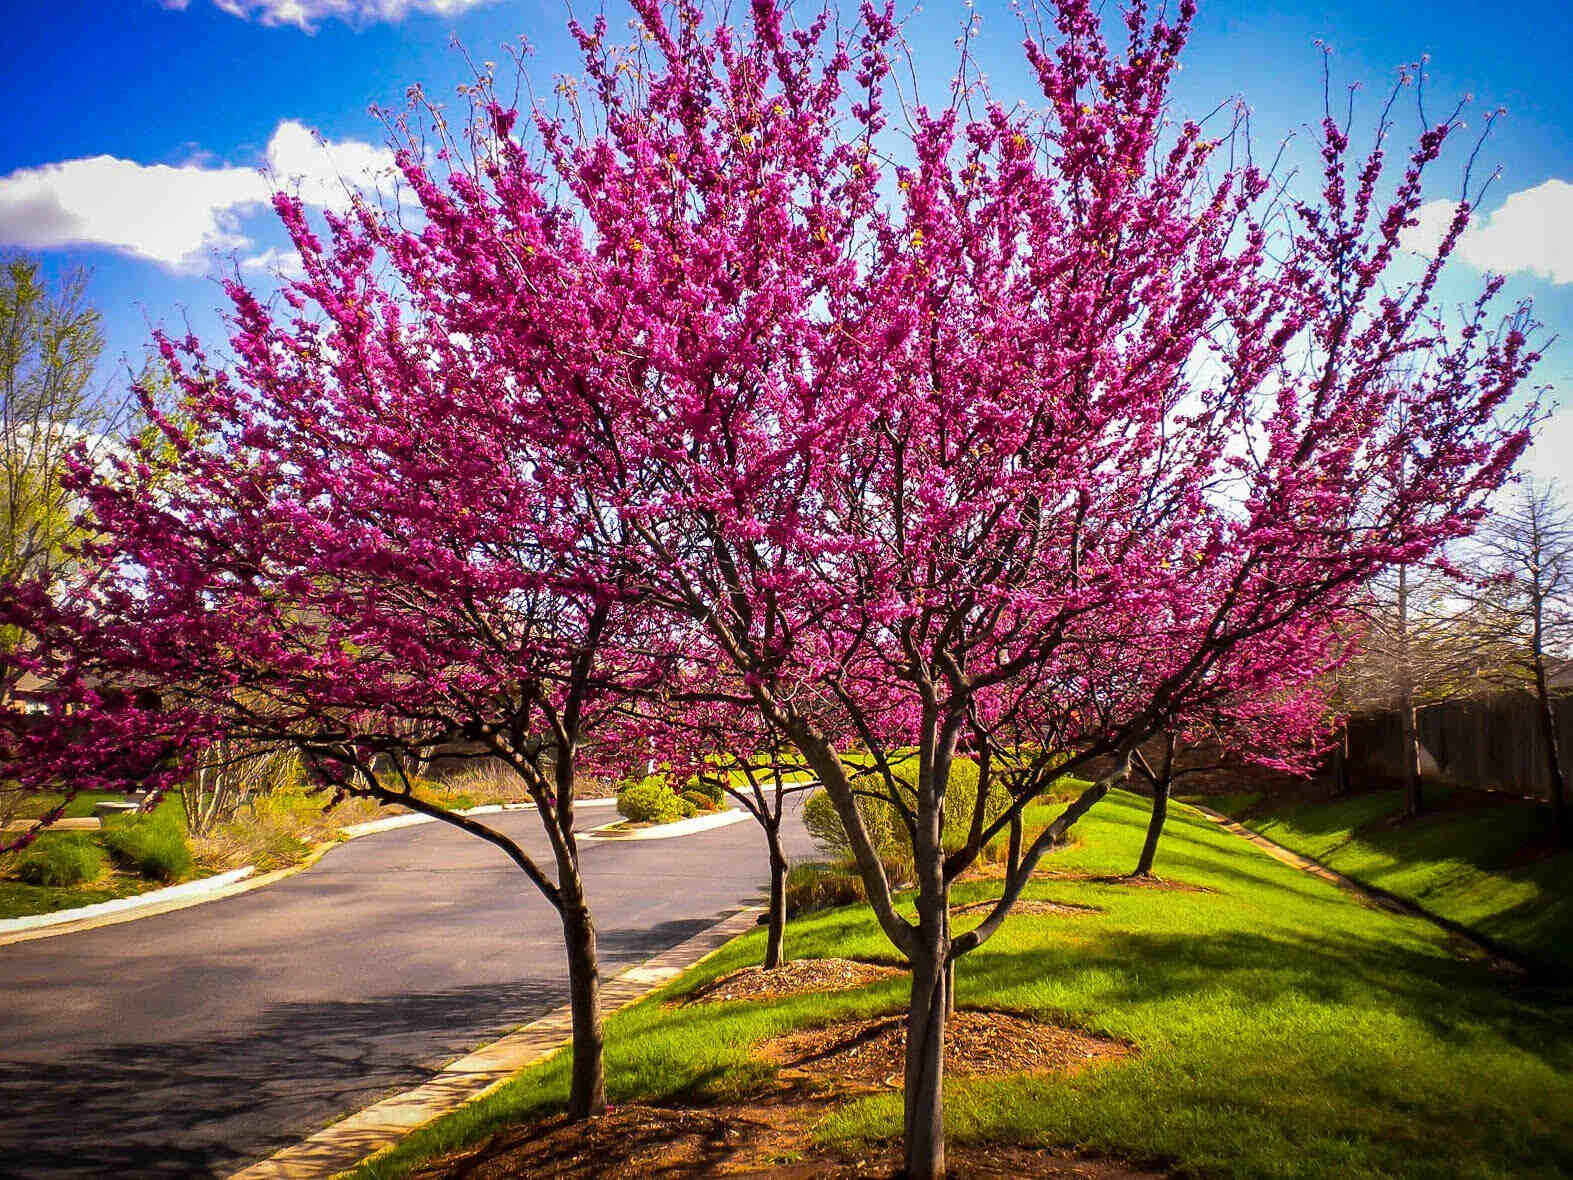
Gardening enthusiasts and nature lovers often find joy in growing trees from seeds. It’s a fulfilling and rewarding experience to witness the transformation of a tiny seed into a majestic tree. If you’re looking to add a touch of beauty to your garden, consider growing a Redbud tree from seed. Redbuds, also known as Cercis, are stunning trees known for their vibrant pink or purple flowers and heart-shaped leaves.
In this article, we’ll guide you through the process of growing a Redbud tree from seed, from collecting the seeds to caring for the seedlings and eventually transplanting the young tree.
Before we dive into the steps, it’s important to note that growing a Redbud tree from seed requires a bit of patience and dedication. It can take several years for the tree to reach its full maturity and start blooming. However, the journey itself is incredibly rewarding and allows you to establish a deep connection with the tree’s growth.
So, if you’re ready to embark on an exciting gardening adventure, let’s get started with step one: collecting Redbud tree seeds.
Key Takeaways:
- Growing a Redbud tree from seed requires patience and dedication, but the rewarding journey allows you to connect with nature and witness the transformation of a tiny seed into a majestic tree.
- By following simple steps like collecting, preparing, and planting the seeds, and providing proper care, you can successfully grow and transplant Redbud trees, adding beauty to your garden and landscape.
Read more: How To Grow A Tree From A Seed
Step 1: Collecting Redbud Tree Seeds
The first step in growing a Redbud tree from seed is collecting the seeds themselves. Redbud trees produce seed pods that contain several seeds. These pods can be found on the branches of mature Redbud trees, typically after the flowers have bloomed and fallen off.
To collect Redbud tree seeds, follow these simple steps:
- Identify mature Redbud trees: Look for trees that are at least 5-6 years old, as younger trees may not produce viable seeds. Mature Redbud trees can be recognized by their distinct heart-shaped leaves and, in some cases, their vibrant pink or purple flowers.
- Observe the seed pods: Redbud trees produce flat, brown seed pods that resemble small beans. These pods are usually around 1-2 inches long and have a slightly curved shape. Check the branches of the tree to locate these seed pods.
- Harvest the seed pods: Use a pair of pruning shears or sharp scissors to carefully remove the seed pods from the tree. Be gentle to avoid damaging the branch or the pods themselves. Place the collected seed pods in a small container or a paper bag.
- Allow the seed pods to dry: Once you’ve collected the seed pods, it’s important to let them dry for a few weeks. Find a cool, dry, and well-ventilated area to store the seed pods. This will help them mature and prepare for germination.
- Extract the seeds: After the seed pods have dried, gently open them to extract the seeds. Redbud tree seeds are usually nestled inside the pod, attached to a thin membrane. Carefully separate the seeds from the membrane and discard any damaged or unhealthy-looking seeds.
By following these steps, you’ll have a collection of Redbud tree seeds ready for the next stage of the growing process. In the next step, we’ll explore how to prepare the seeds for optimal germination.
Step 2: Preparing the Seeds
Once you have collected the Redbud tree seeds, it’s time to prepare them for optimal germination. This step is crucial to ensure that the seeds have the best chances of sprouting into healthy seedlings. Here’s how you can prepare the Redbud tree seeds:
- Clean the seeds: Start by cleaning the seeds to remove any remaining debris or pulp. Rinse the seeds gently under running water, or you can soak them in a bowl of water and use your fingers to rub away any remaining material. Be careful not to damage the seeds in the process.
- Scarify the seeds: Redbud tree seeds have a hard outer shell that can inhibit germination. To overcome this, you can scarify the seeds, which means scratching or nicking the surface of the seed coat. This process allows water and air to penetrate the seed, promoting germination. Use a small file or sandpaper to lightly scarify the seeds, taking care not to damage the embryo inside.
- Soak the seeds: After scarifying, soak the Redbud tree seeds in room temperature water overnight. This helps to further soften the seed coat and prepare the seeds for germination. You can use a shallow dish or a glass to hold the seeds and water.
- Stratify the seeds (optional): Some gardeners choose to stratify Redbud tree seeds to simulate the natural winter dormancy period. This step may enhance germination rates. To stratify the seeds, place them in a sealed plastic bag with a moistened paper towel or vermiculite. Put the bag in the refrigerator for 60-90 days. Check the seeds periodically to ensure they don’t dry out or become moldy.
During the preparation process, it’s essential to handle the seeds with care to avoid damaging the delicate embryos inside. Once the Redbud tree seeds are cleaned, scarified, soaked, and optionally stratified, they are ready for planting. In the following step, we’ll discuss creating the ideal growing environment for the seeds to thrive.
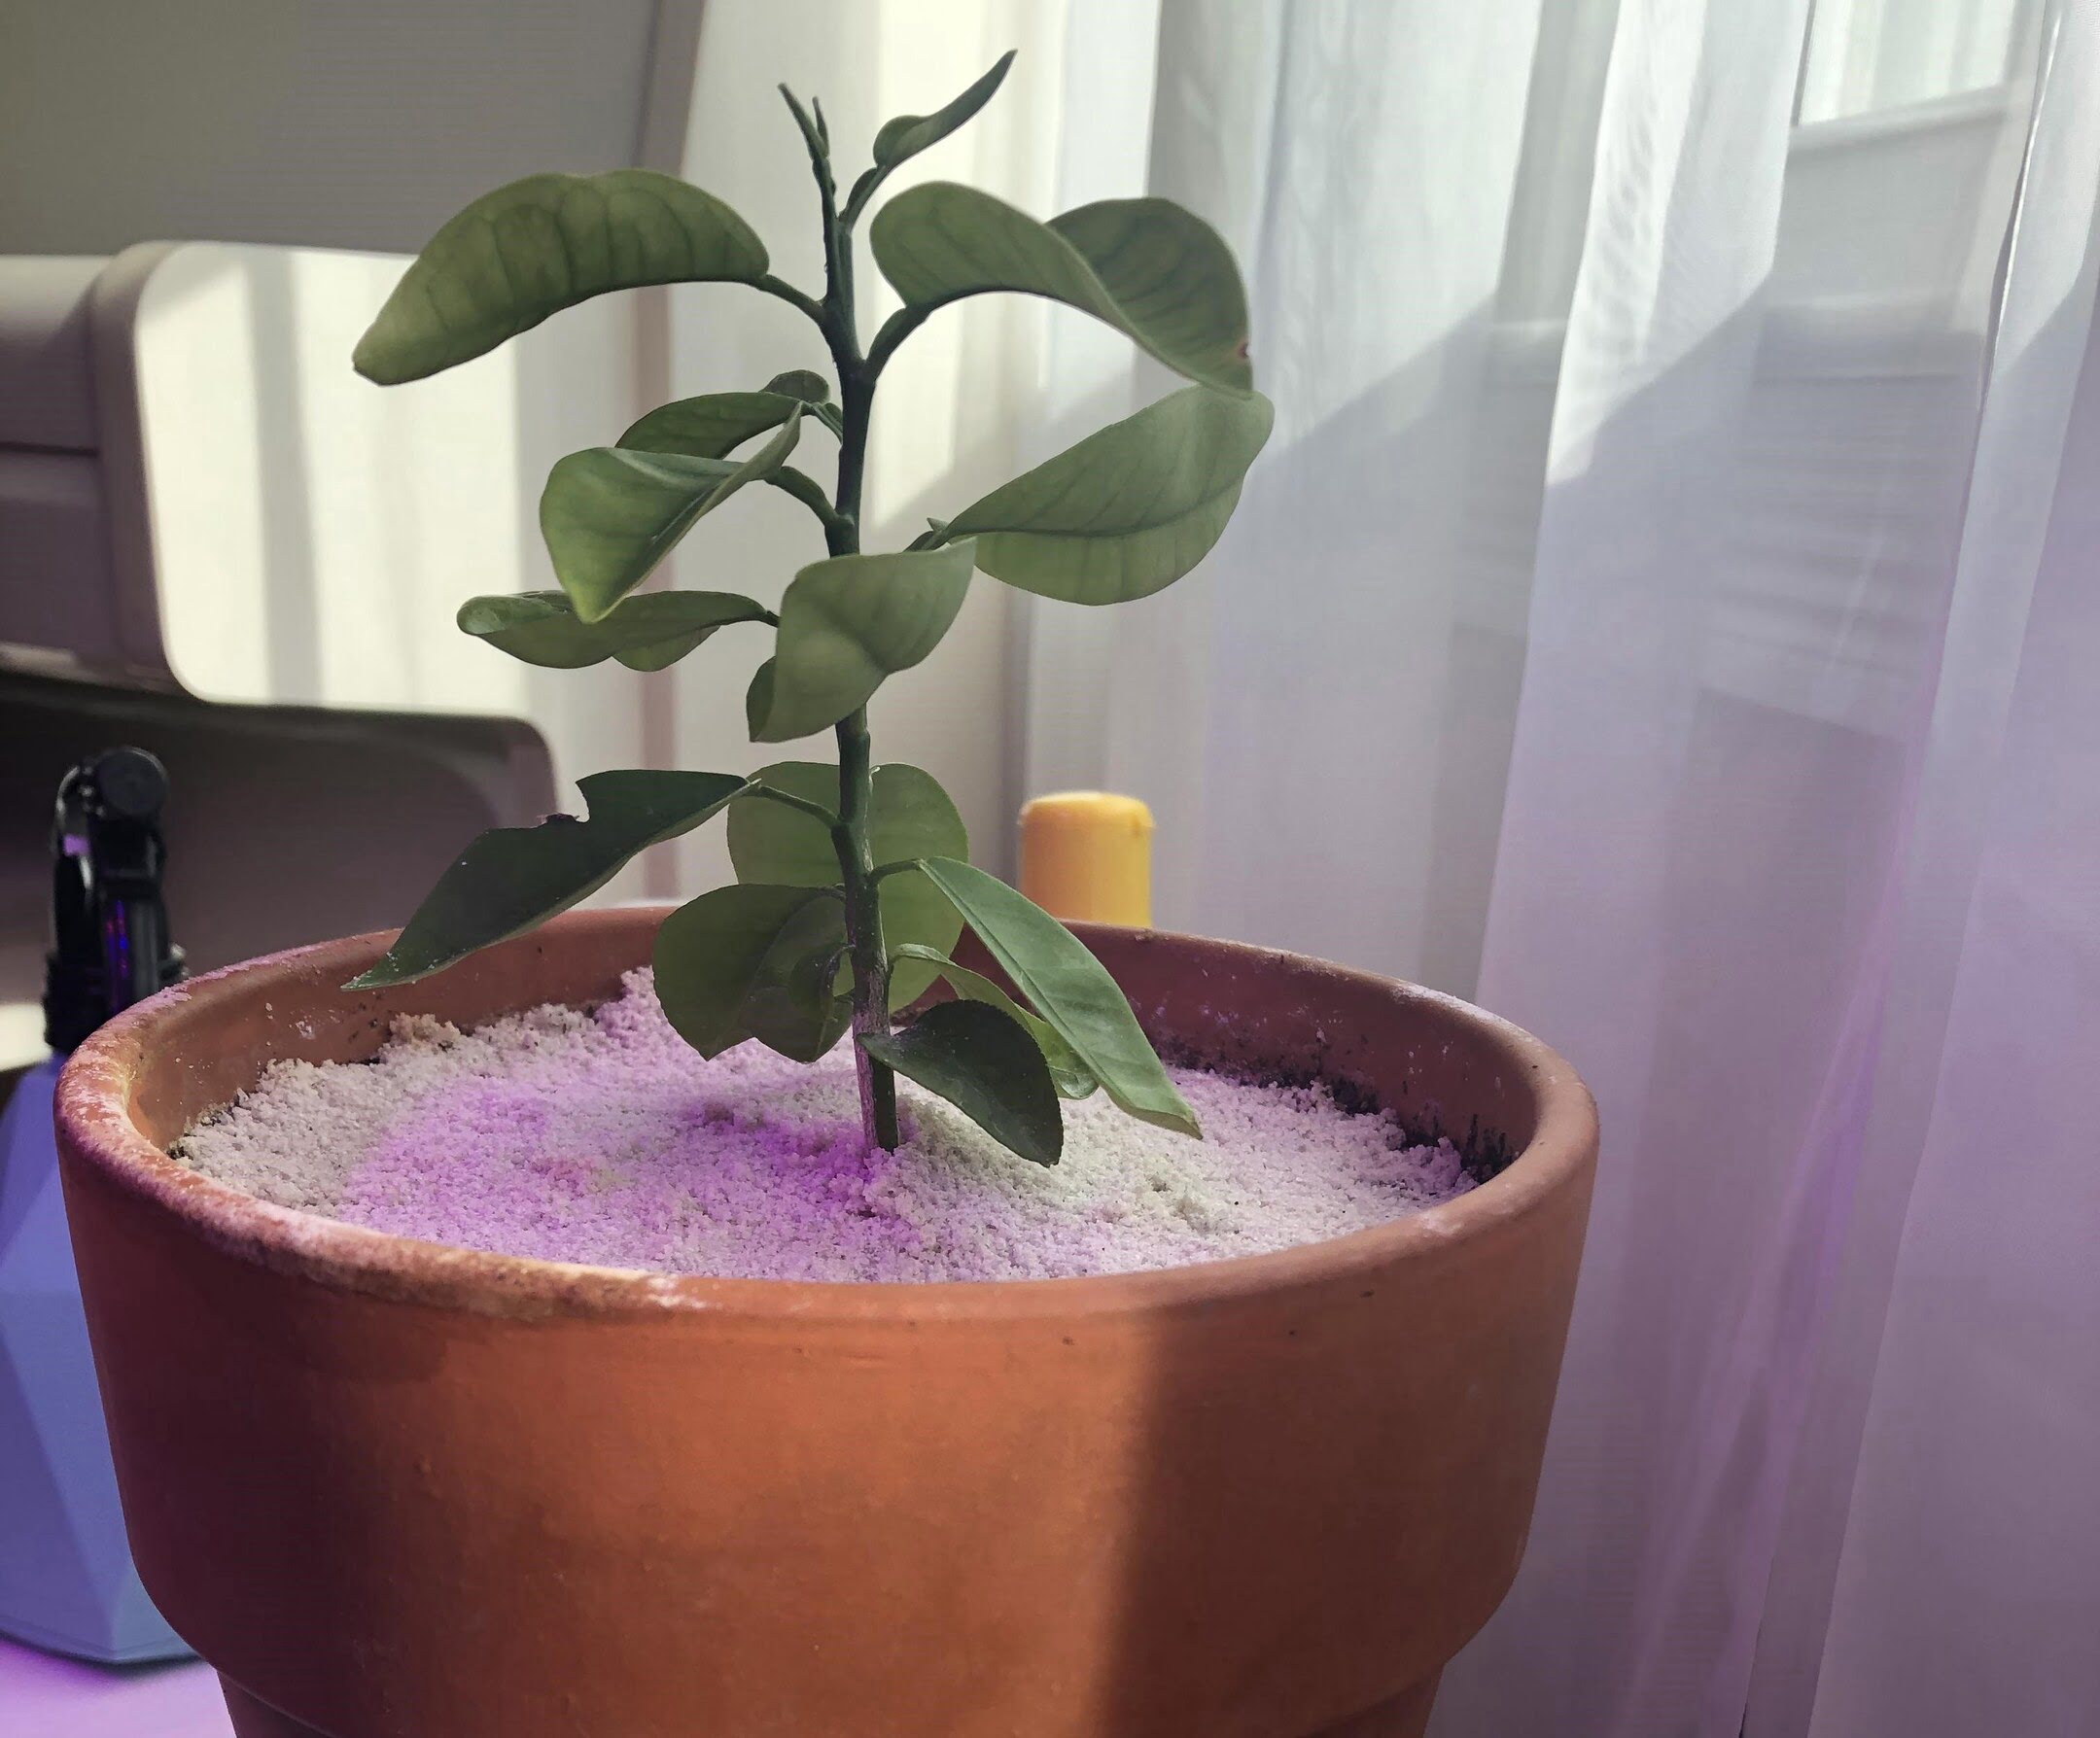
Step 3: Creating the Ideal Growing Environment
Creating the ideal growing environment is crucial for the successful germination and growth of Redbud tree seeds. By providing the right conditions, you can give your seeds the best chance to develop into healthy seedlings. Here’s how you can create the ideal growing environment:
- Select the right planting container: Choose a planting container that provides adequate drainage. This could be a seed tray, a peat pot, or even a recycled container with drainage holes. Ensure the container is large enough to accommodate the developing root system of the Redbud seedling.
- Prepare the potting mix: Redbud tree seeds prefer a well-draining soil mixture. You can create a suitable potting mix by combining equal parts of sterile potting soil, perlite, and vermiculite. This mixture provides good aeration and moisture retention for the seeds.
- Moisten the potting mix: Before planting the seeds, ensure the potting mix is slightly moist but not overly wet. This allows for better seed-to-soil contact and helps initiate the germination process.
- Plant the seeds: Make small indentations in the potting mix using your finger or a pencil. Place one Redbud tree seed in each indentation, and gently cover it with a thin layer of the potting mix.
- Provide proper lighting: Redbud tree seeds need ample sunlight to germinate and grow. Place the planting container in a sunny spot, such as a window sill or under grow lights if natural light is limited. Aim for at least 6-8 hours of sunlight per day.
- Maintain optimal temperature and humidity: Redbud tree seeds prefer a temperature range of 60-70°F (15-21°C) for germination. Additionally, maintain a moderate level of humidity around the seeds. You can cover the planting container with a plastic dome or a clear plastic bag to retain moisture.
By following these steps, you will create a favorable environment for the Redbud tree seeds to germinate and grow. In the next step, we’ll delve into the process of planting the Redbud seeds and caring for the emerging seedlings.
After collecting redbud tree seeds in the fall, store them in a cool, dry place until spring. Then, plant the seeds in a well-draining soil mix and keep them moist. The seeds will germinate in 6-8 weeks.
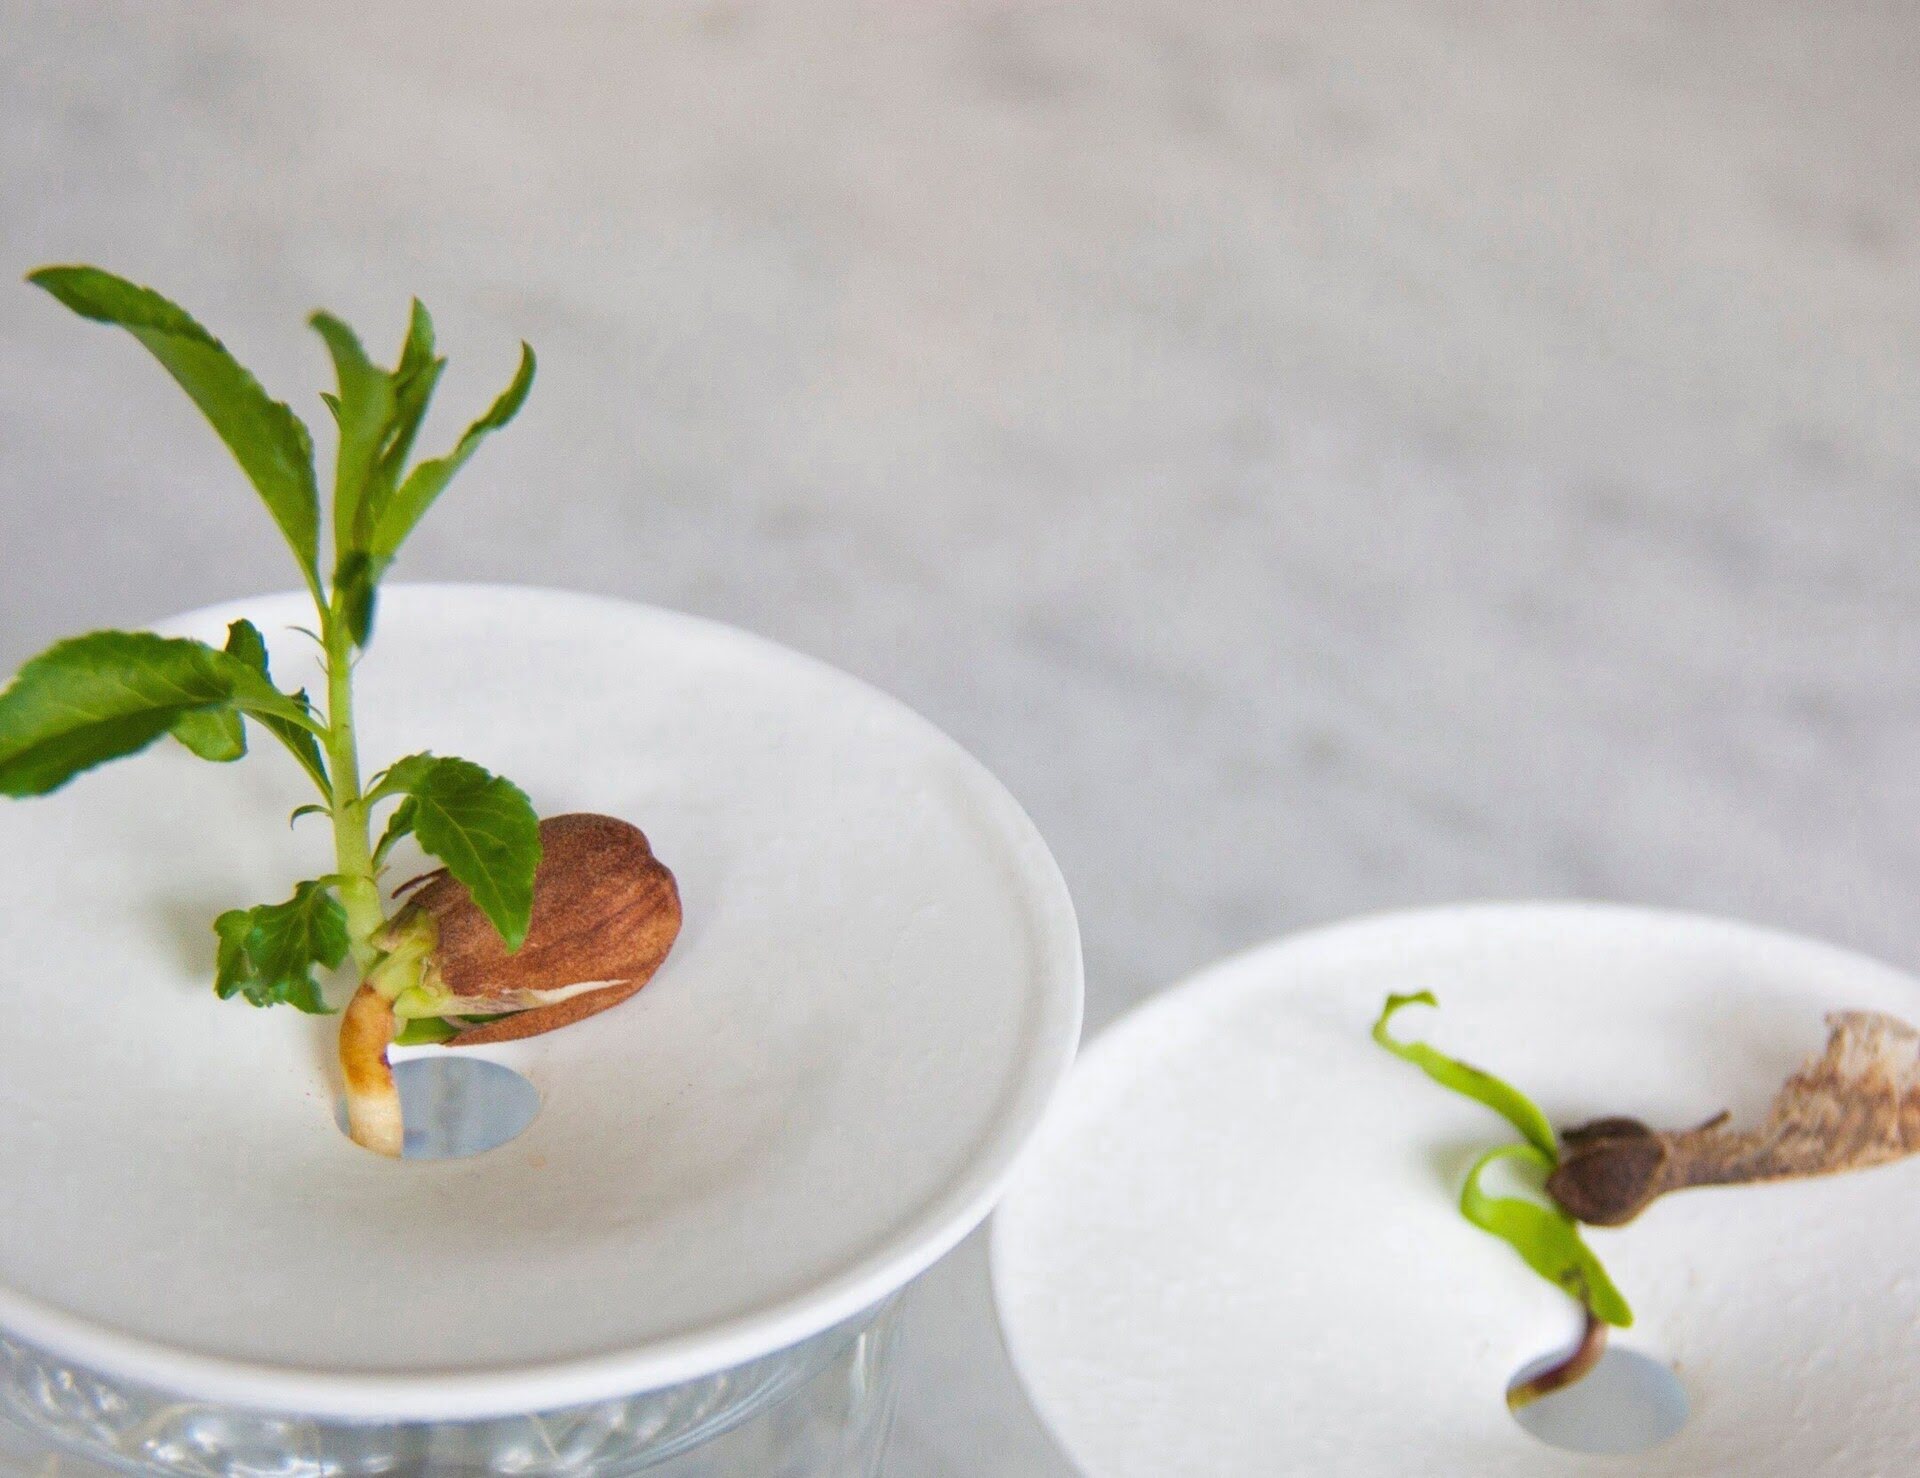
Step 4: Planting the Redbud Seeds
Now that you have prepared the Redbud tree seeds and created an ideal growing environment, it’s time to plant the seeds. This step is crucial for the germination and establishment of the Redbud seedlings. Follow these steps to plant the Redbud seeds:
- Make small holes in the potting mix: Use your finger or a pencil to create small holes in the potting mix, about 1/2 inch deep. Space the holes at least 2-3 inches apart to allow room for the seeds to grow.
- Plant the seeds: Place one Redbud seed in each hole, and gently cover them with the potting mix. Press the soil lightly to ensure good seed-to-soil contact.
- Water the seeds: After planting, water the seeds thoroughly but gently. Use a misting spray or a watering can with a fine rose attachment to avoid displacing the seeds. Ensure that the soil is evenly moist, but not soaked.
- Label the container: It’s important to label the container with the date of planting and the seed variety. This will help you keep track of the germination process and differentiate the Redbud seedlings from other plants.
- Place the container in a suitable location: Find a warm spot with indirect sunlight to place the container. Avoid exposure to extreme temperatures or drafts that can harm the delicate seedlings.
- Monitor and water regularly: Keep a close eye on the moisture level of the potting mix. Water the seeds whenever the top layer of soil feels dry. Be careful not to overwater, as excessive moisture can lead to rotting.
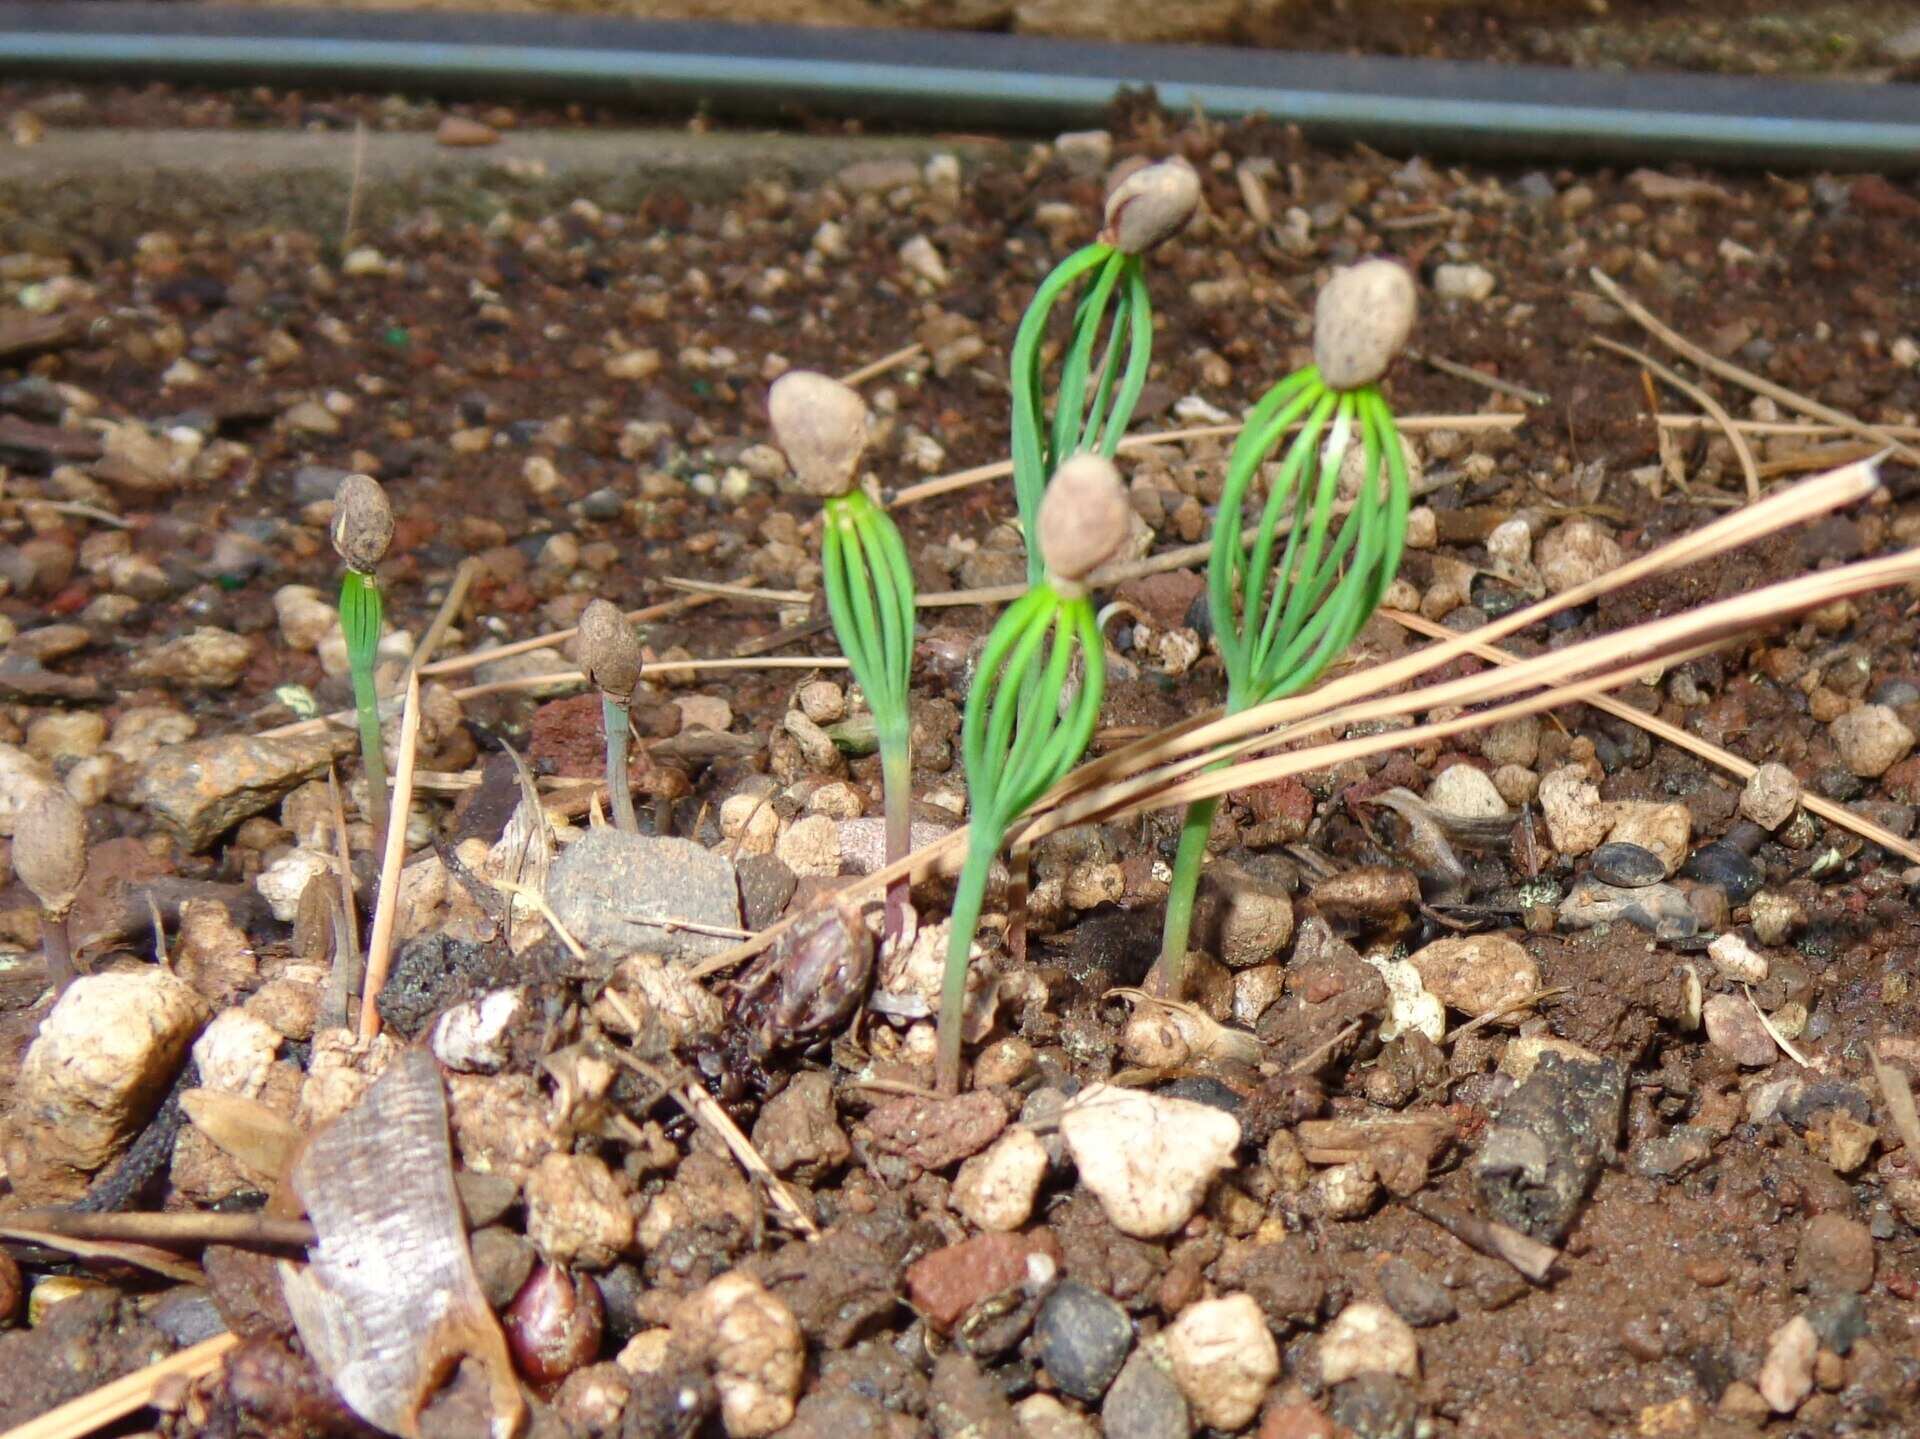
Now that you’ve planted the Redbud seeds, it’s time to be patient and wait for the magic of germination to happen. The germination process can take a few weeks to a couple of months, so be sure to regularly monitor the progress of the seeds.
In the next step, we’ll discuss how to care for the Redbud seedlings once they start to emerge.
Read more: How To Grow Tree From Seed
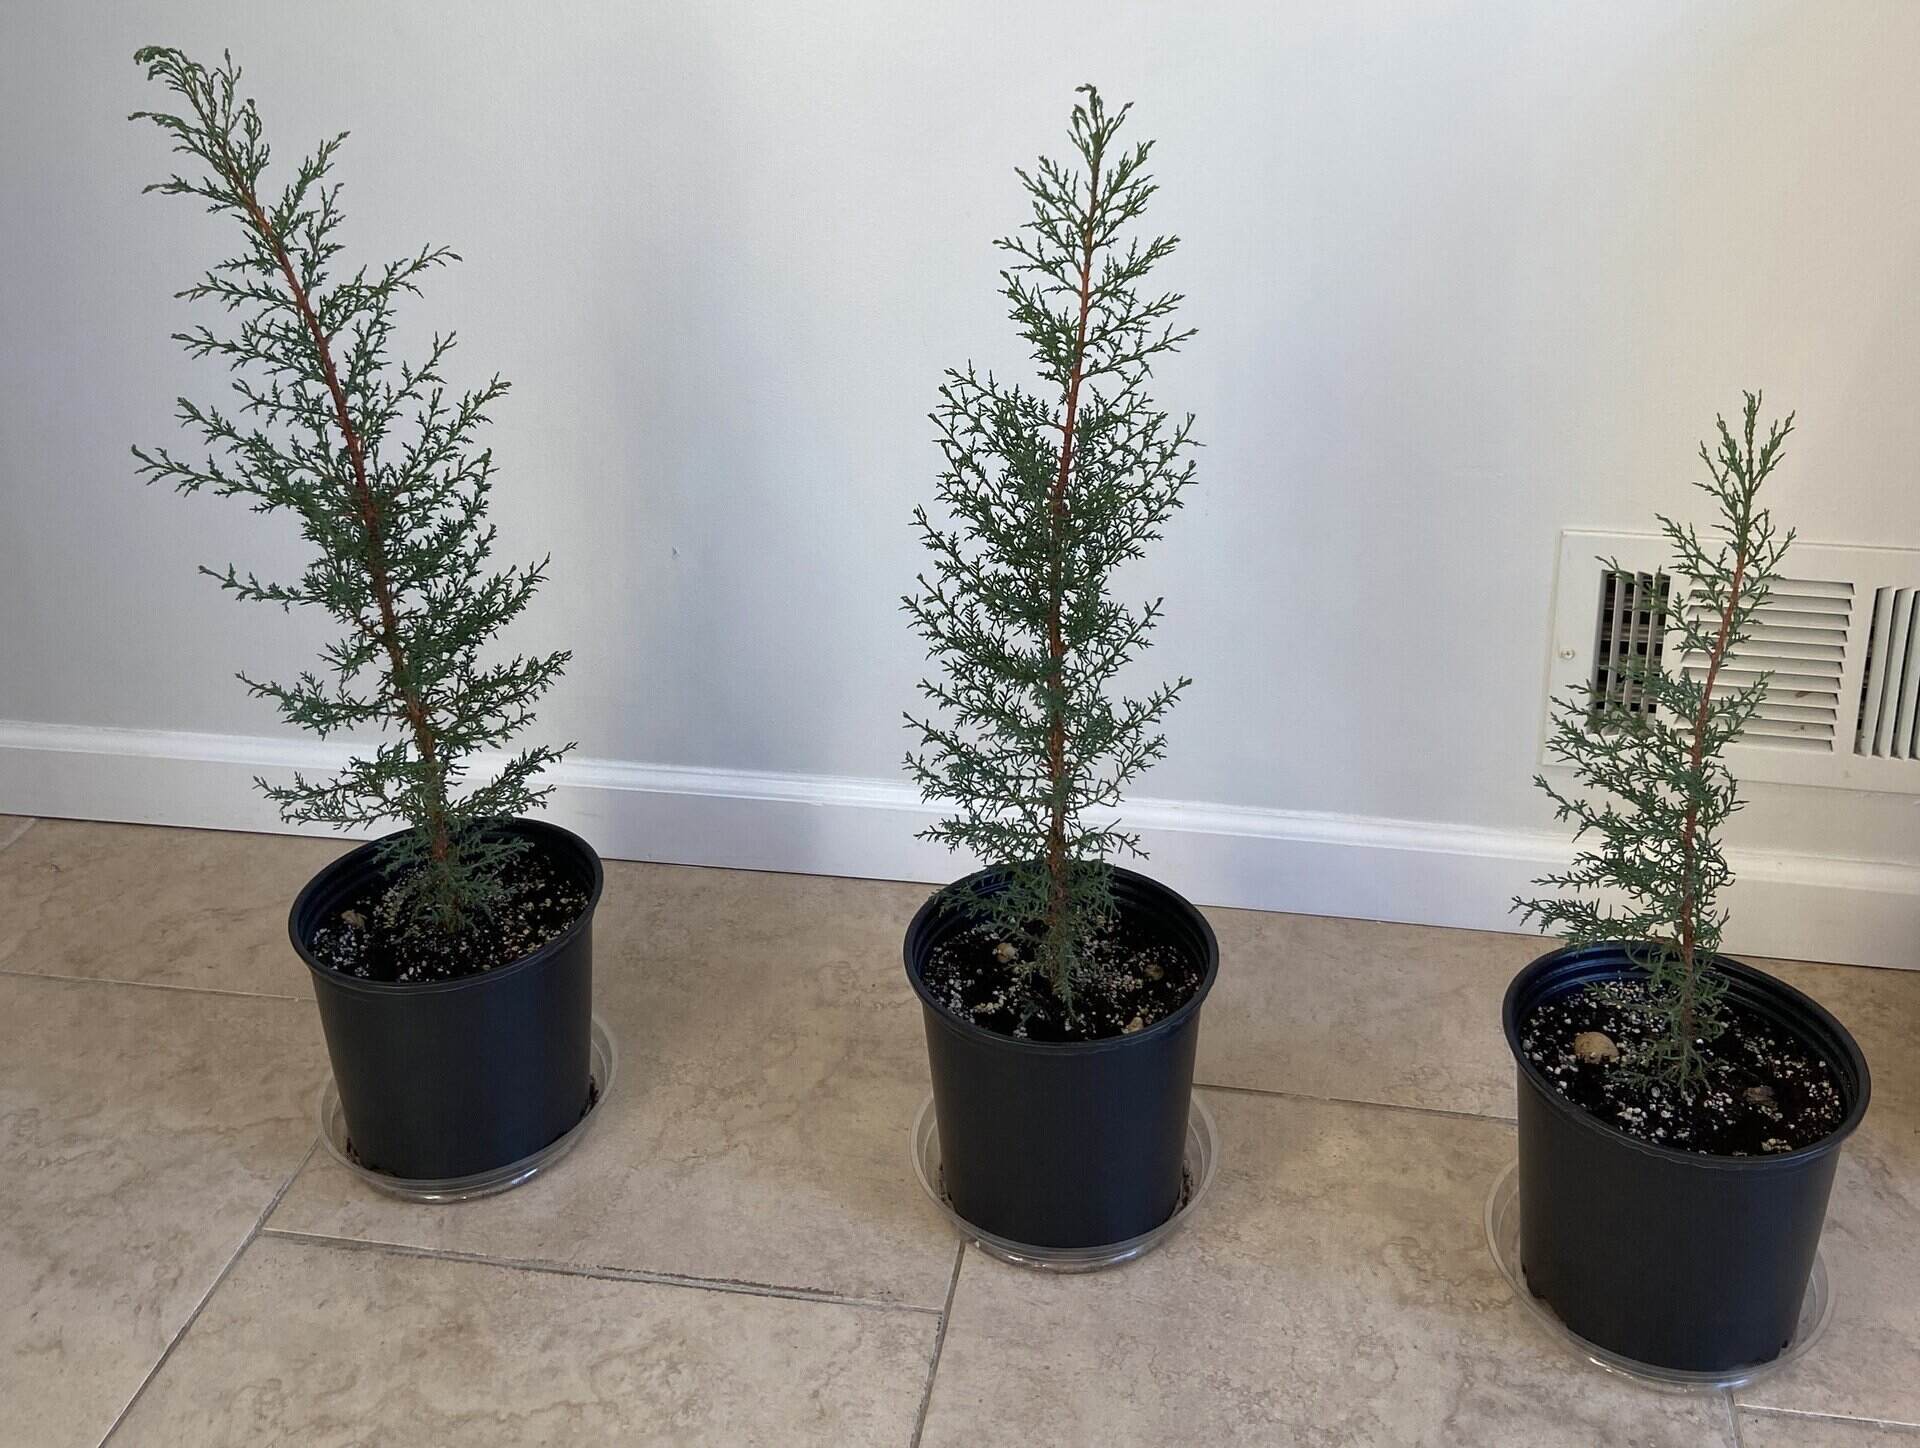
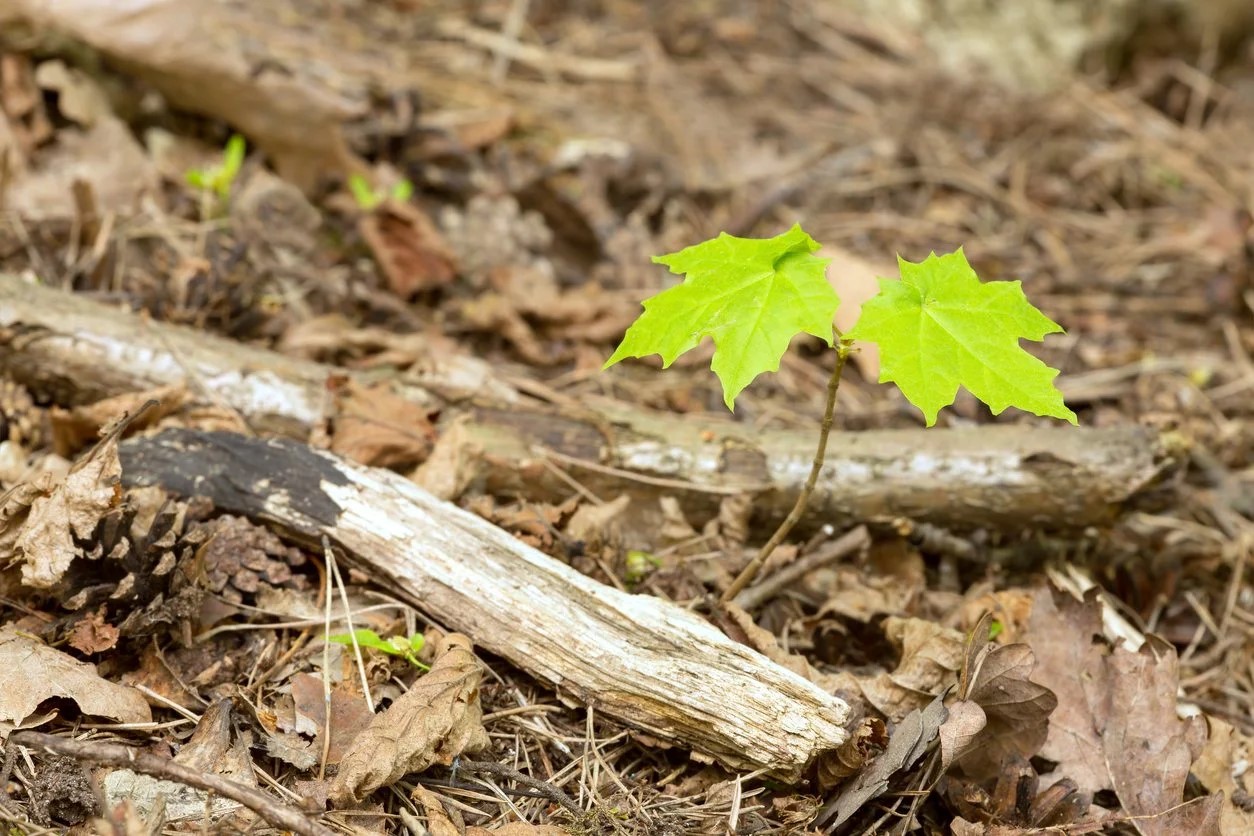
Step 5: Caring for Redbud Seedlings
Once the Redbud seedlings start to emerge, it’s important to provide them with proper care to support healthy growth and development. Here are some essential care steps for Redbud seedlings:
- Provide adequate sunlight: As the seedlings grow, make sure they receive sufficient sunlight. Gradually expose them to longer periods of direct sunlight, starting with a few hours a day and gradually increasing it to 6-8 hours. If growing indoors, place them near a sunny window or use grow lights.
- Maintain proper watering: Check the moisture level of the potting mix regularly and water the seedlings when the top inch of soil feels dry. Aim to keep the soil consistently moist but not waterlogged. Use a watering can or misting spray to water gently, ensuring that the water reaches the roots.
- Fertilize appropriately: After the Redbud seedlings have developed a few sets of true leaves, you can begin fertilizing them. Use a balanced, water-soluble fertilizer diluted to half strength. Apply the fertilizer every 2-4 weeks during the growing season, following the package instructions.
- Protect from pests and diseases: Keep a vigilant eye for pests such as aphids or caterpillars, as well as common diseases like leaf spot or powdery mildew. If necessary, treat the seedlings with organic pest control methods or consult a local gardening expert for advice.
- Prune and thin: As the Redbud seedlings grow, they may develop multiple stems or become crowded. To promote a strong and well-formed tree, selectively prune the extra stems or thin out the weaker seedlings. This will allow the remaining seedlings to receive ample resources and grow more robustly.
- Continue monitoring and support: Regularly monitor the growth of the Redbud seedlings and provide any necessary support. Stake taller seedlings if needed and ensure they have enough space to spread their roots. Be attentive to any signs of stress, such as wilting or yellowing leaves, and address them promptly.
With proper care and attention, your Redbud seedlings will gradually grow into healthy and resilient trees. Remember to be patient, as it can take several years for the tree to reach its full maturity and start blooming.
In the next step, we’ll explore the process of transplanting the Redbud trees to their permanent outdoor location.
Step 6: Transplanting Redbud Trees
Once your Redbud seedlings have grown into sturdy young trees, it’s time to transplant them to their permanent outdoor location. Transplanting is a critical step in the tree’s journey, and proper care is necessary to ensure its successful establishment. Here are the steps to transplant Redbud trees:
- Choose the right time: The best time to transplant Redbud trees is during the dormant season, preferably in late winter or early spring before new growth begins. The tree will have a better chance of acclimating to its new surroundings during this time.
- Prepare the planting hole: Dig a hole in the new planting location that is approximately two times wider and slightly shallower than the tree’s root ball. Loosen the soil in the hole and remove any weeds or grass. Amend the soil if necessary to ensure good drainage.
- Water the tree: Thoroughly water the Redbud tree a day or two before transplanting. This will help hydrate the roots and make the tree easier to handle during the transplantation process.
- Remove the tree from the container or root ball: Gently remove the Redbud tree from its current container or carefully slide it out of the root ball if it was grown in the ground. Be cautious not to disturb the roots excessively.
- Place the tree in the planting hole: Position the Redbud tree in the center of the hole, ensuring that the top of the root ball is level with or slightly above the ground. Avoid planting the tree too deep, as it can restrict root growth.
- Backfill the hole with soil: Fill the hole with the soil mixture, gently firming it around the roots. Ensure there are no air pockets and that the tree remains straight and stable. Water the newly transplanted tree to settle the soil.
- Mulch and stake (if necessary): Apply a layer of organic mulch around the base of the tree, leaving a small space around the trunk. Mulching helps conserve moisture and regulate soil temperature. If the tree is tall or unstable, stake it temporarily to provide support until it gets established.
- Water and monitor: After transplanting, water the Redbud tree deeply and regularly, especially during dry periods. Keep an eye on its growth and monitor for any signs of stress or disease. Provide ongoing care as needed to ensure its successful establishment.
Transplanting Redbud trees requires care and attention, but with proper techniques and follow-up care, your young trees will have a great chance of thriving in their new location.
With the completion of step 6, you have successfully grown and transplanted Redbud trees from seed. Enjoy the beauty and elegance these trees bring to your garden or landscape, and take pride in your gardening accomplishment.
Remember, gardening is a journey that requires patience and continuous learning. Enjoy the process, and may your Redbud trees grow and flourish for years to come.
Happy gardening!
Conclusion
Growing a Redbud tree from seed is a rewarding endeavor that allows you to witness the beauty and wonder of nature right in your own garden. By following the steps outlined in this article, you can successfully collect Redbud tree seeds, prepare them for germination, create an ideal growing environment, plant the seeds, care for the seedlings, and ultimately transplant the young trees to their permanent outdoor location.
Throughout the process, it’s important to exercise patience and provide the necessary care and attention to ensure the healthy growth and development of the Redbud trees. From collecting the seeds from mature trees to scarifying and soaking them, every step contributes to the successful germination and establishment of the seedlings.
Creating the ideal growing environment, with proper lighting, watering, fertilizing, and protection from pests and diseases, is essential for the seedlings’ growth. Once they have matured and developed strong roots, transplanting them to their permanent outdoor location allows them to thrive and add beauty to your landscape.
Remember, gardening is a continuous journey of learning and experimentation. Each step of the process provides an opportunity to connect with nature and nurture the growth of your Redbud trees. With dedication and care, these trees will reward you with their graceful presence, vibrant flowers, and heart-shaped leaves.
So, embrace the joy of growing Redbud trees from seed and enjoy the beauty they bring to your garden. Happy gardening!
Frequently Asked Questions about How To Grow A Redbud Tree From Seed
Was this page helpful?
At Storables.com, we guarantee accurate and reliable information. Our content, validated by Expert Board Contributors, is crafted following stringent Editorial Policies. We're committed to providing you with well-researched, expert-backed insights for all your informational needs.


0 thoughts on “How To Grow A Redbud Tree From Seed”