Home>Garden Essentials>How To Grow Loquat From Seed


Garden Essentials
How To Grow Loquat From Seed
Modified: March 16, 2024
Learn how to grow loquat seeds in your garden and enjoy fresh, juicy fruits. Follow our step-by-step guide to successfully cultivate loquat trees and enhance your gardening skills.
(Many of the links in this article redirect to a specific reviewed product. Your purchase of these products through affiliate links helps to generate commission for Storables.com, at no extra cost. Learn more)
Introduction
Gardening is a rewarding and fulfilling hobby that allows us to connect with nature and enjoy the beauty of plants. If you’re looking for a unique and delicious fruit tree to add to your garden, why not consider growing loquat from seed? Loquat, also known as Eriobotrya japonica, is a small evergreen tree that produces juicy and sweet fruit. Not only will you have the satisfaction of growing your own tree from seed, but you’ll also get to enjoy the harvest of fresh loquats in the future.
In this article, we’ll guide you through the step-by-step process of growing loquat from seed. From selecting a ripe fruit to caring for the seedlings, we’ll cover everything you need to know to ensure success in your loquat growing journey.
But why choose loquat as your fruit tree of choice? Aside from its delicious fruit, loquat trees offer several advantages. They are relatively low-maintenance and can tolerate a wide range of soil conditions. Additionally, loquat trees have beautiful evergreen foliage that adds an ornamental touch to any garden. Now, let’s dive into the first step of the process: selecting a ripe loquat fruit.
Key Takeaways:
- Growing loquat from seed is a rewarding journey that requires patience and attention to detail. From selecting ripe fruits to caring for the seedlings, each step contributes to the successful growth of a beautiful and productive loquat tree.
- Providing the right conditions, including sunlight, moisture, and nutrition, is crucial for the healthy development of loquat seedlings. Transferring them to the garden and continuing to care for the tree will ultimately lead to a bountiful harvest of delicious fruits.
Read more: How To Grow Okra From Seed
Step 1: Selecting a Ripe Loquat Fruit
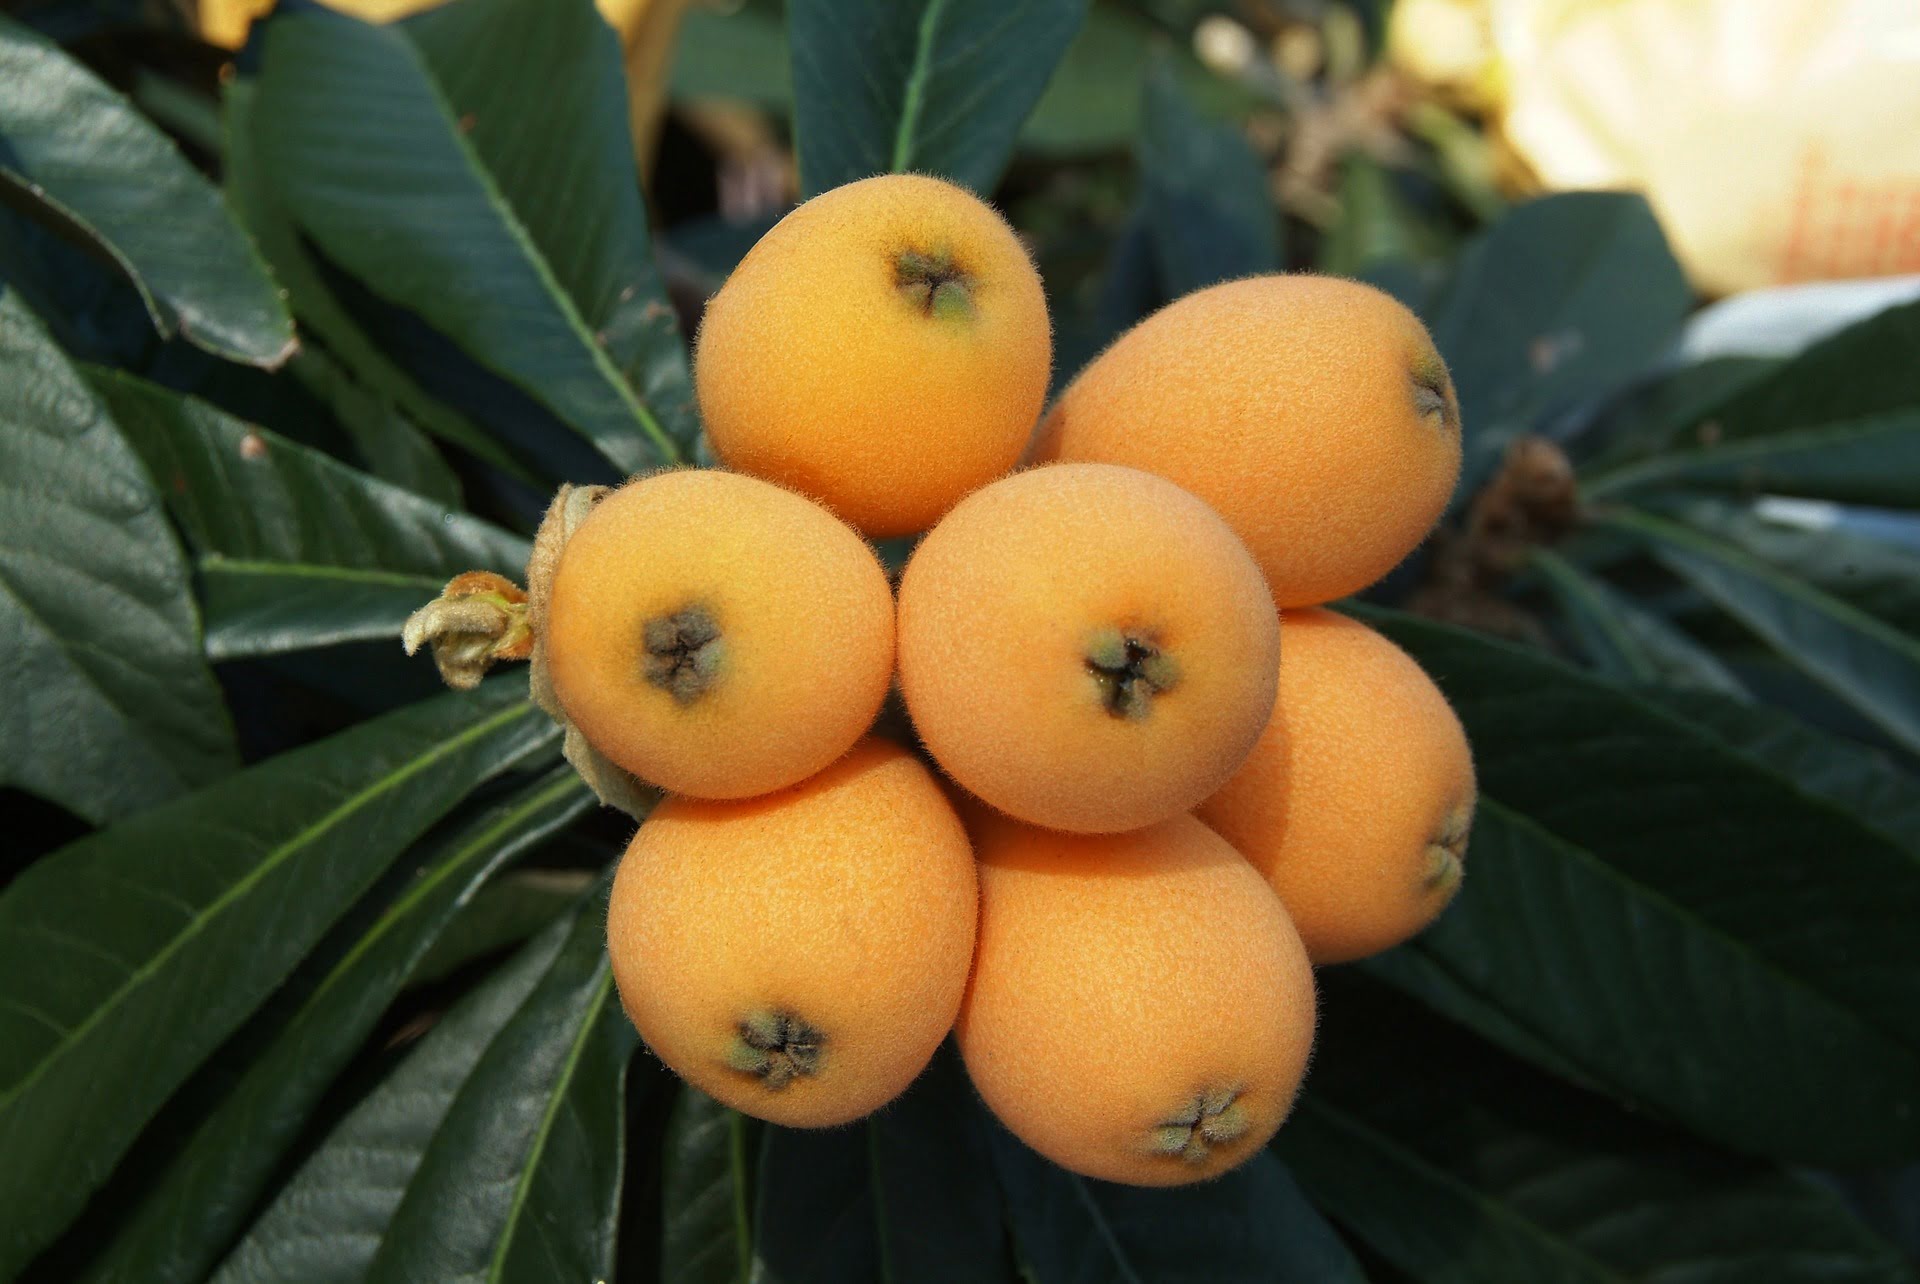
Selecting a ripe loquat fruit is crucial for successful seed germination. Look for fruits that are fully ripe and have a vibrant orange-yellow color. Avoid picking fruits that are still green or have a pale color, as these may not have mature seeds.
When choosing a loquat fruit, consider its size and firmness. Ripe loquats are generally medium to large in size and have a slight give when gently pressed. Avoid fruits that are excessively soft or mushy, as this may indicate overripe or spoiled fruit.
Another important factor to consider is the aroma of the fruit. Ripe loquats have a sweet and fragrant scent, similar to apricots or peaches. Take a moment to smell the fruit before picking it. If it has a strong and pleasant aroma, it’s a good indication that the fruit is ripe.
If you have access to multiple loquat trees, it’s a good idea to sample a few fruits from each tree. This will give you a variety of seeds to choose from and increase the chances of successful germination. Once you’ve gathered the ripe loquat fruits, it’s time to extract the seeds.
Step 2: Extracting Loquat Seeds
Once you have selected ripe loquat fruits, it’s time to extract the seeds. The process is relatively simple and requires a few household tools.
Begin by cutting the loquat fruit in half lengthwise. You will notice several seeds nestled within the flesh of the fruit. Gently scoop out the seeds using a spoon or your fingers. Be careful not to damage the seeds in the process.
After extracting the seeds, give them a thorough rinse under cool water. This will help remove any residual fruit pulp or debris. Once clean, pat the seeds dry using a clean towel or paper towel.
It’s important to note that loquat seeds have a hard outer shell that can be quite tough. To aid in the germination process, it’s recommended to scarify the seeds before planting them. This involves making small scratches or nicks on the seed coat to allow water to penetrate more easily.
To scarify the loquat seeds, you can use a small file or sandpaper. Gently rub the file or sandpaper across the surface of the seed, taking care not to apply excessive pressure. The goal is to create tiny grooves or scratches on the seed coat, rather than completely removing it.
Once you have scarified the seeds, they are ready for the next step: preparing them for germination.
Step 3: Preparing the Seed for Germination
Before you can start germinating the loquat seeds, it’s important to properly prepare them. This will create an optimal environment for the seeds to sprout and grow into healthy seedlings.
Start by filling a bowl or container with lukewarm water. Place the scarified loquat seeds into the water and let them soak for 24 hours. This process, known as stratification, helps to break the seed dormancy and promote germination.
During the soaking period, check the water occasionally to ensure it remains lukewarm. If the water cools down, you can replace it with fresh lukewarm water to maintain the optimal temperature.
After the 24-hour soaking period, remove the seeds from the water and place them on a paper towel or clean cloth. Allow them to air dry for a few hours until the excess moisture is removed.
Next, prepare a propagation tray or pot filled with well-draining soil. Loquat seeds prefer a slightly acidic soil with a pH of around 5.5 to 6.5. You can use a mixture of peat moss, perlite, and compost to create a suitable growing medium.
Plant the prepared loquat seeds in the soil, making sure to bury them about 1 inch deep. Place the tray or pot in a warm location with indirect sunlight. Cover the seeds with a thin layer of soil and lightly water them to ensure the soil is moist.
Now that the seeds are prepared and planted, it’s time to move on to the next step: germinating the loquat seeds.
Step 4: Germinating the Loquat Seeds
Germinating the loquat seeds is an exciting step in the process, as it marks the beginning of your loquat seedlings’ growth. With the right conditions and care, you’ll soon see the seeds sprout and develop into young plants.
Ensure that the planted loquat seeds are placed in a warm and well-lit area. Ideally, the temperature should be around 70-80°F (21-27°C). This warmth will encourage germination and promote healthy seedling growth.
Water the planted seeds regularly to keep the soil consistently moist, but not waterlogged. A spray bottle can be useful for gently misting the soil without disturbing the seeds. Avoid overwatering, as this can lead to root rot and hinder germination.
Be patient during the germination process, as it can take anywhere from a few weeks to a couple of months for the seeds to sprout. Monitor the soil moisture levels and adjust your watering accordingly.
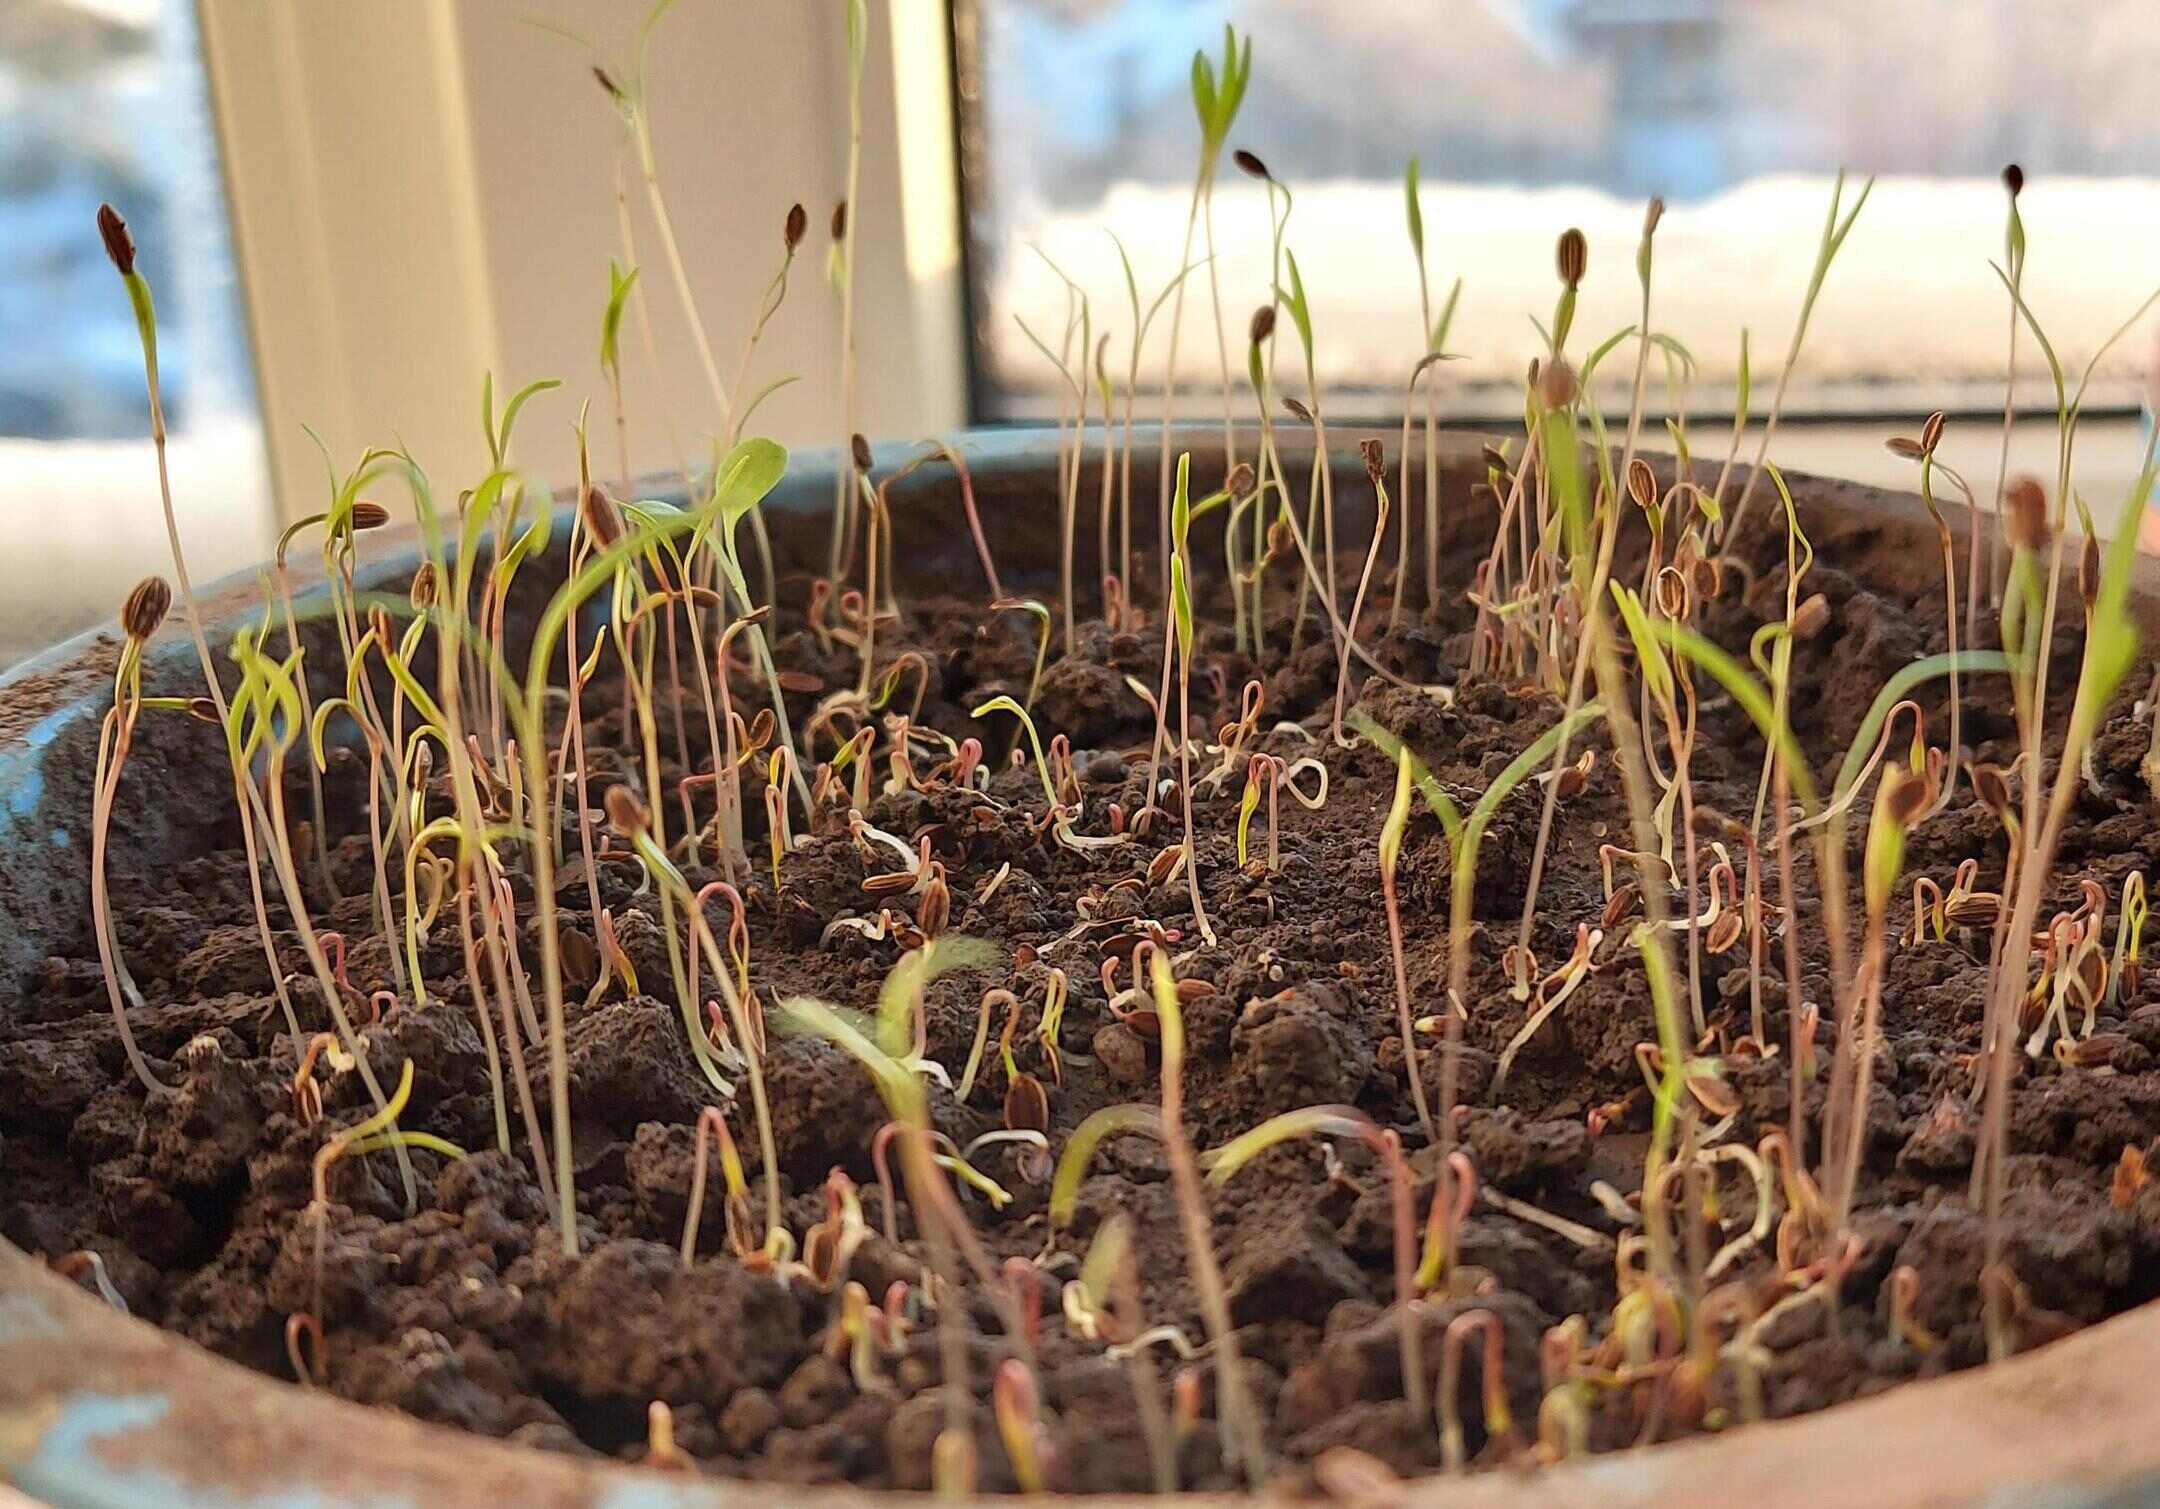
As the seeds germinate and the seedlings emerge, you’ll notice the growth of tiny leaves. At this stage, it’s important to provide adequate light to support their development. If you’re growing the loquat seedlings indoors, place them near a sunny window or provide artificial grow lights. This will help prevent elongated and weak stems.
Continue to water the growing seedlings as needed, making sure to keep the soil consistently moist. Adequate water and light are essential for the seedlings to thrive and grow into healthy plants.
With proper care, you’ll soon have young loquat seedlings ready for the next step: transplanting them into individual pots or containers.
After removing the seeds from the loquat fruit, plant them in well-draining soil and keep them moist. It’s best to start them in a small pot and transplant them once they have grown a few inches tall.
Read more: How To Grow A Tree From A Seed
Step 5: Transplanting the Seedlings
Once the loquat seedlings have grown a few inches tall and developed a good root system, it’s time to transplant them into individual pots or containers. This step will provide the seedlings with more space to grow, allowing their roots to expand and establish themselves.
Choose pots or containers that have drainage holes to prevent waterlogging and ensure proper drainage. Fill the pots with a well-draining potting mix, such as a mixture of peat moss, perlite, and compost.
Gently remove the loquat seedlings from the propagation tray, taking care not to damage their delicate roots. It’s helpful to use a small spoon or a plastic plant marker to carefully lift the seedlings from the soil.
Place each seedling into an individual pot, ensuring that the soil level is the same as it was in the propagation tray. Gently press the soil around the base of the seedling to secure it in place.
Water the newly transplanted seedlings thoroughly, allowing the soil to be evenly moist. Place the pots in a well-lit area with indirect sunlight. Make sure to protect the seedlings from harsh winds or extreme temperatures.
Continue to water the transplanted seedlings regularly, keeping the soil consistently moist. Avoid overwatering, as this can lead to root rot. Monitor their growth and provide support, such as stakes or trellises, as the seedlings begin to develop and grow taller.
By transplanting the loquat seedlings into individual pots, you provide them with the necessary space and nutrients to flourish. With proper care and attention, your loquat seedlings will soon be ready for the next stage of their journey: transferring them to the garden.
Step 6: Caring for the Loquat Seedlings
Proper care and attention are essential for the healthy growth of your loquat seedlings. By providing them with the right conditions, you’ll ensure their development into strong and productive trees.
One important aspect of caring for loquat seedlings is maintaining a consistent watering schedule. Water the seedlings regularly, ensuring that the soil remains evenly moist. Avoid overwatering, as excessive moisture can lead to root rot. Aim to keep the soil slightly damp, but not saturated.
As the seedlings grow, it’s important to monitor their nutrition. Loquats benefit from regular fertilization during the growing season. Use a balanced fertilizer specifically formulated for fruit trees and follow the instructions on the packaging. Apply the fertilizer sparingly, taking care not to overdose, as this can do more harm than good.
Pruning is another important aspect of caring for loquat seedlings. Regular pruning helps shape the tree, promote air circulation, and remove any dead or damaged branches. It’s best to prune loquat seedlings in late winter or early spring, before the tree starts actively growing for the season. Always use clean and sharp pruning tools to prevent the spread of diseases.
Protecting the loquat seedlings from pests and diseases is crucial. Keep an eye out for common pests such as aphids, scale insects, and caterpillars. If you notice any signs of pest infestation, treat the seedlings with appropriate insecticidal soap or natural remedies. Additionally, ensure good air circulation around the seedlings to prevent fungal diseases.
Lastly, provide adequate support for the growing loquat seedlings. As they continue to grow taller, they may need additional support to prevent bending or breaking. Use stakes or trellises to prop up the branches and keep the tree upright.
By consistently caring for your loquat seedlings and addressing their needs, you’ll be setting them up for a healthy and thriving future. With time and patience, your loquat seedlings will eventually be ready to be transferred to their permanent spot in the garden.
Step 7: Transferring the Seedlings to the Garden
Transferring your loquat seedlings to the garden is an exciting milestone in their growth journey. It’s important to choose the right location and provide proper care to ensure their successful transition and establishment in the garden.
Choose a sunny spot in your garden with well-draining soil for transplanting the loquat seedlings. Loquats thrive in full sun, but they can tolerate partial shade as well. Ensure that the location provides enough space for the tree to grow to its full size.
Before transplanting, prepare the planting hole by digging a hole slightly larger and deeper than the root ball of the seedling. Amend the soil with compost or organic matter to improve its fertility and drainage.
Gently remove the loquat seedling from its pot, being careful not to disturb the roots. Place the seedling in the planting hole, making sure that the top of the root ball is level with or slightly above the soil surface. Backfill the hole with soil, firmly pressing it around the seedling to ensure good contact with the roots.
Water the transplanted loquat seedling deeply to settle the soil and provide moisture to the roots. Create a shallow basin around the base of the tree to retain water during irrigation.
Apply a layer of organic mulch around the base of the seedling, leaving a small gap around the trunk to prevent rot. Mulch helps retain moisture, suppress weeds, and regulate soil temperature.
Monitor the loquat tree regularly and water it deeply when the top inch of soil feels dry. Aim to keep the soil consistently moist, but not overly saturated. As the tree establishes, decrease the frequency of watering, but maintain consistent irrigation during dry periods.
Continue to provide the loquat tree with the necessary care, including regular fertilization, pruning, and pest control, as mentioned in the previous steps. Regularly monitor the tree’s health and address any issues promptly.
With time and proper care, your loquat seedling will grow into a beautiful and productive tree, rewarding you with its delicious fruits and ornamental appeal. Enjoy the journey of nurturing and witnessing your loquat tree thrive in your garden.
Conclusion
Growing loquat from seed is a rewarding and fulfilling experience that allows you to witness the transformation of a tiny seed into a thriving fruit tree. With the right techniques and care, you can successfully grow loquat seedlings and enjoy the bountiful harvest of their sweet and juicy fruits.
From selecting ripe loquat fruits to extracting the seeds, preparing them for germination, and caring for the seedlings, each step in the process requires attention and patience. By providing the seedlings with the right conditions, including adequate sunlight, moisture, and nutrition, you’ll ensure their healthy growth.
Transplanting the loquat seedlings to the garden marks an important milestone in their journey. Choose a suitable location, prepare the soil, and provide proper care to help the seedlings establish themselves and thrive in their new environment.
Throughout the growing process, pay attention to pruning, pest control, and regular fertilization to promote the health and productivity of your loquat tree. Monitor its growth, address any issues promptly, and enjoy the beauty of the tree and the delicious fruits it will produce.
Gardening is a labor of love, and growing loquat from seed allows you to connect with nature on a deeper level. Whether you’re a seasoned gardener or a beginner, the journey of nurturing a loquat tree from seed will bring joy and satisfaction.
So, why not embark on this gardening adventure and grow your own loquat tree? With dedication and care, you’ll be rewarded with a thriving tree laden with delectable fruits, adding a touch of beauty and flavor to your garden.
Start your loquat growing journey today, and enjoy the fruits of your labor for years to come!
Frequently Asked Questions about How To Grow Loquat From Seed
Was this page helpful?
At Storables.com, we guarantee accurate and reliable information. Our content, validated by Expert Board Contributors, is crafted following stringent Editorial Policies. We're committed to providing you with well-researched, expert-backed insights for all your informational needs.


0 thoughts on “How To Grow Loquat From Seed”