Home>Garden Essentials>How To Grow Olives From Seeds

Garden Essentials
How To Grow Olives From Seeds
Modified: March 16, 2024
Learn how to grow olives from seeds in your garden and enjoy a bountiful harvest. Explore our step-by-step guide for expert tips and tricks!
(Many of the links in this article redirect to a specific reviewed product. Your purchase of these products through affiliate links helps to generate commission for Storables.com, at no extra cost. Learn more)
Introduction
Welcome to the fascinating world of growing olives from seeds! If you’re a gardening enthusiast or simply love the idea of cultivating your own olive tree, this article is for you. Growing olives from seeds is not only a rewarding experience but also a cost-effective way to start your own olive orchard. In this guide, we will walk you through the step-by-step process of growing olives from seeds, from selecting the right seeds to harvesting your very own olives.
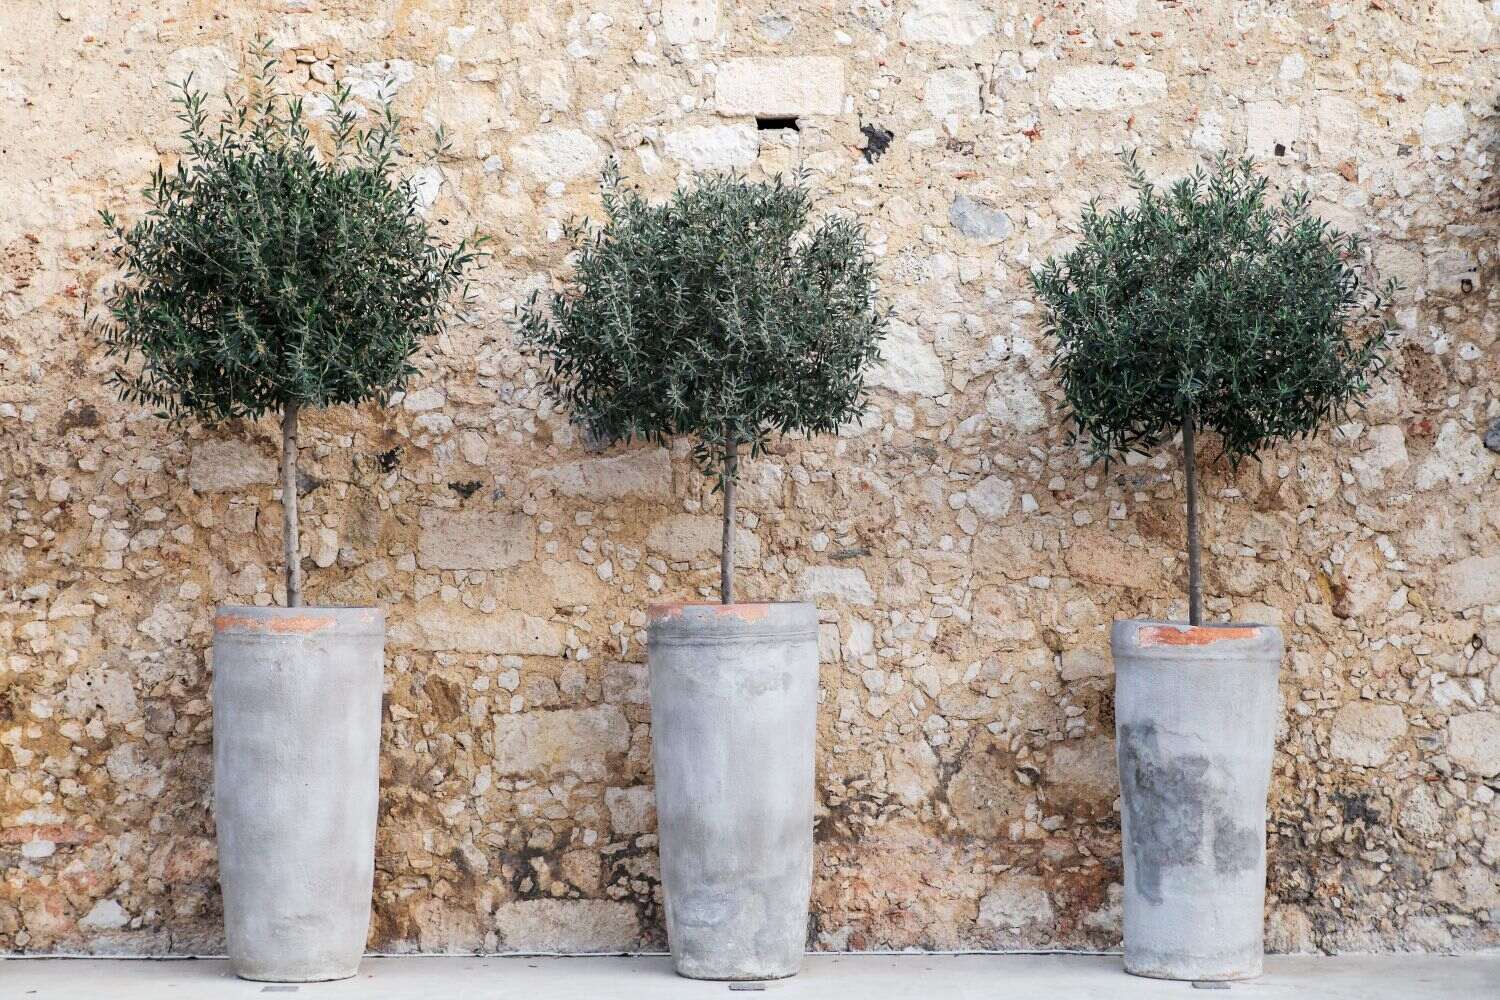
Olives, known for their delicious fruit and prized oil, have been cultivated for thousands of years. These evergreen trees are native to the Mediterranean region, but they can also thrive in other climates with proper care. By growing olives from seeds, you have the opportunity to witness the entire lifecycle of these remarkable trees, from germination to maturity.
Before we dive into the details, it’s important to note that growing olives from seeds requires time, patience, and dedication. While olives can be propagated through cuttings or grafting for more predictable results, growing them from seeds is a wonderful way to connect with nature and experience the magic of plant growth.
Throughout this guide, we will provide you with the knowledge you need to successfully germinate olive seeds, nurture the seedlings, and eventually harvest your own olives. So let’s get started on this exciting journey of growing olives from seeds!
Key Takeaways:
- Growing olives from seeds is a rewarding journey that requires patience and care. From selecting high-quality seeds to providing proper maintenance, each step contributes to the success of nurturing your own olive trees.
- The process of growing olives from seeds involves preparing the seeds, planting them, and providing continued care. With dedication and attention, you can enjoy the satisfaction of harvesting your own olives for culinary delights or oil production.
Read more: How To Grow Olive Tree From Seed
Step 1: Selecting the Seeds
The first step in growing olives from seeds is to select high-quality seeds that have the best chance of germination. Here are a few key factors to consider when selecting your olive seeds:
- Seed Source: Look for seeds from reputable sources, such as nurseries or garden centers, to ensure maximum viability. Alternatively, you can harvest the seeds from store-bought olives, although the germination rate may vary.
- Variety: Choose the olive variety that suits your climate and preferences. Common varieties include Arbequina, Manzanilla, and Koroneiki. Research the characteristics of each variety to find the one that best suits your growing conditions.
- Freshness: Fresh seeds have a higher chance of germination. Look for plump and firm seeds, avoiding ones that are shriveled or discolored. If possible, source seeds that are no more than a few months old.
- Preparation: Some home gardeners recommend soaking the seeds in water for 24 hours before planting. This can help remove any inhibitors that may hinder germination.
When selecting your seeds, keep in mind that olive trees are not true to seed, meaning the characteristics of the parent tree may not fully transfer to the offspring. However, this can lead to interesting variations and surprises, adding excitement to the growing process.
Once you have chosen your olive seeds, you’re ready to move on to the next step: preparing the seeds for planting.
Step 2: Preparing the Seeds for Planting
Before you plant the olive seeds, it’s important to properly prepare them to increase their chances of successful germination. Follow these steps to prepare the seeds:
- Clean the Seeds: Rinse the seeds thoroughly under running water to remove any residue or pulp. Gently scrub them with a soft brush, if necessary, to ensure they are clean.
- Scarification: Olive seeds have a hard outer shell that can be difficult for moisture to penetrate. To overcome this barrier, you can scarify the seeds. Carefully make a small nick or cut on one end of the seed using a sharp knife or sandpaper. This will help water and air reach the embryo inside the seed.
- Stratification: Olive seeds require a period of cold stratification to break their dormancy and simulate the natural conditions they require for germination. Place the scarified seeds in a moist paper towel or a ziplock bag with damp peat moss. Store them in the refrigerator for 4-6 weeks, ensuring the temperature remains consistently between 32-41°F (0-5°C).
- Check for Germination: After the stratification period, check the seeds for any signs of germination. Some seeds may have started to sprout while in the cold environment. If you notice any germinated seeds, carefully transfer them to pots or planting containers.
- Plant the Remaining Seeds: Once the stratification period is complete, it’s time to plant the remaining seeds. Fill small pots or seed trays with a well-draining potting mix. Create a small indentation or hole in the soil, approximately 1 inch deep. Place a single seed in each hole and cover it with soil, gently patting it down.
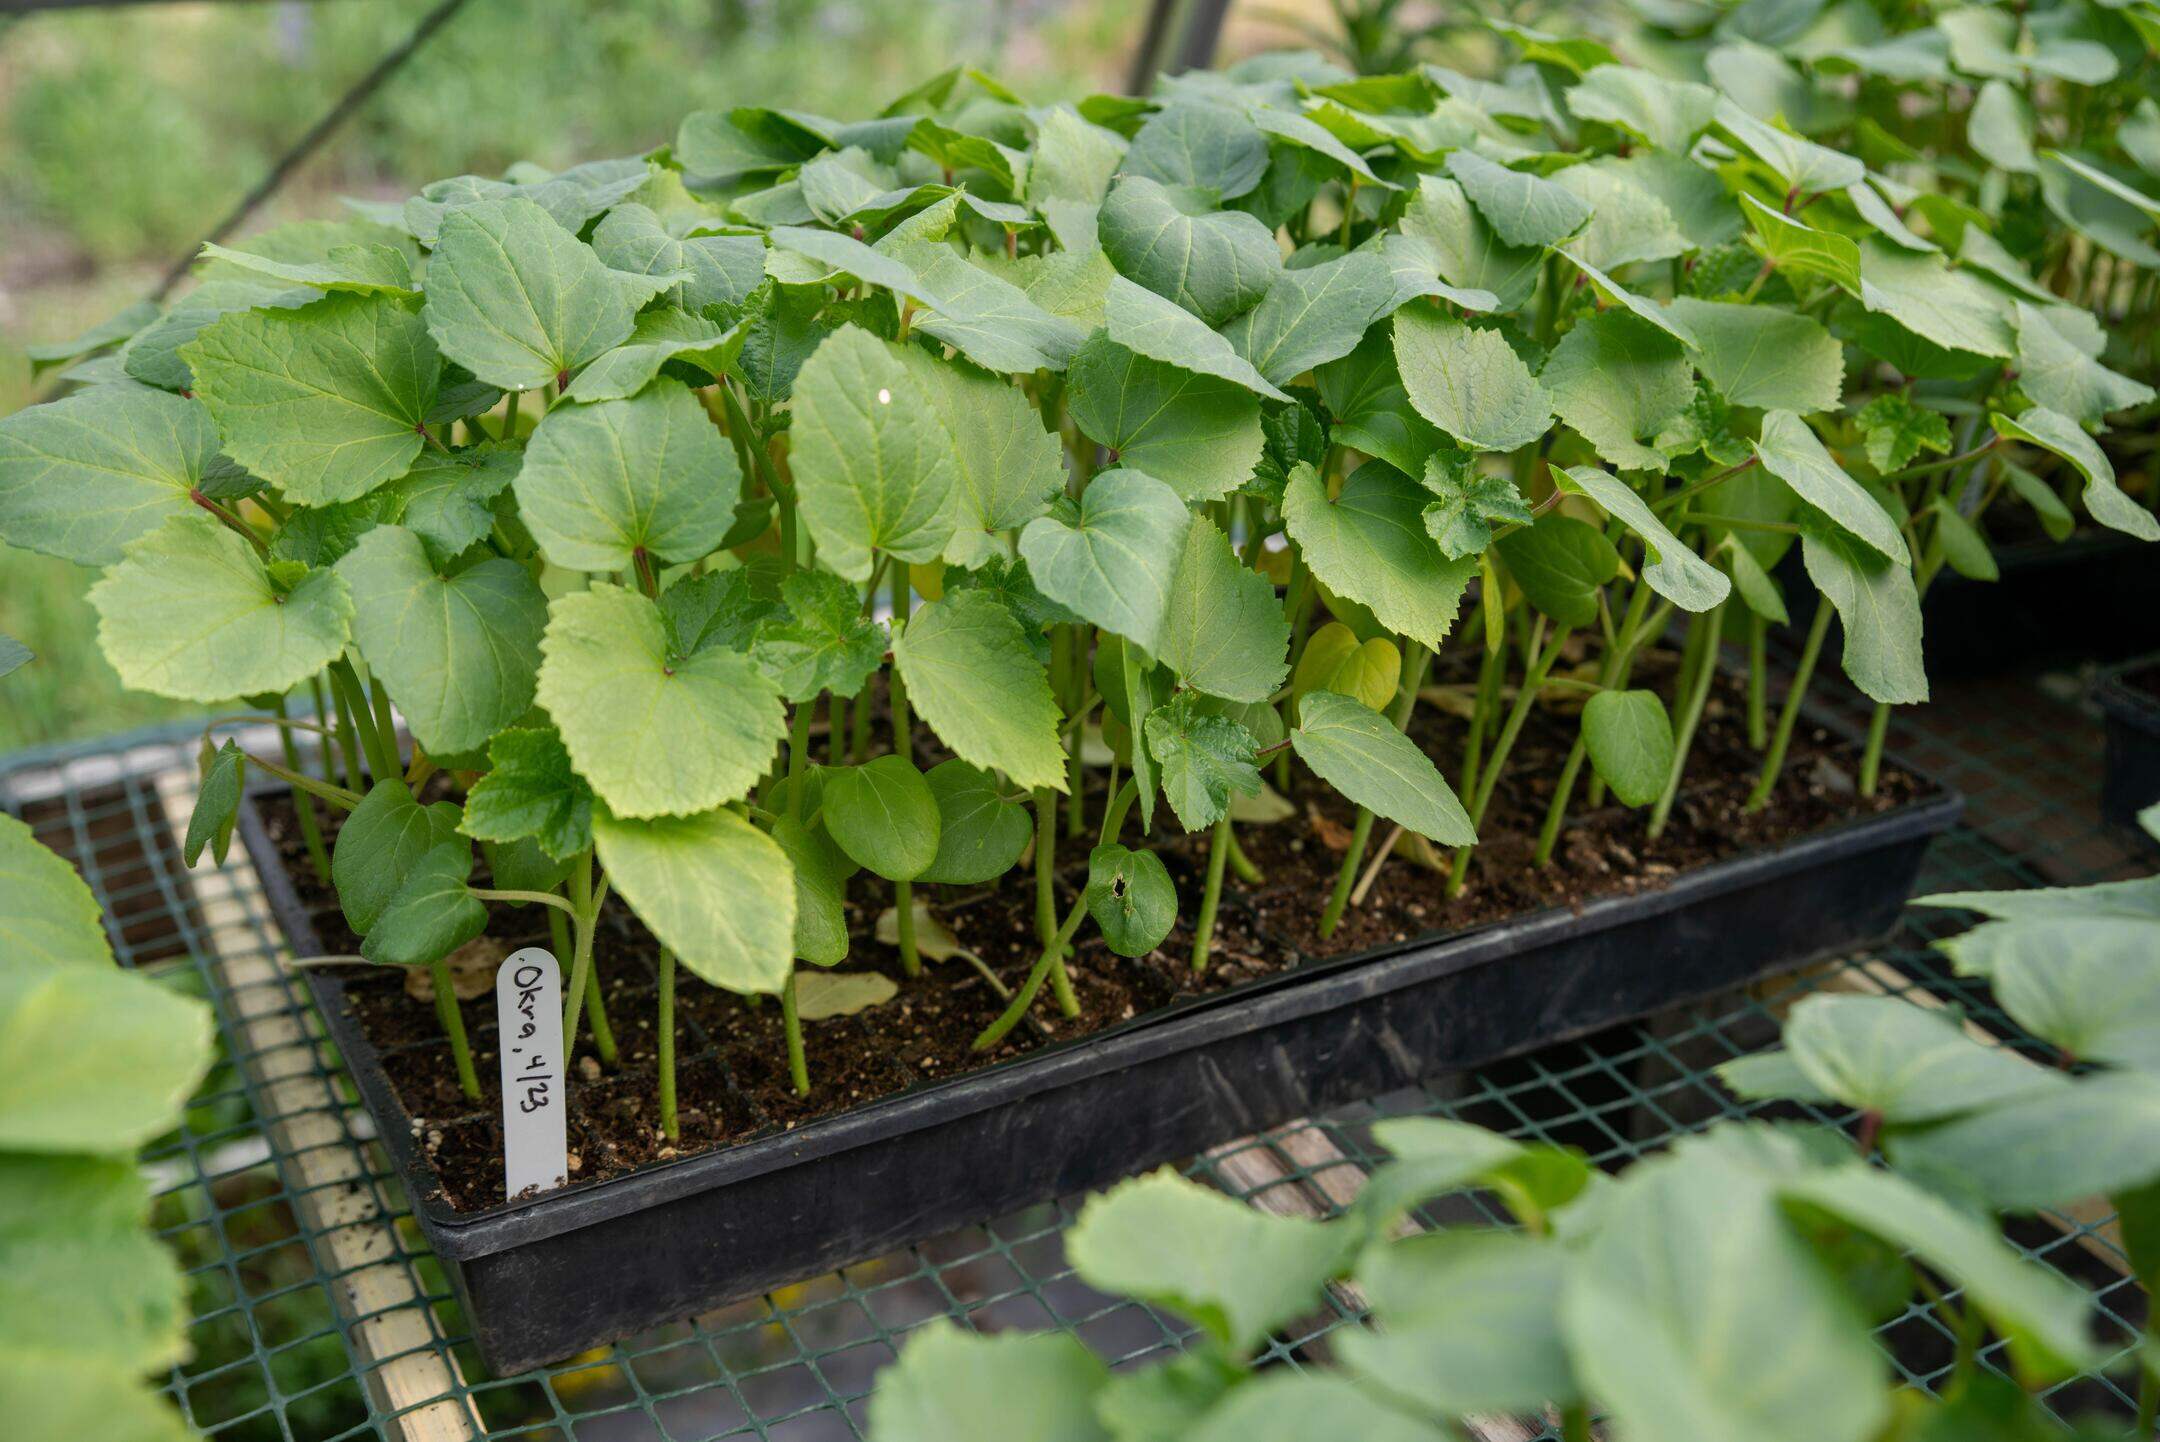
Remember to label your containers or pots with the seed variety and date of planting. Place them in a warm and well-lit area, such as a greenhouse or a sunny window sill, to encourage germination. Keep the soil consistently moist but not waterlogged.
Now that you have prepared the olive seeds for planting, it’s time to move on to the exciting step of actually planting them and starting their journey towards becoming olive trees.
Step 3: Planting the Seeds
Now that you have prepared the olive seeds, it’s time to plant them and give them a proper home to grow. Follow these steps to plant the olive seeds:
- Select Planting Containers: Choose small pots or seed trays with drainage holes to plant your olive seeds. Make sure the containers are clean and sanitized to prevent any potential diseases.
- Fill with Potting Mix: Fill the containers with a well-draining potting mix specifically designed for seed starting. Avoid using heavy garden soil, as it may not provide the necessary drainage for the seeds.
- Plant the Seeds: Create small indentations or holes in the soil, approximately 1 inch deep. Place a single olive seed in each hole and cover it with soil, gently pressing it down to ensure good seed-to-soil contact.
- Label the Containers: To keep track of your olive seeds, label each container with the seed variety and the date of planting. This will help you monitor their progress and make notes as they grow.
- Water the Seeds: After planting the seeds, give them a thorough watering to ensure the soil is evenly moist. Avoid overwatering, as soggy soil can lead to root rot. Water the seeds whenever the top inch of soil feels dry.
- Provide Optimal Growing Conditions: Place the containers in a warm, sunny location where they can receive at least 6-8 hours of direct sunlight each day. Olive seeds thrive in temperatures around 70-85°F (21-29°C).
- Be Patient: Germination can take anywhere from a few weeks to a few months, depending on the seed’s viability and environmental conditions. Be patient and continue to provide proper care during this time.
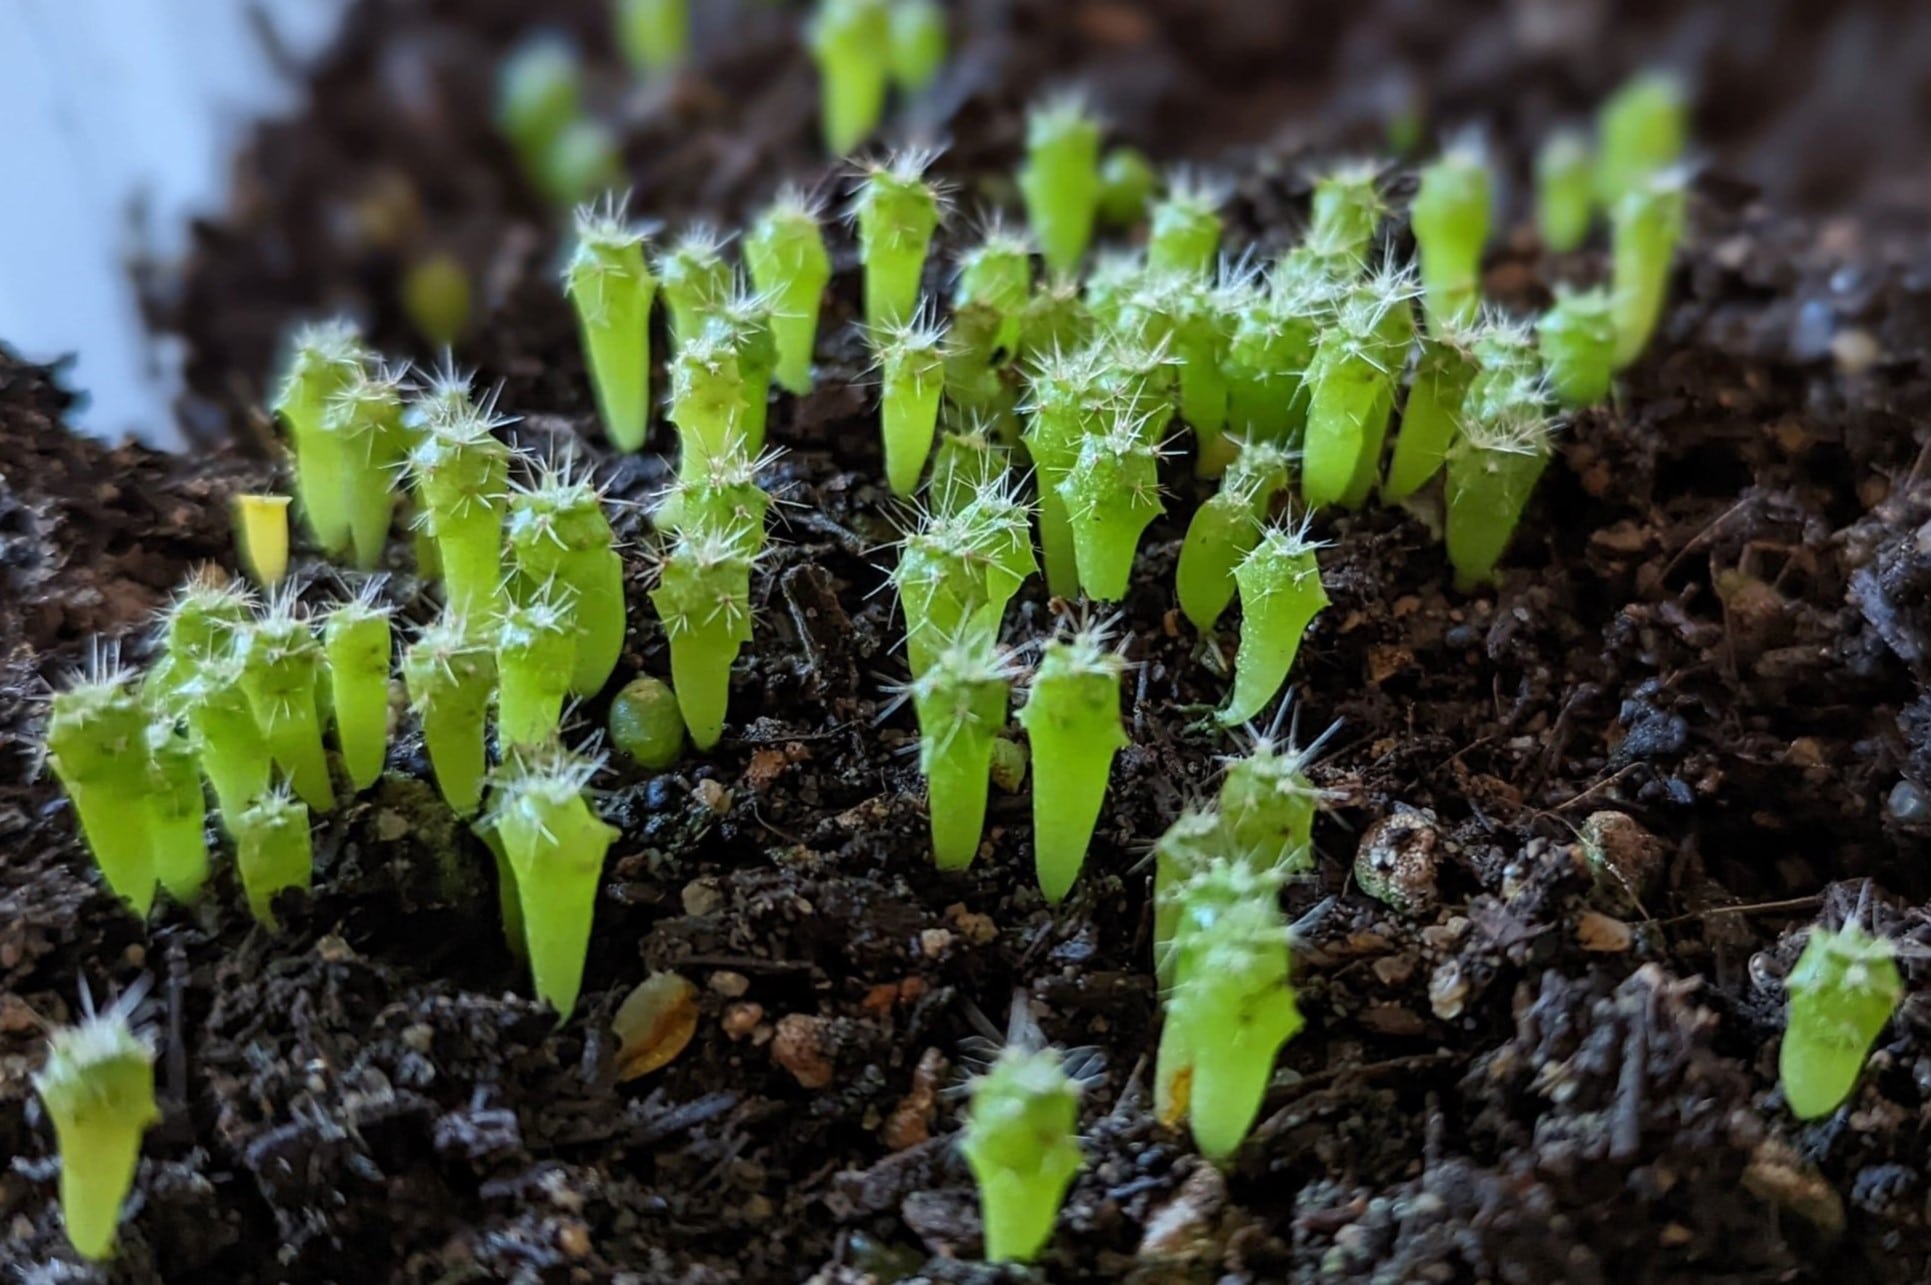
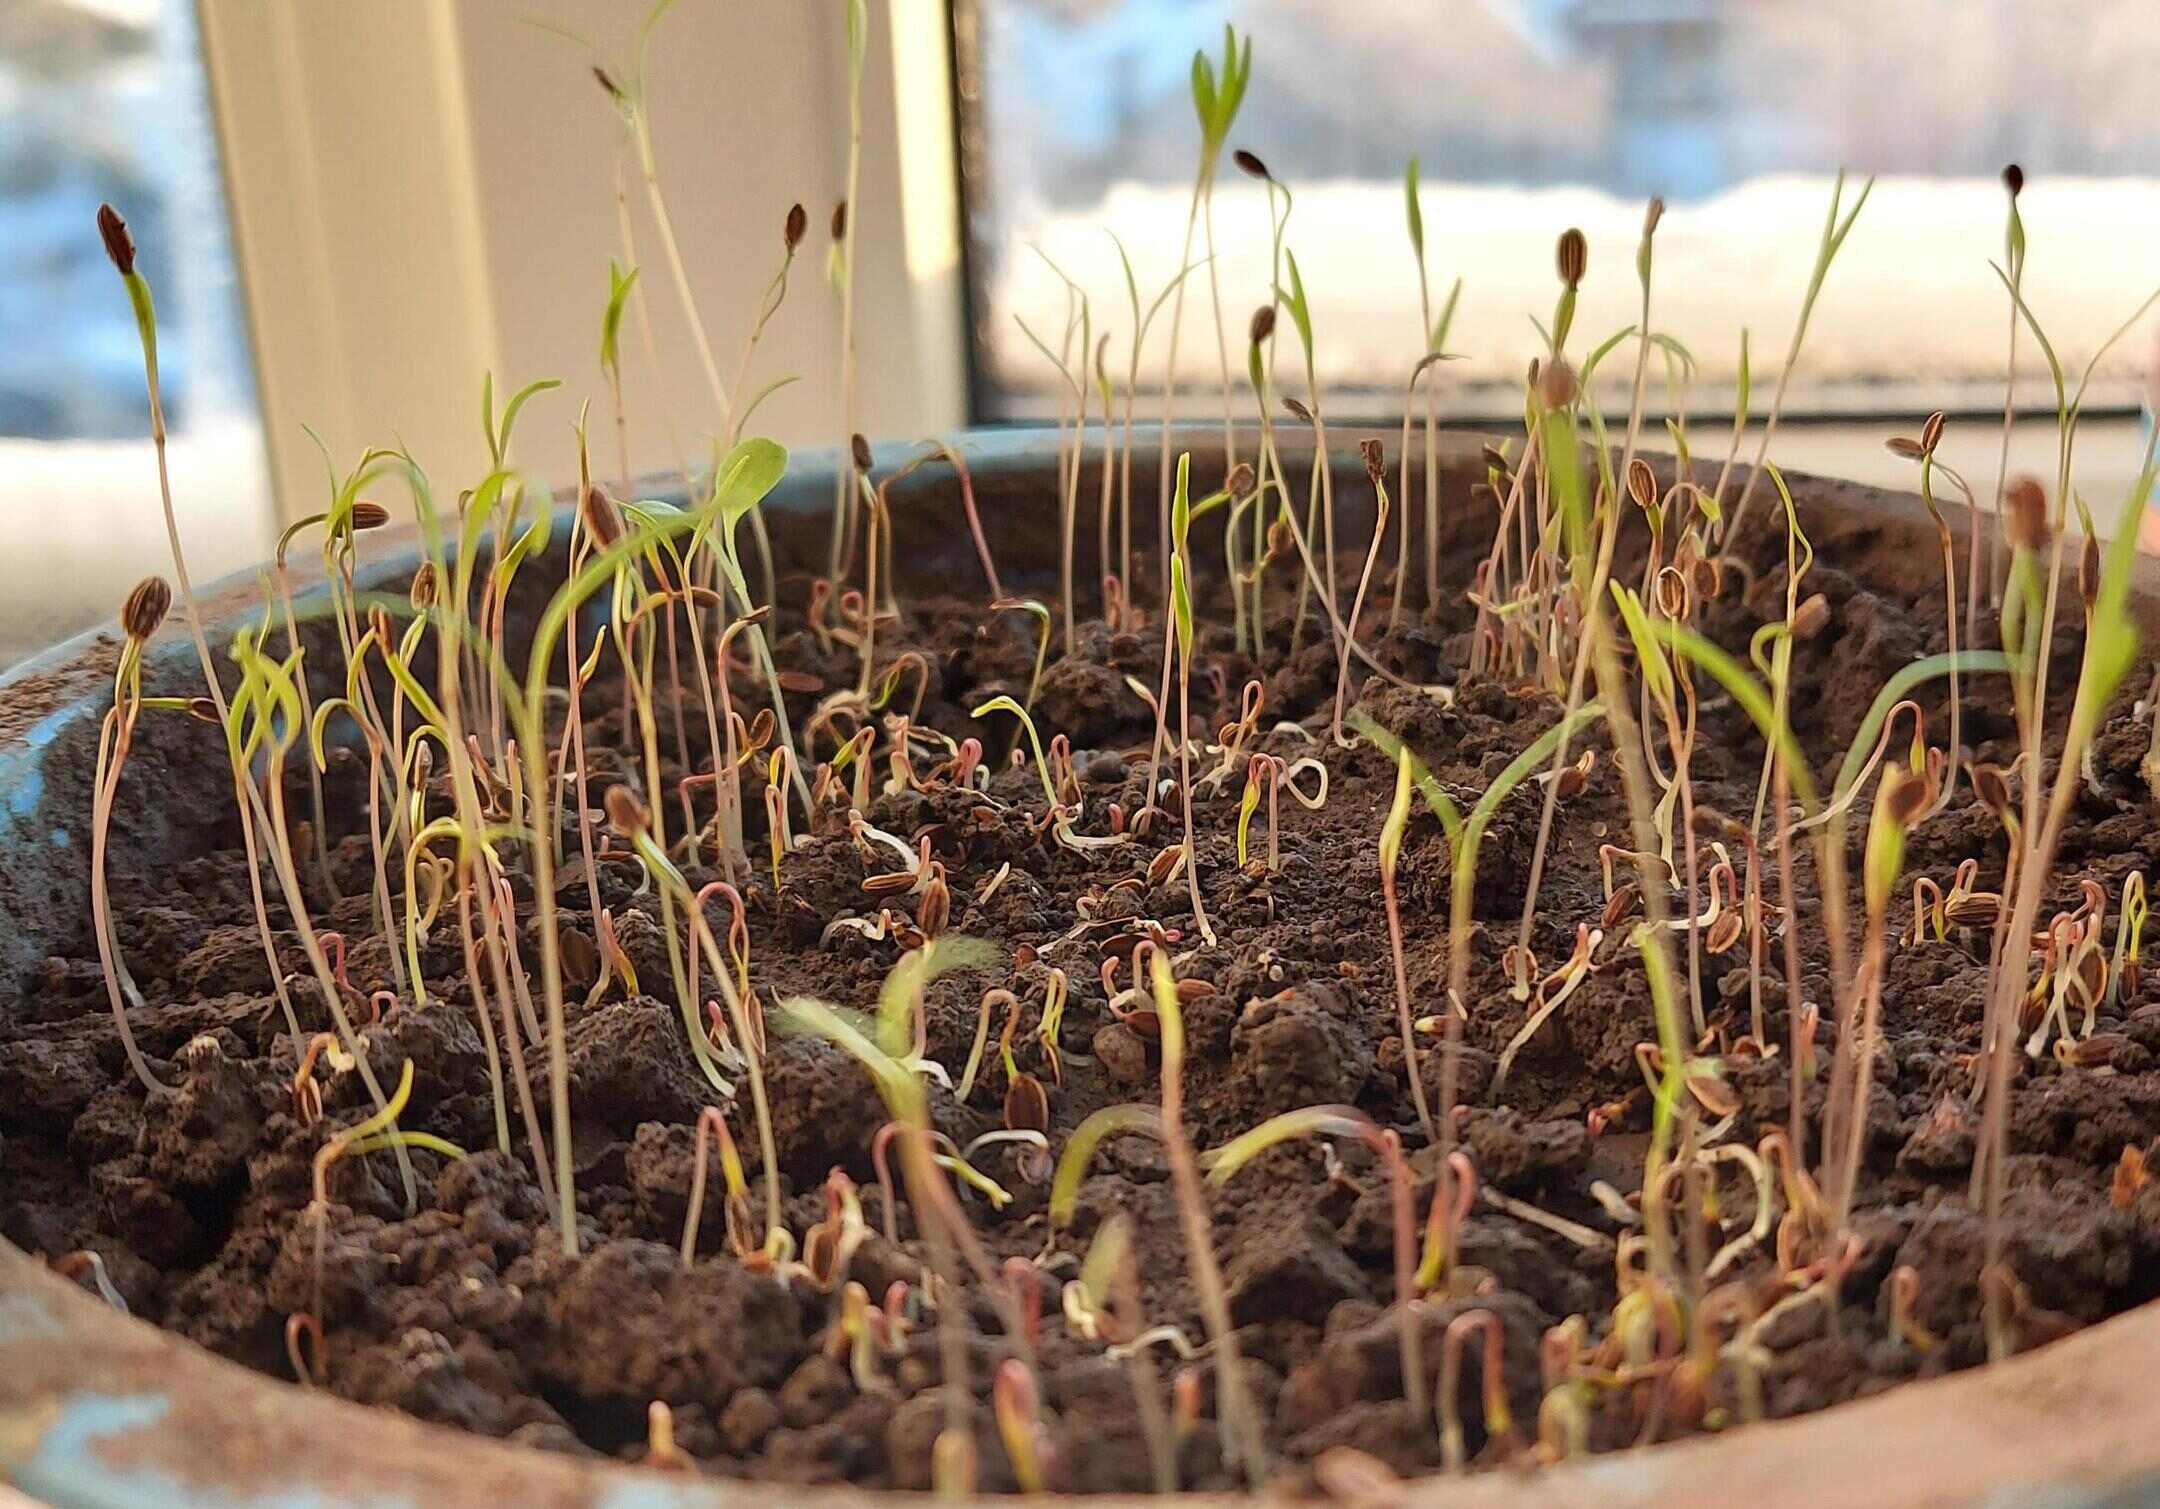
As the olive seedlings emerge, you may notice that not all seeds will sprout. This is normal, as germination rates can vary. Once the seedlings have grown a few inches tall and developed a few leaves, it will be time to transplant them into larger pots or directly into the ground.
Congratulations! You have successfully planted your olive seeds and started them on their journey towards becoming beautiful olive trees. The next step is to provide them with the care and maintenance they need to flourish.
Step 4: Providing Proper Care and Maintenance
Once your olive seedlings have emerged and are ready for transplanting, it’s crucial to provide them with the proper care and maintenance they need to thrive. Follow these guidelines to ensure the success of your olive plants:
- Transplanting: When the olive seedlings have grown a few inches tall and have developed a few sets of leaves, they are ready to be transplanted into larger pots or directly into the ground. Choose a location that receives full sun and has well-draining soil. Gently remove the seedlings from their smaller containers, taking care to avoid damaging the delicate roots. Plant them at the same soil level as they were in the original containers and water thoroughly afterward.
- Watering: Olive trees have moderate water requirements, so it’s important to strike a balance when it comes to watering. Allow the soil to dry out slightly between waterings, but do not let it completely dry out. Deep watering once a week is generally sufficient, providing enough moisture for the roots to access. Adjust the frequency depending on your specific climate and soil conditions.
- Fertilization: Olive trees are generally not heavy feeders, but they benefit from regular fertilization during the growing season. Use a balanced, slow-release fertilizer or a specialized fertilizer formulated for fruit trees. Follow the instructions on the packaging for the appropriate application rates. Avoid over-fertilizing, as this can lead to excessive vegetative growth at the expense of fruit production.
- Pruning: Pruning olive trees helps maintain their shape, remove dead or diseased branches, and promote better air circulation. Prune during the dormant season, typically in late winter or early spring. Trim back any weak or crossing branches, and shape the tree to maintain an open and balanced structure. Keep in mind that excessive pruning can reduce fruit production, so it’s important to strike a balance.
- Pest and Disease Control: Monitor your olive trees regularly for any signs of pests or diseases. Common pests that can affect olive trees include olive fruit flies, aphids, and scale insects. To prevent infestations, use organic pest control methods or consult with a professional if necessary. Proper sanitation practices, such as removing fallen leaves and debris, can help prevent the spread of diseases.
By providing proper care and maintenance, your olive trees will grow healthy and strong, eventually leading to the much-anticipated harvest of olives. Stay consistent in your care routine, observe your plants closely, and make adjustments as necessary to ensure their continued well-being.
Next, let’s move on to step 5, where we will discuss the process of transplanting the seedlings.
To grow olives from seeds, soak them in water for 24 hours, then plant them in well-draining soil. Keep the soil moist and place the pot in a sunny spot. Be patient, as it can take several months for the seeds to sprout.
Read more: How To Grow Olive Trees From Seed
Step 5: Transplanting the Seedlings
Transplanting your olive seedlings into their permanent growing location is an important step in their development. Follow these steps to ensure a successful transplant:
- Choosing the Right Time: Select a time for transplanting when the seedlings have grown to be a manageable size and the weather conditions are favorable. This is usually when the seedlings have developed several sets of true leaves and the risk of frost has passed.
- Preparing the Planting Hole: Dig a hole in the ground or in a larger planting container that is twice as wide and deep as the seedling’s root ball. Ensure that the hole is located in a spot with well-draining soil and receives full sun.
- Transplanting Process: Gently remove the seedling from its current container, taking care not to damage the roots. If the root mass is tightly bound, you can loosen it slightly by gently massaging it with your fingers. Place the seedling in the prepared hole and backfill with soil, ensuring that the plant is at the same soil level as it was before. Lightly firm the soil around the base of the seedling.
- Watering: After transplanting, water the seedling thoroughly to settle the soil and provide hydration to the roots. Continue to water regularly, especially during the first few weeks after transplanting, to help the roots establish themselves in the new location.
- Staking: If your seedling is tall or top-heavy, it may benefit from staking to provide support. Place a stake firmly in the ground beside the seedling and tie it gently with soft plant ties, ensuring not to constrict the stem. Leave the stake in place until the seedling has grown strong enough to support itself.
- Mulching: Apply a layer of organic mulch, such as wood chips or straw, around the base of the seedling. Mulching helps retain moisture, suppress weeds, and regulate soil temperature. Ensure that the mulch is kept a few inches away from the trunk to prevent rot.
By following these steps, you will give your olive seedlings the best chance of successfully establishing themselves in their new growing location. Remember to continue providing proper care, including regular watering and monitoring for pests and diseases, to set your seedlings up for long-term growth and productivity.
Now that your olive seedlings are transplanted, we will proceed to step 6, where we will discuss continued care for developing olive plants.
Step 6: Continued Care for Developing Olive Plants
Once your olive plants have been transplanted and are establishing roots in their new location, it’s important to continue providing them with the care they need to thrive. Here are some essential steps for the continued care of your developing olive plants:
- Watering: Olive trees are drought-tolerant, but regular watering is still crucial, especially during their first few years of growth. Water deeply and infrequently, allowing the soil to dry out slightly between waterings. Adjust the watering frequency based on weather conditions, ensuring the soil stays consistently moist but not waterlogged.
- Fertilization: Olive trees benefit from regular fertilization to promote healthy growth and fruit production. Apply a balanced fertilizer formulated for fruit trees in early spring, following the manufacturer’s instructions. It’s important not to over-fertilize, as excessive nitrogen can lead to excessive vegetative growth at the expense of fruit production.
- Pruning: Pruning olive trees helps maintain their shape, promote airflow, and ensure optimal fruit production. Prune during the dormant season, typically in late winter or early spring. Remove any dead or diseased branches, thin out crowded growth, and shape the tree to allow sunlight to reach the inner branches. Be careful not to remove too much foliage, as olive trees produce fruit on the previous year’s growth.
- Protection from Extreme Weather: Olive trees are resilient, but they may require protection from extreme weather conditions. During periods of frost or freeze, cover your olive tree with frost cloth or bring potted trees indoors. In hot climates, provide shade during the peak of summer heat to prevent stress and sunburn.
- Pest and Disease Management: Monitor your olive plants regularly for signs of pests and diseases. Common pests include olive fruit flies, aphids, and scale insects. If you notice any infestations, consider using organic pest control methods or consult with a professional for appropriate treatments. Proper sanitation, such as removing fallen leaves and debris, can also help prevent the spread of diseases.
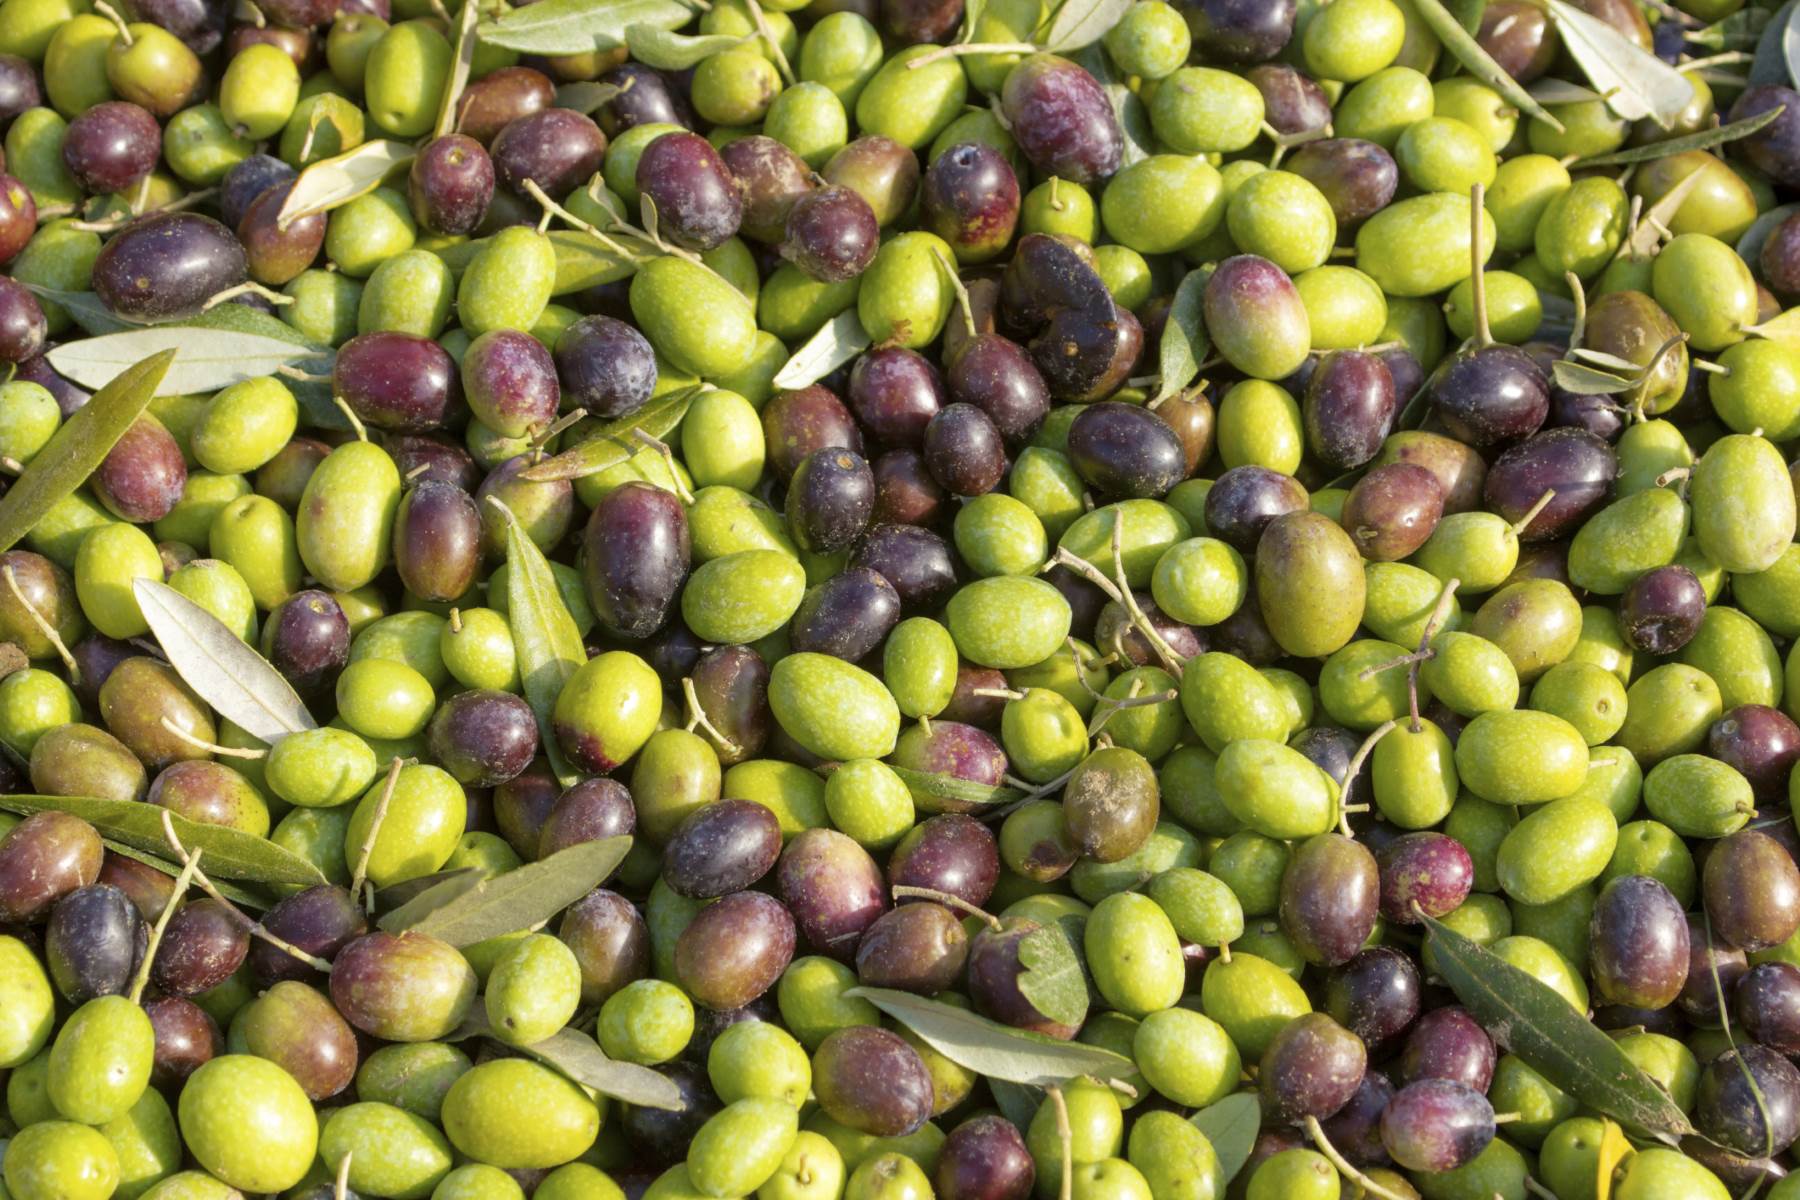
- Harvesting Olives: As your olive trees mature, they will start producing fruit. The timing of the harvest depends on the variety and the desired ripeness of the olives. Harvest olives by handpicking them when they are fully mature and have changed color. To extract the oil from the olives, they can be cold-pressed or processed using a mechanical press.
By providing continued care and attention to your developing olive plants, you will ensure their health and productivity for years to come. Enjoy the process of nurturing these remarkable trees as they grow and provide you with a bountiful harvest of delicious olives.
Now, let’s move on to the final step, where we will discuss the exciting process of harvesting olives.
Step 7: Harvesting Olives
The final step in the journey of growing olives is the long-awaited harvest. Harvesting olives requires careful timing and proper techniques to ensure the best quality fruit. Follow these steps to successfully harvest olives:
- Determine the Harvest Time: The timing of the olive harvest depends on factors such as the olive variety and desired ripeness. Olives can be harvested when they have reached their optimal level of oil content and color. This is usually when the olives have matured and changed color, but before they become overripe and start to fall from the tree.
- Harvesting Techniques: There are two common methods for harvesting olives: handpicking and using a mechanical harvester. Handpicking is the most common method for small-scale operations and provides more control over the quality of the harvested fruit. Using a mechanical harvester is more efficient for larger-scale operations and can save time and labor.
- Handpicking: To handpick olives, spread a large sheet or tarp on the ground beneath the tree. Gently but firmly grasp each olive cluster and pull it towards you, allowing the ripe olives to drop onto the sheet. Avoid using excessive force that may damage the branches or cause the olives to bruise. Repeat this process, moving around the tree, until all the ripe olives have been harvested.
- Using a Mechanical Harvester: If using a mechanical harvester, carefully position the machine beneath the tree. The machine will gently shake the branches, causing the olives to fall onto a catching net or conveyor belt. The olives can then be collected and processed accordingly.
- Sorting and Cleaning: After harvesting, sort through the olives to remove any leaves, twigs, or damaged fruit. Rinse the olives with clean water to remove any dirt or debris. This will prepare them for further processing or storage.
- Storage: Proper storage is essential to preserve the quality and freshness of harvested olives. If you plan to consume the olives within a few days, they can be stored at room temperature in a cool, dark place. For longer storage, place the olives in sterilized jars or containers. Cover them with a solution of brine, oil, or a combination of both, and store them in a cool, dark place or in the refrigerator.
With the rewarding task of harvesting completed, you can now enjoy the fruits of your labor. Whether you use the olives for cooking, pickling, or oil production, the satisfaction of growing and harvesting your own olives is truly unparalleled.
Congratulations on successfully growing and harvesting olives! By following the steps outlined in this guide, you have embarked on a remarkable journey of nurturing and harvesting your own olive trees. Continue to care for your trees with love and enjoy the bountiful harvest they will provide year after year.
With that, we conclude this comprehensive guide on how to grow olives from seeds. We hope it has been insightful and helpful in your own olive-growing adventures. Happy gardening!
Conclusion
Growing olives from seeds is a rewarding and fulfilling experience that allows you to connect with nature and witness the remarkable journey of these extraordinary trees. From selecting the right seeds to harvesting the fruits of your labor, each step in the process contributes to the growth and success of your olive plants.
Throughout this guide, we have covered the essential steps involved in growing olives from seeds. We discussed the importance of selecting high-quality seeds, preparing them for planting, and providing proper care and maintenance as the seedlings develop. With patience, diligence, and a bit of gardening know-how, you can successfully grow your own olive trees and enjoy the beauty and bounty they offer.
As you embark on your olive-growing journey, remember to stay attuned to the needs of your plants. Monitor their growth, provide proper watering and fertilization, and address any pest or disease issues promptly. With care and attention, your olive trees will thrive and produce an abundant harvest of delicious olives.
The joy of growing olives extends beyond the act of cultivation itself. It encompasses the connection to the land, the appreciation for nature’s resilience, and the satisfaction of nurturing and reaping the rewards of your efforts. Whether you use the olives for culinary delights or to produce your own olive oil, the fruits of your labor will undoubtedly enrich your life and those around you.
So, whether you have a sprawling garden or a cozy balcony, why not embark on this delightful adventure of growing olives from seeds? Embrace the magic of the natural world, savor the flavors of homegrown olives, and relish in the joy of witnessing your olive trees grow into formidable beauties.
Thank you for joining us on this journey of olive cultivation. May your green thumbs continue to flourish as you embark on your gardening endeavors. Happy growing!
Frequently Asked Questions about How To Grow Olives From Seeds
Was this page helpful?
At Storables.com, we guarantee accurate and reliable information. Our content, validated by Expert Board Contributors, is crafted following stringent Editorial Policies. We're committed to providing you with well-researched, expert-backed insights for all your informational needs.




0 thoughts on “How To Grow Olives From Seeds”