Home>Garden Essentials>Garden Plants>When To Start Thyme Seeds Indoors
Garden Plants
When To Start Thyme Seeds Indoors
Modified: March 24, 2024
Start thyme seeds indoors for strong and healthy plants. Discover the best timing and tips for successful indoor cultivation.
(Many of the links in this article redirect to a specific reviewed product. Your purchase of these products through affiliate links helps to generate commission for Storables.com, at no extra cost. Learn more)
Why Start Thyme Seeds Indoors
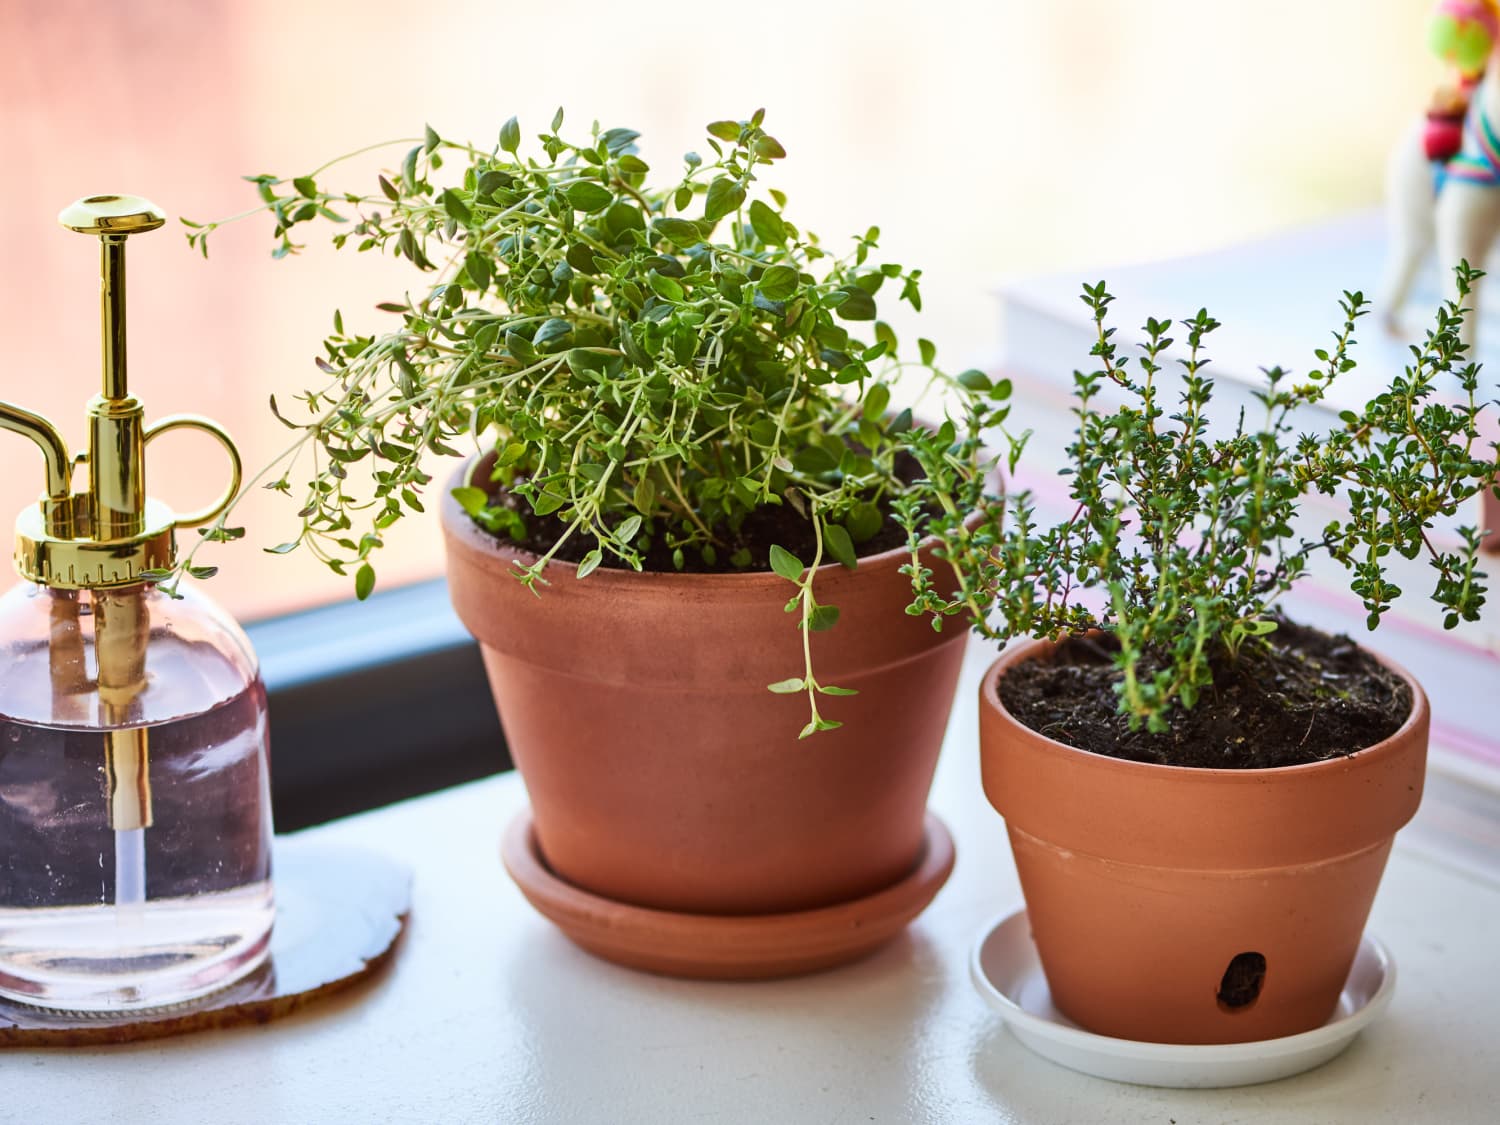
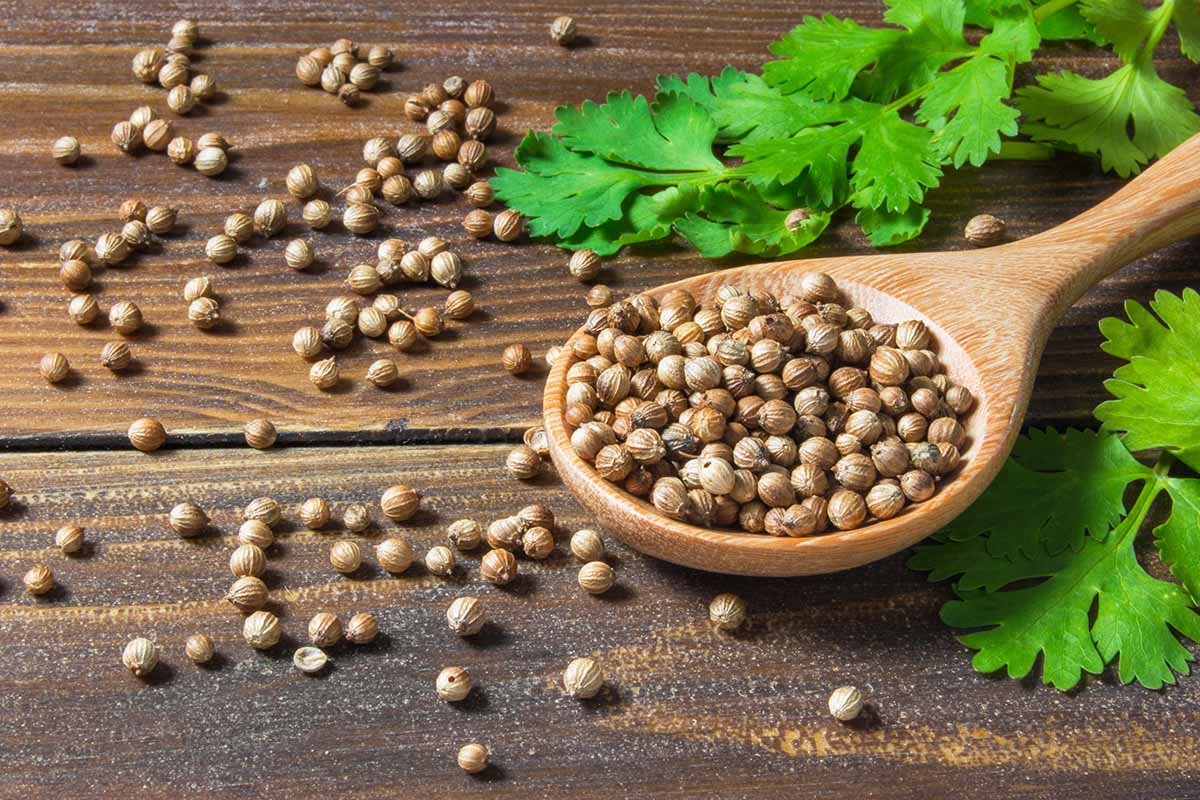
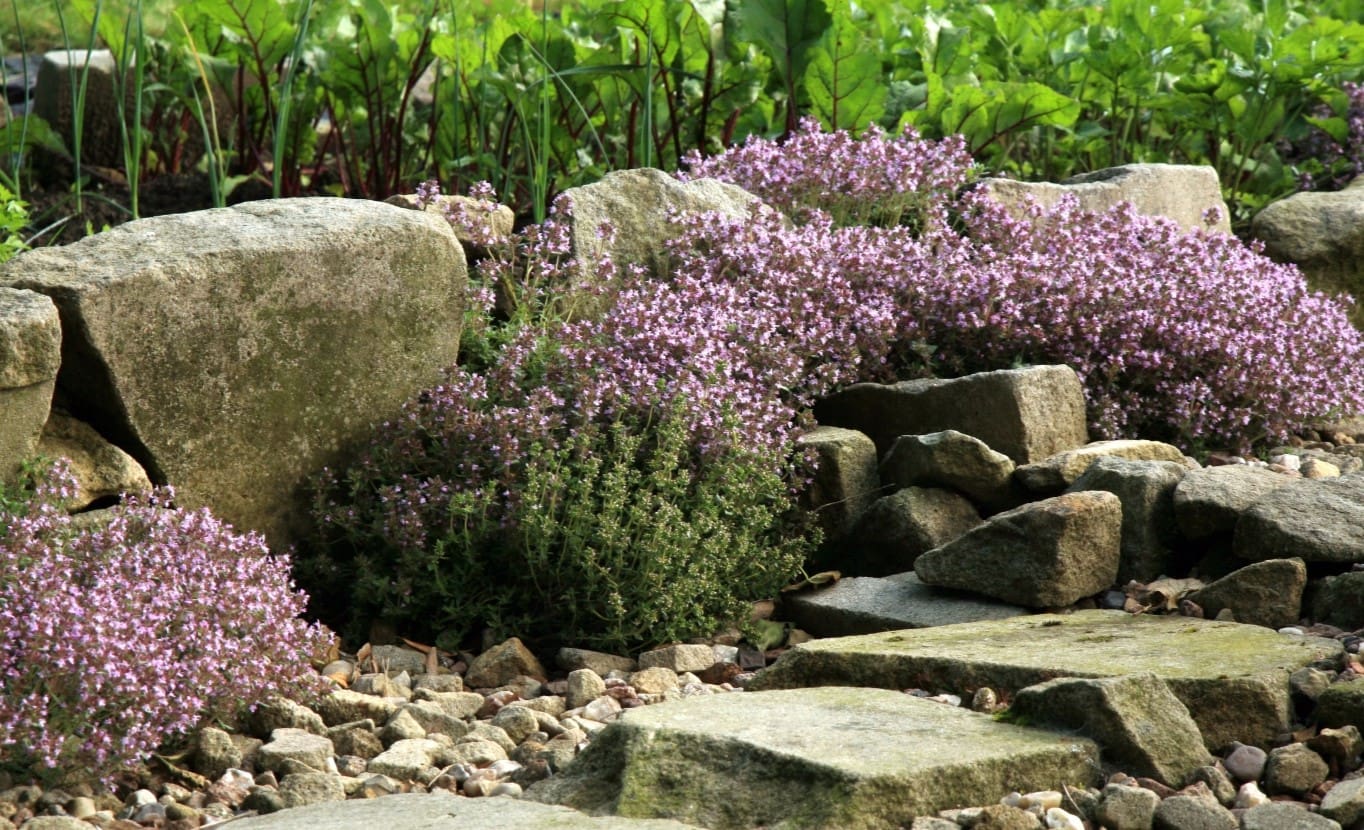
Thyme is a versatile herb that is commonly used in cooking, herbal remedies, and even as a ground cover in garden landscapes. Starting thyme seeds indoors can offer numerous benefits and increase the chances of successful germination and growth. Here are a few reasons why you should consider starting your thyme seeds indoors:
- Extended Growing Season: By starting thyme seeds indoors, you can get a head start on the growing season. Thyme seeds require warm soil temperatures to germinate, and by starting them indoors, you can provide these optimal conditions before the outside temperature has warmed up.
- Controlled Environment: When you start thyme seeds indoors, you have complete control over the growing conditions. You can carefully monitor the temperature, humidity, and light levels, ensuring that the seeds receive the ideal conditions for germination and growth.
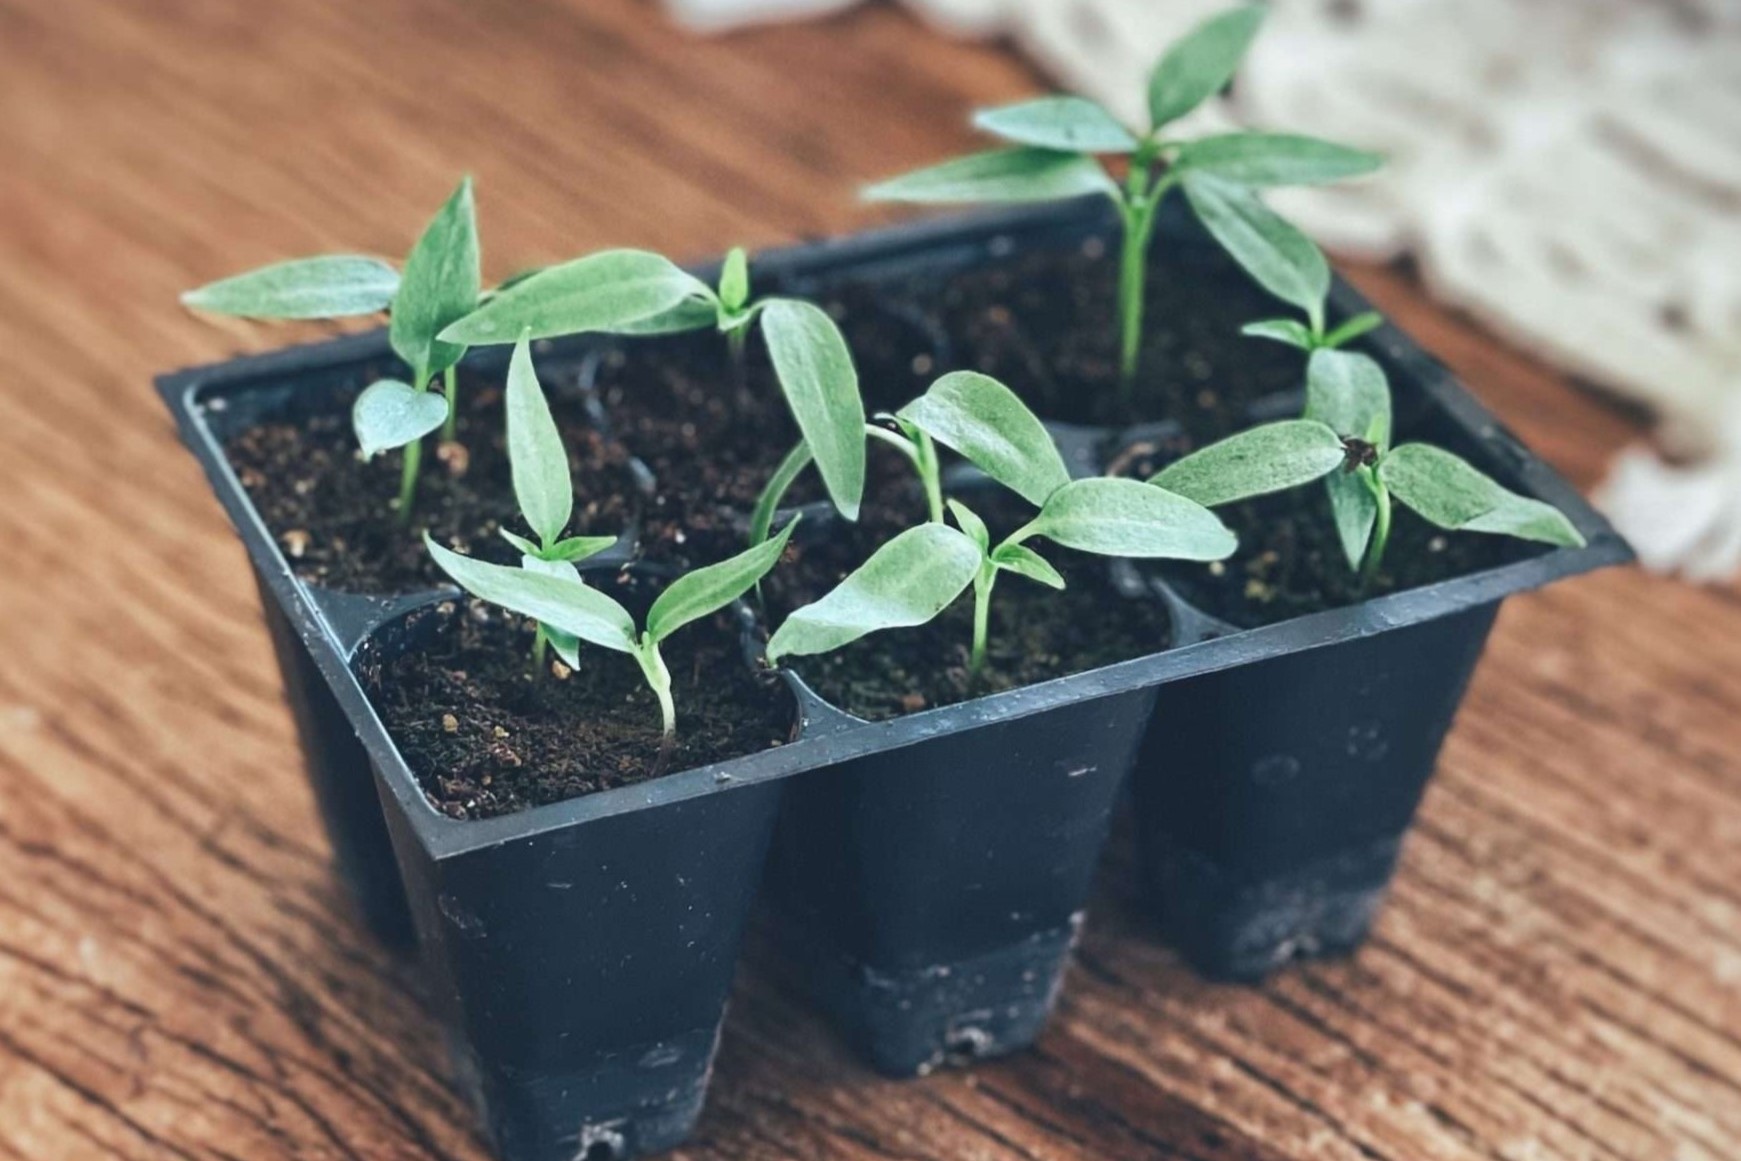
- Healthier Seedlings: Indoor-started thyme seedlings tend to be healthier and stronger compared to seeds sown directly in the garden. Starting them indoors allows you to provide the necessary care and attention during the delicate germination stage, resulting in robust seedlings.
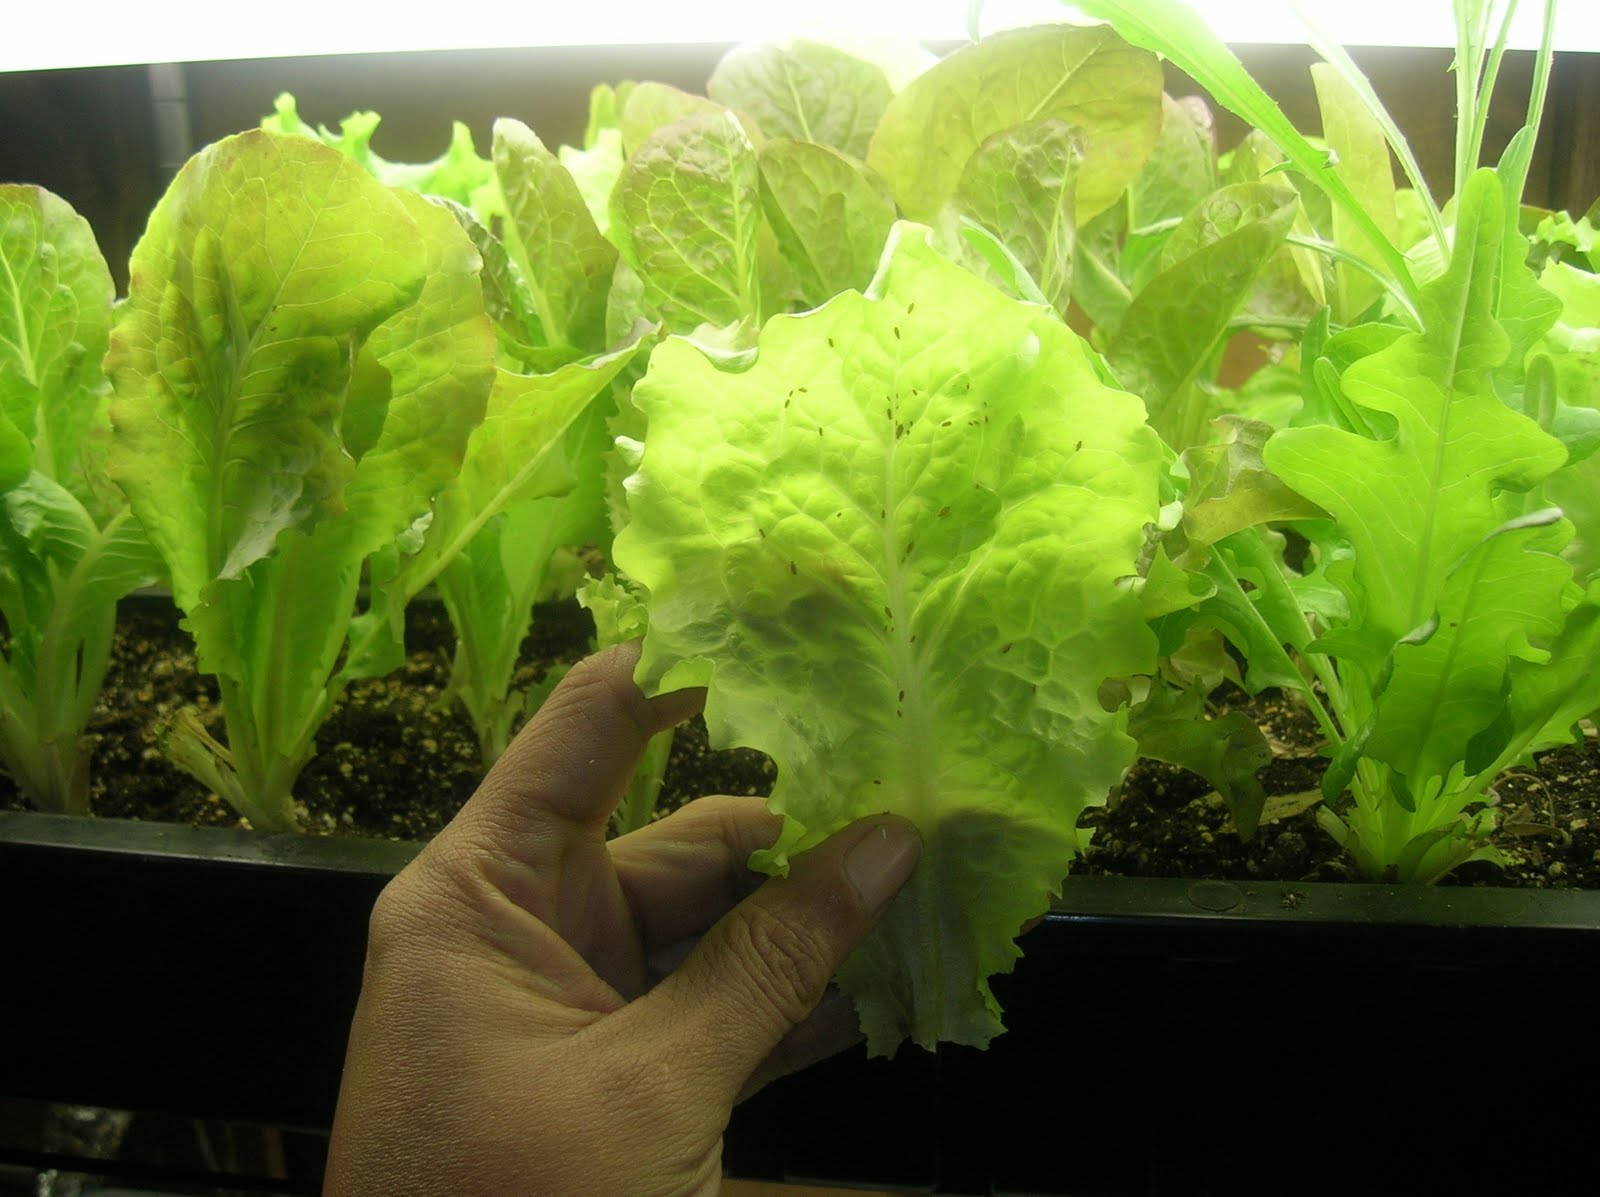
- Protection from Pests and Diseases: Starting thyme seeds indoors helps protect them from common garden pests and diseases. In the controlled indoor environment, you can minimize the risk of seedlings being attacked by garden pests like snails or diseases that can harm young plants.
- Flexibility in Planting: When you start thyme seeds indoors, you have more flexibility in choosing the planting location. You can observe the growth of your seedlings and select the perfect spot in your garden that meets their light and soil requirements.
Starting thyme seeds indoors is a proactive approach to ensure successful germination and early growth of your thyme plants. It offers several advantages that can ultimately lead to healthier and more productive plants. So, let’s dive into the details of when and how to start thyme seeds indoors.
Key Takeaways:
- Starting thyme seeds indoors offers extended growing seasons, controlled environments, healthier seedlings, protection from pests and diseases, and flexibility in planting, ultimately leading to a bountiful harvest and thriving plants.
- Careful timing, consistent moisture, optimal temperature and light conditions, and a gradual transition to outdoor conditions are essential for successful thyme seed germination and healthy growth. With proper planning and attention, you can enjoy the rewards of a thriving thyme plant.
Read more: When To Start Seeds Indoors
Choosing the Right Time to Start Thyme Seeds Indoors
Timing is crucial when it comes to starting thyme seeds indoors. Selecting the appropriate time will ensure that your seedlings have a strong and healthy start. The specific timing can vary depending on your location and the climate. Here are some factors to consider when determining the right time to start thyme seeds indoors:
- Last Frost Date: Find out the average date of the last frost in your area. Thyme seedlings are susceptible to frost damage, so it’s important to start them indoors well ahead of the last expected frost date in your region.
- Germination Time: Thyme seeds typically take around 14 to 21 days to germinate. Consider this germination period when planning your indoor seeding schedule. You’ll want to start the seeds early enough so that the seedlings are well-established and ready for transplanting once the outdoor conditions are favorable.
- Transplanting Time: Thyme seedlings can be transplanted outdoors once they have developed several sets of true leaves and the danger of frost has passed. This usually occurs about 6 to 8 weeks after seeding indoors, but it may vary depending on your specific growing conditions.
- Weather Conditions: Take into account the general weather conditions in your area during the early spring. If you frequently experience cold snaps or unpredictable weather patterns, it might be safer to delay starting thyme seeds indoors to avoid any potential setbacks or losses.
Based on these considerations, a good rule of thumb is to start thyme seeds indoors about 8 to 10 weeks before the last expected frost date in your region. This will typically allow ample time for germination, growth, and transplanting.
Keep in mind that thyme is a hardy herb that can tolerate cooler temperatures, so starting the seeds a bit earlier is generally better than starting them too late. However, starting them too early may result in leggy and weak seedlings, so finding the right balance is essential.
By carefully considering these factors and researching the specific recommendations for your region, you can determine the best time to start thyme seeds indoors. The goal is to provide optimal conditions for germination and ensure that your thyme seedlings are strong and ready for outdoor planting.
Step-by-Step Guide to Starting Thyme Seeds Indoors
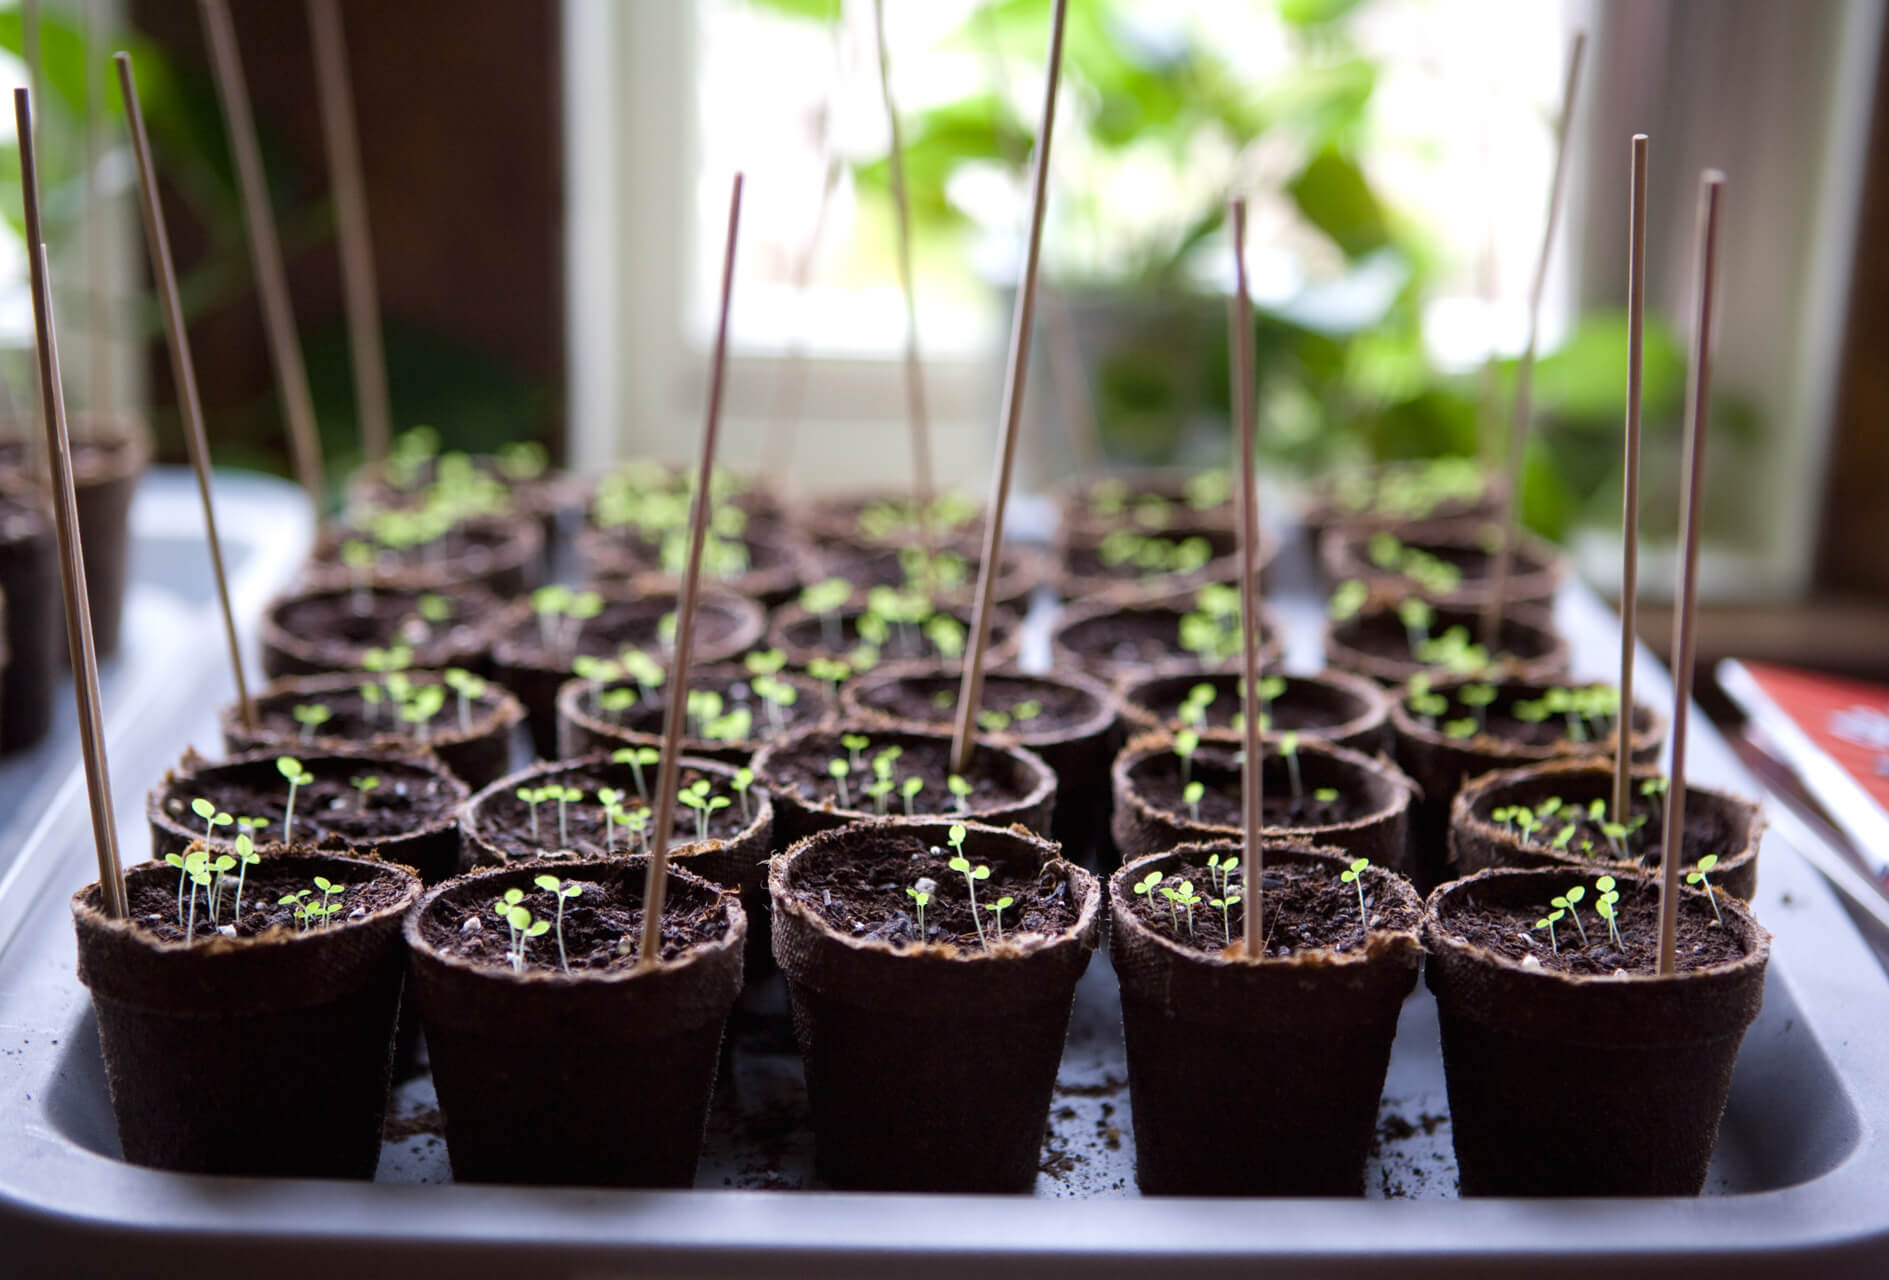
Starting thyme seeds indoors is a straightforward process that requires a few essential steps to ensure successful germination. Follow this step-by-step guide to get your thyme seedlings off to a healthy start:
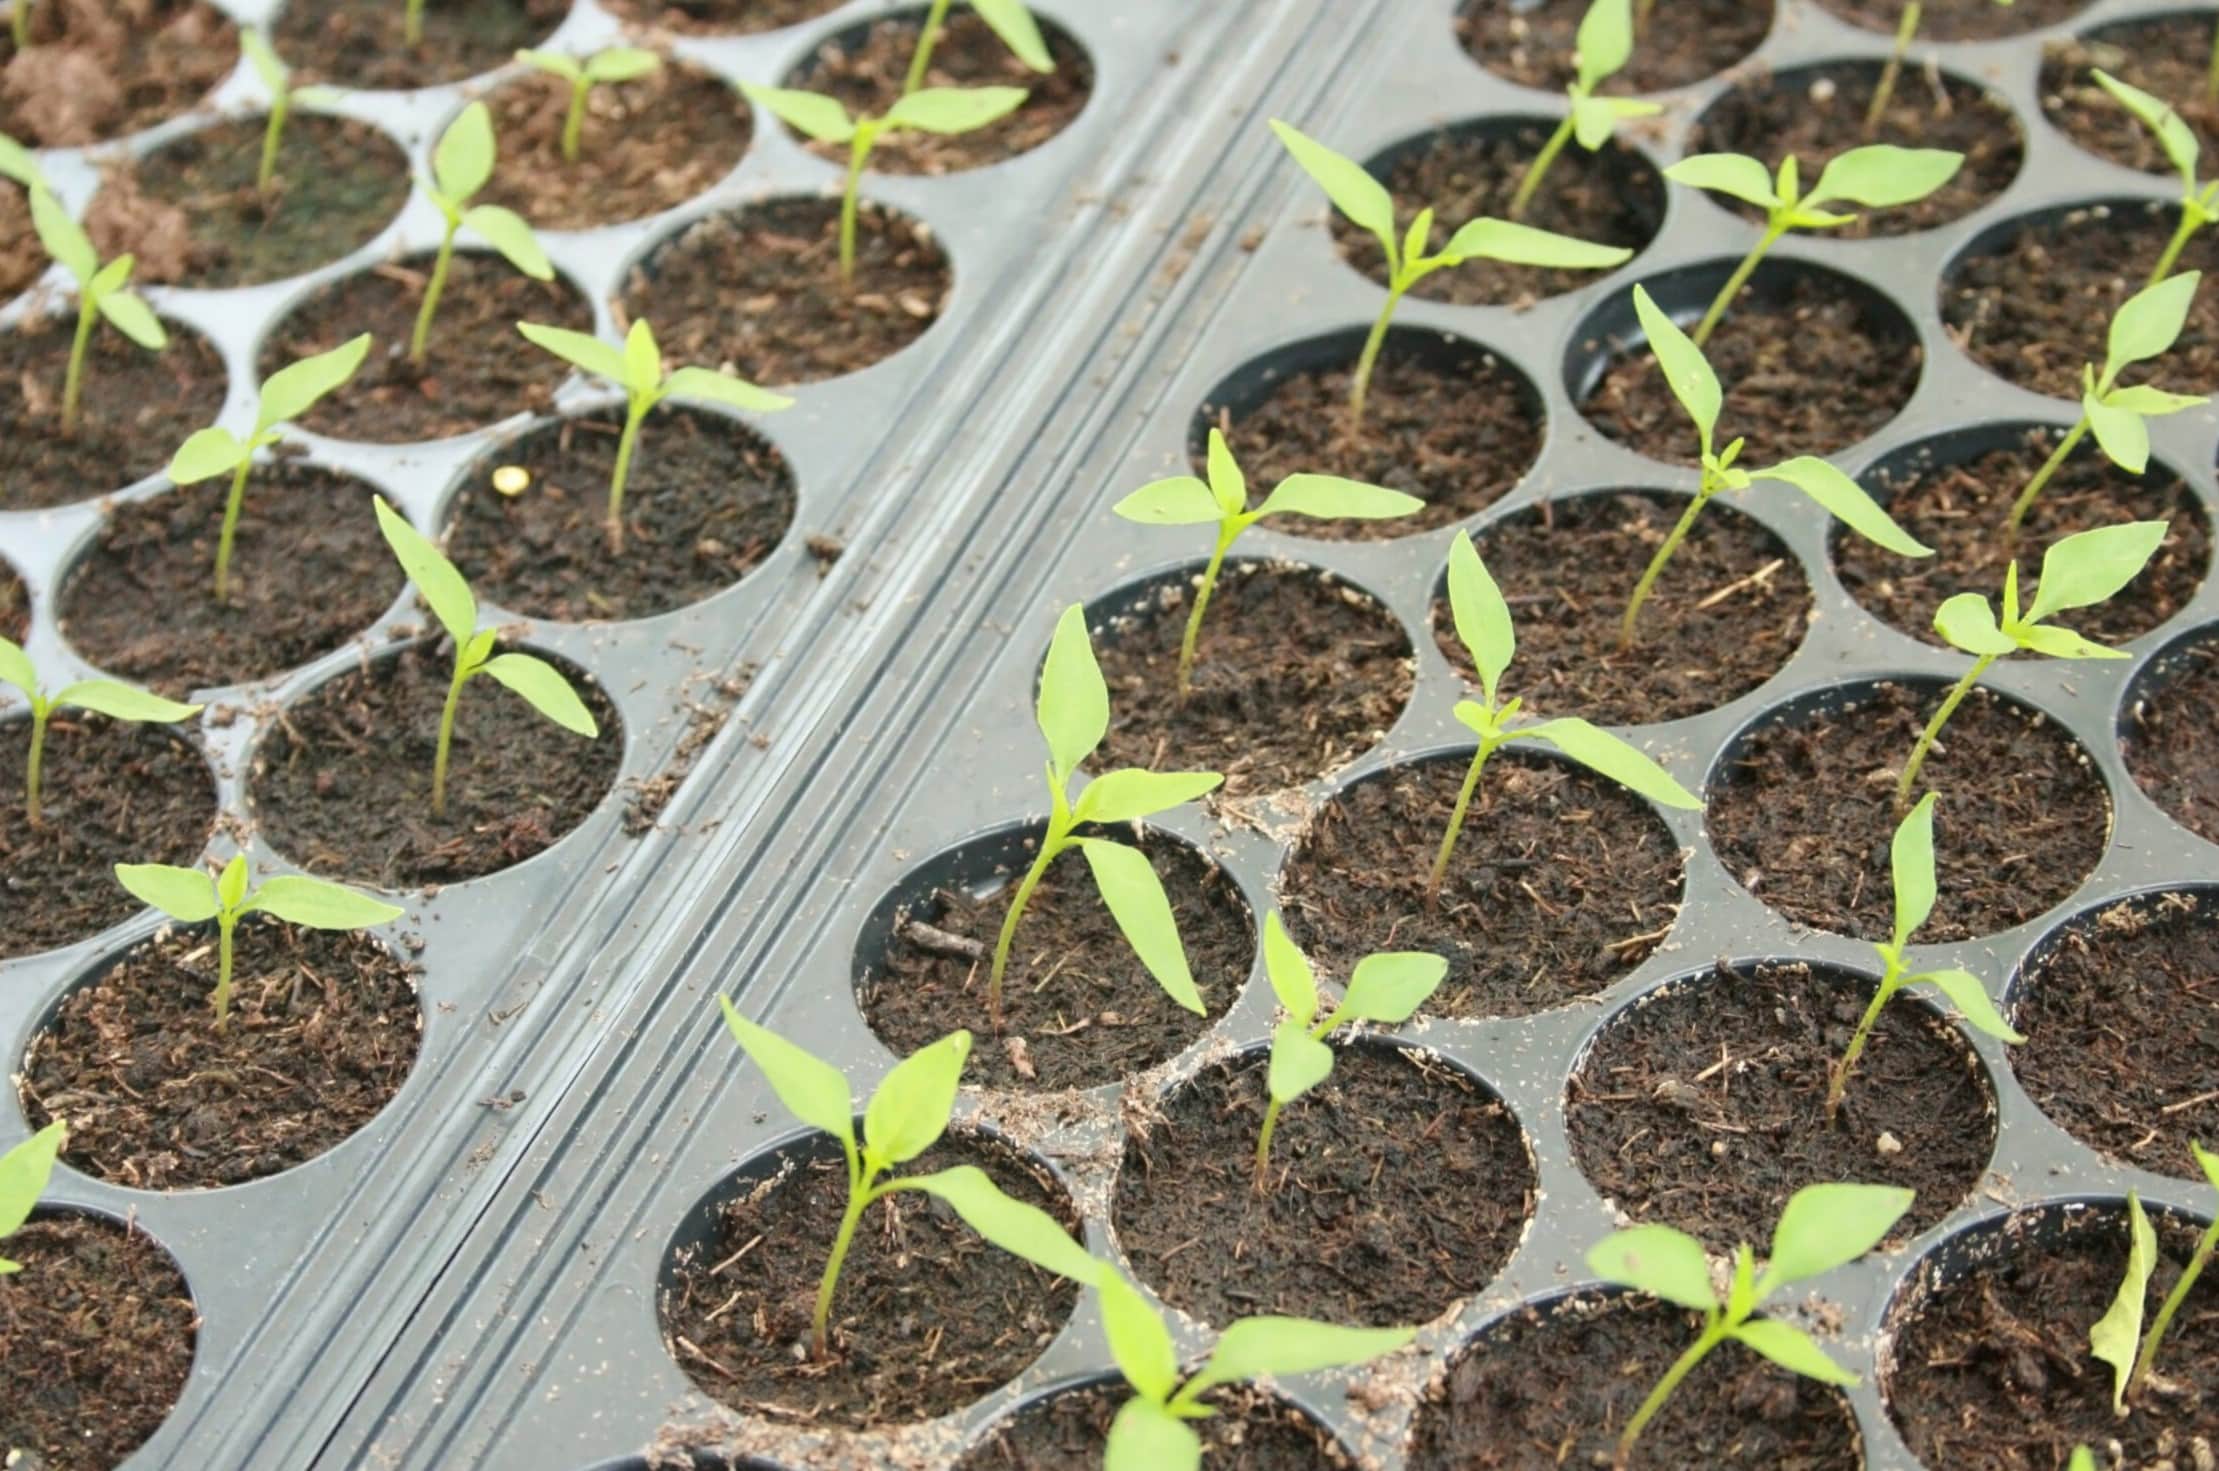
- Gather Supplies: Gather all the necessary supplies before you begin. You will need thyme seeds, seed-starting trays or pots, seed-starting mix, a spray bottle, and clear plastic wrap or a seedling dome.
- Prepare the Seed-Starting Mix: Fill the seed-starting trays or pots with a well-draining seed-starting mix. Thyme prefers slightly alkaline soil, so consider adding some lime to the mix if needed.
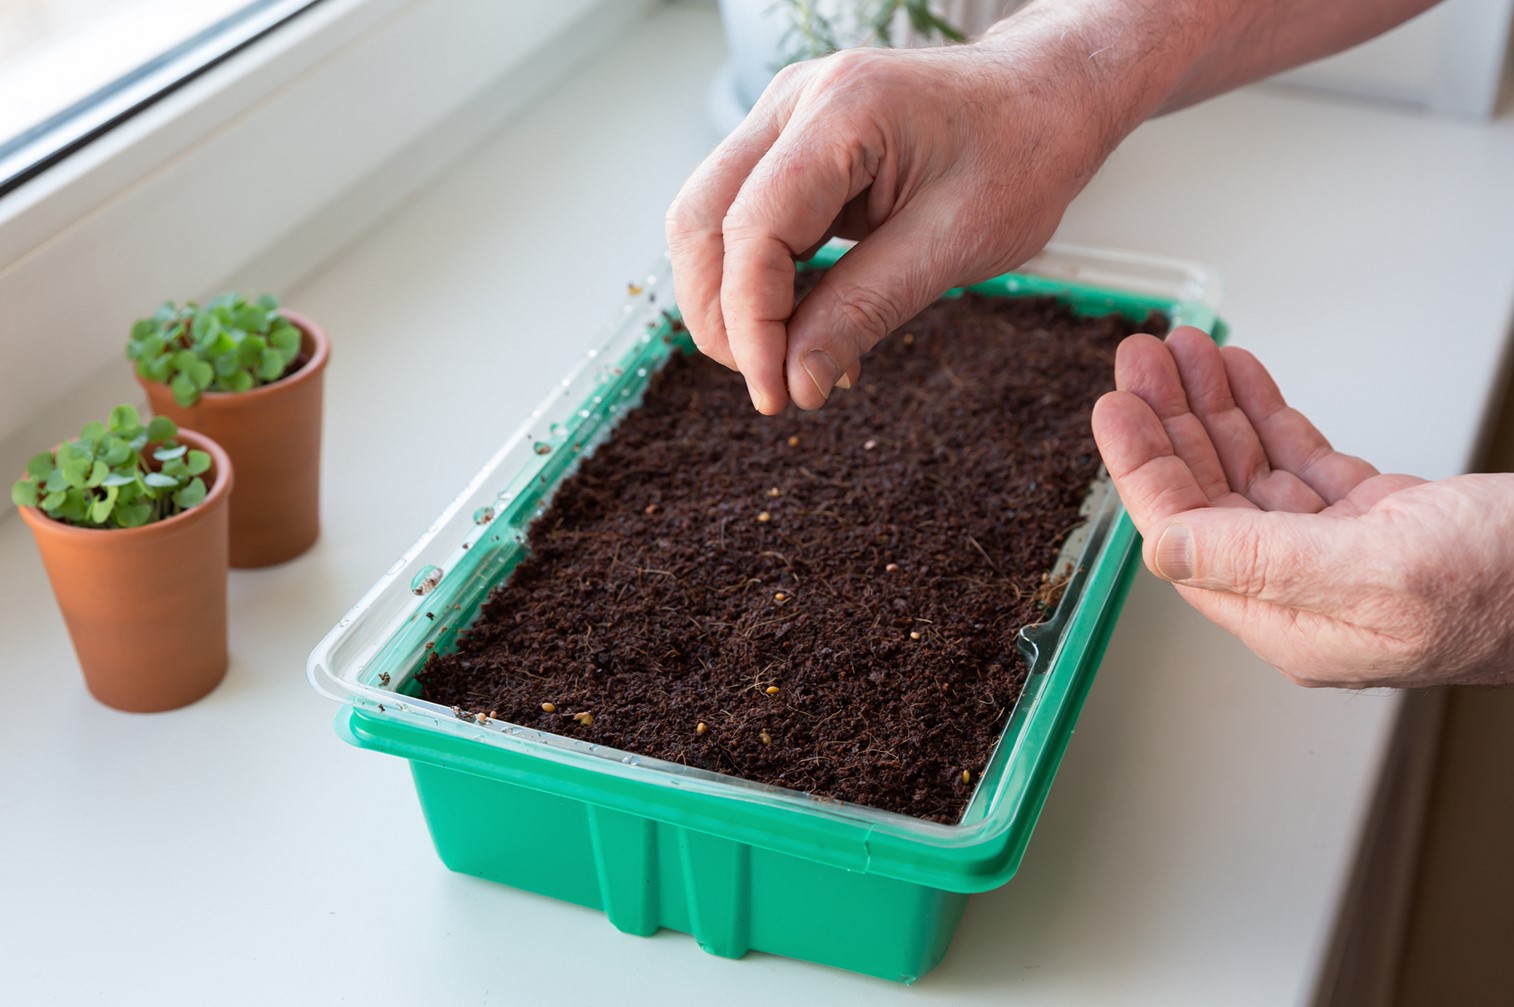
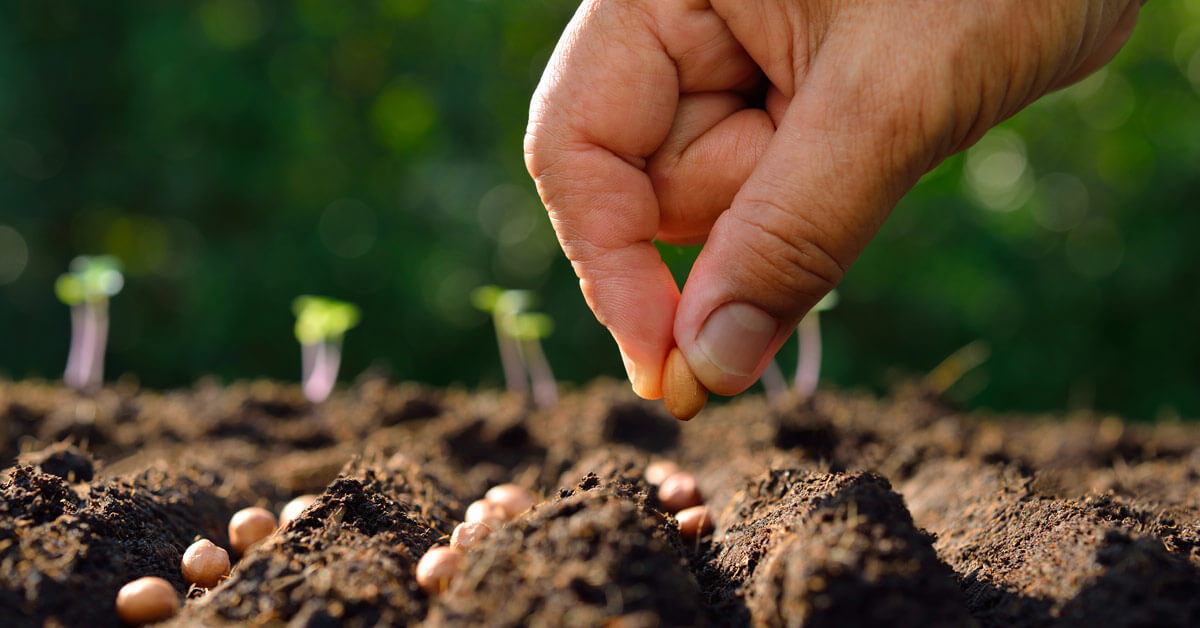
- Sow the Seeds: Sprinkle the thyme seeds over the surface of the seed-starting mix, ensuring even distribution. Lightly press the seeds into the soil, as they require some contact with the soil for optimal germination.
- Mist the Soil: Use a spray bottle to mist the soil surface gently. Thyme seeds are small and delicate, so avoid pouring water directly onto the seeds, which may displace them or cause them to wash away.
- Cover the Tray: Cover the seed-starting tray with clear plastic wrap or place a seedling dome over it to create a mini greenhouse effect. This helps to retain moisture and create a humid environment ideal for seed germination.
- Provide Light and Warmth: Place the tray in a warm and brightly lit location, such as near a sunny window or under grow lights. Thyme seeds require consistent warmth, around 70 to 75 degrees Fahrenheit (21 to 24 degrees Celsius), for optimal germination.
- Maintain Moisture: Check the moisture level of the soil regularly. The soil should be moist but not waterlogged. If it starts to dry out, mist the soil gently with water to keep it consistently moist.
- Remove the Cover: Once the thyme seeds have germinated and the seedlings have emerged, remove the plastic wrap or seedling dome. This allows for better airflow and reduces the risk of damping off, a fungal disease that can affect seedlings.
- Provide Adequate Light: Place the seedlings in a location with plenty of light, either natural sunlight or artificial grow lights. Aim for at least 12 to 14 hours of light per day to promote healthy growth.
- Harden Off the Seedlings: About a week before transplanting the thyme seedlings outdoors, gradually expose them to outdoor conditions. Start by placing them outside for short periods in a sheltered spot, gradually increasing the time and exposure to direct sun and wind over the course of a week.
Following these steps will give your thyme seeds the best chance of germination and healthy growth. Be patient and attentive, providing the necessary care and attention to your thyme seedlings as they develop. Soon enough, you’ll have strong and vigorous thyme plants ready for transplanting into your garden or containers.
Start thyme seeds indoors 6-8 weeks before the last frost date in your area. Use a well-draining soil mix and provide plenty of light for healthy seedling growth.
Tips for Successful Thyme Seed Germination
Thyme seeds can be somewhat challenging to germinate, but with the right techniques and care, you can increase your chances of successful germination. Here are some helpful tips to ensure successful thyme seed germination:
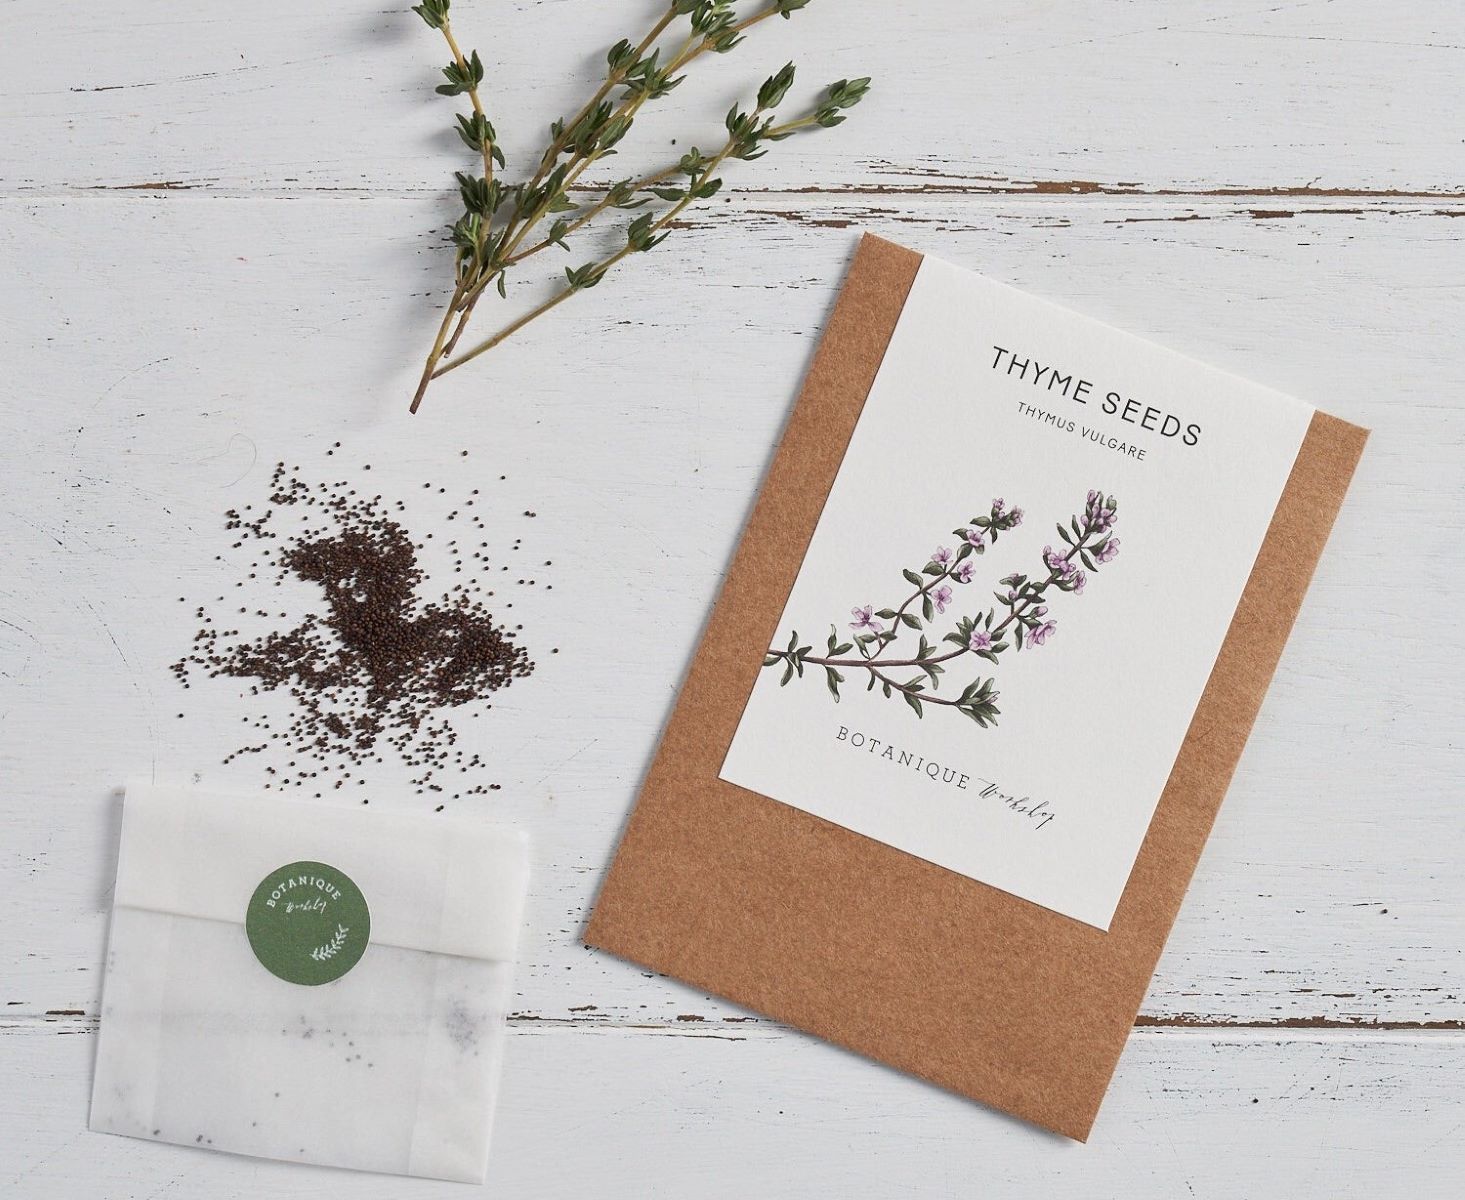
- Pre-Soak the Seeds: Thyme seeds have a hard outer shell that can inhibit germination. To help soften the seed coat and promote germination, you can pre-soak the seeds in lukewarm water overnight before sowing.
- Use a Sterile Seed Starting Mix: It’s essential to use a sterile seed starting mix to prevent the growth of harmful fungi or bacteria that can affect seed germination. You can purchase a pre-made seed starting mix or create your own using equal parts of vermiculite, perlite, and peat moss.
- Provide Consistent Moisture: Thyme seeds require consistent moisture for germination. Keep the seed starting mix moist, but avoid over-watering as it can lead to fungal problems. Water from the bottom by placing the seed tray in a shallow tray filled with water and allowing the soil to soak up the moisture.
- Maintain Uniform Temperatures: Fluctuating temperatures can hinder germination. Maintain a consistent temperature between 70 to 75 degrees Fahrenheit (21 to 24 degrees Celsius) throughout the germination process. Using a seedling heat mat can help provide ideal temperature conditions.
- Provide Adequate Light: Thyme seeds require light for germination. Place the seed tray in a location with bright, indirect light or use fluorescent grow lights to provide the necessary light intensity. Keep the lights on for 12 to 14 hours per day.
- Thin Out Crowded Seedlings: Once the thyme seedlings have emerged, thin out any overcrowded or weak seedlings. This allows the remaining seedlings to have enough space and resources to grow vigorously.
- Be Patient: Thyme seeds can take anywhere from 14 to 21 days to germinate, so be patient. Avoid the temptation to overwater or disturb the seeds during this period. Trust the process and provide the ideal conditions for successful germination.
- Label and Keep Records: It’s crucial to label your thyme seed trays with the date and variety to keep track of your seeds’ progress. Maintain a gardening journal to record your observations, such as germination rates, growth patterns, and any issues encountered.
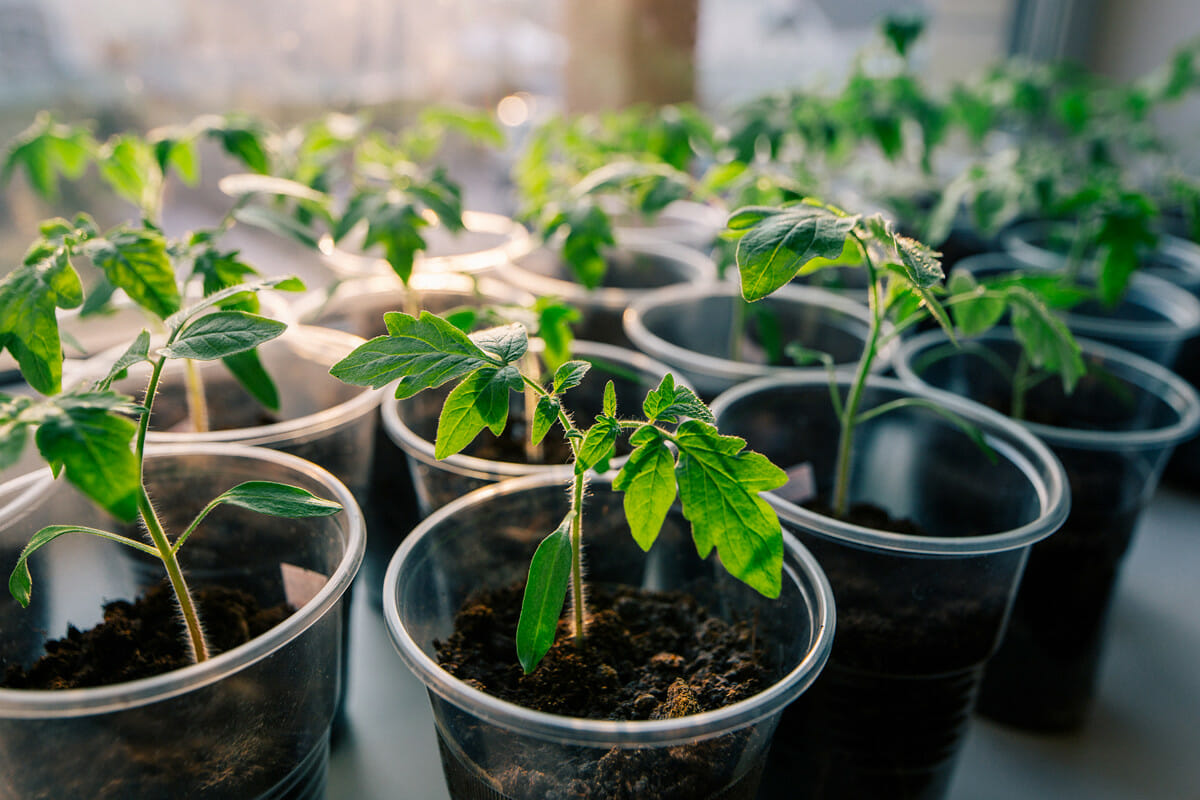
- Transplant with Care: When the thyme seedlings have developed several sets of true leaves and are large enough to handle, gently transplant them into individual pots or garden beds. Handle the delicate seedlings by their leaves to avoid damaging the fragile stem.
By following these tips and providing the optimal growing conditions, you can improve the germination rate of your thyme seeds. Remember to be patient, as germination times can vary, and with some nurturing and care, you’ll soon have healthy thyme seedlings ready for outdoor planting.
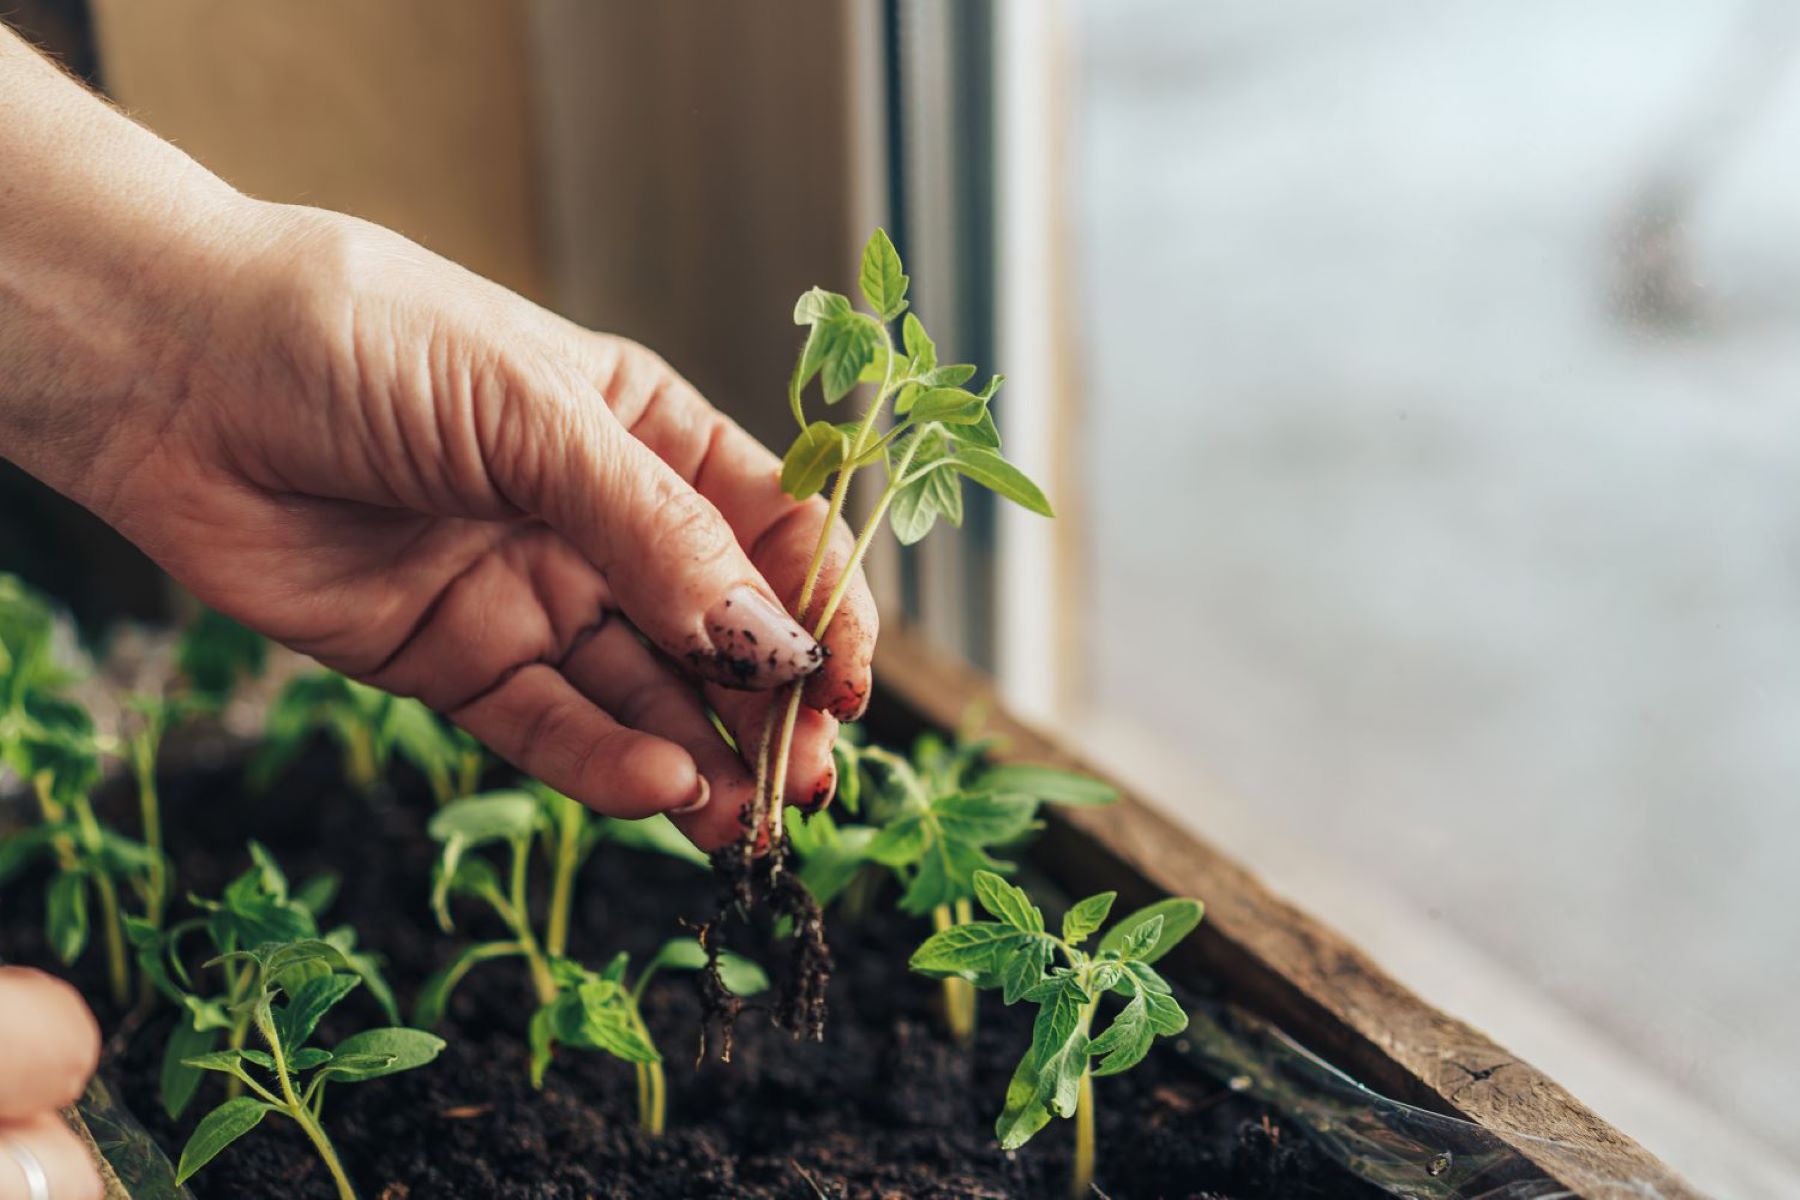
Transferring Thyme Seedlings Outdoors
Once your thyme seedlings have grown into healthy, robust plants, it’s time to transfer them outdoors and into their permanent growing location. Transplanting thyme seedlings requires proper preparation and care to ensure their successful transition. Here are some key steps to follow when transferring thyme seedlings outdoors:
- Select the Right Timing: Wait until all danger of frost has passed and the soil temperature consistently stays above 60 degrees Fahrenheit (15 degrees Celsius). In most regions, this is typically in the late spring or early summer.
- Prepare the Planting Area: Choose a sunny location in your garden or containers with well-draining soil. Thyme prefers slightly alkaline soil with a pH between 6.5 and 7.5. Amend the soil with compost or well-rotted manure to improve its fertility and drainage if necessary.
- Harden Off the Seedlings: Before transplanting, gradually acclimate the thyme seedlings to outdoor conditions. Start by placing them outdoors in a sheltered area for a few hours each day, gradually increasing the time and exposure to direct sunlight and wind over the course of a week.
- Prepare the Planting Holes: Dig holes in the planting area that are slightly larger than the root ball of each seedling. Space the holes about 12 to 18 inches (30 to 45 centimeters) apart to allow for proper air circulation and growth.
- Transplant the Seedlings: Gently remove the thyme seedlings from their containers, taking care not to damage the fragile roots. Place each seedling in a prepared hole, making sure the top of the root ball is level with the soil surface. Fill the hole with soil and lightly firm it around the base of the plant.
- Water Thoroughly: After transplanting, water the seedlings thoroughly to settle the soil around the roots and remove any air pockets. Provide enough water to moisten the root zone, but avoid overwatering, as thyme prefers slightly dry conditions.
- Maintain Proper Care: Continue to care for the transplanted thyme seedlings by providing consistent moisture, especially during dry spells. Thyme has shallow roots, so regular watering is crucial. Avoid overhead watering to prevent the foliage from staying wet, which can lead to fungal diseases.
- Protect from Pests: Monitor your thyme plants for common garden pests, such as aphids or snails, and take immediate action if any are detected. Consider using organic pest control methods or companion planting with pest-repellent herbs, like marigolds or lavender, to deter pests naturally.
- Harvest and Enjoy: As your thyme plants mature, you can begin harvesting the leaves for culinary or medicinal use. Prune the stems just above the growth nodes to encourage branching and new growth. Thyme is a perennial herb, so it will continue to thrive and provide you with fresh herbs for years to come.
By following these steps and providing proper care, your thyme seedlings will have a smooth transition into their outdoor growing environment. With time and attention, your thyme plants will flourish, adding flavor to your dishes and beauty to your garden.
Read more: When To Start Foxglove Seeds Indoors
Conclusion
Starting thyme seeds indoors is a wonderful way to kickstart your herb garden and ensure successful germination and growth. By following the right timing, providing ideal conditions, and practicing proper care, you can enjoy healthy thyme seedlings that will eventually thrive outdoors.
Starting thyme seeds indoors offers extended growing seasons, controlled environments, healthier seedlings, protection from pests and diseases, and flexibility in planting. These advantages make the extra effort well worth it and increase your chances of a bountiful harvest.
Remember to choose the right time based on your region’s last frost date, provide consistent moisture, maintain optimal temperature and light conditions, and give your seedlings a gradual transition to outdoor conditions through the hardening-off process.
Once your thyme seedlings are ready, transfer them outdoors to a sunny location with well-draining soil, and be sure to water, monitor for pests, and provide proper care to ensure their continued health and productivity.
With proper planning and attention, you’ll soon be rewarded with a thriving thyme plant that can be used to enhance your culinary creations, create herbal remedies, or simply add beauty to your garden landscape.
So, why wait? Start your thyme seeds indoors and embark on a rewarding journey of growing this versatile herb right from the comfort of your own home.
Frequently Asked Questions about When To Start Thyme Seeds Indoors
Was this page helpful?
At Storables.com, we guarantee accurate and reliable information. Our content, validated by Expert Board Contributors, is crafted following stringent Editorial Policies. We're committed to providing you with well-researched, expert-backed insights for all your informational needs.
0 thoughts on “When To Start Thyme Seeds Indoors”