Home>Garden Essentials>How To Harvest Arugula Seeds

Garden Essentials
How To Harvest Arugula Seeds
Modified: August 16, 2024
Learn how to harvest arugula seeds in your garden to ensure a bountiful future crop. Follow our step-by-step guide for successful seed collection.
(Many of the links in this article redirect to a specific reviewed product. Your purchase of these products through affiliate links helps to generate commission for Storables.com, at no extra cost. Learn more)
Introduction
Gardening enthusiasts who grow arugula often enjoy its fresh and peppery leaves in salads and other dishes. But did you know that arugula also produces small seeds that can be harvested and saved for future planting? Harvesting arugula seeds not only allows you to continue growing this flavorful green, but it also provides an opportunity to save money and expand your garden without relying on store-bought seeds.
In this article, we will explore the process of harvesting arugula seeds, from understanding the nature of arugula seeds to knowing when and where to harvest them. We will also discuss the tools and supplies needed, provide a step-by-step guide to harvesting arugula seeds, and offer tips and precautions to ensure a successful harvest.
Whether you are a seasoned gardener or just starting out, learning how to harvest arugula seeds is a valuable skill to have. So, let’s dive in and discover the joy of saving and growing your own arugula from seed!
Key Takeaways:
- Harvesting arugula seeds allows you to grow flavorful greens, save money, and expand your garden. Understanding seed nature, proper timing, and storage techniques ensures a successful harvest.
- By learning to harvest and store arugula seeds, you can become a self-sufficient gardener, preserve genetic diversity, and share the joy of growing arugula with others. Enjoy the satisfaction of nurturing your garden and reaping bountiful harvests!
Read more: When To Plant Arugula Seeds
Understanding Arugula Seeds
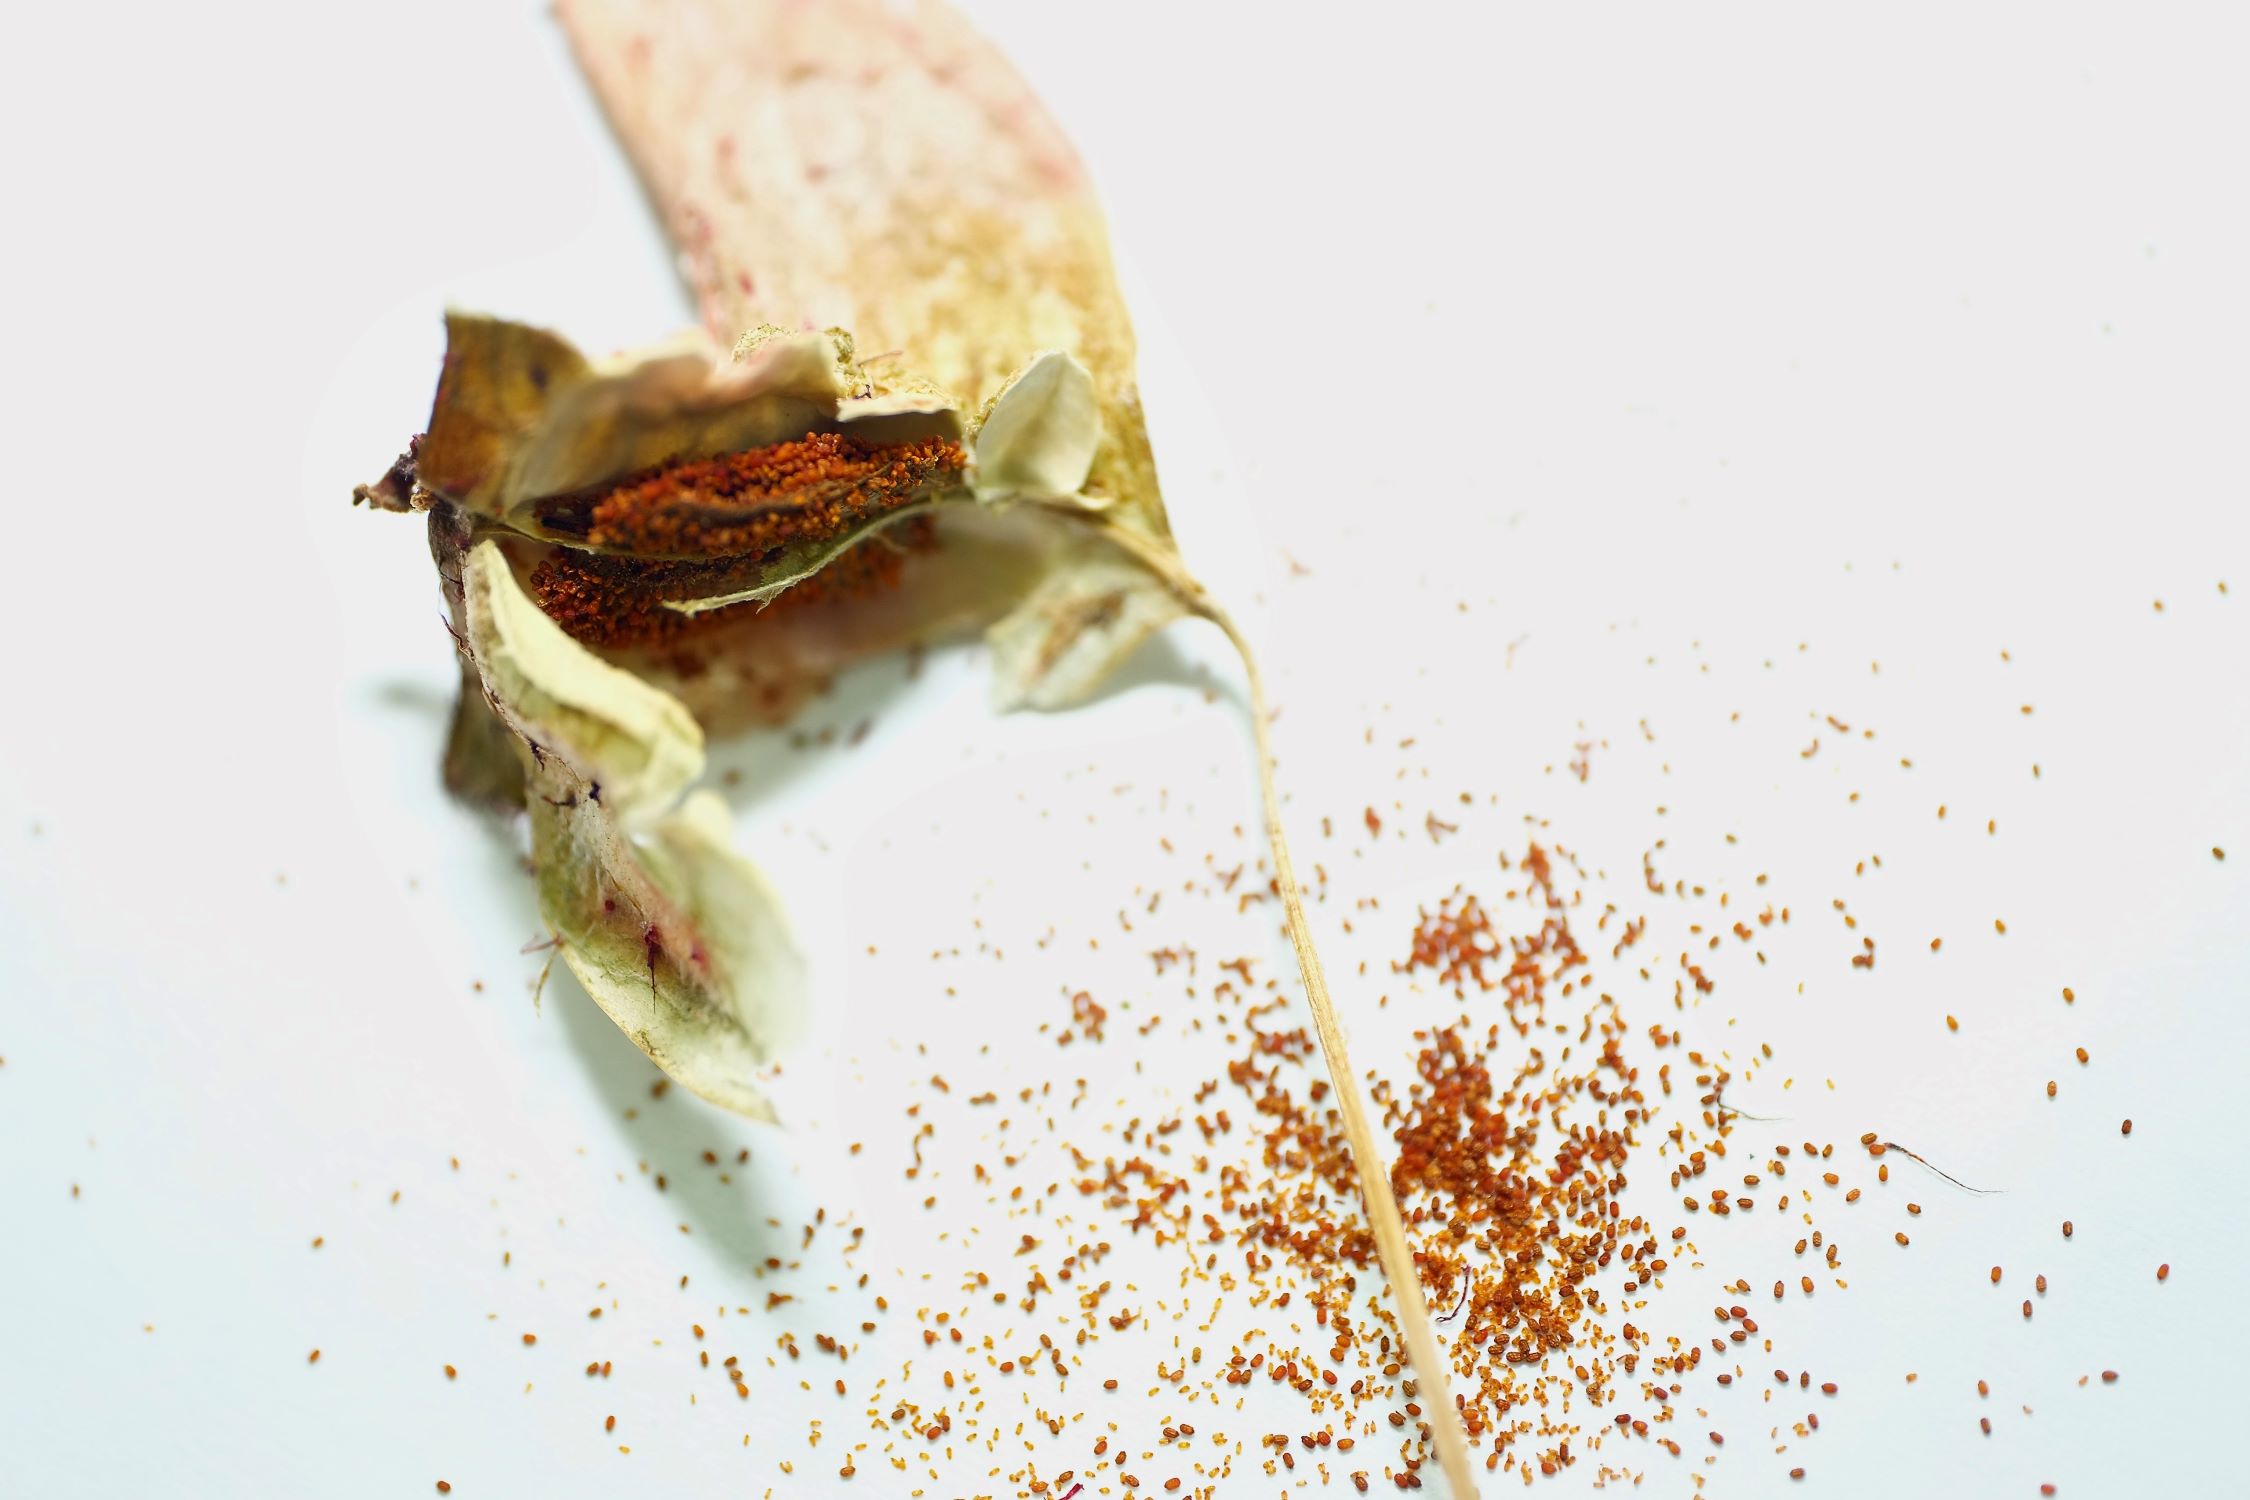
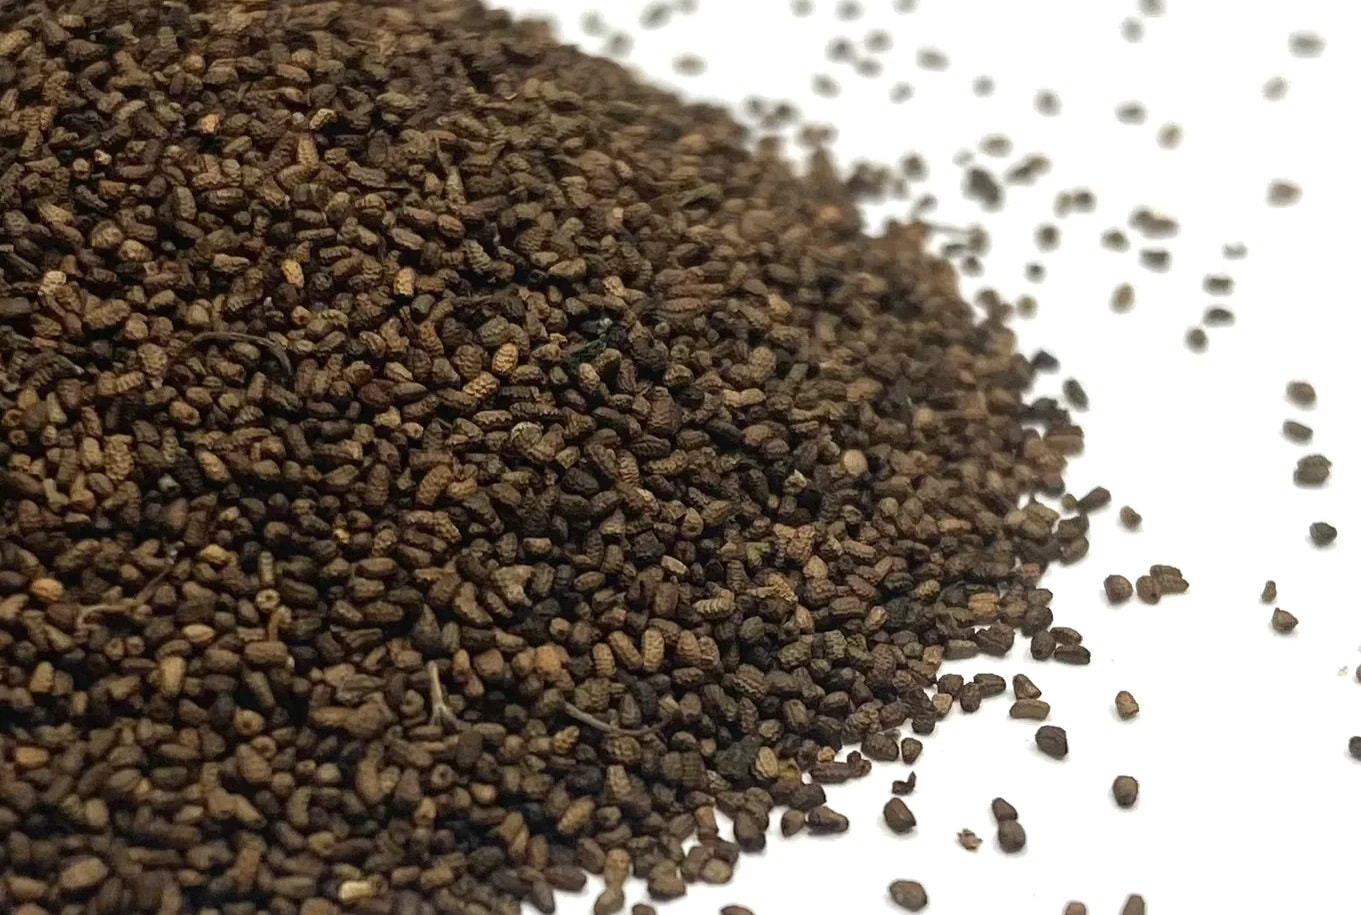
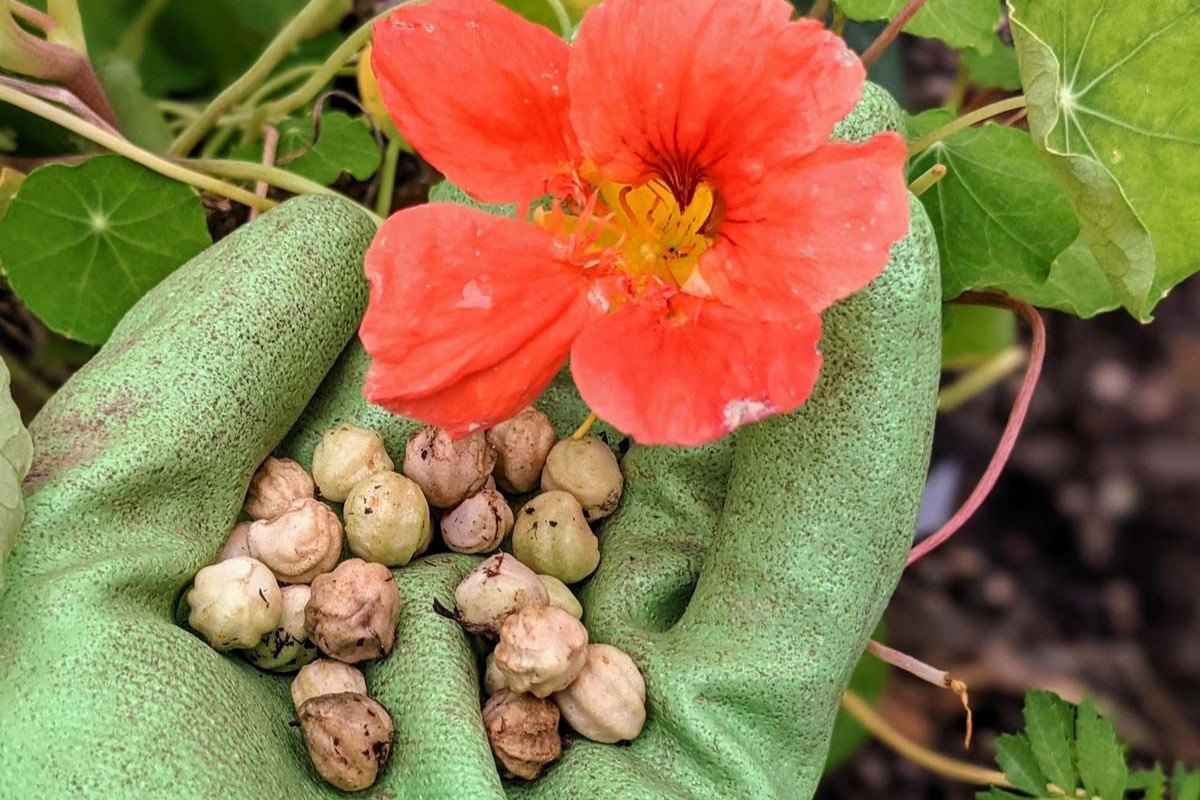
Before we delve into the process of harvesting arugula seeds, it’s important to understand the nature of these seeds. Arugula seeds are tiny, round, and brown in color. Each seed is encased in a small pod called a silique, which is formed after the arugula plant flowers and is pollinated.
Arugula is a self-pollinating plant, meaning it can pollinate itself without the help of insects or wind. This can be advantageous when it comes to saving seeds, as there is less chance of cross-pollination and the resulting seeds will be true to the parent plant.
The maturation period for arugula seeds is relatively short, usually taking about 4 to 6 weeks after flowering. During this time, the flowers will fade and dry, and the seed pods will start to turn brown and become brittle. It’s important to keep a close eye on the plants during this stage to ensure you harvest the seeds at the right time.
It’s worth noting that arugula is a cool-season crop, which means it thrives in cooler temperatures. If you live in an area with mild winters, arugula may even self-seed and produce new plants without the need for seed harvesting. However, if you want to expand your arugula patch or grow arugula in a different location, learning how to harvest and save the seeds will come in handy.
Now that we have a basic understanding of arugula seeds, let’s move on to the next section to learn when and where to harvest them.
When and Where to Harvest Arugula Seeds
Timing is crucial when it comes to harvesting arugula seeds. You want to wait until the seed pods are fully mature and dry before harvesting them. This usually occurs about 4 to 6 weeks after the arugula flowers have bloomed.
One way to determine if the seed pods are ready for harvest is by observing their color. Mature seed pods will turn brown and become brittle. If the pods are still green or soft, it means the seeds are not fully developed, and it’s best to leave them on the plant for a little longer.
Another way to test for seed maturity is by gently squeezing a few seed pods. If they crack open easily and release the seeds, it’s a sign that they are ripe and ready to be harvested. However, if the pods are resistant and do not crack open, it’s an indication that the seeds are still immature and need more time to develop.
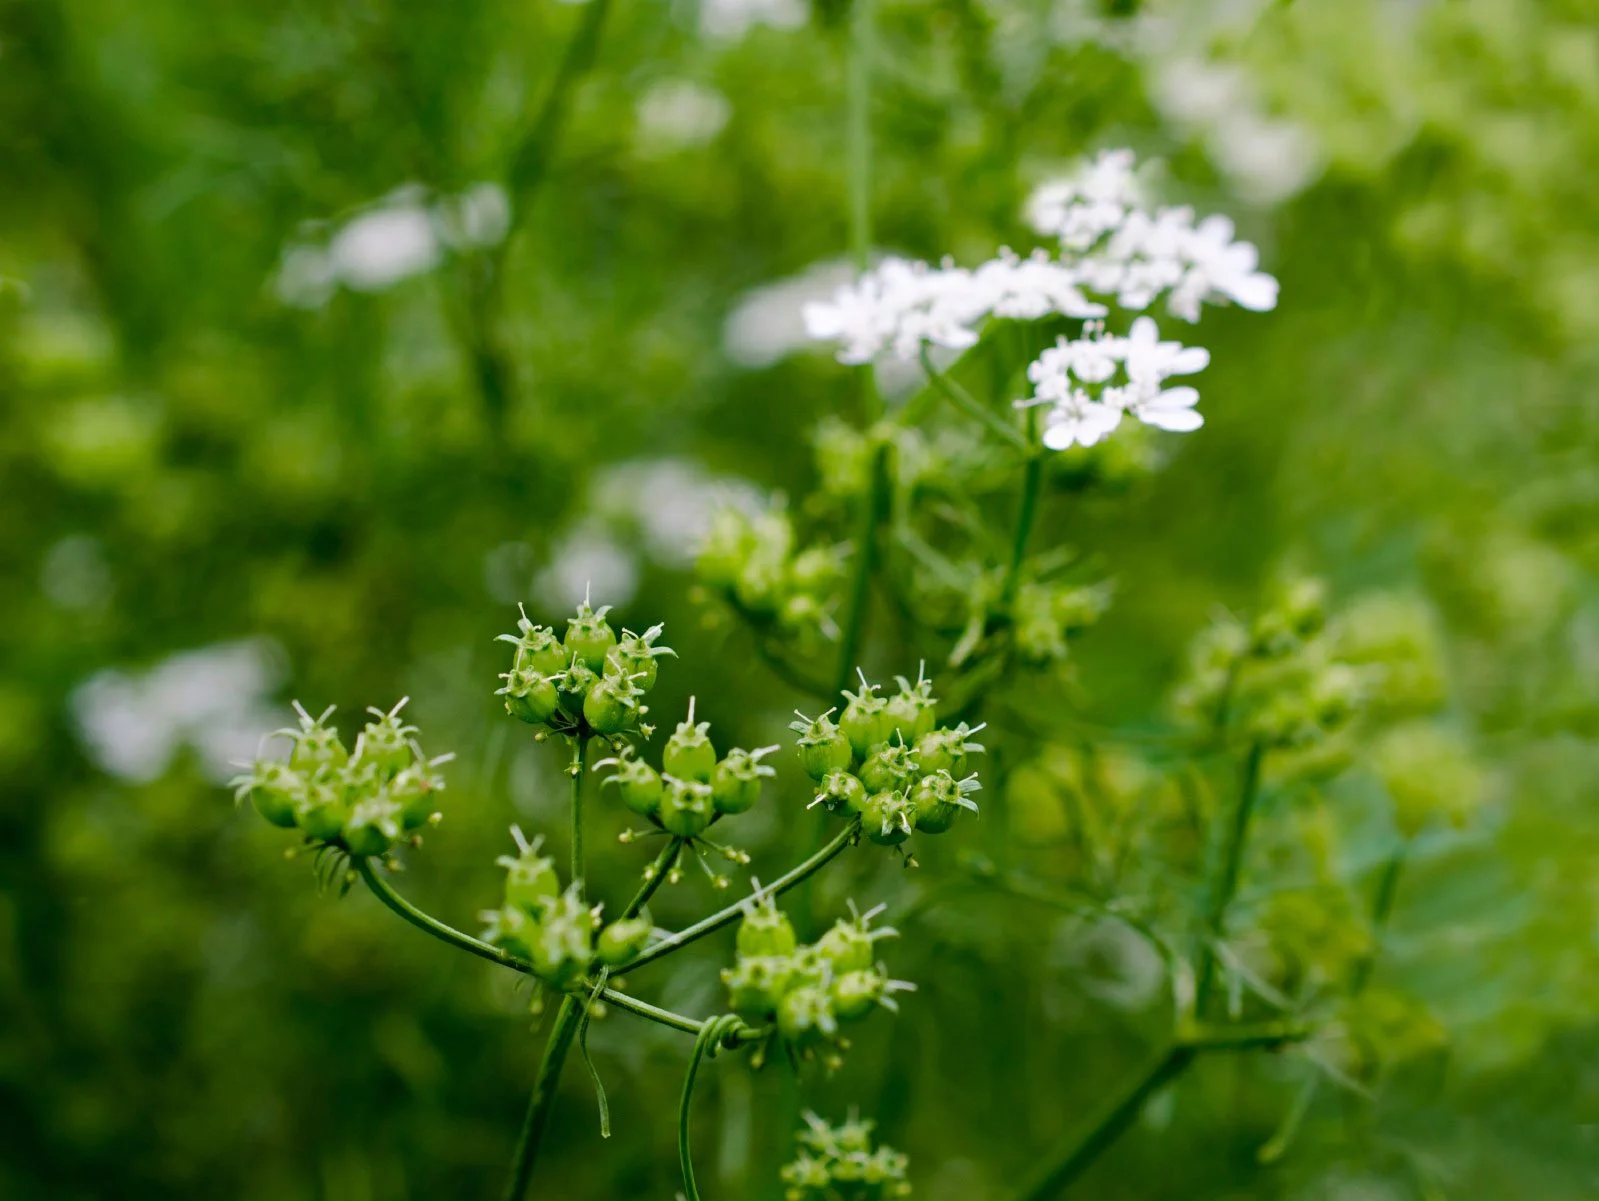
When it comes to the location of seed pods on the plant, they typically appear where the flowers once were. The seed pods will be clustered together and attached to the stem. Take a closer look at the plant and identify the areas where the brown, dry seed pods are most abundant.
It’s important to note that in some cases, arugula plants may continue to produce new flowers and seed pods even as you harvest the mature ones. This continuous growth can provide you with a steady supply of seeds throughout the growing season.
Now that we know when and where to harvest arugula seeds, let’s move on to the tools and supplies you’ll need for the seed harvesting process.
Tools and Supplies Needed
Harvesting arugula seeds requires minimal tools and supplies. Here are the essentials you’ll need:
- Gloves: Protect your hands from any prickly or sharp parts of the arugula plant. Gloves will also help minimize contact with the seed pods to prevent accidental damage.
- Scissors or Pruners: Use a pair of clean and sharp scissors or pruners to cut the seed pods from the arugula plant. Make sure to sanitize the blades before use to prevent the spread of any diseases.
- Container or Bag: Have a container or bag ready to collect the harvested seed pods. A small bowl or a paper bag works well for this purpose. Make sure it is clean and dry to avoid any moisture that could cause mold.
- Labels: It’s always a good idea to label your harvested seeds with the plant variety and the date of harvest. This will help you keep track of different seed batches and ensure their freshness.
These basic tools and supplies are easily accessible and will make the process of harvesting arugula seeds more efficient.
Now that we have gathered the necessary tools, let’s move on to the step-by-step guide for harvesting arugula seeds.
To harvest arugula seeds, wait for the seed pods to turn brown and dry on the plant. Then, gently crush the pods to release the seeds and collect them for storage.
Step-by-Step Guide to Harvesting Arugula Seeds
Follow these steps to successfully harvest arugula seeds:
- Wait for the Seed Pods to Mature: Monitor your arugula plants and wait until the seed pods are dry, brown, and brittle. This usually occurs about 4 to 6 weeks after flowering.
- Put on Gloves: Before you start harvesting, put on a pair of gloves to protect your hands from any prickly or sharp parts of the plant.
- Select and Cut the Seed Pods: Identify the mature seed pods on the arugula plant. Using clean and sharp scissors or pruners, cut the seed pods from the stem. Be careful not to damage the neighboring pods or the plant itself.
- Collect the Seed Pods: Place the harvested seed pods in a clean and dry container or bag. This will prevent any moisture from accumulating and causing mold. Consider labeling the container or bag with the variety and harvest date.
- Remove Excess Debris: Once you have collected all the seed pods, gently remove any excess debris like stems or dried leaves. This will ensure that you have clean seeds for storage.
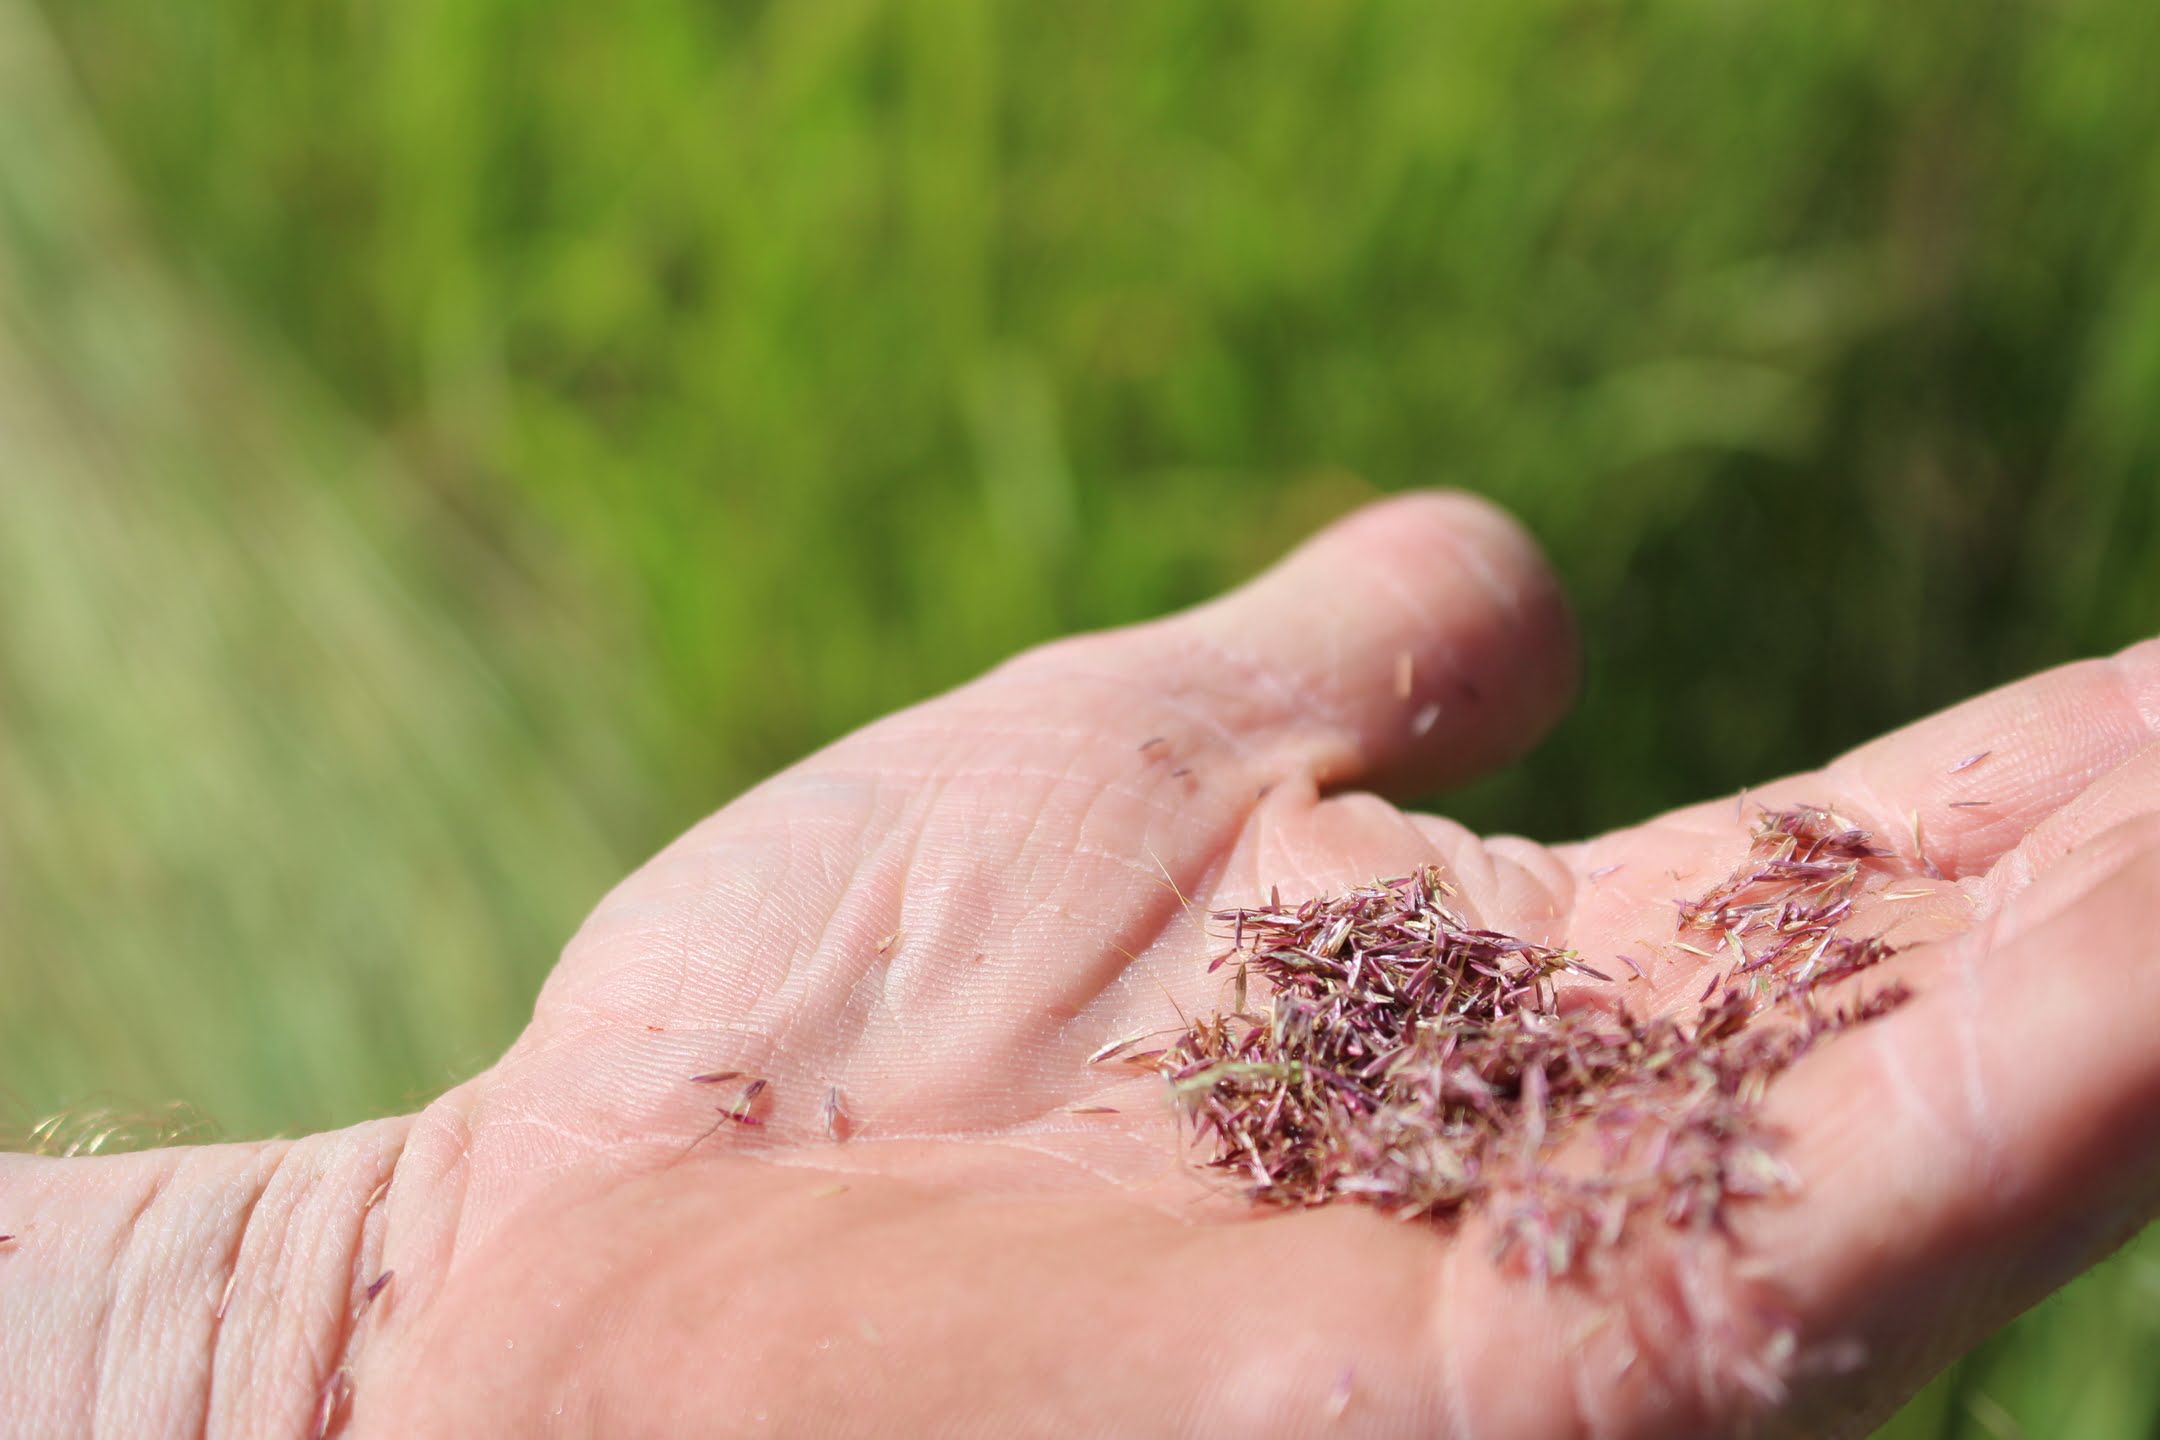
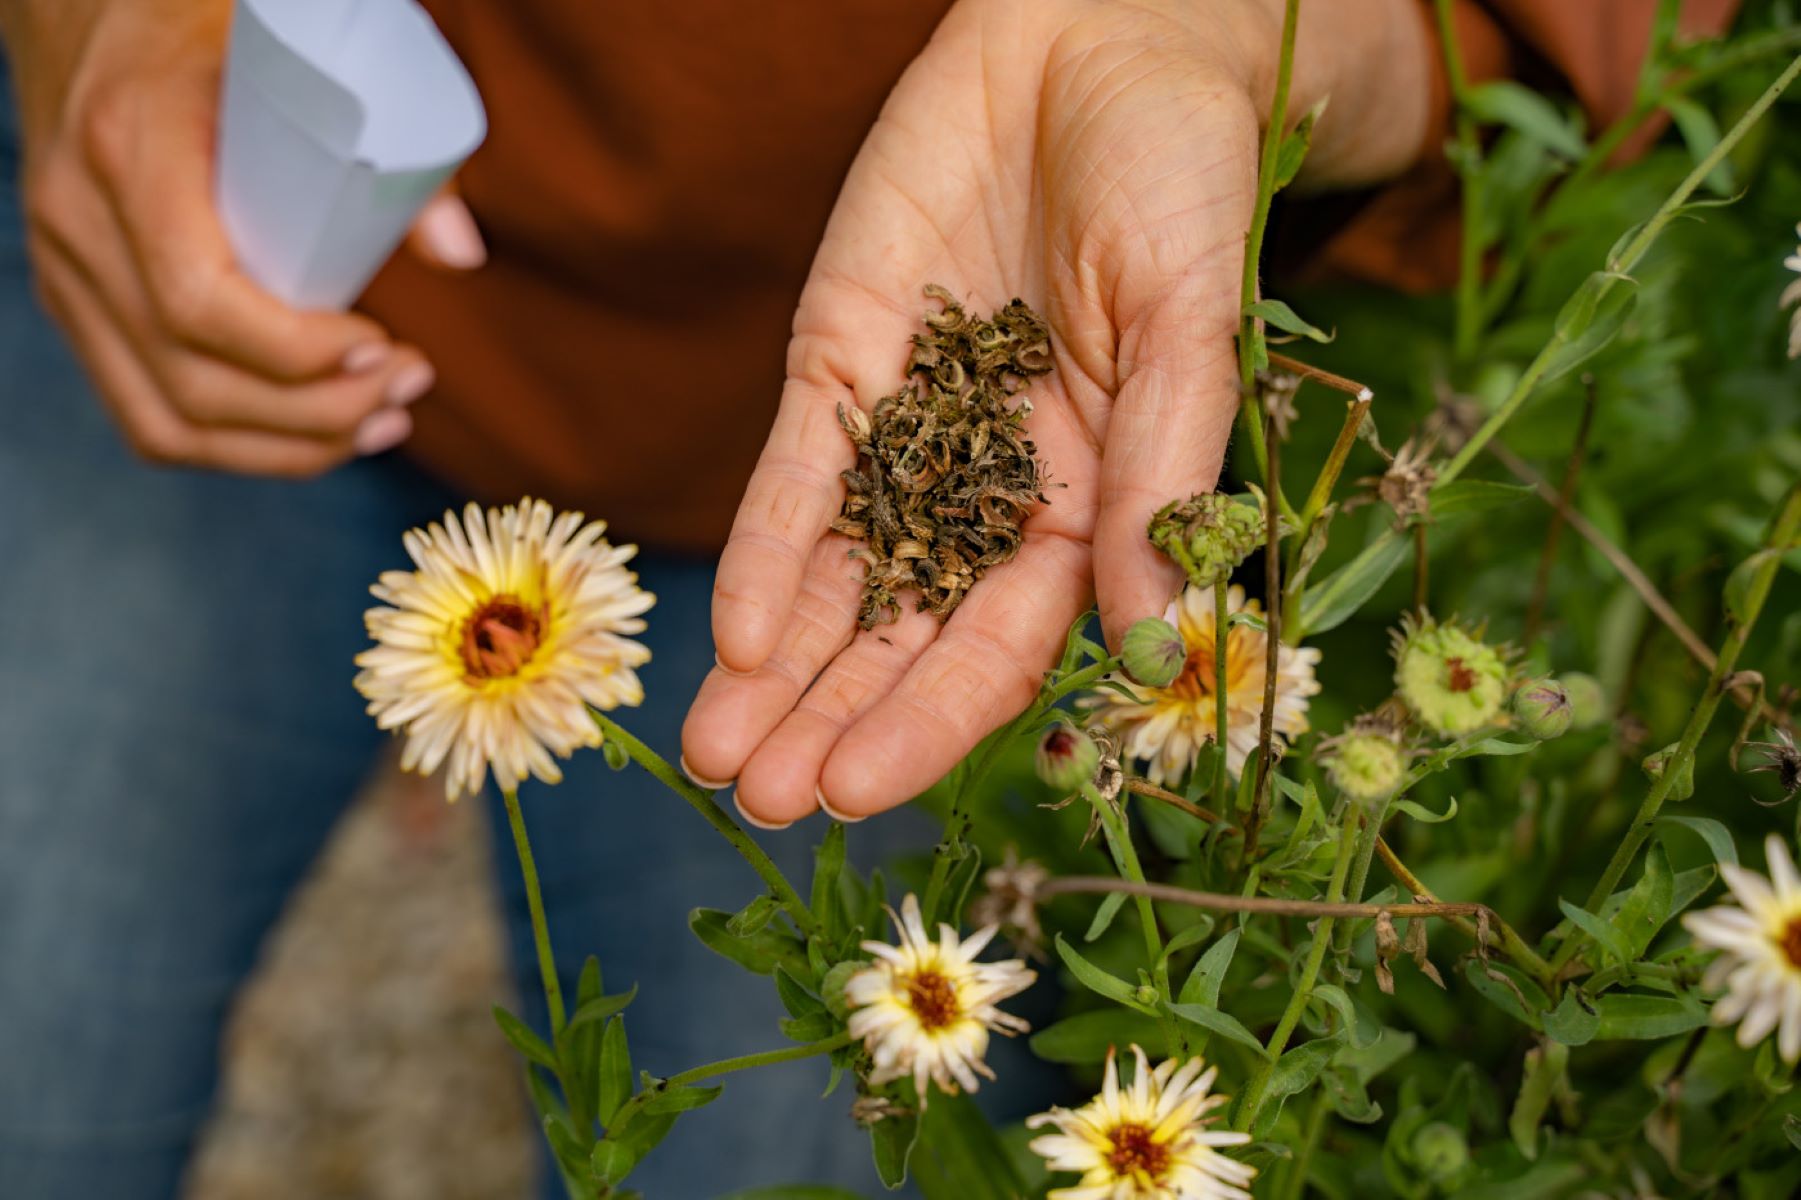
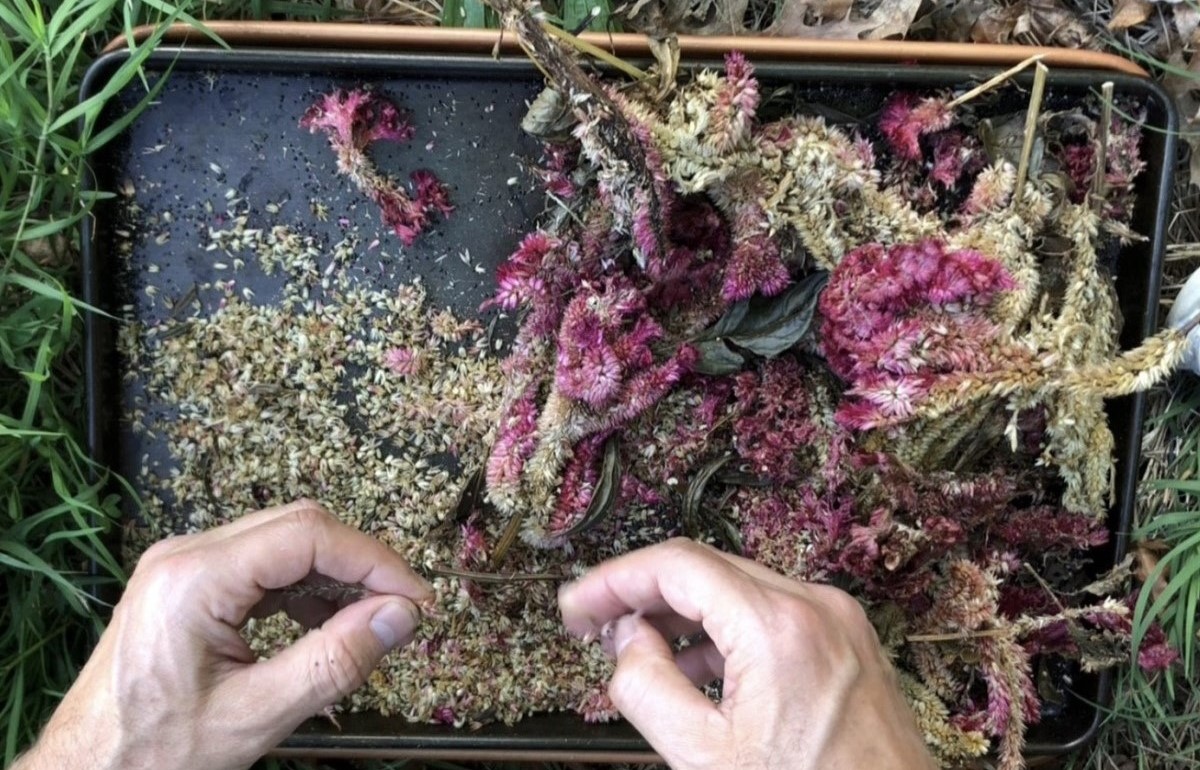
- Separate Seeds from Pods: To separate the seeds from the pods, you can do a process called winnowing. Hold a handful of seed pods and gently rub them between your hands or use a sieve to separate the seeds. The lightweight seeds will fall out while the empty pods will be left behind.
- Clean and Dry the Seeds: After separating the seeds from the pods, you may notice some chaff or smaller debris mixed with the seeds. To clean the seeds, gently blow on them or use a fine mesh sieve to remove any remaining debris.
- Store the Seeds: Transfer the cleaned arugula seeds into a dry and airtight container. You can use small envelopes, glass jars, or sealable plastic bags for storage. Remember to label the containers with the variety and harvest date.
By following these steps, you will successfully harvest and store arugula seeds for future planting.
Next, let’s move on to the cleaning and storing process for arugula seeds.
Read more: How To Harvest Rosemary Seeds
Cleaning and Storing Arugula Seeds
Proper cleaning and storing of arugula seeds is crucial to ensure their viability and longevity. Follow these steps to clean and store your harvested arugula seeds:
- Remove Any Remaining Debris: After separating the seeds from the pods, inspect them for any remaining debris. Gently blow on the seeds or use a fine mesh sieve to remove any chaff or small fragments.
- Ensure Dryness: Before storing the seeds, ensure that they are completely dry. Place the seeds in a dry area with good air circulation, such as a well-ventilated room or an envelope left open. Avoid exposing the seeds to direct sunlight or excessive moisture, as this can reduce their viability.
- Store in Airtight Containers: Once the seeds are dry, transfer them to airtight containers such as envelopes, glass jars, or sealable plastic bags. These containers will help protect the seeds from moisture and pests, ensuring their quality over time.
- Label the Containers: Label each container with the variety of arugula and the date of harvest. This information will be useful when selecting seeds for future planting.
- Find Suitable Storage Conditions: Store the containers in a cool, dark, and dry place. A temperature range between 32°F (0°C) and 50°F (10°C) is ideal for seed storage. Avoid storing the seeds in areas prone to temperature fluctuations, such as near radiators or in the kitchen.
- Regularly Check for Viability: Over time, it’s a good practice to periodically perform a seed germination test to check the viability of your stored arugula seeds. This will help you determine their potential for successful germination in future seasons.
By following these cleaning and storage practices, you can ensure the longevity and viability of your arugula seeds, allowing you to enjoy endless harvests for years to come.
Before we conclude, let’s go over some additional tips and precautions to keep in mind when harvesting arugula seeds.
Tips and Precautions
When it comes to harvesting arugula seeds, here are some tips and precautions to keep in mind:
- Start with Healthy Plants: Begin the seed harvesting process with healthy and disease-free arugula plants. This will ensure that you are collecting seeds from strong and robust plants, increasing the chances of successful future growth.
- Practice Proper Sanitization: Before harvesting the seeds, make sure to sanitize your tools, such as scissors or pruners, to prevent the spread of any diseases between plants.
- Save Seeds from Multiple Plants: To promote genetic diversity, consider harvesting seeds from multiple arugula plants. This will help maintain a strong and adaptable arugula population in your garden.
- Allow Some Pods to Remain: Leave a few seed pods on the plant to fully mature and dry. This will ensure a future supply of seeds and allow for self-seeding in the garden if desired.
- Keep Seeds Dry and Cool: Moisture and heat can significantly reduce the viability of arugula seeds. Store them in a cool and dry place to maintain their quality for an extended period.
- Keep Notes: Throughout the process of harvesting arugula seeds, keep notes on the plants, the seed pods, and any relevant observations. These records will be valuable for future reference and improving your seed-saving techniques.
- Know the Seed Lifespan: Arugula seeds can remain viable for up to five years if stored properly. However, it’s always best to use the seeds within the first two or three years for the highest germination rates.
Remember, the art of seed saving requires patience and practice. Don’t be discouraged if you encounter challenges along the way. Each season, you’ll learn more about the specific characteristics of arugula seeds and become a more skilled seed saver.
Now that you have a thorough understanding of how to harvest and store arugula seeds, you can enjoy the satisfaction of growing your own arugula from seed and sharing it with others.
Happy seed harvesting!
Conclusion
Harvesting arugula seeds is a rewarding endeavor that allows you to continue growing this flavorful green while saving money and expanding your garden. By understanding the nature of arugula seeds, knowing when and where to harvest them, and following the proper techniques for cleaning and storing, you can ensure a successful seed harvest.
Armed with the necessary tools and supplies and armed with the step-by-step guide we provided, you now have the knowledge and confidence to embark on your arugula seed harvesting journey. Remember to exercise caution, practice good hygiene, and pay attention to the well-being of your plants throughout the process.
By harvesting and saving arugula seeds, you not only gain a sustainable source of seeds but also contribute to the preservation of the arugula’s unique traits and genetic diversity. This knowledge empowers you to become a more self-sufficient gardener who can share the joy of growing arugula with family, friends, and other gardening enthusiasts.
So, roll up your sleeves, put on your gloves, and start harvesting those arugula seeds. With each successful harvest, you’ll not only reap the rewards of a delicious arugula crop but also deepen your connection to the natural world and the incredible journey of cultivation.
Now go forth and nurture your garden as it provides you with an abundance of fresh arugula and bountiful arugula seeds for years to come!
Frequently Asked Questions about How To Harvest Arugula Seeds
Was this page helpful?
At Storables.com, we guarantee accurate and reliable information. Our content, validated by Expert Board Contributors, is crafted following stringent Editorial Policies. We're committed to providing you with well-researched, expert-backed insights for all your informational needs.

0 thoughts on “How To Harvest Arugula Seeds”