Home>Garden Essentials>How To Harvest Garlic Seeds
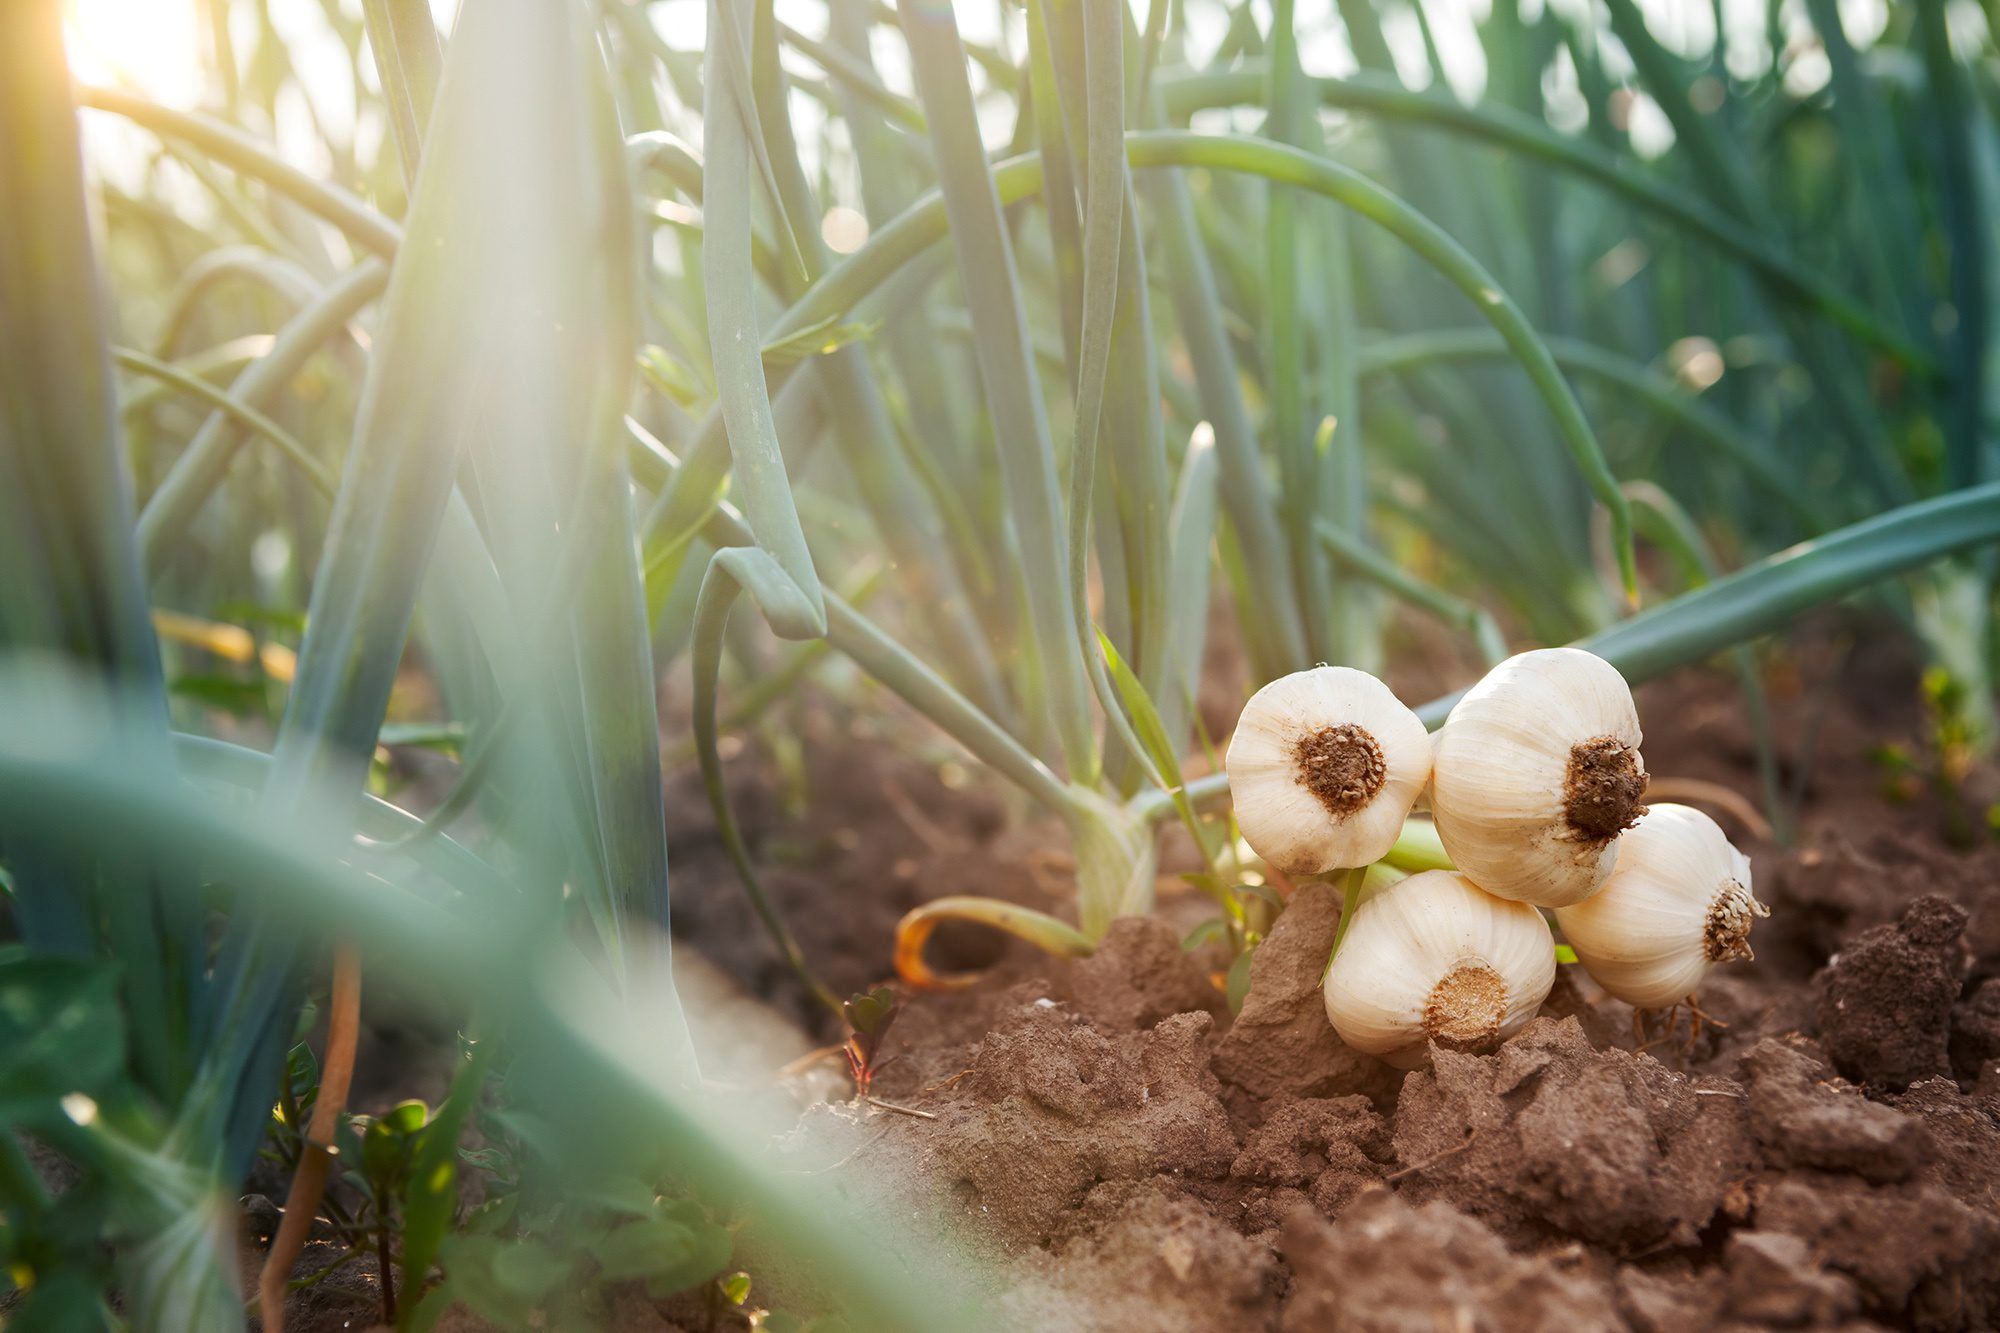

Garden Essentials
How To Harvest Garlic Seeds
Modified: October 25, 2024
Learn how to harvest garlic seeds from your garden and ensure a bountiful harvest. Follow our step-by-step guide for successful seed collection.
(Many of the links in this article redirect to a specific reviewed product. Your purchase of these products through affiliate links helps to generate commission for Storables.com, at no extra cost. Learn more)
Introduction
Welcome to the fascinating world of gardening and the art of harvesting garlic seeds! If you’re a garden enthusiast, you probably already know about the joy of nurturing plants and the satisfaction of reaping the rewards of your labor. But have you ever considered the possibility of growing garlic from seeds? It’s a lesser-known method of propagation, but one that can be incredibly rewarding.
In this article, we will explore the process of harvesting garlic seeds, also known as bulbils. We’ll delve into why you might want to give it a try, when to harvest the seeds, and the step-by-step process of harvesting and storing them.
Garlic is not only a versatile and flavorful culinary ingredient, but it also has numerous health benefits. From boosting the immune system to reducing the risk of heart disease, this aromatic bulb holds a special place in our kitchens and gardens. Growing garlic from seed can be a rewarding experience that allows you to experience the full life cycle of the plant.
So, let’s dive in and discover the magical world of garlic seeds!
Key Takeaways:
- Harvesting garlic seeds offers gardeners genetic diversity, cost-effective propagation, and the joy of preserving unique varieties. It’s a rewarding journey that allows for experimentation and the exploration of diverse garlic flavors.
- By carefully timing the harvest, preparing for the process, and storing the bulbils properly, gardeners can enjoy the satisfaction of growing their own unique garlic varieties. The journey from harvest to planting offers valuable lessons and experiences in gardening.
Read more: How To Harvest Rosemary Seeds
What are Garlic Seeds?
Garlic seeds, also known as bulbils, are a unique method of growing garlic from seed rather than from cloves. Garlic produces bulbils in its flower stalk, known as garlic scapes, which are small aerial bulblets. These bulbils serve as a means of reproduction and can be harvested and planted to grow new garlic plants.
Unlike traditional garlic cloves, which are the most common method of propagation, garlic seeds offer a different approach to growing garlic. While cloves produce genetically identical plants, garlic seeds can result in some genetic variation, allowing for the possibility of developing new varieties and flavors.
The size of garlic bulbils can vary, ranging from pea-sized to marble-sized. They come in different colors, including green, purple, or white. When planted, these bulbils will sprout and eventually develop into mature garlic bulbs, just like cloves.
It’s important to note that growing garlic from seeds can take longer than growing from cloves. It typically takes an additional year or two for bulbs grown from seed to reach maturity. However, the process can be a rewarding and fascinating experience for gardeners looking to experiment with new varieties or preserve unique garlic genetics.
Whether you’re an avid gardener or just starting out, exploring the world of garlic seeds can offer you a deeper understanding and appreciation for this flavorful bulb. Let’s now delve into the reasons why you might want to consider harvesting garlic seeds for your own garden.
Why Harvest Garlic Seeds?
Harvesting garlic seeds, or bulbils, offers several advantages for gardeners and garlic enthusiasts. Although growing garlic from cloves is the most popular method, here are a few reasons why you might want to consider harvesting garlic seeds for your garden:
1. Genetic Diversity: Growing garlic from seeds allows for the potential development of new varieties and flavors. Each bulbil represents a unique genetic combination, which can result in garlic bulbs with different characteristics such as taste, size, and color.
2. Preserving Unique Varieties: Some garlic cultivars are rare and not readily available as cloves. By harvesting and planting bulbils, you can preserve and propagate these unique garlic varieties, ensuring their continued existence in your garden.
3. Sustainability: Harvesting garlic seeds reduces the reliance on cloves as the primary source of propagation. By diversifying the methods of growing garlic, you contribute to the sustainability of garlic cultivation and reduce the risk of relying solely on clove availability.
4. Cost-effective Propagation: Garlic cloves can be expensive to purchase, especially if you’re looking for specific varieties. Harvesting and planting bulbils allows you to multiply your garlic stock without requiring a significant financial investment.
5. Educational Experience: Growing garlic from seeds offers a unique learning opportunity for gardeners. It provides a chance to observe the complete life cycle of garlic, from seed to bulb, and gain a deeper understanding of the plant’s growth and development.
6. Experimentation and Discovery: Harvesting garlic seeds gives you the freedom to experiment and discover new garlic flavors. By planting bulbils and observing the resulting plants, you may stumble upon unique combinations that delight your taste buds and add excitement to your culinary creations.
While growing garlic from seeds requires patience and a longer time frame for maturity, the rewards can be well worth the effort. It opens up a world of possibilities for exploring the diversity of garlic and enjoying the satisfaction of growing your own unique varieties. Now that we understand the advantages of harvesting garlic seeds, let’s delve into the ideal time for harvesting.
When to Harvest Garlic Seeds?
The timing of harvesting garlic seeds, or bulbils, is crucial to ensure optimal growth and development. Garlic plants go through different stages of growth, and the right time to harvest bulbils depends on the specific stage you’re targeting.
The first important milestone in the garlic growth cycle is the development of garlic scapes. Scapes are the long, curly flower stalks that emerge from the center of the garlic plant. They typically appear in late spring or early summer, depending on your specific location and climate. These scapes play a vital role in the production of bulbils, making them an essential indicator for the timing of harvest.
It’s recommended to wait until the garlic scapes have fully developed before harvesting bulbils. This stage is typically reached when the scapes have made a full curl or formed a loop, but before they start to straighten and elongate. The bulbils are most mature and viable during this period, ensuring a higher success rate when replanting them.
Harvesting bulbils too early may lead to immature seeds, resulting in less viable plants and a lower chance of successful germination. On the other hand, waiting too long to harvest may cause the bulbils to fall off or become overripe, leading to potential loss of genetic material.
To determine the optimal time for harvesting bulbils, carefully observe your garlic plants and evaluate the stage of their scapes. When you see that the scapes have formed a complete loop and are starting to straighten slightly, it’s time to gather the bulbils for harvest.
Remember that the timing of garlic seed harvest can vary depending on your location, climate, and specific garlic variety. It’s always a good idea to consult local gardening resources or experienced gardeners in your area to get more precise guidance on the ideal timing for harvesting garlic seeds.
Now that we’ve covered the timing of garlic seed harvest, let’s move on to the steps involved in the actual process of harvesting bulbils.
Steps to Harvest Garlic Seeds
Harvesting garlic seeds, or bulbils, requires a few simple steps. Although it may seem daunting at first, the process is relatively straightforward. Here is a step-by-step guide to successfully harvest and preserve garlic seeds:
1. Preparing for Harvesting:
Before you start harvesting, make sure you have the necessary tools handy. These may include gardening gloves, scissors or pruners, a bucket or container for collecting the bulbils, and a clean, dry cloth or paper towel for drying them later. It’s also a good idea to choose a dry and sunny day to harvest the bulbils.
2. Harvesting Garlic Scapes:
Start by identifying the garlic scapes, which are the curly flower stalks that emerge from the garlic plants. Once the scapes have formed a full curl or loop, use the scissors or pruners to cut them off near the base of the plant. Be careful not to damage the leaves or bulb of the garlic plant.
3. Collecting the Bulbils:
After removing the scapes, take them to a clean, dry surface. Gently rub or shake the scapes to dislodge the bulbils. The bulbils will vary in size and color, and you can collect them directly into the bucket or container. Be mindful of any debris or unwanted material and discard them as you go.
4. Storing Garlic Bulbils:
Once you have gathered all the bulbils, separate any large chunks or debris from the harvested material. Spread the bulbils in a single layer on a clean, dry cloth or paper towel, allowing them to air dry for a few days. Make sure to place them in a well-ventilated area away from direct sunlight.
After the bulbils are thoroughly dried, transfer them to a breathable container or envelope. Label the container with the garlic variety and the date of harvest for future reference. Store the bulbils in a cool, dry, and dark place until you’re ready to plant them in the following growing season.
By following these simple steps, you can successfully harvest and preserve garlic seeds for future planting. Remember to choose healthy and disease-free garlic plants to ensure the quality of the bulbils. With patience and care, you’ll be able to nurture these seeds into beautiful and flavorful garlic plants. Now it’s time to take your first steps in the exciting journey of growing garlic from seeds!
After the garlic plant flowers, allow the flower head to dry on the plant. Once the flower head is completely dry, carefully remove the seeds and store them in a cool, dry place for planting in the fall.
Read more: How To Harvest Cilantro Seeds
Preparing for Harvesting
Before embarking on the process of harvesting garlic seeds, it is essential to make necessary preparations. Taking the time to prepare beforehand will help ensure a smooth and successful harvest. Here are some steps to follow when preparing for the garlic seed harvest:
1. Selecting the Right Garlic Plants:
Choose healthy, vigorous garlic plants that have been growing well throughout the season. Look for plants with strong foliage and well-developed bulbs. Avoid selecting plants that show signs of disease or pests, as this can impact the quality of the bulbils.
2. Timing the Harvest:
As mentioned earlier, timing is crucial when it comes to harvesting garlic seeds. Keep a close eye on the garlic plants and monitor the development of the scapes. Wait until the scapes have formed a complete curl or loop before proceeding with the harvest. This indicates that the bulbils have reached maturity and are ready for collection.
3. Gathering the Necessary Tools:
Ensure you have all the tools and supplies you will need for the harvest. These may include gloves to protect your hands, scissors or pruners to trim the scapes, a bucket or container to collect the bulbils, and a clean, dry cloth or paper towel for drying the bulbils. Having everything prepared in advance will save time and make the process more efficient.
4. Choosing the Right Harvesting Conditions:
Select a day with dry weather conditions for the garlic seed harvest. Wet or damp conditions can make the process messy and increase the chances of mold or fungal growth. Also, choose a time of day when the plants are dry to minimize any moisture on the bulbils.
5. Familiarizing Yourself with the Harvesting Technique:
Take some time to familiarize yourself with the proper technique for harvesting garlic seeds. Learn where to cut the scapes and how to separate the bulbils from the stalks effectively. Having a clear understanding of the process will help ensure that you harvest the bulbils correctly without damaging the garlic plants or losing any valuable seeds.
Taking these steps to prepare for the harvest will set you up for success and make the process more enjoyable. Proper preparation will help maintain the quality of the garlic bulbils and ensure that you have optimal conditions for their storage and subsequent planting. Now that you are prepared, let’s move on to the exciting task of harvesting garlic scapes and collecting the bulbils!
Harvesting Garlic Scapes
One of the key steps in harvesting garlic seeds is the collection of garlic scapes. These curly flower stalks are not only visually appealing but also provide the source of bulbils for propagation. Here’s a step-by-step guide on how to harvest garlic scapes:
1. Wait for the Right Time:
Prior to harvesting scapes, it is important to ensure they have reached the appropriate stage of growth. Wait until the scapes have formed a complete curl or loop, indicating that they have matured and are ready for harvest. This typically occurs a few weeks after the scapes have emerged from the garlic plants.
2. Inspect the Scapes:
Before cutting any scapes, take a moment to assess their quality and condition. Look for scapes that are firm, healthy, and free of any signs of disease or pests. Avoid harvesting scapes that appear damaged or discolored, as they may not yield healthy bulbils.
3. Use Sharp Scissors or Pruners:
To harvest the scapes, carefully snip them off at the base using sharp scissors or pruners. Cut the scape below the point where it emerges from the garlic plant, taking care not to damage the leaves or the bulb. It’s advisable to sanitize your cutting tools with alcohol or a bleach solution before and after each use to minimize the risk of spreading any diseases.
4. Collect the Harvested Scapes:
Place the harvested scapes in a clean container, such as a bucket or a basket. It’s best to keep the scapes separate from other garden produce to prevent cross-contamination. If you have multiple garlic varieties, label each batch of scapes to ensure accurate identification during seed processing or storage.
5. Utilize the Harvested Scapes:
Don’t let the harvested scapes go to waste! Garlic scapes are highly versatile in the kitchen and offer a delicious and unique flavor. They can be used in a variety of culinary creations, including stir-fries, soups, pestos, and salads. Explore different recipes and enjoy the fresh and vibrant taste of garlic scapes.
It’s important to note that harvesting the scapes allows the garlic plants to redirect their energy towards bulb development. While removing the scapes promotes bulb growth, it also encourages the formation of bulbils on the remaining scapes. This is advantageous if you intend to harvest garlic seeds from the bulbils for future planting or experimentation.
Now that you have successfully harvested the garlic scapes, it’s time to move on to the next step—collecting the bulbils for seed propagation.
Collecting the Bulbils
Collecting garlic bulbils is the next step in the process of harvesting garlic seeds. These small aerial bulblets are found on the scapes and serve as a means of propagation. Here are the steps to collect the bulbils:
1. Prepare a Clean Workspace:
Set up a clean and well-lit workspace for collecting the bulbils. Lay out a clean surface such as a table or a tray, and have a bucket or container nearby to hold the collected bulbils.
2. Gently Remove the Bulbils:
Take a garlic scape and hold it over the workspace. Gently rub or shake the scape to dislodge the bulbils. As you do this, the bulbils will fall off and separate from the scape. You may need to use light pressure to ensure that all the bulbils are released.
3. Collect the Bulbils:
As the bulbils fall off the scape, collect them in the bucket or container. It’s important to collect them systematically and avoid any mixture with debris or unwanted material. Check your workspace from time to time to ensure that there are no remaining bulbils stuck to the scapes.
4. Sort and Clean the Bulbils:
Once you have collected all the bulbils, take a moment to sort through them. Remove any large debris, damaged or discolored bulbils, or any remaining pieces of scape that may have mixed in. This will ensure that you retain the healthiest and most viable bulbils for planting or storage.
5. Assess the Quality of the Bulbils:
While sorting the bulbils, take note of their size, color, and general condition. Look for firm and well-formed bulbils, as they are more likely to yield healthy garlic plants. Smaller bulbils may still be viable, but they may take longer to develop into mature garlic bulbs.
It’s important to handle the bulbils with care and avoid crushing or damaging them. Gentle handling is crucial to preserve their integrity and ensure successful seed propagation.
Once you have collected and sorted the bulbils, you can proceed to the next step—storing them properly until you are ready to plant them or share them with other gardening enthusiasts. Proper storage will help maintain their viability and ensure successful germination in the upcoming planting season.
Storing Garlic Bulbils
Proper storage of garlic bulbils is crucial for maintaining their viability and ensuring successful germination when it’s time to plant them. Here are the steps to store garlic bulbils:
1. Thoroughly Dry the Bulbils:
Before storing the bulbils, it’s important to ensure they are completely dry. Lay them out in a single layer on a clean, dry cloth or paper towel. Allow them to air dry in a well-ventilated area away from direct sunlight for about a week. This will help prevent any moisture that could lead to rot or mold during storage.
2. Choose a Suitable Container:
Once the bulbils are dry, transfer them to a breathable container or envelope. Avoid using plastic bags or airtight containers, as they can trap moisture and lead to deterioration. Instead, opt for paper bags, mesh bags, or paper envelopes that allow for air circulation and minimize the risk of moisture buildup.
3. Label the Container:
Labeling the container is essential for easy identification. Write down the variety of garlic and the date of harvest on the container or envelope. This will help you keep track of different garlic varieties and ensure that you use the oldest bulbils first when it’s time to plant them.
4. Choose an Ideal Storage Location:
Select a cool, dry, and dark place for storing the garlic bulbils. Avoid areas that are prone to temperature fluctuations or high humidity, such as basements or kitchens. Aim for a consistent temperature between 35°F (2°C) and 50°F (10°C), as excessive heat or cold can harm the bulbils.
5. Regularly Check for Moisture and Rot:
Throughout the storage period, periodically check on the bulbils to ensure they remain dry and free from any signs of rot or mold. If you notice any bulbils showing signs of deterioration, promptly remove them to prevent the spread of damage to other bulbils.
6. Replant or Share:
When the planting season arrives, you can either choose to replant some of the stored bulbils in your own garden or share them with fellow gardeners. Remember to save a portion of the bulbils for your own planting needs and consider exchanging or gifting the rest to promote the diversity of garlic varieties.
By following these steps, you can store garlic bulbils properly and maximize their viability for future planting. With careful storage, you’ll be well-prepared to propagate and enjoy the flavors and unique qualities of your harvested garlic seeds in the upcoming growing season.
Read more: How To Harvest Chamomile Seeds
Conclusion
Harvesting garlic seeds, or bulbils, opens up a world of possibilities for gardeners and garlic enthusiasts. It allows for genetic diversity, preservation of unique varieties, and cost-effective propagation. While the process requires patience and careful attention, the rewards are well worth the effort.
By understanding the stages of garlic growth and the optimal timing for harvesting bulbils, you can ensure the best results. Preparing for the harvest by selecting healthy plants, gathering the necessary tools, and choosing the right conditions sets the stage for a successful harvest.
Harvesting garlic scapes, the precursor to bulbils, is a key step in the process. Carefully removing the scapes without damaging the plants allows for the redirection of energy towards bulb development and the formation of bulbils.
Collecting the bulbils requires a gentle touch, ensuring their separation from the scapes and careful sorting to retain the healthiest seeds for planting or storage. Properly storing the bulbils in breathable containers, in a cool and dry environment, maintains their viability until they are ready to be planted.
The journey of growing garlic from seeds, from the harvest to the planting, offers valuable lessons and experiences. You have the opportunity to explore the diversity of garlic flavors, experiment with new varieties, and witness the complete life cycle of this remarkable plant.
So, whether you’re a seasoned gardener or just starting out, consider adding the process of harvesting garlic seeds to your gardening repertoire. The joy of growing your own unique garlic varieties and the satisfaction of preserving rare cultivars will surely elevate your gardening journey.
Take the first step, prepare for the harvest, and embark on this exciting adventure of growing garlic from seeds. Embrace the art of seed preservation, experimentation, and the joy of a bountiful garlic harvest. Happy gardening!
Frequently Asked Questions about How To Harvest Garlic Seeds
Was this page helpful?
At Storables.com, we guarantee accurate and reliable information. Our content, validated by Expert Board Contributors, is crafted following stringent Editorial Policies. We're committed to providing you with well-researched, expert-backed insights for all your informational needs.

0 thoughts on “How To Harvest Garlic Seeds”