Home>Garden Essentials>How To Plant Watercress Seeds
Garden Essentials
How To Plant Watercress Seeds
Modified: October 20, 2024
Learn how to successfully plant watercress seeds in your garden and enjoy a thriving, fresh supply of this nutritious and delicious herb.
(Many of the links in this article redirect to a specific reviewed product. Your purchase of these products through affiliate links helps to generate commission for Storables.com, at no extra cost. Learn more)
Introduction
Welcome to our comprehensive guide on how to plant watercress seeds! Watercress is a nutritious and flavorful leafy green that can be grown right in your own garden. Not only does it add a delightful touch to salads and sandwiches, but it is also packed with vitamins and minerals.
In this article, we will walk you through the step-by-step process of planting watercress seeds, from gathering the necessary materials to harvesting your delicious homegrown crop. Whether you are a seasoned gardener or a newbie, this guide will provide you with all the information you need to successfully grow healthy watercress plants.
Before we dive into the steps, let’s briefly discuss some key details about watercress. Watercress (Nasturtium officinale) is a semi-aquatic plant that thrives in moist soil and partial shade. It is known for its peppery taste and is often used in salads, soups, and as a garnish. Rich in vitamins A, C, and K, as well as iron, calcium, and antioxidants, watercress is not only delicious but also highly nutritious.
Now that we have an overview of what watercress is, let’s gather our materials and get started on planting those seeds!
Key Takeaways:
- Watercress seeds need a suitable environment with moist soil, partial shade, and access to water. Soak the seeds for faster germination, then sow them in nutrient-rich soil and provide regular care for healthy growth.
- Harvest mature watercress plants by either picking individual leaves or cutting the whole plant. Rinse and store the harvested watercress for use in salads, sandwiches, and soups. Enjoy the rewarding experience of growing your own nutritious and flavorful watercress!
Read more: How To Store Watercress
Step 1: Gather necessary materials
Before you begin planting watercress seeds, it’s important to gather all the necessary materials to ensure a successful growing process. Here’s a list of items you’ll need:
- Watercress seeds: Purchase high-quality watercress seeds from a reputable supplier or garden center. Ensure that the seeds are fresh and within their expiration date for optimal germination.
- Containers or pots: Choose shallow containers or pots with drainage holes to plant your watercress seeds. These can be plastic trays, seed trays, or even repurposed containers.
- Potting mix: Opt for a nutrient-rich potting mix that drains well. You can also create your own by combining equal parts of compost, perlite, and vermiculite.
- Water source: Make sure you have a reliable source of water for regularly watering your watercress plants. A watering can or hose with a gentle spray nozzle is ideal for watering delicate seedlings.
- Grow lights (optional): If you don’t have access to direct sunlight, consider using grow lights to provide sufficient light for your watercress plants.
- Misting bottle (optional): A misting bottle can be handy for keeping the soil and seeds moist during the germination process.
Once you have gathered all these materials, you are ready to move on to the next step: preparing a suitable growing environment for your watercress seeds.
Step 2: Prepare a suitable growing environment
Creating the right growing environment is essential for the successful germination and growth of your watercress seeds. Follow these steps to prepare a suitable growing environment:
- Select a location: Watercress thrives in cooler temperatures and partial shade. Choose a location in your garden or patio that receives partial sunlight throughout the day. If you don’t have access to an outdoor space, you can also grow watercress indoors under grow lights.
- Prepare the soil: Watercress prefers moist soil with good drainage. Before planting the seeds, loosen the soil and remove any weeds or debris. If the soil is heavy or clay-like, consider adding organic matter like compost to improve drainage.
- Ensure access to water: As the name suggests, watercress needs a constant water source. Since it is a semi-aquatic plant, it can be grown directly in water or in moist soil. If growing in soil, make sure there’s a water source nearby or plan to water the plants regularly.
- Consider a water feature: If you have access to a natural water source like a pond or stream, consider planting your watercress near the edges. The constant flow of water will provide the plants with sufficient moisture and nutrients.
- Use containers: If you prefer growing watercress in containers, ensure they have drainage holes to prevent waterlogging. Line the bottom of the container with stones or gravel to aid in drainage.
By following these steps, you will create an ideal environment for your watercress seeds to flourish. Next, we will discuss how to properly soak the watercress seeds to enhance their germination.
Step 3: Soak the watercress seeds
Before sowing the watercress seeds, it is beneficial to soak them to promote faster and more successful germination. Soaking the seeds helps to soften the outer seed coat and encourage the release of essential nutrients for growth. Follow these steps to properly soak your watercress seeds:
- Fill a container: Take a shallow container or a small bowl and fill it with clean, room temperature water.
- Add the seeds: Gently place the watercress seeds into the container of water. Make sure the seeds are fully submerged in the water.
- Soak for 24 hours: Allow the seeds to soak for at least 24 hours. This soaking period will help to break down the hard seed coat and enhance germination.
- Change the water (optional): If you notice the water becoming murky or discolored, you can change it with fresh water. This helps ensure cleanliness and prevents any potential issues.
- Drain the seeds: After the soaking period is complete, carefully drain the water from the container. You can use a fine-mesh strainer or simply tilt the container to pour out the excess water.
- Rinse the seeds (optional): If you prefer, you can give the soaked seeds a quick rinse with clean water. This step helps wash away any residue or impurities.
After soaking the watercress seeds, they are ready for sowing. In the next step, we will discuss how to sow the seeds and initiate the growth process. Stay tuned!
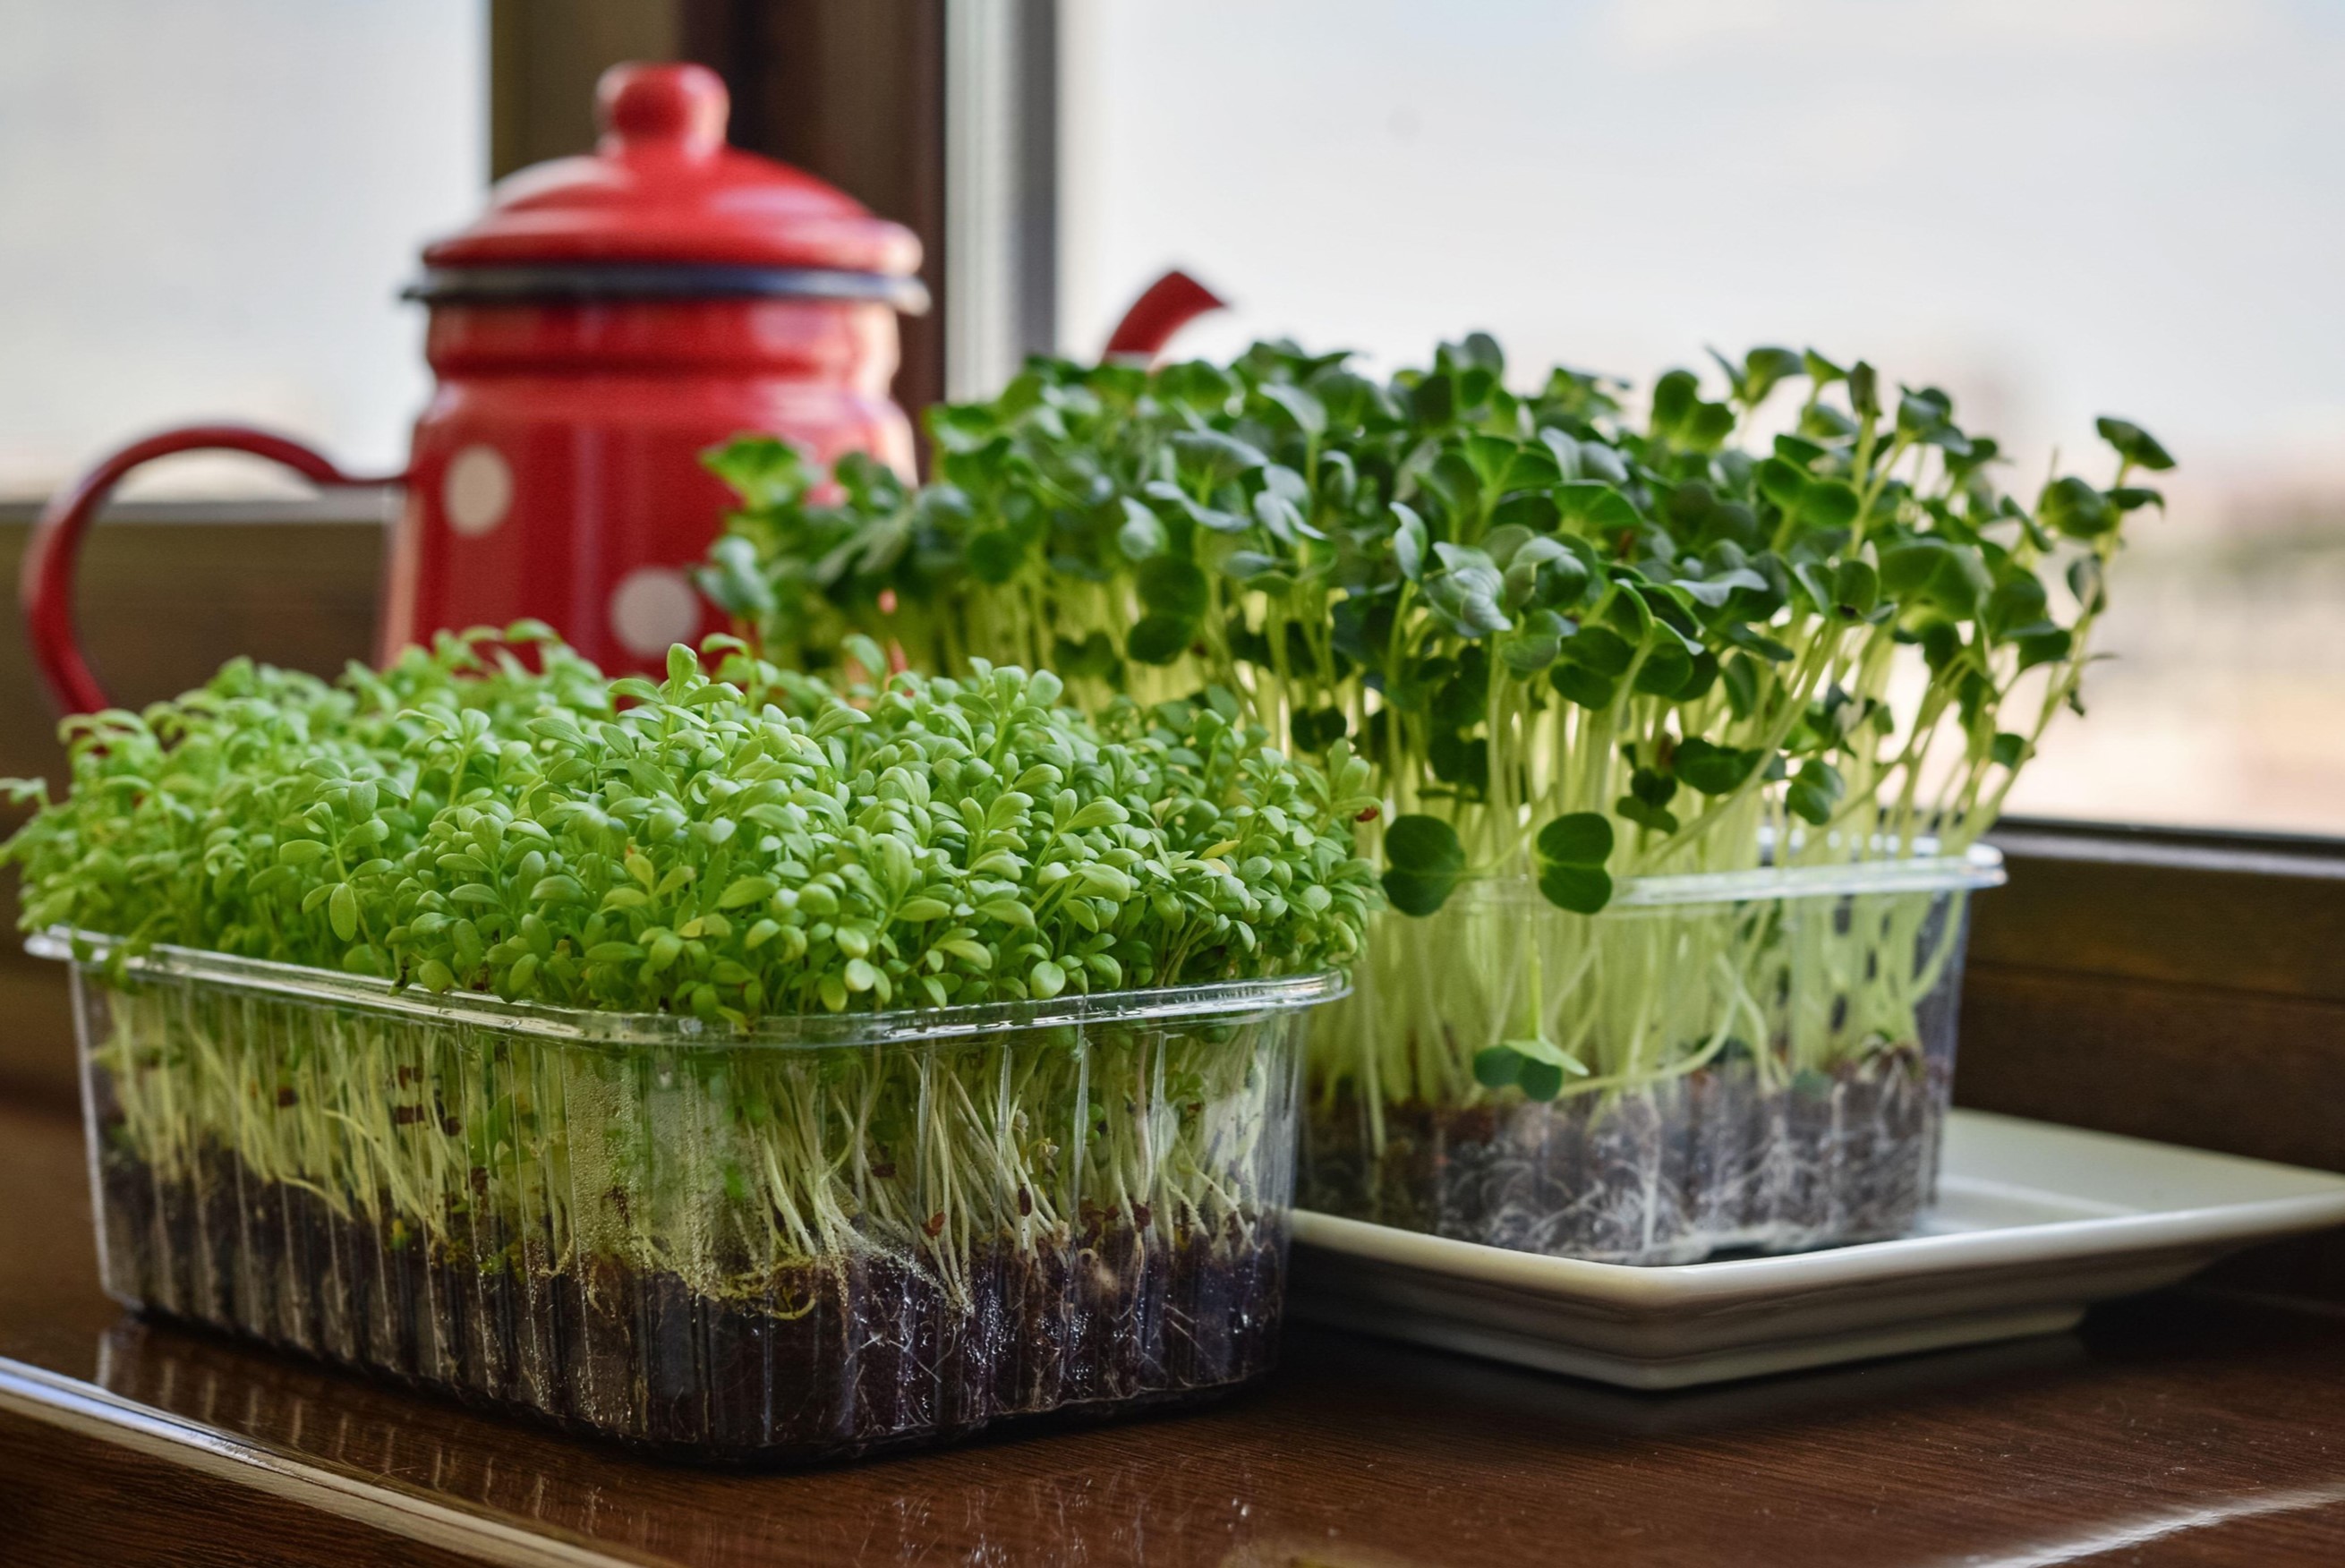
Plant watercress seeds in a shallow container with moist soil. Keep the soil consistently damp and place the container in a sunny spot. Once the seeds sprout, thin them out to give each plant enough space to grow.
Step 4: Sow the watercress seeds
Now that your watercress seeds have been properly soaked, it’s time to sow them and begin the growth process. Follow these steps to sow your watercress seeds:
- Prepare the planting containers: Take your shallow containers or pots and fill them with a nutrient-rich potting mix. Ensure that the soil is moist but not waterlogged.
- Make shallow furrows: Using your finger or a small gardening tool, create shallow furrows in the soil. The furrows should be about ¼ to ½ inch deep and spaced around 1 inch apart.
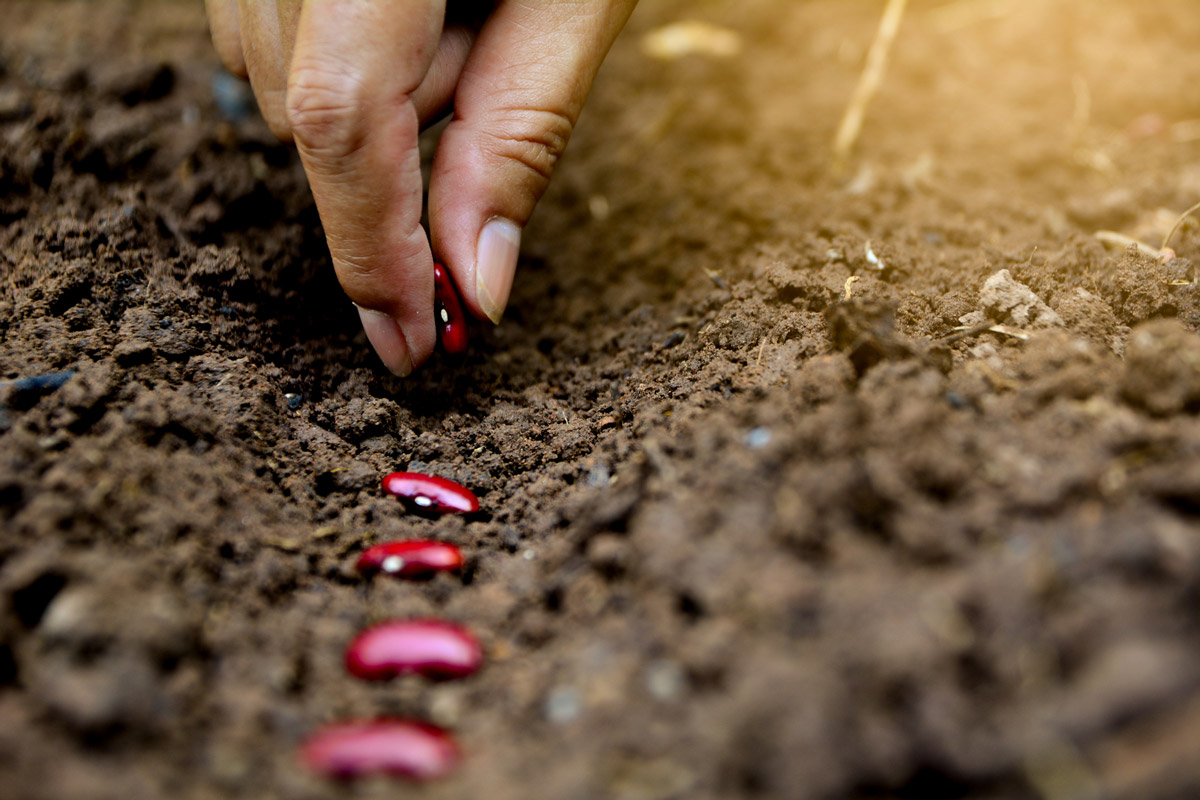
- Place the seeds: Place the soaked watercress seeds into the furrows, spacing them apart evenly. Aim for approximately 3 to 5 seeds per furrow.
- Cover the seeds: Gently cover the seeds with a thin layer of soil, ensuring they are adequately covered but not buried too deeply. Lightly press down the soil to ensure good seed-to-soil contact.
- Mist the soil surface: Using a misting bottle or a gentle spray of water, mist the soil surface to provide moisture without disturbing the seeds. This helps to keep the soil moist during the germination period.
- Label the containers: To avoid confusion, label each container with the date of planting and the variety of watercress seeds used.
Now that you have sown the watercress seeds, it’s time to provide proper care and maintenance to ensure healthy seedling growth. In the next step, we will discuss the essential care tips for nurturing your watercress plants. Keep reading!
Read more: How To Germinate A Plant
Step 5: Provide proper care and maintenance
Now that you have sown your watercress seeds, it’s important to provide the proper care and maintenance to ensure the healthy growth of your plants. Follow these tips to nurture your watercress and help them thrive:
- Watering: Watercress plants require consistent moisture. Keep the soil or water continuously moist, but avoid waterlogging. If growing in containers, ensure that the water drains well. Water the plants regularly, especially during dry spells or hot weather.
- Light requirements: Watercress thrives in partial shade, but it still requires a good amount of light. If growing indoors, place them near a windowsill that receives indirect sunlight. If growing outdoors, ensure they have access to filtered sunlight for at least 4 to 6 hours a day.
- Fertilization: Watercress is a fast-growing plant that benefits from regular feeding. Use a balanced liquid fertilizer or organic compost tea every 2 to 3 weeks to provide the plants with essential nutrients. Follow the manufacturer’s instructions or dilute the fertilizer according to the recommended ratio.
- Pruning: As your watercress plants grow, you may notice that some stems become overcrowded. To encourage healthy growth, gently prune the excess foliage to allow air circulation and prevent diseases. You can use the trimmed leaves in your salads or soups!
- Pest control: Keep an eye out for common pests like aphids and slugs. If you notice any infestation, use organic pest control methods like neem oil or hand-picking the pests. Regularly inspect your plants to catch any pest problems early.
By following these care tips and providing the necessary attention, you’ll ensure the proper development and health of your watercress plants. Now all you need to do is patiently wait for your watercress to be ready for harvesting. Let’s discuss the exciting final step: harvesting your watercress!
Step 6: Harvesting watercress
Congratulations! Your watercress plants have grown beautifully, and now it’s time to enjoy the fruits of your labor by harvesting fresh and flavorful watercress. Follow these steps to harvest your watercress:
- Wait for maturity: Watercress is typically ready for harvesting 6 to 8 weeks after sowing the seeds. The plants should have developed lush foliage and reached a height of 6 to 8 inches.
- Choose the harvesting method: There are two main methods for harvesting watercress:
- Leaf-by-leaf: This method involves selectively picking individual leaves as you need them. This allows the remaining plant to continue growing and producing new leaves for future harvests.
- Cutting the whole plant: Alternatively, you can cut the entire plant at the base to harvest a larger quantity of watercress at once. This is a good option if you plan to use a substantial amount for a specific dish or if the plants are becoming overgrown.
- Harvesting technique: Whether you choose the leaf-by-leaf method or cutting the whole plant, use clean shears or scissors to ensure a clean cut and minimize damage to the remaining foliage.
- Store and use: After harvesting, rinse the watercress thoroughly in cool water to remove any dirt or debris. Pat them dry gently with a clean towel or use a salad spinner. Store the harvested watercress in airtight containers or plastic bags in the refrigerator. Use it within a few days for the best flavor and freshness.
- Continued growth: If you opt for the leaf-by-leaf method, your watercress plants will continue to grow and produce new leaves. With regular harvests, you can enjoy a continuous supply of fresh watercress throughout the growing season.
Enjoy using your freshly harvested watercress in salads, sandwiches, soups, or as a garnish. The peppery and nutritious taste of homegrown watercress will undoubtedly elevate your culinary creations!
We hope this comprehensive guide has equipped you with the knowledge and confidence to successfully plant, grow, and harvest watercress. Enjoy the journey of nurturing your plants and savoring the flavors of a truly rewarding gardening experience!
It’s time to get started and experience the joys of growing your own watercress. Happy gardening!
Conclusion
Growing watercress from seeds can be a rewarding experience that allows you to enjoy the flavors and nutritional benefits of this delicious leafy green. By following the steps outlined in this guide, you can successfully plant, grow, and harvest your own watercress right in your garden or even indoors.
From gathering the necessary materials and preparing a suitable growing environment to soaking the seeds, sowing them, and providing proper care and maintenance, each step plays a crucial role in the growth of healthy watercress plants. Remember to water regularly, provide sufficient light, fertilize as needed, and keep an eye out for pests.
Once your watercress has reached maturity, be sure to harvest it using the leaf-by-leaf method or by cutting the whole plant, depending on your needs. Enjoy the fresh, peppery taste of your homegrown watercress in salads, sandwiches, soups, and more. And don’t forget to save some of the harvested leaves to replant and continue the cycle!
Growing watercress is not only a great way to elevate your culinary creations, but it also allows you to connect with nature and embrace the joys of gardening. The satisfaction of nurturing your plants from seed to harvest is unparalleled.
So why not give it a try? Start your journey of growing watercress today and experience the taste of freshness and the pride of homegrown produce. Whether you have a large garden or a small space on your windowsill, you can enjoy the benefits of this nutritious and flavorful leafy green in your own home.
We hope this comprehensive guide has provided you with the knowledge and confidence to embark on your watercress growing adventure. Happy gardening!
Frequently Asked Questions about How To Plant Watercress Seeds
Was this page helpful?
At Storables.com, we guarantee accurate and reliable information. Our content, validated by Expert Board Contributors, is crafted following stringent Editorial Policies. We're committed to providing you with well-researched, expert-backed insights for all your informational needs.


0 thoughts on “How To Plant Watercress Seeds”