Home>Garden Essentials>When To Sow Bachelor Button Seeds
Garden Essentials
When To Sow Bachelor Button Seeds
Modified: October 19, 2024
Looking to start a garden? Find out when to sow bachelor button seeds and start growing a beautiful garden of your own.
(Many of the links in this article redirect to a specific reviewed product. Your purchase of these products through affiliate links helps to generate commission for Storables.com, at no extra cost. Learn more)
Introduction
Welcome to the world of gardening where beauty and tranquility blend seamlessly. If you have a green thumb and are looking to add a touch of vibrant color to your garden, bachelor buttons are an excellent choice. These delicate and enchanting flowers are a joy to behold with their striking colors and charming character.
Bachelor buttons, also known as cornflowers, belong to the Centaurea family and are native to Europe. They have gained popularity not only for their stunning appearance but also for their versatility in various garden settings. Whether you’re creating a cottage garden, wildflower meadow, or cutting garden, bachelor buttons are sure to be a delightful addition.
In this article, we will explore the art of sowing bachelor button seeds and guide you on when and how to best cultivate these captivating plants. So, let’s dive in and discover the secrets to growing your very own bachelor button garden!
Key Takeaways:
- Bachelor buttons, also known as cornflowers, are easy to grow and add vibrant colors to any garden. They attract pollinators and are perfect for floral arrangements and craft projects.
- Sow bachelor button seeds in early spring for optimal growth. Consider factors like sunlight, soil conditions, and watering needs. Harvest the flowers for beautiful arrangements and creative crafts.
Read more: When To Plant Bachelor Button Seeds
What are Bachelor Button Seeds?
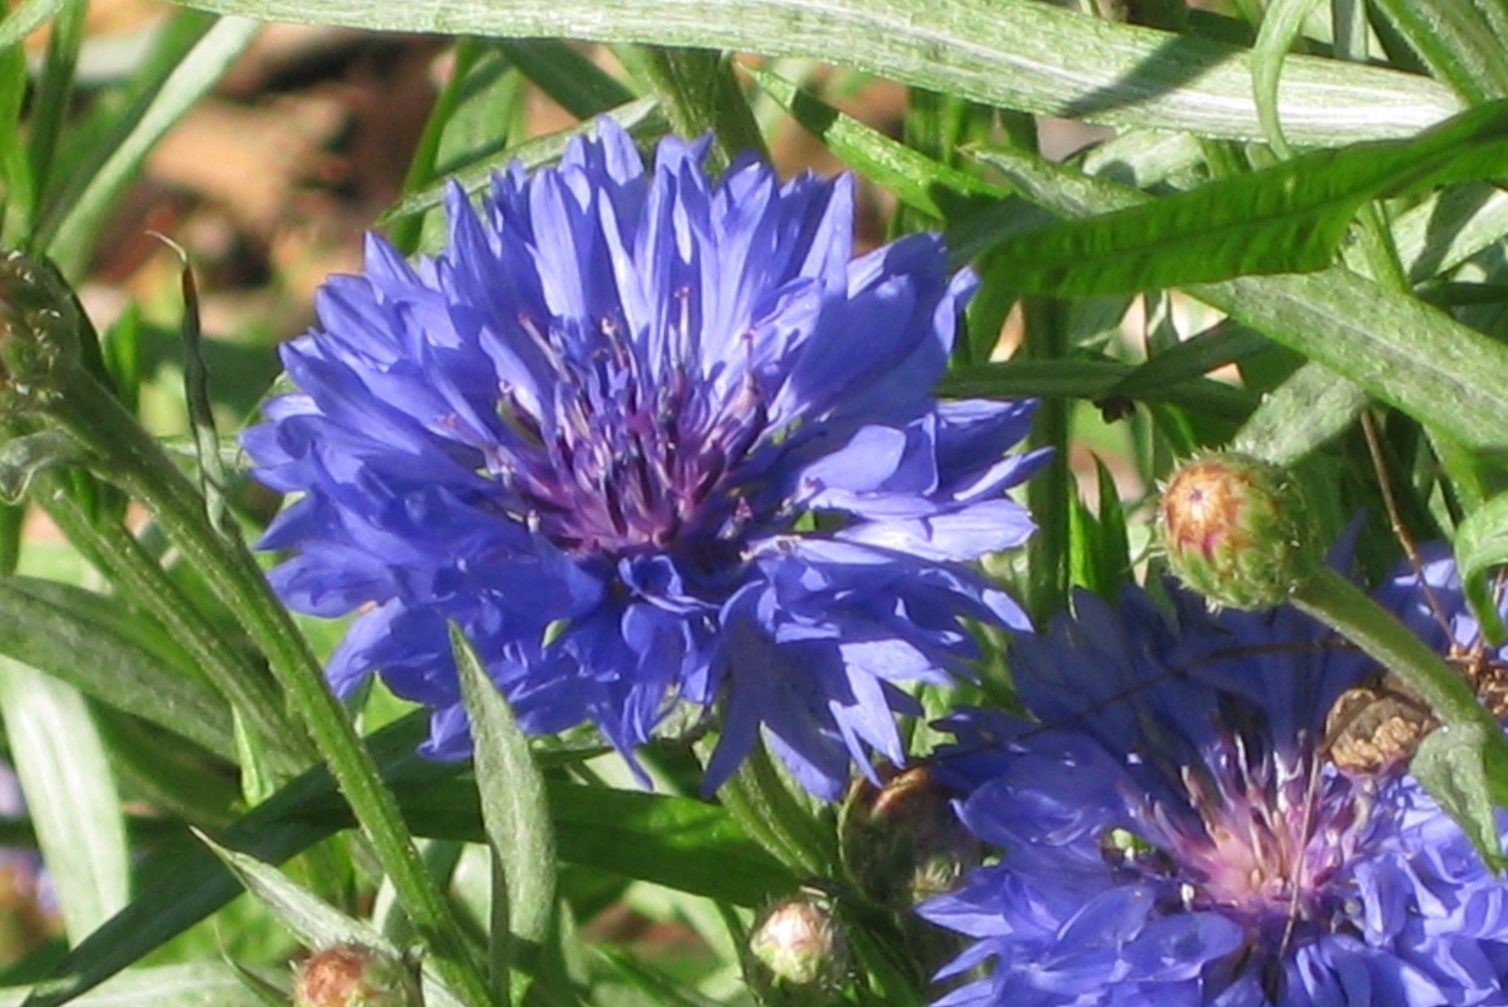
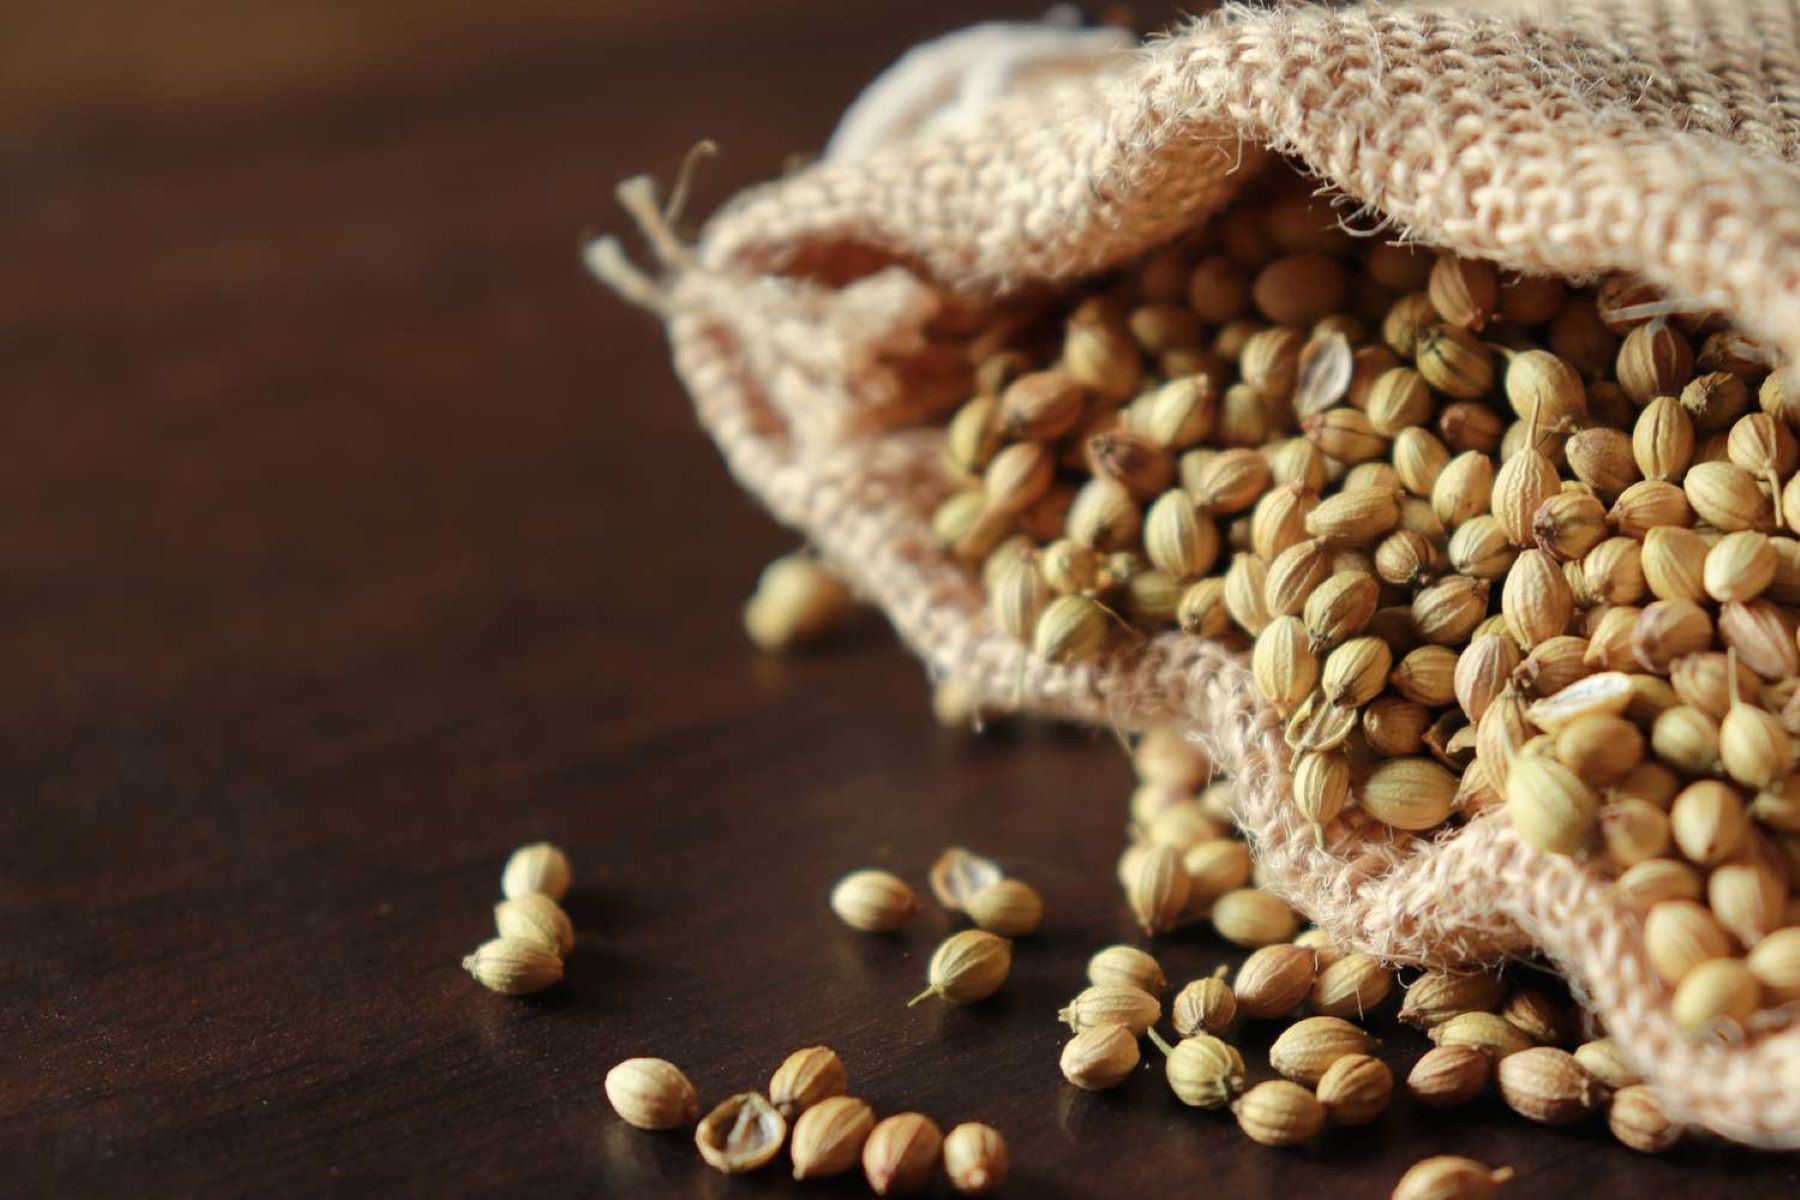
Bachelor button seeds are the small, oval-shaped seeds derived from the bachelor button flower, scientifically known as Centaurea cyanus. As mentioned earlier, bachelor buttons are also commonly referred to as cornflowers due to their tendency to grow in fields of corn.
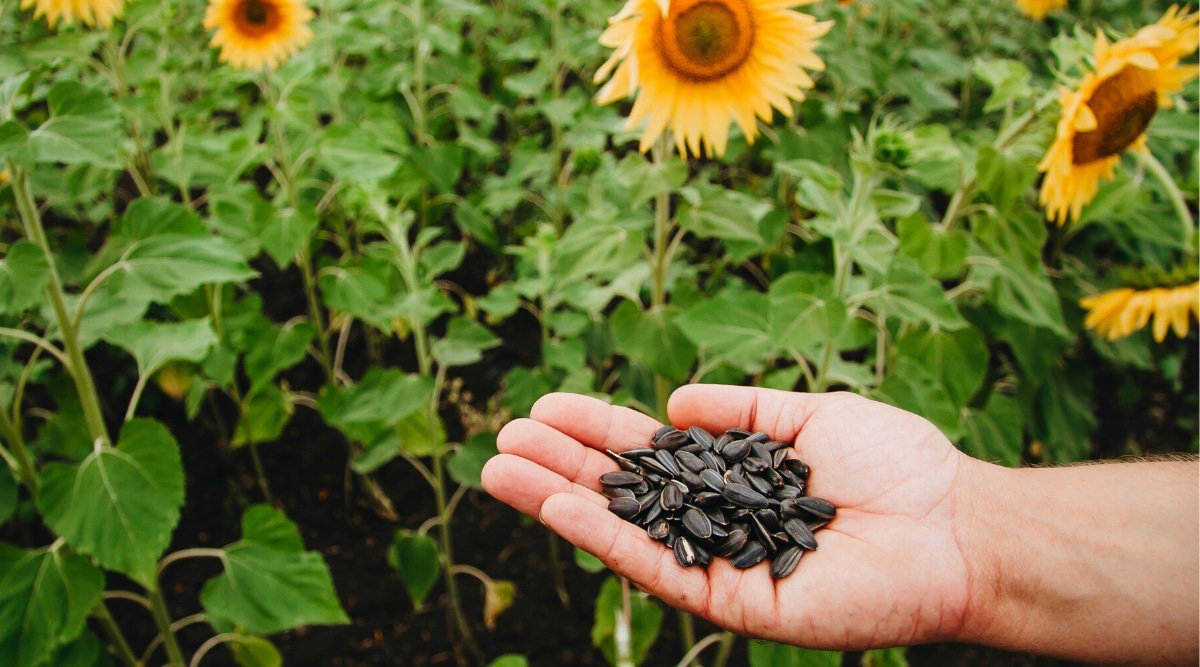
These seeds are typically dark brown or black in color and have a slightly rough texture. They may vary in size, but on average, they are around 2-3 millimeters in diameter.
Bachelor button seeds are highly prized by gardeners for their ability to produce beautiful and vibrant flowers. The flowers themselves are characterized by their flat, daisy-like shape, with petals that come in shades of blue, purple, pink, and white. They also have distinctive dark centers, which add a touch of contrast.
In addition to their aesthetic appeal, bachelor buttons are also beneficial for pollinators. Bees and butterflies are attracted to the nectar-rich flowers, making them an excellent choice for any garden aimed at supporting pollinators. Furthermore, bachelor buttons are known to attract ladybugs, which are natural predators of common garden pests like aphids.
One of the great advantages of bachelor button seeds is their ease of cultivation. They are suitable for gardeners of all levels, from beginners to experienced enthusiasts. With minimal effort and the right conditions, these seeds can quickly transform into a breathtaking display of color in your garden.
As bachelor button seeds are readily available in garden centers, online stores, and through seed exchanges, you can easily access a wide range of varieties to suit your preferences. From heirloom varieties to hybrids, there is no shortage of options when it comes to choosing bachelor button seeds for your garden.
Now that we have a better understanding of what bachelor button seeds are, let’s delve into the factors you should consider before sowing these delightful flowers in your garden.
Factors to Consider Before Sowing Bachelor Button Seeds
Before you begin sowing bachelor button seeds, there are a few factors that you should take into consideration to ensure optimal growth and success. By keeping these factors in mind, you can create the ideal conditions for your bachelor button plants to thrive.
1. Sunlight and Location
Bachelor buttons thrive in full sunlight and require at least 6-8 hours of direct sunlight each day. When selecting a location for your bachelor button plants, choose a spot that receives ample sunlight and is free from shade or large structures that may obstruct sunlight.
2. Soil Conditions
Bachelor buttons prefer well-drained soil with a slightly acidic to neutral pH level. Before sowing the seeds, prepare the soil by removing any weeds or debris and loosening it with a garden fork. You can also enrich the soil by adding compost or organic matter to improve its fertility.
Read more: When To Sow Lupine Seeds
3. Temperature
Bachelor buttons are cool-season flowers and prefer temperatures between 60-70°F (15-21°C). They can tolerate some frost but may struggle in extreme heat. It is best to sow the seeds when the soil temperature has reached around 50-60°F (10-15°C).
4. Watering
Proper watering is essential for the growth and health of bachelor button plants. While they can tolerate some drought, it is important to provide regular watering, especially during dry spells. Water deeply, ensuring the moisture reaches the root system, but avoid overwatering, as it can lead to root rot.
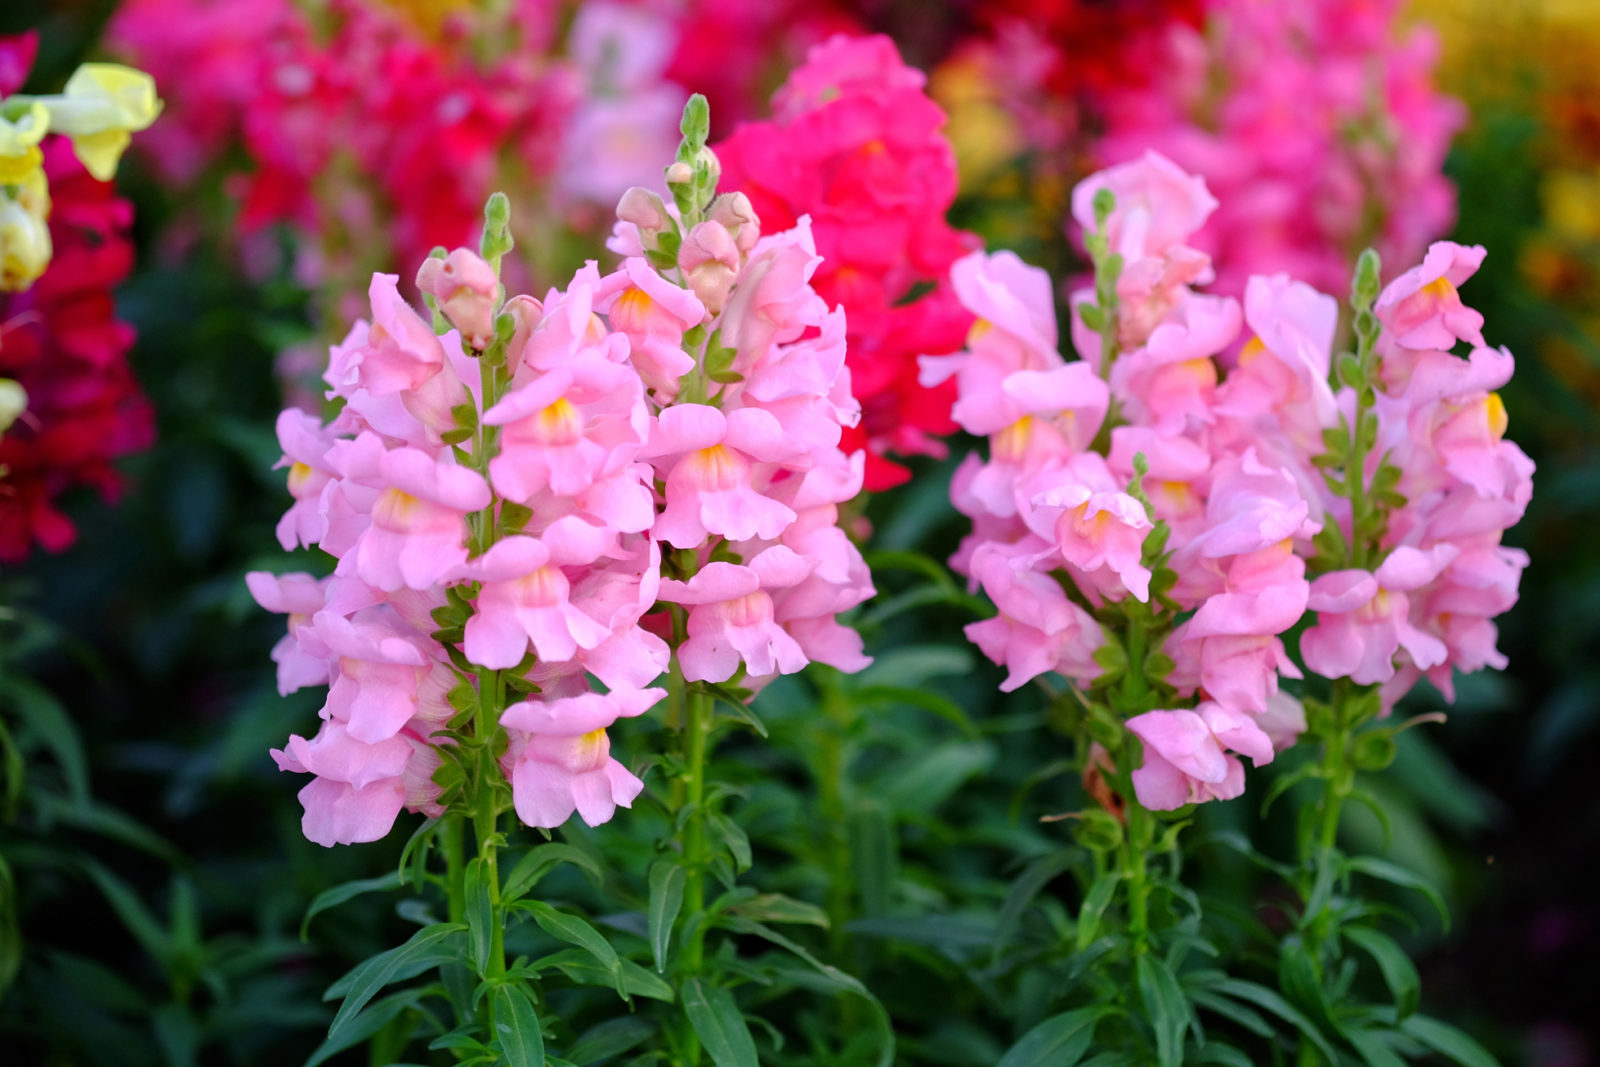
5. Companion Plants
Bachelor buttons have a charming and harmonizing effect when planted alongside certain companion plants. Consider planting them alongside other cool-season flowers like calendula, sweet peas, or snapdragons. They also pair well with herbs like lavender or rosemary.
6. Pests and Diseases
Bachelor buttons are generally resistant to pests and diseases. However, they may occasionally be susceptible to aphids or powdery mildew. Keep an eye out for any signs of infestation or disease and take appropriate measures if necessary.
By considering these factors and preparing accordingly, you will set the stage for successful bachelor button growth. Now that you have a better understanding of the prerequisites, let’s move on to the best time for sowing bachelor button seeds.
Read more: When To Sow Kale Seeds
Best Time to Sow Bachelor Button Seeds
The timing of sowing bachelor button seeds is crucial for their successful germination and growth. These cool-season flowers have specific preferences when it comes to temperature and daylight hours, so it’s essential to choose the right time for sowing.
In most regions, the best time to sow bachelor button seeds is in early spring, after the last frost has passed. This typically falls between March and April, but it may vary depending on your specific location and climate. Sowing the seeds too early, when the soil is still cold, can result in poor germination rates or stunted growth.
If you live in an area with mild winters and early springs, you may have the option to sow bachelor button seeds in the fall. This allows the seeds to experience a period of cold stratification, which can aid in their germination. However, be mindful of any late frosts that may occur and take precautions to protect young seedlings if necessary.
When preparing to sow bachelor button seeds, it’s important to consider the spacing requirements. Space the seeds about 6-12 inches apart to allow for proper air circulation and prevent overcrowding as the plants mature. If you plan to create a larger display of bachelor buttons, you can sow the seeds in rows, leaving a distance of 12-18 inches between rows.
Before sowing the seeds, ensure that the soil is well-prepared and free from weeds. You can lightly rake the soil to create a smooth surface and then make shallow furrows or indentations where you will place the seeds. Gently press the seeds into the soil, covering them with a thin layer of soil or potting mix.
Once the seeds are sown, water the area gently to ensure proper moisture. Avoid excess watering, as it can disrupt the germination process. Keep the soil consistently moist but not waterlogged.
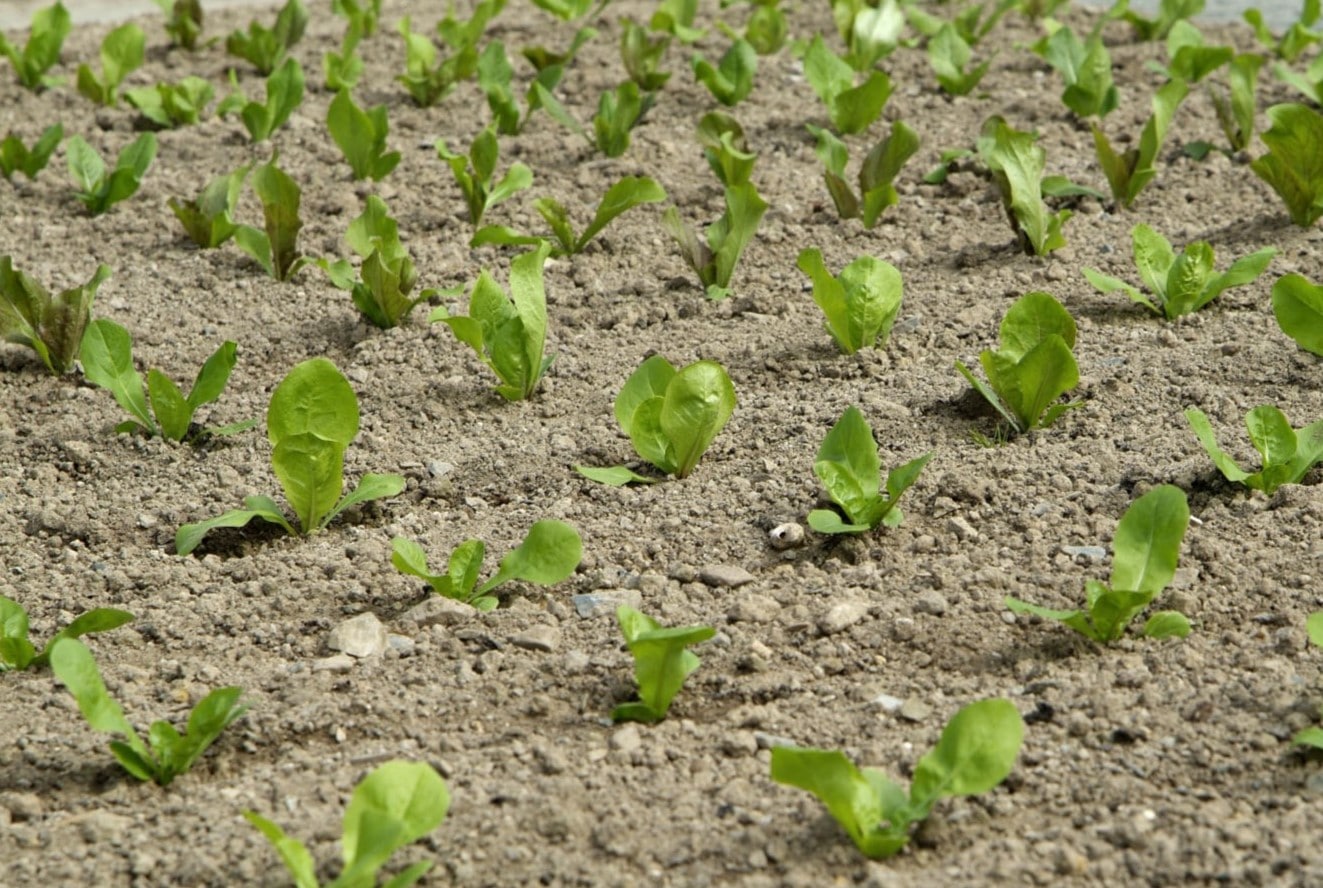
As the seeds germinate and the plants begin to grow, thin out any overcrowded seedlings to allow the stronger individuals more space to develop. This thinning process will promote healthier growth and better blooming.
By choosing the appropriate timing and providing the right conditions for sowing bachelor button seeds, you will set the stage for a spectacular display of vibrant colors in your garden. In the next sections, we will explore how to sow bachelor button seeds both indoors and outdoors, providing you with options to suit your specific gardening preferences.
Sowing Bachelor Button Seeds Indoors
Sowing bachelor button seeds indoors is a great option for gardeners who want to get a head start on the growing season or live in areas with shorter summers. By starting the seeds indoors, you can ensure that they have optimal conditions for germination and early growth.
To sow bachelor button seeds indoors, you will need the following supplies:
- Seed trays or pots with drainage holes
- Seed starting mix or a well-draining potting mix
- Bachelor button seeds
- A spray bottle for watering
- A clear plastic cover or plastic wrap
- A warm, well-lit location
Here’s a step-by-step guide on how to sow bachelor button seeds indoors:
- Fill the seed trays or pots with seed starting mix or a well-draining potting mix. Ensure that the mix is moist but not overly wet.
- Make small indentations in the soil using your finger or a pencil. Space the indentations about 2 inches apart.
- Place one or two bachelor button seeds in each indentation. Cover the seeds with a thin layer of soil, gently pressing it down to ensure good contact between the seeds and the soil.
- Mist the soil surface with water using a spray bottle. Be careful not to overwater, as excessive moisture can lead to fungal diseases.
- Cover the seed trays or pots with a clear plastic cover or plastic wrap to create a greenhouse-like environment. This will help retain moisture and warmth, promoting faster germination.
- Place the seed trays or pots in a warm, well-lit location, such as a sunny windowsill or under grow lights. Bachelor buttons require consistent temperatures of around 60-70°F (15-21°C) for optimal germination.
- Check the moisture level regularly and mist the soil as needed to keep it moist but not soggy. Avoid allowing the soil to dry out completely.
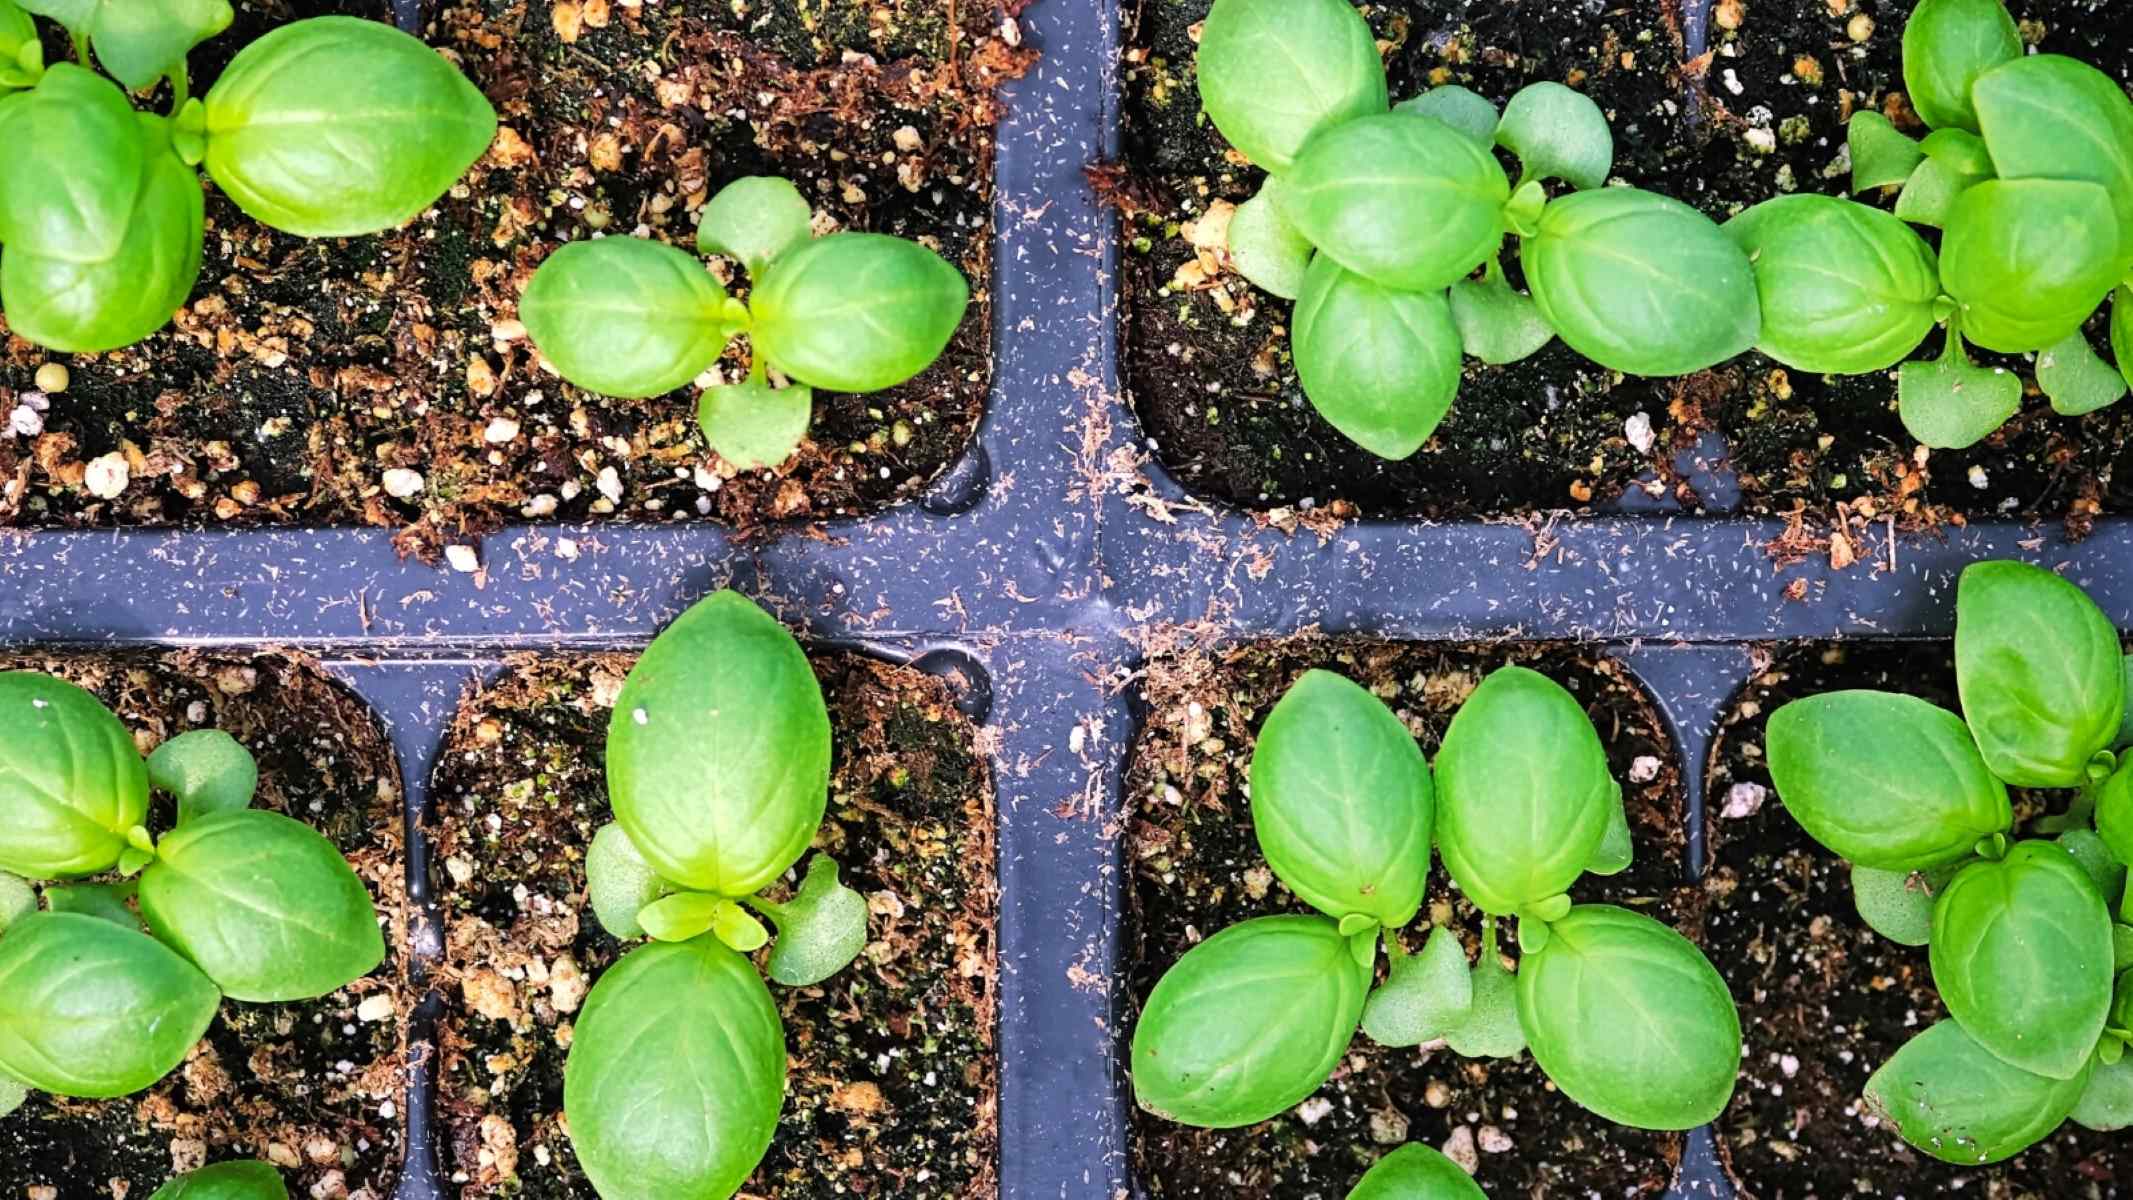
- Once the seedlings have emerged and developed their first pair of true leaves, remove the plastic cover or wrap. This will help prevent mold or damping off disease.
- Continue to water the seedlings as needed, ensuring that the soil remains consistently moist.
- When the seedlings have grown to a height of 2-3 inches and the threat of frost has passed, they can be transplanted into their permanent outdoor location.
Sowing bachelor button seeds indoors offers the advantage of providing controlled conditions for germination and early growth. It also allows you to extend the growing season and enjoy these beautiful flowers as early as possible. However, if you prefer a more natural approach, you can also sow bachelor button seeds directly outdoors. Let’s explore the steps involved in sowing bachelor button seeds outdoors in the next section.
Sowing Bachelor Button Seeds Outdoors
Sowing bachelor button seeds directly outdoors is a simple and straightforward method that allows the plants to adapt naturally to the outdoor conditions. This method is suitable for gardeners who have a longer growing season or prefer a more hands-off approach to gardening.
Here’s a step-by-step guide on how to sow bachelor button seeds outdoors:
- Choose a location in your garden that receives full sunlight and has well-drained soil. Prepare the soil by removing any weeds or debris and loosening it with a garden fork.
- If the soil is heavy or compacted, you can improve its drainage by adding compost or organic matter and gently working it into the soil.
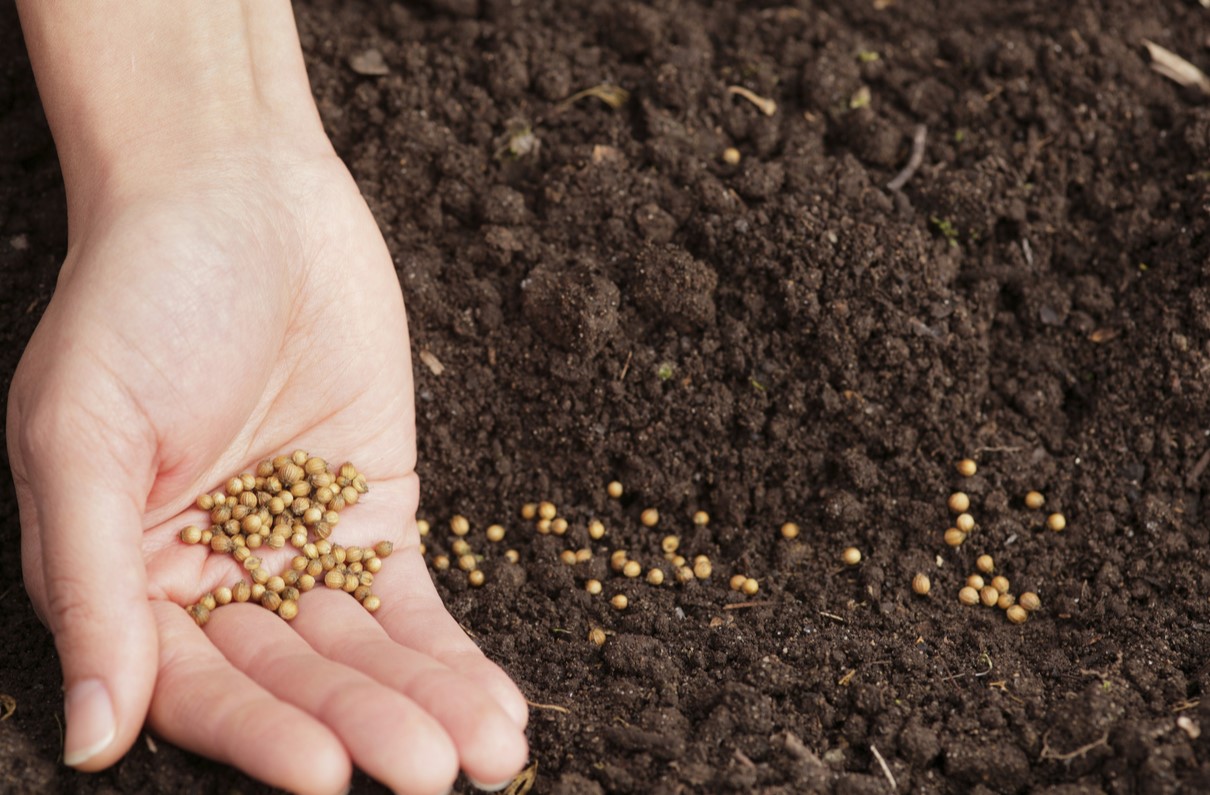
- Sow the bachelor button seeds directly into the prepared soil by scattering them evenly. Aim for a spacing of about 6-12 inches between seeds.
- Lightly press the seeds into the soil with your hands or a garden tool. Avoid burying them too deep, as the seeds require light to germinate.
- Water the area gently but thoroughly, ensuring that the soil is evenly moist. Continue to water the seeds regularly, keeping the soil consistently moist but not waterlogged.
- As the seedlings emerge, thin them out to ensure proper spacing. Remove any weaker or overcrowded seedlings, leaving the strongest and healthiest ones to grow.
- Monitor the plants for pests or diseases and take appropriate measures if necessary. Bachelor buttons are generally resistant to most pests and diseases but may occasionally encounter issues like aphids or powdery mildew.
- Once the plants have established themselves and reached a height of around 4-6 inches, you can provide additional support if needed. This can be done by gently staking the plants or using a plant support cage to prevent them from flopping over.
- Continue to water the plants as needed, ensuring they receive about 1 inch of water per week. Adjust the watering frequency based on rainfall and the moisture levels in the soil.
Sowing bachelor button seeds outdoors allows the plants to experience the natural outdoor conditions right from the start. It requires less intervention and maintenance compared to indoor sowing. However, keep in mind that sowing outdoors may take longer for the seeds to germinate and for the plants to bloom, as they are subject to the fluctuating weather conditions and seasons.
Regardless of whether you choose to sow bachelor button seeds indoors or outdoors, with proper care and attention, you will soon be rewarded with a stunning display of vibrant and elegant flowers. In the next sections, we will explore how to care for bachelor button plants, common problems you may encounter, and the joy of harvesting and using bachelor button flowers.
Caring for Bachelor Button Plants
Caring for bachelor button plants is relatively easy, as they require minimal maintenance once they are established. By following a few simple steps, you can ensure that your bachelor button plants remain healthy and vibrant throughout the growing season.
Read more: When To Sow Echinacea Seeds
1. Watering
While bachelor buttons are moderately drought-tolerant, it’s important to provide them with regular and consistent watering. Water the plants deeply whenever the top inch of soil feels dry to the touch. Avoid overwatering, as it can lead to root rot and other fungal diseases.
2. Mulching
Applying a layer of organic mulch around the base of the plants can help retain moisture, suppress weed growth, and regulate soil temperature. Use straw, wood chips, or shredded bark as mulch, ensuring that it doesn’t come in direct contact with the plant stems to prevent rotting.
3. Fertilizing
Bachelor buttons are not heavy feeders, and in most cases, they do not require additional fertilization. However, if your soil is poor in nutrients, you can apply a balanced, slow-release fertilizer once or twice during the growing season. Follow the instructions on the fertilizer packaging for proper application rates.
4. Deadheading
Deadheading, or removing faded flowers, can help stimulate continuous blooming and prevent the plants from going to seed too quickly. Simply pinch off the spent flowers at the base of the stem. This will also tidy up the plant and promote a neater appearance.
Read more: Where Is The Bachelor Button Plant Native To
5. Support and Staking
If you have taller varieties of bachelor buttons or if your plants tend to flop over, you can provide support to keep them upright. Use stakes, bamboo poles, or plant supports to gently prop up the stems. It’s best to do this early in the growth stage to avoid damaging the plants later.
6. Pest and Disease Control
Bachelor buttons are generally resistant to pests and diseases. However, they may occasionally encounter issues such as aphids or powdery mildew. Monitor your plants regularly and take appropriate measures, such as spraying with insecticidal soap or using organic fungicides, if necessary.
7. Cleaning Up
At the end of the growing season, after the flowers have faded and the plants have completed their life cycle, it’s a good practice to clean up the garden bed. Remove the dead plants and debris to prevent the buildup of pests and diseases for the next growing season.
By following these care tips, you can ensure that your bachelor button plants remain healthy, vibrant, and blooming throughout the growing season. With their stunning colors and charming character, bachelor buttons will bring joy to your garden and attract pollinators with their nectar-rich blooms. In the next section, we will discuss common problems you may encounter while growing bachelor buttons and provide some troubleshooting tips.
Common Problems and Troubleshooting Tips
While bachelor buttons are relatively low-maintenance plants, they may occasionally encounter some common problems. It’s important to be aware of these issues so that you can address them promptly and ensure the health and vitality of your bachelor button plants.
Read more: When To Sow Poppy Seeds
1. Aphid Infestation
Aphids are small, sap-sucking insects that can colonize on the leaves and stems of bachelor buttons. They can cause stunted growth, yellowing of leaves, and deformation of plant parts. To control aphids, you can try spraying the affected plants with a mixture of mild dish soap and water or use insecticidal soap following the instructions on the product packaging.
2. Powdery Mildew
Powdery mildew is a fungal disease that can affect bachelor buttons, causing a powdery white or gray coating on the leaves. It thrives in humid conditions and can lead to leaf yellowing and curling. To prevent powdery mildew, ensure proper air circulation around the plants by spacing them appropriately. If powdery mildew appears, prune affected foliage, and use a fungicidal spray that is safe for use on flowering plants.
3. Flopping or Falling Over
Taller varieties of bachelor buttons or plants that have weak stems may flop or fall over. To prevent this, use stakes or plant supports to gently prop up the plants. It’s best to provide support early in the growth stage to avoid damaging the plants later. Additionally, you can pinch back the plants to promote bushier growth and stronger stems.
4. Weed Competition
Weeds can compete with bachelor buttons for nutrients, water, and sunlight. To minimize weed growth, remove any weeds that appear near your bachelor button plants. Applying a layer of organic mulch can also help suppress weed growth and keep the garden bed tidy.
Read more: When To Sow Impatiens Seeds
5. Insufficient Blooming
If your bachelor button plants are not producing an abundance of blooms, it could be due to insufficient sunlight, over-fertilization, or overcrowding. Ensure that your plants receive at least 6-8 hours of direct sunlight per day, avoid excessive fertilization, and thin out any overcrowded plants to improve airflow and light penetration.
6. Lack of Pollinator Activity
Bachelor buttons are attractive to pollinators, especially bees and butterflies. If you notice a lack of pollinator activity, it could be due to the absence of pollinators in your area or the use of pesticides that harm beneficial insects. To attract pollinators, avoid using pesticides and consider planting pollinator-friendly flowers nearby to increase the chances of attracting these valuable garden visitors.
By being attentive to these common problems and implementing the corresponding troubleshooting tips, you can overcome challenges and maintain healthy bachelor button plants. Now, let’s move on to the exciting part – harvesting and using bachelor button flowers!
Harvesting and Using Bachelor Button Flowers
Harvesting bachelor button flowers is a delightful experience, as it allows you to bring the beauty of these vibrant blooms indoors and incorporate them into various floral arrangements. Whether you want to enjoy them in a vase, create floral crafts, or even use them in culinary endeavors, bachelor buttons offer a range of exciting possibilities.
1. Harvesting
When it comes to harvesting bachelor button flowers, timing is key. Wait until the flowers have fully opened and are at their peak of color and freshness. Take a pair of clean, sharp scissors or garden shears and cut the stems just above the first set of leaves. This encourages the plant to produce more flowers as the season progresses.
Read more: When To Sow Cabbage Seeds
2. Floral Arrangements
Bachelor buttons make a charming addition to floral arrangements. Mix them with other complementary flowers like daisies, sweet peas, or baby’s breath for a delightful bouquet. Remove any foliage that will be below the waterline to prevent bacterial growth and change the water every few days to keep the flowers fresh and vibrant.
3. Drying and Preserving
If you prefer to use bachelor buttons in dried arrangements, hang them upside down in a cool, dark, and well-ventilated area. Allow the flowers to dry completely before using them in crafts or displays. Another method is to preserve the flowers by pressing them between heavy books or using a flower press, which flattens and dries them over time.
4. Craft Projects
Bachelor buttons are perfect for a variety of craft projects. Their colorful petals can be used to create pressed flower art, greeting cards, or personalized bookmarks. You can also incorporate them into wreaths, potpourri, or even resin jewelry for a unique and creative touch.
5. Culinary Uses
While not as commonly used in culinary applications as some other edible flowers, bachelor buttons can add a pop of color and a mild flavor to certain dishes. Use the petals in salads, desserts, or as a garnish for drinks. Ensure that you have grown the flowers organically and have positively identified them to ensure they are safe for consumption.
Whether you choose to enjoy bachelor button flowers in fresh arrangements, dried displays, or creative crafts, they are sure to bring a touch of beauty and whimsy to your home. Remember to always harvest responsibly, leaving enough blooms for the plant to continue thriving and producing throughout the season.
With our journey through bachelor button cultivation and utilization coming to a close, we hope you feel inspired to incorporate these charming flowers into your garden and daily life. Happy gardening and enjoy the splendor of your very own bachelor button oasis!
Read more: When To Sow Tomato Seeds Indoors
Conclusion
Congratulations on completing this comprehensive guide to sowing, growing, and enjoying bachelor button flowers! By now, you should have a solid understanding of how to cultivate these captivating plants and make the most of their vibrant blooms.
Bachelor buttons, with their striking colors and charming demeanor, are a wonderful addition to any garden. Their ease of cultivation and versatility make them a favorite among gardeners of all levels. Whether you choose to sow the seeds indoors or outdoors, provide them with the right conditions, and care for them attentively, your bachelor button plants are sure to flourish.
As you embark on your journey to grow bachelor buttons, remember to consider factors such as sunlight, soil conditions, temperature, and watering needs. Providing optimal care and addressing any common problems that may arise will help ensure the health and vigor of your plants.
Once your bachelor buttons bloom, the joy of harvesting and using the flowers is an exciting endeavor. From floral arrangements to craft projects and even culinary experiments, bachelor buttons offer endless creative possibilities. Whether you choose to enjoy their beauty in a vase or preserve them for long-lasting displays, these charming flowers will undoubtedly add a touch of elegance to any setting.
As you bask in the beauty of your bachelor button garden, take a moment to appreciate the pollinators they attract and the positive impact they have on the environment. These flowers not only bring joy to your own space but also play a crucial role in supporting the wellbeing of bees, butterflies, and other pollinators.
Now that you have all the knowledge and tools to successfully grow bachelor button flowers, it’s time to put your skills to the test. Get your hands dirty, plant those seeds, and watch as your garden comes to life with the enchanting colors of bachelor buttons.
Remember, gardening is not just about the end result but also the journey. Embrace the process, experiment, and have fun along the way. May your bachelor button garden bloom abundantly, filling your heart with joy and your space with beauty.
Happy gardening!
Frequently Asked Questions about When To Sow Bachelor Button Seeds
Was this page helpful?
At Storables.com, we guarantee accurate and reliable information. Our content, validated by Expert Board Contributors, is crafted following stringent Editorial Policies. We're committed to providing you with well-researched, expert-backed insights for all your informational needs.
0 thoughts on “When To Sow Bachelor Button Seeds”