Home>Garden Essentials>How To Know How Much Infill Quantity From Gcode
Garden Essentials
How To Know How Much Infill Quantity From Gcode
Modified: August 20, 2024
Learn how to determine the infill quantity for your garden using Gcode instructions. Boost your gardening skills with this essential guide.
(Many of the links in this article redirect to a specific reviewed product. Your purchase of these products through affiliate links helps to generate commission for Storables.com, at no extra cost. Learn more)
Introduction
Welcome to the world of Gcode, where every movement and action of a 3D printer is defined. For those who are new to 3D printing, Gcode is a language that controls the movements, speed, and other parameters of a 3D printer. It is a crucial aspect of the printing process as it dictates how the printer creates the object layer by layer.
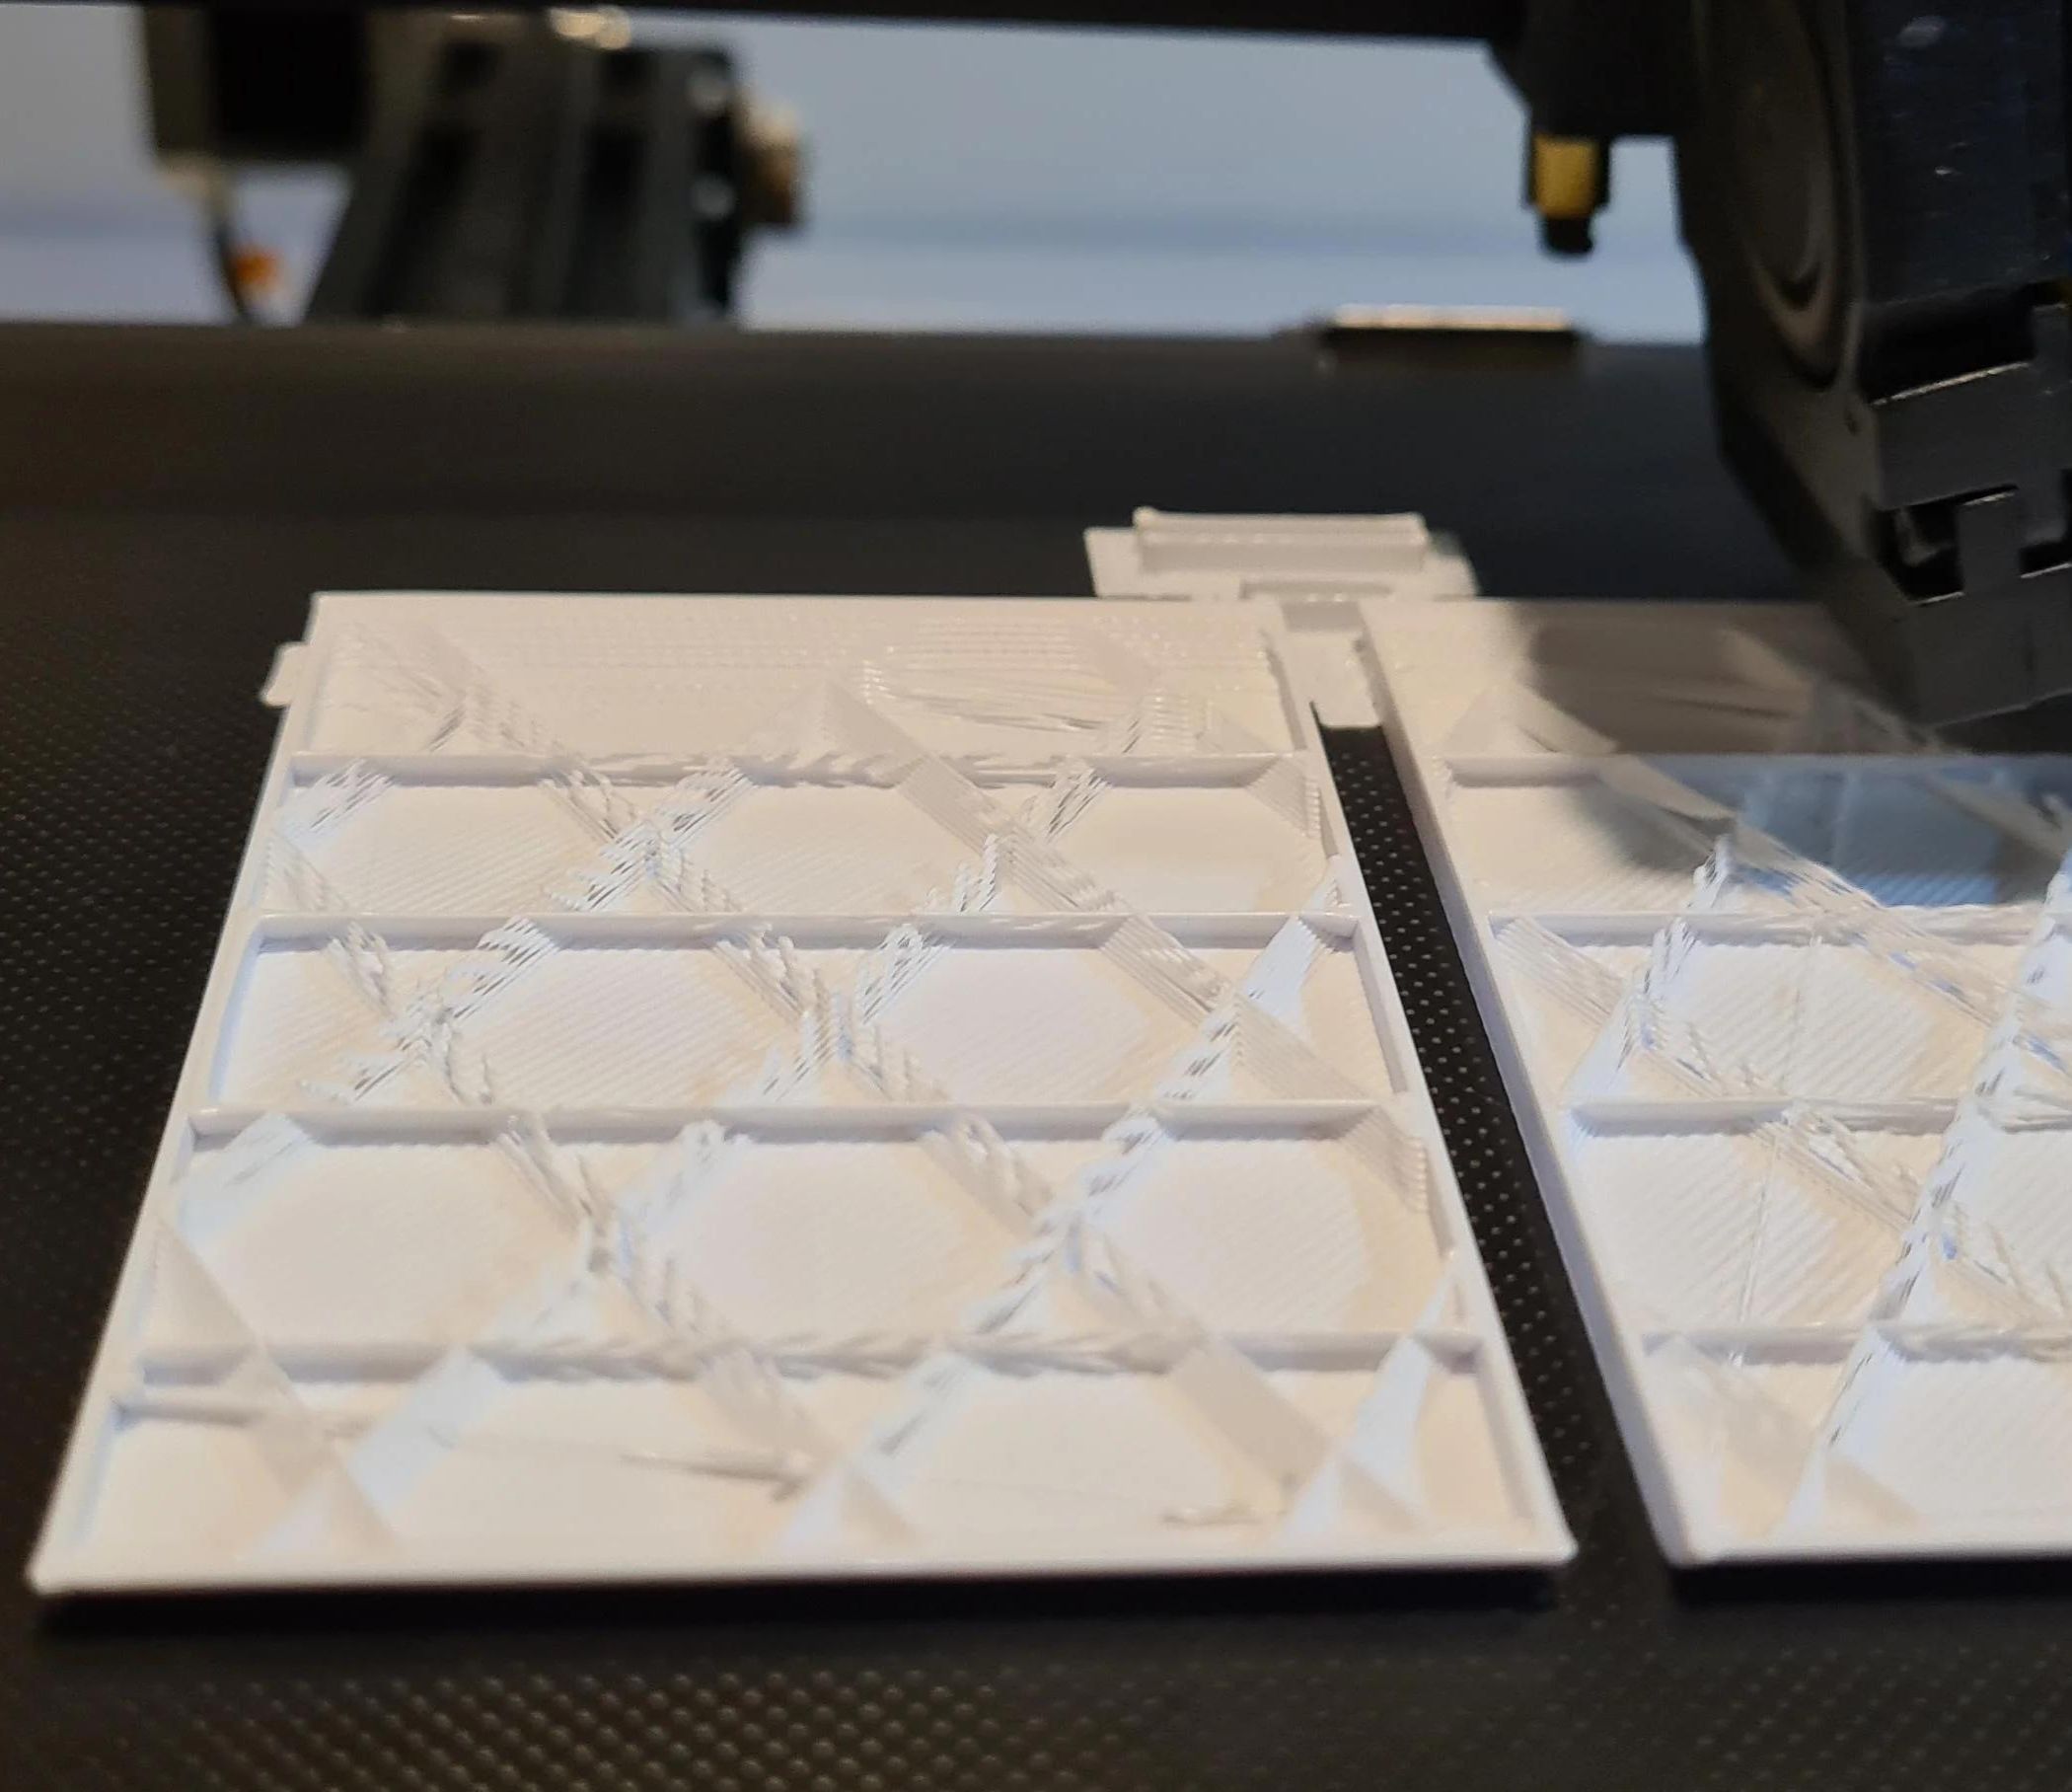
In the realm of 3D printing, infill is a significant component that determines the strength, durability, and material usage of a printed object. Infill refers to the internal structure of a 3D printed object and is usually represented as a series of interconnected lines or patterns. It adds strength and stability to the object while reducing material consumption and print time.
As a 3D printing enthusiast or professional, it is important to know how much infill your object requires to strike the perfect balance between strength and material efficiency. This is where understanding the Gcode comes into play. By analyzing the Gcode file, you can identify the specific commands that determine the infill quantity for a given object.
In this article, we will take you through the process of analyzing Gcode to determine the infill quantity of a 3D printed object. We will break down the steps and guide you through each stage, ensuring that you have a clear understanding of the process. So, let’s dive in!
Key Takeaways:
- Dive into Gcode to find the perfect infill quantity for 3D prints, balancing strength and material efficiency. Unleash your creativity with confidence!
- Uncover the secrets of Gcode to calculate infill quantity accurately, optimizing material usage and print time for your 3D printed objects.
Read more: How Much Infill For ABS
Understanding Gcode
Gcode is a standardized language used in the world of 3D printing to communicate instructions to the printer. It consists of a series of commands, each representing a specific action or movement that the printer needs to execute. These commands are written as a combination of letters, numbers, and symbols, forming a sequential set of instructions.
Each Gcode command starts with the letter ‘G’ followed by a number, which indicates the type of command. For example, G1 is a command for controlled linear movement, G92 is a command to set a position, and G28 is a command to home the printer.
Additionally, Gcode allows for other parameters to be defined, such as speed, acceleration, extrusion, and temperature. These parameters can have a significant impact on the print quality and overall performance of a 3D printer.
To better understand the Gcode, it is helpful to examine a sample snippet:
G21 ; Set units to millimeters
G92 E0 ; Reset the extruder position
G1 F1500 ; Set the feedrate to 1500 mm/min
G1 X100 Y100 ; Move to the position (100, 100)
Here, the first command, G21, sets the units to millimeters, indicating that subsequent measurements will be in millimeters. The second command, G92 E0, resets the extruder position, ensuring that the printer starts with a clean state. The next command, G1 F1500, sets the feedrate to 1500 mm/min, determining the speed at which the printer will move. Finally, the G1 X100 Y100 command moves the printer head to the position (100, 100) on the X and Y axes.
By deciphering and understanding the various Gcode commands, you can gain control over the 3D printing process and make informed decisions about parameters such as infill quantity. In the next section, we will explore how to analyze the Gcode to extract the infill information for a specific object.
Analyzing the Gcode
Now that we have a basic understanding of Gcode, it’s time to analyze the Gcode file to extract the necessary information related to the infill quantity. To do this, we need to look for specific commands and parameters within the Gcode that control the infill.
The first step in analyzing the Gcode is to open the file in a text editor or Gcode viewer software. This will allow us to scroll through the code and identify the relevant sections related to the infill.
Once the Gcode file is open, we need to search for the infill-related commands. Two commonly used commands for controlling the infill are:
- ; Infill Percentage: Some slicing software includes a comment line that specifies the infill percentage. For example, “; Layer #N, Infill 20%”. Here, the infill percentage is mentioned, giving us an idea of the infill quantity for each layer. We can extract this information and use it to estimate the overall infill quantity of the object.
- M-code for Infill: In some cases, the Gcode may include specific M-codes for controlling the infill. These M-codes are machine-dependent and may vary between different 3D printers or slicing software. However, they typically have a consistent pattern and can be identified by their unique command structure.
By searching for these infill-related commands and parameters, we can gather the necessary information to calculate the infill quantity accurately. Once we have identified the commands, we can move on to the next step of the analysis process.
It is important to note that the specific commands and syntax used for controlling the infill may vary depending on the slicing software and 3D printer you are using. It is recommended to refer to the documentation or resources provided by the software or printer manufacturer for specific details about the infill-related Gcode commands.
Now that we have gained insight into analyzing the Gcode, the next section will focus on how to identify the specific infill commands within the Gcode file.
To know the infill quantity from Gcode, look for the “G1” commands with “E” values, which represent the amount of filament being extruded for infill. Add up these values to calculate the total infill quantity.
Identifying the Infill_code
Identifying the specific infill-related code within the Gcode file is essential to accurately determine the infill quantity for a 3D printed object. In this section, we will explore how to identify the infill code and understand its structure.
The infill code within the Gcode file typically consists of a series of commands that dictate the pattern and density of the infill. These commands are machine-specific and may vary depending on the slicing software and 3D printer you are using.
Here are some common commands and patterns that can help you identify the infill code:
- Infill Pattern: The infill pattern determines the internal structure of the object and is usually defined by a code such as “G92 InfillPattern. This command sets the pattern used for infill, such as grid, honeycomb, or triangle. By identifying this command, you can confirm that you have found the infill code.
- Infill Density: The infill density specifies the amount of space filled by the infill pattern and is controlled by a command like “G90 InfillDensity”. This command sets the density percentage, defining how dense or sparse the infill will be. By locating this command, you can extract the infill density information.
- Infill Speed: The speed at which the printer lays down the infill can be controlled by a command like “G1 InfillSpeed”. This parameter determines how fast the infill lines are printed. By identifying this command, you can gather information about the infill speed.
Remember, the naming conventions and syntax for the infill code may differ depending on the software and printer configuration. It is advisable to refer to the documentation or resources provided by the software or printer manufacturer to understand the specific commands related to infill within the Gcode file.
Once you have successfully identified the infill code within the Gcode file, you can proceed to the next step of calculating the infill quantity. This will allow you to determine the amount of infill used for the entire 3D printed object.
Calculating the Infill Quantity
Calculating the infill quantity is the final step in determining the amount of infill used for a 3D printed object. By analyzing the infill code and extracting the relevant information, we can calculate the infill quantity accurately.
The infill quantity is typically represented as a percentage, which indicates the amount of space filled by the infill pattern compared to the overall volume of the printed object.
To calculate the infill quantity, you can follow these steps:
- Identify the infill density command within the Gcode code. This command usually sets the infill percentage. For example, if the command is “G90 InfillDensity 30”, it indicates that the infill density is set to 30%. Note down this value.
- Inspect the Gcode for the layer height, which determines the thickness of each layer of the printed object. This value is usually specified within the commands related to layer height or Z-axis movement. Note down the layer height value.
- Calculate the total number of layers in the object by examining the Gcode for commands related to layer changes. Each layer change command corresponds to a new layer of the printed object.
- Multiply the infill density percentage by the layer height value to get the infill volume for each layer. For example, if the infill density is 30% and the layer height is 0.2 mm, the infill volume per layer would be 0.2 mm x 30% = 0.06 mm³.
- Multiply the infill volume per layer by the total number of layers to get the total infill volume for the object.
By following these steps and performing the calculations, you can determine the infill quantity for your 3D printed object. This information is valuable for estimating material usage, strength, and print time.
It’s important to note that the above calculation method provides an estimation of the infill quantity and may vary depending on the specific commands and parameters used in the Gcode file. Additionally, some slicing software may offer built-in features to directly determine the infill quantity without manual calculations.
Now that you have successfully calculated the infill quantity, you can utilize this information to optimize your 3D printing process and achieve the desired balance between strength and material efficiency.
Read more: How Much Does Infill Affect Strength
Conclusion
Understanding and analyzing the Gcode of a 3D printed object is crucial for determining the infill quantity. By delving into the Gcode files, we can extract valuable information about the infill pattern, density, and speed, which allows us to calculate the infill quantity accurately.
Through this article, we have explored the basic concepts of Gcode and its significance in 3D printing. We have discussed how to analyze the Gcode, identify the infill-related commands, and calculate the infill quantity using the provided steps.
By gaining a deeper understanding of the Gcode and its relationship to the infill quantity, you can make informed decisions during the 3D printing process. This knowledge empowers you to optimize material usage, print time, and the structural integrity of your printed objects.
It is important to note that the specific commands and syntax used for infill control may vary depending on the slicing software and 3D printer used. Always consult the documentation or resources provided by the software or printer manufacturer for accurate and updated information.
With this newfound understanding of analyzing the Gcode and determining the infill quantity, you are equipped to embark on your 3D printing journey with confidence. So go ahead, experiment, and create amazing objects with the perfect balance of strength and material efficiency!
Frequently Asked Questions about How To Know How Much Infill Quantity From Gcode
Was this page helpful?
At Storables.com, we guarantee accurate and reliable information. Our content, validated by Expert Board Contributors, is crafted following stringent Editorial Policies. We're committed to providing you with well-researched, expert-backed insights for all your informational needs.


0 thoughts on “How To Know How Much Infill Quantity From Gcode”