Home>Garden Essentials>How To Create Mesh Infill With Inventor STL
Garden Essentials
How To Create Mesh Infill With Inventor STL
Modified: August 28, 2024
Learn how to create a mesh infill for your garden using Inventor STL. Enhance your garden design with this step-by-step tutorial.
(Many of the links in this article redirect to a specific reviewed product. Your purchase of these products through affiliate links helps to generate commission for Storables.com, at no extra cost. Learn more)
Introduction
Welcome to the world of gardening! Whether you’re an experienced green thumb or just starting out, there’s always something new to learn and explore in the world of plants and growing things. But as any gardener knows, having the right knowledge and tools is key to success.
In this comprehensive guide, we’ll dive deep into the world of gardening, covering a wide range of topics and providing you with expert advice to help you achieve amazing results in your garden. From understanding different types of soil and fertilizers to selecting the perfect plants for your space, we’ll cover it all.
But we won’t stop there! We’ll also delve into the art of pruning and shaping your plants, dealing with common pests and diseases, and even explore the world of organic gardening. So whether you’re dreaming of a lush vegetable garden, a vibrant flower bed, or a serene oasis of trees and shrubs, this guide will be your ultimate resource.
But we’re not just here to provide you with information. We want to engage and inspire you to dig deeper into the wonderful world of gardening. So along the way, we’ll share fascinating facts about different plants and their unique characteristics, as well as stories and anecdotes from experienced gardeners who have honed their craft over the years.
Our aim is to make this guide both informative and enjoyable to read. So sit back, relax, and prepare to embark on an exciting journey through the world of gardening. Whether you have a spacious backyard, a small balcony, or even a sunny window sill, there’s a garden waiting to be created and nurtured.
So let’s get started and discover the joy and satisfaction of growing your own green paradise!
Key Takeaways:
- Mesh infill, created with tools like Inventor STL, provides structural support, airflow, and protection for your garden. It’s a versatile and visually appealing solution for various gardening projects.
- With Inventor STL, you can easily design, visualize, and create custom mesh infill structures for your garden. Embrace the joy of gardening and let your creativity flourish!
Read more: How To Create Infill With Solidworks Parts
What is Mesh Infill?
Mesh infill refers to the process of filling the empty spaces or voids within a mesh structure. In the context of gardening and landscaping, mesh infill is commonly used as a technique to create a solid and stable foundation for various projects.
Mesh infill is typically made of a durable and flexible material, such as wire or netting. It is available in various sizes, shapes, and configurations to accommodate different applications. The mesh can be woven or welded, depending on the desired strength and aesthetic requirements.
Gardeners and landscapers use mesh infill in a variety of projects, including creating trellises for climbing plants, constructing fences and barriers to protect plants from animals, and building raised beds or frames to support heavy crops.
Mesh infill offers several benefits for gardeners and landscapers. Firstly, it provides structural support, ensuring that the desired shape and form of the project are maintained. This is particularly important for tall or heavy plants that need additional support to prevent them from toppling over.
Secondly, mesh infill enhances airflow and ventilation, promoting healthy plant growth. By allowing air to circulate freely, it helps to prevent the development of fungal diseases and encourages a more robust and vibrant garden environment.
Furthermore, mesh infill can be used as a barrier to keep out unwanted pests and animals. The small gaps in the mesh prevent insects, rabbits, or other critters from entering the protected area, thus safeguarding your plants from potential damage.
In addition to its functional benefits, mesh infill can also be an aesthetically pleasing element in your garden design. With its open and intricate patterns, it adds visual interest and texture to your outdoor space. It can be customized with different colors or finishes to complement your overall garden theme.
Overall, mesh infill is a versatile and practical solution for gardeners and landscapers. It offers stability, protection, and visual appeal, making it an excellent choice for a wide range of projects. Whether you’re a professional gardener or a DIY enthusiast, incorporating mesh infill into your garden design can elevate your outdoor space and help you achieve beautiful and functional results.
Why Use Inventor STL for Mesh Infill?
Inventor STL (Stereolithography) is a powerful tool that allows gardeners and landscapers to create precise and detailed mesh infill structures for their projects. Here are several reasons why Inventor STL is a great choice for mesh infill:
- Accurate 3D Modeling: Inventor STL provides a highly accurate and realistic 3D modeling environment, allowing you to design and visualize your mesh infill structures with precision. You can create intricate patterns, adjust dimensions, and experiment with different designs before bringing your vision to life in your garden.
- Easy Mesh Generation: Inventor STL simplifies the process of generating mesh structures. It offers intuitive tools and features that enable you to quickly create complex mesh patterns, adjust the density of the infill, and customize the spacing between the wires or strands. This level of control ensures your mesh infill is tailored to the specific requirements of your project.
- Optimized Material Usage: Inventor STL helps optimize material usage by allowing you to calculate the exact amount of material needed for your mesh infill. This not only saves costs but also reduces waste, making it an environmentally-friendly choice for your garden projects.
- Structural Integrity: With Inventor STL, you can simulate and analyze the structural integrity of your mesh infill designs. This allows you to identify and address any potential weak points or areas of concern before construction, ensuring that your mesh infill will provide the necessary support and stability for your plants or structures.
- Compatibility and Versatility: Inventor STL files can be easily exported and shared, making it compatible with a wide range of 3D printing technologies. Whether you have your own 3D printer or work with a professional printing service, you can bring your Inventor STL designs to life in various materials, colors, and finishes.
- Time and Cost Efficiency: Using Inventor STL for mesh infill can save you time and money in the long run. The advanced design tools and simulations provided by the software help streamline the design process, reduce errors, and ensure optimal results. This allows you to complete your project efficiently and confidently.
By utilizing the power of Inventor STL for mesh infill, you can take your garden and landscaping projects to the next level. From creating intricate trellises for climbing plants to building durable fences and barriers, the precision and versatility offered by Inventor STL will help you achieve professional-quality results and create stunning and functional outdoor spaces.
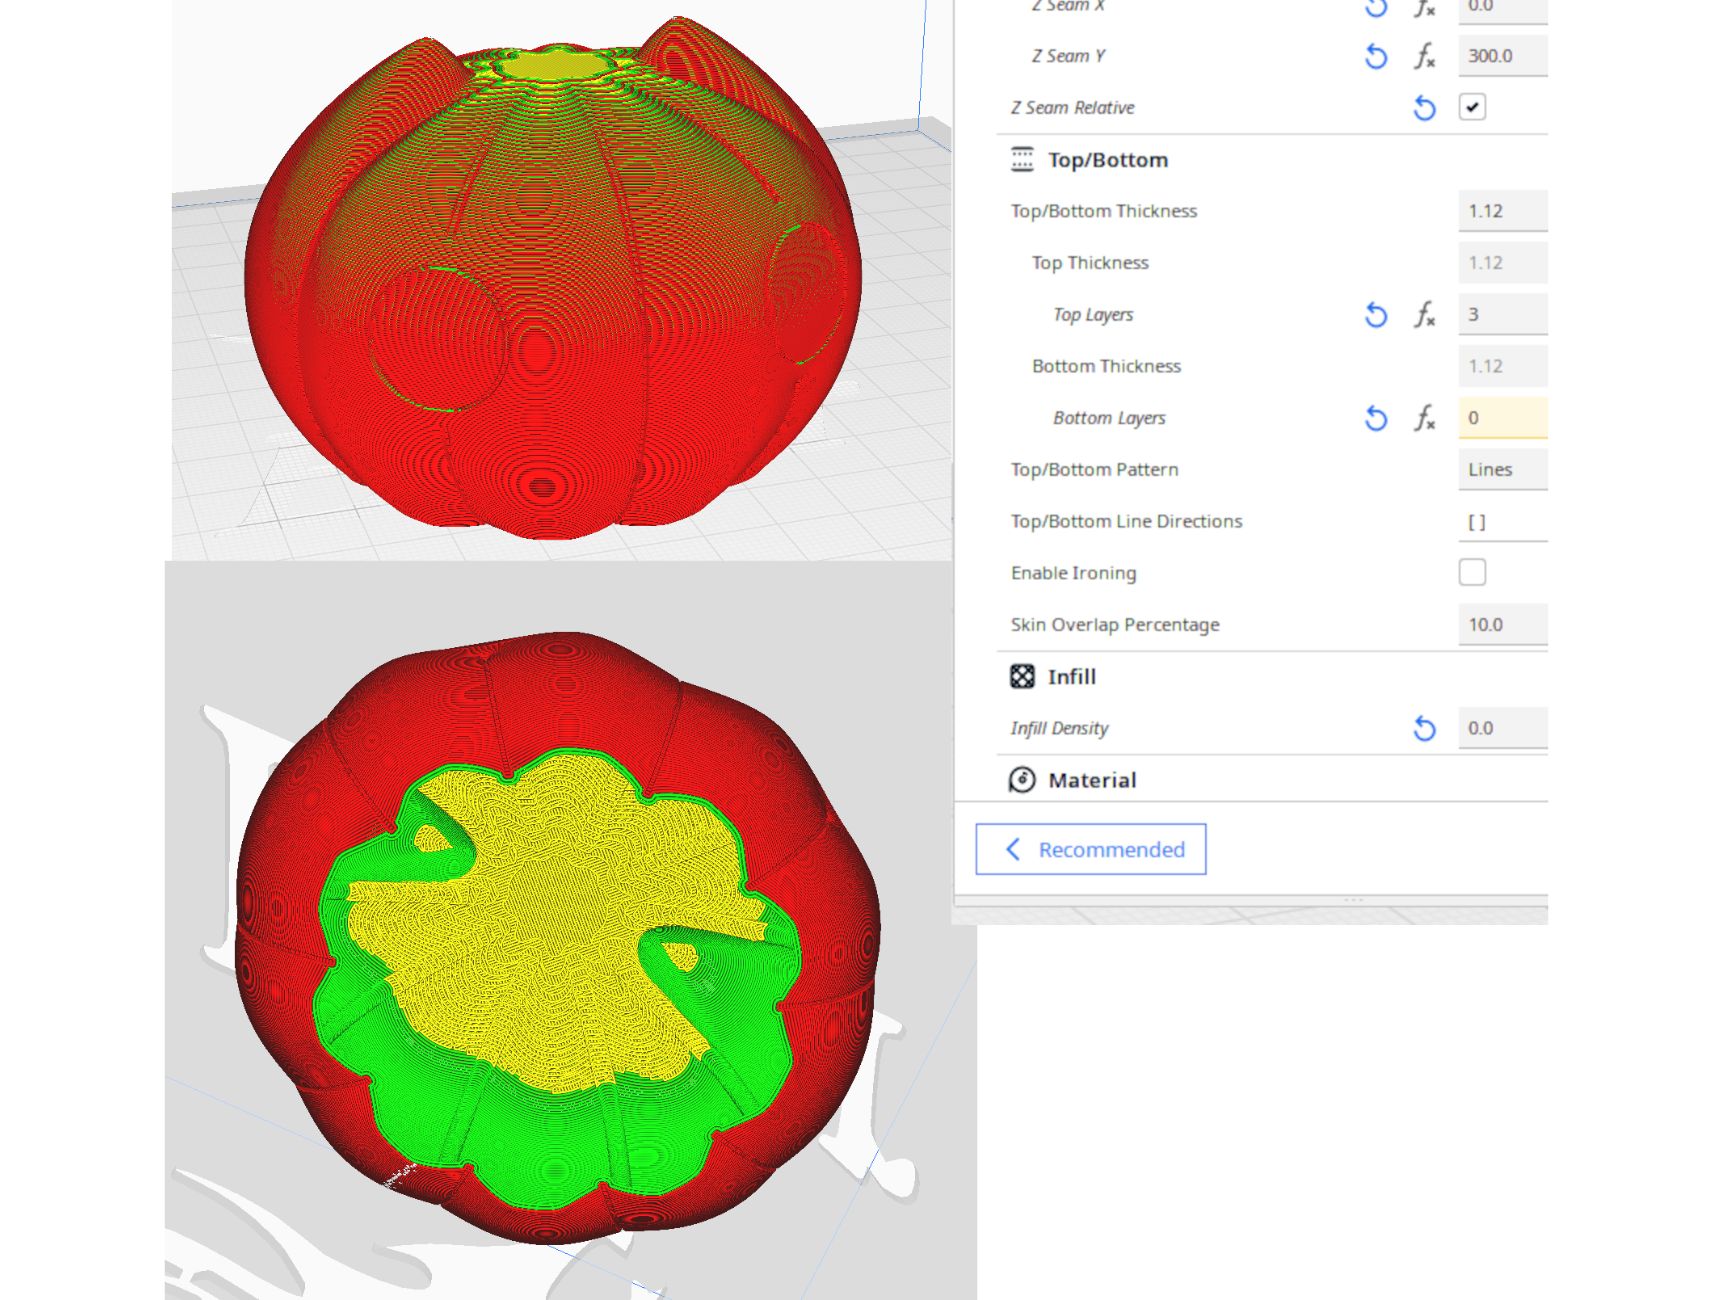
When creating mesh infill with Inventor STL, ensure that the infill pattern is set to your desired density and pattern type to achieve the desired strength and weight for your 3D printed object.
Steps to Create Mesh Infill with Inventor STL
If you’re ready to incorporate mesh infill into your garden or landscaping project using Inventor STL, follow these step-by-step instructions to create your own custom mesh infill:
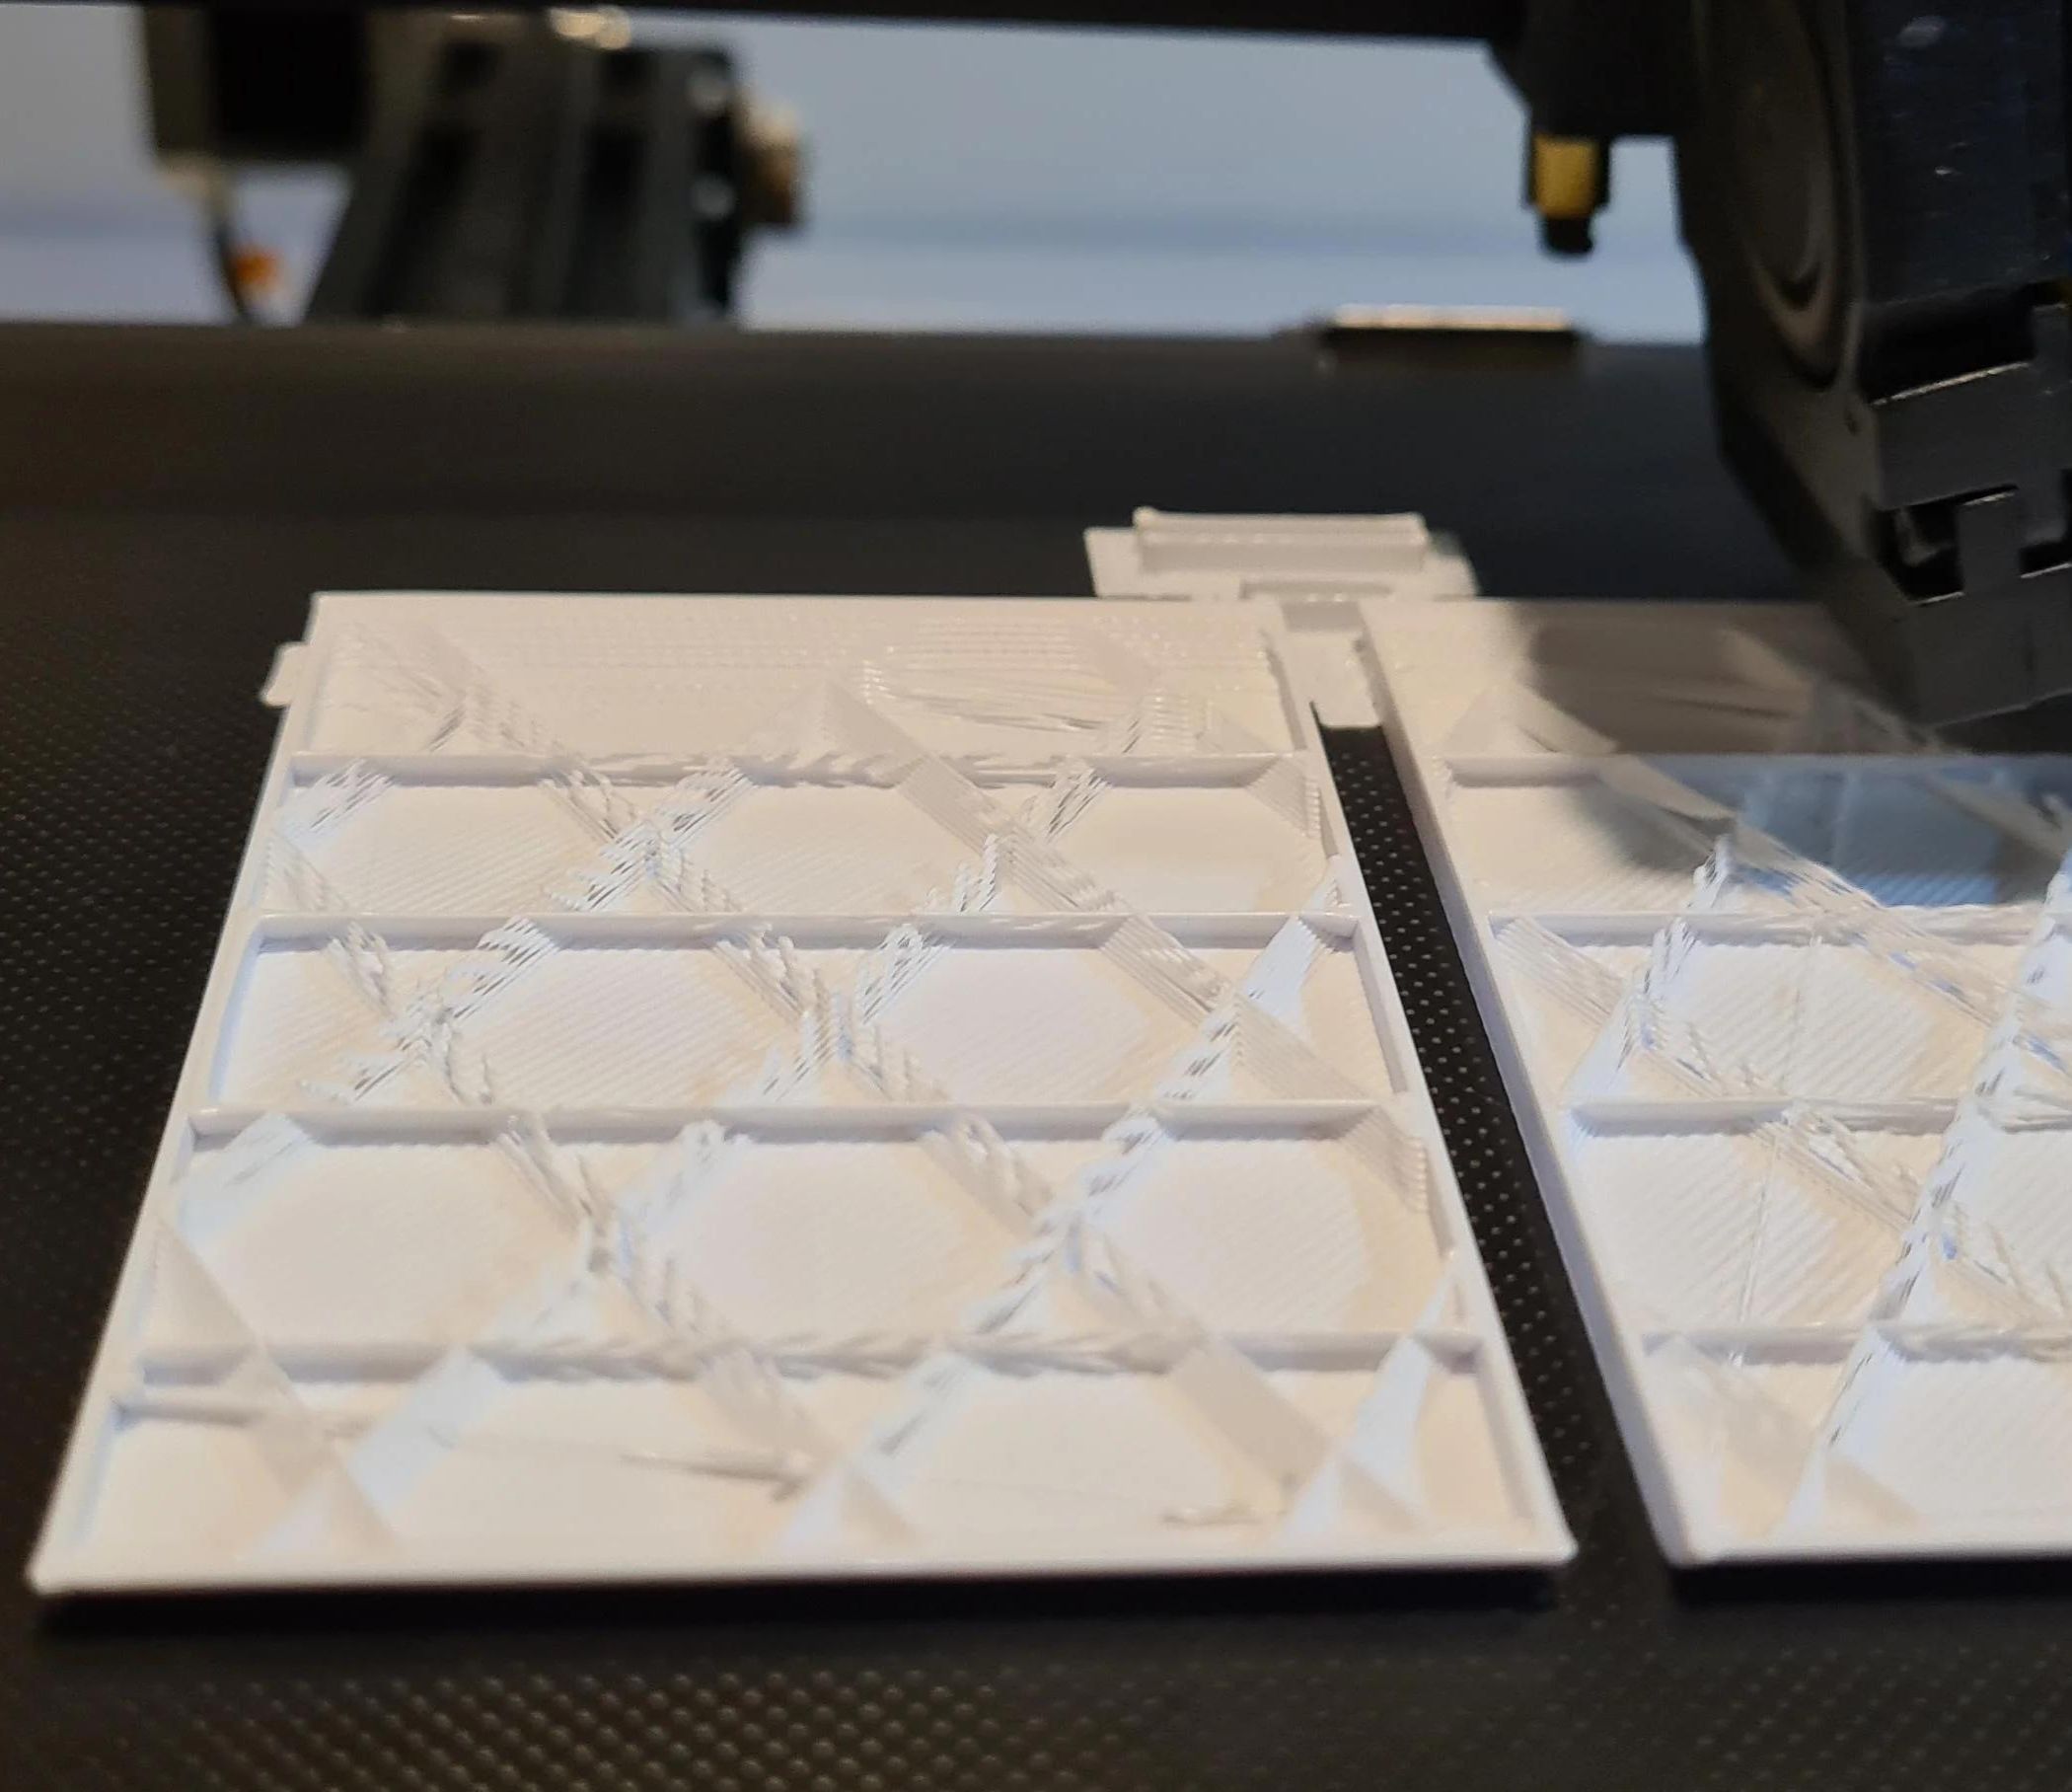
- Design Your Mesh Structure: Start by launching Inventor STL and creating a new project. Use the design tools to sketch the shape and dimensions of your mesh infill structure. You can create various patterns, such as squares, diamonds, or triangles, depending on your desired aesthetic and functional requirements.
- Generate the Mesh: Once your design is complete, use the mesh generation tools in Inventor STL to convert your sketch into a 3D mesh. Specify the desired density or spacing between the wires or strands of the mesh, ensuring it provides the required structural support for your project.
- Validate the Design: To ensure the structural integrity of your mesh infill, use the simulation and analysis features in Inventor STL. This will help you identify any weak points, stress concentrations, or potential issues in your design. Make any necessary adjustments or reinforcements to enhance the overall strength and durability.
- Export the STL File: Once your mesh infill design is finalized, export it as an STL file. This file format is compatible with most 3D printing technologies and can be easily shared with printing services or transferred to your own 3D printer.
- Choose Printing Method: Depending on your preferences and available resources, select the most suitable 3D printing method for your project. Whether it’s FDM (Fused Deposition Modeling), SLA (Stereolithography), or SLS (Selective Laser Sintering), ensure that the printer and material can deliver the level of detail and structural strength required for your mesh infill.
- Print and Assemble: Send the STL file to your chosen 3D printer or printing service, and let it work its magic. Once the printing is complete, carefully remove the mesh infill from the printer and assemble it according to the design specifications. Follow the manufacturer’s instructions for any additional steps needed, such as post-processing or finishing touches.
- Install and Enjoy: With your completed mesh infill in hand, install it into your garden or landscaping project. Whether it’s attaching it to a trellis, securing it to a frame, or incorporating it into a fence, ensure it is properly positioned and stable. Once installed, watch as your mesh infill provides support, protection, and visual interest to your plants and overall outdoor space.
With these simple steps, you can create custom mesh infill structures with ease using Inventor STL. Experiment with different designs, materials, and densities to achieve the desired aesthetic and functional characteristics for your garden or landscaping project. Let your creativity and imagination flourish as you bring your mesh infill designs to life!
Conclusion
Congratulations! You have now completed this comprehensive guide to gardening and explored the world of mesh infill using Inventor STL. Armed with new knowledge and insights, you are ready to embark on your gardening journey with confidence.
Gardening is not just a hobby; it’s a way to connect with nature, nurture life, and create your own green sanctuary. Whether you’re a seasoned gardener or a beginner, there’s always more to learn and explore. Remember to stay curious, experiment with different plants and techniques, and adapt to the unique conditions of your garden.
When it comes to mesh infill, Inventor STL provides you with a powerful tool to design, visualize, and create intricate structures that enhance the beauty and functionality of your garden. From trellises for climbing plants to fences and raised beds, mesh infill offers both practical and aesthetic benefits.
By following the steps outlined in this guide, you can confidently create your own custom mesh infill designs and bring them to life using Inventor STL. Remember to consider the structural integrity, material usage, and compatibility of your designs to ensure the best results.
As you continue your gardening journey, don’t forget to enjoy the process. Gardening is not just about the end result, but also about the joy and satisfaction of watching your plants thrive, seeing wildlife visit your garden, and experiencing the calming and therapeutic effects of nature.
Lastly, stay connected with the gardening community. Join local gardening clubs, attend workshops, and share your experiences and knowledge with fellow enthusiasts. The exchange of ideas and tips can further enrich your gardening experience and help you grow as a gardener.
So go ahead, grab your tools, roll up your sleeves, and start creating your dream garden. Whether you have a small balcony, a sprawling backyard, or even just a few pots on your windowsill, your green oasis awaits. Embrace the beauty and magic of nature, and let your garden thrive!
Frequently Asked Questions about How To Create Mesh Infill With Inventor STL
Was this page helpful?
At Storables.com, we guarantee accurate and reliable information. Our content, validated by Expert Board Contributors, is crafted following stringent Editorial Policies. We're committed to providing you with well-researched, expert-backed insights for all your informational needs.


0 thoughts on “How To Create Mesh Infill With Inventor STL”