Home>Construction & Tools>Building Materials>How To Lay Brick Pavers On Dirt

Building Materials
How To Lay Brick Pavers On Dirt
Modified: March 23, 2024
Learn how to lay brick pavers on dirt with our step-by-step guide. Find the best building materials and tips for a successful DIY paver project.
(Many of the links in this article redirect to a specific reviewed product. Your purchase of these products through affiliate links helps to generate commission for Storables.com, at no extra cost. Learn more)
Introduction
Brick pavers are a timeless and versatile choice for enhancing the aesthetic appeal of outdoor spaces. Whether you’re creating a charming patio, a welcoming walkway, or a beautiful driveway, brick pavers can add a touch of elegance and functionality to your landscape. One of the key advantages of brick pavers is their durability and low maintenance, making them a popular option for homeowners and landscapers alike.
In this comprehensive guide, we will walk you through the step-by-step process of laying brick pavers on dirt. By following these instructions, you can transform a plain outdoor area into a stunning and functional space that you’ll enjoy for years to come. From preparing the area to setting the pavers and compacting them, we’ll cover everything you need to know to complete this rewarding DIY project.
So, roll up your sleeves, gather your materials, and let’s dive into the art of laying brick pavers on dirt. With a little patience and attention to detail, you’ll soon be on your way to creating a beautiful and enduring outdoor feature.
Key Takeaways:
- Prepare the area by clearing debris, marking the layout, excavating the soil, leveling the ground, and adding a weed barrier to create a solid foundation for laying brick pavers on dirt.
- Set the pavers in a precise pattern, maintain uniform spacing, cut pavers as needed, fill the joints with the right material, and compact the pavers thoroughly to create a visually appealing and long-lasting paved surface.
Read more: How To Lay Brick Pavers
Step 1: Prepare the Area
Before you begin laying brick pavers on dirt, it’s essential to prepare the area properly. This initial step sets the foundation for a successful and long-lasting paver installation. Here’s how to get started:
Assess the Site
Start by assessing the area where you plan to lay the brick pavers. Remove any existing vegetation, debris, or obstacles from the site. This may involve clearing grass, rocks, or old paving materials to create a clean and level surface for the pavers.
Mark the Layout
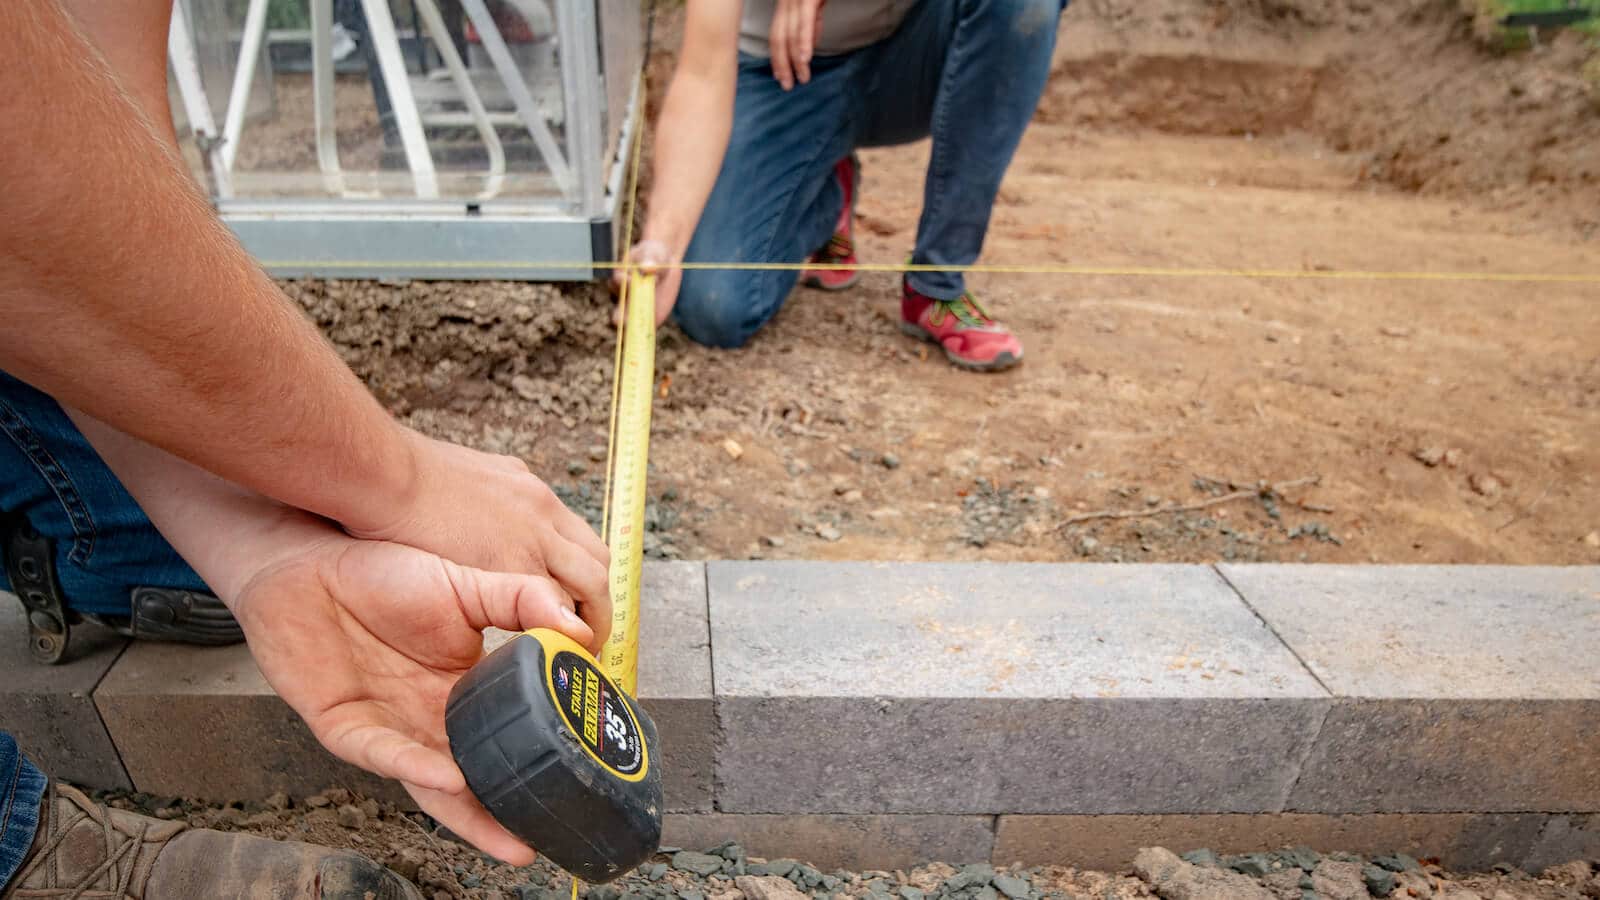
Using stakes and string, mark the layout of the paver installation. This step allows you to visualize the final design and ensure that the area is properly defined before proceeding with the next steps. Take accurate measurements and consider the desired pattern and orientation of the pavers.
Excavate the Soil
Once the layout is marked, it’s time to excavate the soil to prepare the base for the pavers. The depth of the excavation will depend on the thickness of the base and pavers, as well as the desired height of the finished surface. Typically, you’ll need to remove several inches of soil to accommodate the base and paver thickness.
Read more: How To Lay Brick Pavers On Concrete
Level the Ground
After excavating the soil, use a compactor or hand tamper to level the ground. This step is crucial for creating a stable and even surface for the pavers. Take your time to ensure that the entire area is properly compacted and free of any soft spots or uneven areas.
Add a Weed Barrier
Consider adding a weed barrier fabric over the compacted soil to prevent weed growth between the pavers. This simple yet effective layer can help maintain the integrity and appearance of the paved surface over time.
By meticulously preparing the area, you’ll establish a solid foundation for laying brick pavers on dirt. This attention to detail in the initial stages of the project will contribute to the overall quality and longevity of the finished installation.
Step 2: Lay a Base
Once the area is properly prepared, the next crucial step in laying brick pavers on dirt is to establish a sturdy and supportive base. The base serves as a critical layer that distributes the weight of the pavers and provides stability and drainage. Here’s how to lay a solid base for your paver project:
Select the Base Material
Choose a suitable base material for the paver installation. Common options include crushed stone, gravel, or concrete sand. The type of base material you select will depend on factors such as soil composition, drainage requirements, and the intended use of the paved area.
Spread and Level the Base Material
Spread the chosen base material evenly over the prepared area. Use a rake or screed board to distribute the material and create a uniform layer with the desired thickness. Pay close attention to achieving a consistent depth to ensure a level surface for the pavers.
Compact the Base
After spreading the base material, compact it thoroughly using a plate compactor or hand tamper. This step is essential for achieving a stable and firm base that minimizes the risk of settling or shifting over time. Work methodically across the entire area to compact the base material uniformly.
Check for Proper Slope
Verify that the compacted base has a slight slope to facilitate proper drainage. A gentle slope away from structures or high-traffic areas helps prevent water from pooling on the paved surface. Use a level or straight edge to confirm that the base has the appropriate slope for efficient water runoff.
Verify the Levelness
Double-check the levelness of the compacted base using a straight edge or level. This step is crucial for ensuring that the pavers will sit evenly and securely once they are placed on the base. Address any uneven areas by adding or removing base material as needed to achieve a consistent surface.
By laying a solid base for the brick pavers, you’ll establish a reliable foundation that promotes proper drainage and supports the structural integrity of the paved surface. Taking the time to execute this step with precision will contribute to the overall quality and longevity of the paver installation.
Read more: How To Lay A Paver Patio
Step 3: Set the Pavers
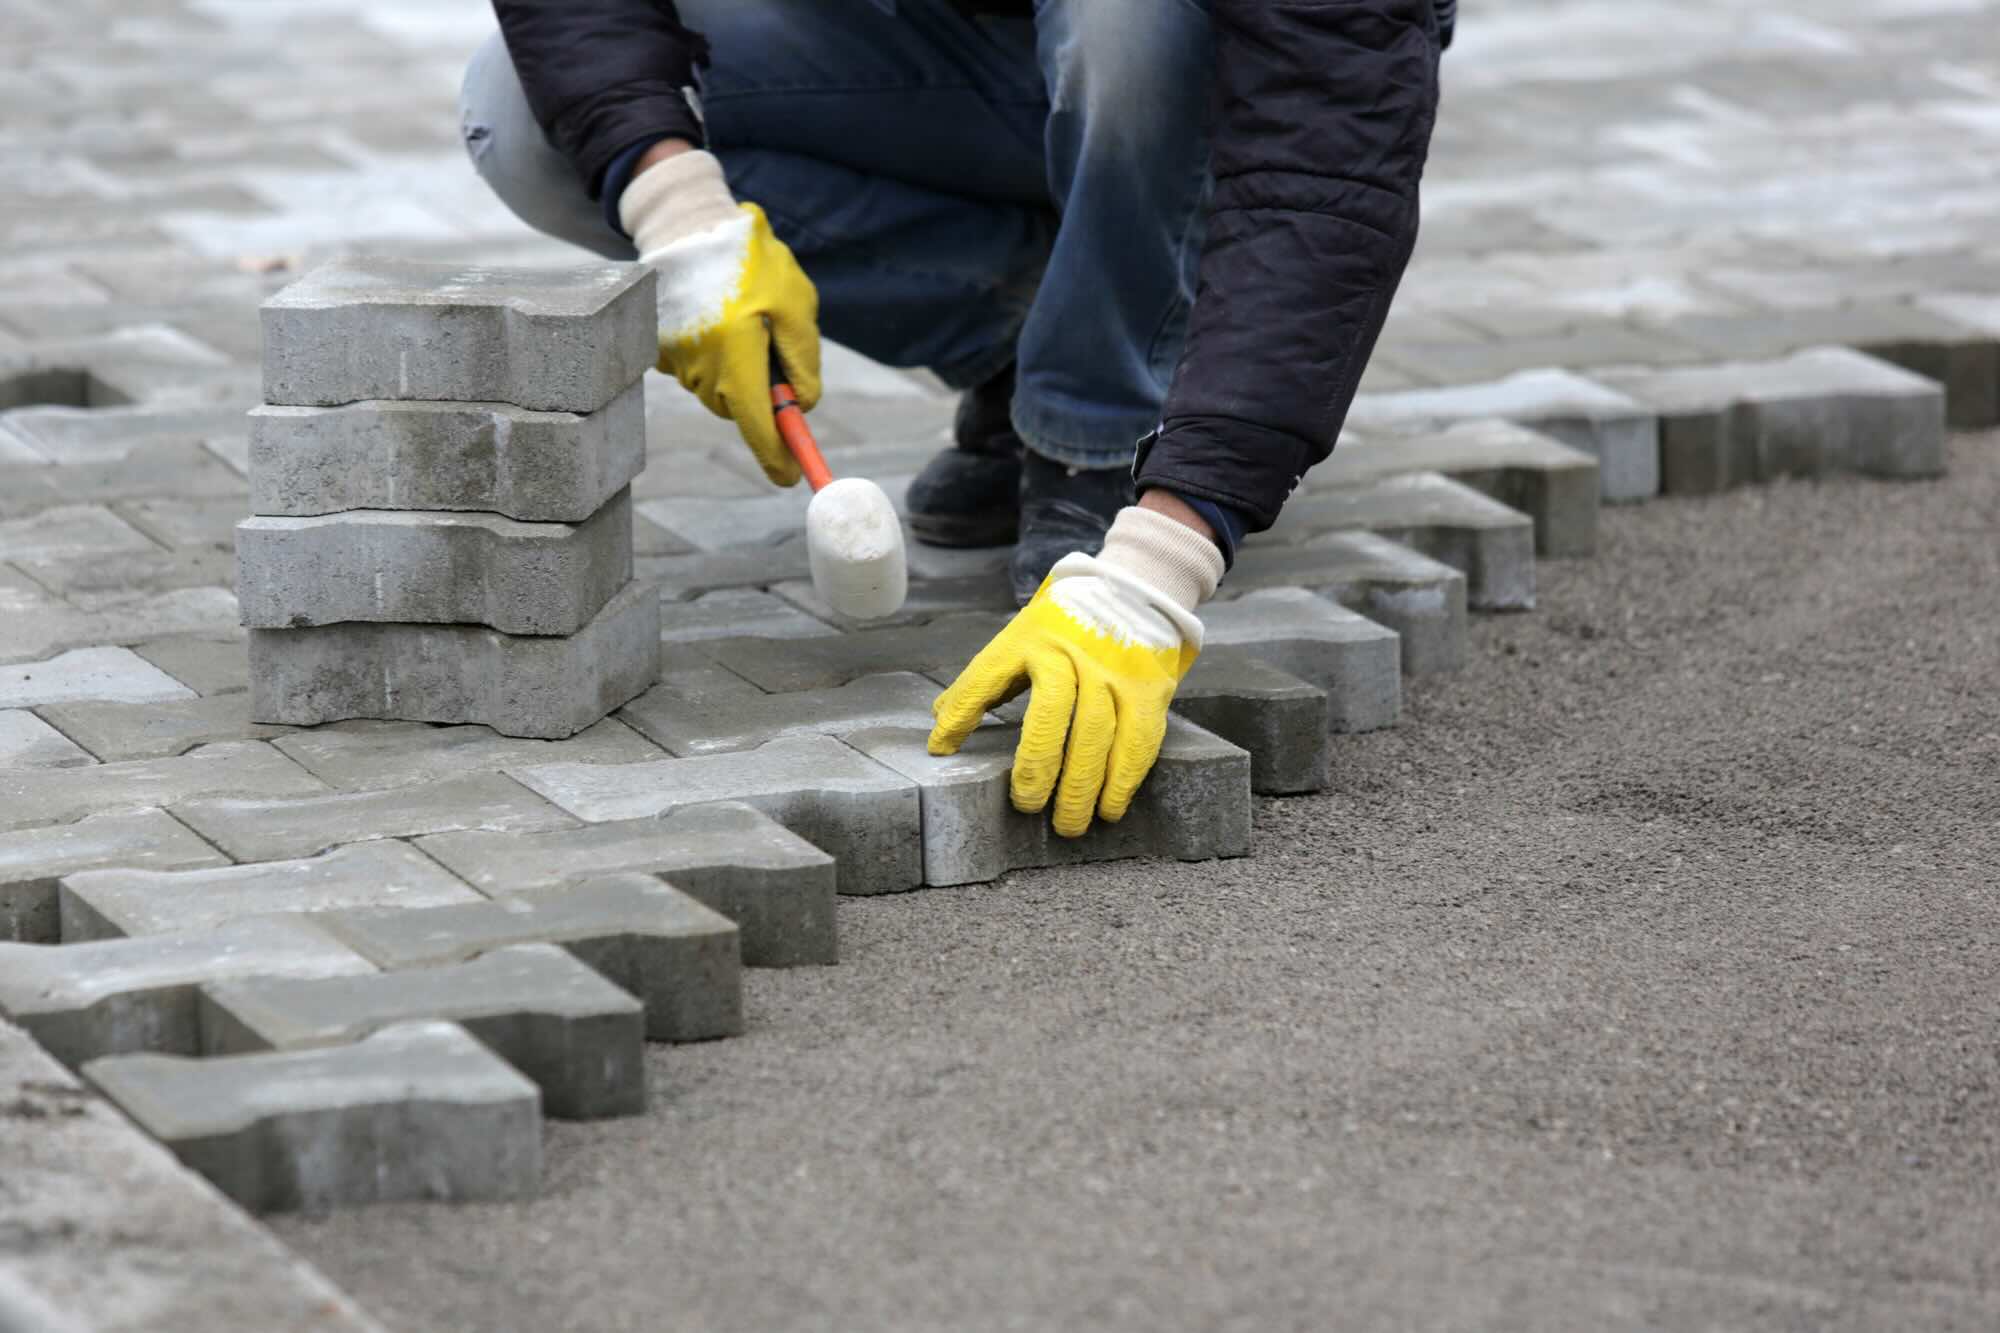
With the base in place, it’s time to bring your vision to life by setting the brick pavers in their designated pattern. This step requires attention to detail and precision to ensure that the pavers are arranged securely and aesthetically. Here’s how to set the pavers on the prepared base:
Begin at the Edge
Start setting the pavers at one edge of the prepared area. This approach allows you to work methodically across the space, ensuring a cohesive and well-organized layout. Consider beginning at a prominent edge, such as the perimeter of a patio or the entryway of a walkway, for a polished appearance.
Establish the Pattern
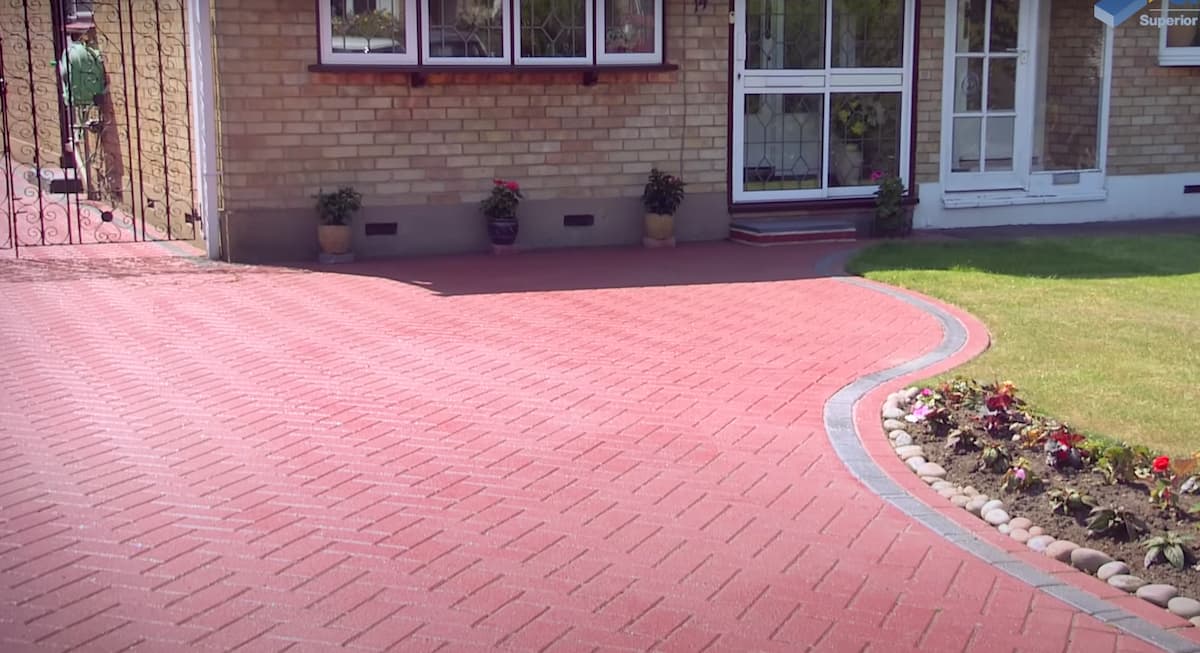
Adhere to the predetermined pattern or design for the pavers. Whether you’ve chosen a classic herringbone layout, a sleek running bond pattern, or a custom arrangement, follow the design plan consistently as you set each paver. This attention to detail will result in a visually appealing and structurally sound installation.
Maintain Uniform Spacing
Ensure consistent spacing between the pavers as you set them in place. The use of plastic spacers or another suitable method can help maintain even joints and create a professional finish. Pay close attention to the alignment and spacing of the pavers to achieve a cohesive and visually pleasing result.
Read more: How To Lay Artificial Grass On Dirt
Cut Pavers as Needed
< p>As you reach the edges or irregular areas of the installation, you may need to cut pavers to fit the space accurately. Use a paver saw or chisel to carefully trim the pavers to the required size and shape. Precision cutting ensures a seamless and tailored fit for the pavers.
Verify Alignment and Levelness
Regularly check the alignment and levelness of the pavers as you set them in place. Using a straight edge or level, confirm that the pavers are positioned uniformly and at the appropriate height relative to the surrounding surface. Adjust the placement as needed to maintain a consistent and level finish.
By methodically setting the brick pavers according to the established design and standards, you’ll create an inviting and visually striking paved surface. This step is an opportunity to showcase your attention to detail and craftsmanship, resulting in a finished installation that exudes quality and charm.
Step 4: Fill the Joints
Once the brick pavers are securely set in place, the next essential step is to fill the joints between the pavers. Properly filling the joints not only enhances the visual appeal of the paved surface but also contributes to the stability and longevity of the installation. Here’s how to fill the joints effectively:
Choose Jointing Material
Select a suitable jointing material based on your preferences and project requirements. Common options include polymeric sand, traditional sand, or a specialized paver jointing compound. Consider factors such as durability, weed prevention, and color compatibility when choosing the jointing material.
Read more: How To Lay Pavers On Grass
Apply the Jointing Material
Evenly distribute the selected jointing material over the surface of the pavers, ensuring that it fills the joints completely. Use a broom or brush to work the material into the gaps between the pavers, allowing it to settle and compact naturally. Take care to avoid leaving excess jointing material on the surface of the pavers.
Compact the Material
After applying the jointing material, use a compactor or hand tamper to gently compact the material into the joints. This step helps achieve a secure and stable fill while minimizing the risk of settling or displacement over time. Work methodically across the entire paved area to ensure uniform compaction.
Remove Excess Material
Once the joints are filled and compacted, carefully remove any excess jointing material from the surface of the pavers. A gentle sweeping and light rinsing with water can help clean the pavers while allowing the jointing material to settle into the gaps. Take care not to dislodge the material from the joints during this process.
Verify Joint Uniformity
Inspect the filled joints to ensure uniformity and stability. Check for any areas where the jointing material may be insufficient or unevenly distributed, and address these areas as needed. A thorough examination of the filled joints contributes to the overall integrity and appearance of the finished installation.
By meticulously filling the joints with the appropriate material and ensuring uniform distribution and compaction, you’ll enhance the overall visual appeal and structural integrity of the paved surface. This step is essential for preserving the stability and aesthetics of the brick paver installation over time.
Read more: How To Lay Brick
Step 5: Compact the Pavers
After setting the pavers and filling the joints, the final crucial step in the brick paver installation process is to compact the pavers. This essential task ensures that the pavers are firmly set in place and that the jointing material is securely integrated. Here’s how to effectively compact the pavers:
Choose the Right Equipment
Select a suitable compactor for the size and layout of the paved area. Plate compactors are commonly used for compacting brick pavers, providing the necessary force to set the pavers and achieve a stable surface. Ensure that the compactor is appropriate for the type of pavers and jointing material used.
Begin Compacting
Start compacting the pavers, working methodically across the entire surface. Begin at one edge and gradually move toward the opposite side, overlapping each pass to ensure thorough and uniform compaction. Pay particular attention to areas with joints, ensuring that the jointing material is compacted without being displaced.
Apply Even Pressure
When using the compactor, apply even pressure to achieve consistent compaction. This approach helps prevent uneven settling and ensures that the pavers are securely set in place. Take your time to compact the entire paved area thoroughly, focusing on creating a stable and level surface.
Read more: How To Lay Down Pavers For A Patio
Check for Stability
Regularly assess the stability of the pavers as you compact them. Verify that the pavers remain in place and that the jointing material is not being forced out of the joints. Address any areas where the pavers may be shifting or where the jointing material requires additional compaction to achieve a secure and uniform fill.
Repeat Compaction as Needed
If necessary, repeat the compaction process to ensure that the pavers are firmly and securely set. Multiple passes with the compactor may be required, especially for larger or more intricate paver installations. Thorough and deliberate compaction is essential for the longevity and stability of the finished surface.
By diligently compacting the pavers, you’ll ensure that the installation is stable, secure, and resilient. This final step is crucial for establishing a durable and visually appealing paved surface that will withstand the test of time and enhance the beauty of your outdoor space.
Conclusion
Congratulations! You’ve successfully completed the process of laying brick pavers on dirt, transforming a plain outdoor area into a stunning and functional space. By following the step-by-step guide provided, you’ve not only enhanced the aesthetics of your landscape but also added value and usability to your outdoor environment.
Throughout this journey, you’ve meticulously prepared the area, established a solid base, set the pavers with precision, filled the joints, and compacted the surface. Each step was a testament to your attention to detail and commitment to creating a high-quality and enduring installation.
As you admire the finished paved surface, take pride in the craftsmanship and dedication that went into this project. The beauty of brick pavers lies not only in their timeless appeal but also in the sense of accomplishment that comes with creating a tangible and lasting feature in your outdoor space.
Whether you’ve constructed a welcoming patio, an inviting walkway, or a practical driveway, the impact of your efforts will be felt for years to come. The durability and low maintenance of brick pavers ensure that your outdoor space will remain a source of enjoyment and admiration, enriching the overall appeal of your property.
As you reflect on this rewarding experience, consider the memories that will be made on this newly paved surface – from gatherings with family and friends to quiet moments of relaxation. Your investment in laying brick pavers on dirt has not only enhanced your property but has also enriched the lifestyle and enjoyment of your outdoor living space.
So, take a moment to savor the accomplishment and envision the countless moments that await in this beautifully paved outdoor oasis. Your dedication to this project has truly made a lasting impact, and the beauty of your new brick paver installation will continue to inspire and delight for years to come.
Frequently Asked Questions about How To Lay Brick Pavers On Dirt
Was this page helpful?
At Storables.com, we guarantee accurate and reliable information. Our content, validated by Expert Board Contributors, is crafted following stringent Editorial Policies. We're committed to providing you with well-researched, expert-backed insights for all your informational needs.



0 thoughts on “How To Lay Brick Pavers On Dirt”