Home>Garden Essentials>How To Make Paper Greenery

Garden Essentials
How To Make Paper Greenery
Modified: March 7, 2024
Learn how to make paper greenery for your garden with this easy step-by-step guide. Create beautiful, eco-friendly decorations to enhance your outdoor space.
(Many of the links in this article redirect to a specific reviewed product. Your purchase of these products through affiliate links helps to generate commission for Storables.com, at no extra cost. Learn more)
Introduction
Gardening is not just about tending to live plants and flowers; it can also be a creative outlet that allows you to bring the beauty of nature into your home in different ways. One such way is by creating paper greenery. Whether you want to add a touch of green to your living space, create a unique centerpiece for a special occasion, or simply enjoy a fun DIY project, making paper greenery is an excellent option.
Using paper to craft lifelike greenery not only brings a sense of nature indoors but also offers many advantages. It’s a cost-effective alternative to buying live plants, especially for those who may not have a green thumb or the time to care for real plants. Paper greenery is also great for those who are allergic to pollen or have pets that may be sensitive to live plants.
In this article, we will guide you through the process of making paper greenery step by step. By the end, you’ll have a beautiful assortment of paper leaves and branches that can be arranged in various ways to enhance your home decor or add a unique touch to your next event.
Key Takeaways:
- Create lifelike paper greenery using colored paper, scissors, glue, and wire. It’s a cost-effective, allergy-friendly, and fun way to bring nature indoors without the need for plant care.
- Choose the type of greenery you want to create, prepare the paper, cut it into shapes, fold and shape the paper, assemble the greenery, and add finishing touches to display and enjoy your beautiful paper greenery.
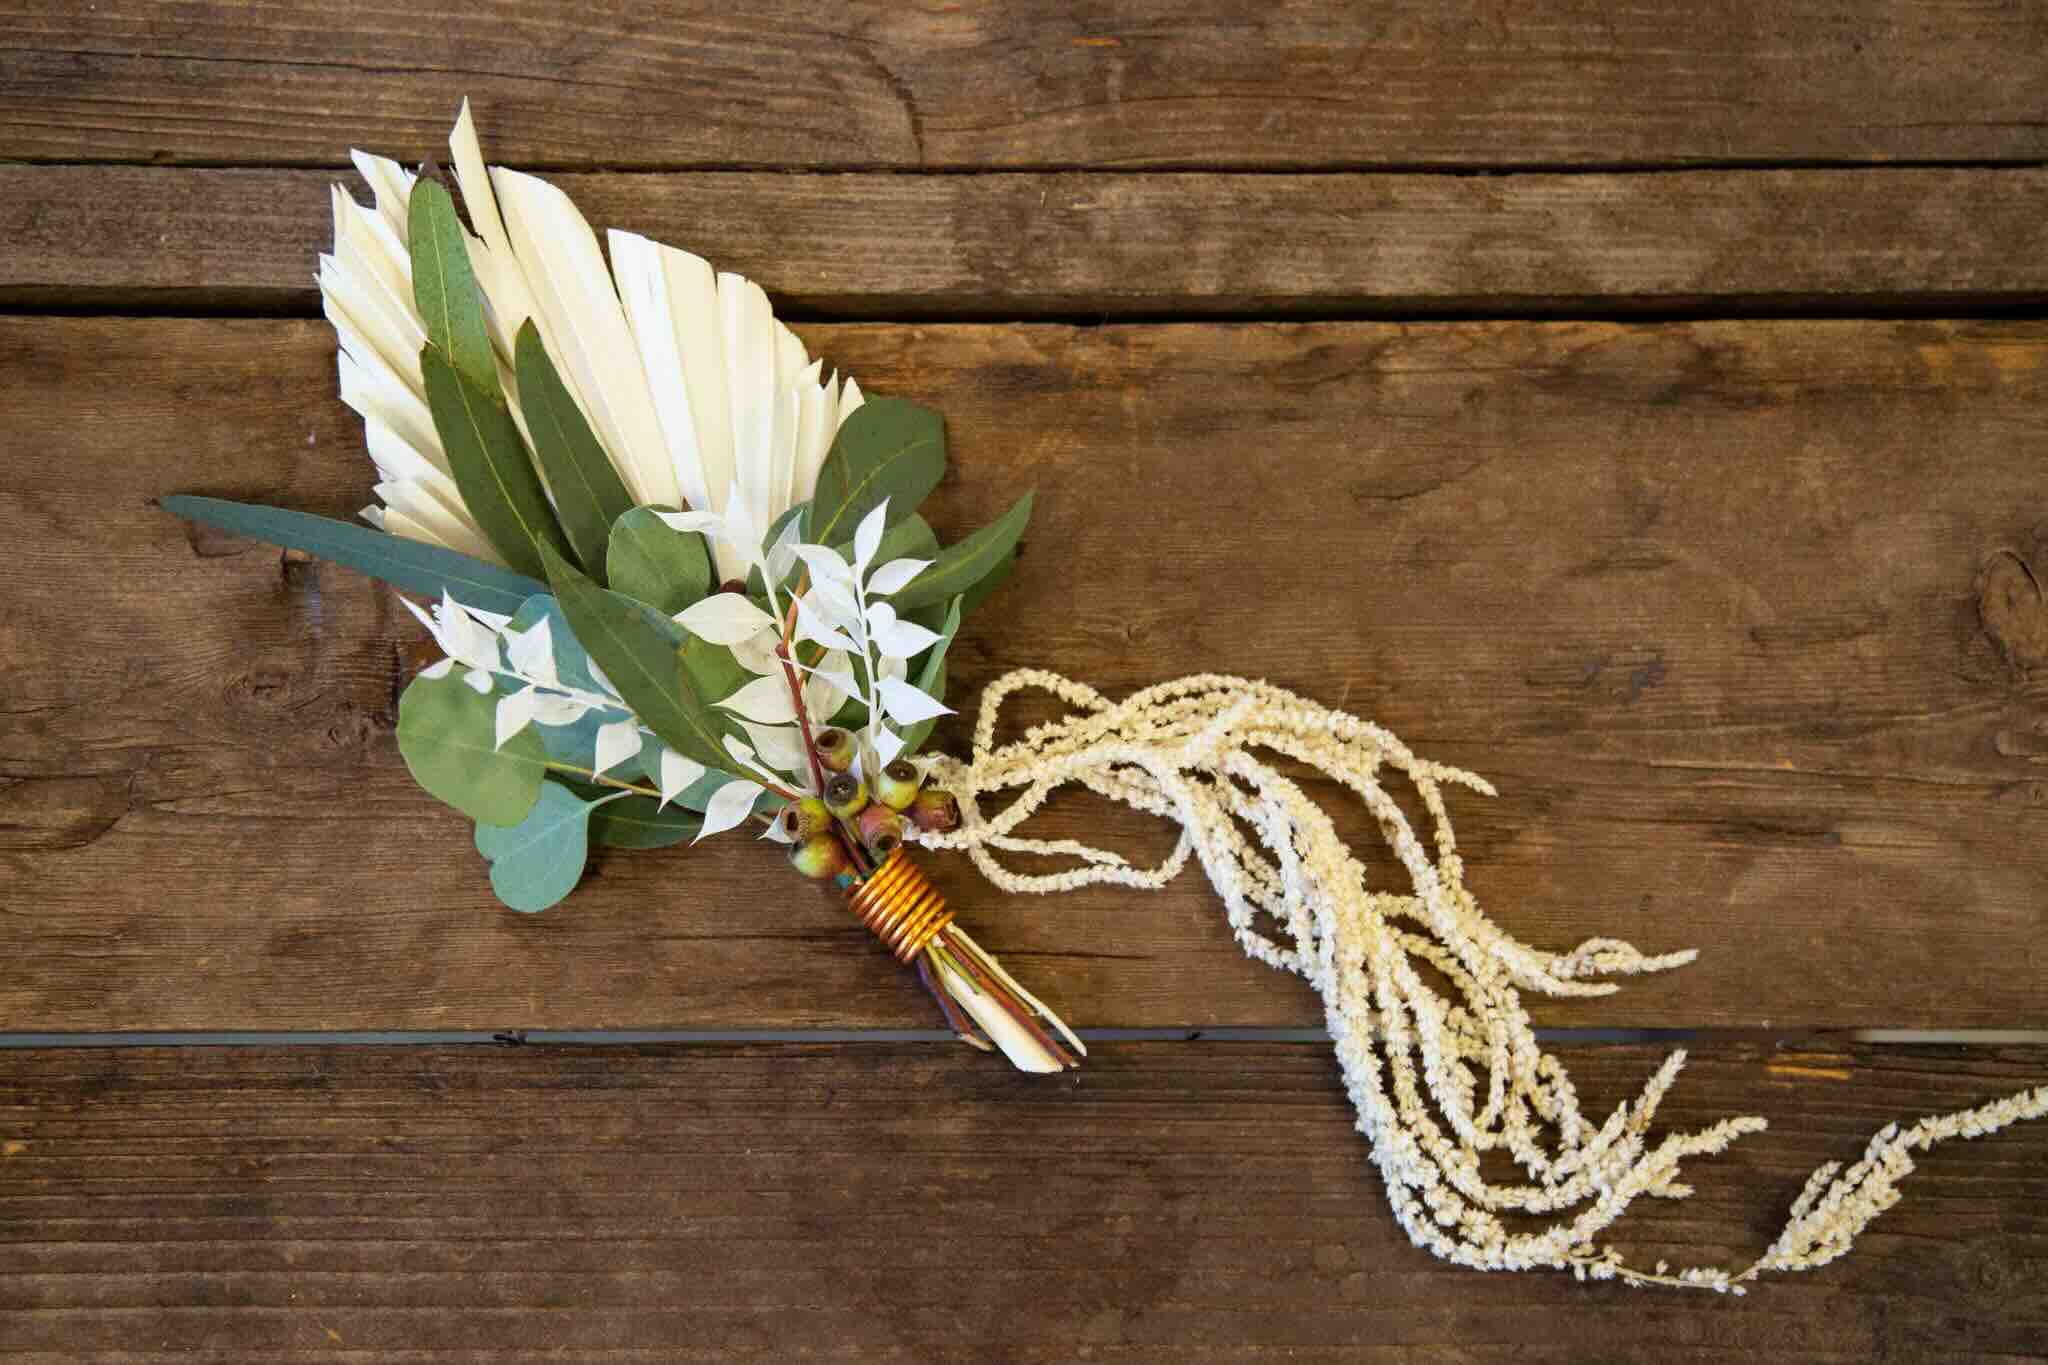
Read more: How To Make Greenery Tomte With Greenery
Materials Needed
Before we dive into the process of making paper greenery, let’s gather the necessary materials. Here’s what you’ll need:
- Green colored paper: Choose a variety of shades to add depth and realism to your paper greenery. You can use plain colored paper or opt for patterned paper for a more decorative look.
- Scissors: A good pair of scissors with sharp blades will be essential for cutting the paper into various shapes.
- Glue or adhesive: You’ll need a reliable adhesive to secure the paper pieces together and create a sturdy structure for your greenery.
- Floral wire or pipe cleaners: These will be used to create stems and give flexibility to your paper greenery.
- Wire cutters: If you’re using floral wire, wire cutters will be necessary to trim it to the desired length.
- Optional: Coloring materials like markers or watercolors can be used to add dimension and detail to your paper leaves.
Now that you have all the necessary materials, let’s move on to the next step: choosing the type of greenery you want to create.
Step 1: Choosing the Type of Greenery
The first step in making paper greenery is deciding what type of foliage you want to create. There are endless options to choose from, including leaves of different shapes, branches, vines, flowers, and more. Consider the overall aesthetic you want to achieve and the purpose of your paper greenery. Are you looking for a natural and realistic look, or do you prefer something more whimsical and artistic?
Once you have an idea in mind, you can start researching and gathering inspiration. Look at real plants, botanical illustrations, or even images of paper greenery created by other crafters. Pay attention to the size, shape, and texture of the leaves and branches. This research will help you create a more accurate and visually appealing final product.
If you’re a beginner or unsure where to start, it’s best to choose simple leaf shapes or basic branches. As you gain more experience and confidence, you can explore more complex designs.
Another factor to consider is the size of the greenery. Are you planning to create small accents for a tabletop arrangement, or do you want to make larger statement pieces? Understanding the scale will help determine the size of paper and the level of detail needed for your greenery.
Remember, there’s no right or wrong choice when it comes to choosing the type of greenery. It’s all about your personal preference and the look you want to achieve. So, take your time, explore different options, and let your imagination guide you.
Once you’ve decided on the type of greenery you want to create, it’s time to move on to the next step: preparing the paper.
Step 2: Preparing the Paper
Before diving into cutting and shaping the paper, it’s important to prepare it so that it’s easier to work with and achieves the desired look for your paper greenery.
First, select the appropriate paper for your project. Green colored paper is the obvious choice for creating foliage, but don’t be afraid to mix it up with different shades and patterns. Consider the texture and weight of the paper as well. A lighter weight paper will be easier to fold and shape, while a heavier weight paper will provide more durability. Experiment with different types of paper to find the one that best suits your project.
If you prefer a more natural look for your foliage, you can also use recycled or textured paper that resembles the texture of leaves. This can add an extra layer of authenticity to your paper greenery.
Next, prepare the paper by cutting it into manageable sizes. Depending on the size of the greenery you want to create, you may need to cut the paper into smaller squares or rectangles. This will make it easier to work with and allow you to maximize the use of your paper.
Once you have the appropriate sizes, you can also consider adding some extra texture or visual interest to the paper. You can crumple the paper gently or use a bone folder to create creases and folds, mimicking the natural texture of leaves. These small details can enhance the overall realism of your paper greenery.
Finally, if you want to add some color variation to your greenery, you can lightly apply watercolor or markers to create gradients or highlights. Be careful not to oversaturate the paper, as it can become difficult to shape and manipulate.
Now that your paper is prepped and ready to go, let’s move on to the next step: cutting the paper into shapes!
Step 3: Cutting the Paper into Shapes
Now that you have your prepared paper, it’s time to start cutting it into the desired shapes for your paper greenery. This step is where your creativity and attention to detail will shine!
Begin by envisioning the type of foliage you want to create. Look at your inspiration photos and sketches, and think about the specific shapes and sizes of leaves or branches you’ll need. Remember to consider the overall shape of the plant you’re trying to mimic. Is it rounded, angular, or asymmetrical?
Using a pencil, lightly sketch the desired shapes onto the paper or use stencils as a guide. This step will help ensure consistency in size and shape across your paper greenery.
Once you have your outlines, it’s time to start cutting. Use a sharp pair of scissors and carefully follow the lines you drew. Take your time to make precise cuts and smooth edges. If you’re creating different sizes of leaves or branches, make sure to vary the sizes of your paper cutouts accordingly.
Don’t be afraid to experiment with different leaf shapes or add unique details, such as serrated edges or veins, to make your paper greenery more realistic. This is where you can let your creativity shine and add your personal touch to the project.
As you cut out each shape, place them on a clean surface or organize them in separate piles according to their size or type. This will make it easier during the assembly stage.
Remember, cutting the paper into shapes is a crucial step in achieving the desired look for your paper greenery. Take your time, be patient, and enjoy the process of bringing your botanical vision to life!
With the paper cutouts ready, let’s move on to the next step: folding and shaping the paper.
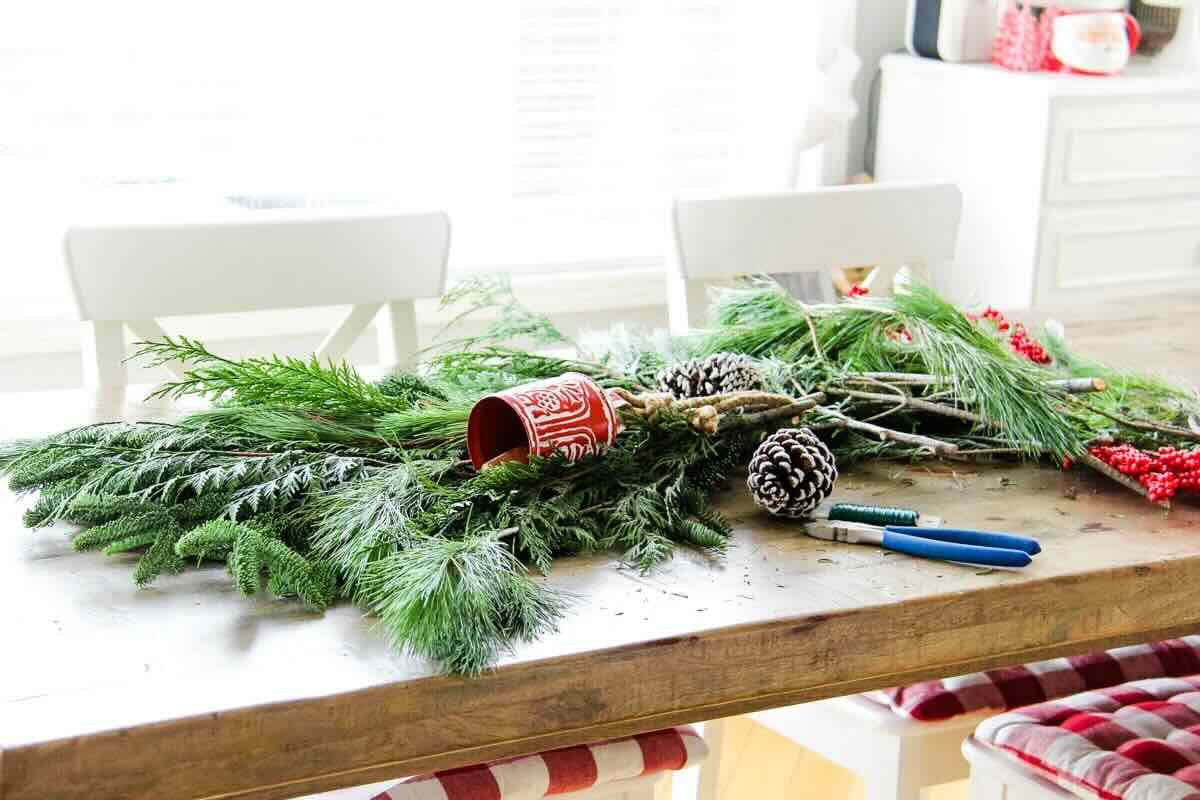
When making paper greenery, use recycled paper to reduce environmental impact. Look for tutorials on how to create different types of greenery, such as leaves and vines, using simple materials like paper, scissors, and glue.
Read more: How To Make A Greenery Corsage
Step 4: Folding and Shaping the Paper
Now that you have your paper cutouts, it’s time to bring them to life by folding and shaping them into realistic and dimensional greenery. This step is where you’ll add depth and texture to your paper foliage.
Start by examining each paper cutout and determining how you want it to look. Consider the natural shape and movement of real leaves and branches. You can gently fold the paper along the center or create small creases to mimic the veins or natural folds.
For leaves, you can add some depth by gently folding them in half lengthwise or widthwise. This will create a slight curvature, giving them a more realistic appearance. You can also use a toothpick or your fingertips to gently curl the edges of the leaves, adding a subtle dimension.
For branches or stems, you can fold or twist the paper to create a more organic shape. Experiment with different techniques to achieve the desired look. You can create gentle waves or bends along the length of the branch to mimic the natural curves of real stems.
When shaping your paper greenery, it’s essential to consider their placement and how they will interact with each other. Think about how leaves attach to branches or how multiple stems come together to form a larger structure. The goal is to create a cohesive and visually appealing arrangement.
As you fold and shape each paper piece, set them aside and continue to the next one. Take your time and be gentle, especially if you’re working with delicate or intricate designs. Remember, this is your opportunity to add depth and realism to your paper greenery, so enjoy the process and let your creativity guide you.
With the paper pieces folded and shaped, it’s time to move on to the next step: assembling the greenery.
Step 5: Assembling the Greenery
Now that you have your beautifully folded and shaped paper pieces, it’s time to assemble them into a cohesive arrangement that resembles natural greenery. This step will bring your paper foliage to life!
Start by arranging the larger elements first, such as the main branches or stems. Determine the desired shape and structure of your greenery and position the larger pieces accordingly. Secure them together using glue or adhesive. Floral wire or pipe cleaners can also be used to attach multiple branches and create a more stable foundation.
Once the main structure is in place, it’s time to add the leaves. Attach the paper leaves to the branches or stems by applying a small amount of glue to the base of each leaf and gently pressing it onto the desired location. Vary the angle and position of the leaves to create a more natural and organic look.
If you’re creating vines or trailing elements, you can twist or wrap them around the larger structure or use adhesive to secure them in place. This will add movement and dimension to your paper greenery.
Throughout the assembly process, step back and assess the overall look of your greenery. Make adjustments as needed, adding or repositioning leaves to achieve the desired balance and visual appeal. Don’t be afraid to experiment and try different arrangements until you’re satisfied with the final result.
If you plan to use your paper greenery as a centerpiece or in a specific display, consider the angles from which it will be viewed. Make sure the arrangement looks equally appealing from all sides.
Remember, the goal is to create a realistic and visually pleasing representation of greenery using paper. Take your time during the assembly process and pay attention to the details. Enjoy the creative journey and let your paper greenery come to life!
With the greenery assembled, it’s time for the final touches. Let’s move on to the next step: adding finishing touches.
Step 6: Adding Finishing Touches
Now that you have your paper greenery assembled, it’s time to add some finishing touches to enhance its realism and overall aesthetic. These final details will elevate your creation and make it truly stand out.
One option is to add texture and dimension to your paper greenery. Consider using a fine-tip marker or colored pencils to add subtle shading to the leaves and branches. This can create depth and make your greenery look more realistic. Pay attention to the natural highlights and shadows that would appear on real foliage.
If you want to add a touch of sparkle or shine, you can also use glitter or metallic paint to accentuate certain parts of your paper greenery. Apply it sparingly to avoid overpowering the natural look of the foliage.
Additionally, you can incorporate other materials, such as ribbons, twine, or decorative accents like small beads or faux berries, to further enhance the visual appeal of your paper greenery. These elements can add interest and complement the overall arrangement.
Furthermore, consider the container or display you’ll be using for your paper greenery. Select a vessel that complements the style and theme of your creation. It could be a vase, a decorative pot, or even a repurposed item like a vintage tin or mason jar. Fill the container with small rocks, sand, or other materials to create stability and support for your greenery.
Lastly, take some time to step back and view your paper greenery from various angles. Make any necessary adjustments or additions to ensure that it looks cohesive and visually appealing from all sides. Don’t be afraid to experiment and try different variations until you’re satisfied with the final look.
With the finishing touches complete, it’s time to display and enjoy your beautiful paper greenery!
Move on to the final step: Step 7: Display and Enjoy Your Paper Greenery.
Step 7: Display and Enjoy Your Paper Greenery
Congratulations! You’ve successfully created your own paper greenery, and now it’s time to showcase your beautiful creation and enjoy its charm. Here are some tips for displaying and enjoying your paper greenery:
1. Choose a prominent location: Find a place in your home where your paper greenery can be admired and appreciated. It could be a mantel, a shelf, a coffee table, or even a centerpiece for a special occasion. Consider the lighting and the overall aesthetic of the space.
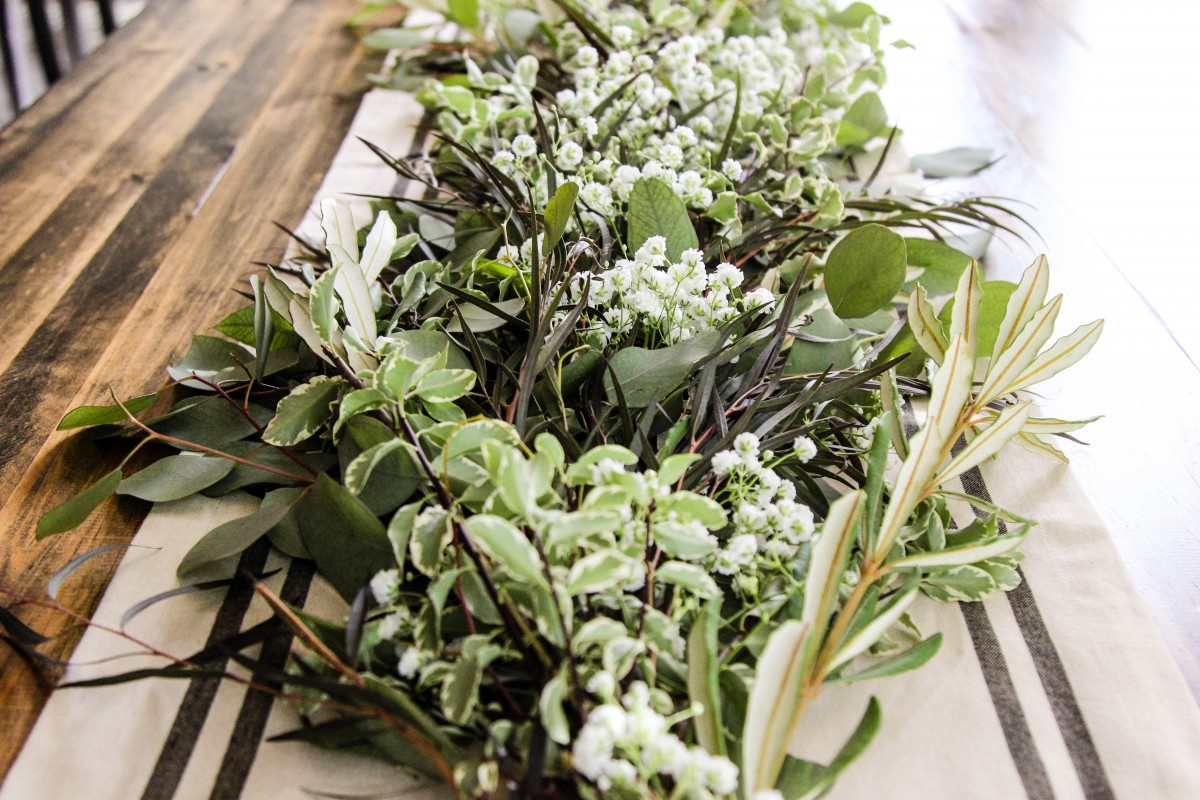
2. Mix and match: Don’t be afraid to combine your paper greenery with other decorative elements. Incorporate real plants, flowers, or other natural materials to create a dynamic and visually appealing display. The contrast between the textures and colors will add depth and interest to your arrangement.
3. Change it up: Paper greenery gives you the flexibility to change your decor on a whim. Swap out different branches or leaves to create a seasonal or themed display. You can also rearrange the components to create a fresh look whenever you desire a change.
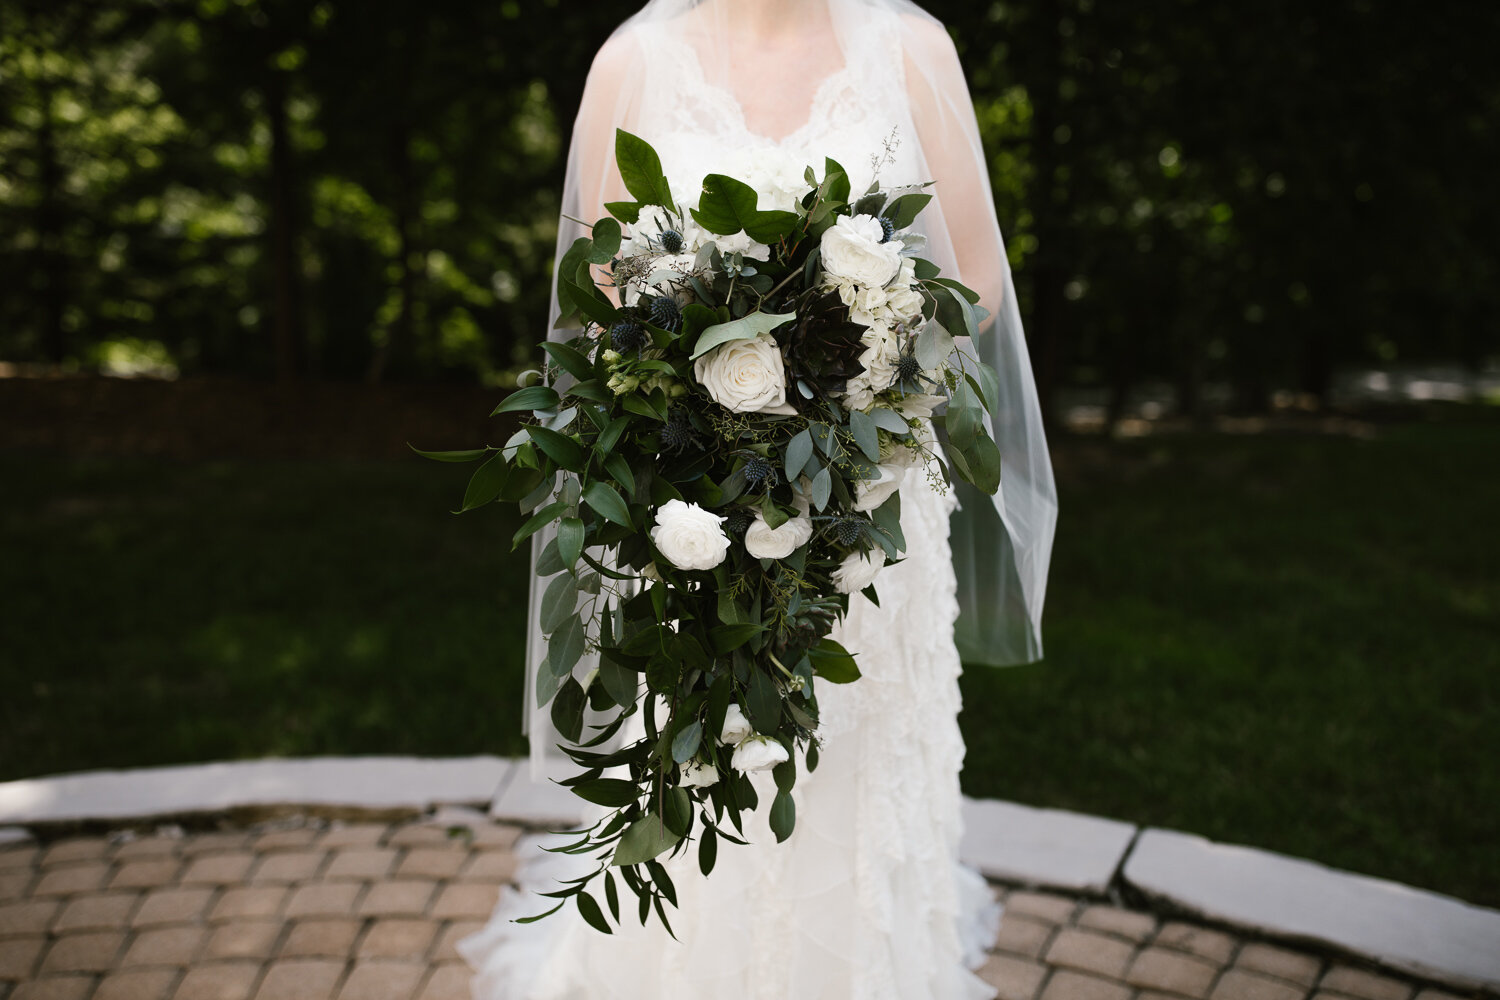
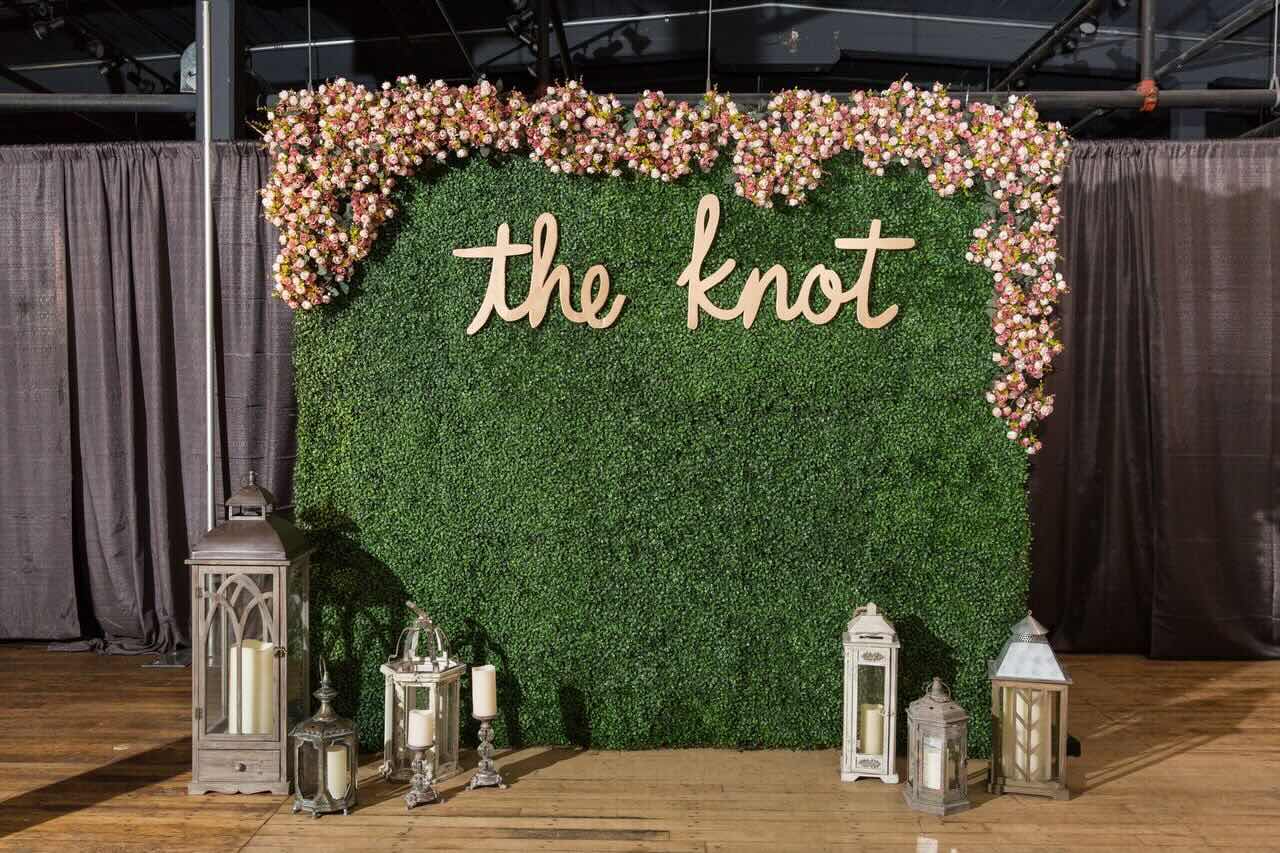
4. Use it as a backdrop: Paper greenery can serve as a stunning backdrop for photography or events. Whether it’s a wedding, a birthday party, or a simple photoshoot, incorporate your paper greenery to enhance the ambiance and create a picturesque setting.
5. Care and maintenance: Unlike live plants, paper greenery requires minimal upkeep. However, it’s essential to keep it dust-free by gently wiping the leaves with a soft cloth or using a can of compressed air. Store your paper greenery in a sturdy container or box to protect it from damage when not in use.
6. Share your creativity: If you’re proud of your paper greenery, don’t hesitate to share it with others. Take photos and share them on social media, or invite friends and family to admire your craftmanship. Your creativity and talent may inspire others to embark on their own paper greenery projects.
Remember, making paper greenery is not only a creative endeavor but also a therapeutic and enjoyable activity. Take pride in your work and appreciate the unique touch of nature you’ve brought into your home.
By following these steps and putting your own flair into the process, you can create stunning paper greenery that will impress your guests and add a touch of natural beauty to any space. So, gather your materials, unleash your creativity, and enjoy the journey of crafting your very own paper greenery!
Frequently Asked Questions about How To Make Paper Greenery
Was this page helpful?
At Storables.com, we guarantee accurate and reliable information. Our content, validated by Expert Board Contributors, is crafted following stringent Editorial Policies. We're committed to providing you with well-researched, expert-backed insights for all your informational needs.


0 thoughts on “How To Make Paper Greenery”