Home>Storage Ideas>Storage Baskets>How To Make Baskets From Paper
Storage Baskets
How To Make Baskets From Paper
Modified: January 6, 2024
Learn how to make beautiful storage baskets from paper in just a few simple steps. Create stylish and functional storage solutions with our easy-to-follow guide.
(Many of the links in this article redirect to a specific reviewed product. Your purchase of these products through affiliate links helps to generate commission for Storables.com, at no extra cost. Learn more)
Introduction
Are you looking for a fun and creative way to express your artistic side? Look no further than the art of making baskets from paper! Paper baskets are a versatile and eco-friendly alternative to traditional woven baskets. They can be used for a variety of purposes, such as storing small items, organizing your desk, or even as decorative pieces.
In this article, we will provide you with a comprehensive guide on how to create beautiful paper baskets from materials readily available in your home. We will walk you through the step-by-step process, share tips and tricks to master the art, and provide ideas for decorating your paper baskets to add your personal touch. So, let’s dive in and explore the wonderful world of paper basket making!
Key Takeaways:
- Unleash your creativity and make eco-friendly paper baskets using simple materials found at home. Personalize your baskets with unique decorations and enjoy the rewarding process of crafting functional and beautiful pieces.
- Transform ordinary paper into intricate and visually appealing baskets. Embrace imperfections, experiment with different techniques, and share the joy of handmade creations with friends and family.
Read more: How To Make Shredded Paper For Gift Baskets
Overview of Paper Basket Making
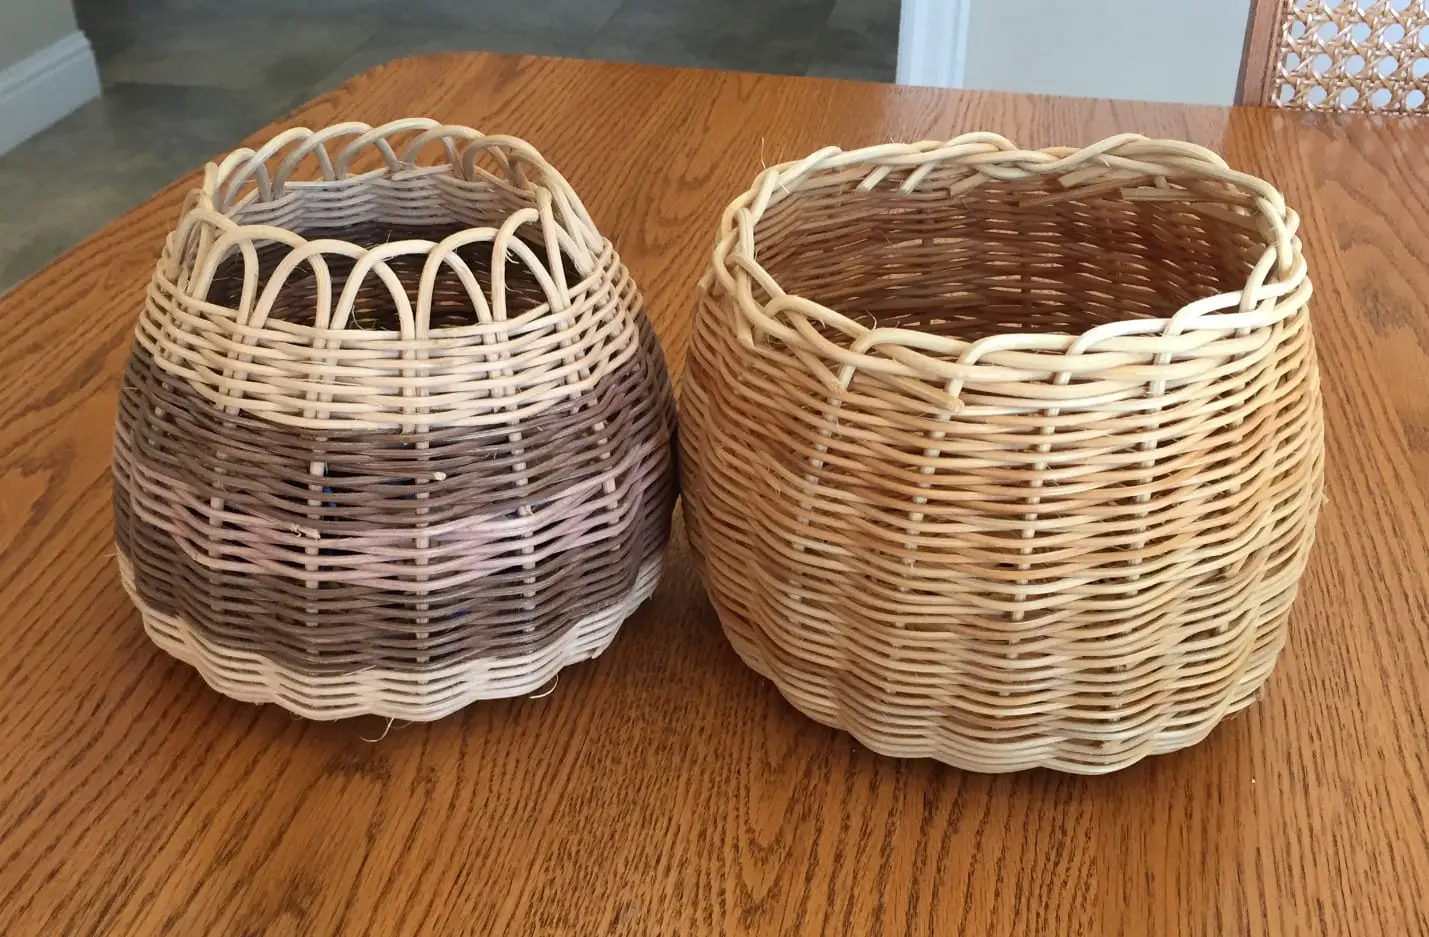
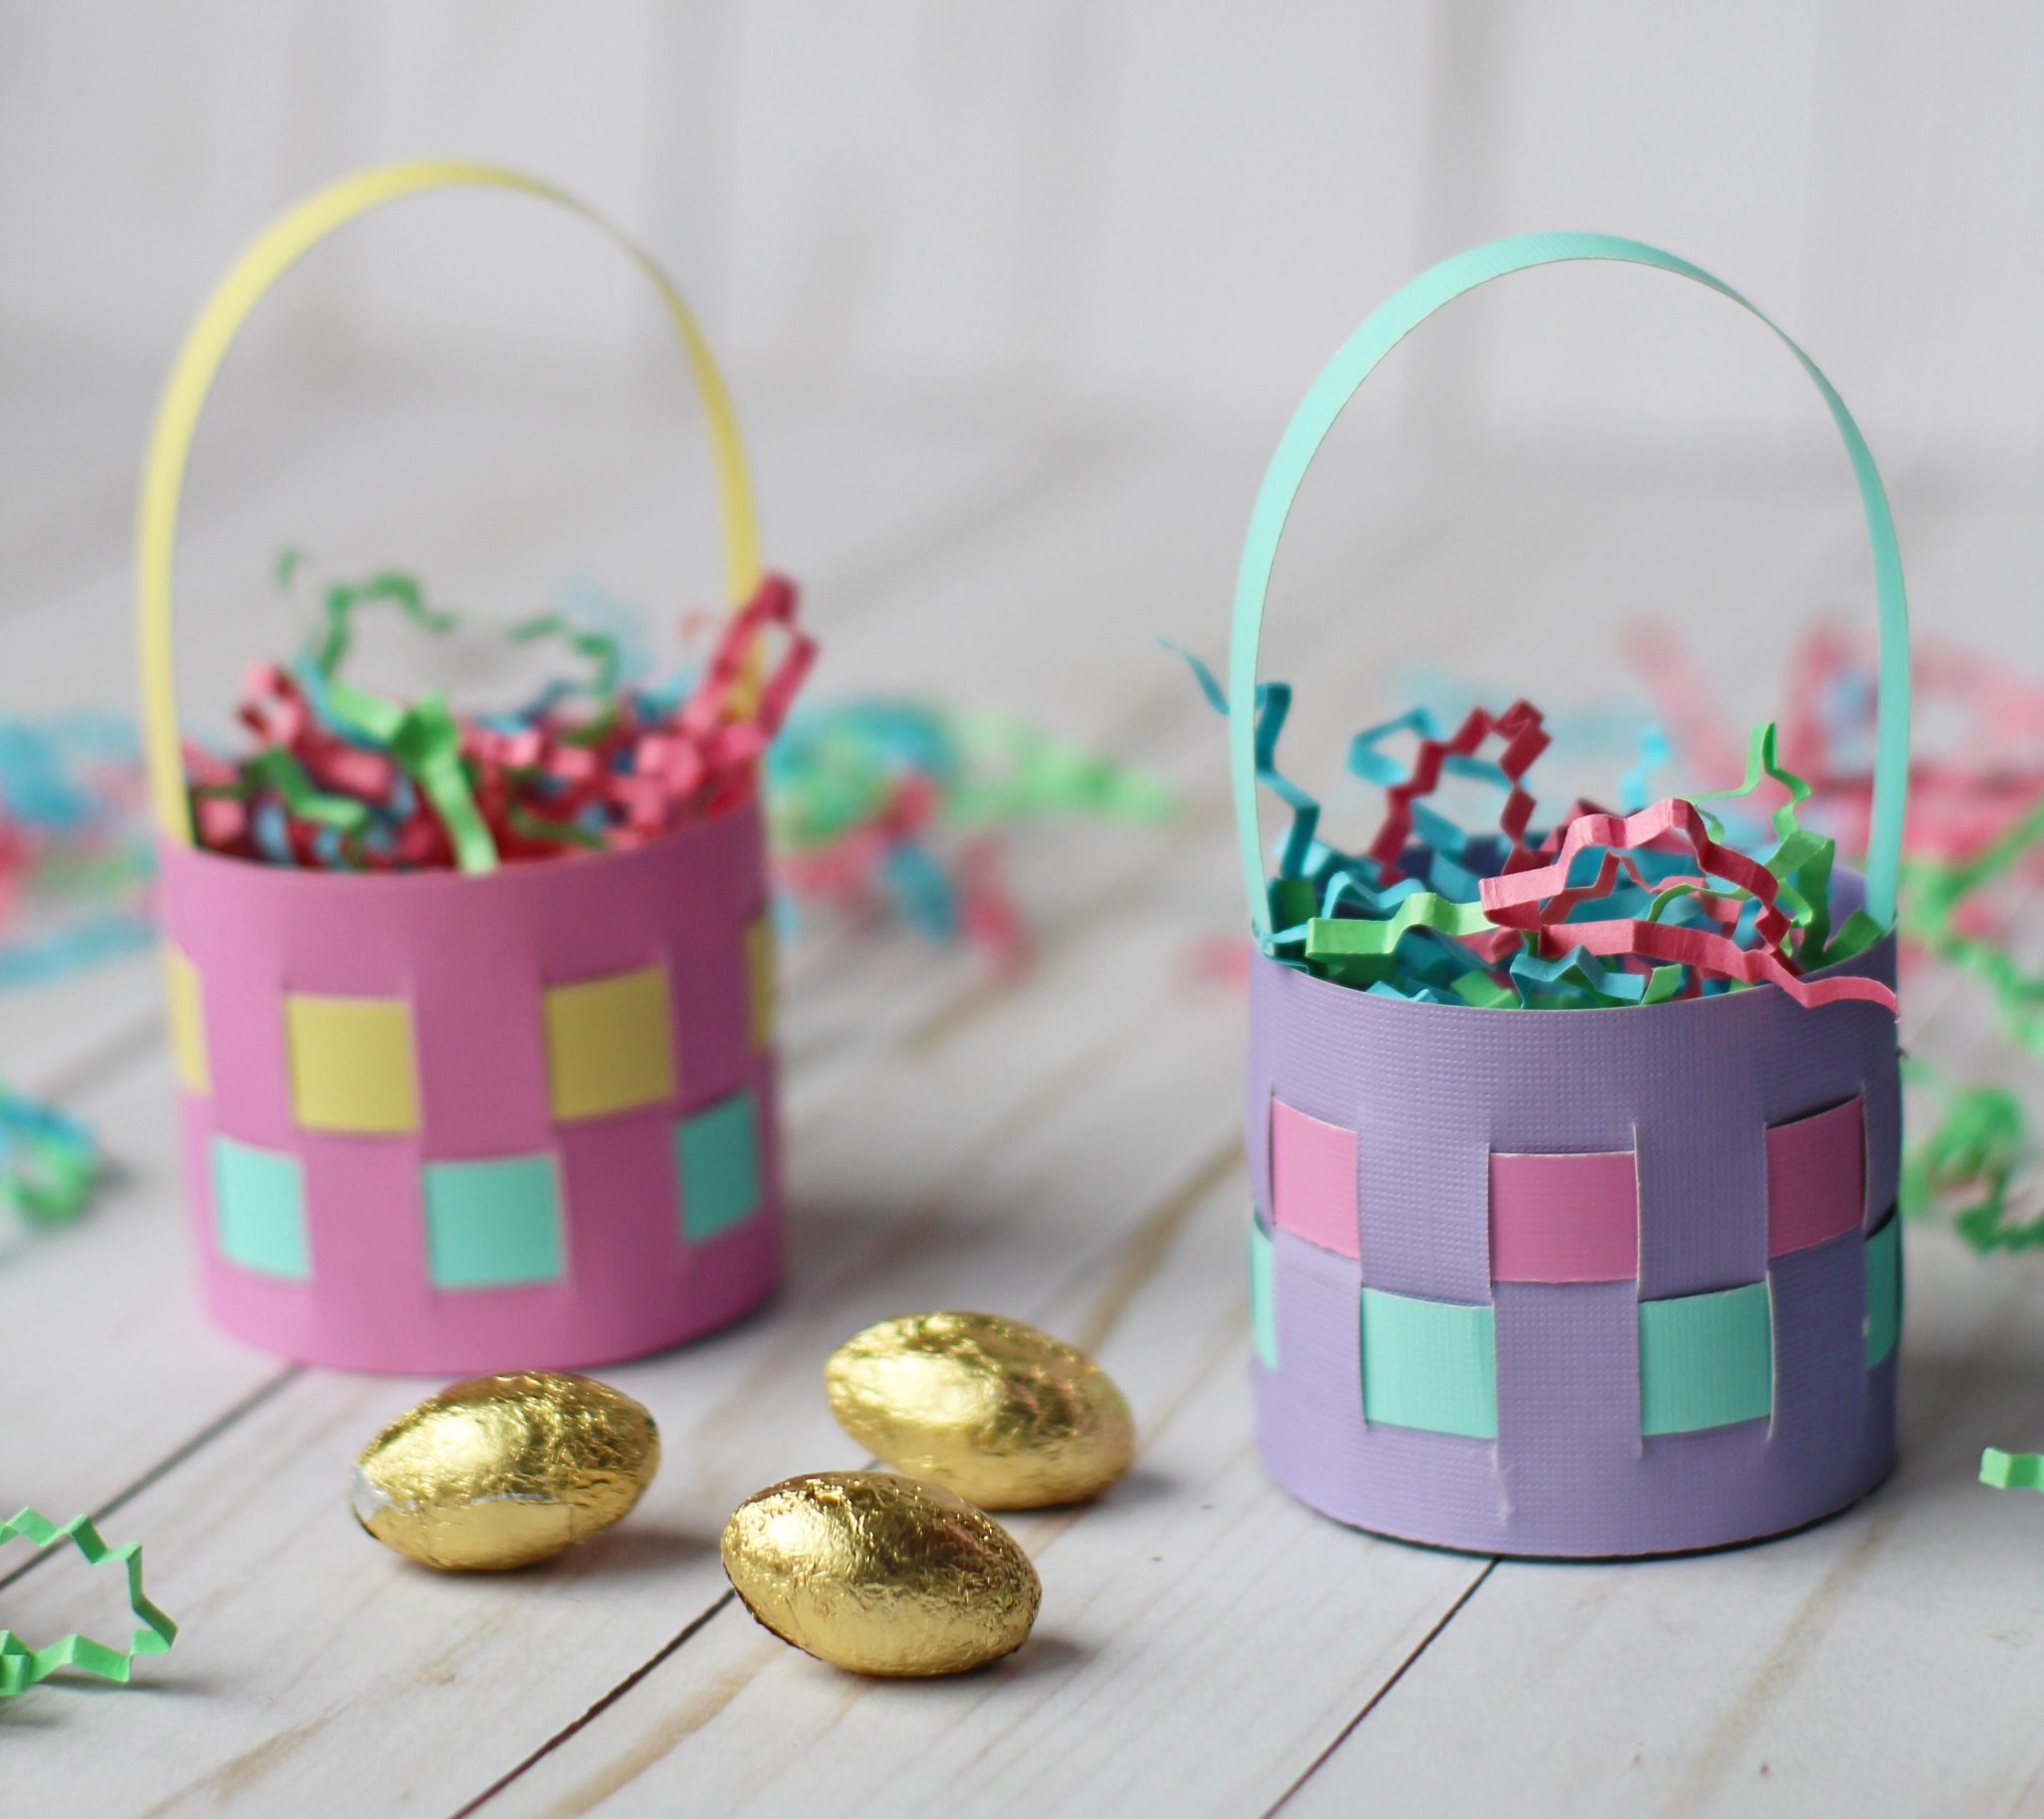
Paper basket making is a delightful way to transform ordinary paper into functional and visually appealing baskets. It is a craft that allows you to unleash your creativity and create unique pieces that reflect your personal style. What makes paper baskets so fascinating is the endless possibilities for customization – you can choose different types of paper, experiment with various weaving techniques, and decorate them to suit any occasion or theme.
Now, let’s take a look at the materials you will need to get started on your paper basket making journey:
- Newspaper or any other type of paper: You can use old newspapers, scrap paper, or even colored construction paper. The choice is yours! Just make sure the paper is strong enough to hold its shape when folded and woven.
- Scissors: Essential for cutting the paper into strips and shaping the basket.
- Glue or adhesive: You will need glue to secure the ends of the paper strips and hold the basket together. You can use a traditional glue stick, craft glue, or even a hot glue gun if you prefer a stronger hold.
- Ruler: A ruler will come in handy for measuring and cutting precise strips of paper.
- Decorative materials: Optional but highly recommended for adding a personal touch to your paper baskets. You can use ribbons, beads, fabric, paint, or anything else that inspires you.
Now that you have gathered all the necessary materials, it’s time to dive into the step-by-step instructions for creating your very own paper baskets. Don’t worry if it’s your first time – with a little practice, you’ll be weaving beautiful baskets in no time!
List of Materials Required for Making Paper Baskets
Before we jump into the step-by-step instructions, let’s ensure that you have all the necessary materials to make your paper baskets. Here’s a quick recap:
- Newspaper or any other type of paper
- Scissors
- Glue or adhesive
- Ruler
- Decorative materials (optional)
Once you have gathered these materials, you are ready to start creating your own paper baskets. Follow these step-by-step instructions:
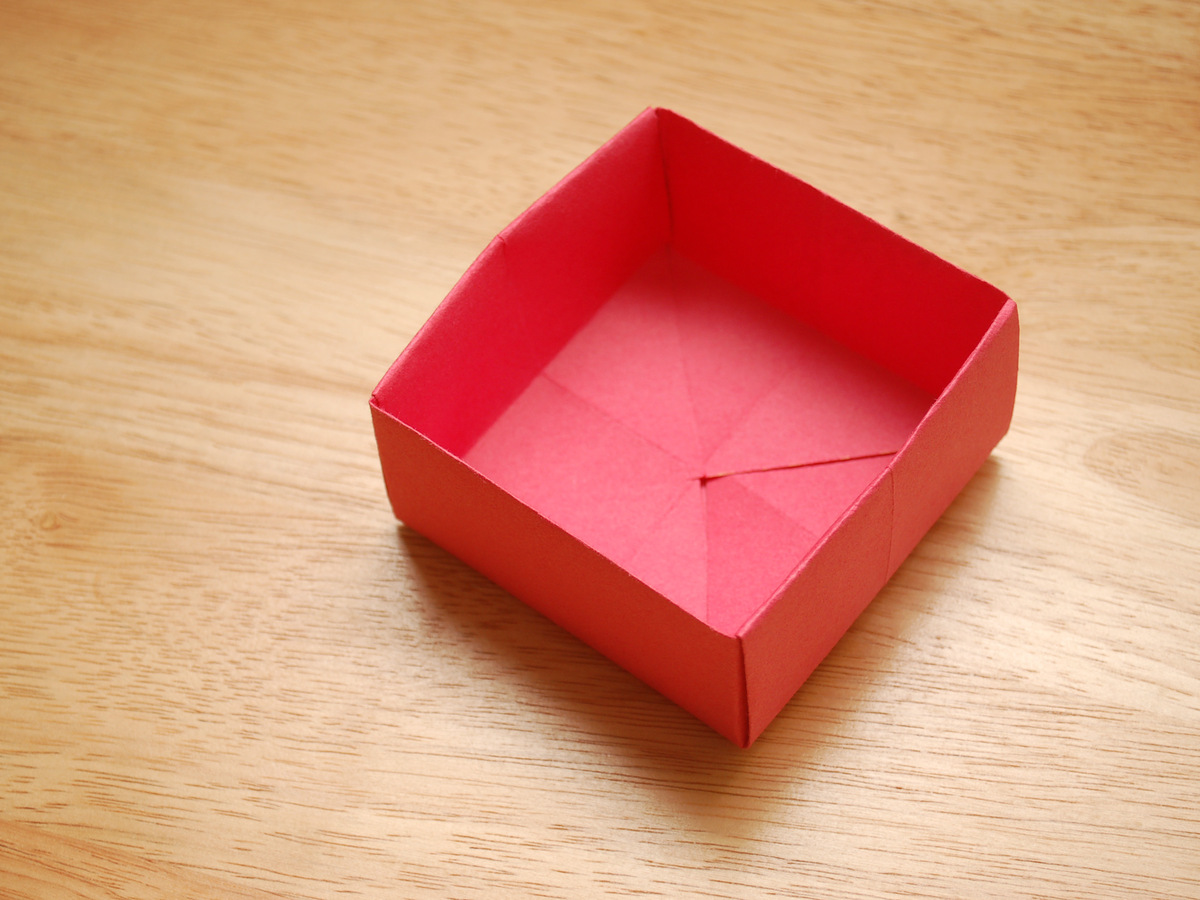
- Step 1: Prepare your paper – Start by cutting your paper into long strips, about 1 inch in width. You will need enough strips to create the base and the sides of your basket. The length of the strips will depend on how big you want your basket to be.
- Step 2: Create the base – Take a strip of paper and form a loop, securing the ends with glue. This will serve as the center of the base. Start weaving additional strips in an over-under pattern around the loop, alternating the direction with each strip. Continue this until you have reached the desired size for your basket base.
- Step 3: Build the sides – Once the base is complete, start weaving the strips vertically around the sides of the base, securing each strip with glue at the end. Continue weaving until you have achieved the desired height for your basket.
- Step 4: Finish the top edge – To create a neat finish for the top edge of your basket, fold the remaining ends of the strips inward and secure them with glue.
- Step 5: Optional – Decorate your basket – Get creative and personalize your paper basket by adding decorative elements. You can attach ribbons, beads, or paint the surface to give it a unique and stylish look.
- Step 6: Let it dry – Allow your paper basket to dry completely before using or displaying it. This will ensure that the glue has set and the basket retains its shape.
With these step-by-step instructions, you are well on your way to creating beautiful paper baskets. Let your imagination soar and experiment with different paper types, colors, and weaving techniques to add your personal touch to each creation.
Detailed Instructions on Creating Paper Baskets
Creating paper baskets allows for endless possibilities and is a great way to showcase your creative flair. Once you have mastered the basic weaving techniques, you can explore various decoration options to make your paper baskets truly unique. Here are some ideas to ignite your creativity:
- Painting: Use acrylic or watercolor paints to add color and patterns to your paper baskets. Experiment with different brush strokes, stencils, or even sponge painting techniques to create beautiful designs.
- Decoupage: Decoupage is a popular technique that involves gluing pieces of paper or fabric onto the surface of an object. You can cut out various shapes, patterns, or even use magazine cutouts to create interesting designs on your paper baskets.
- Ribbon and Bow accents: Attach ribbons around the edges or at the handles of your paper basket to give it a charming and elegant look. You can tie a bow or create intricate patterns using different colors and textures of ribbons.
- Embellishments: Get creative with embellishments such as beads, sequins, gemstones, or even small trinkets. Glue them onto your paper basket to add sparkle and a touch of luxury.
- Fabric lining: If you want to add a touch of softness to your paper basket, consider lining it with fabric. Choose a fabric that complements the color and design of your basket and glue it on the inside surface. Not only will it look beautiful, but it can also provide extra protection for delicate items you plan to store in your basket.
- Natural elements: Incorporate natural elements like dried flowers, leaves, or twigs to give your paper basket a rustic and earthy feel. Attach them to the basket using adhesive or by weaving them into the design.
Remember that the key to successful decorating is to have fun and let your imagination guide you. Experiment with different combinations of techniques and materials to create truly unique and personalized paper baskets that reflect your style.
Now that you have explored various decorating options, it’s time to move on to some helpful tips and tricks to make your paper basket making journey even more enjoyable and successful.
Ideas for Decorating Paper Baskets
Decorating paper baskets is an exciting opportunity to let your creativity shine. It allows you to add your personal touch and make each basket unique. Here are some ideas to inspire you:
- Quilling: Quilling is the art of rolling and shaping strips of paper to create intricate designs. Use quilling techniques to embellish your paper basket with delicate flowers, swirls, or geometric patterns.
- Origami: Fold origami shapes, such as butterflies or cranes, and attach them to the sides of your paper basket. These origami accents can instantly elevate the visual appeal of your creation.
- Stenciling: Use stencils to create patterns or motifs on your paper basket. You can use acrylic paint or spray paint to apply the design and achieve a clean and professional finish.
- Fabric scraps: Attach small pieces of fabric to your paper basket using glue or stitching. Mix and match various fabric patterns and textures to create a bohemian or shabby chic look.
- Pom-poms: Make colorful pom-poms and glue them to the edges or handles of your paper basket. The soft and fluffy texture of pom-poms adds a playful and whimsical touch.
- Personalized messages: Use markers or calligraphy pens to write meaningful quotes, names, or messages on your paper basket. This can make it a heartfelt gift for a loved one or a special accent piece in your home.
Remember, the key is to have fun and experiment with different ideas and techniques. Don’t be afraid to let your imagination run wild and think outside the box. Your paper baskets will be a true reflection of your creativity and artistic style.
When making baskets from paper, use a thicker and sturdier paper, such as cardstock, to ensure the basket holds its shape. You can also reinforce the bottom of the basket with an extra layer of paper for added strength.
Read more: How To Make May Day Baskets Out Of Paper
Tips and Tricks
Now that you are armed with decorating ideas, here are some helpful tips and tricks to make your paper basket making experience even more successful:
- Start with simple designs: If you’re new to paper basket making, begin with simple patterns and gradually work your way to more intricate designs. This will help you develop your skills and gain confidence as you progress.
- Take your time: Patience is key when making paper baskets. Take your time to accurately measure and cut the paper strips, and ensure each weave is secure before moving forward. Rushing can lead to mistakes and a less polished final product.
- Experiment with different paper: Don’t limit yourself to just newspaper or construction paper. Explore different types of paper, such as scrapbooking paper, cardstock, or even upcycled materials like magazine pages. Each type of paper will bring a unique texture and look to your basket.
- Stay organized: Keep your workspace tidy and organized by arranging your materials in a systematic way. This will make the process smoother and more enjoyable.
- Seek inspiration: Look for inspiration online, in craft books, or even in nature. Take note of interesting patterns or color combinations that can be adapted to your paper baskets.
- Practice makes perfect: Don’t get discouraged if your first few attempts don’t turn out exactly as you imagined. Remember that practice makes perfect, and each basket you make will be better than the last. Embrace the learning process and have fun along the way!
With these ideas, tips, and tricks in mind, you are well-equipped to embark on your paper basket making adventure. Enjoy the process, let your creativity flow, and create beautiful and captivating paper baskets that will bring joy to your home or make thoughtful gifts for others.
Helpful Tips and Techniques for Successful Paper Basket Making
Creating paper baskets is a delightful and rewarding craft. With a few helpful tips and techniques, you can ensure your paper basket making experience is both successful and enjoyable. Here are some key tips to keep in mind:
- Choose the right paper: Experiment with different types of paper to find the one that works best for your desired basket. Consider the thickness, strength, and texture of the paper, as well as its color or pattern.
- Precise cutting: Take the time to accurately measure and cut your paper strips. Attention to detail in cutting will result in neat and uniform strips, allowing for smooth weaving and a polished final product.
- Secure your weaves: Apply enough glue at the end of each strip to securely fasten it to the basket. This ensures that your basket stays sturdy and holds its shape.
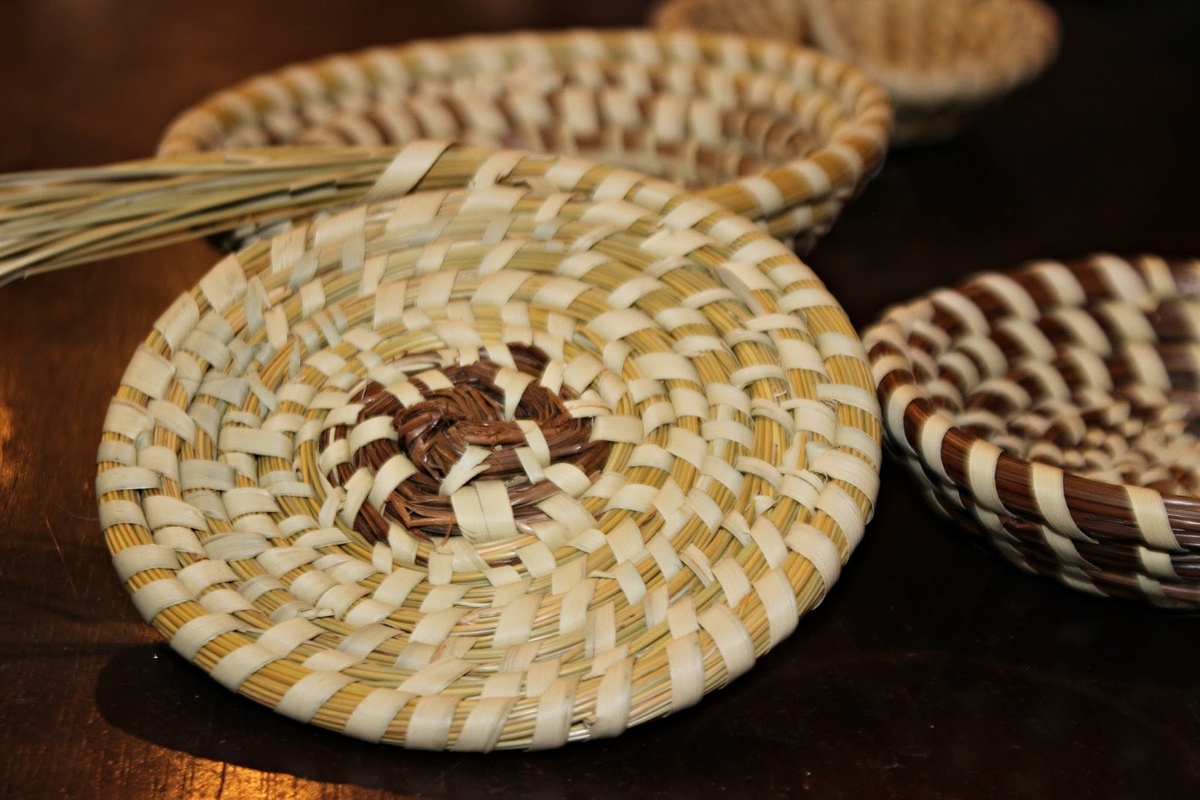
- Practice weaving techniques: Explore different weaving patterns to add variety and interest to your baskets. Whether it’s a simple over-under pattern or more intricate techniques like twill or twining, practicing different weaves will enhance your skills and create visually captivating baskets.
- Use templates: Templates can be a useful tool, especially for beginners. They provide a guide for the size and shape of your basket, making it easier to achieve consistent results.
- Experiment with dimensions: Feel free to play around with the size and proportions of your paper baskets. Consider making smaller baskets for trinkets or larger ones for storage purposes.
- Embrace imperfections: Don’t strive for perfection in your paper baskets. Embrace the handmade charm and uniqueness that imperfections bring. Remember, it’s the process and the love you put into each creation that truly matters.
With these tips and techniques, you are well on your way to mastering the art of paper basket making. Remember, patience, practice, and creativity are the keys to success. Enjoy the journey and watch as your skills and creativity flourish.
Conclusion
Creating paper baskets is a wonderful way to express your creativity and add a touch of handmade beauty to your living space. With just a few basic materials and some guidance, you can transform simple sheets of paper into intricate and functional works of art.
In this article, we have provided you with an overview of paper basket making, a list of materials needed, step-by-step instructions, ideas for decorating your baskets, and helpful tips and techniques for success. Whether you are a beginner or more experienced, we hope this guide has inspired you to immerse yourself in this enjoyable craft.
So, gather your materials, let your creativity flow, and start making your own stunning paper baskets. Whether you use them for practical storage or as decorative pieces, these handmade creations will bring joy and a sense of accomplishment to your home. Happy basket weaving!
Final Thoughts and Encouragement for Making Paper Baskets
As we come to the end of this guide, I want to leave you with some final thoughts and encouragement for your paper basket making journey.
Firstly, congratulations on taking the leap into this creative and fulfilling craft. Making paper baskets allows you to explore your artistic side, unleash your imagination, and create beautiful and functional pieces that showcase your personal style.
Remember, each paper basket you create is a reflection of your creativity and passion. Embrace the process and enjoy every step, from selecting the perfect paper to decorating your baskets with unique accents. Don’t be afraid to experiment with different techniques, materials, and styles. Let your intuition guide you and allow your baskets to evolve organically.
Don’t get discouraged if things don’t turn out exactly as you had envisioned. Like any craft, paper basket making takes practice. Embrace the learning curve and view any “mistakes” as opportunities for growth and creativity. Sometimes, the most beautiful designs emerge from unexpected moments of spontaneity and experimentation.
Remember to take breaks and enjoy the process. Crafting should be a fun and relaxing experience, so don’t hesitate to take a step back and recharge. Allow yourself to explore other sources of inspiration, such as nature, art, or even other crafts. These moments of inspiration can often lead to new ideas and fresh perspectives on your paper basket making.
Lastly, don’t forget the joy that comes from sharing your creations with others. Paper baskets make thoughtful and unique gifts for friends and family members. The handmade touch and the love you put into each basket will undoubtedly be cherished by those who receive them. Seeing the joy and appreciation on someone’s face when they receive a handmade gift is truly priceless.
Now, armed with the knowledge, tips, and techniques you have acquired, it’s time to embark on your paper basket making adventure. Let this craft be a creative outlet, a form of self-expression, and a source of joy in your life. Embrace the process, let your creativity soar, and have fun making beautiful paper baskets that will bring beauty and utility to your home.
Remember, the possibilities are endless. With just a few sheets of paper and your imagination, you can create wonders. So gather your materials, dive into the world of paper basket making, and let your creativity bloom!
Frequently Asked Questions about How To Make Baskets From Paper
Was this page helpful?
At Storables.com, we guarantee accurate and reliable information. Our content, validated by Expert Board Contributors, is crafted following stringent Editorial Policies. We're committed to providing you with well-researched, expert-backed insights for all your informational needs.


0 thoughts on “How To Make Baskets From Paper”