Home>Garden Essentials>How To Plant Alfalfa Seeds
Garden Essentials
How To Plant Alfalfa Seeds
Modified: August 17, 2024
Learn the step-by-step process of planting alfalfa seeds in your garden. Discover expert tips and techniques for a successful alfalfa crop.
(Many of the links in this article redirect to a specific reviewed product. Your purchase of these products through affiliate links helps to generate commission for Storables.com, at no extra cost. Learn more)
Introduction
Welcome to the world of alfalfa gardening! Growing your own alfalfa plants can be a rewarding and fulfilling experience. Whether you have a spacious backyard or a small balcony, you can successfully cultivate this versatile and nutrient-rich plant. In this article, we will guide you through the process of planting alfalfa seeds, from preparing the soil to harvesting the mature plants.
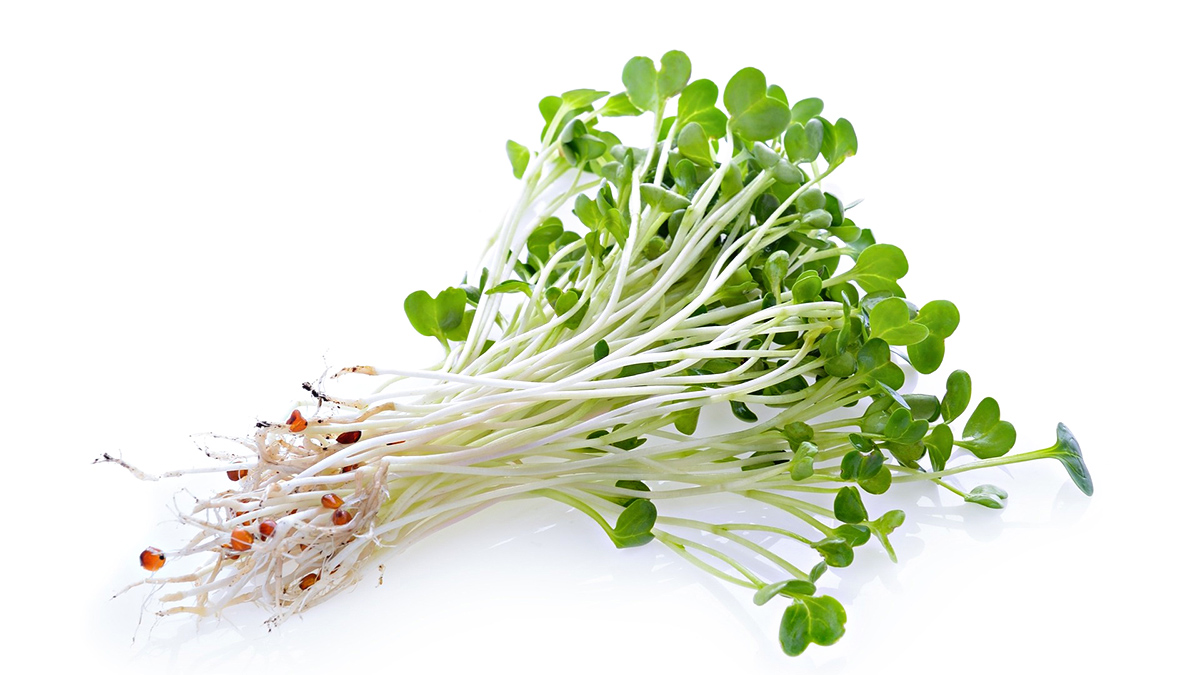
Alfalfa, scientifically known as Medicago sativa, is a perennial flowering plant that is part of the legume family. It has been cultivated for centuries due to its high protein content and multiple agricultural benefits. It is commonly used as livestock feed, but it also has various uses in human diets, such as sprouts, juiced greens, or dried leaves for teas.
When it comes to growing alfalfa, there are a few key factors that you need to consider. These include soil preparation, seed selection, planting techniques, watering and maintenance, and finally, the rewarding process of harvesting your alfalfa crop. By following these steps, you can establish a thriving alfalfa garden and enjoy the fresh and nutritious flavors of homegrown alfalfa.
So, without further ado, let’s dive into the steps for planting alfalfa seeds and discover the secrets to a successful and bountiful alfalfa garden!
Key Takeaways:
- Prepare the soil by testing its pH, removing weeds, adding organic matter, and watering it. This creates a good environment for alfalfa seeds to grow and thrive.
- Select certified, non-GMO alfalfa seeds with high germination rates. Plant them in early spring or fall, water them gently, and provide proper maintenance for a successful harvest.
Read more: When To Plant Alfalfa Seed
Step 1: Prepare the Soil
The first step in planting alfalfa seeds is to prepare the soil. Alfalfa thrives in well-drained soil that is rich in organic matter. Follow these steps to ensure your soil is ready for planting:
- Test the Soil: Before preparing the soil, it is essential to know its pH level. Alfalfa prefers a slightly alkaline soil with a pH of around 6.5 to 7.5. You can test the soil using a pH testing kit or through a local agricultural extension service. If the pH is too acidic, you can raise it by adding lime to the soil.
- Remove Weeds and Debris: Clear the planting area of any weeds, rocks, or debris. Weeds compete with alfalfa for nutrients and can hinder its growth.
- Till the Soil: Use a garden tiller or a spade to till the soil to a depth of around 8 to 12 inches. This process helps to loosen compacted soil and improves drainage. Break up any clumps of soil and remove larger rocks or roots.
- Add Organic Matter: Alfalfa benefits from soil that is rich in organic matter. Add compost, well-rotted manure, or other organic amendments to improve the soil’s structure and fertility. Mix these organic materials into the tilled soil thoroughly.
- Level the Soil: Use a rake to level the soil surface. This helps to create an even planting bed and ensures uniform germination and growth of the alfalfa seeds.
- Water the Soil: After preparing the soil, water it deeply. This helps to settle the soil and provides moisture for the upcoming planting.
By taking the time to properly prepare the soil, you are creating a favorable environment for your alfalfa seeds to germinate and establish strong root systems. This step sets the foundation for a successful and productive alfalfa garden.
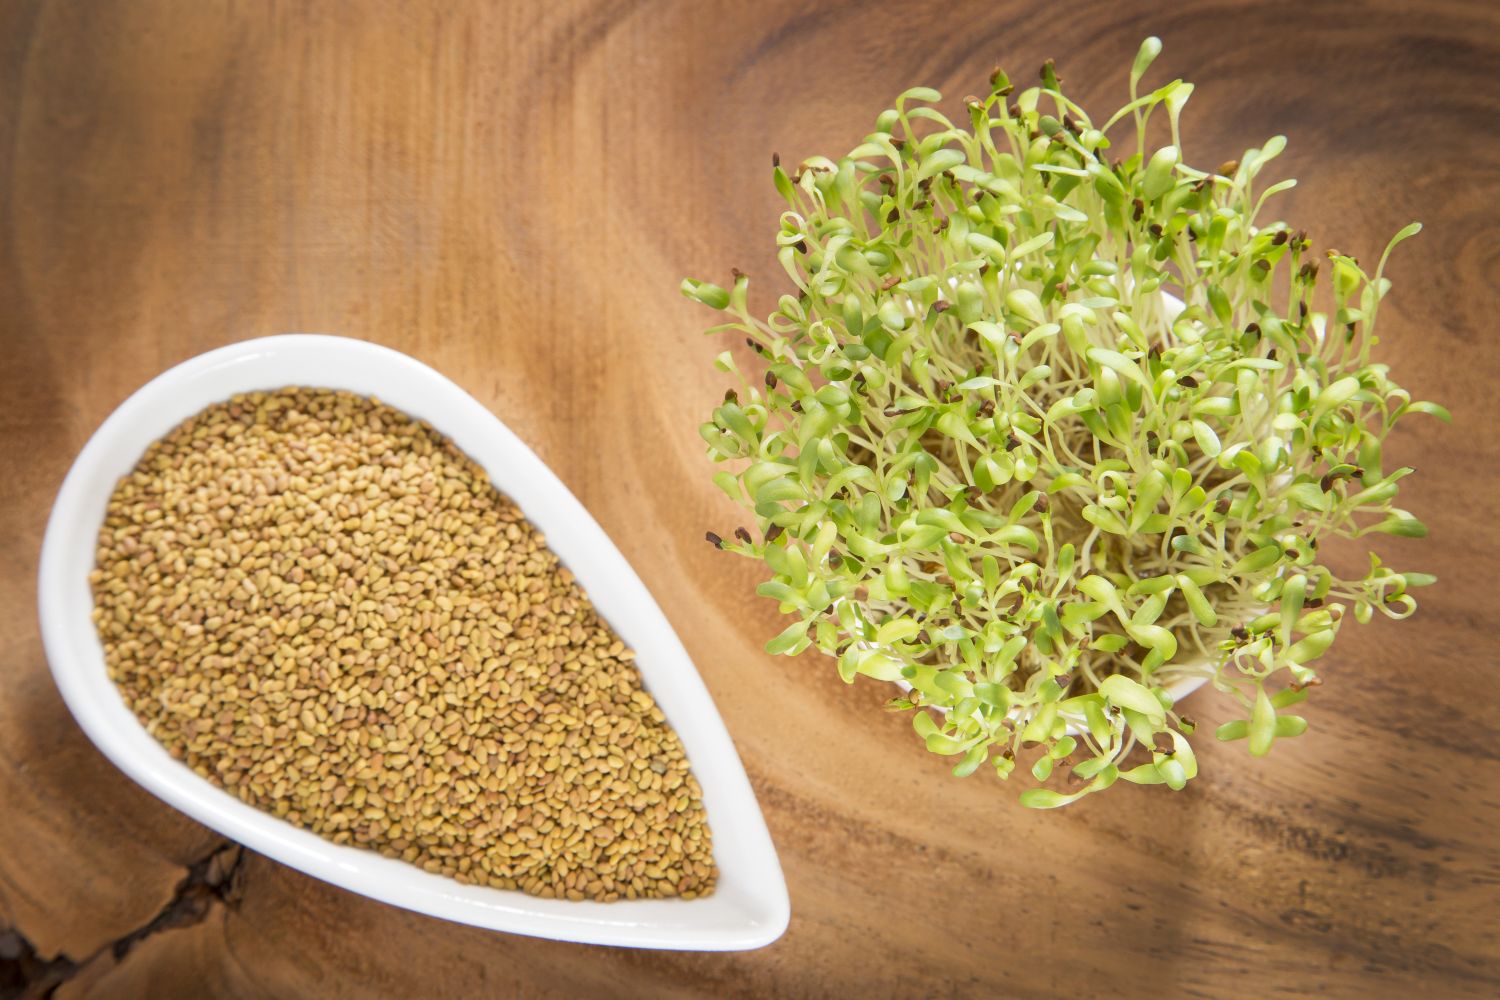
Step 2: Select the Right Seeds
Choosing the right seeds is crucial for a successful alfalfa garden. Here are some factors to consider when selecting your alfalfa seeds:
- Choose Certified Seeds: Opt for certified alfalfa seeds from reliable sources. Certified seeds ensure genetic purity, better germination rates, and disease resistance.
- Determine the Variety: There are different varieties of alfalfa available, each with its specific traits and adaptations. Consider factors such as yield potential, resistance to diseases, and adaptability to your region’s climate and soil conditions. Common varieties include ‘Vernal’, ‘Ranger’, and ‘Ladak’.
- Consider Coated Seeds: Coated seeds are pre-treated with a protective layer or coating. This coating can improve seedling establishment, protect against pests and diseases, and enhance overall plant health. However, coated seeds may be slightly more expensive than uncoated seeds.
- Check the Germination Rate: Look for seeds with a high germination rate, indicated on the seed packaging. Higher germination rates ensure a greater chance of successful seedling development.
- Consider Non-GMO Seeds: If you prefer to grow non-genetically modified organism (non-GMO) plants, look for alfalfa seeds that are labeled as non-GMO. These seeds are free from genetic modifications or alterations.
- Quantity: Determine the amount of alfalfa seeds you need based on the size of your planting area. Alfalfa seeds are typically sown at a rate of around 20 to 25 pounds per acre.
It is important to note that alfalfa plants are known for their ability to fix nitrogen in their root nodules. This means they improve the fertility of the soil by converting atmospheric nitrogen into a usable form for plants. However, if you plan to use alfalfa as a forage crop for livestock, selecting a variety of alfalfa that is low in potassium can prevent issues such as grass tetany in animals.
By carefully selecting the right seeds, you are setting the stage for a vibrant and productive alfalfa garden. Take the time to research and choose the best variety and quality of seeds to ensure optimal growth and yield.
Step 3: Planting the Seeds
Now that you have prepared the soil and selected your alfalfa seeds, it is time to plant them. Follow these steps to properly plant your alfalfa seeds:
- Timing: The ideal time to plant alfalfa seeds is in the early spring or fall. Choose a time when the soil temperature is between 50°F (10°C) and 86°F (30°C) for optimal germination.
- Seed Spacing: Alfalfa seeds should be spaced evenly to encourage healthy growth and prevent overcrowding. Sow the seeds at a rate of 15 to 20 seeds per square foot, or follow the specific spacing instructions provided on the seed packaging.
- Seed Depth: Plant the seeds at a depth of around ¼ to ½ inch (6-12mm). Alfalfa seeds are relatively small, so shallow seeding is necessary to ensure proper soil contact and germination.
- Planting Method: There are two common methods for planting alfalfa seeds: broadcasting and drilling. Broadcasting involves scattering the seeds evenly across the planting area, while drilling involves using a seed drill or planter to place the seeds at the desired spacing and depth. Choose the method that works best for your garden size and resources.
- Cover the Seeds: After sowing the seeds, lightly rake the soil or use a roller to ensure good seed-to-soil contact. This helps improve germination rates and prevents the seeds from being washed away by rain or irrigation.
- Watering: After planting, water the seeds gently but thoroughly. Keep the soil consistently moist until germination occurs, usually within 7-10 days. Avoid over-watering, as it can lead to fungal diseases and poor seedling development.
It is worth noting that alfalfa seeds have a hard seed coat, which can delay germination. To help break the seed coat and improve germination rates, some gardeners choose to scarify or pre-soak the seeds before planting. This process involves lightly scratching the seed coat or soaking the seeds in water overnight.
With proper planting techniques, you’ll provide the optimal conditions for your alfalfa seeds to sprout and grow into healthy plants. Patience and care during the germination period will yield fruitful results!
Before planting alfalfa seeds, make sure to prepare a well-drained, fertile soil. Plant the seeds at a depth of ¼ to ½ inch and keep the soil moist until the seeds germinate. Alfalfa seeds prefer a pH level of 6.5 to 7.5 for optimal growth.
Step 4: Watering and Maintenance
Once your alfalfa seeds have germinated and started to grow, it is crucial to provide proper watering and maintenance to ensure their healthy development. Follow these guidelines for watering and maintenance:
- Watering: Alfalfa plants require consistent moisture for optimum growth. Irrigate the plants deeply, providing 1 to 2 inches (2.5-5 cm) of water per week. Monitor the soil moisture level and adjust watering accordingly, especially during hot and dry periods. Be careful not to overwater, as excessive moisture can lead to disease and root rot.
- Weed Control: Control weeds in your alfalfa garden to prevent them from competing with the plants for nutrients, water, and sunlight. Regularly remove any weeds that emerge, either by hand-pulling or using appropriate weed control methods. Be cautious when using herbicides, as they can damage or kill alfalfa plants.
- Fertilization: Alfalfa is a nitrogen-fixing plant, which means it can obtain a significant amount of nitrogen from the air through its root nodules. Generally, alfalfa does not require heavy fertilization. However, if your soil is deficient in other essential nutrients, you may consider supplementing with a balanced fertilizer according to soil test recommendations. Consult with a local agricultural extension service for specific fertilizer recommendations for your region.
- Pest and Disease Management: Keep an eye on common alfalfa pests such as aphids, cutworms, and leafhoppers. Monitor your plants regularly and take appropriate measures like using insecticidal soaps or organic pest control methods if necessary. Some common diseases that affect alfalfa include root rot and leaf spots. Practice good hygiene, such as removing and destroying diseased plants, and ensure proper air circulation to minimize the risk of disease outbreaks.
- Mowing or Trimming: Depending on how you plan to use your alfalfa crop, you may need to mow or trim the plants to promote new growth. This is particularly relevant if you plan to harvest the alfalfa as hay or forage for livestock. However, be cautious not to trim the plants too severely, as it may weaken their overall health and vigor.
- Monitor Growth and Health: Regularly observe the growth and overall health of your alfalfa plants. Look for signs of stress, nutrient deficiencies, or disease symptoms. Address any issues promptly to maintain the vitality of your crop.
By providing regular care and attention, you can help your alfalfa plants thrive and produce abundant foliage. Proper watering, weed control, and monitoring for pests and diseases are key to ensuring a healthy and productive alfalfa garden.
Read more: How Much Does Alfalfa Seed Cost
Step 5: Harvesting the Alfalfa
After all the hard work and patience, it’s finally time to harvest your alfalfa crop. The timing and method of harvesting alfalfa can have a significant impact on its quality and yield. Follow these guidelines for successful alfalfa harvest:
- Timing: The ideal time to harvest alfalfa is when the plants are in the early bloom stage. This is when the highest nutrient content is present, and the stems are still relatively tender. Avoid waiting too long to harvest, as the leaves tend to deteriorate and the nutritional value decreases.
- Weather Conditions: Choose a period of dry weather for harvesting alfalfa. Moisture on plants can delay drying and increase the risk of mold or spoilage. If possible, cut the alfalfa when the weather forecast indicates several consecutive sunny days.
- Cutting Height: When mowing the alfalfa, cut the plants at a height of around 2 to 4 inches (5-10 cm) above the ground. Cutting too low can damage the crowns and stunt future regrowth.
- Drying: Allow the cut alfalfa to dry in the field for a period of 3 to 5 days, depending on weather conditions. This allows the moisture content to reduce, ensuring proper curing and storage quality.
- Baling: Once the alfalfa is properly dried, it can be baled for storage. Use a baler to compress the alfalfa into tight bales and secure them with twine or baling wire.
- Storage: Store the bales in a dry, well-ventilated area to prevent spoilage and mold formation. Properly stored alfalfa bales can last for several months or even up to a year.
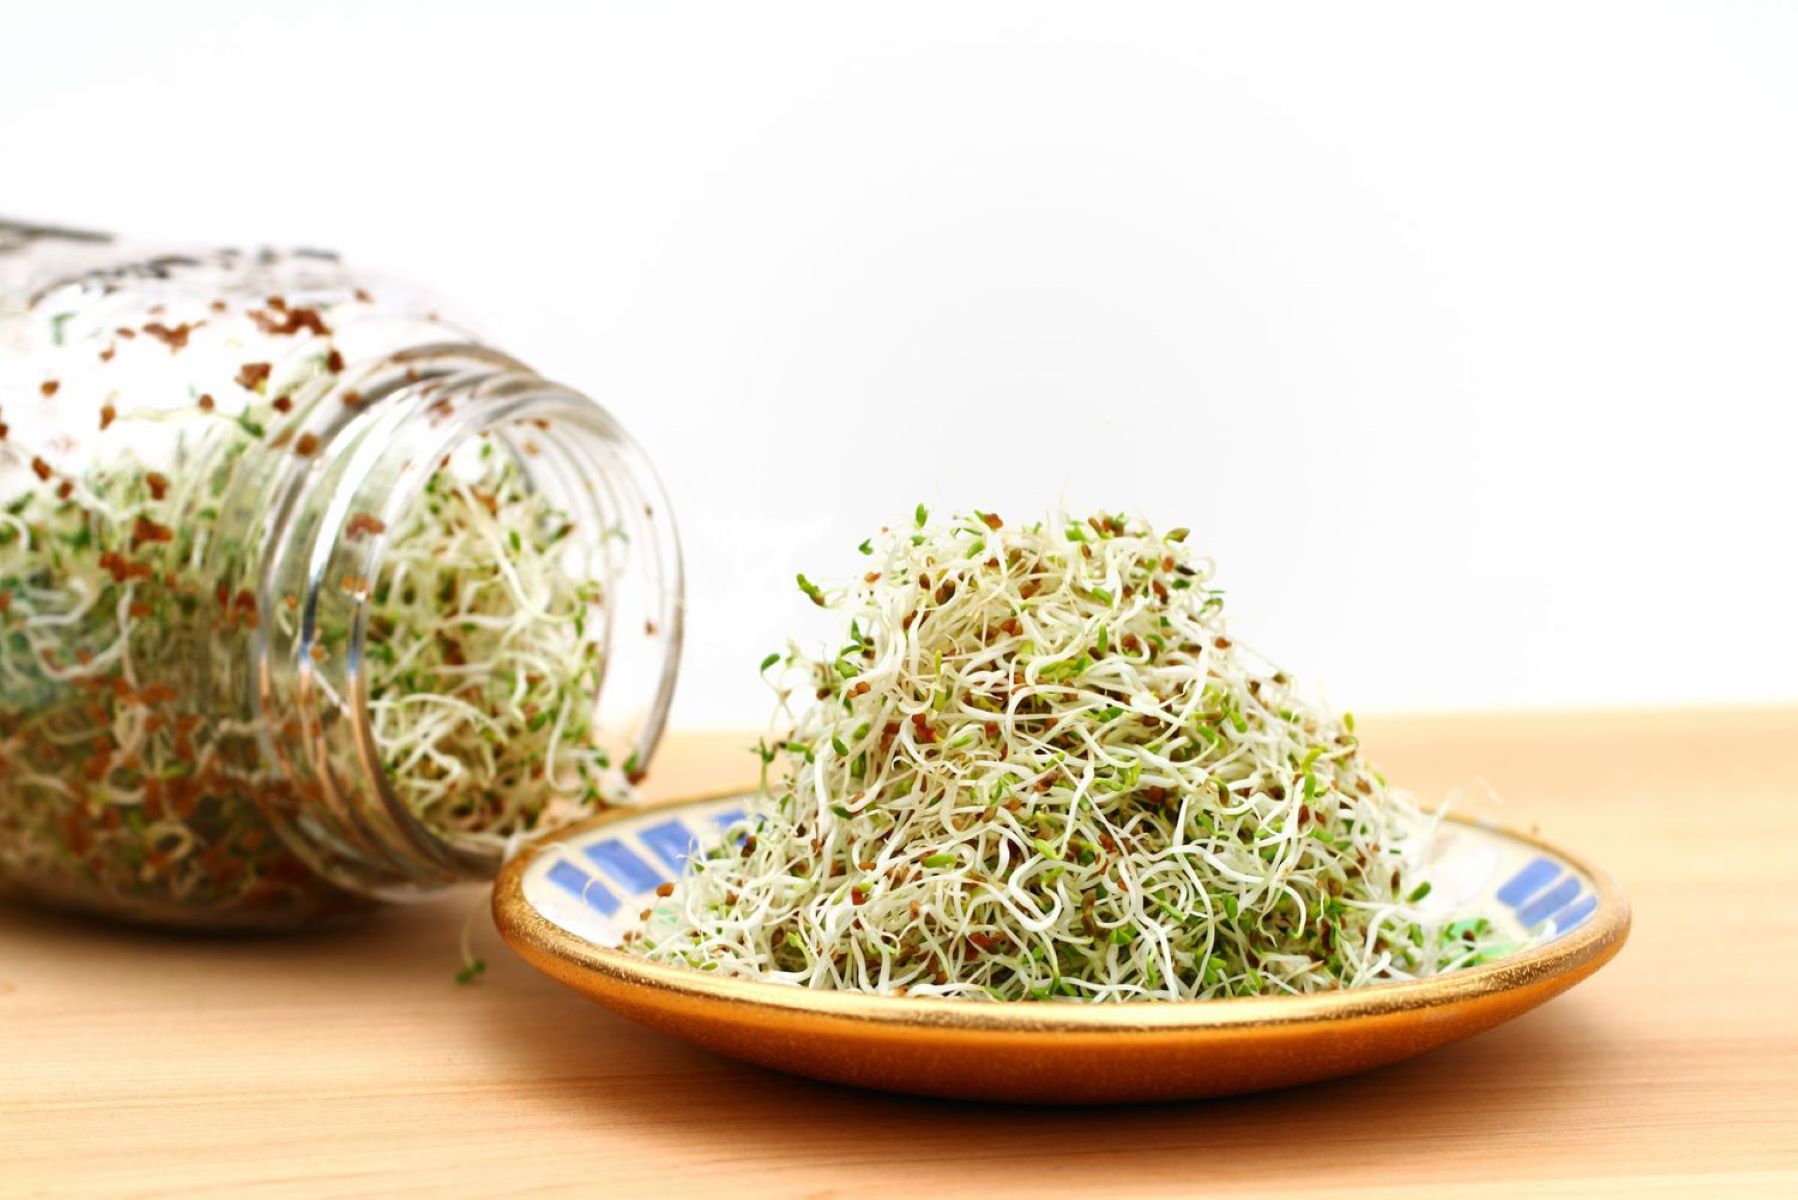
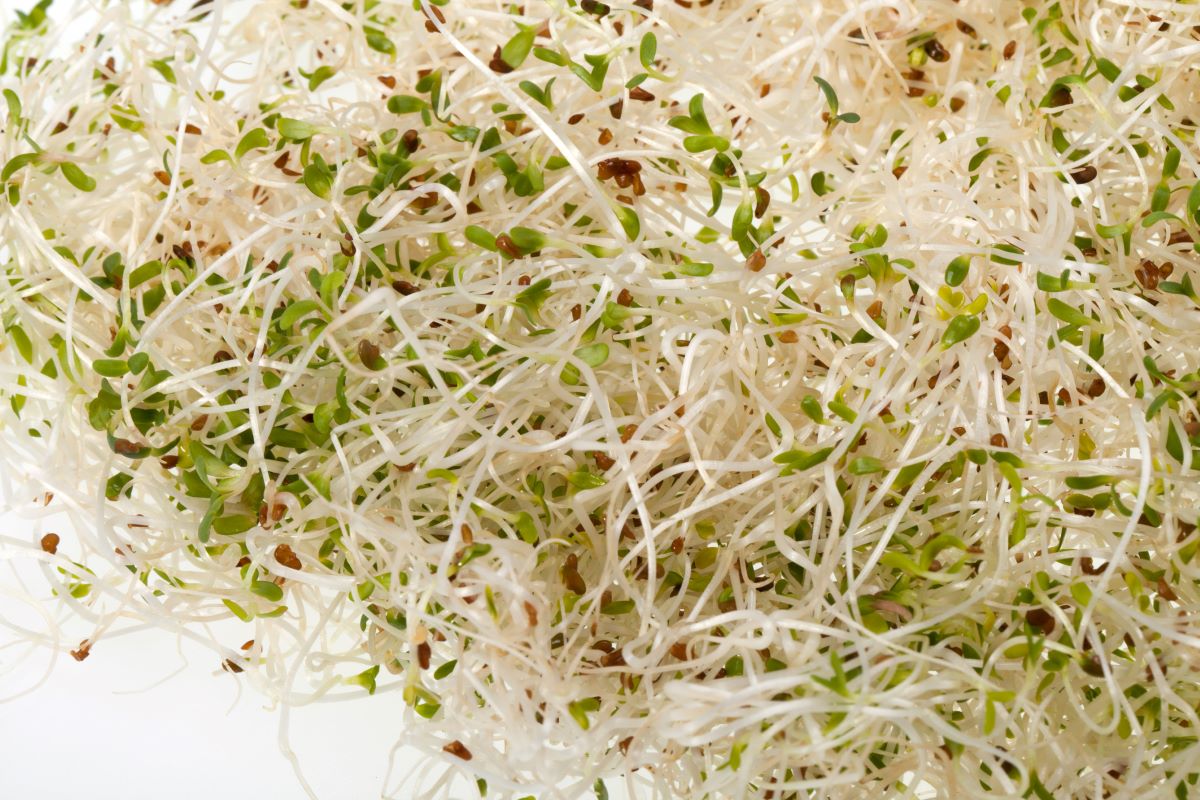
It is important to note that some gardeners may choose to harvest alfalfa as young sprouts rather than allowing it to mature. Sprouts can be harvested within a week of germination and added to salads or juiced for a nutrient-rich boost.
By carefully timing the harvest, drying the alfalfa properly, and storing it in suitable conditions, you can ensure the highest quality and nutritional value in your harvested alfalfa. Enjoy the satisfaction of a successful harvest and the rewards of your hard work!
Conclusion
Congratulations on completing the journey of planting and growing your own alfalfa garden! By following the steps outlined in this article, you have gained the knowledge and skills necessary to cultivate a flourishing and productive alfalfa crop.
From preparing the soil to selecting the right seeds and planting them with care, you laid the foundation for successful germination and growth. By providing adequate watering, performing necessary maintenance tasks, and addressing any potential issues, you ensured the health and vitality of your alfalfa plants.
Finally, the time came to harvest your alfalfa, selecting the optimal time and method to maximize the quality and yield of your crop. From cutting the plants to drying and storing the harvested alfalfa, you took the necessary steps to preserve its nutritional value and longevity.
Remember, growing alfalfa not only provides you with the satisfaction of nurturing a garden but also offers a multitude of benefits. Whether you use it as a nutritious addition to your meals, for making teas or sprouts, or as feed for livestock, your homegrown alfalfa is a versatile and valuable resource.
As you continue on your gardening journey, don’t forget to reflect on the lessons learned and make note of any adjustments or improvements you can implement in future growing seasons. Each experience brings new knowledge and expertise that will contribute to your ongoing success as an alfalfa gardener.
Enjoy the fruits of your labor and share your alfalfa journey with others. Inspire fellow gardeners, promote sustainable practices, and contribute to the beauty and greenery of your surroundings.
Happy gardening and may your alfalfa garden continue to thrive and nourish both body and soul!
Frequently Asked Questions about How To Plant Alfalfa Seeds
Was this page helpful?
At Storables.com, we guarantee accurate and reliable information. Our content, validated by Expert Board Contributors, is crafted following stringent Editorial Policies. We're committed to providing you with well-researched, expert-backed insights for all your informational needs.


0 thoughts on “How To Plant Alfalfa Seeds”