Home>Garden Essentials>How To Seed Alfalfa
Garden Essentials
How To Seed Alfalfa
Modified: March 24, 2024
Learn how to efficiently seed alfalfa in your garden and enjoy a flourishing crop. Discover the best techniques and tips for successful alfalfa growth.
(Many of the links in this article redirect to a specific reviewed product. Your purchase of these products through affiliate links helps to generate commission for Storables.com, at no extra cost. Learn more)
Introduction
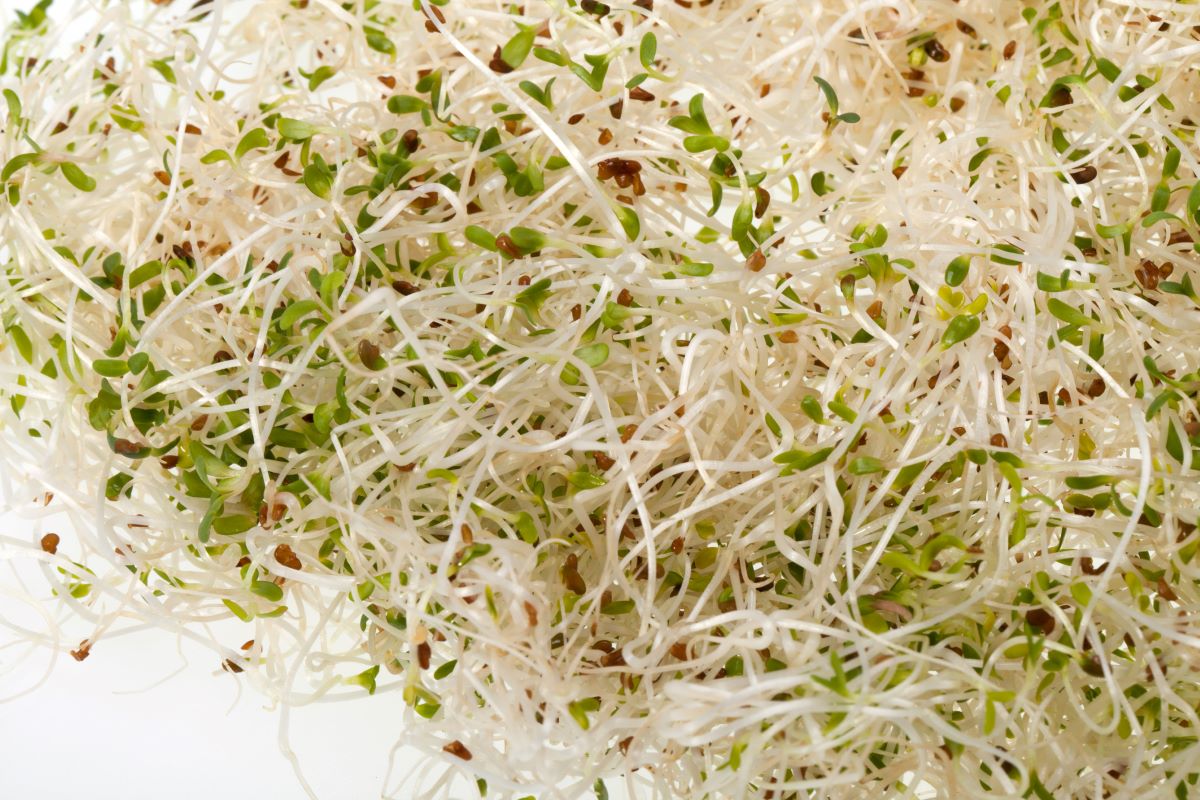
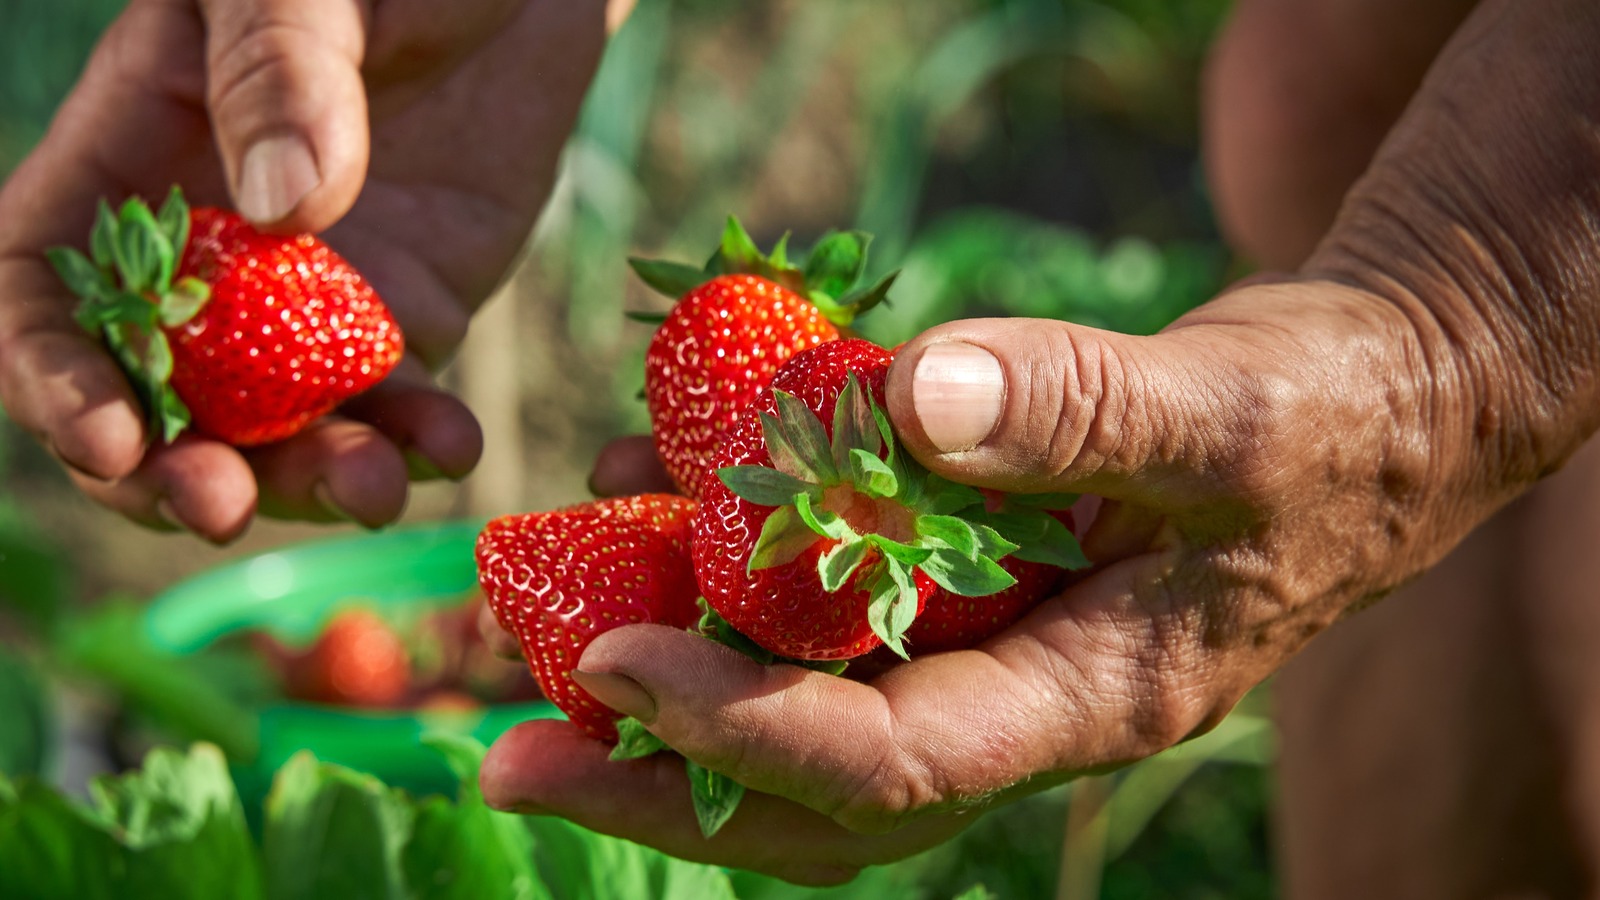
Seeding alfalfa is a crucial step in establishing a thriving and productive garden. Whether you are a seasoned gardener or a beginner, knowing how to properly seed alfalfa is essential for achieving successful growth and optimal yields. Alfalfa, a perennial legume, is known for its high nutritional value and versatility. It is commonly used as animal feed, but it can also be enjoyed in salads, juiced, or added to smoothies. By following the right steps and techniques, you can ensure that your alfalfa seeds germinate successfully and grow into healthy and lush plants.
In this article, we will discuss the benefits of seeding alfalfa and provide a step-by-step guide on how to seed it effectively. We will cover everything from choosing the right variety and preparing the site to watering, weed control, and harvest. By the end, you will have all the knowledge you need to successfully seed alfalfa and enjoy its abundance in your garden.
Key Takeaways:
- Choose the right alfalfa variety based on your climate, soil, and intended use. Consult local experts for recommendations to ensure successful growth in your garden.
- Proper site preparation, watering, and weed control are essential for healthy alfalfa growth. Regular monitoring and maintenance will help you achieve a thriving and productive crop.
Read more: How To Plant Alfalfa Seeds
Benefits of Seeding Alfalfa
Seeding alfalfa comes with a plethora of benefits that make it an ideal choice for any garden. Here are some of the key advantages of growing alfalfa:
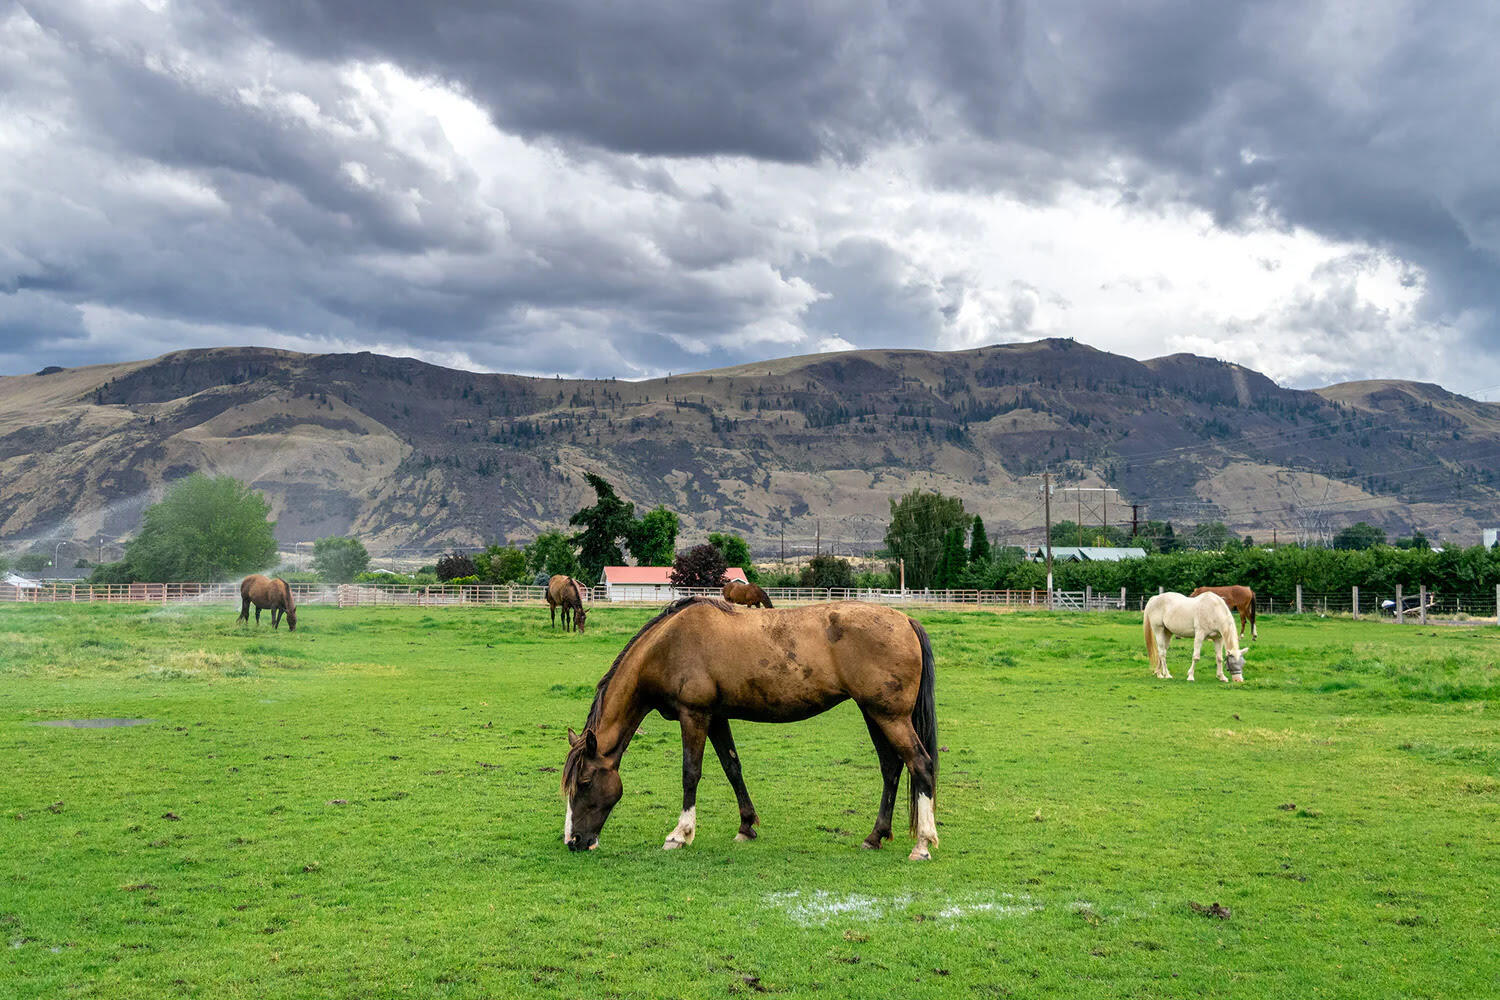
- Nutritional Value: Alfalfa, often referred to as the “queen of forages,” is rich in essential nutrients such as protein, vitamins (A, B, C, E, and K), minerals (calcium, magnesium, potassium, and more), and antioxidants. It is a highly nutritious feed for livestock, promoting healthy growth and reproduction.
- Soil Improvement: Alfalfa has deep taproots that can penetrate compacted soil, improving its structure, drainage, and aeration. The roots also break up hardpan, reducing the risk of waterlogging and promoting healthier root development in other plants.
- Nitrogen Fixation: Alfalfa is a legume, capable of symbiotic nitrogen fixation. It hosts beneficial bacteria called Rhizobia in its root nodules, which convert atmospheric nitrogen into a usable form for plants. This process enriches the soil with nitrogen, reducing the need for synthetic fertilizers and improving the fertility of your garden.
- Weed Suppression: Once established, alfalfa grows densely and forms a thick mat, reducing weed competition by shading out sunlight and preventing weed germination. It naturally suppresses the growth of unwanted grasses and broadleaf weeds, minimizing the need for chemical herbicides.
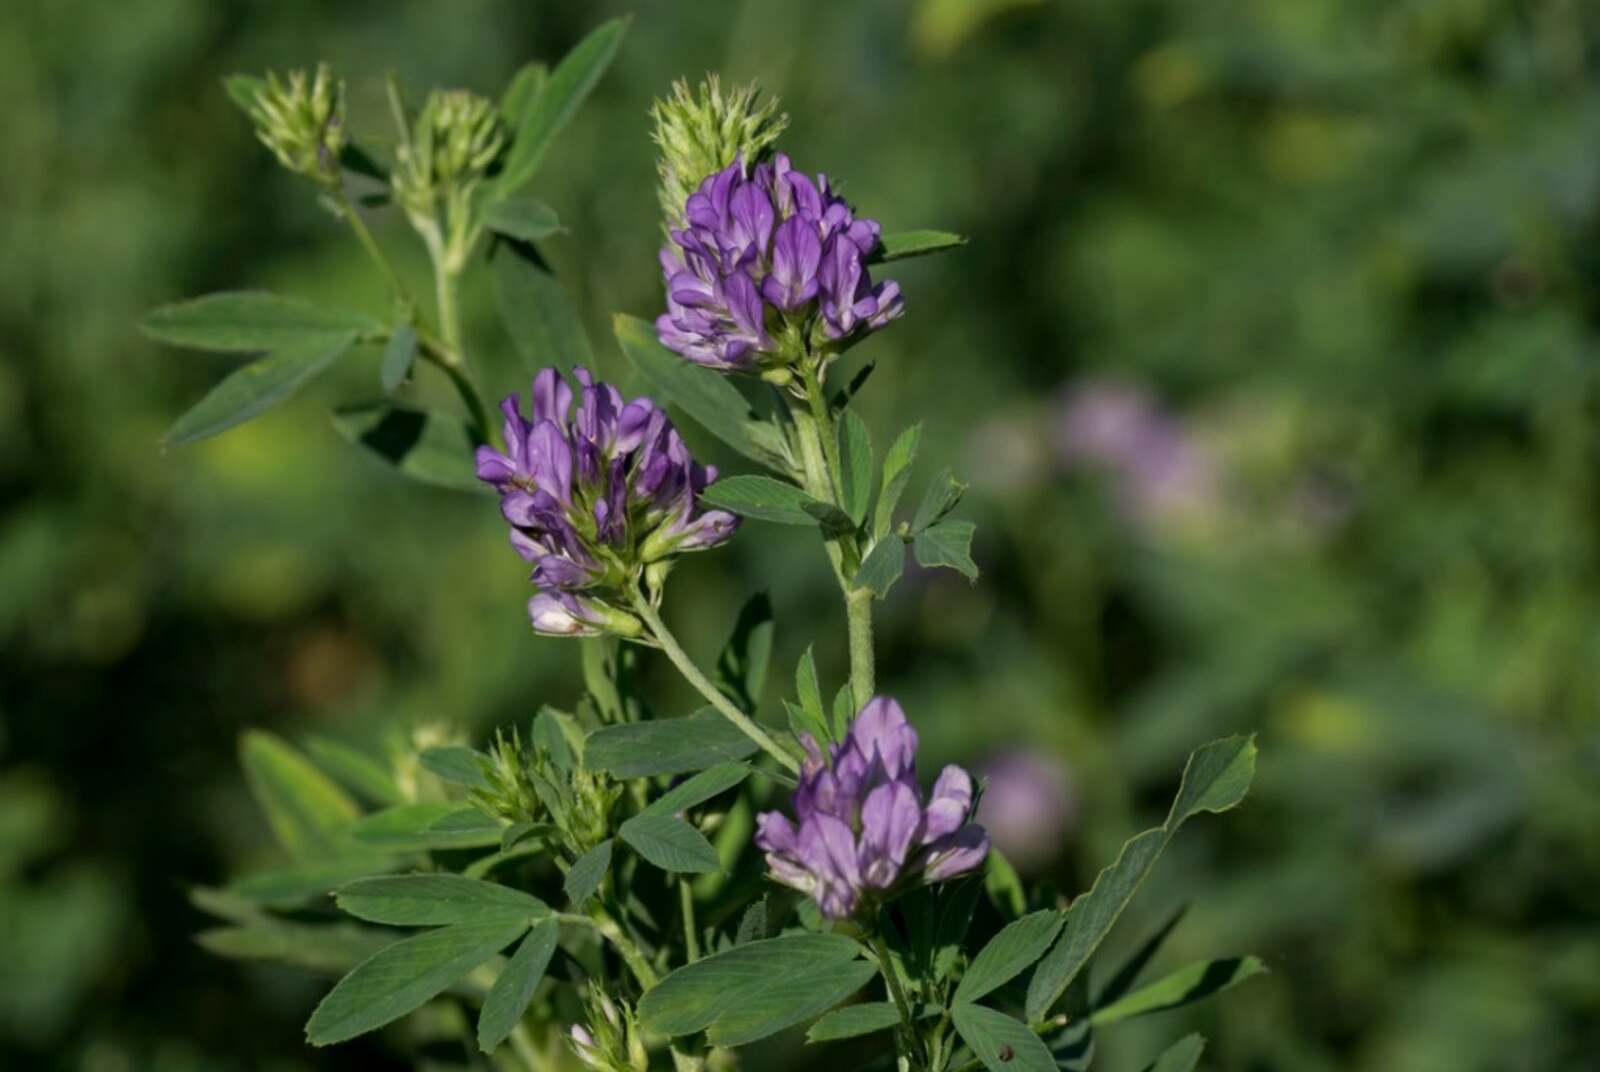
- Pollinator Habitat: Alfalfa flowers are a favorite food source for bees and other pollinators. By seeding alfalfa, you are providing a valuable habitat for these important creatures, contributing to the overall health and biodiversity of your garden ecosystem.
- Crop Rotation: Alfalfa is an excellent rotation crop, especially for vegetable gardens. Its deep root system helps break up compacted soil, and its ability to fix nitrogen enriches the soil for future crops. Rotating with alfalfa can help reduce pest and disease pressure, improve soil fertility, and boost overall garden productivity.
With its nutritional benefits, soil improvement capabilities, nitrogen fixation, weed suppression, pollinator support, and crop rotation advantages, seeding alfalfa is a wise investment for any gardener. Not only will it provide you with a nutritious forage crop or a tasty addition to your meals, but it will also contribute to the long-term health and vitality of your garden.
Step 1: Choosing the Right Variety
Choosing the right variety of alfalfa is crucial for successful seeding and optimal growth. Considering factors such as climate, soil type, intended use, and specific requirements will help you select the most suitable variety for your garden. Here are some key points to consider when choosing an alfalfa variety:
- Climate: Alfalfa is adapted to a wide range of climates, but different varieties have specific climatic preferences. Some varieties thrive in cooler regions, while others are better suited for warmer climates. Consider the average temperatures, frost dates, and rainfall patterns in your area to choose a variety that will thrive in your region.
- Soil Type: Alfalfa can grow in a variety of soil types, but certain varieties are more tolerant of specific soil conditions. Consider the pH level, drainage, and fertility of your soil. If you have clay soil, for example, choose a variety that has good tolerance to heavy soils.
- Intended Use: Determine how you plan to use your alfalfa. Are you primarily growing it for livestock feed, or do you want to enjoy it as a nutritious addition to your meals? Some varieties are bred specifically for improved forage quality, while others have a better flavor and are more suitable for human consumption.
- Disease Resistance: Different varieties have varying levels of resistance to common alfalfa diseases, such as bacterial wilt or phytophthora root rot. Assess the disease pressure in your area and choose a variety that has good resistance to prevalent diseases.
- Persistence: Consider the longevity and persistence of the variety. Some varieties have a longer productive life and can withstand multiple years of growth, while others are more short-lived. Choose a variety that aligns with your long-term goals for your garden.
Consult with local agricultural extension services, nurseries, or experienced farmers in your area to get recommendations on the best alfalfa varieties for your specific conditions. They will have valuable insights into which varieties have performed well in your region and can guide you towards making the right choice.
By carefully selecting the right variety of alfalfa, you will set the foundation for successful seeding and the growth of healthy, high-yielding plants. Taking into consideration climate, soil type, intended use, disease resistance, and persistence will help ensure that your chosen variety thrives in your garden and meets your specific needs and objectives.
Step 2: Site Selection and Preparation
Site selection and preparation play a vital role in the successful establishment of alfalfa. By choosing the right site and adequately preparing the area, you can create an optimal environment for germination and growth. Follow these steps to ensure your site is ready for seeding:
- Sun Exposure: Choose a site that receives full sun exposure for at least 6 to 8 hours a day. Alfalfa thrives in sunny conditions and requires ample sunlight for photosynthesis and vigorous growth.
- Soil Testing: Conduct a soil test to assess the pH level and nutrient content of the soil. Alfalfa prefers a slightly alkaline soil with a pH range between 6.5 and 7.5. If the pH is too acidic, you may need to amend the soil with agricultural lime to adjust the pH level.
- Drainage: Ensure that the site has good drainage to prevent waterlogging, as alfalfa does not tolerate wet or waterlogged soil. Avoid low-lying areas that tend to collect water and choose a site with well-draining soil.
- Weed Control: Clear the site of any existing vegetation, including weeds and grasses. It is essential to eliminate competing plants that can hinder the growth of alfalfa. Consider using herbicides or manual methods, such as hand pulling or tilling, to remove weeds effectively.
- Organic Matter: Incorporate organic matter, such as compost or well-rotted manure, into the soil before seeding. This will improve soil fertility and structure, enhance moisture retention, and provide a nutrient-rich environment for alfalfa growth.
- Level and Firm Soil: Level the site to ensure an even seedbed, as uneven surfaces can result in uneven germination. Use a roller or cultipacker to firm the soil, which helps with seed-to-soil contact and improves seedling emergence.
By carefully selecting and preparing the site for alfalfa seeding, you can create an ideal growing environment. A sunny location with well-draining soil, proper pH level, and adequate weed control will give your alfalfa seeds the best chance of germination and successful establishment.
Remember, the quality of your site preparation will directly impact the growth and productivity of your alfalfa plants. Take the time to prepare the site properly, and you will be rewarded with healthy, robust alfalfa plants that flourish in your garden.
Step 3: Soil Preparation and Fertilization
Proper soil preparation and fertilization are essential for creating a nutrient-rich environment that promotes strong growth and development of your alfalfa plants. Follow these steps to prepare your soil and provide the necessary nutrients:
- Soil Testing: Conduct a soil test to determine the current nutrient levels and pH of your soil. This will help you understand which specific nutrients your soil may be lacking and ensure that you provide the necessary amendments.
- Amendments: Based on the results of your soil test, add any necessary amendments to correct nutrient deficiencies and adjust the pH level. Common amendments include agricultural lime to raise the pH in acidic soil or elemental sulfur to lower the pH in alkaline soil.
- Organic Matter: Incorporate well-decomposed organic matter into the soil, such as compost or well-rotted manure. This improves soil fertility, enhances nutrient retention, and provides a favorable environment for beneficial microorganisms.
- Nitrogen: Alfalfa is a legume and has the ability to fix nitrogen from the air through a symbiotic relationship with nitrogen-fixing bacteria. Generally, alfalfa does not require additional nitrogen fertilizer. However, if the soil test shows a nitrogen deficiency, a light application of nitrogen-based fertilizer can be considered during the establishment phase.
- Phosphorus and Potassium: Alfalfa has high phosphorus and potassium requirements for healthy growth and root development. Based on soil test results, apply a balanced fertilizer or a phosphorus and potassium-rich fertilizer according to the recommended rates and guidelines.
- Application Methods: Apply the fertilizers evenly across the entire seeded area and incorporate them into the top few inches of soil using a rake or a tiller. This ensures that the nutrients are available to the young alfalfa plants during their critical early growth stage.
Remember to follow the specific recommendations provided by your soil test results and consult with local agricultural extension services or professionals for personalized advice. They can provide insight into regional soil conditions and specific fertilizer needs for alfalfa in your area.
By properly preparing and fertilizing your soil, you are setting the stage for healthy and thriving alfalfa plants. The right nutrients will provide the foundation for vigorous growth, abundant foliage, and a bountiful harvest.
Read more: When To Plant Alfalfa Seed
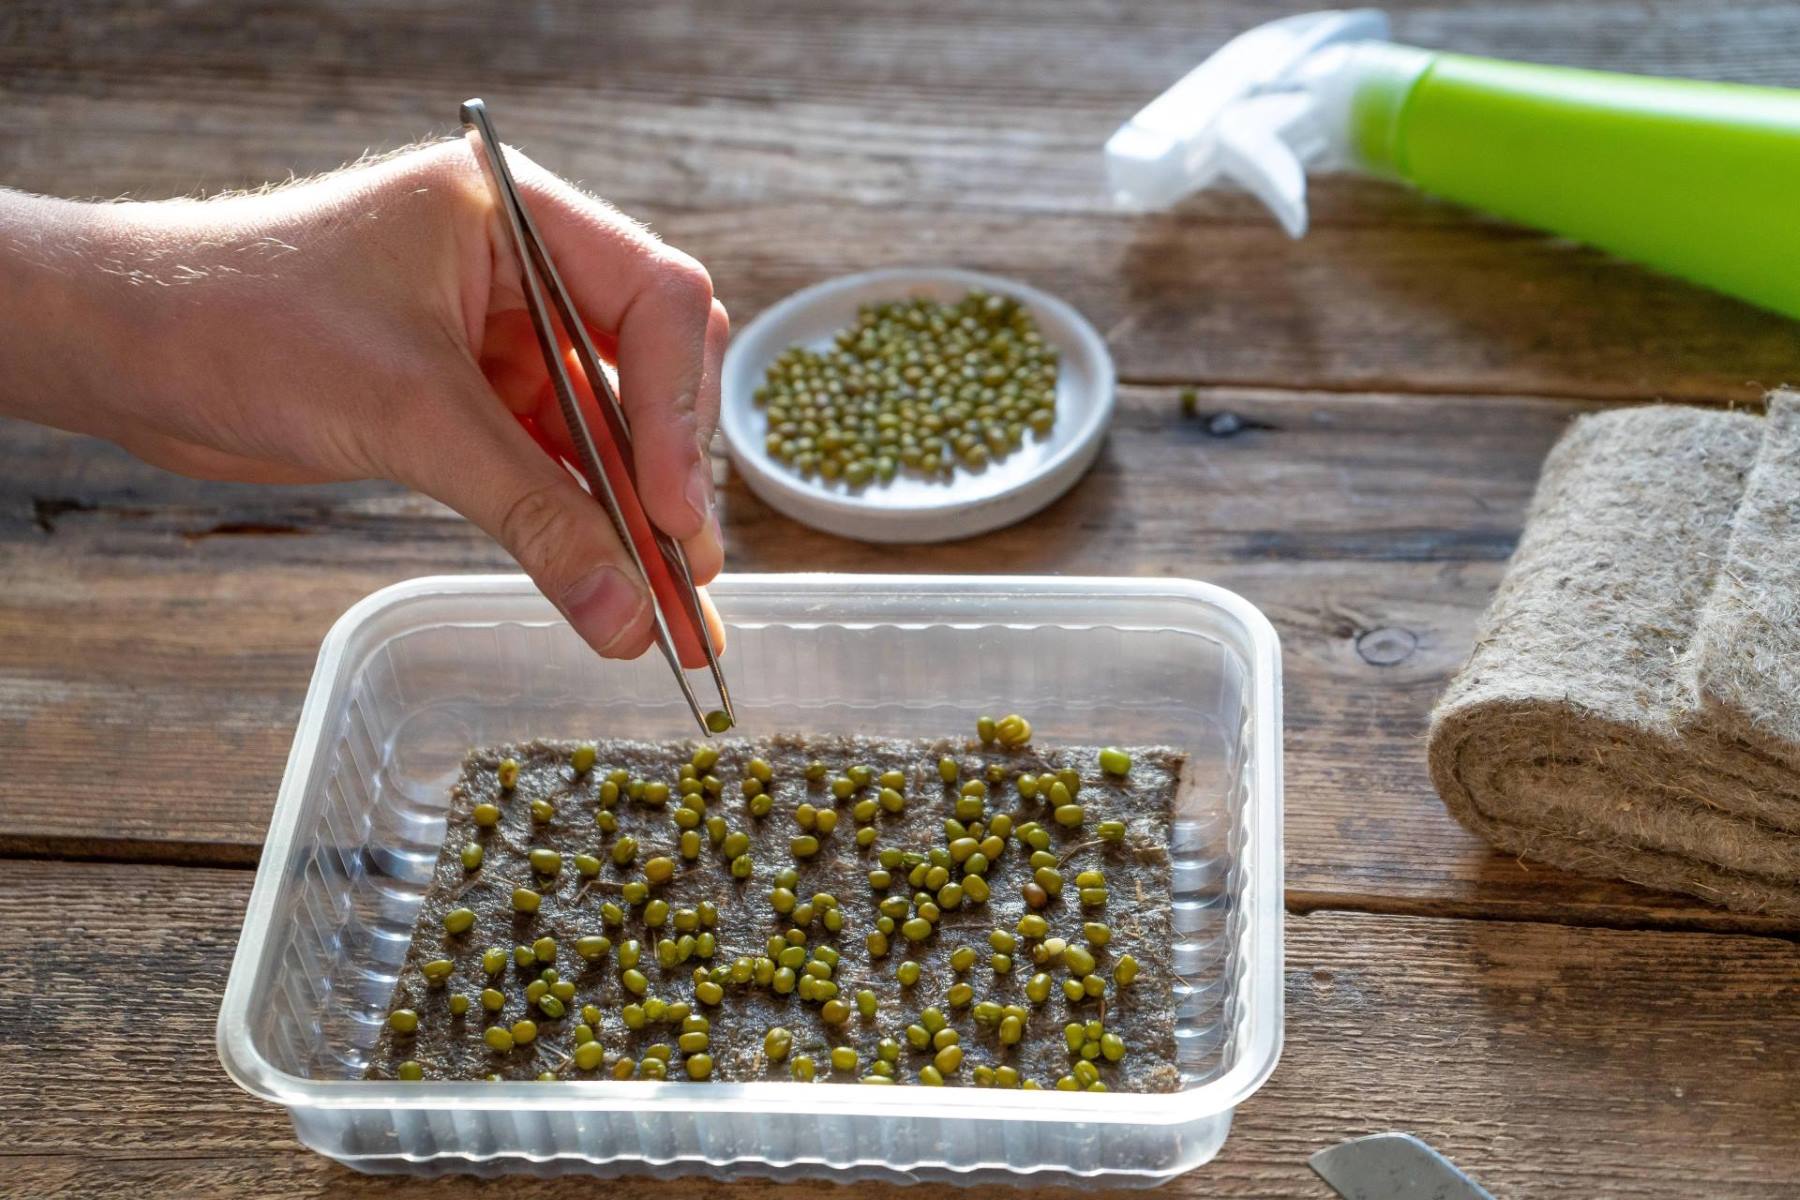
Step 4: Seeding Methods
Choosing the right seeding method is crucial for ensuring proper seed-to-soil contact and maximizing germination rates for your alfalfa. There are a few commonly used methods for seeding alfalfa:
- Broadcast Seeding: Broadcast seeding involves spreading the alfalfa seeds evenly across the prepared seedbed by hand or using a mechanical spreader. This method is suitable for small areas or when working with fine-textured soils. After spreading the seeds, lightly rake them into the topsoil to ensure good seed-to-soil contact.
- Drill Seeding: Drill seeding involves using a grain drill or a specialized grass drill to plant the alfalfa seeds in rows at a specific depth. This method allows for precise seed placement and depth control, ensuring optimal germination and stand establishment. It is recommended for larger areas and when working with heavier soils.
- Hydroseeding: Hydroseeding is a method that combines the alfalfa seeds with a slurry of water, mulch, fertilizer, and sometimes a tackifier to improve seed adherence. The mixture is then sprayed onto the prepared seedbed using a hydroseeder. This method is beneficial for controlling erosion and providing a protective mulch layer to aid seed germination.
Choose the seeding method that is most suitable for your specific garden size, soil type, and equipment availability. If you are uncertain about which method to choose, consult with local experts or experienced gardeners for guidance.
Regardless of the seeding method used, it is essential to ensure that the seeds are evenly distributed and have good contact with the soil. This promotes better germination rates and ensures a uniform stand of alfalfa.
Remember to follow the recommended seeding rates for your specific alfalfa variety and the desired plant population. Seeding rates can vary based on the location and intended use of alfalfa, so consult with your agricultural extension office or seed supplier for accurate recommendations.
By selecting the appropriate seeding method and ensuring proper seed distribution and seed-to-soil contact, you are well on your way to establishing a healthy and productive alfalfa stand.
Step 5: Seeding Rate and Timing
Knowing the correct seeding rate and timing is essential for achieving optimal germination and establishing a healthy alfalfa stand. The seeding rate depends on various factors, including soil type, climate, intended use, and the specific variety of alfalfa you are planting. Here are some guidelines to help you determine the appropriate seeding rate and timing:
- Seeding Rate: The recommended seeding rate for alfalfa typically ranges from 15 to 25 pounds per acre. However, this can vary based on your specific goals and area conditions. Consider factors like whether you are sowing pure alfalfa or a mix with other forage crops and the intended use, such as pasture or hay production. For finer-textured soils, consider using the higher end of the seeding rate to compensate for lower germination rates.
- Seeding Depth: Alfalfa seeds should be planted at a depth of ¼ to ½ inch for optimal germination. Planting too shallow can lead to seed desiccation, while planting too deep may result in poor emergence.
- Seeding Timing: The best time to seed alfalfa depends on your location and climate. In general, spring or fall is the most suitable for seeding. Spring planting takes advantage of warming soil temperatures and longer daylight hours, while fall planting allows for establishment during cooler temperatures. Avoid planting during excessively hot or dry periods, as they can hinder successful germination and establishment. Consult local agricultural extension services or experienced farmers in your area for specific seeding timing recommendations.
- Overseeding or Companion Crops: If you are overseeding alfalfa into an existing stand or using a companion crop for soil protection and weed suppression, adjust the seeding rate accordingly. It is important to maintain a balance between the alfalfa and companion crop to ensure successful establishment of the desired stand.
Remember that these guidelines serve as a general starting point. Factors like your specific region, soil conditions, and alfalfa variety can influence the best seeding rate and timing for your garden. Consulting with local experts or agricultural extension services is highly recommended to get precise recommendations based on your location.
By following the appropriate seeding rate and timing, you can increase the chances of successful germination and stand establishment, leading to a healthy and productive alfalfa crop in your garden.
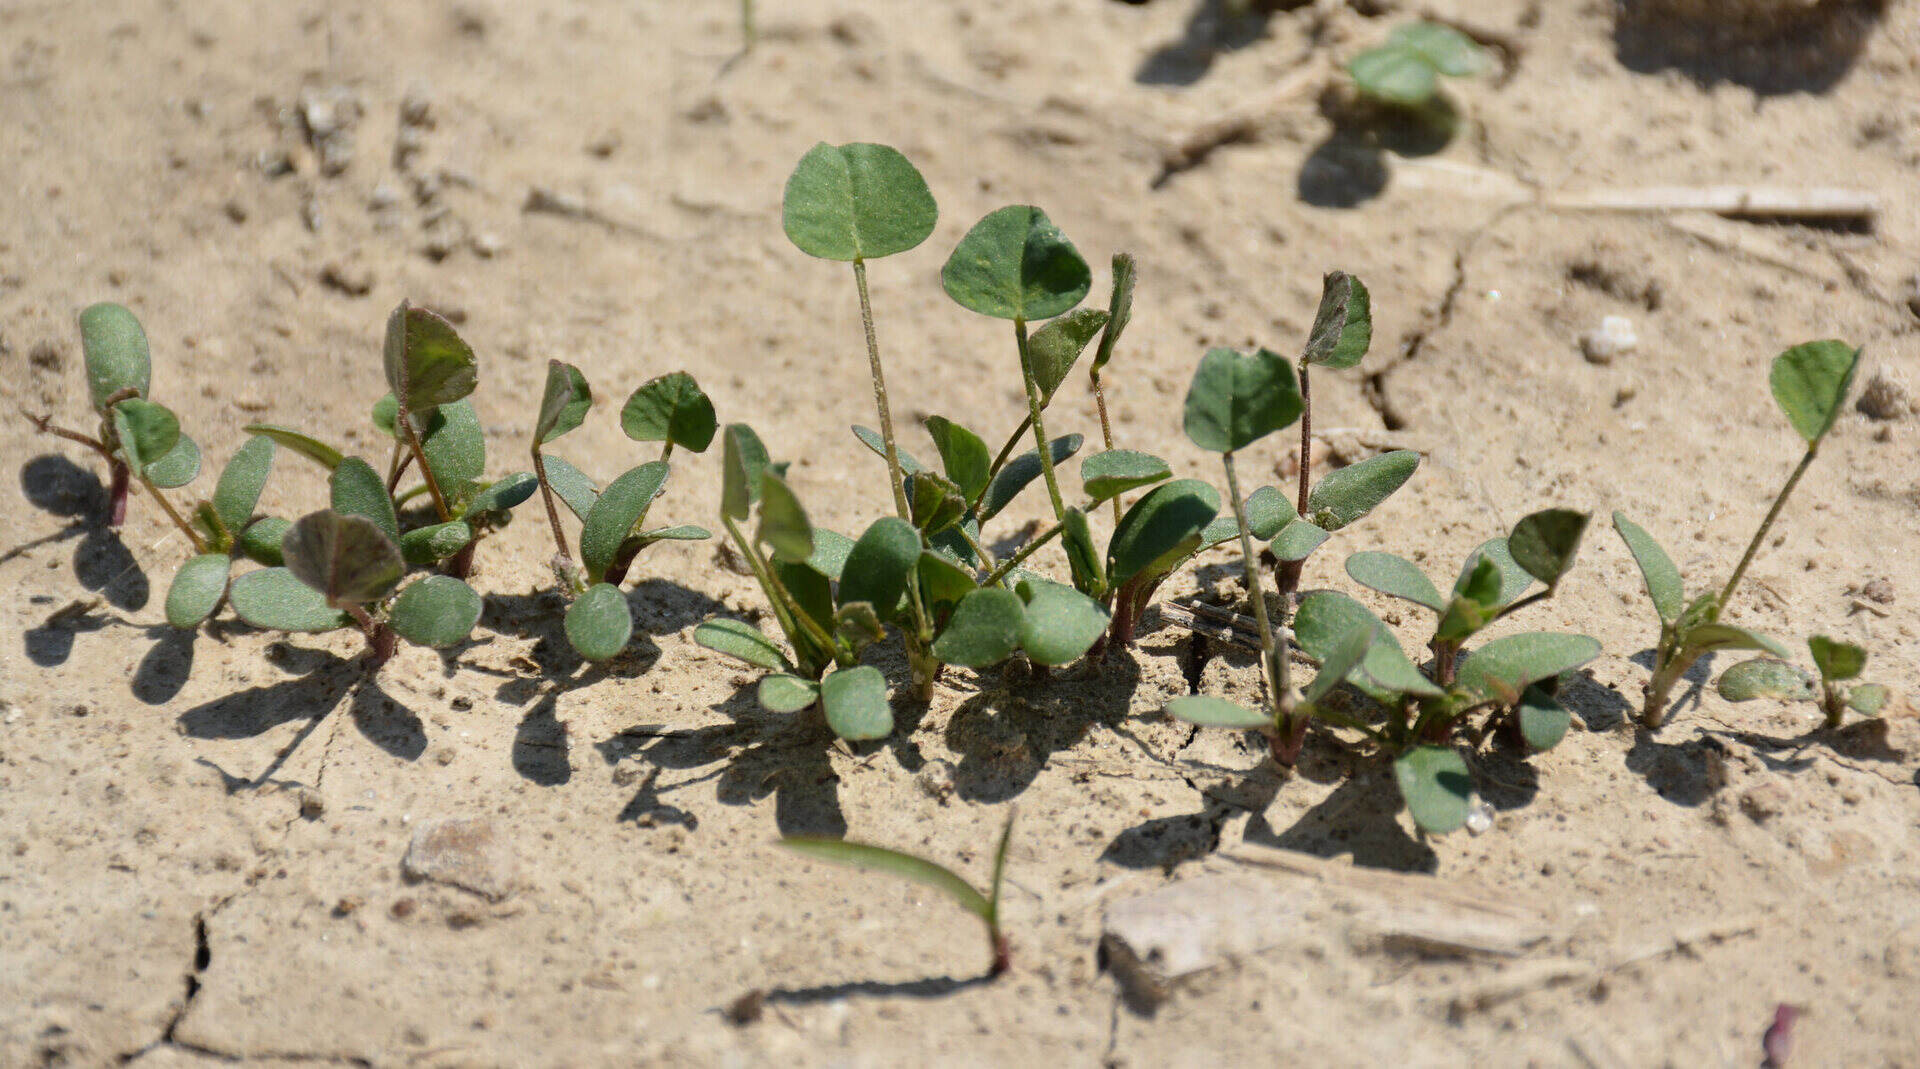
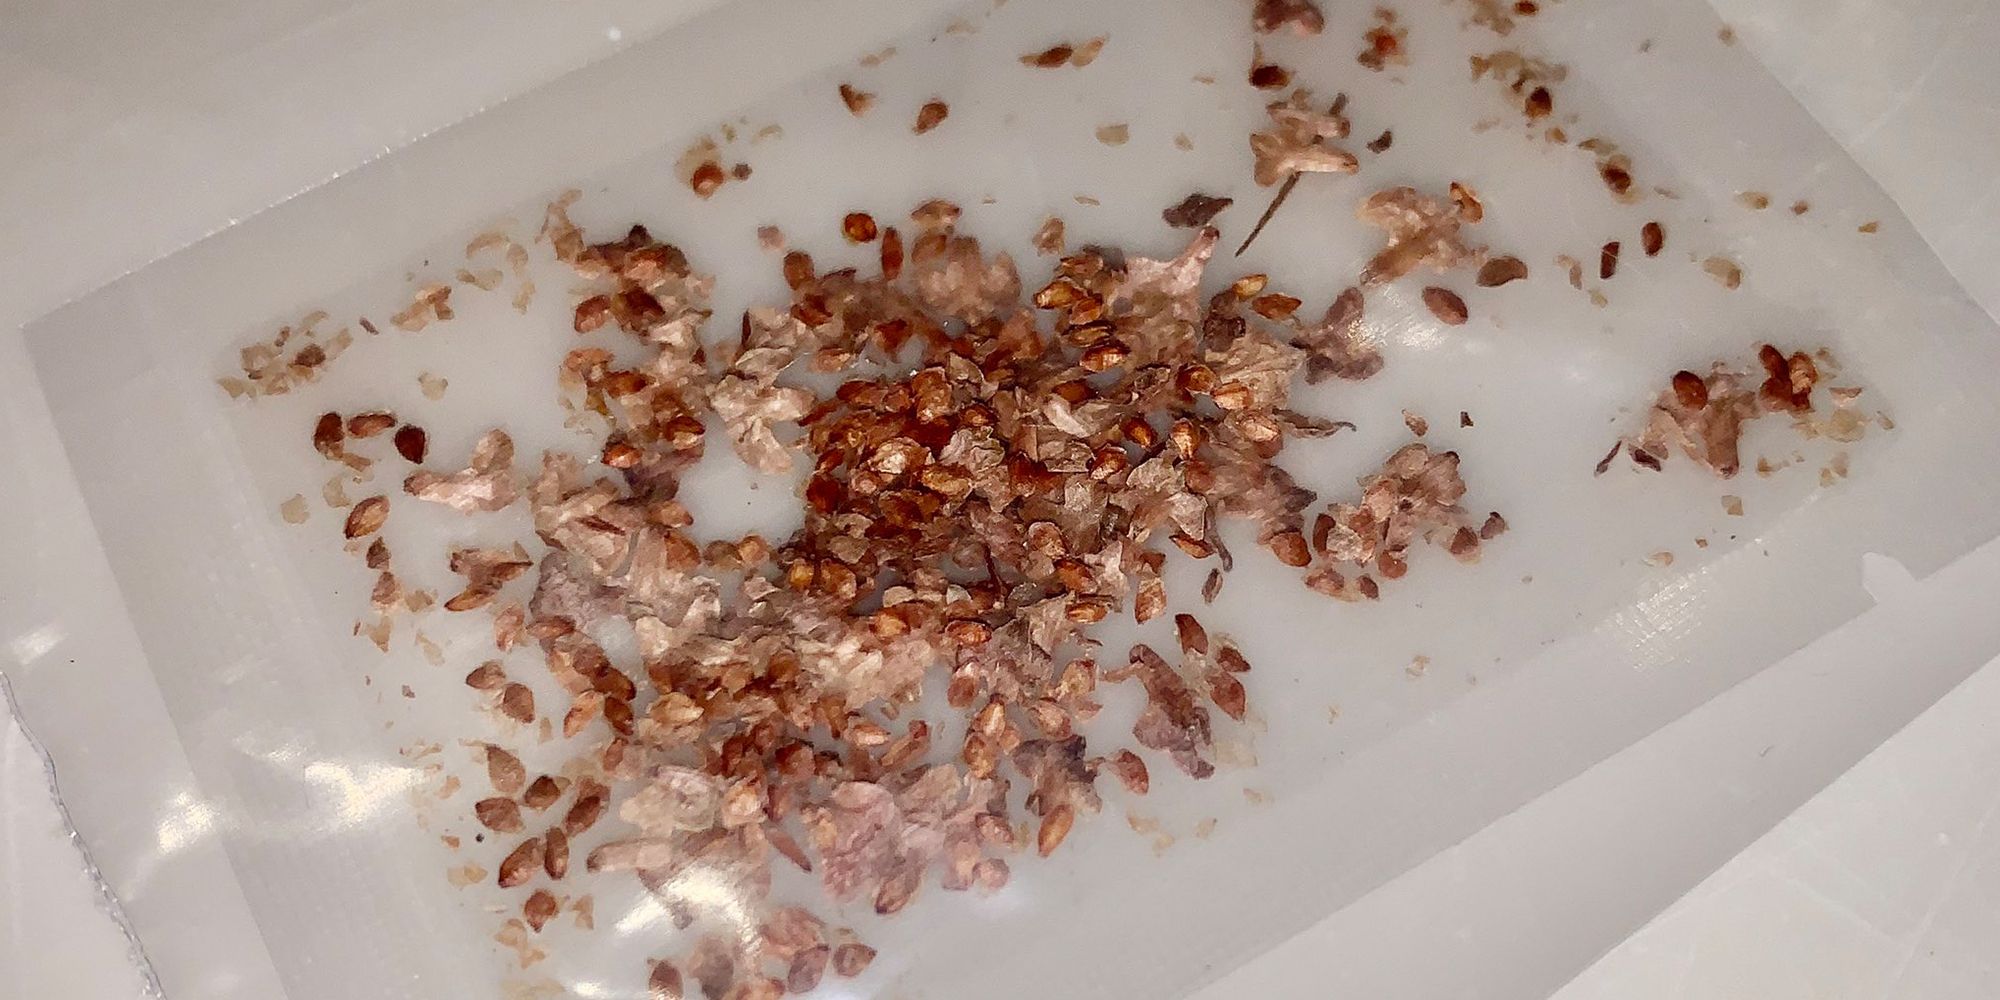
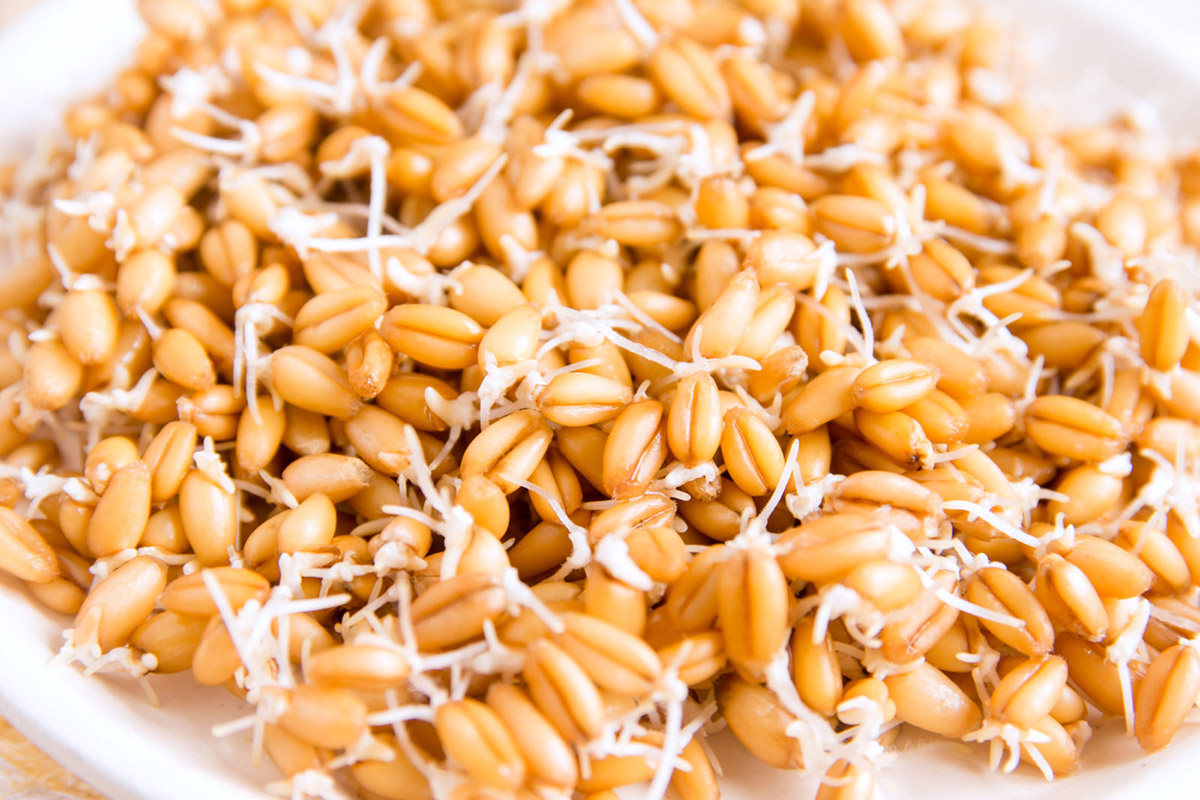
Before seeding alfalfa, make sure to prepare a firm, weed-free seedbed. Plant the seeds at a shallow depth of ¼ to ½ inch and pack the soil lightly to ensure good seed-to-soil contact for germination.
Step 6: Seeding Depth and Covering
Proper seeding depth and covering are crucial for the successful germination and establishment of alfalfa. Ensuring that the seeds are placed at the right depth and adequately covered will provide them with the ideal conditions for growth. Here are the key considerations for seeding depth and covering:
- Seeding Depth: Alfalfa seeds should be planted at a depth of approximately ¼ to ½ inch. Planting at this depth provides the right balance for seed-to-soil contact and ensures that the emerging seedlings can easily reach the soil surface. Planting too shallow can result in seed desiccation, while planting too deeply can inhibit proper emergence.
- Seed-to-Soil Contact: Good seed-to-soil contact is essential for successful germination. After spreading the seeds, use a rake or a roller to gently firm the soil surface. This helps to ensure that the seeds are in close contact with the soil, which aids in the absorption of moisture and nutrients from the surrounding environment.
- Covering the Seeds: While alfalfa seeds do not require heavy covering, lightly covering the seeds with a thin layer of soil or mulch can provide additional protection and aid in moisture retention. Use a rake or a cultipacker to lightly cover the seeds, ensuring that they are still within the recommended seeding depth.
- Seedling Emergence: Once the seeds have been covered, monitor the seedbed closely for seedling emergence. Adequate moisture and temperature conditions are crucial during this stage to support the germination and growth of the seedlings. Adjust irrigation practices as necessary to maintain the proper moisture levels without overwatering.
Remember that the specific seedling requirements may vary depending on the alfalfa variety and local conditions. It is essential to consult with local agricultural extension services, nurseries, or experienced farmers for guidance specific to your region.
By carefully placing the seeds at the appropriate depth and providing adequate covering, you are creating an ideal environment for successful germination and establishment. This will set the stage for healthy alfalfa seedlings and robust plant growth in your garden.
Step 7: Watering and Irrigation
Proper watering and irrigation are vital for the healthy growth and development of alfalfa plants. Providing the right amount of water at the right time will ensure optimal moisture levels in the soil, which is essential for seed germination, root development, and overall plant growth. Follow these guidelines for effective watering and irrigation:
- Initial Watering: After seeding, it is important to provide a thorough initial watering to help the seeds settle into the soil and initiate the germination process. Be careful not to overwater, as excessive moisture can lead to seed rot or shallow seedling establishment.
- Establishment Phase: During the establishment phase, the young alfalfa plants require consistent soil moisture to encourage root development and establish a strong stand. Water the seedbed regularly, keeping the soil consistently moist but not waterlogged. Aim to maintain soil moisture levels at about 50-75% of field capacity.
- Irrigation Frequency: The frequency of irrigation will depend on various factors such as soil type, weather conditions, and plant growth stage. As a general rule, a deep irrigation every 7-10 days is recommended for established alfalfa plants. This allows the water to penetrate deeper into the soil and encourages the roots to grow deeper, promoting plant stability and drought tolerance.
- Avoid Overwatering: While it’s important to provide adequate moisture, overwatering can lead to root rot, disease development, and poor plant growth. Ensure that the soil has proper drainage to allow excess water to escape, preventing waterlogged conditions.
- Monitor Soil Moisture: Regularly monitor the soil moisture levels by performing a simple soil moisture test. Insert a finger or a soil probe into the soil to a depth of a few inches and check the moisture level. If the soil feels dry at that depth, it’s time to water; if it feels moist, then watering is not necessary.
- Drought Management: During extended periods of drought or hot weather, additional irrigation may be required to sustain optimal soil moisture. Supplemental irrigation can help alleviate stress on the plants and promote healthy growth.
- Rainfall Considerations: Adjust your irrigation practices based on the amount of rainfall received. Reduce or suspend irrigation if there is sufficient rainfall to maintain adequate moisture levels in the soil.
It is important to note that specific watering requirements may vary depending on factors such as climate, soil conditions, and stage of growth. Regularly observe your alfalfa plants and adjust irrigation practices accordingly to ensure they receive the necessary moisture for optimal growth.
By providing consistent and appropriate watering and irrigation, you will promote healthy root development, vigorous growth, and increased yield potential for your alfalfa plants.
Read more: How Much Alfalfa Seed Per Acre
Step 8: Weed Control
Weed control is essential for maintaining the health and productivity of your alfalfa stand. Weeds compete with alfalfa for water, nutrients, and sunlight, and if left unchecked, they can significantly impact yield and overall plant health. Implementing effective weed control measures will help ensure the success of your alfalfa crop. Follow these guidelines for effective weed control:
- Preparation: Prior to seeding, thoroughly clear the site of any existing vegetation, including weeds and grasses. This reduces the weed seedbank and minimizes competition with the newly seeded alfalfa.
- Timely Weed Control: Begin weed control measures as soon as you notice weed growth in the alfalfa stand. Early intervention is crucial to prevent weeds from establishing and outcompeting the alfalfa plants.
- Cultural Control: Implement cultural practices that promote strong, healthy alfalfa growth. Adequate fertilization, proper irrigation, and regular mowing can help create conditions that favor the growth of alfalfa and deter weed germination and establishment.
- Mechanical Control: Hand weeding, hoeing, or cultivating can be effective for removing weeds from small areas or when dealing with isolated patches of weeds. Use caution to avoid damaging the delicate alfalfa plants during mechanical weed control.
- Mulching: Applying a layer of organic mulch, such as straw or wood chips, around the base of the alfalfa plants can help suppress weed growth. The mulch acts as a barrier, smothering weeds and reducing sunlight penetration to the soil surface.
- Chemical Control: Herbicides can be an effective tool for controlling weeds in alfalfa. Consult with local agricultural extension services or professional agronomists to determine which herbicides are appropriate for your specific situation and follow all label instructions carefully.
- Integrated Pest Management (IPM): Implementing an integrated approach to weed control combines multiple methods, including cultural, mechanical, and chemical control, to effectively manage weed populations in a sustainable manner.
- Regular Monitoring: Regularly monitor your alfalfa stand for signs of weed growth, particularly in the early stages. Quick identification and swift action can help prevent weeds from spreading and becoming a significant issue.
Remember that weed control is an ongoing process throughout the lifecycle of your alfalfa stand. Regular monitoring and a proactive approach are key to maintaining weed-free conditions and ensuring the best possible yield and quality for your alfalfa crop.
Always refer to herbicide labels, follow all safety guidelines, and consult with local experts for specific recommendations on weed control strategies in your area. By implementing effective weed control measures, you will support the healthy growth of your alfalfa plants and maximize their productivity.
Step 9: Monitoring and Maintenance
Regular monitoring and maintenance are crucial for the success and longevity of your alfalfa stand. By staying vigilant and addressing any issues promptly, you can ensure that your plants remain healthy and productive. Here are some key steps for effective monitoring and maintenance of your alfalfa:
- Scouting: Regularly walk through your alfalfa field, observing the plants closely for any signs of disease, pest infestations, or nutrient deficiencies. Look for indicators such as yellowing leaves, wilting, or stunted growth.
- Pest Control: Monitor the field for any signs of pests, including insects, such as aphids or leafhoppers, or diseases like powdery mildew. Identifying and addressing pest issues early can help prevent significant damage to your alfalfa crop.
- Harvest Timing: Monitor the growth stage of your alfalfa to determine the optimal time for harvest. Alfalfa should be harvested at the bud to early bloom stage to maintain high forage quality. Regularly inspect the crop by randomly selecting plants and observing the flowering stage.
- Mowing: Regular mowing helps promote lateral branching and encourages denser stand growth. Mowing also helps manage weeds and controls seed production of undesirable species. Set the mower blade height to leave the desired stubble height—a minimum of 3 to 4 inches—to protect the growing point and maintain regrowth potential.
- Soil Testing: Regularly conduct soil tests to gauge nutrient levels and pH. Monitoring soil health helps you make informed decisions about fertilization and soil amendments, ensuring that your alfalfa plants have the nutrients they need for optimal growth.
- Irrigation Maintenance: Regularly inspect your irrigation system for any leaks, malfunctions, or clogging issues. Ensure that the system is delivering water efficiently and uniformly to prevent over- or under-irrigation, which can both impact plant health. Adjust irrigation practices based on weather conditions and crop needs.
- Harvest Management: Pay attention to the timing and frequency of alfalfa harvests. Avoid cutting the crop too frequently, as this can weaken the plants and reduce overall productivity. Allow adequate time for regrowth between harvests to maintain the longevity of the stand.
- Rejuvenation: Over time, alfalfa stands can become less productive. Consider rotating your crop after a few years to break pest and disease cycles and restore soil fertility. Follow proper crop rotation practices to maintain long-term soil health and productivity.
Regular monitoring, timely maintenance, and appropriate management practices will help you identify and address any issues that may arise in your alfalfa stand. By maintaining a healthy and productive alfalfa crop, you can ensure a consistent and sustainable yield year after year.
Consult with local agricultural extension services or experienced alfalfa growers in your area for specific recommendations and tips based on your location and climate. Their expertise will greatly assist you in maintaining a successful alfalfa stand.
Step 10: Harvesting and Utilization
Harvesting alfalfa at the right time and utilizing the crop efficiently are vital for maximizing yield, forage quality, and overall productivity. Here are key steps to follow for proper harvesting and utilization of your alfalfa:
- Timing: Harvest your alfalfa at the bud to early bloom stage to achieve the best balance between yield and forage quality. At this stage, the plants have optimal nutrient content, high energy, and digestible fiber levels, resulting in nutritious feed.
- Weather Conditions: Consider weather conditions when planning your harvest. Aim to cut your alfalfa when there is a period of dry weather forecasted, as this will facilitate proper drying and minimize the risk of molding or spoilage.
- Harvest Method: There are various methods for harvesting alfalfa, including mowing and conditioning, raking, and baling. Determine the method that suits your specific situation, equipment availability, and intended use of the alfalfa – whether it is for hay, silage, or direct feeding.
- Drying Time: After cutting, allow the alfalfa to dry in the field until the moisture content reaches the desired level. Aim for around 15-18% moisture for hay baling and around 60-70% moisture for making silage. Monitor the drying process closely, and consider utilizing techniques such as tedding or raking to speed up drying if necessary.
- Baling and Storage: If you are baling alfalfa for hay, ensure that the forage has reached the appropriate moisture level before baling to prevent spoilage. Store the bales in a dry, well-ventilated area or use protective coverings to maintain forage quality throughout storage.
- Quality Testing: Periodically test the forage to assess its nutritional quality. This will help you ensure that it meets the desired nutrient levels for your intended animal feed or other utilization purposes.
- Feeding Strategies: Determine the best feeding strategies for your alfalfa, whether it is for livestock feed, haylage, or other purposes. Consider factors such as animal requirements, forage analysis, and proper ration formulation to effectively utilize the high-quality forage.
- Re-Growth and Rotation: After the initial harvest, allow your alfalfa stand to regrow and rest before the next cut. Monitor the regrowth closely and consider rotational grazing or cutting practices that promote stand longevity and allow the plants to fully recover before subsequent harvests.
Consult with local agricultural extension services or experienced alfalfa growers in your area for specific recommendations and best practices regarding harvesting and utilization techniques based on your region and intended use of the alfalfa.
By harvesting your alfalfa at the optimal stage, utilizing proper drying and storage methods, and implementing effective feeding strategies, you can ensure maximum yield, quality, and utilization of your alfalfa crop.
Conclusion
Seeding and growing alfalfa can be a rewarding and fulfilling experience for gardeners and farmers alike. By following the right steps and implementing proper techniques, you can establish a healthy and productive alfalfa stand that provides high-quality forage for livestock or nutritious addition to your meals. Here are the key takeaways from this guide:
First, choose the right variety of alfalfa based on your climate, soil type, intended use, disease resistance, and persistence. Consulting experts in your region can provide valuable recommendations for variety selection.
Next, carefully select and prepare the appropriate site for seeding. Take into consideration factors such as sunlight exposure, soil drainage, and weed control to create an ideal growing environment.
Ensure that your soil is properly prepared and fertilized, considering soil testing results and organic matter incorporation. This will provide the necessary nutrients for healthy plant growth and development.
Choose the suitable seeding method, whether it is broadcasting, drill seeding, or hydroseeding, to evenly distribute the seeds and ensure good seed-to-soil contact.
Pay attention to the recommended seeding rate and timing for your specific variety and area. Plant seeds at the appropriate depth and cover them lightly to support germination and seedling establishment.
Proper watering and irrigation practices are crucial for encouraging root development and providing consistent moisture to the plants. Regularly monitor soil moisture levels and adjust irrigation frequency based on weather conditions and crop needs.
Implement effective weed control measures to prevent weed competition and ensure the health and productivity of your alfalfa stand. Regular monitoring and timely maintenance will help you identify and address any issues that arise.
Harvest your alfalfa at the ideal stage to achieve the best balance between yield and forage quality. Utilize proper drying and storage techniques for hay or silage production, and implement appropriate feeding strategies to make the most of the high-quality forage.
Regularly monitor your alfalfa crop and implement good management practices to promote longevity and productivity. Consider crop rotation and rejuvenation strategies to maintain soil fertility and prevent stand decline.
In conclusion, successfully seeding and growing alfalfa requires careful planning, attention to detail, and regular monitoring. By following the steps outlined in this guide, you can set the foundation for a thriving and productive alfalfa stand that will reward you with nutritious forage or a delicious addition to your meals. Remember to consult with local experts and adapt the techniques to your specific location and conditions. Here’s to a successful alfalfa growing journey!
Frequently Asked Questions about How To Seed Alfalfa
Was this page helpful?
At Storables.com, we guarantee accurate and reliable information. Our content, validated by Expert Board Contributors, is crafted following stringent Editorial Policies. We're committed to providing you with well-researched, expert-backed insights for all your informational needs.


0 thoughts on “How To Seed Alfalfa”