Home>Garden Essentials>When Do You Plant Apple Seeds
Garden Essentials
When Do You Plant Apple Seeds
Modified: August 24, 2024
Planting apple seeds in your garden? Find out the best time to sow apple seeds and grow your own apple tree!
(Many of the links in this article redirect to a specific reviewed product. Your purchase of these products through affiliate links helps to generate commission for Storables.com, at no extra cost. Learn more)
Introduction
Welcome to the fascinating world of gardening! If you have ever enjoyed biting into a crispy, juicy apple and wondered how apple trees are grown, you have come to the right place. Planting apple seeds and witnessing them grow into beautiful, fruit-bearing trees can be a rewarding and fulfilling experience. In this article, we will explore the best time to plant apple seeds and provide you with valuable tips for successful seed planting.
Growing apple trees from seeds can be a fun and engaging activity, whether you are a seasoned gardener or just starting out. However, it is important to note that not all apple seeds will produce trees that bear the same delicious fruits you enjoy from the store. This is because apple trees are typically grafted, meaning a branch from a desirable apple variety is attached to a rootstock. Nevertheless, growing apple trees from seeds can still result in unique and interesting trees that may surprise you with their characteristics.
Before we dive into the planting process, let’s take a closer look at the best time to plant apple seeds. Timing plays a crucial role in the success of your seedlings, so it is essential to choose the right season for planting.
Key Takeaways:
- Plant apple seeds in late winter or early spring for successful germination. Prepare seeds by drying and stratifying them, and choose well-draining, nutrient-rich soil for planting.
- Care for apple seedlings by watering, fertilizing, pruning, and protecting from pests. Transplant during the dormant season for healthy growth and fruit production.
Read more: When Do You Plant Carrot Seeds
The Best Time to Plant Apple Seeds
When it comes to planting apple seeds, timing is everything. Ideally, you should plant apple seeds in late winter or early spring, when the ground is starting to thaw and the weather is becoming milder. This timing allows the seeds to experience a period of cold stratification, which mimics the natural conditions necessary for the seeds to germinate and grow.
In regions with cold winters, planting apple seeds in late winter ensures that the seeds receive the required period of cold stratification. This period of exposure to chilly temperatures breaks the seed’s dormancy and prepares it for germination when the conditions become favorable. It is important to note that different apple varieties may have slightly different temperature requirements for stratification, so be sure to research the specific needs of the apple variety you are planting.
If you live in an area with mild winters, you can simulate the cold stratification period by refrigerating the apple seeds for a few weeks before planting them. Place the seeds in a sealed container or a plastic bag with slightly dampened peat moss or vermiculite and store them in the refrigerator at around 40°F (4°C). This mimics the cool temperatures and moist conditions that the seeds would experience in nature during the winter months.
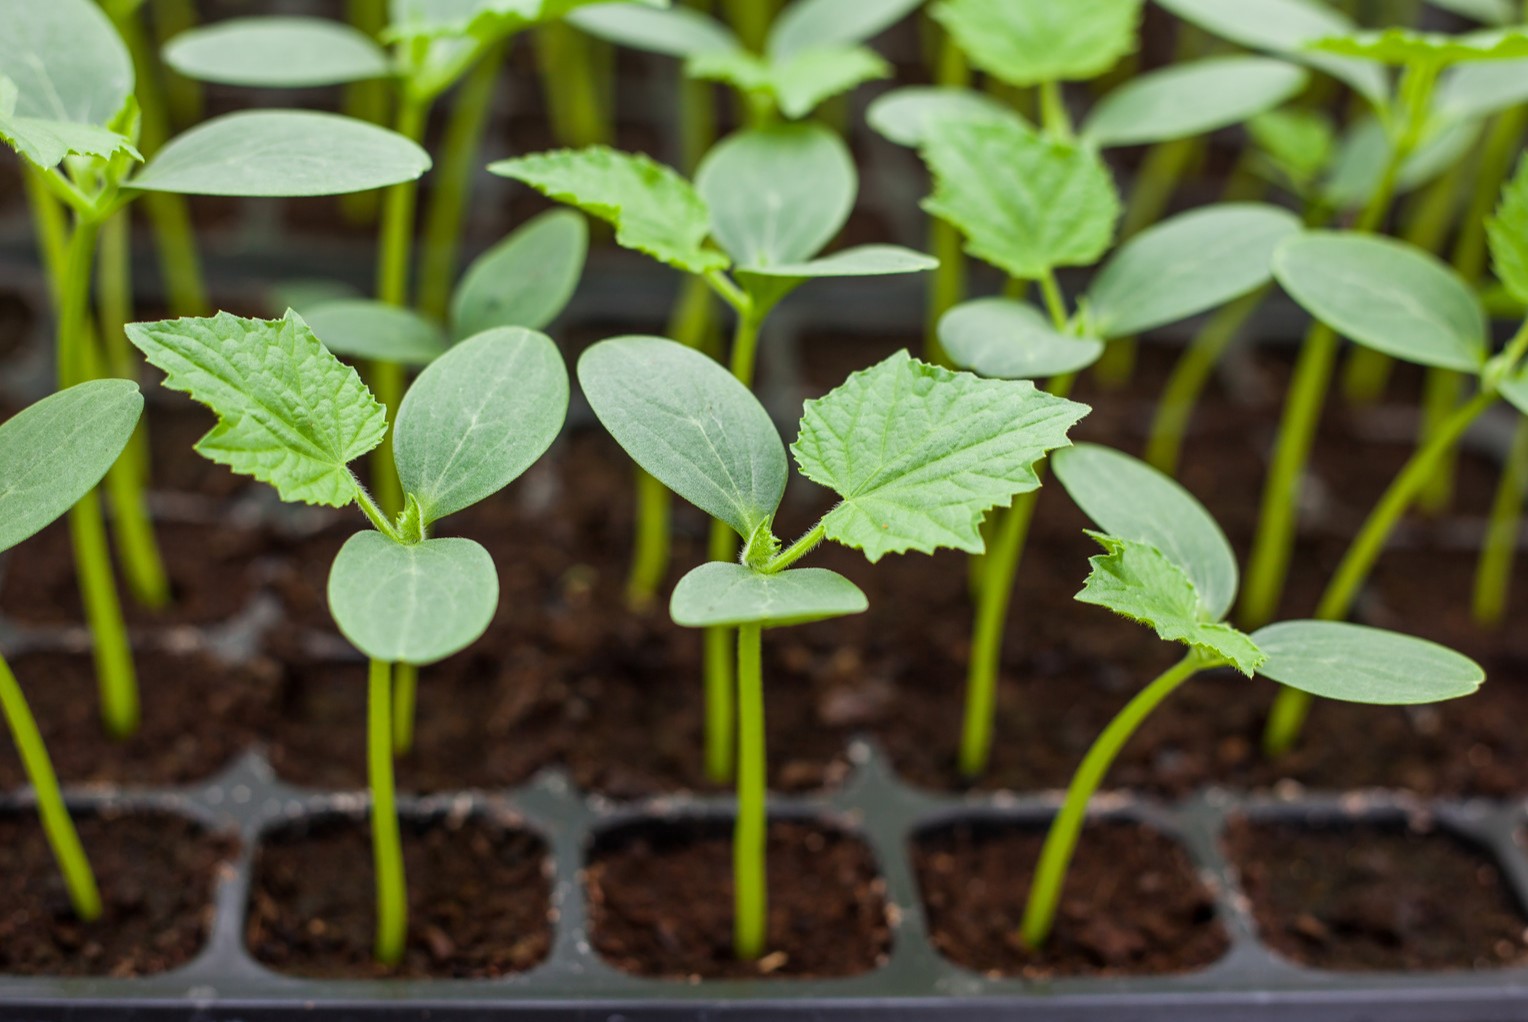
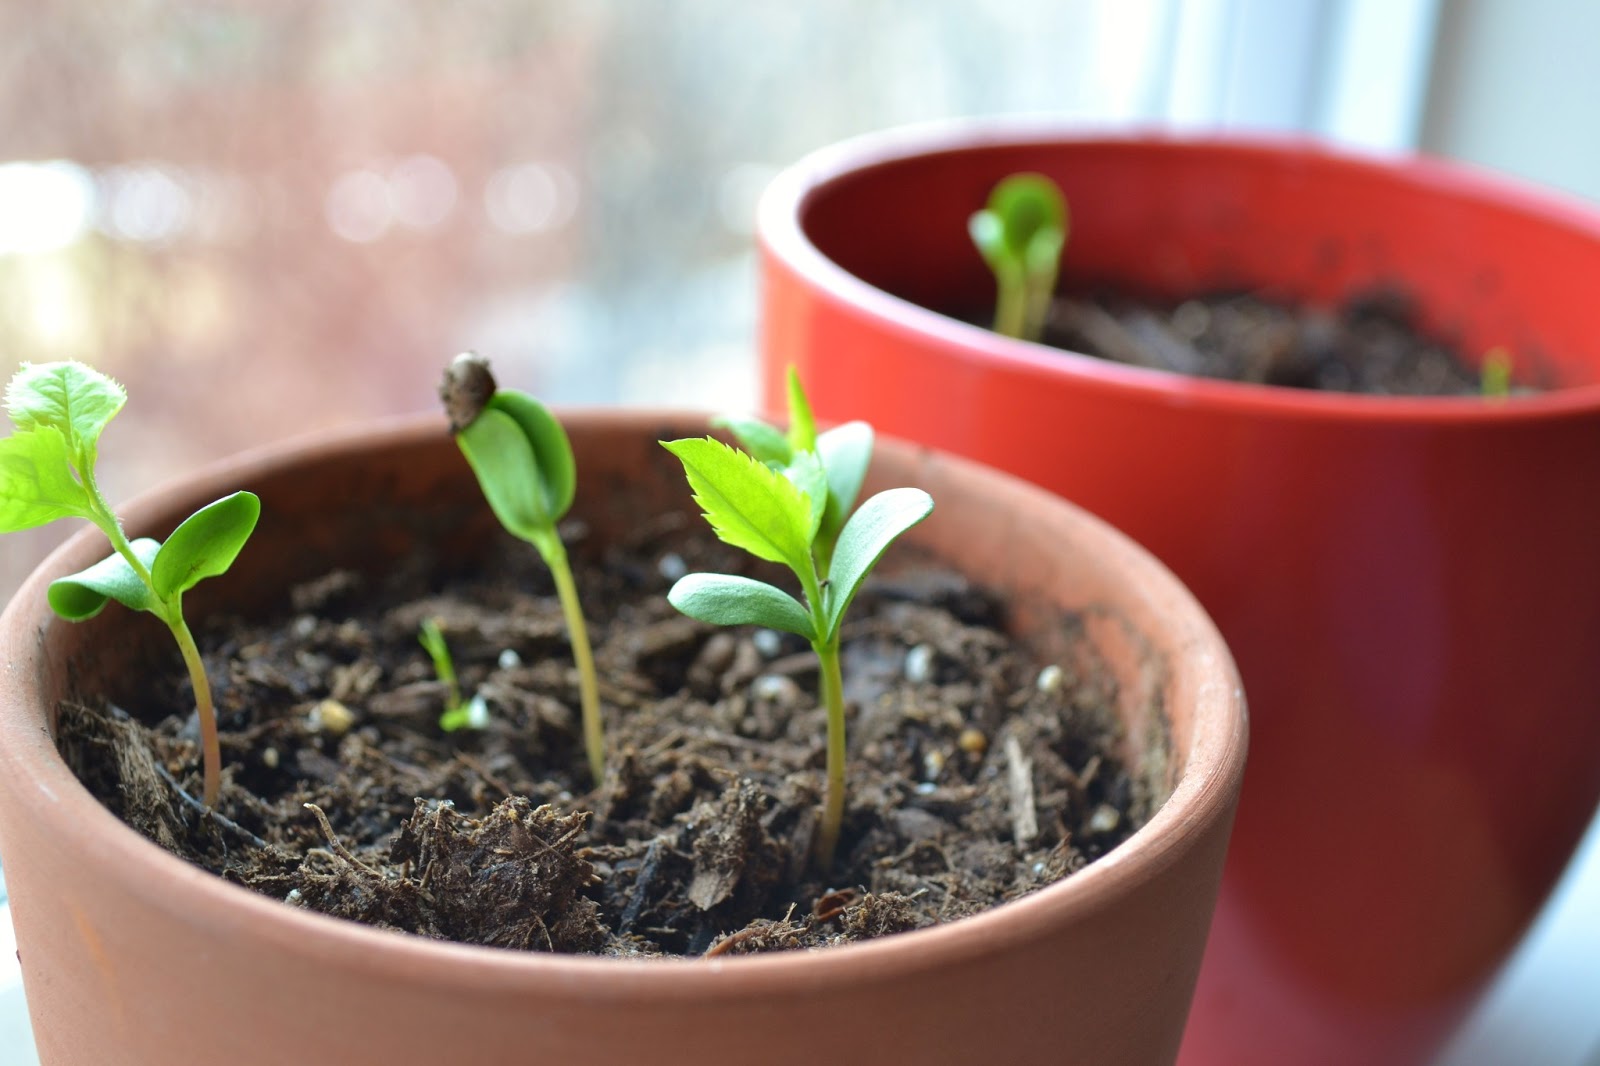
By planting apple seeds in late winter or early spring, you give them the best chance of successful germination and growth. The warmer temperatures and longer days of spring provide the ideal environment for the seeds to sprout and develop into healthy seedlings.
Now that you know the best time to plant apple seeds, let’s move on to the next step: preparing the apple seeds for planting.
Preparing the Apple Seeds
Before you plant apple seeds, it’s important to give them the best start possible. Here are a few steps to follow in preparing the apple seeds for planting:
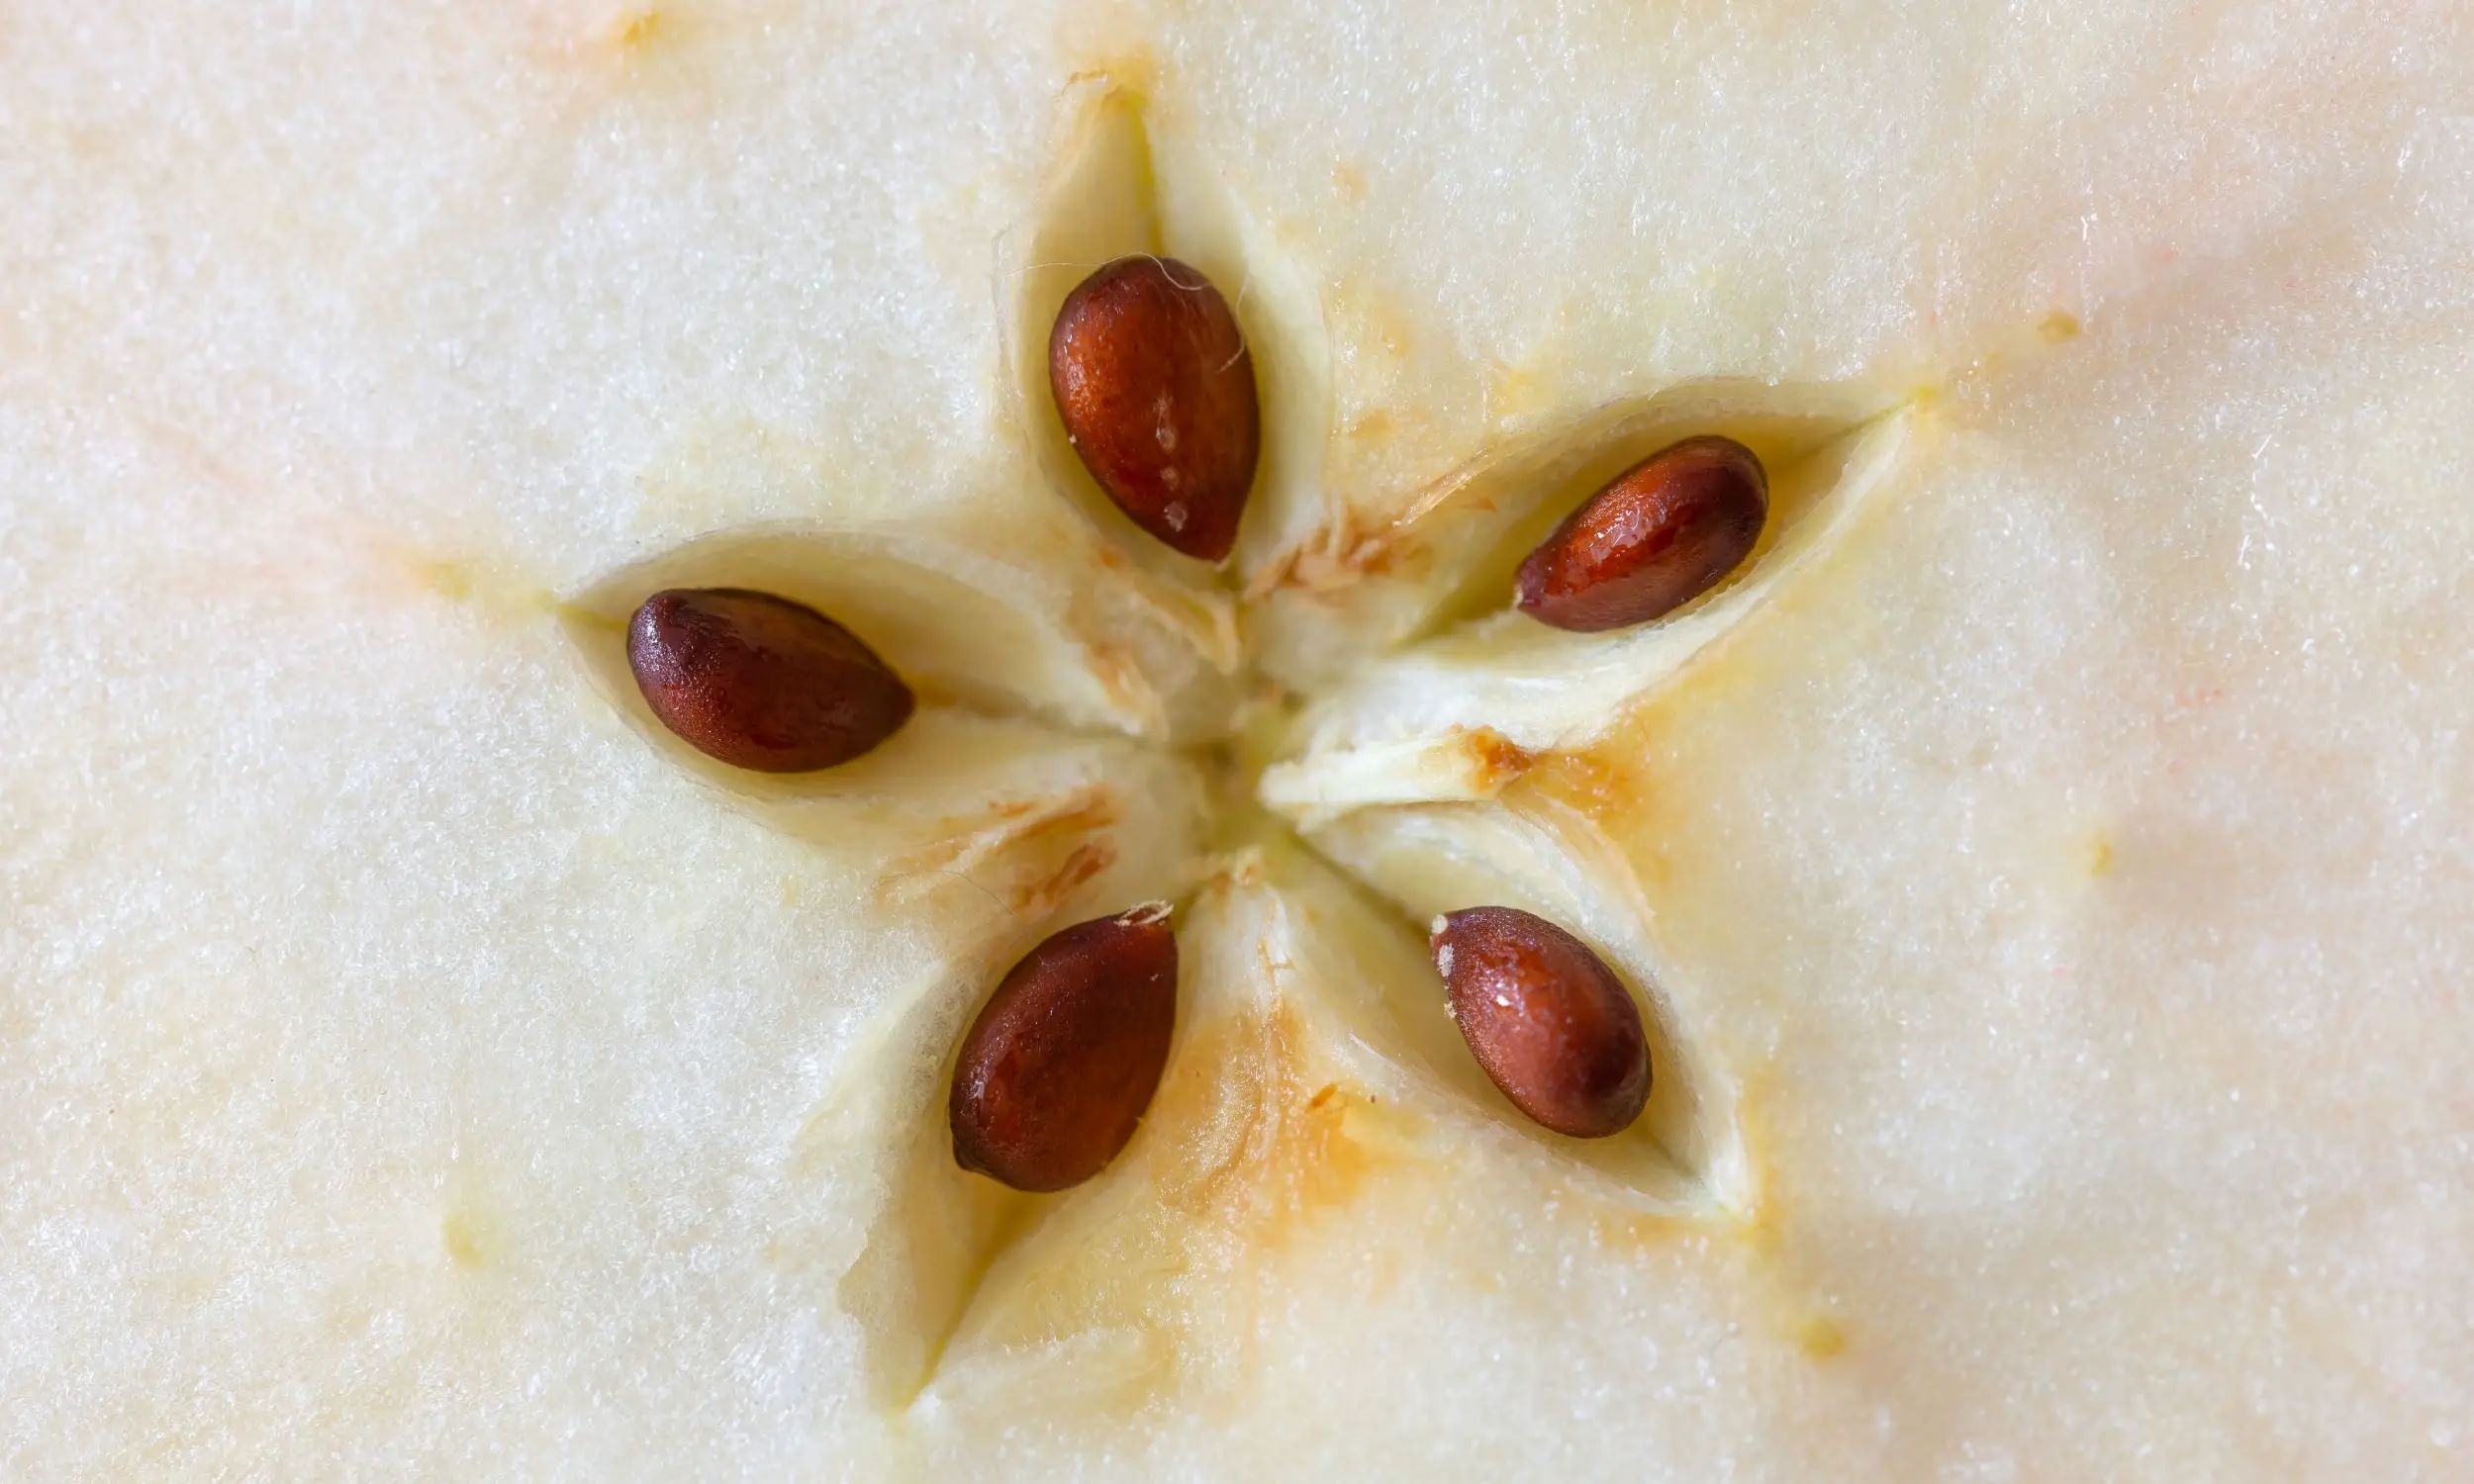
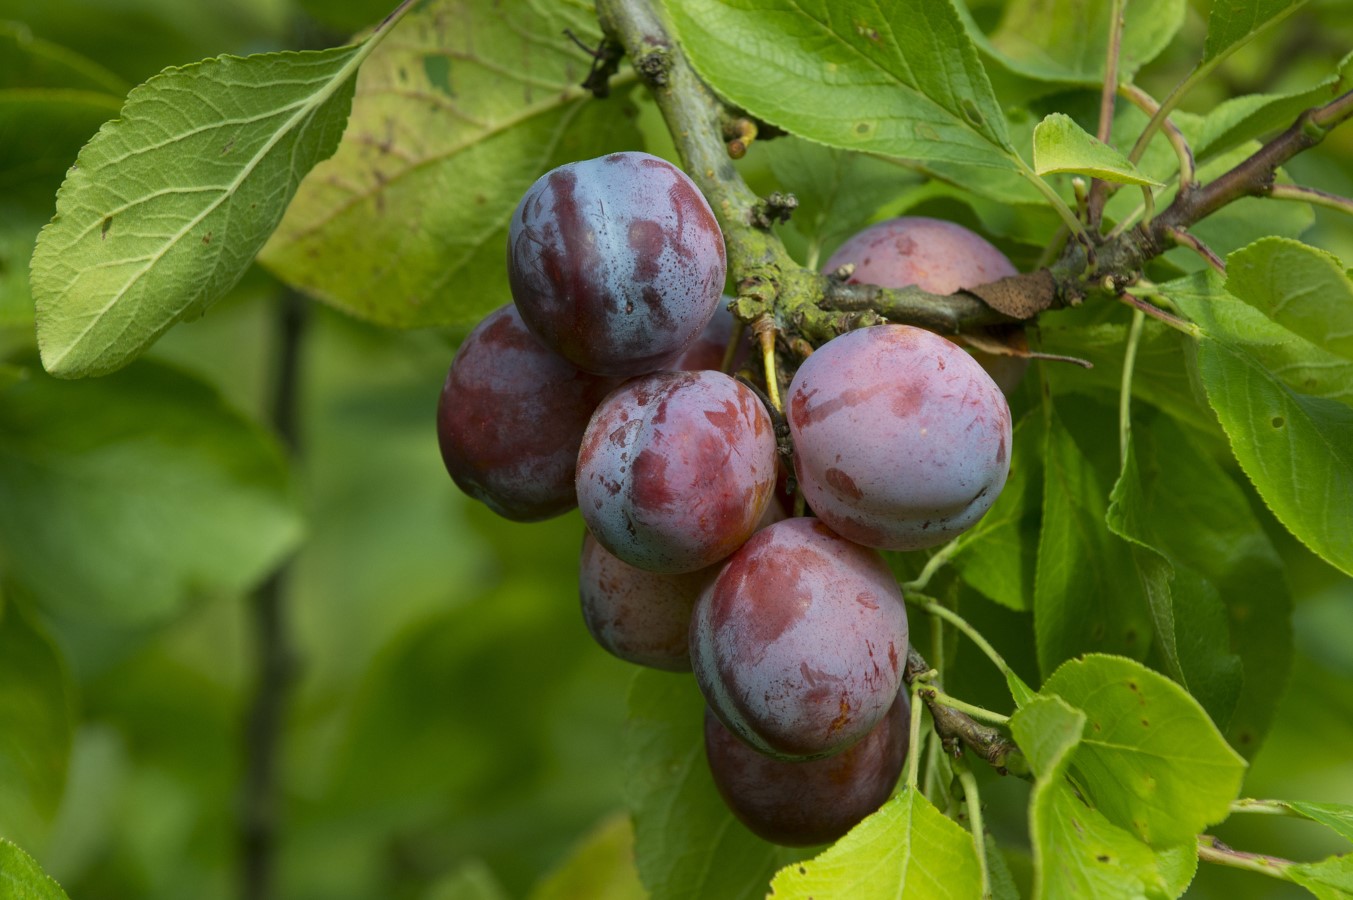
- Collecting the Seeds: Start by collecting ripe, healthy apple fruits from a variety you enjoy. Slice open the apples and remove the seeds. Rinse the seeds thoroughly to remove any traces of fruit residue.
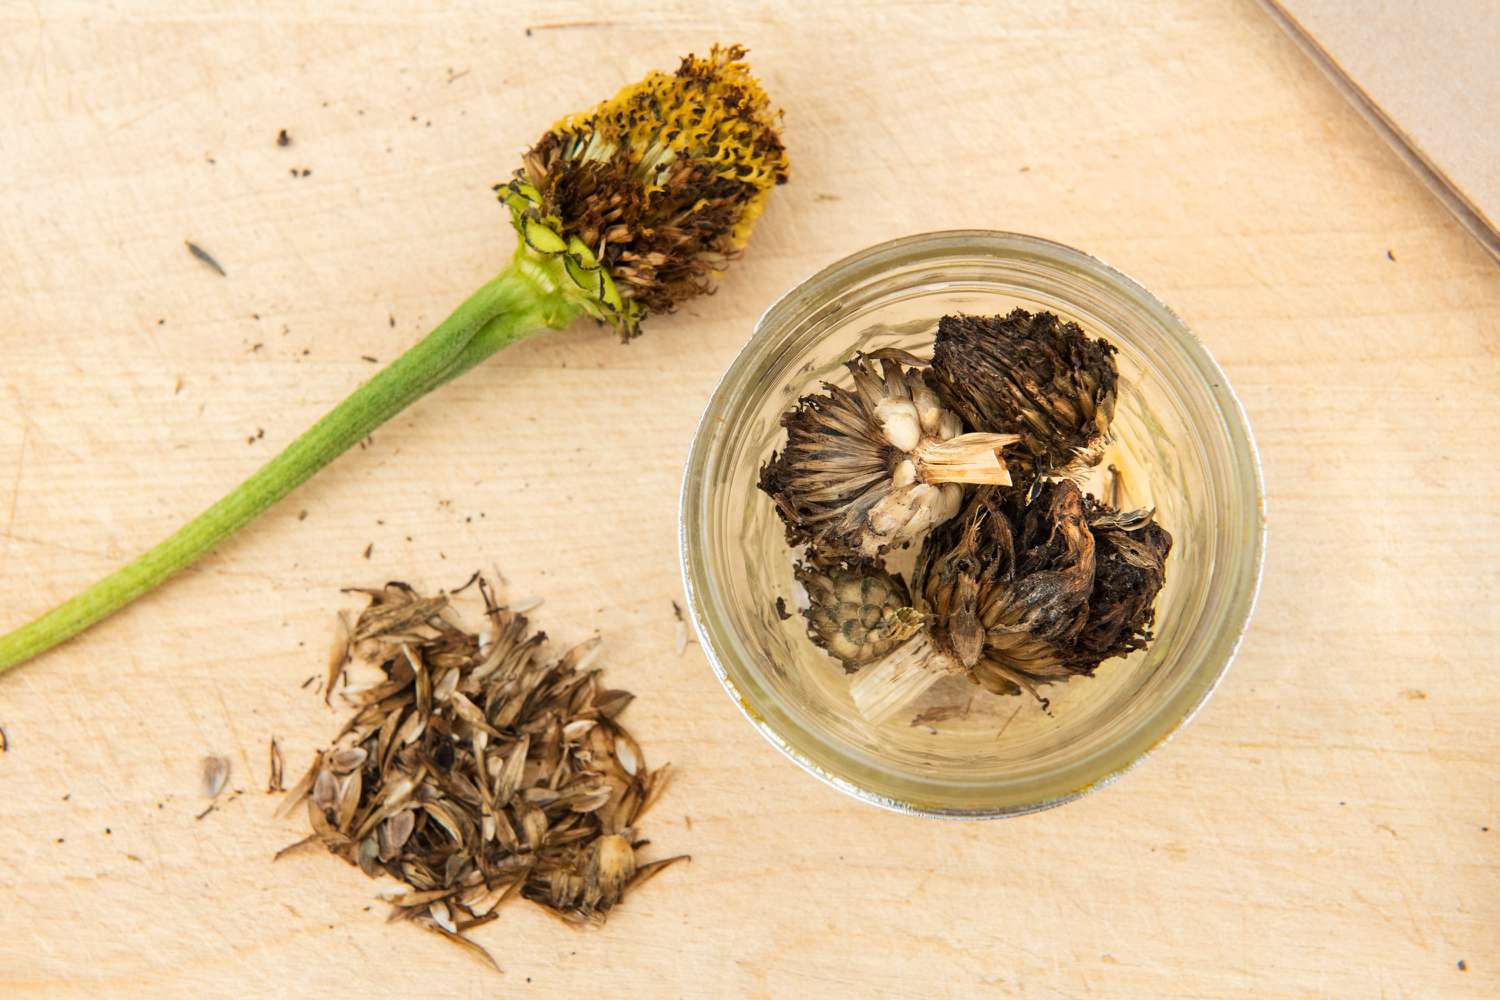
- Drying the Seeds: Once the seeds are cleaned, spread them out on a paper towel or a screen and allow them to dry completely. This drying process helps prevent mold and fungal growth on the seeds.
- Stratifying the Seeds: As mentioned earlier, apple seeds require a period of cold stratification to break their dormancy. Place the dried seeds in a plastic bag with slightly dampened peat moss or vermiculite. Seal the bag and place it in the refrigerator for about 6-8 weeks.
- Monitoring the Seeds: While the seeds are undergoing stratification, regularly check on them to ensure that the peat moss or vermiculite remains slightly moist. Avoid overwatering, as excessive moisture can cause the seeds to rot. If any seeds appear moldy or damaged, discard them.
- Performing a Germination Test: After the stratification period, you can perform a germination test to determine the viability of the seeds. Take a few of the stratified seeds and place them between damp paper towels or in seed-starting trays filled with moist soil. Keep them in a warm, well-lit area and check for signs of germination within a few weeks. This test helps ensure that you are planting viable seeds.
By following these steps, you will prepare the apple seeds for successful germination and increase the chances of growing healthy seedlings. In the next section, we will discuss the importance of choosing the right soil for planting apple seeds.
Choosing the Right Soil
When it comes to growing apple seedlings, the right soil can make all the difference. Apple trees thrive in well-draining, loamy soil that is rich in organic matter. Here are some factors to consider when choosing the right soil for planting apple seeds:
1. Texture: The soil should have a balanced texture, with a good mixture of sand, silt, and clay. This allows for proper drainage while retaining enough moisture for the seeds to germinate and the seedlings to establish their roots.
2. pH Levels: Apple trees prefer slightly acidic to neutral soil, with a pH range of 6.0 to 7.0. Test your soil’s pH levels using a soil testing kit, and if necessary, amend the soil to achieve the optimal pH range for apple cultivation.
3. Organic Matter: Adding organic matter, such as compost or well-rotted manure, to the soil can greatly enhance its fertility and nutrient content. The organic matter improves soil structure, retains moisture, and provides essential nutrients for the growing seedlings.
4. Drainage: Proper drainage is crucial for the health and development of apple trees. Poorly draining soil can lead to waterlogged roots and increase the risk of diseases. Ensure that the soil you choose has good drainage characteristics to prevent water accumulation.
5. Nutrient Content: Apple trees require a balanced supply of nutrients, including nitrogen, phosphorus, and potassium, as well as micronutrients such as zinc and iron. Consider adding a slow-release fertilizer specifically formulated for fruit trees to ensure that the seedlings receive the necessary nutrients for growth.
If your soil does not meet the requirements mentioned above, don’t worry! You can improve your soil’s quality by incorporating organic amendments, adjusting pH levels, and incorporating drainage solutions as necessary. Creating the right soil environment encourages healthy root development and ultimately leads to robust apple seedlings.
Now that we have discussed the importance of choosing the right soil, it’s time to move on to the next step: planting the apple seeds.
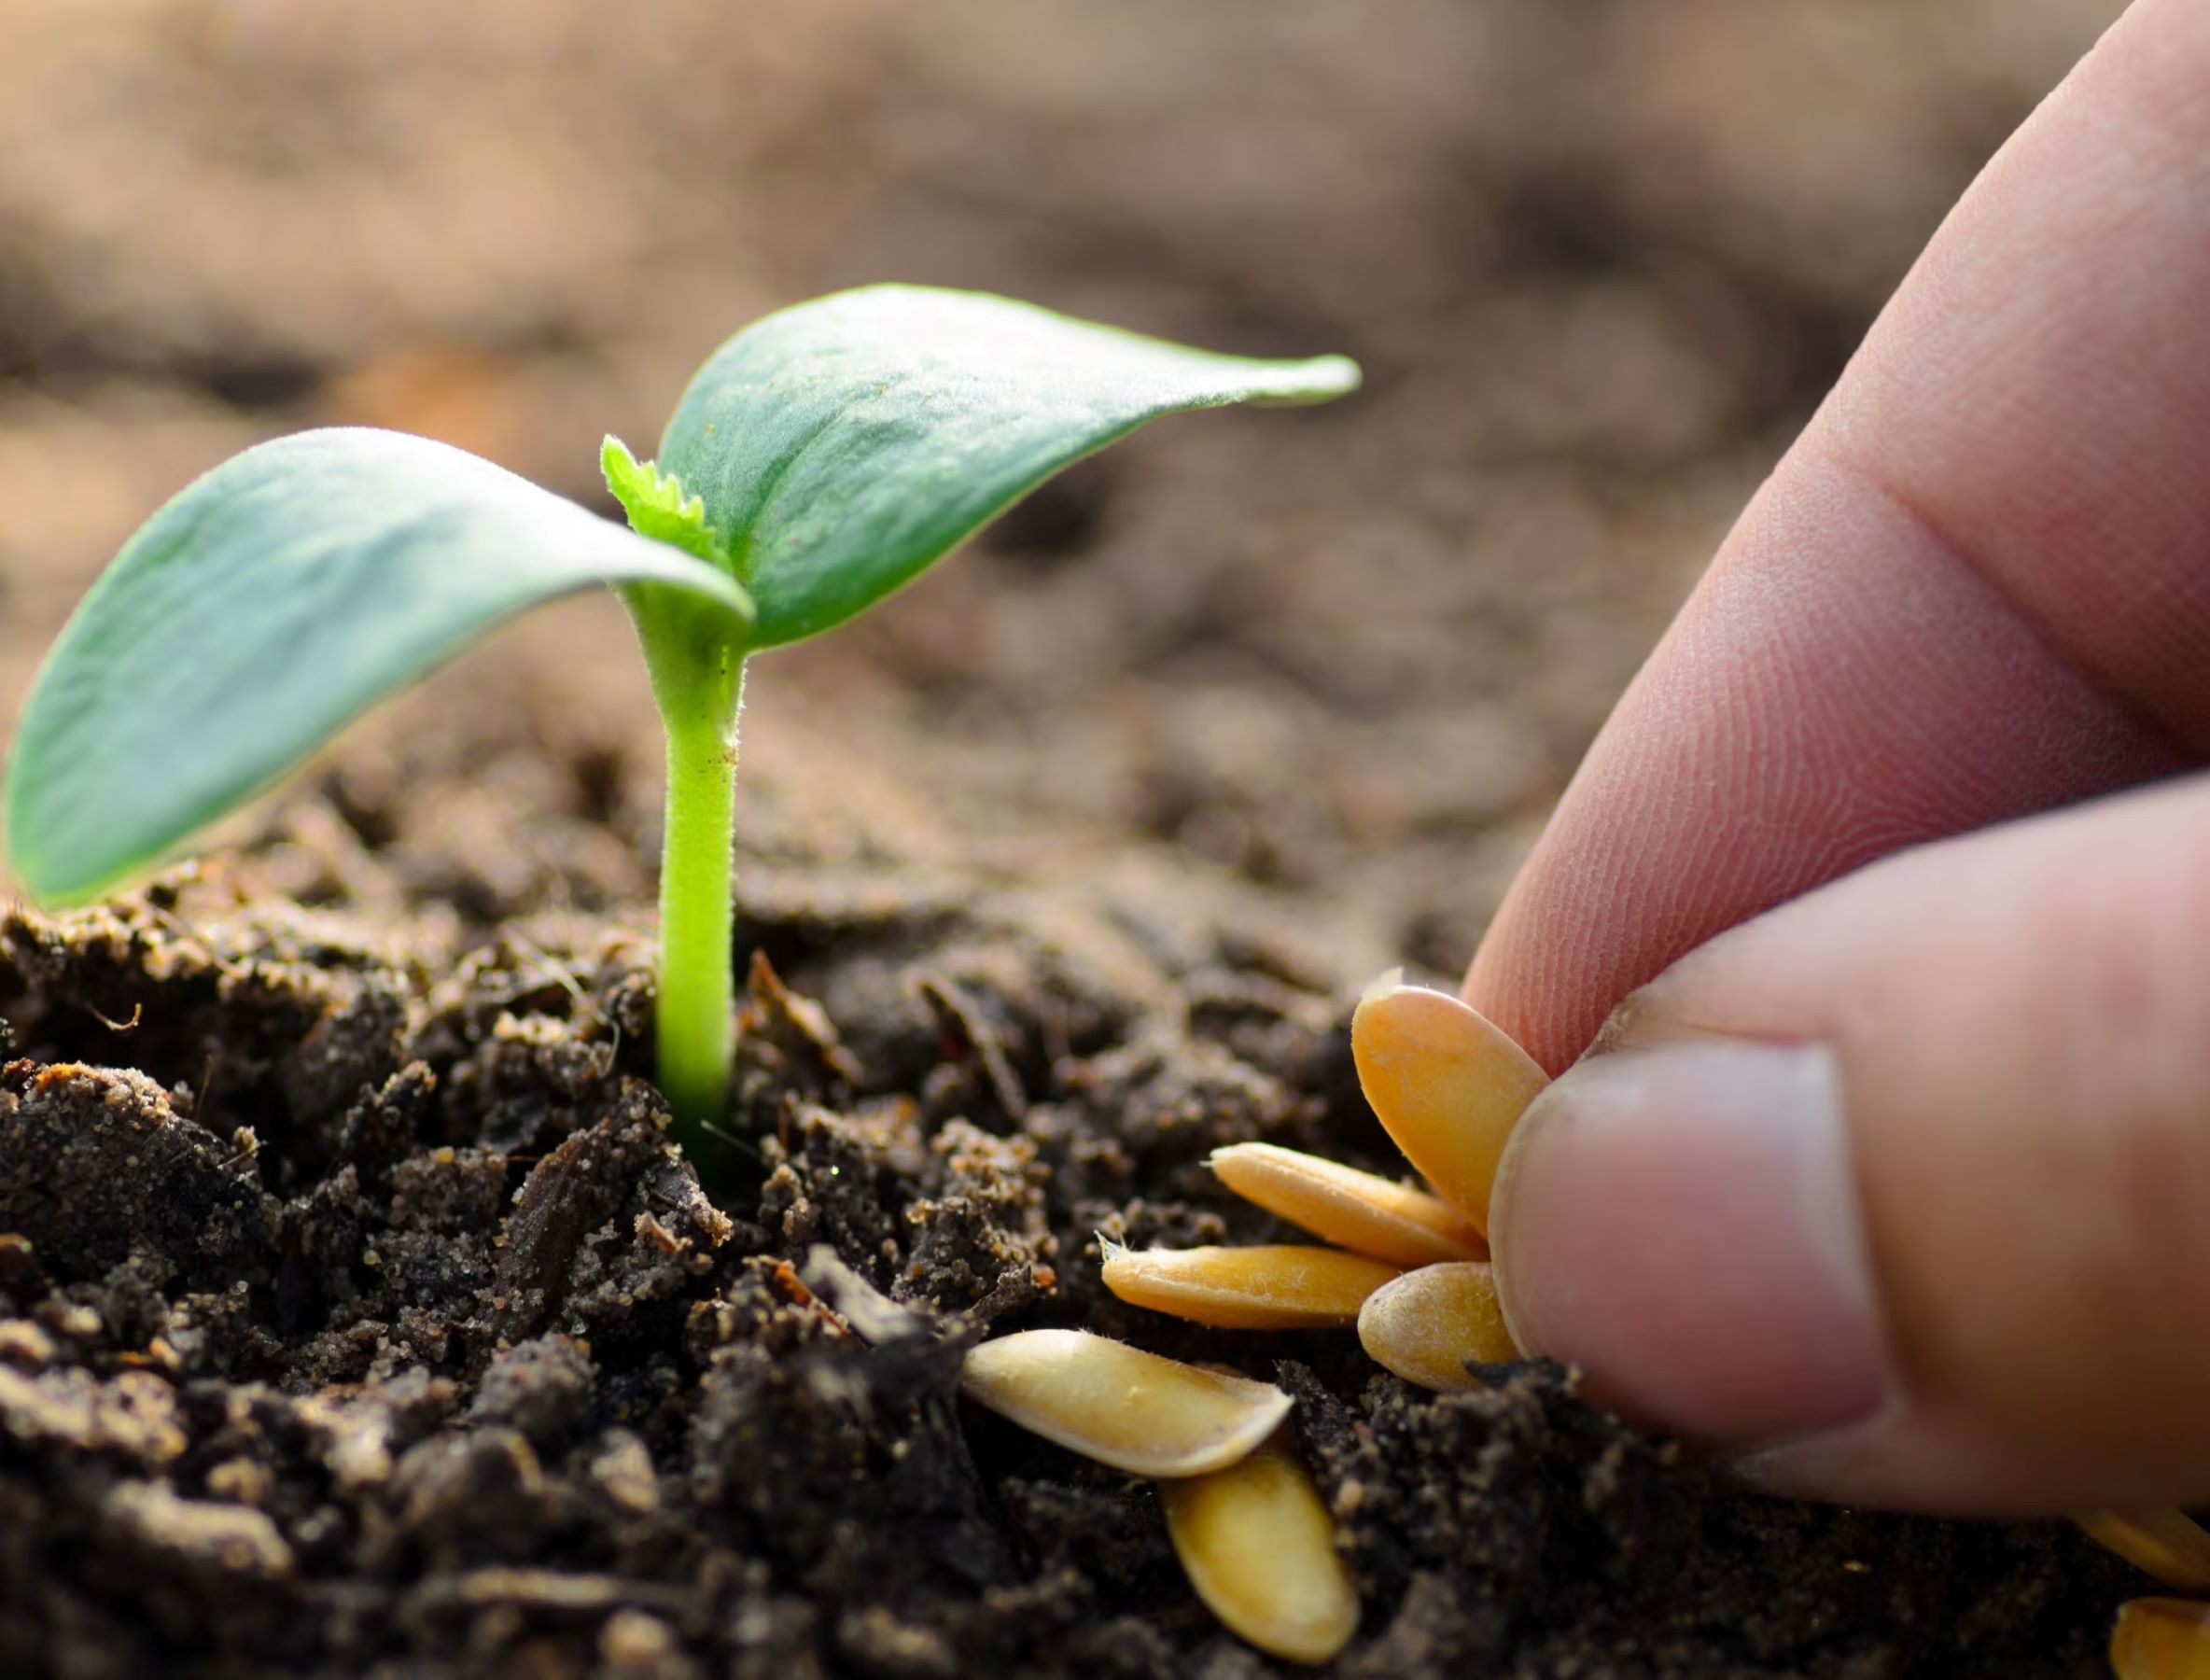
Plant apple seeds in the spring, after the last frost. Choose a sunny spot with well-drained soil. Keep the soil consistently moist as the seeds germinate and grow.
Planting the Apple Seeds
Now that you have prepared the apple seeds and selected the right soil, it’s time to start planting. Follow these steps to ensure successful planting of your apple seeds:
- Choose the Planting Location: Select a sunny spot in your garden or yard to plant the apple seeds. Apple trees require at least six to eight hours of direct sunlight daily for optimal growth and fruit production.
- Prepare the Planting Hole: Dig a hole that is at least twice as wide and deep as the length of the apple seedling’s root system. Loosen the soil in the hole to encourage root penetration and growth.
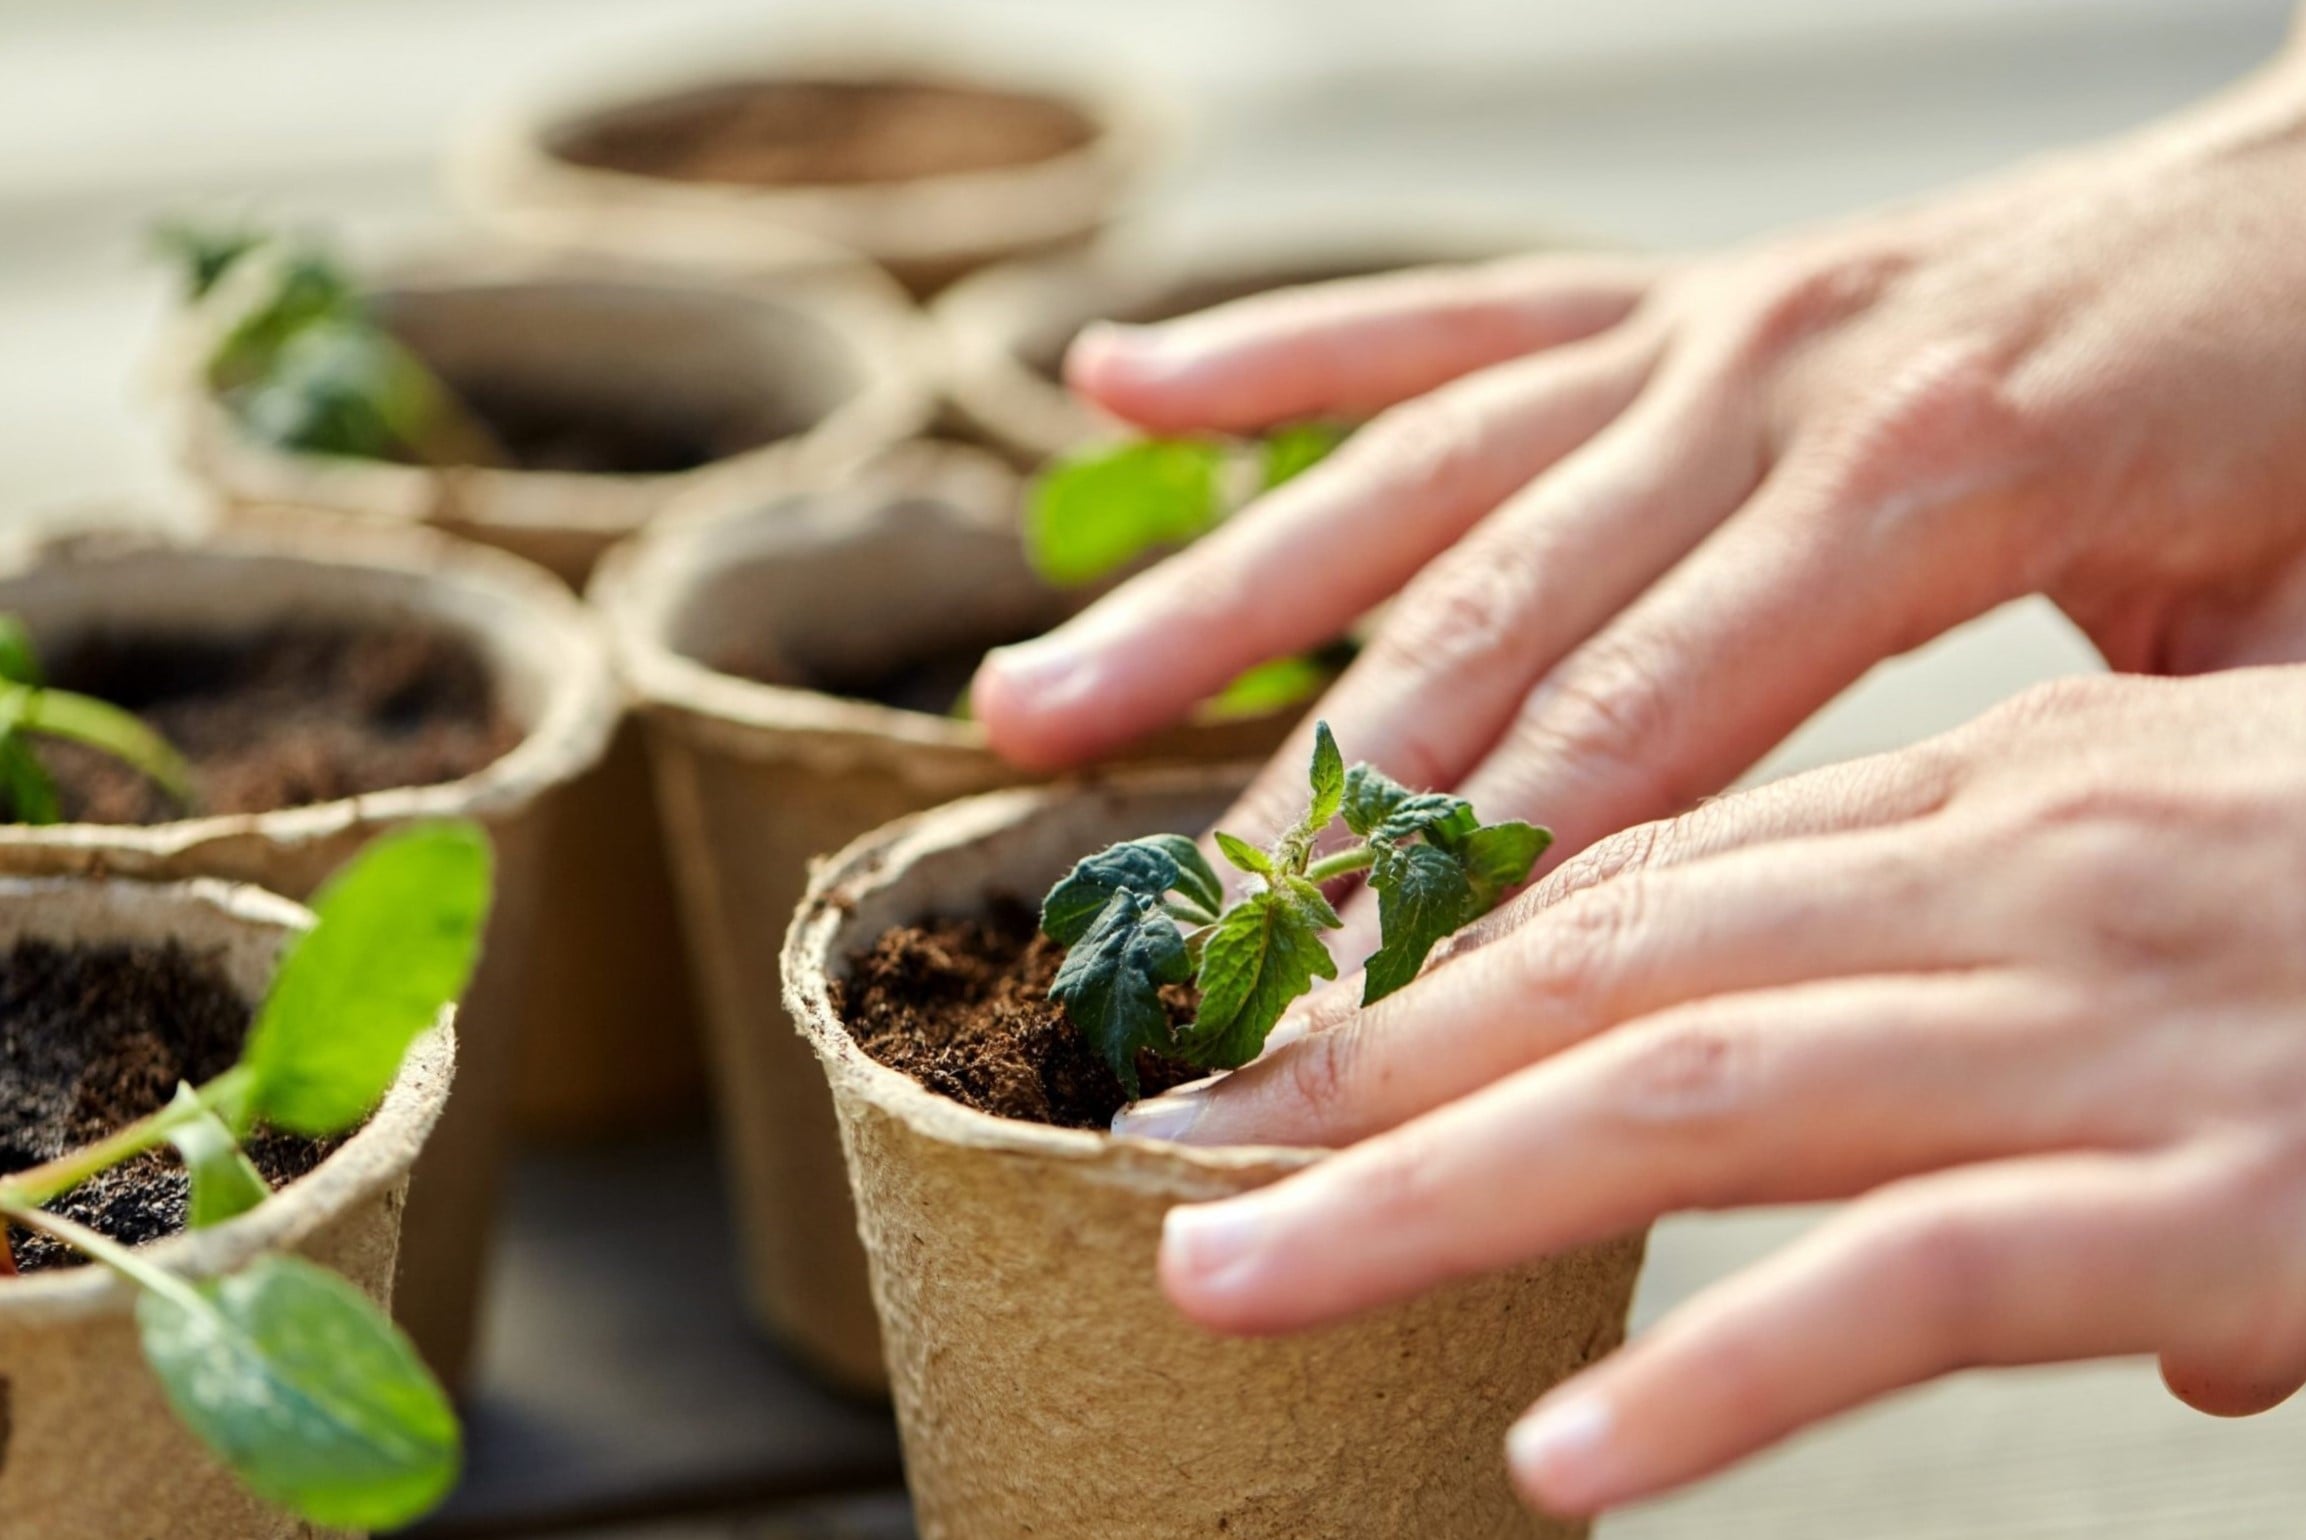
- Plant the Apple Seedlings: Place the apple seedlings in the hole, ensuring that the roots are spread out and not cramped. Gently cover the roots with soil, making sure not to bury the seedlings too deep. The soil line should align with the seedling’s soil mark from the nursery container.
- Water the Seedlings: After planting, thoroughly water the seedlings to settle the soil and eliminate air pockets around the roots. Keep the soil consistently moist during the early stages of growth to promote healthy root development.
- Provide Support: If necessary, provide support for the young apple seedlings by placing stakes or using tree guards. This will protect them from strong winds and ensure straight and upright growth.
- Mulch the Area: Apply a layer of organic mulch, such as wood chips or straw, around the base of the apple seedlings. Mulch helps retain moisture, suppresses weed growth, and regulates soil temperature.
Remember to space the apple seedlings adequately, allowing enough room for their mature size. This will prevent overcrowding and competition for resources as the trees grow. Additionally, consider planting more than one seedling to increase the chances of cross-pollination and improve fruit set.
Now that you have successfully planted the apple seeds, it’s time to learn how to care for the seedlings and ensure their healthy growth. Let’s explore the next section on caring for apple seedlings.
Read more: When Do You Plant Strawberry Seeds
Caring for the Apple Seedlings
Proper care is essential for the successful growth and development of apple seedlings. By providing the right conditions and attending to their needs, you can ensure that your seedlings thrive. Here are some important tips for caring for apple seedlings:
- Watering: Apple seedlings require consistent moisture, especially during their first year of growth. Water the seedlings deeply, ensuring that the soil is evenly moist. Avoid overwatering, as overly saturated soil can lead to root rot.
- Fertilizing: Apply a slow-release fertilizer formulated specifically for fruit trees in early spring and again in late summer. Follow the product instructions for proper application rates. This will provide the necessary nutrients for healthy growth and good fruit production.
- Pruning: As the apple seedlings grow, periodically prune them to shape and encourage strong branch development. Remove any dead, damaged, or crossing branches. Pruning also helps improve airflow and sunlight penetration throughout the tree.
- Weed Control: Regularly remove weeds from the area around the apple seedlings to reduce competition for nutrients and water. Mulching the base of the trees with organic matter can help suppress weed growth.
- Pest and Disease Management: Monitor the seedlings for signs of pests or diseases, such as aphids, caterpillars, or fungal infections. Use organic pest control methods when possible and consult with local gardening resources for guidance on specific pest and disease management in your region.
- Protecting from Extreme Weather: Apple seedlings are sensitive to extreme weather conditions. Protect them from frost, strong winds, and excessive heat or cold by using row covers, windbreaks, or shade cloth as needed.
- Thinning and Transplanting: As the seedlings grow, you may need to thin them out to provide adequate space for their branches to spread. If you started multiple seedlings in one area, carefully transplant the extras to another suitable location or give them to gardening enthusiasts who can give them a new home.
Regular monitoring, watering, fertilizing, and pest management are key to the overall health and vigor of your apple seedlings. By providing them with the care they need, you can set them up for success as they mature into beautiful apple trees.
Now that you have learned how to care for your apple seedlings, let’s move on to the final section: transplanting the seedlings into their permanent location.
Transplanting the Apple Seedlings
As your apple seedlings grow and mature, it may become necessary to transplant them into their permanent location. Transplanting allows the seedlings to have more space to spread their roots and ensures they have the optimal conditions for healthy growth and fruit production. Here is a step-by-step guide on how to transplant apple seedlings:
- Select the Right Time: The best time to transplant apple seedlings is during the dormant season, typically in late winter or early spring, before new growth begins. This allows the seedlings to settle into their new location and establish their roots before the growing season.
- Prepare the New Planting Hole: Dig a hole that is deep and wide enough to accommodate the root ball of the apple seedling. Loosen the soil in the hole to promote easy root penetration and growth.
- Remove the Seedling: Carefully dig around the seedling, taking care not to damage the roots. Gently lift the seedling from the ground, holding it by the root ball. Try to keep as much soil around the roots as possible.
- Place in the New Hole: Lower the seedling into the new planting hole, making sure it is positioned at the same level as it was before. Spread out the roots in a natural manner and backfill the hole with soil, gently firming it around the root ball.
- Water Thoroughly: After transplanting, water the seedling thoroughly, ensuring that the soil is evenly moist. This helps settle the soil around the roots and provides hydration to the newly transplanted seedling.
- Mulching and Support: Apply a layer of mulch around the base of the seedling, leaving a gap around the trunk to prevent moisture buildup. This mulch helps retain moisture, suppress weeds, and regulate soil temperature. If necessary, provide support to the young tree using stakes or tree guards.
- Continue Care: After transplanting, continue to care for the seedling with regular watering, fertilizing, pruning, and pest management, as discussed in the previous section. Monitor the seedling closely to ensure it adjusts well to its new environment.
Transplanting can be a critical step in the growth of apple seedlings, so take care to minimize root disturbance and provide proper care after transplantation. With time and proper care, your apple seedlings will establish themselves in their new location and begin to flourish.
Congratulations! You have learned about the best practices for transplanting apple seedlings. Now, armed with this knowledge, you can confidently embark on your journey as a successful apple tree gardener.
Remember, growing apple trees from seeds requires patience and dedication, as it may take several years for them to mature and bear fruit. Enjoy the process, learn from each experience, and relish the joy of cultivating your very own apple orchard.
Happy gardening!
Conclusion
Congratulations on completing this comprehensive guide to planting apple seeds! You have gained valuable knowledge about the best time to plant apple seeds, how to prepare them, choose the right soil, plant them, and care for the seedlings. By following these steps, you are on your way to growing your very own apple trees.
Remember, when planting apple seeds, it’s important to understand that the resulting trees may not produce the same high-quality fruits as the parent apple tree. However, growing apple trees from seeds can still offer unique and exciting varieties that may surprise you with their characteristics.
The best time to plant apple seeds is in late winter or early spring, allowing the seeds to undergo the necessary period of cold stratification. Preparing the seeds involves collecting, cleaning, drying, and stratifying them to improve germination success. Choosing the right soil, with a balanced texture, appropriate pH levels, good drainage, and sufficient nutrients, is essential for healthy seedling growth.
When it comes to planting the apple seeds, ensure you select a sunny location, dig the planting hole with care, and provide adequate support for the young seedlings. Caring for the apple seedlings involves proper watering, fertilizing, pruning, pest management, and protection from extreme weather conditions.
Transplanting the apple seedlings, preferably during the dormant season, allows them to establish themselves in their permanent location. Remember to water the seedlings thoroughly after transplanting and continue to provide care and maintenance.
With these tips and guidelines, you are well-equipped to embark on your journey of growing apple trees from seeds. Remember to be patient and enjoy the process, as it may take several years for your trees to mature and produce fruit.
Now, it’s time for you to put your newfound knowledge into action. Get your hands dirty, connect with nature, and experience the joy of seeing your apple seedlings grow into magnificent trees. Happy gardening!
Frequently Asked Questions about When Do You Plant Apple Seeds
Was this page helpful?
At Storables.com, we guarantee accurate and reliable information. Our content, validated by Expert Board Contributors, is crafted following stringent Editorial Policies. We're committed to providing you with well-researched, expert-backed insights for all your informational needs.

0 thoughts on “When Do You Plant Apple Seeds”