Home>Garden Essentials>How Long To Grow Apple Tree From Seed
Garden Essentials
How Long To Grow Apple Tree From Seed
Modified: September 1, 2024
Learn how long it takes to grow an apple tree from seed in your garden. Discover essential tips for successful cultivation.
(Many of the links in this article redirect to a specific reviewed product. Your purchase of these products through affiliate links helps to generate commission for Storables.com, at no extra cost. Learn more)
Introduction
Growing an apple tree from seed can be a rewarding and fulfilling experience for any gardening enthusiast. Not only does it allow you to witness the entire life cycle of an apple tree, but it also opens the door to endless possibilities of unique and delicious apple varieties.
While growing an apple tree from seed may require patience and dedication, the process can be incredibly gratifying. In this article, we will guide you through the steps of growing an apple tree from seed, from choosing the right seeds to harvesting your own homegrown apples.
Before we dive into the details, it’s important to note that growing apple trees from seeds can result in a wide range of outcomes. Unlike grafted apple trees that produce consistent varieties, apple trees grown from seed can exhibit a range of characteristics influenced by the parent trees. This means that the resulting apple tree may not necessarily produce fruit identical to the parent apple.
Now, let’s get started on your journey to grow your very own apple tree.
Key Takeaways:
- Growing an apple tree from seed is a rewarding journey, from selecting the right seeds to nurturing the seedlings. It’s a fulfilling experience that requires patience, dedication, and a love for nature.
- Proper care, including watering, fertilizing, and protecting from pests and diseases, ensures healthy growth and bountiful harvests. Harvesting homegrown apples is a delightful reward for your hard work and patience.
Read more: How To Grow An Apple Tree From A Seed
Choosing the Right Apple Seeds
When it comes to selecting the seeds for your apple tree, it’s crucial to choose seeds from a variety that is suitable for your climate and growing conditions. Different apple varieties thrive in different climates, so do some research to find out which varieties are best suited to your area.
Additionally, consider the flavor, size, and color of the apple you want to grow. Do you prefer a sweet or a tart apple? Do you want a large or a small apple? Determining your preferences will help you narrow down the options and select the right apple seeds to plant.
One important thing to note is that apples grown from seeds will not produce fruit identical to the parent apple. This is because apple trees are not true to seed, meaning that they do not reproduce exact replicas of themselves through seed propagation. Instead, the resulting apple tree will inherit various traits from its parent trees and may yield apples with different characteristics.
If you have a specific apple variety in mind and want to ensure that your tree produces fruit similar to it, consider purchasing grafted apple trees from a reputable nursery. Grafted trees are created by attaching a desired variety of apple scion (the top part of the tree) onto a sturdy rootstock. This ensures that the resulting tree will produce the same type of apple as the scion.
However, if you’re more interested in the exciting surprise of growing an apple tree from seed and discovering a unique variety, then sourcing seeds from your favorite apple varieties is a great option.
Whether you choose to purchase seeds or collect them from existing apples, be sure to select mature, viable seeds. Look for seeds that are fully developed, plump, and slightly brown. Avoid seeds that are shriveled, discolored, or damaged, as they may not germinate successfully.
Once you have collected your seeds, it’s time to prepare them for planting.
Preparing the Seeds for Planting
Before you can plant the apple seeds, it’s important to properly prepare them to improve their chances of germination. Here are the steps to follow:
- Seed Cleaning: Start by cleaning the seeds to remove any residual pulp or debris. Rinse them gently in water and pat them dry with a clean towel. This will prevent mold or rot from affecting the germination process.
- Stratification: Apple seeds require a period of cold stratification to simulate winter conditions and trigger germination. You can achieve this by either cold stratifying the seeds in the refrigerator or by simulating the natural outdoor conditions.
- Refrigerator Stratification: Place the cleaned seeds in a damp paper towel or a plastic bag with some moist peat moss. Seal the bag or wrap the towel and place it in the refrigerator for approximately 6-8 weeks. Make sure the seeds are kept slightly moist during this period.
- Natural Stratification: If you prefer a more natural approach, you can stratify the seeds outdoors. Fill a small container with a mixture of moist peat moss and sand, and bury the seeds in the mixture. Place the container in a sheltered location, like a shed or a cold frame, where it will be exposed to the natural winter temperatures. Ensure that the seeds are kept slightly moist throughout the stratification period.
- Seed Testing: After the stratification period is complete, it’s a good idea to test the viability of the seeds before planting. This can be done by placing the seeds in a bowl of water and discarding any that float, as floating seeds are unlikely to germinate.
- Labeling: As you prepare your seeds for planting, it’s important to label them with the apple variety they came from. This will help you keep track of the different seeds and their potential characteristics as they develop into trees.
Once you have prepared the seeds, it’s time to move on to the germination process.
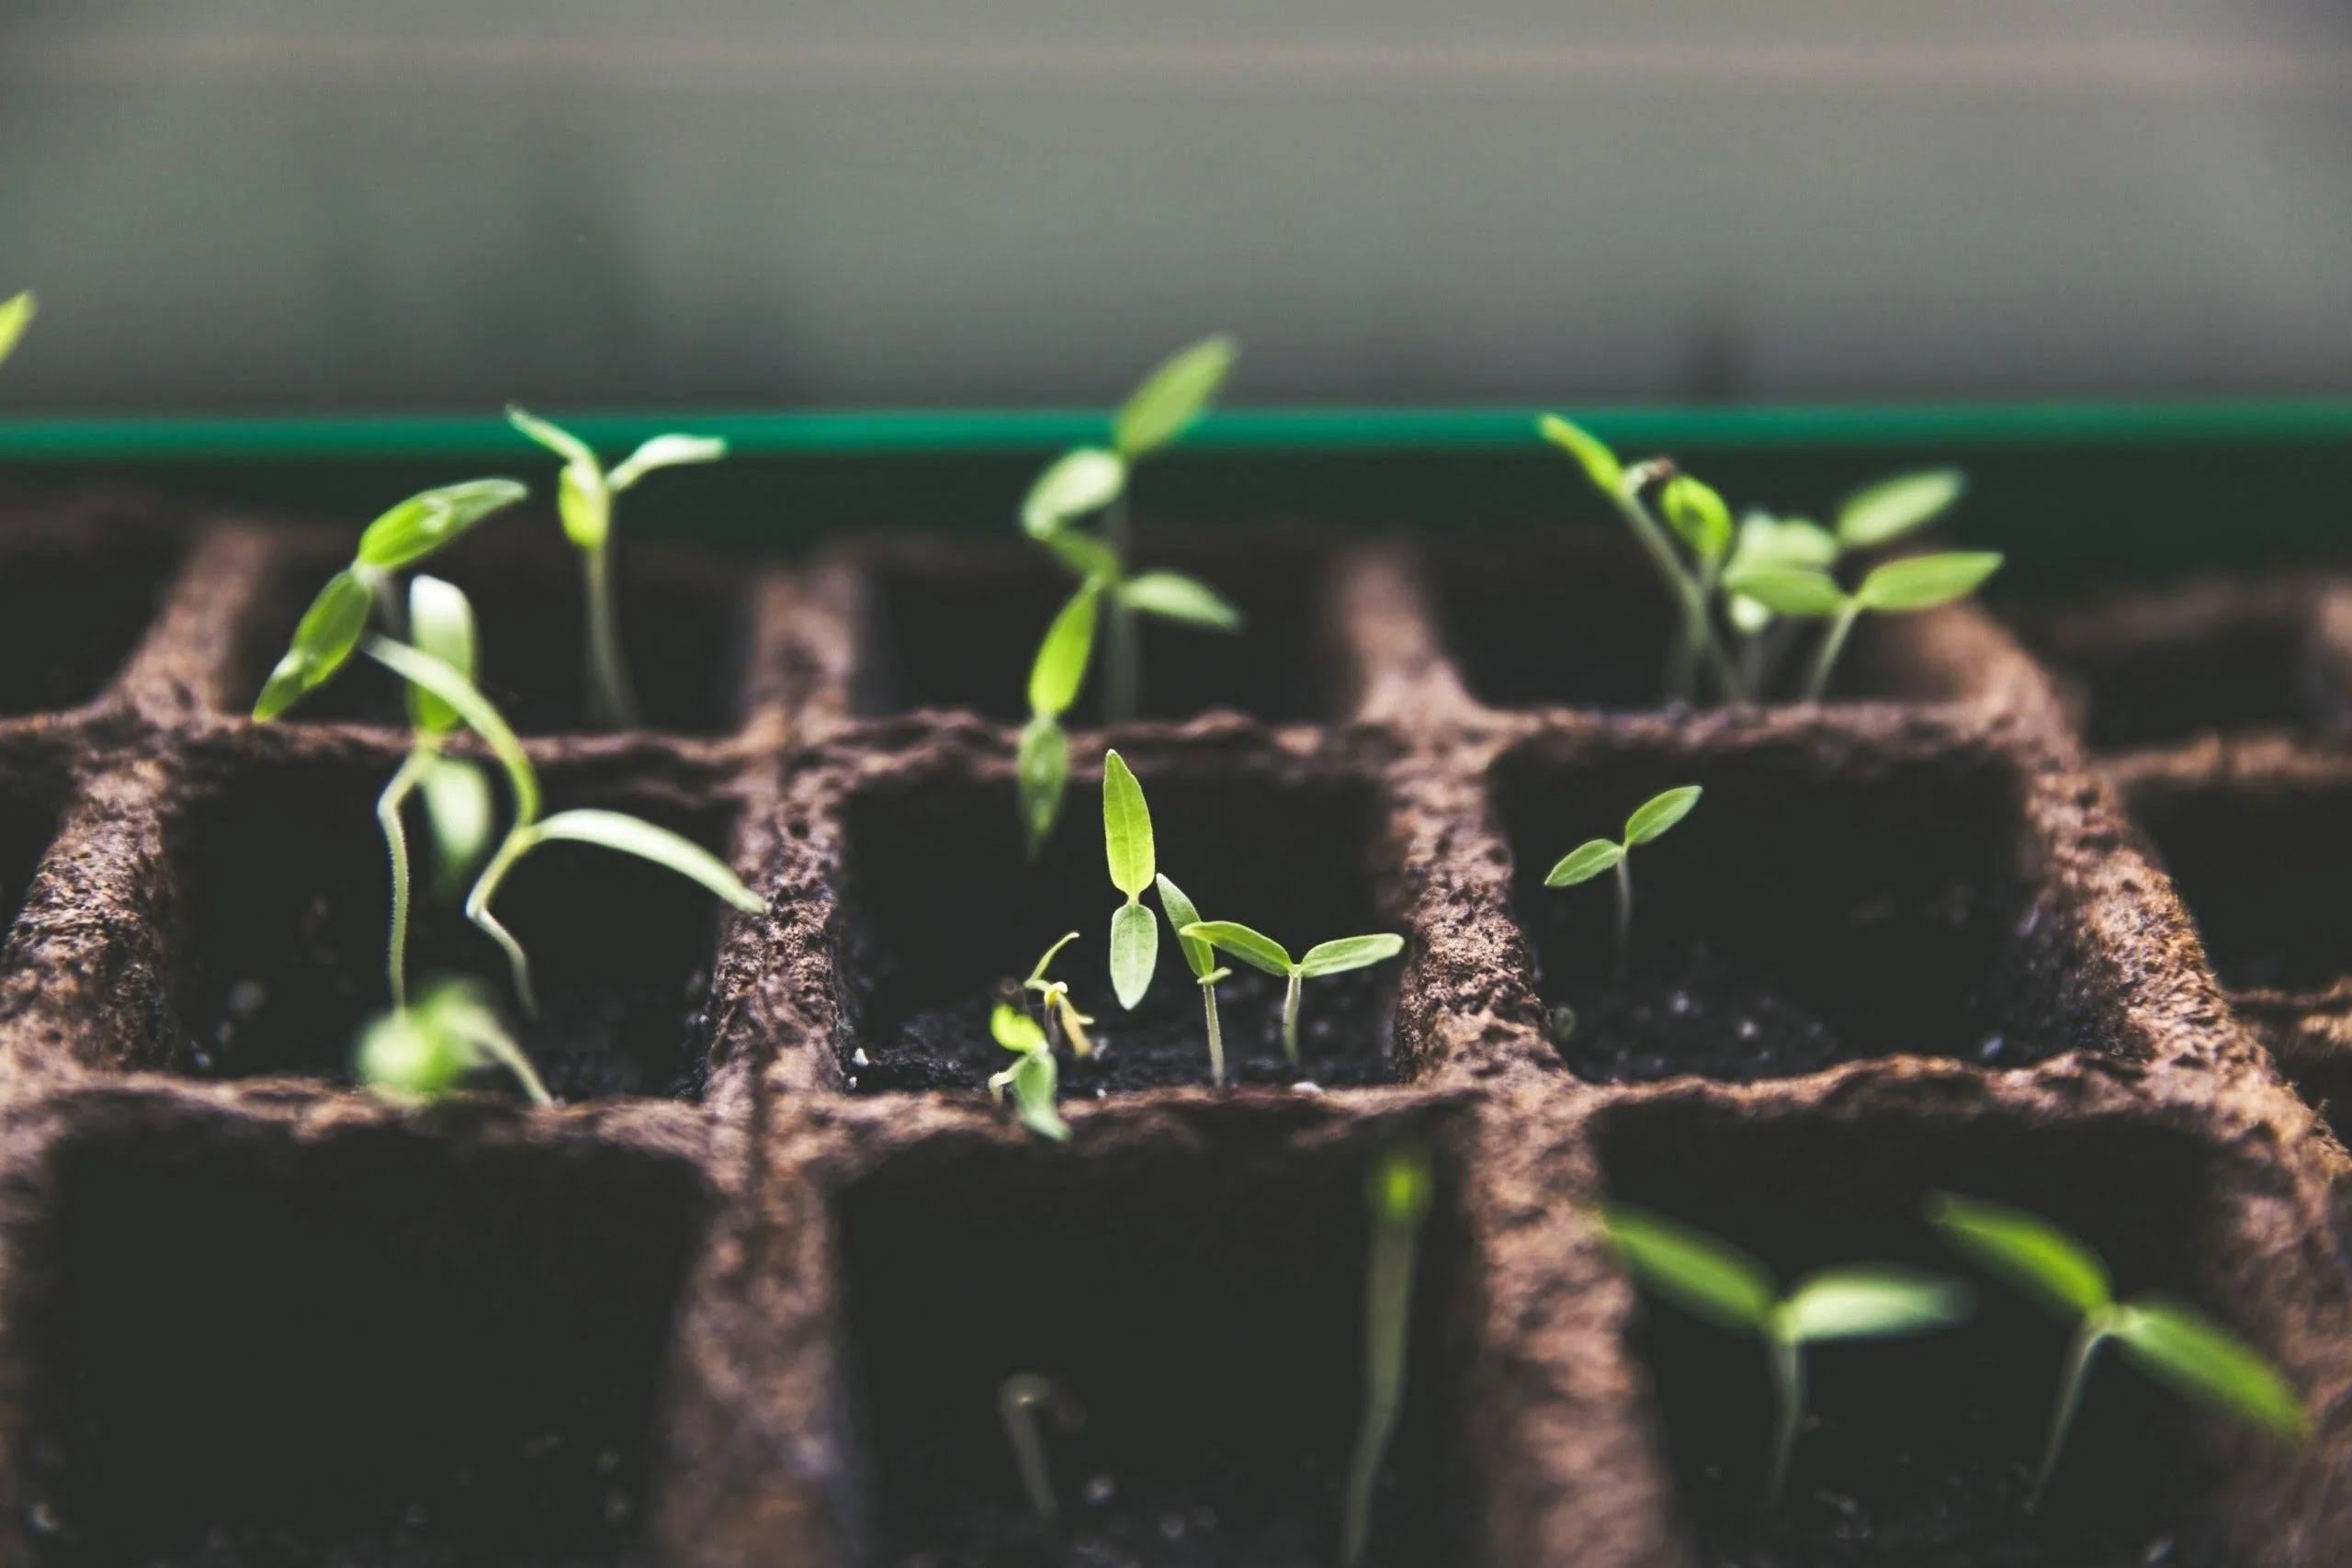
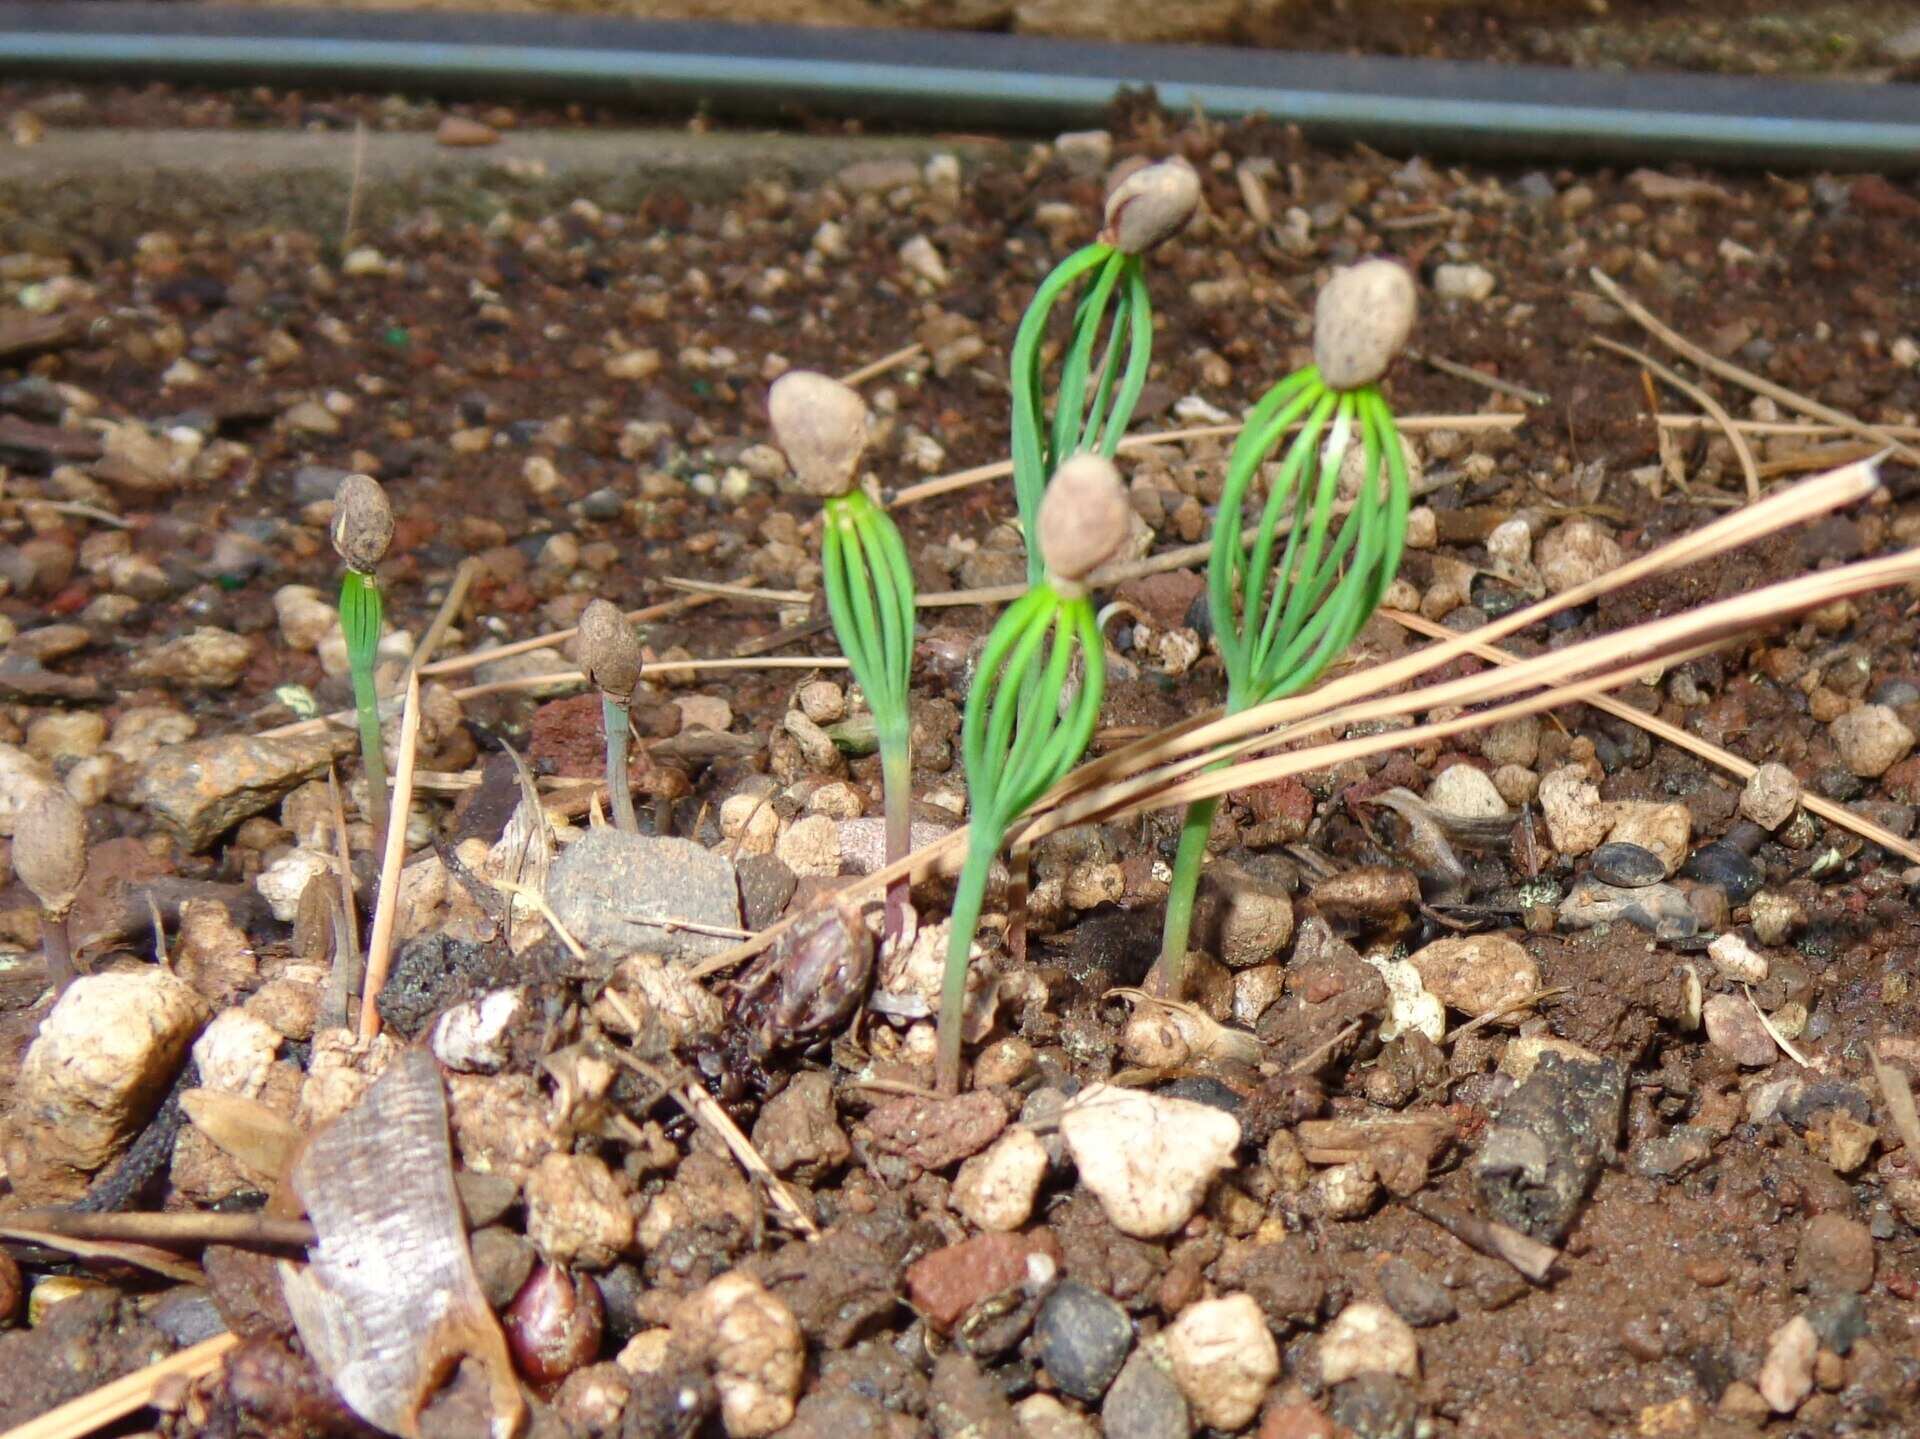
Germinating the Apple Seeds
Germination is the process by which a seed sprouts and begins to grow. To germinate your apple seeds, follow these steps:
- Prepare a Container: Select a small container or seed tray with drainage holes at the bottom. Fill it with a well-draining potting mix or a mixture of equal parts of peat moss, perlite, and vermiculite. Moisten the soil slightly, ensuring it’s not waterlogged.
- Sow the Seeds: Place the apple seeds on the surface of the soil, spacing them evenly. Lightly press the seeds into the soil, but avoid burying them too deep as they need access to oxygen for germination.
- Maintain Moisture: Cover the container with a clear plastic wrap or a dome to create a mini greenhouse effect. This will help retain moisture and create a humid environment. However, make sure to allow some airflow to prevent mold from developing. Check the moisture level regularly, and mist the soil lightly whenever it feels dry.
- Provide Optimal Conditions: Place the container in a warm location with plenty of indirect sunlight, such as a windowsill. The ideal temperature for germination is around 70°F (21°C). Be patient, as germination can take anywhere from a few weeks to a couple of months, depending on the variety and conditions.
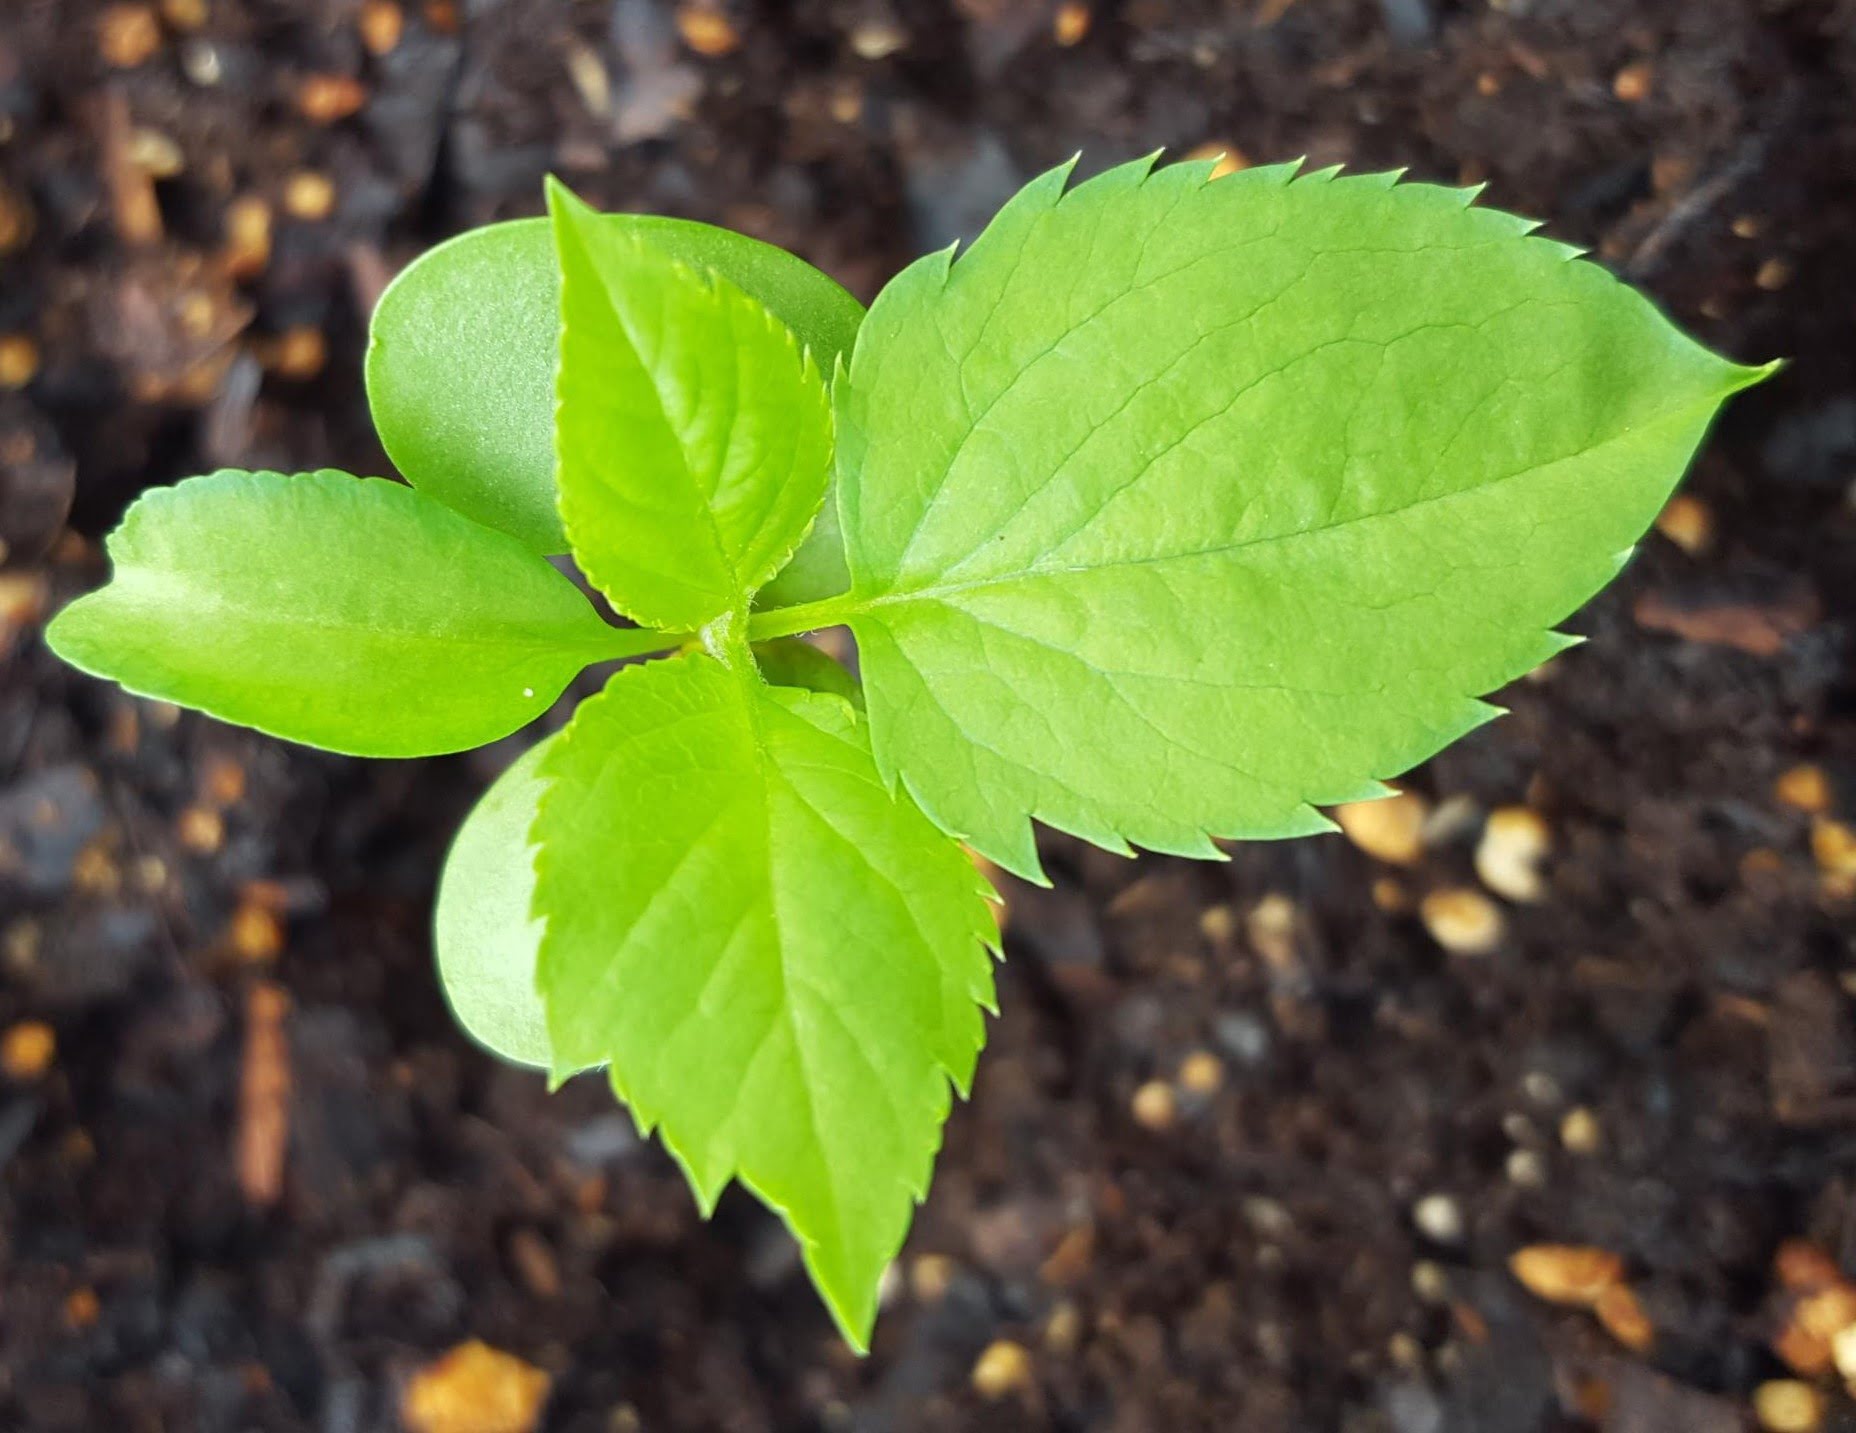
- Monitor Germination: Once the seeds have germinated, you will see tiny green shoots appearing above the soil. At this stage, remove the plastic cover and continue to care for the seedlings by providing adequate light and moisture.
It’s important to note that not all seeds may germinate successfully. Some seeds may not be viable or may require more time to show signs of germination. Be patient and give the seeds ample time to sprout before considering them unsuccessful.
Next, we’ll discuss the steps for planting the germinated apple seeds and caring for the seedlings.
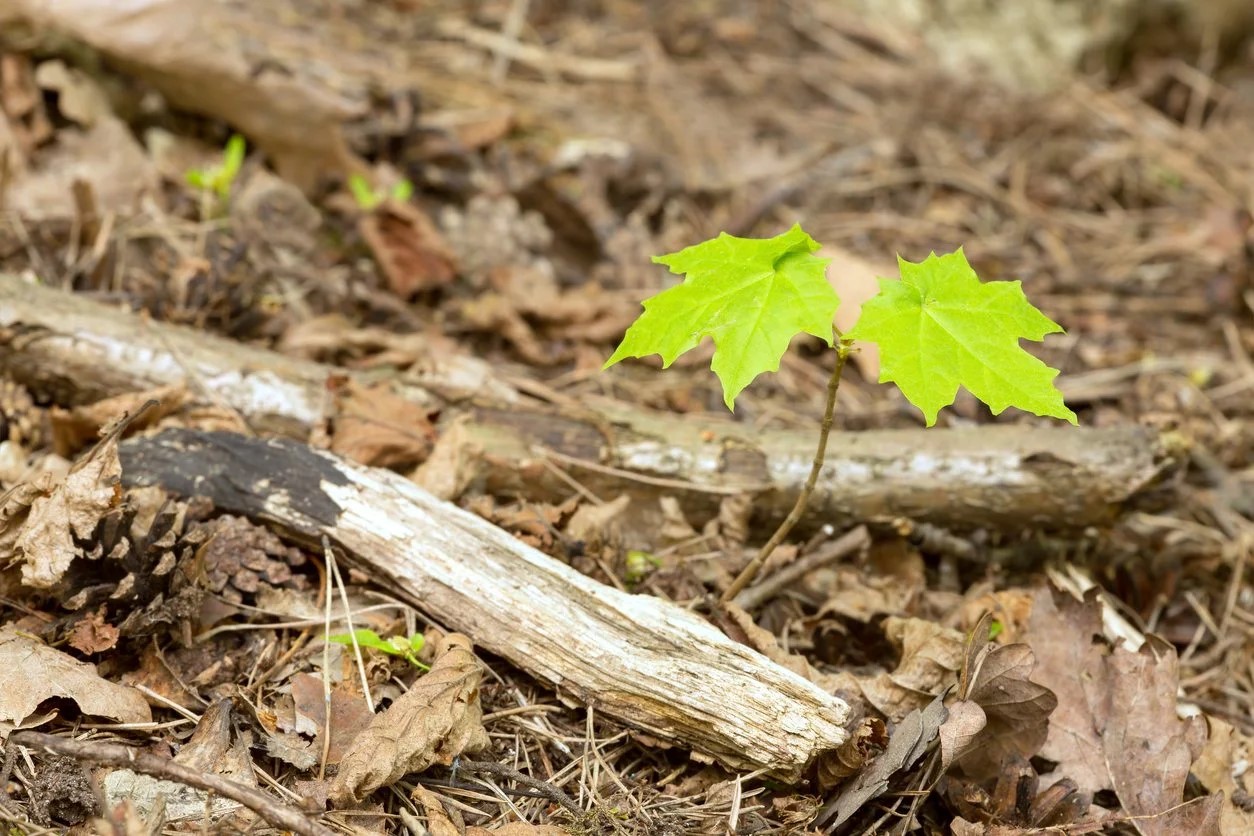
Planting the Germinated Seeds
Once your apple seeds have germinated and you have healthy seedlings with well-developed roots, it’s time to plant them in a suitable growing location. Follow these steps to properly transplant your germinated apple seeds:
- Choose a Suitable Location: Select a sunny spot in your garden or orchard to plant your apple seedlings. Apple trees require at least 6-8 hours of direct sunlight per day to thrive and produce fruit.
- Prepare the Soil: Apple trees prefer well-draining soil with a pH range of 6.0 to 7.0. Prepare the planting area by loosening the soil and removing any weeds or grass. Incorporate organic matter, such as compost or well-rotted manure, to improve soil fertility and drainage.
- Dig the Planting Holes: Dig holes that are wide and deep enough to accommodate the roots of the seedlings without crowding or bending them. The holes should be twice as wide and slightly deeper than the root ball of the seedlings.
- Plant the Seedlings: Carefully remove each seedling from its container or seed tray, handling the fragile roots with care. Place the seedling in the planting hole, ensuring that the top of the root ball is level with or slightly above the soil surface. Backfill the hole with the soil, gently firming it around the roots.
- Water Thoroughly: After planting, water the seedlings thoroughly to settle the soil and eliminate any air pockets around the roots. Provide enough water to moisten the entire root zone without oversaturating the soil. Keep the soil consistently moist but not waterlogged during the early stages of establishment.
- Apply Mulch: Apply a layer of organic mulch, such as wood chips or straw, around the base of each seedling. Mulch helps retain soil moisture, suppress weed growth, and regulate soil temperature. Keep the mulch a few inches away from the trunk to prevent rot.
Remember to space the seedlings adequately, allowing enough room for the trees to grow and spread their branches. A distance of 10 to 15 feet between each tree is generally recommended, but this can vary depending on the apple variety and the rootstock used.
Now that your apple seedlings are planted, it’s time to provide ongoing care to ensure their healthy growth. We will discuss the care requirements in the next section.
Read more: How To Grow A Tree From A Seed
Caring for the Seedlings
Caring for your apple seedlings is essential for their healthy development and long-term success. Here are some key aspects to consider when providing care for your seedlings:
- Watering: Proper watering is crucial for the seedlings’ growth. Ensure that the soil remains consistently moist, but avoid overwatering, as waterlogged roots can lead to rot. Conversely, don’t let the soil dry out completely either. A deep watering once a week is generally sufficient, but adjust the frequency based on weather conditions and the moisture needs of your particular apple variety.
- Sunlight: Apple trees need ample sunlight to thrive. Ensure that your seedlings receive at least 6-8 hours of direct sunlight per day. If you are growing them indoors or in an area with insufficient sunlight, consider using grow lights to supplement light requirements.
- Temperature: Apple trees are generally hardy, but young seedlings may be more vulnerable to extreme temperatures. Protect your seedlings from frost by covering them with a frost blanket or bringing them indoors during cold snaps. Similarly, provide shade or some form of protection against scorching heat during hot summer days.
- Pruning: Pruning is essential for shaping the growth of your apple tree and promoting a strong structure. Wait until your seedlings have established themselves and grown a few inches before starting any pruning. Remove any damaged, dead, or crossing branches to create an open and well-ventilated canopy. Pruning during the dormant season is often recommended for apple trees.
- Fertilizing: Apple trees benefit from regular fertilization to ensure optimal growth and fruit production. Apply a balanced fertilizer specifically formulated for fruit trees in early spring, following the package instructions for dosage. Avoid excessive use of nitrogen, as it can lead to excessive leaf growth at the expense of fruit development.
- Weed Control: Keep the area around your seedlings free from weeds, as they can compete for nutrients and water. Regularly remove any weeds or grass near the base of the trees, and consider applying a layer of mulch to smother weed growth.
- Pest and Disease Management: Keep a watchful eye for pests and diseases that can affect apple trees, such as aphids, caterpillars, or fungal infections. Regularly inspect your seedlings for any signs of trouble, and take appropriate measures, such as applying organic pest control methods or using horticultural oils or insecticidal soaps when necessary.
By providing proper care to your apple seedlings, you can ensure their healthy growth and increase the chances of a successful, bountiful harvest in the future. With time and attention, you’ll see your seedlings transform into robust apple trees.
Next, we will discuss the process of transplanting the apple seedlings into their permanent growing location.
It can take 6-10 years for an apple tree to grow from a seed to produce fruit. Consider planting a grafted tree for faster fruit production.
Transplanting the Apple Seedlings
Transplanting your apple seedlings is an important step in their growth journey, as it involves moving them from their temporary containers to their permanent location in the garden or orchard. Here’s how to successfully transplant your apple seedlings:
- Timing: Choose the right time to transplant your seedlings. Ideally, wait until the seedlings have developed a strong root system and have grown to be 12 to 18 inches tall. Transplanting during the dormant season, before new growth begins in early spring or in the fall, is generally recommended.
- Prepare the Planting Site: Select a well-draining location with fertile soil and full sun exposure. Prepare the planting hole to be slightly larger and deeper than the root system of the seedling. Loosen the soil and amend it with organic matter if needed.
- Remove the Seedling from its Container: Gently tap or squeeze the sides of the container to loosen the root ball of the seedling. Carefully remove the seedling from the container, holding it by the base of the stem or the root ball. Avoid pulling or tearing the delicate roots.
- Place the Seedling in the Hole: Lower the seedling into the planting hole, ensuring that the crown (area where the stem meets the roots) is level with or slightly above the soil surface. Spread out the roots in a natural position and backfill the hole with soil, gently firming it around the roots to eliminate air pockets.
- Watering: Immediately after transplanting, water the seedling thoroughly to settle the soil around the roots and provide moisture to support establishment. Provide regular watering in the following weeks, especially during dry periods, to promote root development.
- Stake if Necessary: If your seedling is tall or top-heavy, it may require staking for support. Insert a sturdy stake into the ground, about 6 inches away from the seedling, and loosely tie the trunk to the stake with a soft tie material. Adjust the tie regularly to prevent girdling.
- Mulching: Apply a layer of organic mulch around the base of the seedling, keeping it a couple of inches away from the trunk. Mulch helps conserve moisture, suppress weeds, and regulate soil temperature. It also provides a protective barrier against competing plants.
- Monitor and Provide Ongoing Care: Keep a close eye on the newly transplanted seedlings and provide ongoing care. Regularly water, maintain weed control, and protect the seedlings from extreme weather conditions. As the seedlings grow, make sure to provide proper pruning, fertilization, and pest management.
Transplant shock is common when moving seedlings, and it may take some time for them to recover and establish themselves in their new location. Be patient and provide the necessary care to nurture their growth.
Transplanting your apple seedlings brings them one step closer to becoming mature apple trees that will blossom and bear fruit. In the next sections, we will explore the essential practices of pruning, training, fertilizing, and protecting your apple tree.
Pruning and Training the Apple Tree
Pruning and training are essential practices for shaping and maintaining the structure and productivity of your apple tree. Pruning helps promote optimal growth, increase fruit production, and improve air circulation, while training ensures a strong framework for the tree to support its branches and fruit. Here’s a guide on how to properly prune and train your apple tree:
- Timing: Prune your apple tree during the dormant season, either in late winter or early spring before new growth starts. This allows for better visibility of the tree’s structure and minimizes the risk of disease transmission.
- Remove Dead and Diseased Wood: Start by identifying any dead, damaged, or diseased branches. Prune these branches back to healthy wood, making smooth cuts just outside the branch collar (the swollen area at the base of the branch).
- Manage Crossed and Overlapping Branches: Look for branches that are crossing, rubbing against each other, or growing at awkward angles. Select the stronger, better-placed branch to keep and remove the others to prevent future damage and improve airflow within the tree canopy.
- Encourage an Open Center: Apple trees are commonly trained using an open center or modified central leader system. This involves pruning the central leader (the main upward growing stem) to encourage the development of multiple scaffold branches that radiate outwards. This allows for better sun exposure and airflow throughout the tree.
- Thin Out Excess Branches: If your apple tree has too many branches crowding the canopy, selectively remove some to create better spacing between branches. This helps to prevent overcrowding, improve light penetration, and aid in fruit ripening.
- Consider Pruning for Fruit Production: To enhance fruit production, you can also use pruning techniques such as spur pruning and renewal pruning. Spur pruning involves selectively pruning to promote the growth of fruit-producing spurs, which are short, stubby branches where apples develop. Renewal pruning involves removing older wood and encouraging the growth of new, vigorous branches that will bear fruit in the coming years.
- Use Proper Pruning Tools: Use sharp, clean pruning tools such as pruning shears or loppers to make precise cuts. Make sure to disinfect your tools between each cut to prevent the spread of diseases. If you’re dealing with larger branches, a pruning saw may be necessary.
- Keep Records and Observe: Document your pruning activities and keep records of what you’ve pruned and when. Observe the responses of your apple tree to the pruning cuts and adjust your methods accordingly in future seasons.
Pruning and training should be done gradually over several years, especially for young apple trees. Remember that each pruning cut has consequences, so take your time and aim for balance and moderation. Proper pruning and training will help your apple tree develop a sturdy structure, promote healthy growth, and maximize fruit production.
In the next sections, we will discuss the importance of fertilizing and watering your apple tree, as well as methods to protect it from common pests and diseases.
Fertilizing and Watering the Apple Tree
Fertilizing and watering are crucial aspects of caring for your apple tree, as they provide essential nutrients and hydration for healthy growth and optimal fruit production. Here’s a guide on how to properly fertilize and water your apple tree:
Fertilizing:
- Soil Testing: Before applying fertilizer, it’s advisable to conduct a soil test to determine the nutrient levels and pH of the soil. This will help you tailor your fertilizer application to the specific needs of your apple tree.
- Choose the Right Fertilizer: Use a balanced, slow-release fertilizer formulated specifically for fruit trees. Look for a fertilizer with a ratio of nutrients like nitrogen (N), phosphorus (P), and potassium (K) such as 10-10-10 or 12-12-12. Alternatively, you can use organic fertilizers like compost or well-rotted manure.
- Timing: Apply fertilizer in early spring just before new growth starts. This will provide the necessary nutrients for the growing season.
- Application Method: Scatter the fertilizer evenly around the drip line of the tree, which is where the branches extend to the edges of the canopy. Avoid placing fertilizer directly against the trunk, as this can cause root burn. Follow the recommended dosage based on the fertilizer package instructions.
- Slow and Steady: To prevent overfertilization and reduce the risk of nutrient runoff, it’s best to apply fertilizer in smaller doses throughout the growing season rather than all at once. This allows the tree to absorb the nutrients more efficiently.
- Monitor Leaf Color: Pay attention to the color and health of the leaves. If they appear pale or yellow, it may indicate a nutrient deficiency. Adjust your fertilization practices accordingly, but be cautious not to overfertilize, as this can lead to excessive vegetative growth at the expense of fruit production.
Watering:
- Consistent Moisture: Adequate moisture is vital for the growth and development of your apple tree, especially during the first few years. Provide consistent watering to keep the soil evenly moist, but be cautious not to overwater and create waterlogged conditions.
- Deep Watering: Ensure that the water reaches the root zone of the tree, which is typically within the top 1 to 2 feet of soil. Water deeply and slowly, allowing the water to penetrate the soil rather than running off. A soaker hose or drip irrigation system can be beneficial for efficient water delivery.
- Established Tree Watering: Once your apple tree is established and its roots have spread, it becomes more tolerant of drought conditions. However, during dry spells, it’s still important to provide supplemental irrigation to prevent water stress and promote healthy fruit development.
- Monitoring: Regularly monitor the moisture levels of the soil by checking the top few inches with your finger. If it feels dry, it’s time to water. Adjust the frequency of watering based on weather conditions, rainfall, and the specific needs of your apple variety.
- Mulching: Apply a layer of organic mulch around the base of the tree, leaving a gap around the trunk. Mulch helps retain soil moisture, prevent weed growth, and regulate soil temperature. It also reduces evaporation and protects the roots from extreme temperature fluctuations.
Remember, every apple tree has different needs, so it’s important to pay attention to the specific requirements of your variety and adjust your fertilizing and watering practices accordingly. By providing the right nutrients and sufficient hydration, you will support the overall health and productivity of your apple tree.
In the next sections, we will delve into methods for protecting your apple tree from common pests and diseases.
Read more: How To Grow Tree From Seed
Protecting the Apple Tree from Pests and Diseases
Protecting your apple tree from pests and diseases is essential to ensure the health and productivity of the tree. Here are some effective methods to safeguard your apple tree:
Pest Control:
- Regular Monitoring: Regularly inspect your apple tree for signs of pests, such as aphids, caterpillars, mites, or codling moth. Early detection allows for prompt action and prevents infestations from spreading.
- Beneficial Insects: Encourage beneficial insects, such as ladybugs and lacewings, to naturally control harmful pests. Plant flowers and herbs nearby that attract these beneficial insects, creating a diverse and balanced ecosystem in your garden.
- Physical Barriers: Use physical barriers, such as netting or fine mesh, to protect your apple tree from birds, squirrels, and other small animals that may feed on the fruit. Ensure that the netting is properly secured and does not cause damage to the tree.
- Organic Pest Control: Utilize organic pest control methods, such as insecticidal soaps or horticultural oils, to effectively manage common pests. Follow the instructions provided by the product manufacturer and apply them when pests are actively present.
- Integrated Pest Management (IPM): Implement an Integrated Pest Management approach, which combines various pest control strategies to minimize chemical use and promote environmentally friendly practices. This involves monitoring, cultural practices, biological controls, and targeted treatments when necessary.
Disease Prevention:
- Cultivar Selection: Choose disease-resistant apple tree cultivars that are less prone to common diseases in your region. Consult with local nurseries or gardening experts to identify suitable disease-resistant varieties.
- Cleanliness: Maintain a clean and tidy orchard environment by removing fallen leaves, pruned branches, and any decaying fruit. Good sanitation practices help reduce the spread of diseases caused by fungal or bacterial pathogens.
- Adequate Spacing: Provide proper spacing between apple trees to ensure good airflow and sunlight penetration. This helps to reduce humidity and minimize the risk of fungal diseases, such as apple scab or powdery mildew.
- Pruning: Proper pruning, as discussed earlier, helps improve air circulation and sunlight exposure within the canopy. Removing crowded branches and thinning out excessive growth reduces the risk of disease development.
- Mulching: Apply a layer of organic mulch around the base of the tree to prevent soilborne diseases. Ensure that the mulch is not piled against the trunk, as this can create a favorable environment for rot or disease.
- Educate Yourself: Familiarize yourself with common apple tree diseases prevalent in your area. Learn to recognize the symptoms and signs of diseases such as fire blight, apple rust, or cedar apple rust. Prompt action is necessary if you suspect disease development.
- Fungicide Treatments: When necessary, apply fungicide sprays according to the recommended schedule to prevent or control fungal diseases. Follow the instructions on the product label for dosage, timing, and application methods. Consider using organic or biocontrol options if available.
Remember that prevention is key when it comes to pest and disease management. By implementing proactive practices, monitoring regularly, and taking prompt action when needed, you can protect your apple tree and ensure its long-term health and productivity.
In the final section, we will discuss the exciting part – harvesting your own delicious apples.
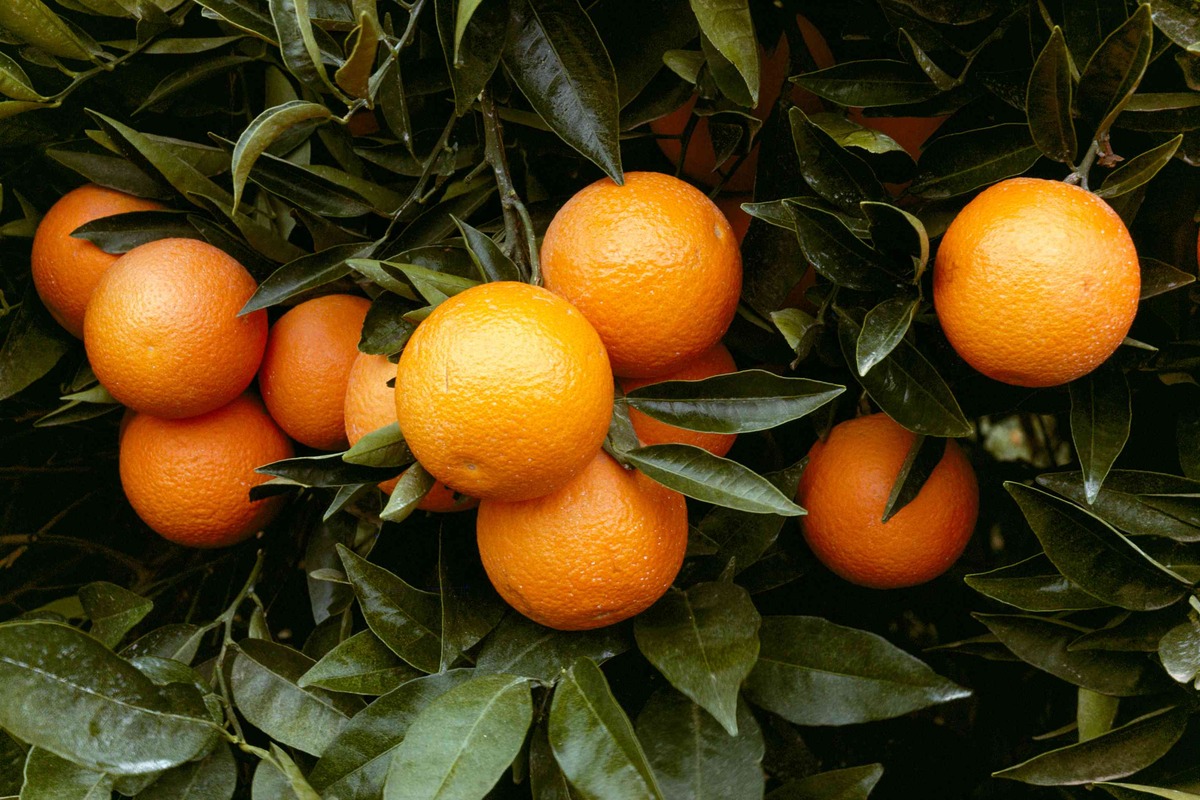
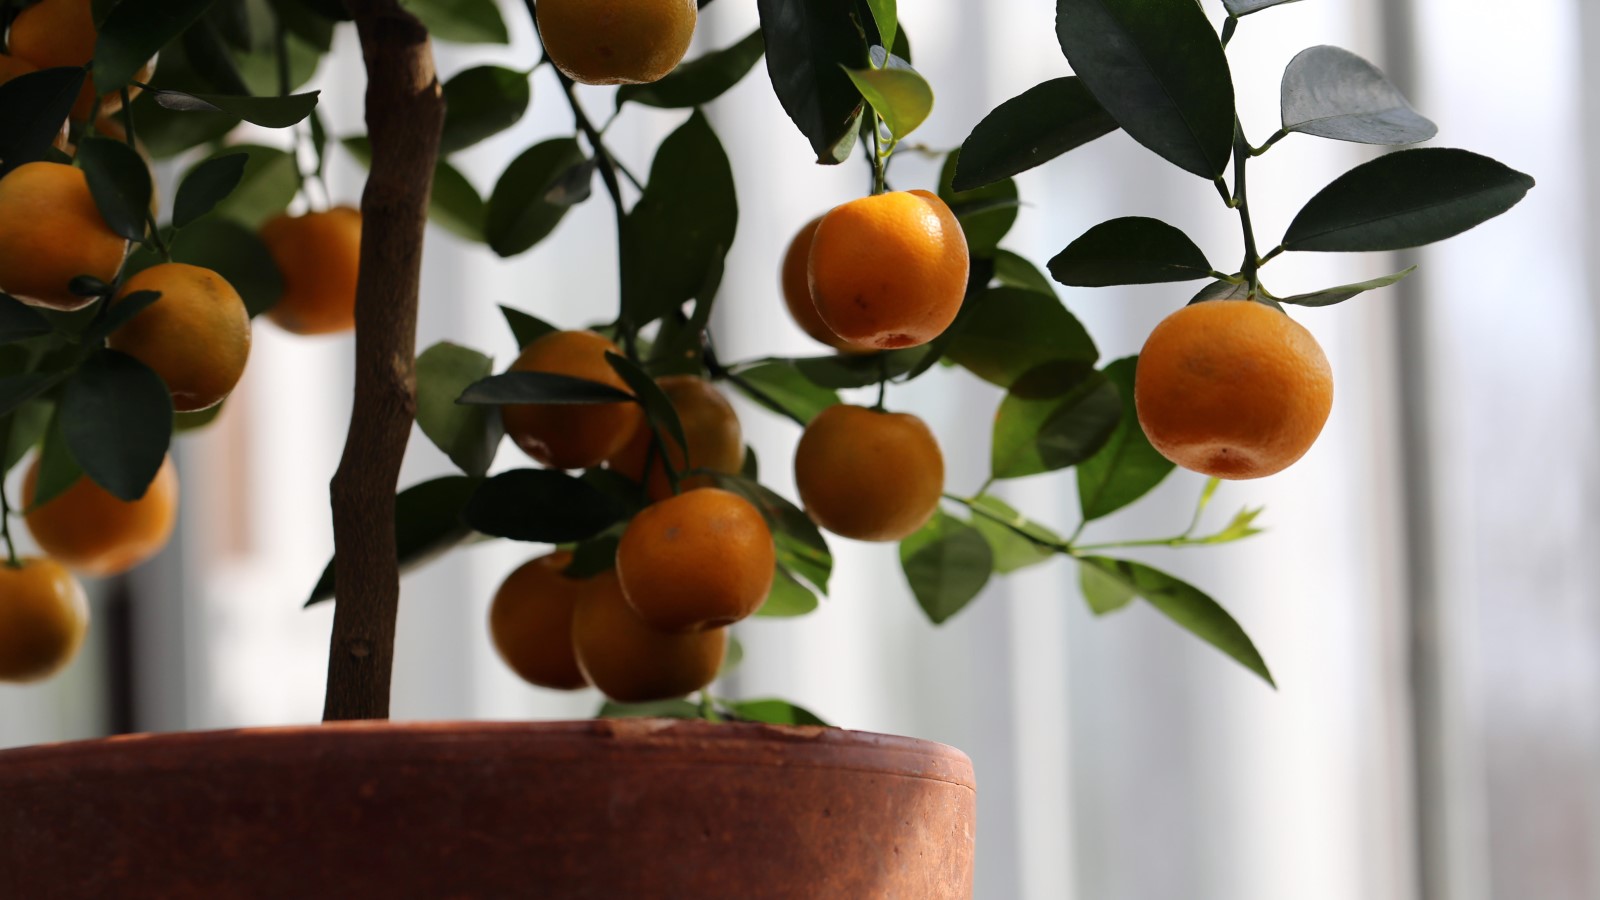
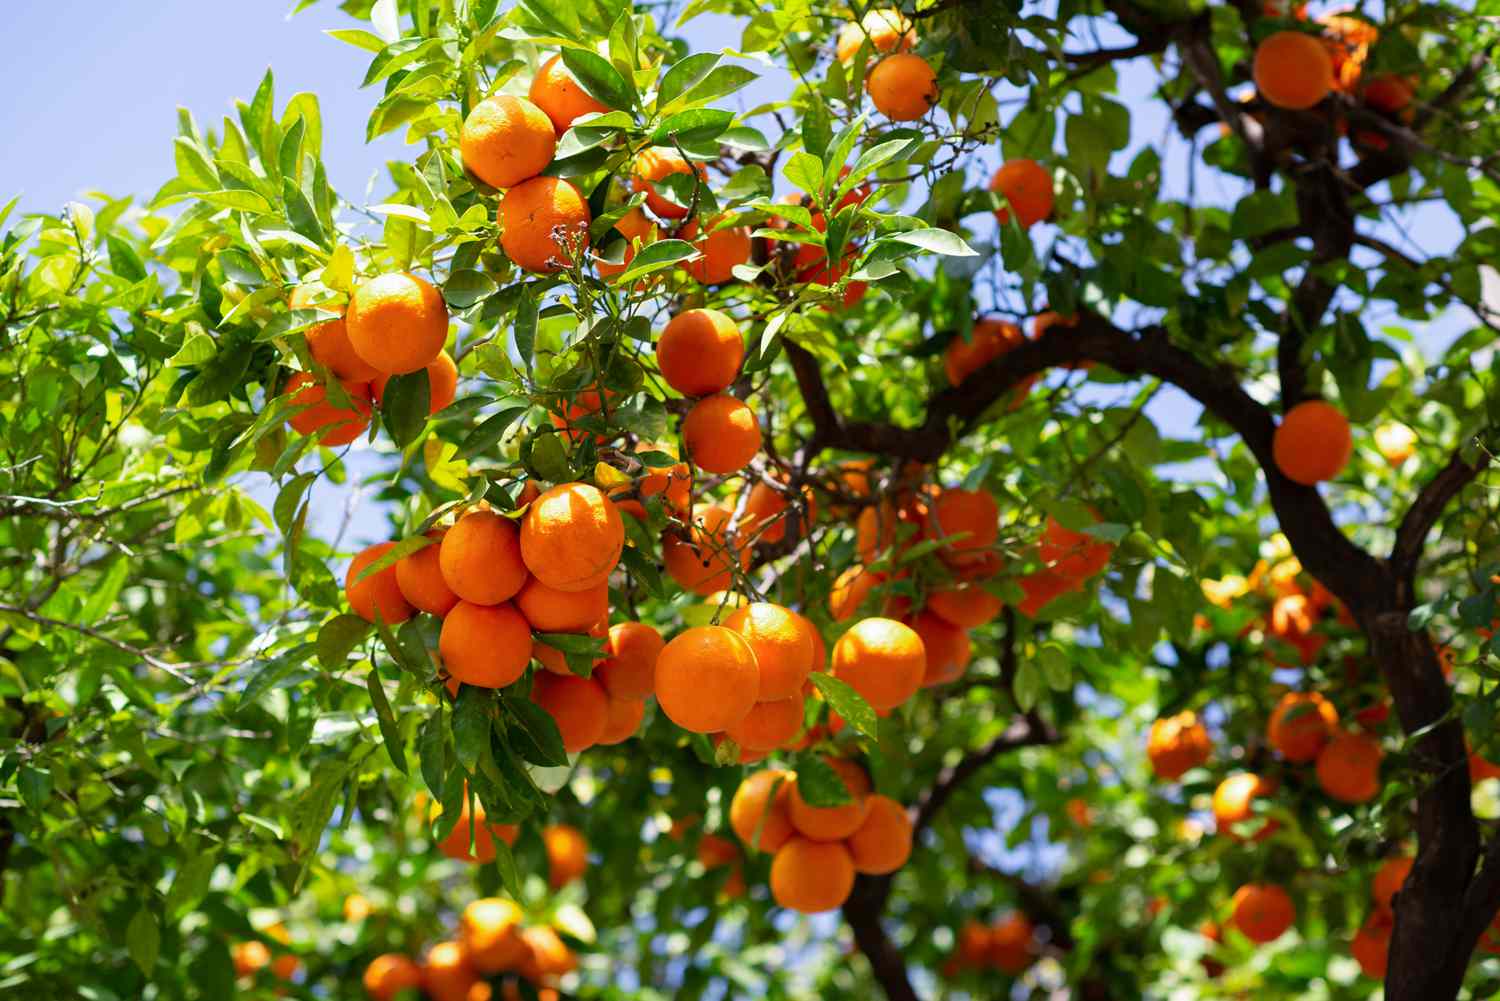
Harvesting the Apples
Harvesting your own apples is a delightful reward for your hard work and patience in growing and caring for your apple tree. Here’s a guide on how to properly harvest your apples:
- Timing: The timing of apple harvest is crucial for optimal flavor and texture. Apples are typically ready for harvest when they have reached their mature color and firmness. To determine if an apple is ready, gently twist or lift it from the branch. If it comes off easily with a slight upward motion, it is ready to be harvested.
- Harvesting Technique: For best results, grasp the apple gently and give it a slight twist while lifting it upward. This helps detach the apple from the spur or branch without causing damage. Avoid pulling or tugging forcefully, as this can lead to stem or branch breakage.
- Harvest Basket or Bag: Use a soft-sided harvest basket or bag to collect the harvested apples. Avoid using hard containers that can cause bruising or damage to the fruits.
- Handle with Care: Handle the apples carefully to prevent any bruises or cuts. Even minor damage can lead to spoilage during storage.
- Sorting and Grading: After harvesting, sort the apples based on their size, color, and overall condition. Separate any damaged or bruised apples from the healthy ones. This will help you prioritize the use of apples and prevent the spread of any potential rot.
- Storage: If you’re not consuming the apples immediately, store them properly to maximize their shelf life. Choose firm, unblemished apples for long-term storage. You can store apples in a cool, humid environment, such as a cool basement, cellar, or a refrigerator crisper drawer. Wrap each apple individually in newspaper or store them in perforated bags to maintain humidity while reducing the risk of moisture buildup.
- Enjoying the Harvest: Once your apples are harvested and stored, it’s time to enjoy the fruits of your labor! Apples can be used in a variety of culinary delights, including pies, crisps, sauces, juices, or simply enjoyed fresh off the tree. Experiment with different recipes and savor the unique flavors of your homegrown apples.
Remember that apple varieties have different maturation times, so not all apples on the tree will ripen at the same time. Plan to harvest in multiple rounds as the apples reach maturity individually. By harvesting at the right time and handling with care, you’ll be able to relish the incredible taste and satisfaction of homegrown apples.
Congratulations on successfully growing and harvesting your apples! Your journey as an apple tree gardener has come full circle from sowing the seeds to enjoying the fruits of your labor. Continue to care for your apple tree, and it will reward you with many more fruitful seasons to come.
Happy apple harvesting!
Conclusion
Growing an apple tree from seed is a truly rewarding experience that allows you to witness the magic of nature firsthand. From selecting the right seeds to nurturing the seedlings, pruning, fertilizing, and protecting them, every step of the journey is filled with learning and fulfillment. Throughout this article, we have explored the essential practices and techniques for successfully growing and caring for your apple tree.
Choosing the right seeds and properly preparing them for planting are vital first steps in the process. Germinating the seeds and planting the seedlings in a suitable location sets the foundation for their growth. Caring for the seedlings through proper watering, fertilizing, and pruning ensures their overall health and development.
To help your apple tree thrive and produce abundant fruit, it’s important to protect it from pests and diseases. Regular monitoring, implementing organic pest control methods, maintaining cleanliness, and following good cultural practices are key elements in keeping your tree healthy and productive.
Finally, the joy of harvesting your own apples is a culmination of your dedication and hard work. Knowing when to harvest, using the proper technique, and handling the apples with care result in the most satisfying and flavorful fruits. Whether eaten fresh or used in various culinary creations, your homegrown apples are a testament to your green thumb and gardening prowess.
As you continue your journey as an apple tree gardener, remember to adapt to the specific needs and nuances of your tree. Learn from each season and make adjustments accordingly. Gardening is a continuous learning process, and the satisfaction of growing your own apples will only increase over time.
So, roll up your sleeves, put on your gardening gloves, and immerse yourself in the wonderful world of apple tree cultivation. Enjoy the beauty and bounty of nature as you witness your apple tree grow, blossom, and bear fruit. Happy gardening!
Growing your apple tree from seed is a rewarding journey, but that's just the beginning. Curious about what happens before the planting stage? Dive into our detailed guide on seed germination to understand the crucial steps needed for sprouting those apple seeds effectively. You'll find expert tips on creating the perfect conditions to kickstart your apple seed's life cycle, ensuring your gardening efforts bear fruit—literally!
Frequently Asked Questions about How Long To Grow Apple Tree From Seed
Was this page helpful?
At Storables.com, we guarantee accurate and reliable information. Our content, validated by Expert Board Contributors, is crafted following stringent Editorial Policies. We're committed to providing you with well-researched, expert-backed insights for all your informational needs.


0 thoughts on “How Long To Grow Apple Tree From Seed”