Home>Garden Essentials>How To Plant Onions From Seeds
Garden Essentials
How To Plant Onions From Seeds
Modified: March 24, 2024
Learn how to plant onions from seeds in your garden and enjoy a bountiful harvest. Follow our step-by-step guide for successful onion cultivation.
(Many of the links in this article redirect to a specific reviewed product. Your purchase of these products through affiliate links helps to generate commission for Storables.com, at no extra cost. Learn more)
Introduction
Planting onions from seeds is an exciting and rewarding way to grow this versatile vegetable in your garden. Whether you are a seasoned gardener or a beginner, starting onions from seeds allows you to choose from a wide variety of onion types, ensuring that you have the perfect onions for your culinary needs.
Onions are a staple ingredient in many dishes, providing flavor and depth to soups, stews, stir-fries, and more. Growing onions from seeds also allows you to experience the satisfaction of nurturing a plant from its earliest stages and witnessing its growth and development.
In this article, we will guide you through the process of planting onions from seeds, including choosing the right seeds, preparing the soil, starting seeds indoors, transplanting seedlings, caring for onion plants, and harvesting your homegrown onions.
By following these steps, you can enjoy a bountiful harvest of delicious, homegrown onions that will add a burst of flavor to your culinary creations.
Key Takeaways:
- Choose the right onion seeds based on flavor, growth habit, and pungency level to ensure a successful harvest and cater to your culinary preferences.
- Starting onion seeds indoors gives you a head start on the growing season, allowing you to nurture strong and healthy seedlings for transplanting into your garden.
Read more: How To Plant Green Onions From Seed
Step 1: Choosing the right onion seeds
When it comes to choosing the right onion seeds for your garden, consider factors such as the type of onion, its growth habit, and the level of pungency you desire. Here are some key points to keep in mind:
- Onion type: Onions come in different types, including sweet onions, cooking onions, and storage onions. Sweet onions are milder in flavor and are perfect for eating raw, while cooking onions have a stronger flavor and are ideal for sautéing, roasting, or caramelizing. Storage onions, as the name suggests, have a longer shelf life and are suitable for storing over an extended period.
- Growth habit: Onions can be categorized into short-day, long-day, or day-neutral varieties based on their responsiveness to daylight hours. Short-day onions require 10-12 hours of daylight and are best suited for southern regions, while long-day onions need 14-16 hours of daylight and thrive in northern regions. Day-neutral onions are a good choice for areas with moderate day lengths.
- Pungency: Onions can range from mild and sweet to pungent and strong. If you prefer a milder flavor, look for varieties labeled as “mild” or “sweet.” For a stronger taste, opt for onions labeled as “strong” or “pungent.” Consider your personal preference and the intended culinary use when selecting the pungency level.
- Seed quality: Ensure that you purchase onion seeds from a reputable source to ensure quality and viability. Look for fresh seeds that are free from damage or discoloration.
By carefully considering these factors, you can choose onion seeds that align with your gardening goals and culinary preferences. Once you have selected the right onion seeds, you can move on to preparing the soil for planting.
Step 2: Preparing the soil
Preparing the soil is an essential step in growing onions from seeds. Onions thrive in well-drained soil with a pH level between 6 and 7. Here are the steps to prepare the soil for optimal onion growth:
- Choose the right location: Select a sunny spot in your garden that receives at least 6 to 8 hours of sunlight per day. Onions require full sun to develop strong and healthy bulbs.
- Clear the area: Remove any weeds, rocks, or debris from the planting area. Onions do not compete well with weeds, so ensuring a clean planting area will give them the best chance to grow.
- Loosen the soil: Use a garden fork or a tiller to loosen the soil to a depth of at least 8 to 10 inches. Breaking up any compacted soil will allow the onion roots to penetrate and grow freely.
- Amend the soil: Onions prefer a fertile soil that is rich in organic matter. Incorporate well-rotted compost or aged manure into the soil to improve its fertility and drainage. Aim to add 2 to 3 inches of organic matter and mix it thoroughly with the existing soil.
- Test the soil pH: Test the soil pH using a soil testing kit or by sending a soil sample to a local agricultural extension service. If the pH is below 6 or above 7, adjust it by adding lime to raise the pH or sulfur to lower it.
- Rake the soil: After amending the soil, rake the surface to create a smooth and level bed for planting. Remove any large clumps or rocks that may hinder seed germination or the growth of young seedlings.
Following these steps will ensure that your soil is well-prepared and provides the optimal conditions for your onion seeds to thrive. With the soil ready, you can move on to starting the onion seeds indoors.
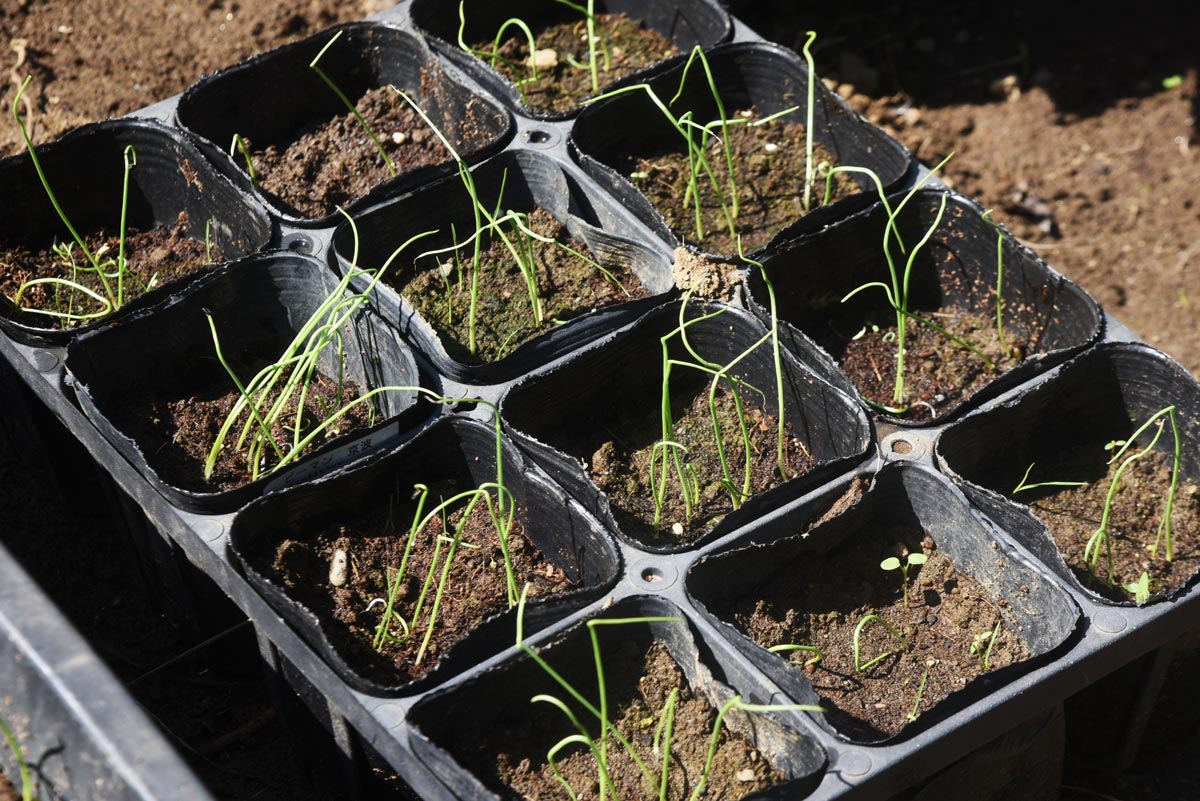
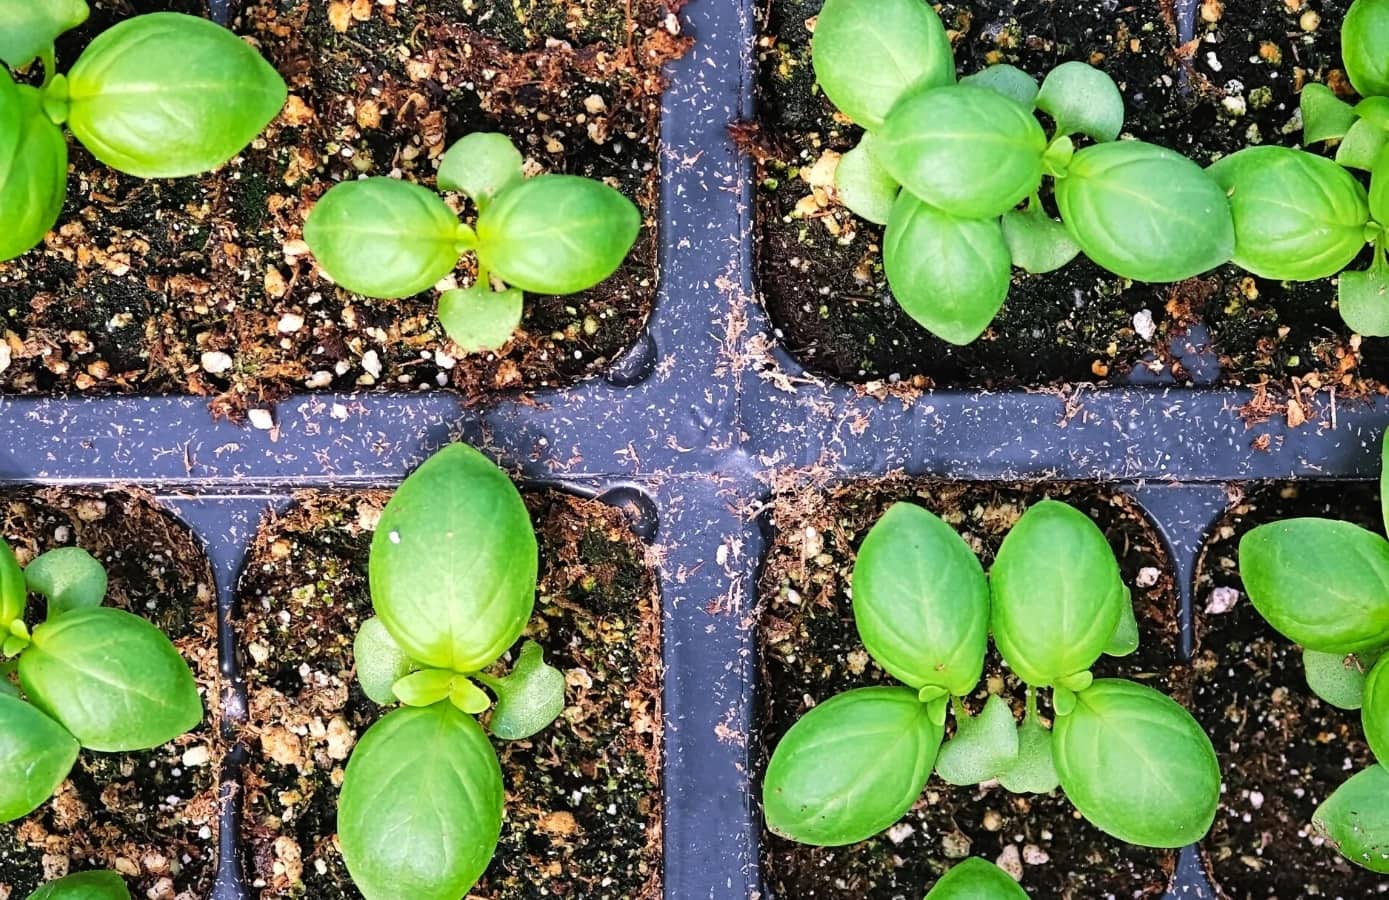
Step 3: Starting onion seeds indoors
Starting onion seeds indoors is a great way to get a head start on the growing season and ensure strong and healthy seedlings. Here’s how you can start onion seeds indoors:
- Select containers: Choose containers that are at least 2-3 inches deep and have drainage holes at the bottom to prevent waterlogging. Seed trays, peat pots, or cell packs are popular choices for starting onion seeds.
- Fill with seed starting mix: Fill the containers with a high-quality seed starting mix. Avoid using regular garden soil as it may contain pathogens or be too heavy for young onion seedlings.
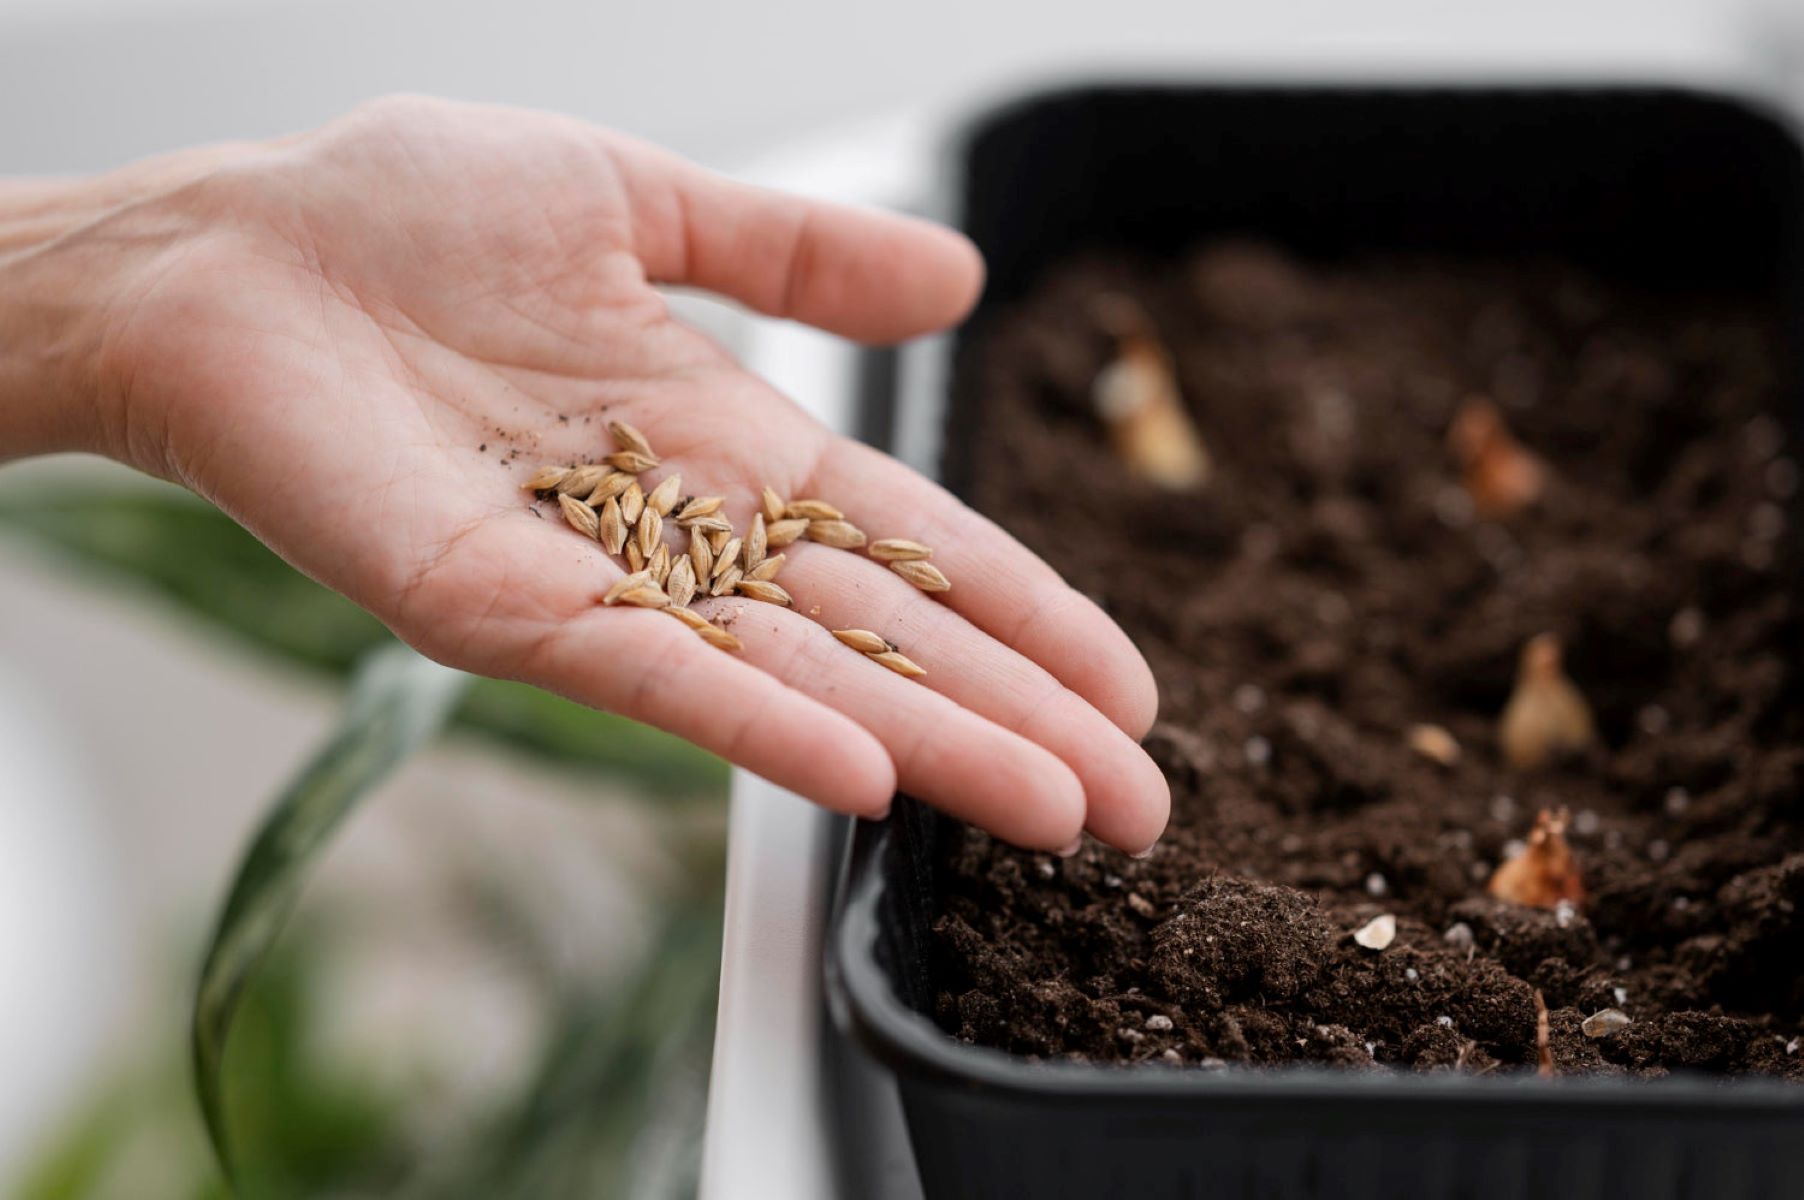
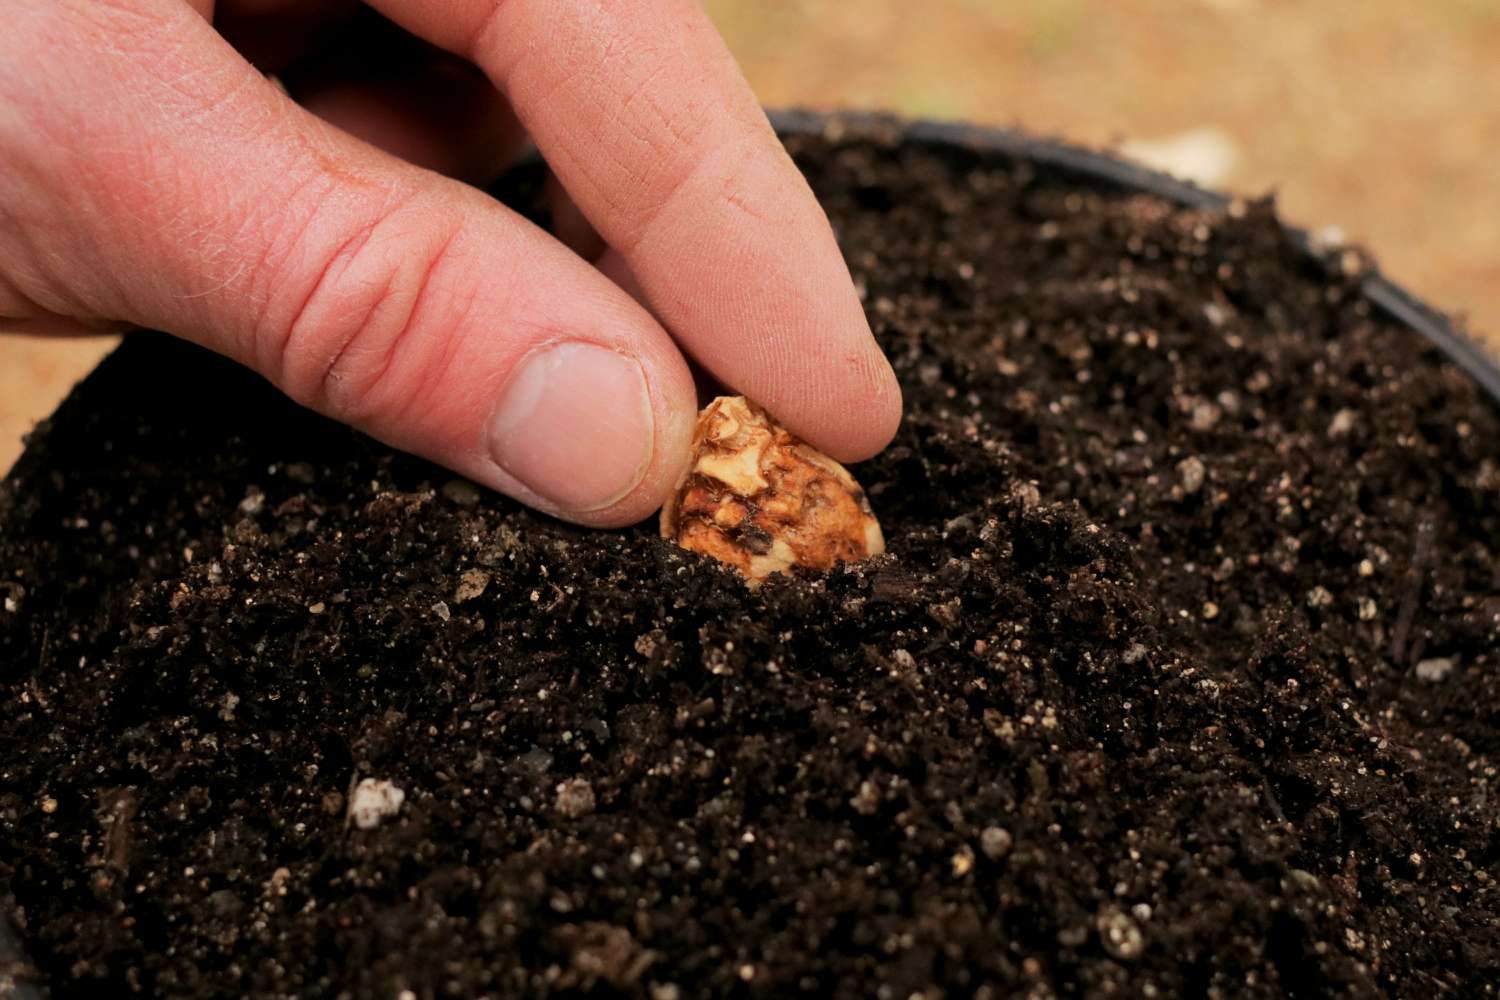
- Sow the seeds: Scatter the onion seeds evenly on the surface of the seed starting mix. Aim for a spacing of about 1/4 inch between the seeds.
- Cover and label: Lightly cover the seeds with a thin layer of seed starting mix, about 1/4 inch deep. Label the containers with the onion variety and the date of sowing to keep track of the progress.
- Water gently: Use a spray bottle or a watering can with a fine rose attachment to water the containers gently. Ensure that the soil is evenly moist but not waterlogged, as excess moisture can lead to damping-off disease.
- Provide warmth and light: Place the containers in a warm and well-lit area, such as a sunny window sill or under grow lights. Onion seeds require temperatures of around 60-70°F (15-20°C) for optimal germination.
- Keep the soil moist: Check the containers regularly and water as needed to keep the soil moist. Avoid overwatering, as it may cause the seeds to rot or the seedlings to become weak.
- Thin seedlings: Once the onion seedlings have grown to about 2 inches tall, thin them out to provide adequate space for each plant to grow. Snip off the weaker seedlings, leaving the strongest ones spaced about 1-2 inches apart.
By starting your onion seeds indoors, you can control the growing conditions and ensure a higher success rate with germination. Once the seedlings have grown strong and are ready to be transplanted, you can move on to the next step: transplanting onion seedlings into the garden.
When planting onions from seeds, make sure to start them indoors 8-10 weeks before the last frost. Use a well-draining soil and keep the seeds moist but not waterlogged. Transplant the seedlings outdoors once the soil is workable.
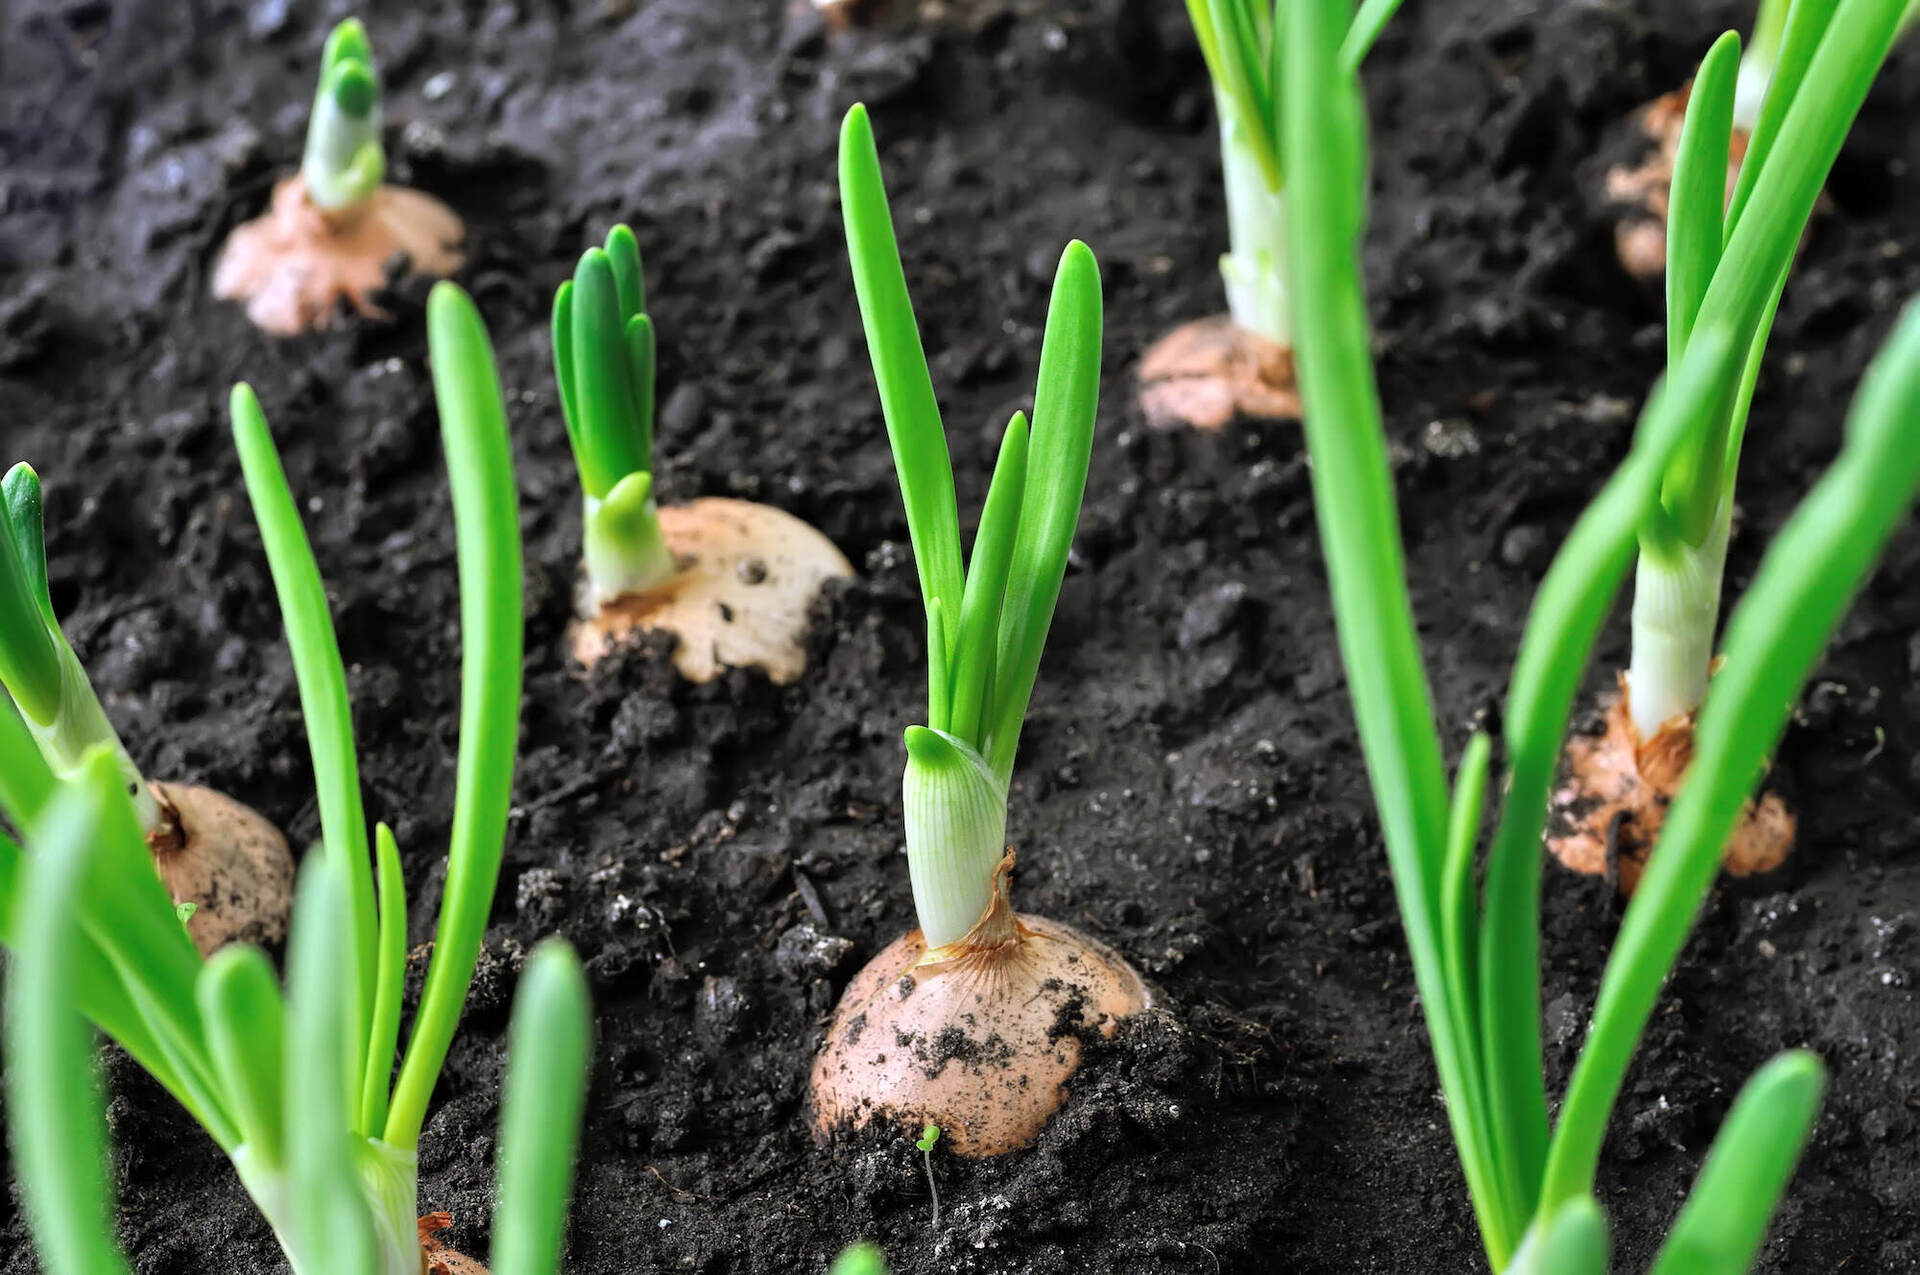
Step 4: Transplanting onion seedlings
Once your onion seedlings have reached a height of about 6-8 inches and have developed a healthy root system, it’s time to transplant them into the garden. Here’s how you can transplant your onion seedlings:
- Choose the right time: Transplant your onion seedlings outdoors when the soil temperature reaches around 50°F (10°C). Onions are cool-season crops and can tolerate mild frosts, but ensure that there are no hard freezes expected.
- Prepare the planting holes: Use a dibber or your finger to create 1-2 inch deep holes in the prepared garden bed. Space the holes about 4-6 inches apart for regular-sized onions or as recommended for smaller or larger varieties.
- Carefully remove the seedlings: Gently remove the onion seedlings from their containers, taking care not to damage the delicate roots. If using peat pots, tear away the edges to allow the roots to expand freely in the soil.
- Plant the seedlings: Place each onion seedling in a planting hole, ensuring that the roots are spread out and covered with soil. The top of the seedling’s green shoot should be just above the soil level. Pat the soil gently around the seedling to secure it in place.
- Water thoroughly: After transplanting, water the newly planted seedlings thoroughly to settle the soil and help them establish. Provide enough water to moisten the soil to the root zone.
- Mulch the bed: Apply a layer of organic mulch, such as straw or chopped leaves, around the onion seedlings. Mulching helps conserve moisture, suppress weeds, and regulate soil temperature.
- Provide regular care: Water the onion plants regularly, keeping the soil consistently moist but not waterlogged. Onions have shallow roots, so regular watering is essential. Fertilize the plants every few weeks with a balanced organic fertilizer to promote healthy growth.
By transplanting your onion seedlings at the right time and providing them with proper care, you are setting them up for success in the garden. The next step is to learn about caring for onion plants to ensure their continued growth and development.
Read more: When To Plant Onion Seed
Step 5: Caring for onion plants
Proper care is crucial for the successful growth and development of your onion plants. Here are some tips to help you care for your onion plants:
- Watering: Onions require regular watering to keep the soil consistently moist. However, avoid overwatering, as it can lead to rotting or disease. Water deeply once or twice a week, depending on the weather conditions, to ensure that the root zone is adequately hydrated.
- Weeding: Keep the area around your onion plants free from weeds. Weeds compete with onions for nutrients, water, and sunlight, which can hinder their growth. Regularly remove any weeds that may appear, taking care not to disturb the shallow onion roots.
- Thinning: As the onion plants grow, you may need to thin them further to allow for proper bulb development. Thin the plants to a spacing of about 4-6 inches between each plant. Use the thinned onions in your cooking or as green onions.
- Fertilizing: Onions benefit from regular feeding with a balanced fertilizer. Apply a fertilizer high in nitrogen every two to three weeks during the growing season to promote healthy foliage and bulb formation. Follow the package instructions for application rates.
- Pest and disease control: Monitor your onion plants for any signs of pests or diseases, such as onion maggots, thrips, or fungal infections. Take appropriate measures to control these issues, such as using organic insecticides or fungicides as needed.
- Staking: Some onion varieties, particularly those with larger bulbs, may benefit from staking. As the plants grow, gently secure them to stakes or use onion cages to prevent them from toppling over and bending the foliage. This will help ensure that the bulbs develop properly.
- Harvesting: Pay attention to the growth of your onion plants and observe the foliage yellowing and toppling over. This is an indication that the bulbs are ready for harvest. Once the foliage has dried out, carefully lift the bulbs from the soil using a garden fork and allow them to dry further in a well-ventilated area before storing.
By providing your onion plants with proper care, you can enjoy a hearty harvest of flavorful onions for your culinary delights. The final step in the process is to learn how to harvest your homegrown onions.
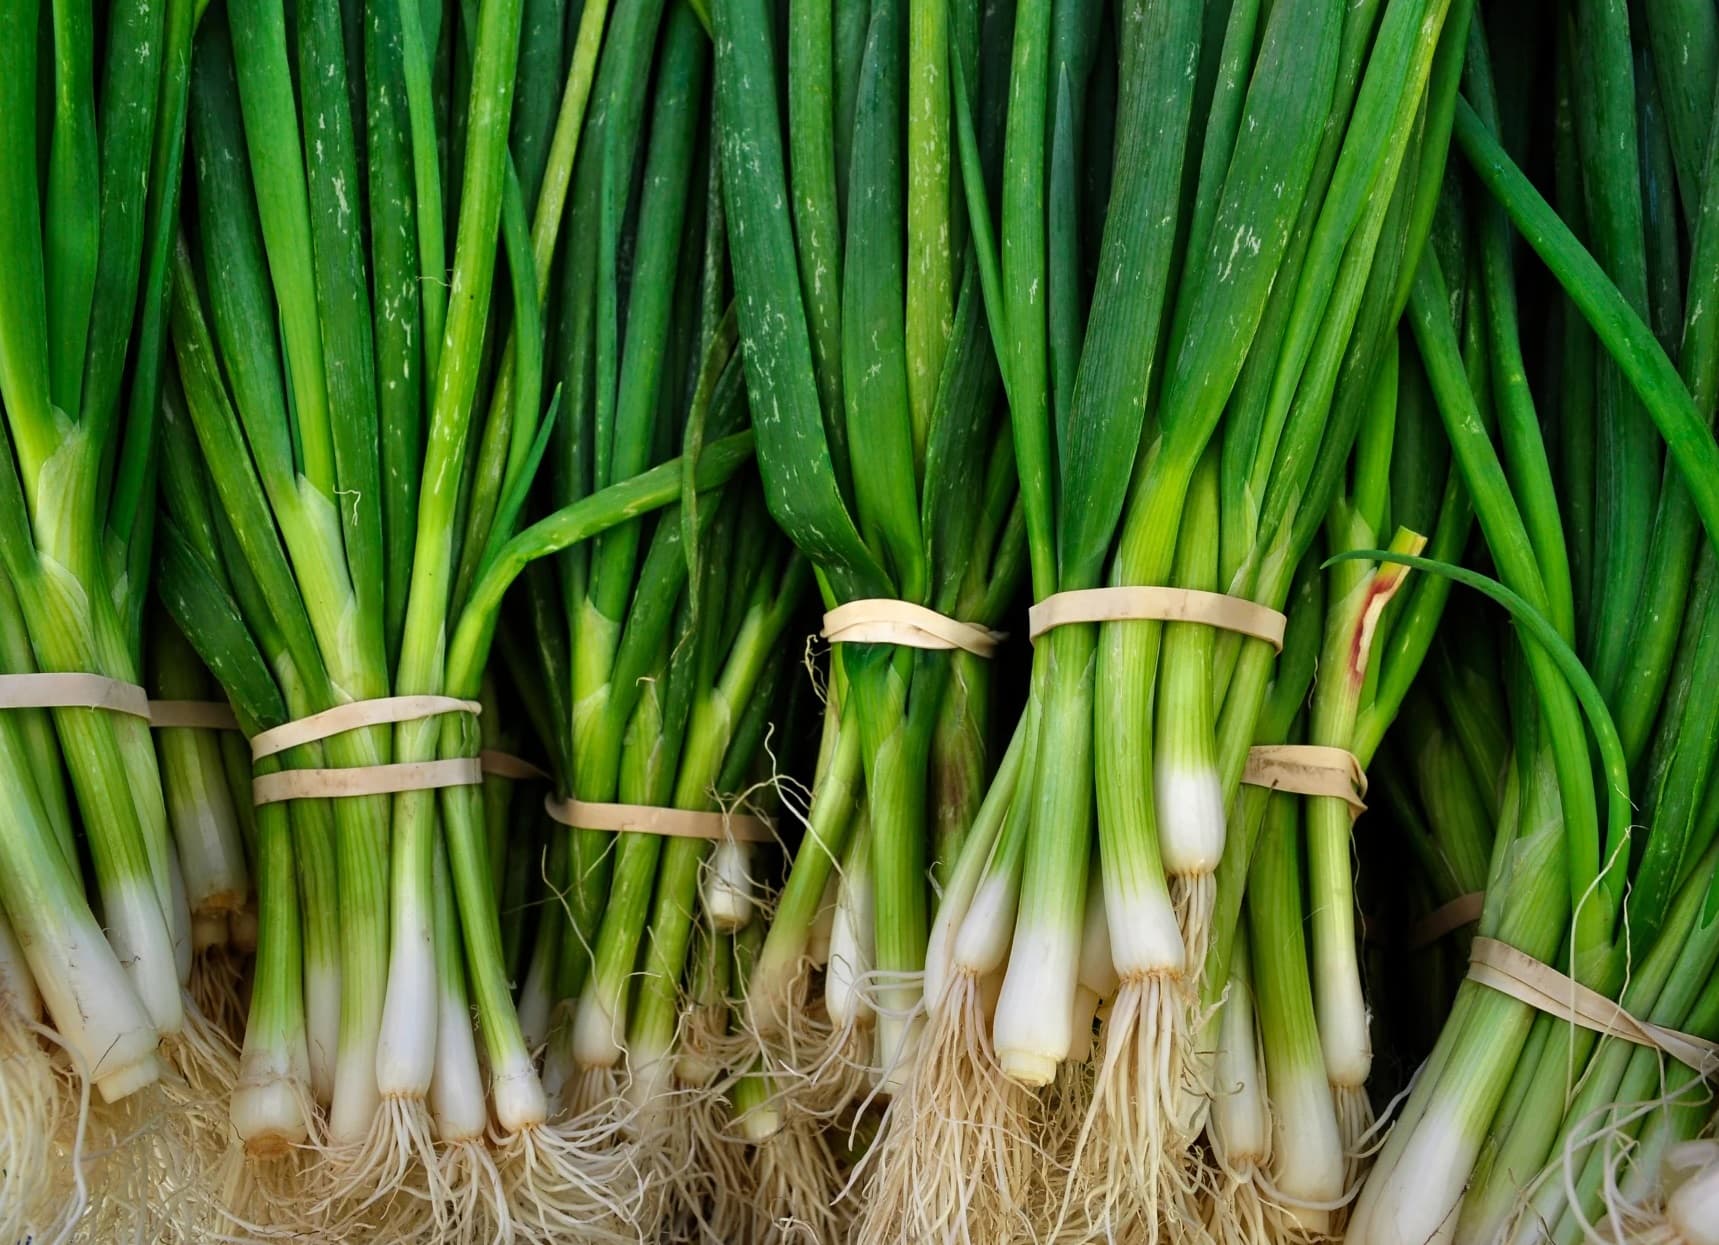
Step 6: Harvesting onions
Harvesting onions is an exciting and rewarding culmination of your efforts in growing them. With the right timing and technique, you can enjoy ripe, flavorful onions straight from your garden. Here’s how to harvest onions:
- Check for maturity: Assess the maturity of your onions by observing the foliage. When the foliage turns yellow and starts to fall over, it is a sign that the bulbs have reached maturity and are ready for harvest.
- Prepare the soil: Before harvesting, gently loosen the soil around the onion bulbs using a garden fork or trowel. This will make it easier to lift the bulbs from the ground without damaging them.
- Lift the bulbs: Using a garden fork or your hands, carefully lift the onion bulbs from the soil. Avoid pulling on the foliage to prevent breakage.
- Cure the onions: Once harvested, it’s important to cure the onions to enhance their storage life. Lay the onions in a single layer in a cool, dry, and well-ventilated area, such as a garage or a shaded porch. Allow them to cure for about two weeks or until the necks feel dry and papery.
- Trim and store: After the onions have properly cured, gently remove any excess dirt or dried foliage. Trim the roots and cut back the tops to about an inch above the bulb. Store the onions in a cool, dry, and well-ventilated area, such as a cellar or pantry, in mesh bags or hanging in braids.
By harvesting your onions at the right time and following the proper curing and storage techniques, you can enjoy the flavorful taste of homegrown onions for months to come.
Congratulations! You have successfully learned how to plant onions from seeds, prepare the soil, start the seeds indoors, transplant the seedlings, care for the onion plants, and harvest your homegrown onions. With a little effort and patience, you can savor the delicious flavor of freshly grown onions in your favorite recipes. Happy gardening!
Conclusion
Growing onions from seeds is a rewarding experience that allows you to enjoy the flavors and benefits of homegrown onions. By following the steps outlined in this guide, you can successfully plant onions from seeds, prepare the soil, start the seeds indoors, transplant the seedlings, care for the plants, and finally, harvest your crop.
Choosing the right onion seeds based on variety, growth habit, and pungency level is crucial for a successful harvest. Preparing the soil by ensuring proper drainage and amending it with organic matter sets a strong foundation for your onion plants to thrive. Starting the seeds indoors gives you a head start on the growing season and allows you to nurture the young seedlings until they are ready for transplanting.
Transplanting the onion seedlings into the garden, providing adequate watering, fertilizer, and protection from pests and diseases, ensures healthy growth and development. Thinning the seedlings and providing proper spacing allows room for the bulbs to form and expand. Harvesting the onions at the right time and curing them properly enhances their flavor and extends their storage life.
Through each step of the process, it is essential to provide care and attention to your onion plants, ensuring they have the ideal growing conditions. By doing so, you will be rewarded with a bountiful harvest of delicious onions that can be used in various culinary dishes.
Now that you are equipped with the knowledge and techniques to plant onions from seeds, it’s time to put your green thumb to work and enjoy the satisfaction of growing your own onions. Get started on your onion-growing journey and experience the joy of harvesting and savoring the fruits of your labor.
Happy gardening and bon appétit!
Frequently Asked Questions about How To Plant Onions From Seeds
Was this page helpful?
At Storables.com, we guarantee accurate and reliable information. Our content, validated by Expert Board Contributors, is crafted following stringent Editorial Policies. We're committed to providing you with well-researched, expert-backed insights for all your informational needs.


0 thoughts on “How To Plant Onions From Seeds”