Home>Garden Essentials>How To Start Catnip Seeds

Garden Essentials
How To Start Catnip Seeds
Modified: August 28, 2024
Learn how to start catnip seeds in your garden and provide your furry friends with a delightful treat. We share essential tips and techniques for successful cultivation.
(Many of the links in this article redirect to a specific reviewed product. Your purchase of these products through affiliate links helps to generate commission for Storables.com, at no extra cost. Learn more)
Introduction
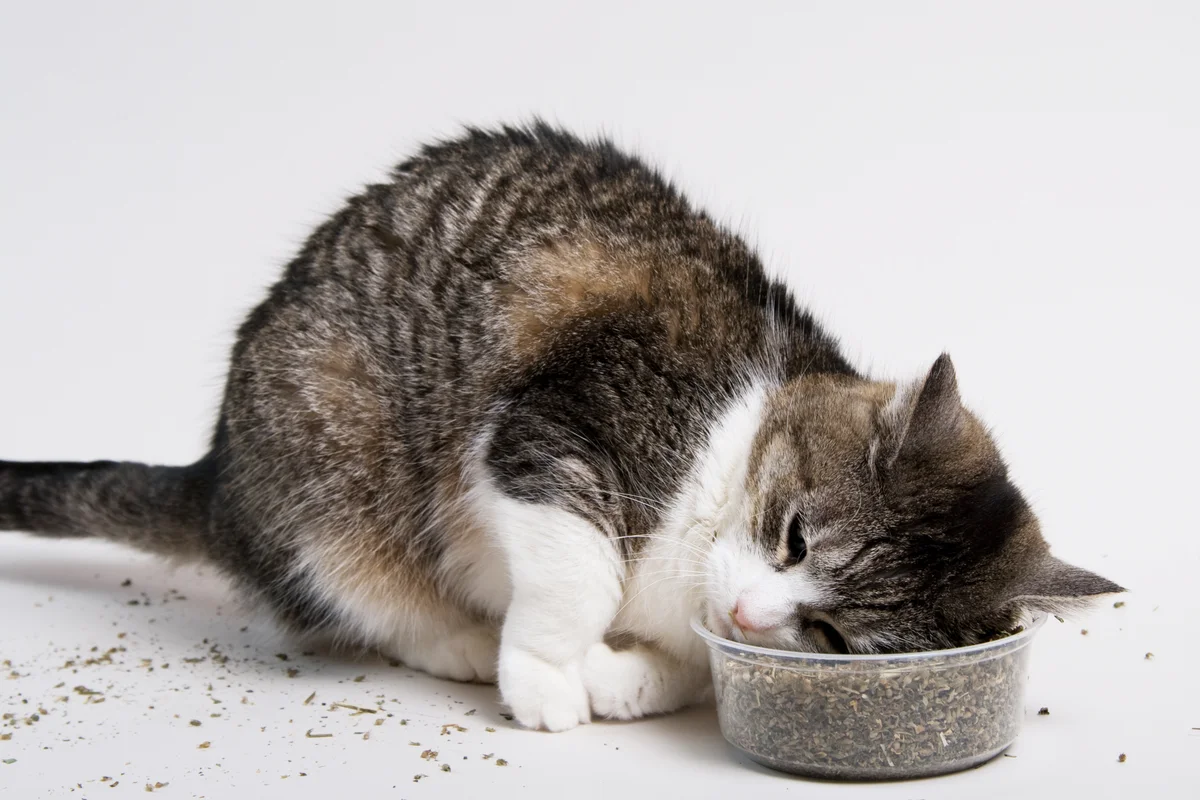
Welcome to the world of gardening and the wonderful plant known as catnip! If you’re a cat owner, you’re probably familiar with the magical effects that catnip can have on our feline friends. But did you know that you can easily grow catnip in your own garden? Not only will you have a fresh supply of catnip for your beloved pets, but you’ll also be able to enjoy the beauty and scent of this versatile herb.
In this article, we’ll guide you through the process of starting catnip seeds and growing your very own catnip plants. From choosing the right seeds to harvesting the leaves, we’ll cover everything you need to know to get started. So grab your gardening gloves and let’s get planting!
Key Takeaways:
- Growing catnip from seeds involves choosing the right variety, preparing well-draining soil, and providing warmth and moisture for germination. Once grown, catnip can be harvested for cat toys or culinary use.
- Harvesting catnip leaves at the right time and drying them properly allows for long-term storage and various uses, from entertaining cats with toys to adding flavor to culinary dishes.
Read more: How To Plant Catnip Seeds In A Pot
Choosing Catnip Seeds
When it comes to choosing catnip seeds, there are a few factors to consider. First, decide whether you want to grow catnip from a seed packet or from pre-grown seedlings. Growing from seeds allows you to have a wider variety of options and can be a more cost-effective choice. Seedlings, on the other hand, provide a head start and can save you some time and effort.
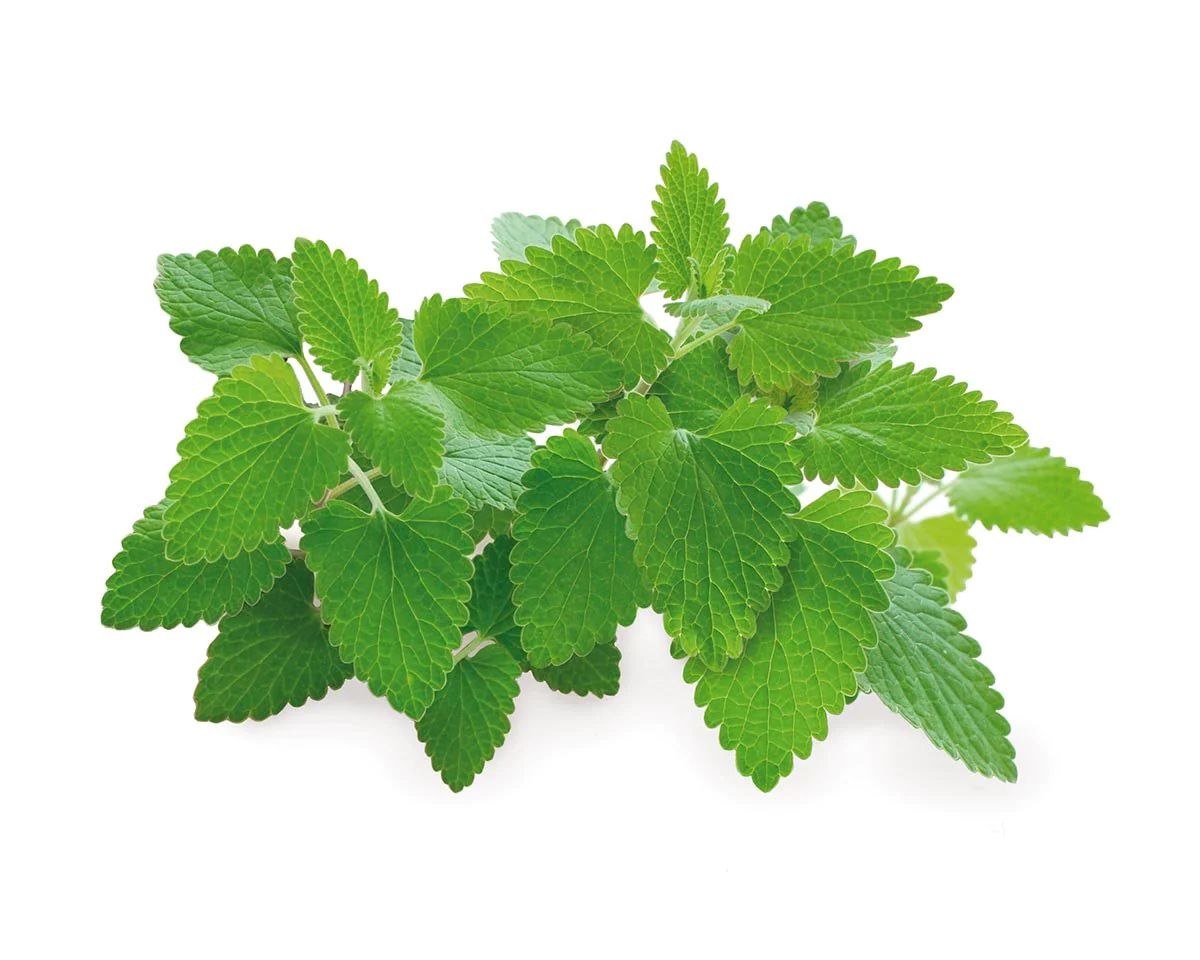
Next, look for reputable seed suppliers or nurseries that specialize in herbs. Ensure that the seeds you choose are specifically labeled as catnip (scientifically known as Nepeta cataria). This will ensure you are getting the right variety with the most potent effects on cats.
It’s also worth considering whether you want to grow organic catnip. If so, look for seeds that are certified organic. This will ensure that you are not using any synthetic pesticides or fertilizers in the cultivation process.
Furthermore, consider the quantity of seeds you’ll need. This will depend on the size of your garden or pots. It’s always a good idea to have a few extra seeds on hand in case some don’t germinate or if you want to expand your catnip patch later on.
Lastly, take into account your climate and growing conditions. Catnip is a hardy plant and can adapt to various climates, but it generally thrives in full sun or partial shade. If you live in a colder region, consider selecting cold-tolerant cultivars or starting your seeds indoors before transferring them outside.
Once you’ve considered these factors, you’re ready to purchase your catnip seeds and move on to the next step: preparing the soil.
Preparing the Soil
Properly preparing the soil is essential for the successful growth of your catnip plants. Catnip thrives in well-draining soil that is rich in organic matter. Follow these steps to ensure your soil is ready for planting:
- Clear the area: Start by clearing the planting area of any weeds, rocks, or debris. This will create a clean space for your catnip plants to grow without competing for nutrients.
- Loosen the soil: Using a garden fork or a tiller, loosen the soil to a depth of at least 6 inches. This will provide enough room for the catnip roots to spread and establish themselves.
- Amend the soil: If your soil is heavy or clay-like, it’s beneficial to amend it with compost or well-rotted organic matter. This will improve drainage and add essential nutrients to the soil.
- Test the soil pH: Catnip prefers slightly alkaline soil with a pH level between 6.0 and 7.0. You can easily test your soil’s pH using a home testing kit or by sending a sample to a local agricultural extension office.
- Adjust pH if necessary: If your soil’s pH is too acidic, you can raise it by adding lime. If it’s too alkaline, you can lower it by incorporating sulfur or peat moss into the soil. Follow the instructions on the product packaging for proper application.
- Level and smooth: Once you’ve amended the soil and adjusted the pH if necessary, rake the soil to create a level and smooth surface. This will make it easier to sow the catnip seeds evenly.
By properly preparing the soil, you are creating the ideal environment for your catnip plants to thrive. The rich, well-draining soil will ensure healthy root development and robust growth.
Sowing Catnip Seeds
Now that your soil is prepared, it’s time to sow your catnip seeds. Follow these steps to ensure successful germination and growth:
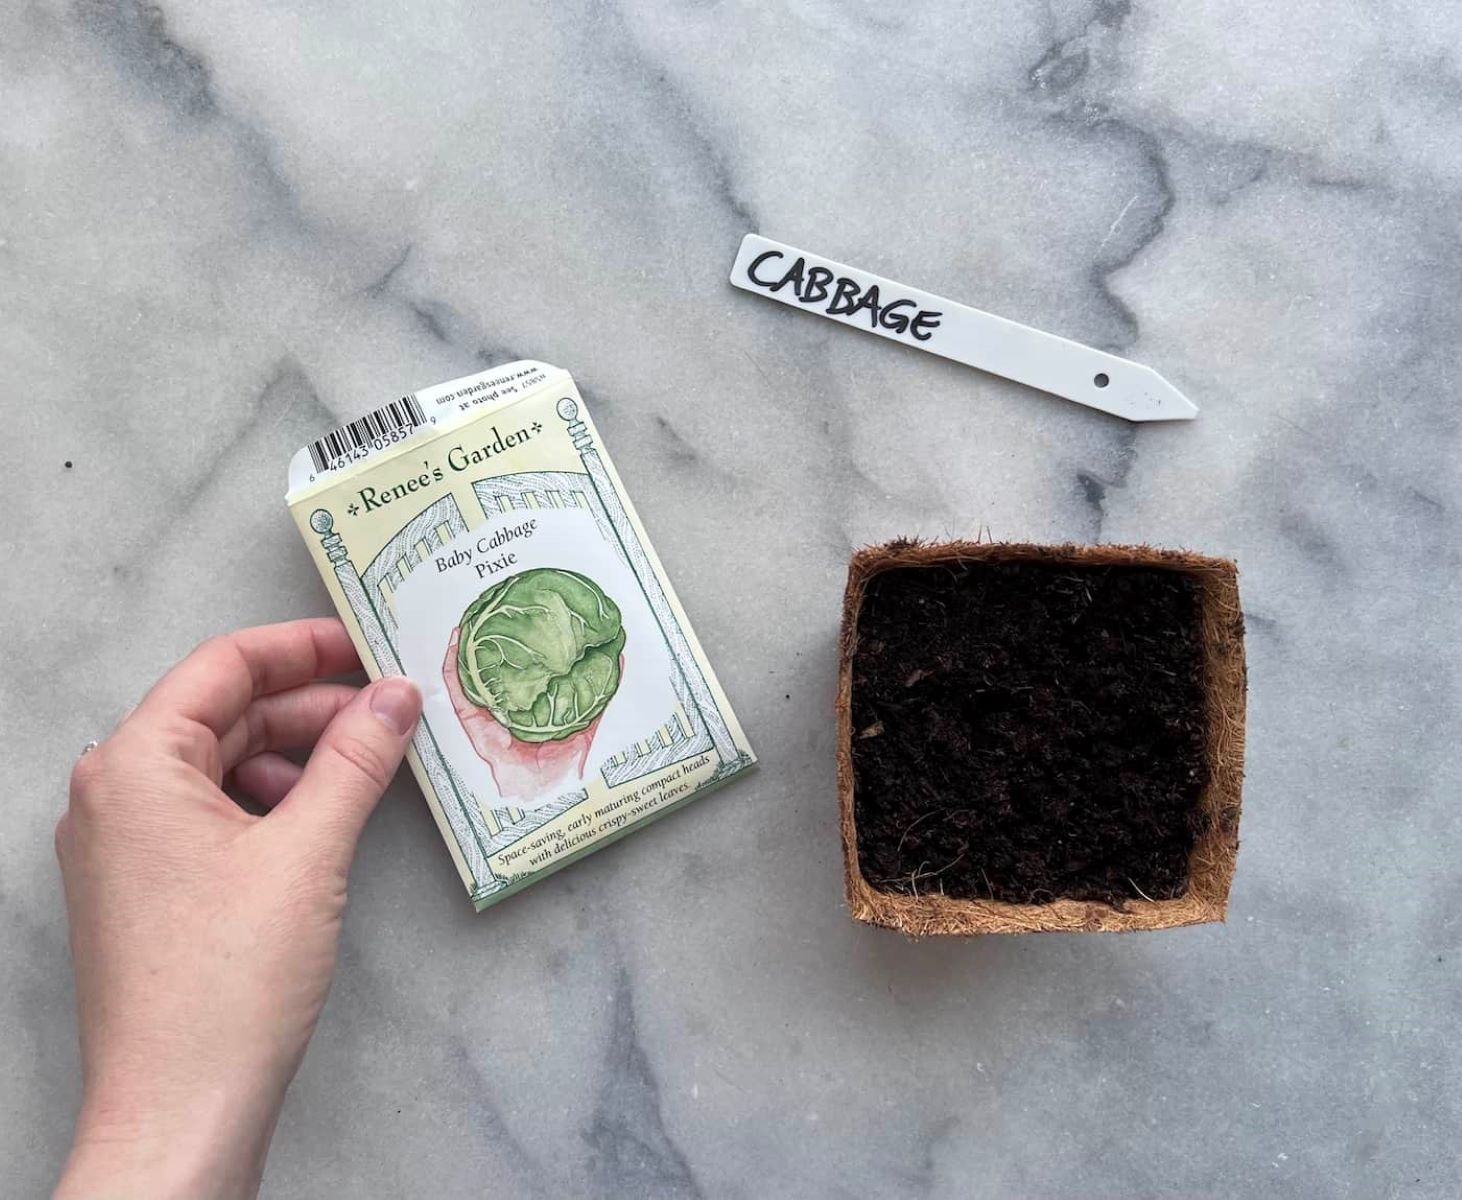
- Select the planting method: Catnip seeds can be sown directly into the garden or started indoors in seed trays or pots. Sowing indoors allows for better control over the germination process and gives the plants a head start before transplanting them outside.
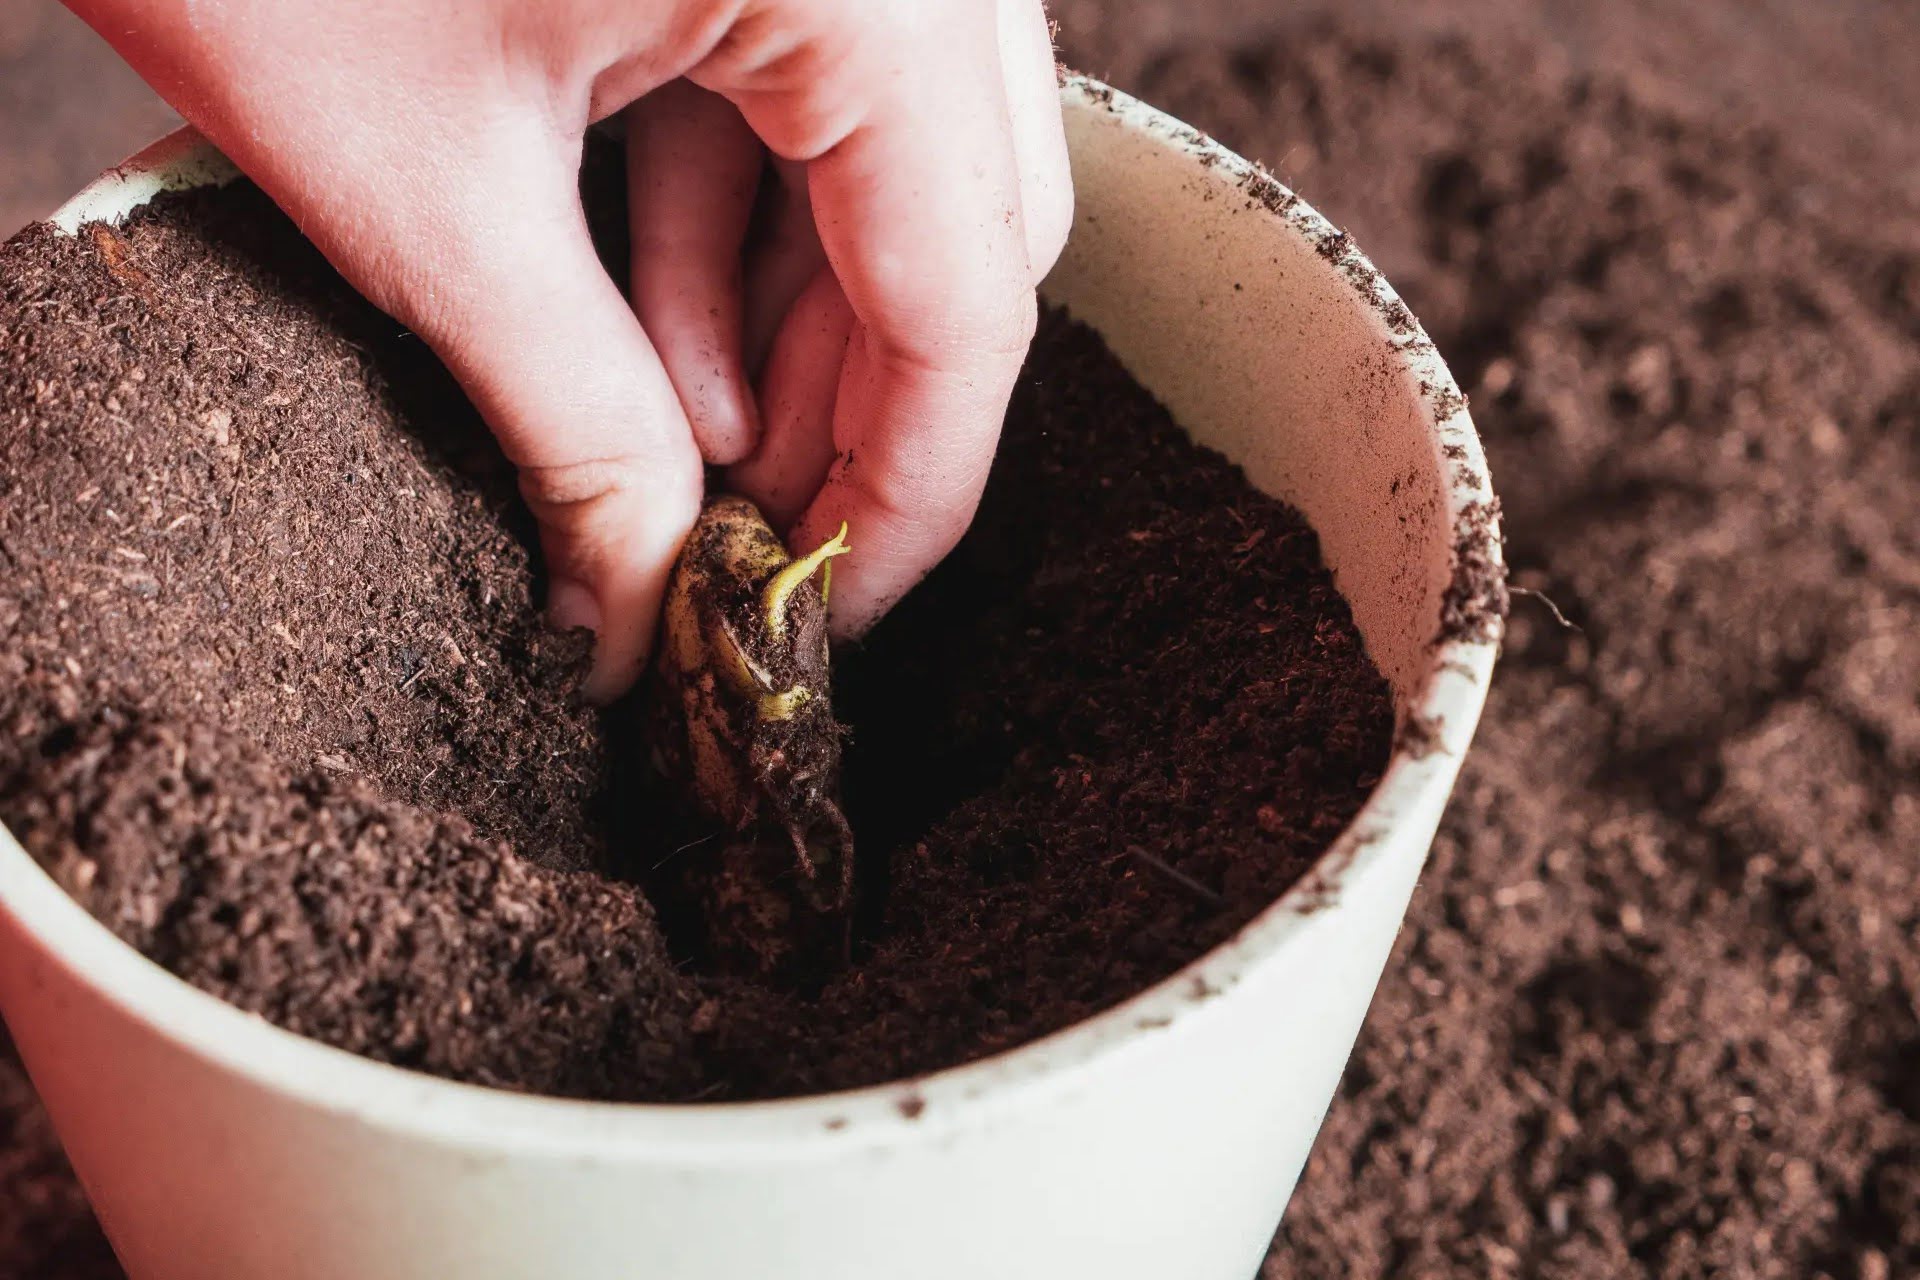
- Sow the seeds: If you choose to start indoors, fill seed trays or pots with seed starting mix and sow the catnip seeds on the surface. Lightly press the seeds into the soil and cover with a thin layer of soil or vermiculite. Keep the soil moist but not soaked. If you prefer to sow directly in the garden, sow the seeds about 1/4 inch deep and 12-18 inches apart.
- Provide optimal conditions: Catnip seeds require warmth and consistent moisture for germination. If starting indoors, place the seed trays in a warm location with temperatures around 70-75°F (21-24°C). If planting outdoors, choose a location with full sun or partial shade and ensure the soil remains consistently moist.
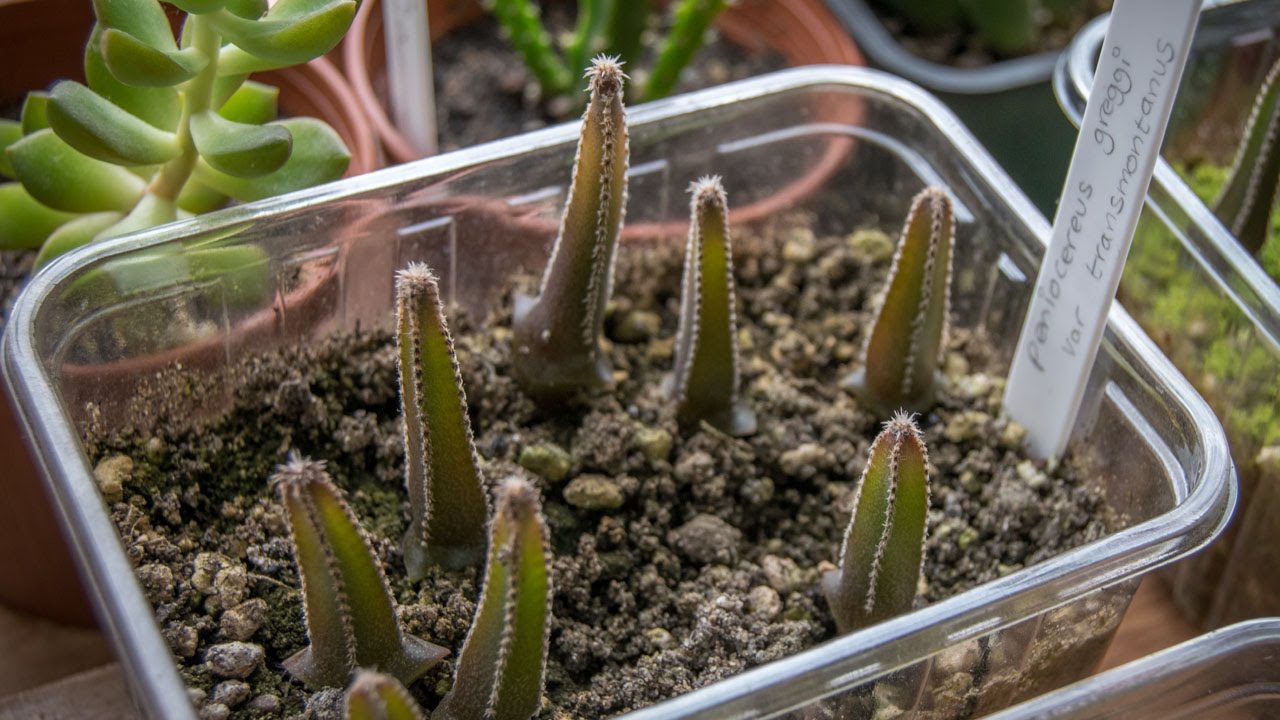
- Be patient: Catnip seeds typically take 1-2 weeks to germinate, but it can sometimes take longer. Be patient and continue to provide the necessary conditions for germination. Once the seedlings have established and reached a couple of inches in height, thin them out, leaving the strongest seedlings spaced according to the recommended planting guidelines.
Remember to label your catnip plants to avoid confusion with other herbs in your garden. As the seedlings grow, ensure they receive adequate sunlight and water regularly to encourage healthy development.
Now that your catnip seeds are sown, it’s time to move on to the next step: watering and care.
Plant catnip seeds in well-draining soil, either indoors in pots or outdoors in a sunny spot. Sow the seeds shallowly and keep the soil consistently moist until the seeds germinate. Once the seedlings are established, water them regularly and watch them grow!
Watering and Care
Proper watering and care are crucial for the growth and well-being of your catnip plants. Follow these guidelines to ensure your plants stay healthy:
- Watering: Catnip plants prefer consistently moist soil, but they do not tolerate waterlogged conditions. Water your catnip plants deeply whenever the top inch of soil feels dry. Avoid overwatering, as it can lead to root rot.
- Mulching: Apply a layer of organic mulch around the base of your catnip plants. This will help retain soil moisture, suppress weed growth, and regulate soil temperature. Use materials such as straw, shredded bark, or compost.
- Fertilizing: Catnip plants generally do not require much fertilizer. However, a light application of balanced organic fertilizer once or twice during the growing season can provide a nutrient boost. Follow the product instructions for proper dosage.
- Pruning: Regular pruning helps promote bushiness and prevents catnip plants from becoming leggy. Pinch back the stems when the plants reach about 6 inches in height, focusing on cutting back the top growth. This encourages the plant to branch out and produce more foliage.
- Pest and disease control: Catnip is relatively resistant to pests and diseases. However, occasionally it can be affected by aphids or spider mites. Monitor your plants regularly for any signs of infestation and treat with organic insecticidal soap if necessary. Remove any diseased or damaged leaves promptly.
Additionally, be aware that catnip has a spreading habit and can take up more space in your garden than initially anticipated. Regularly check the area around the plants and remove any unwanted runners to keep them contained.
By providing proper watering, mulching, occasional fertilization, and pruning as needed, you’ll ensure that your catnip plants remain healthy and productive throughout the growing season.
Next, let’s explore the exciting part: harvesting catnip!
Read more: How To Grow Catnip From Seed Indoors
Harvesting Catnip
Once your catnip plants have reached maturity, usually around 60-75 days after planting, it’s time to harvest the leaves. Here’s how to do it:
- Choose the right time: Harvest catnip in the morning when the essential oils are most potent. Avoid harvesting on rainy or humid days, as the moisture can affect the quality of the leaves.
- Select the leaves: Look for healthy leaves that are dark green and fully developed. Gently pinch or cut the leaves, leaving the stem intact. Avoid removing all the leaves from a single plant, as this can hinder its growth and health.
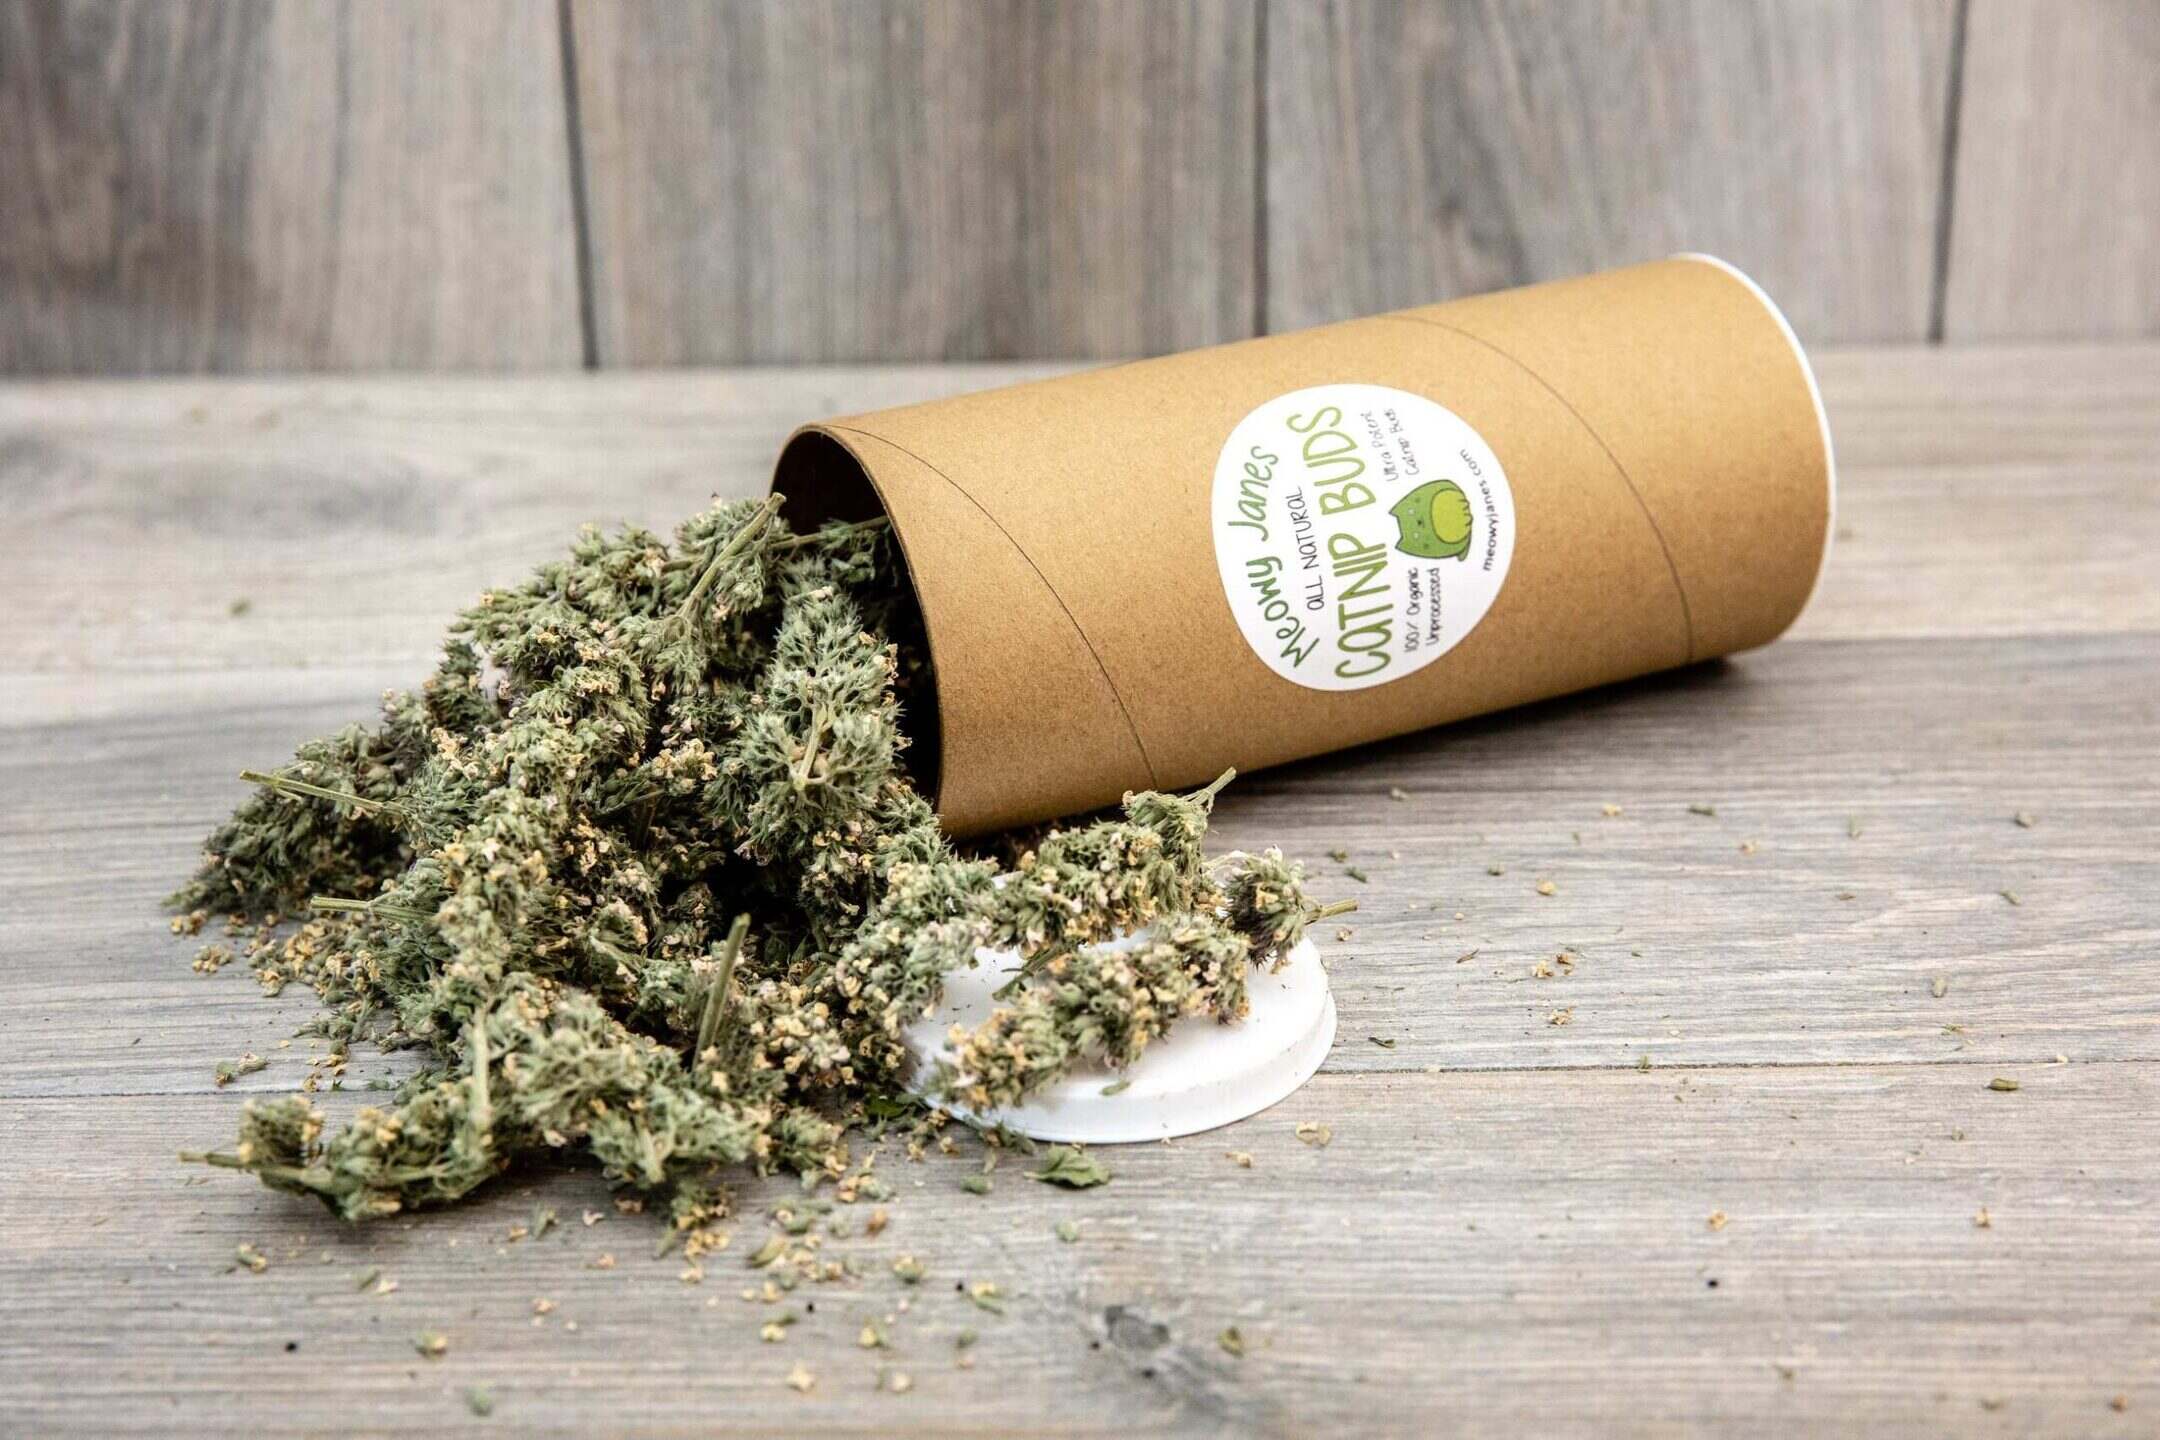
- Dry the leaves: After harvesting, spread the catnip leaves in a single layer on a clean surface or hang them in bundles upside down. Place them in a well-ventilated area away from direct sunlight. Allow the leaves to dry completely, which can take up to two weeks. The leaves are dry when they are brittle and crumble easily.
- Store properly: Once dried, remove any stems and gently crush the leaves to release the aromatic oils. Store the dried catnip leaves in airtight containers, preferably glass jars, away from moisture and direct light. Properly stored catnip can retain its potency for up to a year.
Harvested catnip leaves can be used in various ways. Most commonly, they are used to make catnip toys for cats. Simply stuff a small fabric pouch with the dried leaves and sew it shut. Cats will be attracted to the scent and enjoy playing with the toy.
Additionally, catnip leaves can be used to make herbal tea or added to culinary dishes, such as salads and sauces. The aromatic flavor of catnip adds a unique touch to recipes and can be a delightful addition to your culinary adventures.
By harvesting catnip leaves at the right time, properly drying them, and storing them correctly, you’ll have a fresh supply of catnip ready to entertain your furry friends or enhance your own culinary creations.
With this, you’ve completed the journey of growing and harvesting catnip. Now it’s time to relax and enjoy the fruits of your labor. Happy gardening and may your catnip plants flourish!
Conclusion
Congratulations! You’ve now learned how to start catnip seeds and grow your very own catnip plants. Whether you’re motivated by providing a source of joy for your beloved pets or by the desire to experience the beauty and aroma of catnip in your garden, this journey will surely be rewarding.
Remember to choose catnip seeds from reputable suppliers, prepare the soil properly, and sow the seeds with care. Provide your catnip plants with consistent moisture, light, and occasional fertilization, and don’t forget to take preventive measures against pests and diseases.
When the time comes, carefully harvest the leaves, dry them, and store them properly. Use the dried catnip leaves to create entertaining toys for your cats or explore their culinary potential by incorporating them into various recipes.
As you embark on your catnip-growing adventure, don’t forget to enjoy the process and take pleasure in nurturing a plant that brings joy to both you and your furry friends. Share the love and knowledge of catnip with fellow gardeners and cat enthusiasts, and perhaps even inspire them to grow their own catnip plants.
So go ahead, get your hands dirty, and bring the enchantment of catnip into your garden. Happy planting, harvesting, and most importantly, happy cats!
Frequently Asked Questions about How To Start Catnip Seeds
Was this page helpful?
At Storables.com, we guarantee accurate and reliable information. Our content, validated by Expert Board Contributors, is crafted following stringent Editorial Policies. We're committed to providing you with well-researched, expert-backed insights for all your informational needs.


0 thoughts on “How To Start Catnip Seeds”