Home>Garden Essentials>How To Save Tomato Seeds To Replant

Garden Essentials
How To Save Tomato Seeds To Replant
Modified: March 24, 2024
Learn how to save tomato seeds from your garden to replant next year. Get expert tips and techniques for preserving the seeds for a bountiful harvest.
(Many of the links in this article redirect to a specific reviewed product. Your purchase of these products through affiliate links helps to generate commission for Storables.com, at no extra cost. Learn more)
Introduction
Welcome to the world of seed saving! If you’re an avid gardener, you likely understand the satisfaction of growing your own vegetables from scratch. But have you ever considered saving and replanting your own tomato seeds? Not only is it a rewarding experience, but it also allows you to preserve heirloom varieties, save money, and even share your seeds with friends and fellow gardeners.
In this article, we will guide you through the process of saving tomato seeds, from choosing the right tomatoes to harvesting, fermenting, drying, and storing the seeds. Whether you’re a seasoned gardener or just starting out, you’ll find the information you need to successfully save and replant tomato seeds.
So why wait? Let’s dive into the world of tomato seed saving and discover the joy and satisfaction of growing your own tomatoes from start to finish!
Key Takeaways:
- Save tomato seeds to preserve unique flavors, save money, and connect with gardening traditions. Choose ripe, open-pollinated tomatoes, and follow the steps to harvest, ferment, and store seeds for future planting.
- Replant saved tomato seeds to grow unique, resilient plants adapted to your garden. Start indoors or direct sow, provide care, and enjoy the cycle of growth and seed saving.
Read more: How Do You Save Tomato Seeds
Why Save Tomato Seeds
The art of saving tomato seeds has been practiced for centuries, and for good reason. There are several compelling reasons why you should consider saving your own tomato seeds for replanting:
- Preserve heirloom varieties: Saving tomato seeds allows you to preserve rare and heirloom varieties that may not be readily available in stores. These varieties often have unique flavors, colors, and textures that can elevate your culinary creations.
- Cost savings: Growing tomatoes from saved seeds can save you money in the long run. Instead of purchasing new seed packets each year, you can rely on your own seed stock, reducing the expenses associated with gardening.
- Adaptability to your specific growing conditions: By saving seeds from tomatoes that have thrived in your garden, you can develop plants that are better adapted to your specific growing conditions. Over time, these plants will become more resilient and productive, leading to better harvests.
- Environmental sustainability: Saving tomato seeds contributes to environmental sustainability by reducing the need for seed production and distribution. It promotes self-sufficiency and reduces waste, making it a greener gardening practice.
- Sharing with others: Saving tomato seeds allows you to share your favorite varieties with friends, family, and fellow gardeners. This not only spreads the joy of growing delicious tomatoes but also helps preserve rare and unique varieties within the gardening community.
- Connecting to gardening traditions: Seed saving is deeply rooted in gardening traditions and connects us to the agricultural practices of our ancestors. By practicing seed saving, we honor and carry forward this age-old tradition, contributing to the rich tapestry of gardening heritage.
As you can see, there are numerous benefits to saving tomato seeds. Not only does it give you the opportunity to explore a wide range of tomato varieties, but it also empowers you to take control of your own food production. So why not give it a try and embark on an exciting journey of seed saving and tomato growing?
Choosing the Right Tomatoes for Seed Saving
When it comes to seed saving, selecting the right tomatoes is crucial. Not all tomatoes are suitable for saving seeds, as some are hybrid varieties that do not produce stable offspring. To ensure successful seed saving, follow these guidelines when choosing tomatoes for seed saving:
- Open-pollinated or heirloom varieties: Look for open-pollinated or heirloom tomato varieties. These types of tomatoes have been pollinated naturally and produce offspring that closely resemble the parent plant, ensuring genetic stability.
- Non-hybrid tomatoes: Avoid hybrid tomatoes, as they are the result of cross-breeding different varieties and can produce unpredictable offspring. While the fruits of hybrid tomatoes may be delicious, their seeds may not produce plants with the same desirable traits.
- Ample fruits for selection: Choose tomatoes with multiple ripe fruits on the same plant. This allows you to select the best-quality fruits for seed saving, ensuring that you pass down desirable traits to future generations.
- Healthy and disease-free plants: Select tomatoes from plants that are vigorous, healthy, and free from diseases or pests. Plants that show signs of disease or pest damage may pass on these undesirable traits to their offspring.
- Desirable characteristics: Prioritize tomatoes with desirable characteristics such as exceptional flavor, unique colors, or interesting textures. Saving seeds from these tomatoes allows you to preserve and enjoy these traits in future plants.
Remember, it’s essential to choose tomatoes that meet these criteria to ensure genetic purity and stability in the seeds you save. By selecting the right tomatoes for seed saving, you lay the foundation for successful and rewarding tomato gardening experiences in the future.
Harvesting Ripe Tomatoes
When it comes to saving tomato seeds, it’s crucial to harvest the fruits at the right time. Harvesting ripe tomatoes ensures that the seeds inside are fully developed and mature. Follow these steps to harvest tomatoes for seed saving:
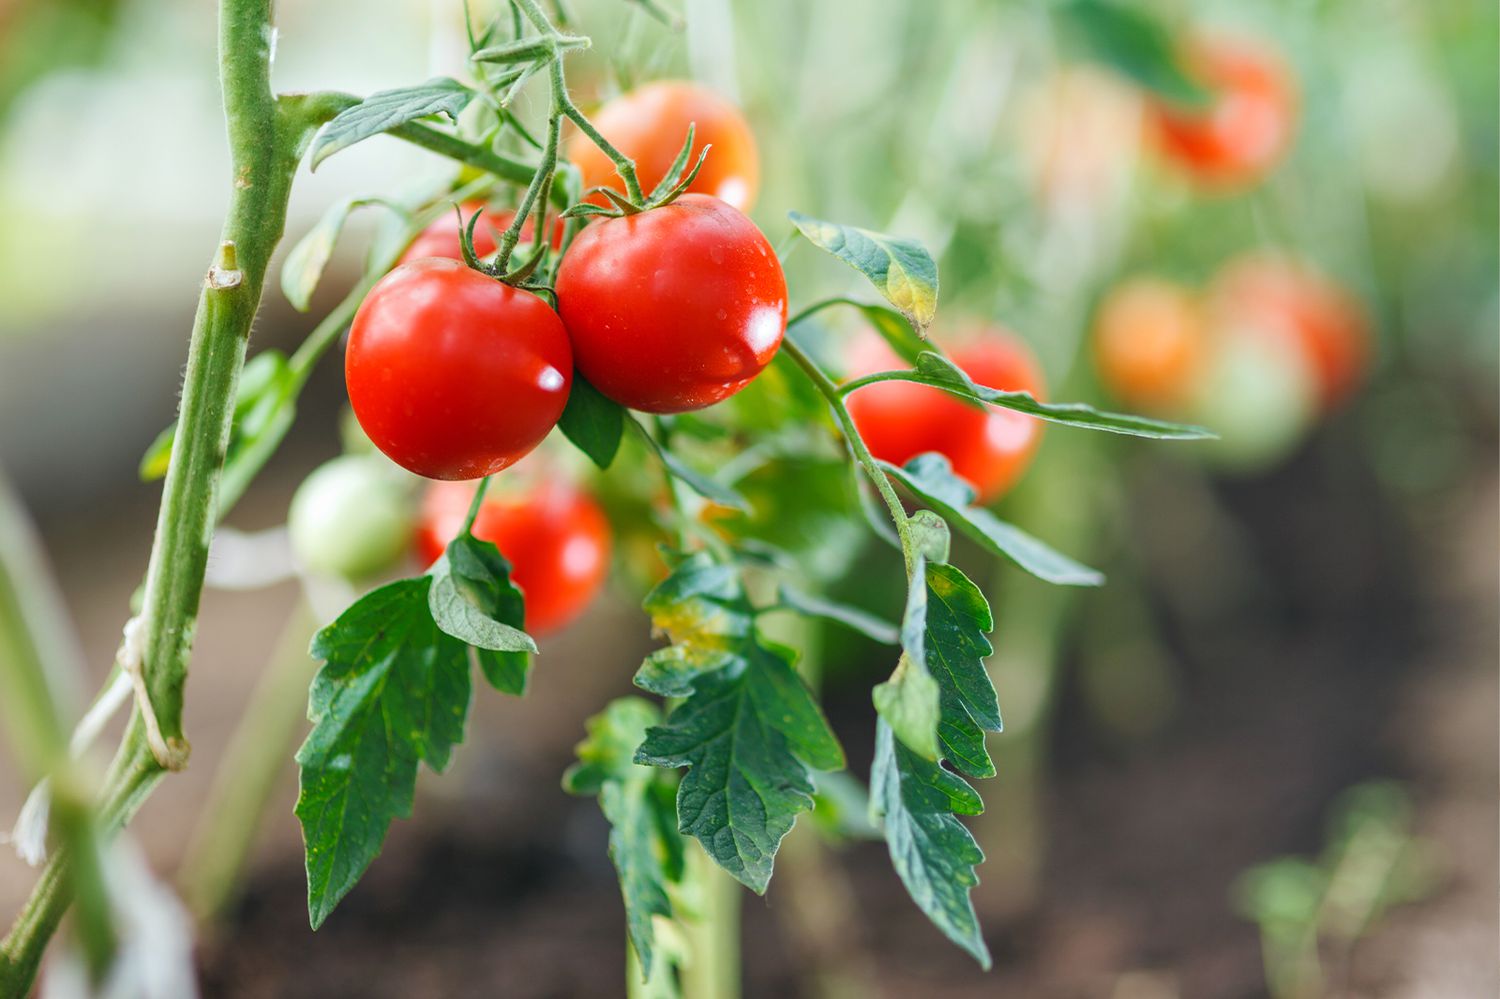
- Observe the fruit: Observe the tomatoes closely and look for signs of ripeness. Ripe tomatoes will have vibrant colors, firm texture, and a slight give when gently squeezed. They should also have a strong and pleasant aroma.
- Pick at the right stage: Harvest tomatoes when they are fully ripe but not overripe. Overripe tomatoes may have started to decay, which can affect the quality of the seeds they contain.
- Use a sharp knife or shears: To harvest tomatoes, gently cut the stem using a sharp knife or shears. Avoid pulling or twisting the fruit, as this can damage the stem and potentially harm the seeds inside.
- Handle with care: Handle the harvested tomatoes with care to prevent bruising or crushing. Even slight damage to the fruit can impact the quality of the seeds.
- Wash the tomatoes (optional): If the tomatoes have any dirt or debris on the skin, you can gently rinse them with water. However, it’s essential to ensure that the tomatoes are completely dry before proceeding to seed extraction.
By harvesting ripe tomatoes, you ensure that the seeds inside are mature and ready for seed saving. Remember to handle the fruits gently to avoid damaging the seeds and maintain their viability for replanting.
Removing Tomato Seeds
After harvesting ripe tomatoes, the next step in saving tomato seeds is to extract the seeds from the fruits. Removing tomato seeds allows you to separate them from the pulp, which can inhibit germination if not properly removed. Here’s how you can efficiently remove tomato seeds:
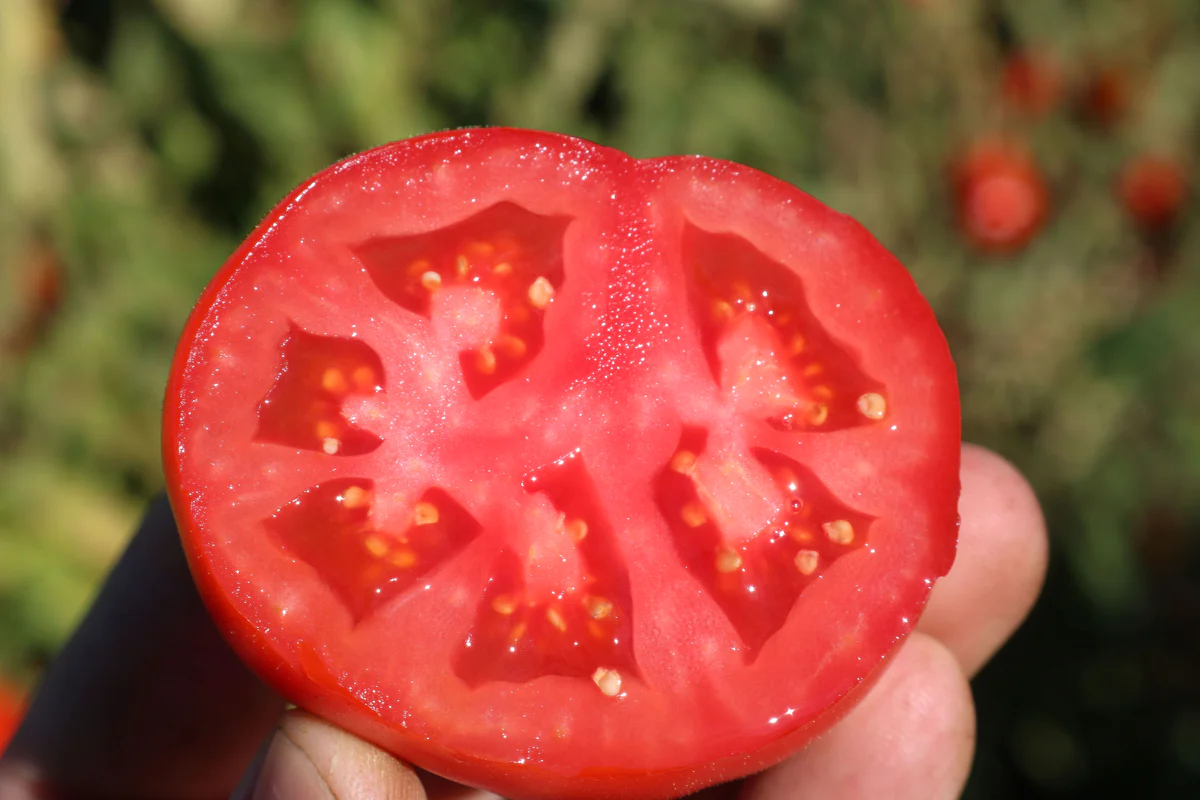
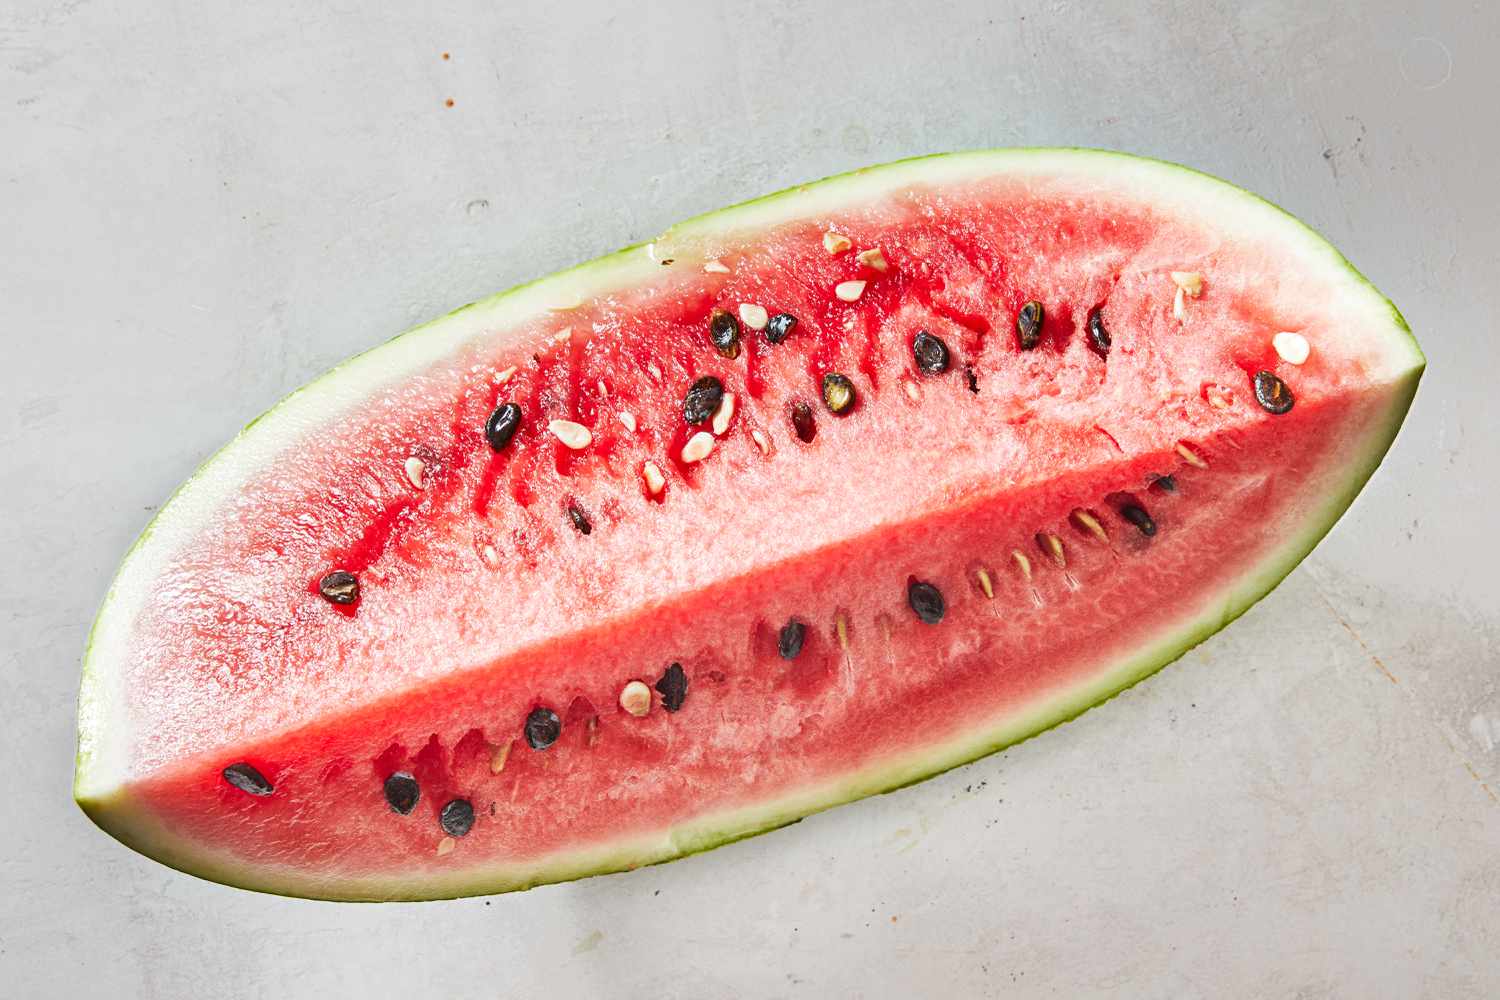
- Cut the tomato in half: Start by cutting the tomato horizontally or vertically, depending on your preference. This will expose the inner pulp and seed cavities.
- Scoop out the pulp and seeds: Use a spoon or your fingers to gently scoop out the pulp and seeds from each tomato half. Place them in a clean container or bowl.
- Separate the seeds from the pulp: Once you have collected the pulp and seeds, you need to separate them. You can do this by gently rubbing the seeds against a fine-mesh sieve or by using your fingers to separate them from the pulp. Rinse the seeds under water to remove any remaining pulp.
- Avoid damaging the seeds: Take care not to crush or damage the seeds during the removal process. Damaged seeds may not germinate properly.
- Repeat for all tomatoes: Repeat the process for each tomato, ensuring that you collect all the seeds for saving.
Remember, it’s crucial to work with clean hands and tools during this process to prevent any contamination that could affect the viability of the seeds. By carefully removing the seeds from the tomatoes, you’re one step closer to saving and replanting these precious tomato seeds.
To save tomato seeds, scoop out the seeds from a ripe tomato and place them in a jar with water. Let it ferment for a few days, then rinse and dry the seeds on a paper towel. Store in a cool, dry place for planting next season.
Read more: How To Save Tomato Seeds For Next Season
Fermenting Tomato Seeds
Fermenting tomato seeds is an essential step in the seed-saving process to remove the gelatinous coating that surrounds the seeds. This coating, present in many tomato varieties, can inhibit germination if not properly removed. Fermenting the seeds helps to break down this coating, allowing for healthy and viable seeds. Follow these steps to ferment tomato seeds:
- Place the seeds in a container: Transfer the collected tomato seeds along with any remaining pulp into a clean container. A glass jar or plastic container works well for this purpose.
- Add water: Add approximately twice the amount of water to the container as the volume of seeds and pulp. Stir gently to combine the seeds and water.
- Loosely cover the container: Place a breathable cover over the container, such as a coffee filter or a piece of cheesecloth, to allow air circulation while preventing debris or insects from entering.
- Find a warm spot: Place the container in a warm location, ideally around 70-75°F (21-24°C). The warmth helps to facilitate the fermentation process.
- Let it ferment: Allow the container to sit undisturbed for around three to five days. During this time, natural fermentation will occur, breaking down the gelatinous coating on the seeds.
- Check for fermentation: Throughout the fermentation period, check the container daily. You will notice a layer of mold forming on the surface, accompanied by a slightly fermented aroma. This is a sign that the fermentation process is taking place.
- Separate the seeds: After the fermentation process is complete, carefully pour off the mold and any floating materials on the surface. The viable seeds will settle at the bottom of the container.
- Rinse the seeds: Rinse the fermented seeds thoroughly under running water to remove any remaining residue or pulp.
- Dry the seeds: Spread the rinsed seeds on a paper towel or a fine-mesh sieve in a well-ventilated area. Allow the seeds to air dry completely, which usually takes around one to two weeks. Make sure to flip and stir the seeds occasionally to ensure even drying.
By fermenting and properly drying the tomato seeds, you eliminate the gelatinous coating and prepare them for long-term storage. This essential step increases the chances of successful germination when you replant the seeds in the future.
Drying Tomato Seeds
Drying tomato seeds is a crucial step in the seed-saving process to ensure their longevity and viability. Properly dried seeds have a lower moisture content, which helps prevent mold and fungus growth during storage. Follow these steps to effectively dry tomato seeds:
- Prepare a drying surface: Choose a clean and dry surface for drying the tomato seeds. Options include a paper towel, fine-mesh sieve, or a plate covered with parchment paper.
- Spread the seeds: Spread the rinsed tomato seeds in a single layer on the chosen drying surface. Avoid overcrowding the seeds, as this can impede airflow and prolong the drying process.
- Place in a well-ventilated area: Find a well-ventilated area with good air circulation for drying the seeds. Ensure that the location is away from direct sunlight and excessive humidity, as this can impede the drying process.
- Stir and flip the seeds: Every few days, gently stir and flip the seeds to promote even drying. This helps prevent any moisture buildup and ensures that the seeds dry uniformly.
- Monitor the drying process: Pay attention to the drying progress by observing the seeds. They should gradually change in appearance and feel lighter and drier to the touch.
- Check seed readiness: After one to two weeks of drying, check the seeds’ readiness by performing a snap test. When the seeds are sufficiently dry, they should snap when bent in half, indicating a low moisture content.
- Extend drying if necessary: If the seeds do not pass the snap test, continue drying them for a few more days until they reach the desired dryness.
- Store in airtight containers: Once the seeds are fully dry, transfer them to airtight containers such as glass jars, envelopes, or seed packets. Remember to label the containers with the tomato variety and the date of seed saving.
- Store in a cool, dry place: Store the dried tomato seeds in a cool and dry location, such as a pantry or refrigerator. The optimal storage temperature is around 50-55°F (10-13°C), with a humidity level below 50%.
By thoroughly drying the tomato seeds, you enhance their shelf life and increase the chances of successful germination when you’re ready to replant them. With proper storage, these seeds can be kept for several years, ensuring a continuous supply of delicious tomatoes for your garden.
Storing Tomato Seeds
Proper storage of tomato seeds is crucial to maintain their viability and germination potential. By following the correct storage practices, you can preserve the seeds and ensure their quality for future planting. Here’s how to store tomato seeds effectively:
- Ensure seed dryness: Before storing tomato seeds, it’s essential to ensure they are completely dry. If any moisture remains, it can lead to mold or fungal growth, which can damage the seeds. Perform the snap test described in the drying process section to confirm the seeds’ dryness.
- Prepare airtight containers: Choose appropriate containers for storing the tomato seeds, such as glass jars, envelopes, or seed packets. Make sure the containers are clean, dry, and airtight to prevent moisture and humidity from entering.
- Label and date: Before placing the tomato seeds in the containers, label them with the tomato variety and the date of seed saving. This information is crucial to keep track of your seed collection and ensure freshness.
- Cool and dry storage location: Find a cool and dry location for storing the seed containers. A pantry, basement, or refrigerator are suitable options. The ideal storage temperature is around 50-55°F (10-13°C), with a humidity level below 50%.
- Protect from temperature fluctuations: Avoid exposing the seeds to extreme temperature fluctuations, as this can affect their viability. Keep them away from direct sunlight and sources of heat or cold.
- Regularly inspect and test the seeds: Periodically inspect the stored tomato seeds for any signs of mold or deterioration. Additionally, perform a germination test by planting a small batch of seeds to ensure their viability before a larger planting.
- Rotate and renew: To maintain a healthy seed collection, practice seed rotation and renewal. Use older seeds first, and periodically refresh your collection by saving and adding new seeds from different tomato varieties.
By applying proper storage techniques and maintaining a carefully curated seed collection, you can ensure the longevity and viability of your tomato seeds. With each new growing season, you’ll have a treasure trove of high-quality seeds ready to be sown for bountiful tomato harvests.
Replanting Tomato Seeds
The process of replanting tomato seeds is an exciting step in the seed-saving journey. By following a few simple steps, you can sow your saved tomato seeds and watch them grow into healthy, productive plants. Here’s how to replant tomato seeds:
- Prepare the soil: Choose a well-draining location in your garden with full sun exposure. Prepare the soil by removing any weeds or debris and loosening it to a depth of about 6-8 inches. Incorporate organic matter, such as compost or well-rotted manure, to enrich the soil.
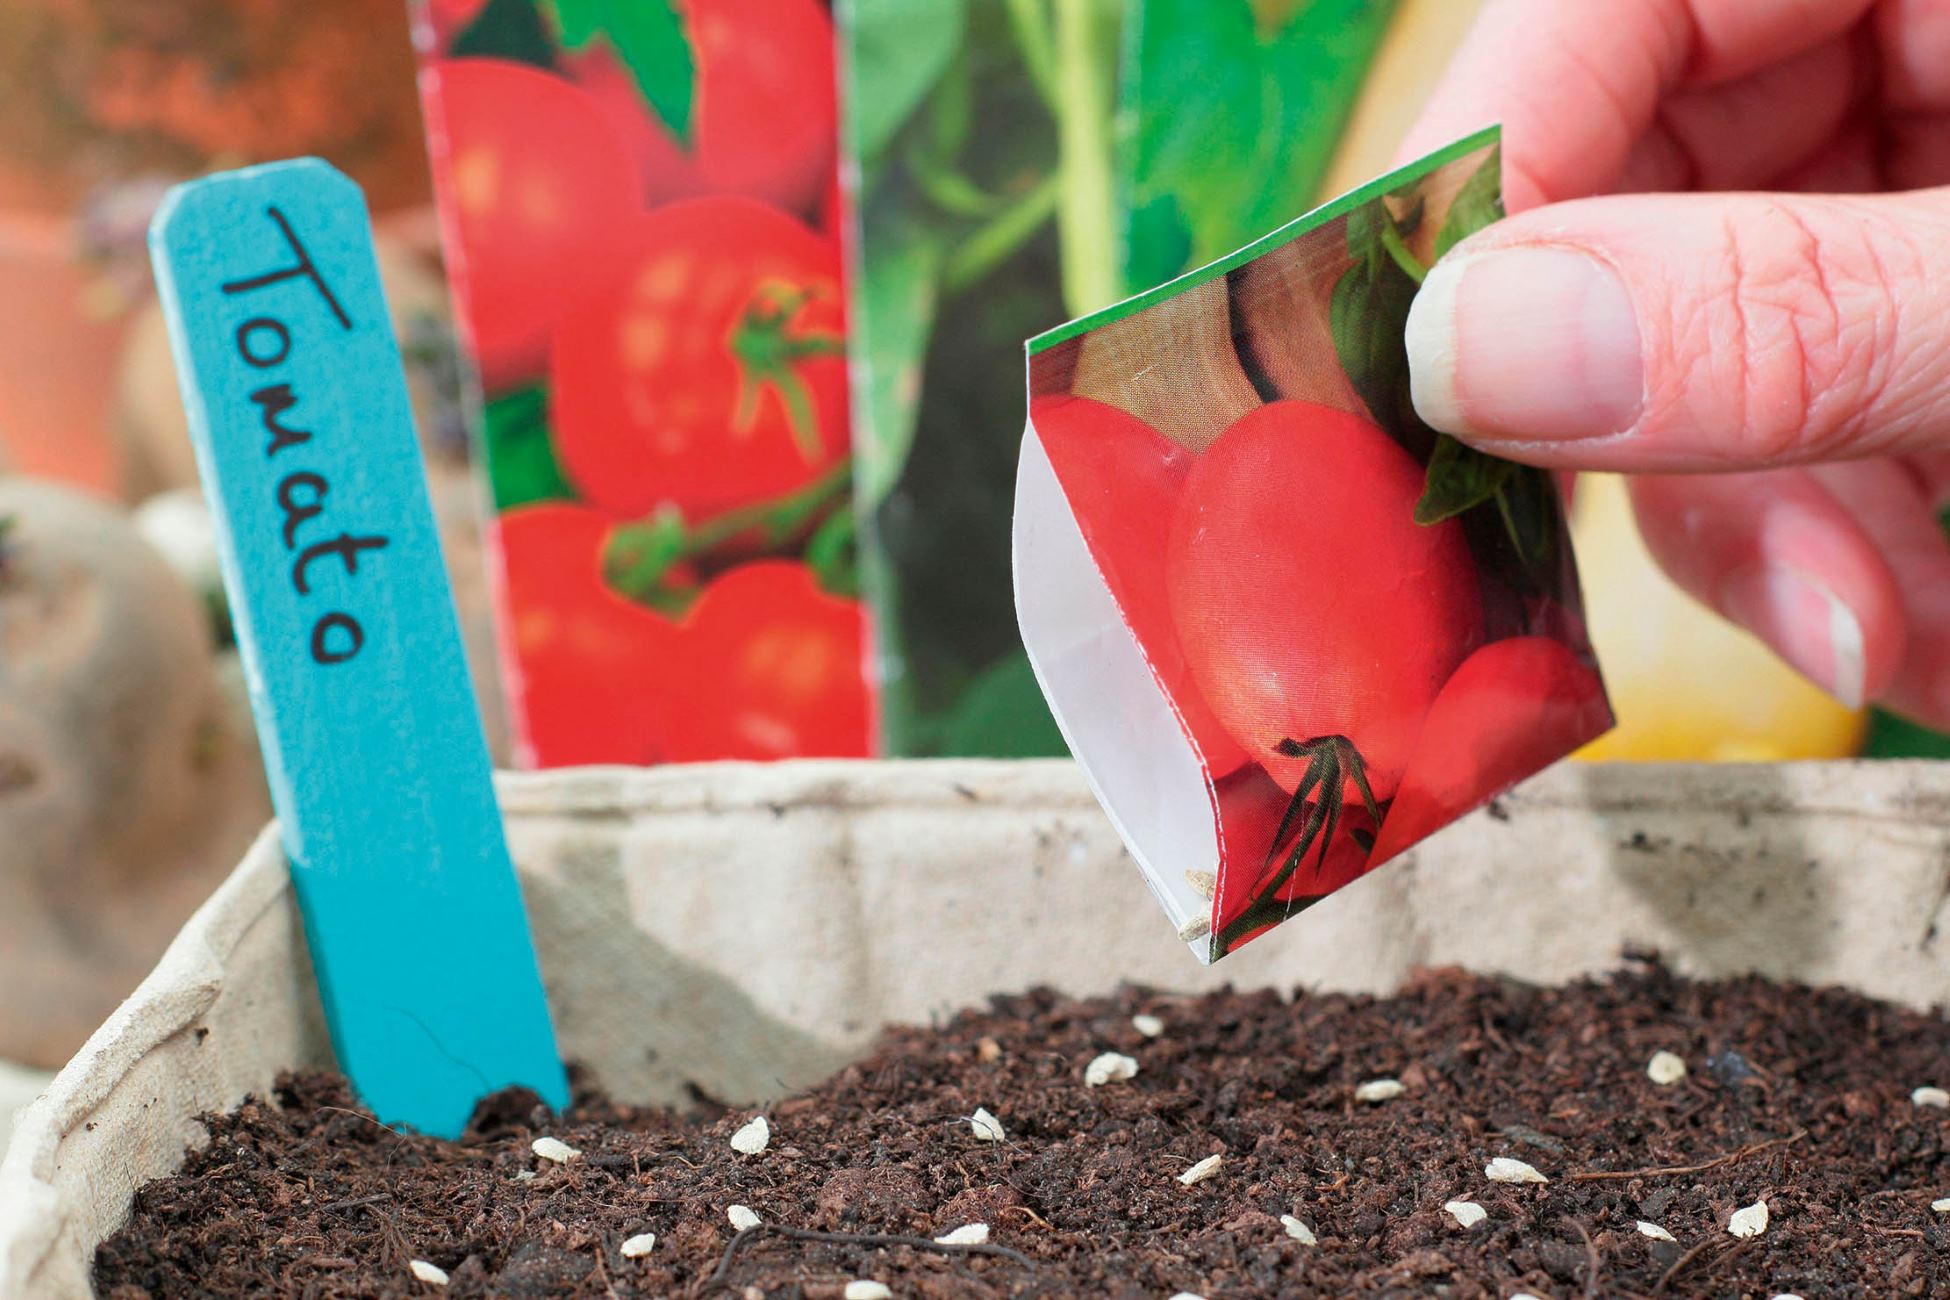
- Start seeds indoors (optional): Tomato seeds can be started indoors several weeks before the last frost date in your area. Plant seeds in pots or trays filled with seed-starting mix, keeping them moist and providing adequate warmth and light until they develop into sturdy seedlings.
- Direct sowing (alternative option): If you prefer, tomato seeds can also be directly sown into the garden once the soil has warmed up and all risk of frost has passed. Plant the seeds about 1/4 to 1/2 inch deep, spacing them 2-3 feet apart in rows or according to the recommended spacing for the specific tomato variety.
- Provide proper care: Once the tomato seeds have been planted, provide them with consistent moisture, keeping the soil evenly moist but not waterlogged. Mulching around the plants can help retain moisture and suppress weeds. Stake or cage the tomato plants for support as they grow.
- Monitor and nurture the plants: Regularly monitor the tomato plants for any signs of pests, diseases, or nutrient deficiencies. Provide the necessary care, such as watering, fertilizing with a balanced organic fertilizer, and pruning when needed, to promote healthy growth and fruit production.
- Harvest and save seeds: Once your tomato plants produce ripe and delicious fruits, you can harvest and save the seeds from the best-quality tomatoes. Follow the earlier sections of this article to properly harvest, remove, ferment, and dry the tomato seeds for future replanting.
Replanting tomato seeds not only allows you to continue the cycle of growth and seed saving but also provides you with the opportunity to fine-tune your tomato plants to suit your unique gardening conditions and preferences. Enjoy the process, savor the rewards, and explore the endless possibilities that come with growing your own tomatoes from saved seeds!
Read more: How To Save Seed
Conclusion
Congratulations, you’ve learned the art of saving and replanting tomato seeds! By delving into the world of seed saving, you can preserve heirloom varieties, save money, and foster a deeper connection to your garden and the rich heritage of agriculture.
Throughout this article, we’ve covered the essential steps for successfully saving tomato seeds. From choosing the right varieties to harvesting ripe tomatoes, removing the seeds, fermenting, drying, and storing them, you now have the knowledge and tools to embark on your seed-saving adventure.
Remember, the key to successful seed saving and replanting is to choose open-pollinated or heirloom tomatoes, ensure they are fully ripe when harvesting, and properly remove the seeds from the pulp. Fermentation and drying help prepare the seeds for storage, where they remain viable for years to come.
As you embark on your seed-saving journey, take the opportunity to experiment with different tomato varieties, share seeds with others, and continuously refresh your seed collection. Each year, you’ll witness the magic of new seedlings emerging from the seeds you saved, and your efforts will be rewarded with a bounty of delicious homegrown tomatoes.
So go ahead, dive into the wonderful world of seed saving, and enjoy the satisfaction of growing your own tomatoes from start to finish. Happy gardening!
Frequently Asked Questions about How To Save Tomato Seeds To Replant
Was this page helpful?
At Storables.com, we guarantee accurate and reliable information. Our content, validated by Expert Board Contributors, is crafted following stringent Editorial Policies. We're committed to providing you with well-researched, expert-backed insights for all your informational needs.


0 thoughts on “How To Save Tomato Seeds To Replant”