Home>Garden Essentials>How To Grow Catnip From Seed Indoors
Garden Essentials
How To Grow Catnip From Seed Indoors
Modified: March 16, 2024
Learn the best techniques to grow catnip from seed indoors in your garden. Step-by-step instructions for a successful indoor catnip garden.
(Many of the links in this article redirect to a specific reviewed product. Your purchase of these products through affiliate links helps to generate commission for Storables.com, at no extra cost. Learn more)
Introduction
Gardening is a rewarding and fulfilling hobby, but it can be especially satisfying when you’re able to grow useful plants like catnip. Catnip, also known as Nepeta cataria, is a member of the mint family and is popular among cat owners for its ability to induce a state of blissful euphoria in their feline friends. However, catnip is not just for cats – it is also a versatile herb that can be used for medicinal purposes, culinary delights, and aromatic teas.
If you’re interested in growing your own catnip from seed indoors, you’ve come to the right place. This comprehensive guide will walk you through the process step-by-step, ensuring that you have success in growing healthy and vibrant catnip plants right in the comfort of your own home.
Before we dive into the details, it’s important to note that catnip is a relatively easy plant to grow, making it an ideal choice for both beginner and experienced gardeners. With a little bit of preparation and care, you’ll be able to enjoy a bountiful supply of fresh catnip for your furry friends and yourself.
In the following sections, we’ll cover everything you need to know about choosing the right seeds, gathering the necessary materials, preparing the seedlings, planting the seeds, providing proper light and temperature conditions, watering and fertilizing, pruning and harvesting, and ultimately transplanting the seedlings outdoors. We’ll also touch on maintaining and caring for outdoor catnip plants once they are established.
So, let’s get started on this exciting journey of growing catnip from seed indoors. By the end of this guide, you’ll have all the knowledge and confidence you need to become a successful catnip gardener.
Key Takeaways:
- Growing catnip from seed indoors is an exciting and rewarding experience that requires choosing the right seeds, gathering materials, and providing proper care for healthy plant growth.
- Maintaining and caring for outdoor catnip plants involves regular watering, weeding, pruning, protecting from pests, and harvesting, ensuring the continued health and vitality of the plants.
Read more: How To Grow Sage Indoors From Seed
Choosing the Right Seeds
When it comes to growing catnip from seed indoors, choosing the right seeds is crucial for a successful outcome. Here are a few key factors to consider when selecting your catnip seeds:
- Variety: Catnip comes in different varieties, so it’s important to choose the one that suits your needs. Some popular catnip varieties include ‘Nepeta cataria’, ‘Nepeta faassenii’, and ‘Nepeta Junior Walker’.
- Purity: Ensure that the seeds you purchase are of high quality and pure. Look for reputable seed suppliers or choose certified organic seeds to ensure the best results.
- Germination Rate: Check the germination rate of the seeds. This information can usually be found on the seed packet or on the supplier’s website. A higher germination rate ensures a higher likelihood of successful seedlings.
- Freshness: Fresh seeds have a better chance of germination. Check the packaging or ask the supplier about the seed’s freshness date.
Once you have chosen your catnip seeds, it’s time to gather the necessary materials to create the ideal environment for their growth.
Gathering the Materials
Before you can start germinating your catnip seeds, it’s important to gather all the necessary materials. Here’s a list of the key items you’ll need:
- Seed Trays or Pots: Choose shallow trays or small pots with drainage holes to sow the seeds. These will provide enough space for the roots to grow.
- Seed-Starting Mix: Opt for a lightweight and well-draining seed-starting mix. Avoid using regular garden soil, as it may be too heavy and lead to poor root development.
- Watering Can or Spray Bottle: You’ll need a watering can with a fine spout or a spray bottle to moisten the soil without disturbing the seeds.
- Plastic Dome or Plastic Wrap: To create a humid environment for germination, cover the seed trays or pots with a plastic dome or plastic wrap until the seeds sprout.
- Grow Lights or Natural Light Source: Catnip seeds require ample light for successful germination and growth. If you’re growing indoors, consider using fluorescent grow lights or LED plant lights.
- Heat Mat (optional): If you’re looking to speed up the germination process, a heat mat placed under the seed trays can provide the ideal temperature range of around 70-75°F (21-24°C).
Once you have gathered all the necessary materials, prepare the seedlings for planting.
Preparing the Seedlings
Before you sow the catnip seeds, it’s important to prepare the seedlings to give them the best chance of success. Follow these steps to properly prepare the seedlings:
- Moisten the seed-starting mix: Pour the seed-starting mix into a bowl and moisten it with water. Mix it thoroughly until it is evenly damp. Avoid making it excessively wet, as overly wet soil can lead to rotting of the seeds.
- Fill the trays or pots: Fill the seed trays or small pots with the moistened seed-starting mix, leaving a small gap at the top for watering.
- Sow the seeds: Each catnip seed is tiny, so sprinkle them lightly and evenly on the surface of the soil. Aim for spacing the seeds about an inch apart.
- Cover the seeds: Gently press the seeds into the soil with your fingertips, ensuring they are in contact with the moist soil. You can also lightly sprinkle a thin layer of seed-starting mix on top for added coverage.
- Mist with water: Use a spray bottle to mist the surface of the soil, moistening it without displacing the seeds.
- Cover the trays: Place a plastic dome or cover the trays with plastic wrap to create a humid environment for germination. This will help retain moisture and provide the warmth the seeds need to sprout.
- Position the trays: Find a warm spot that receives indirect sunlight or place the trays under grow lights. Catnip seeds require temperatures around 70-75°F (21-24°C) for successful germination.
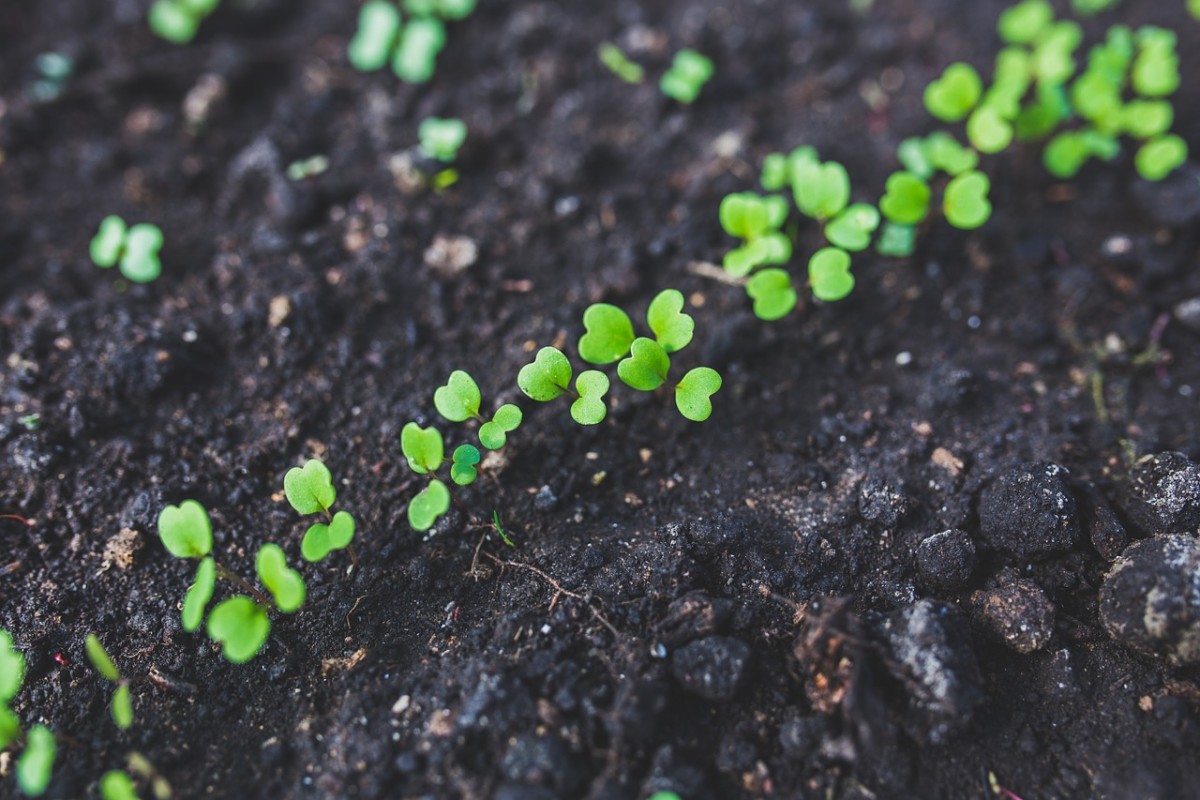
- Monitor and wait for germination: Check the seed trays regularly to ensure that the soil remains moist. Germination typically takes 7-14 days, but it may vary depending on the conditions.
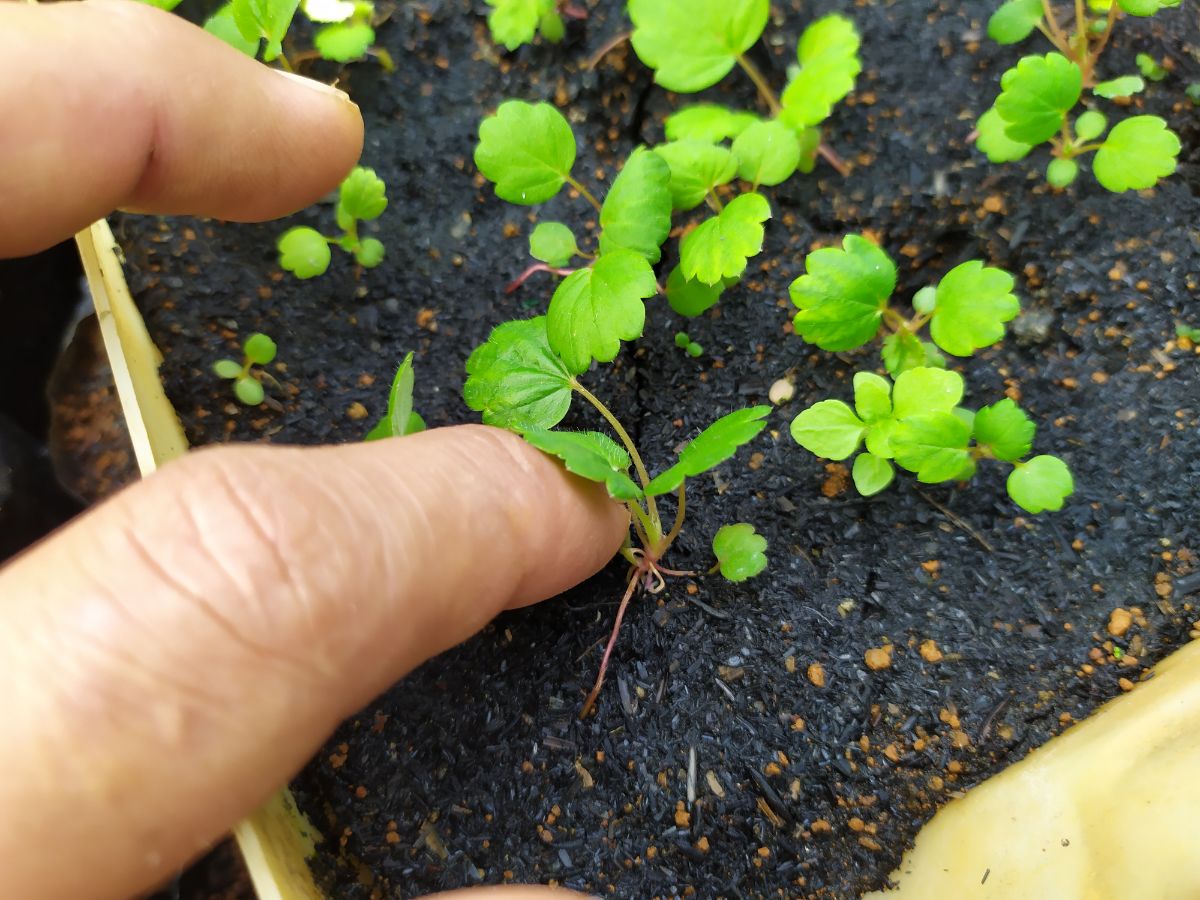
Once the catnip seeds have germinated and the seedlings have grown a few sets of true leaves, it’s time to move on to the next step: planting the seeds.
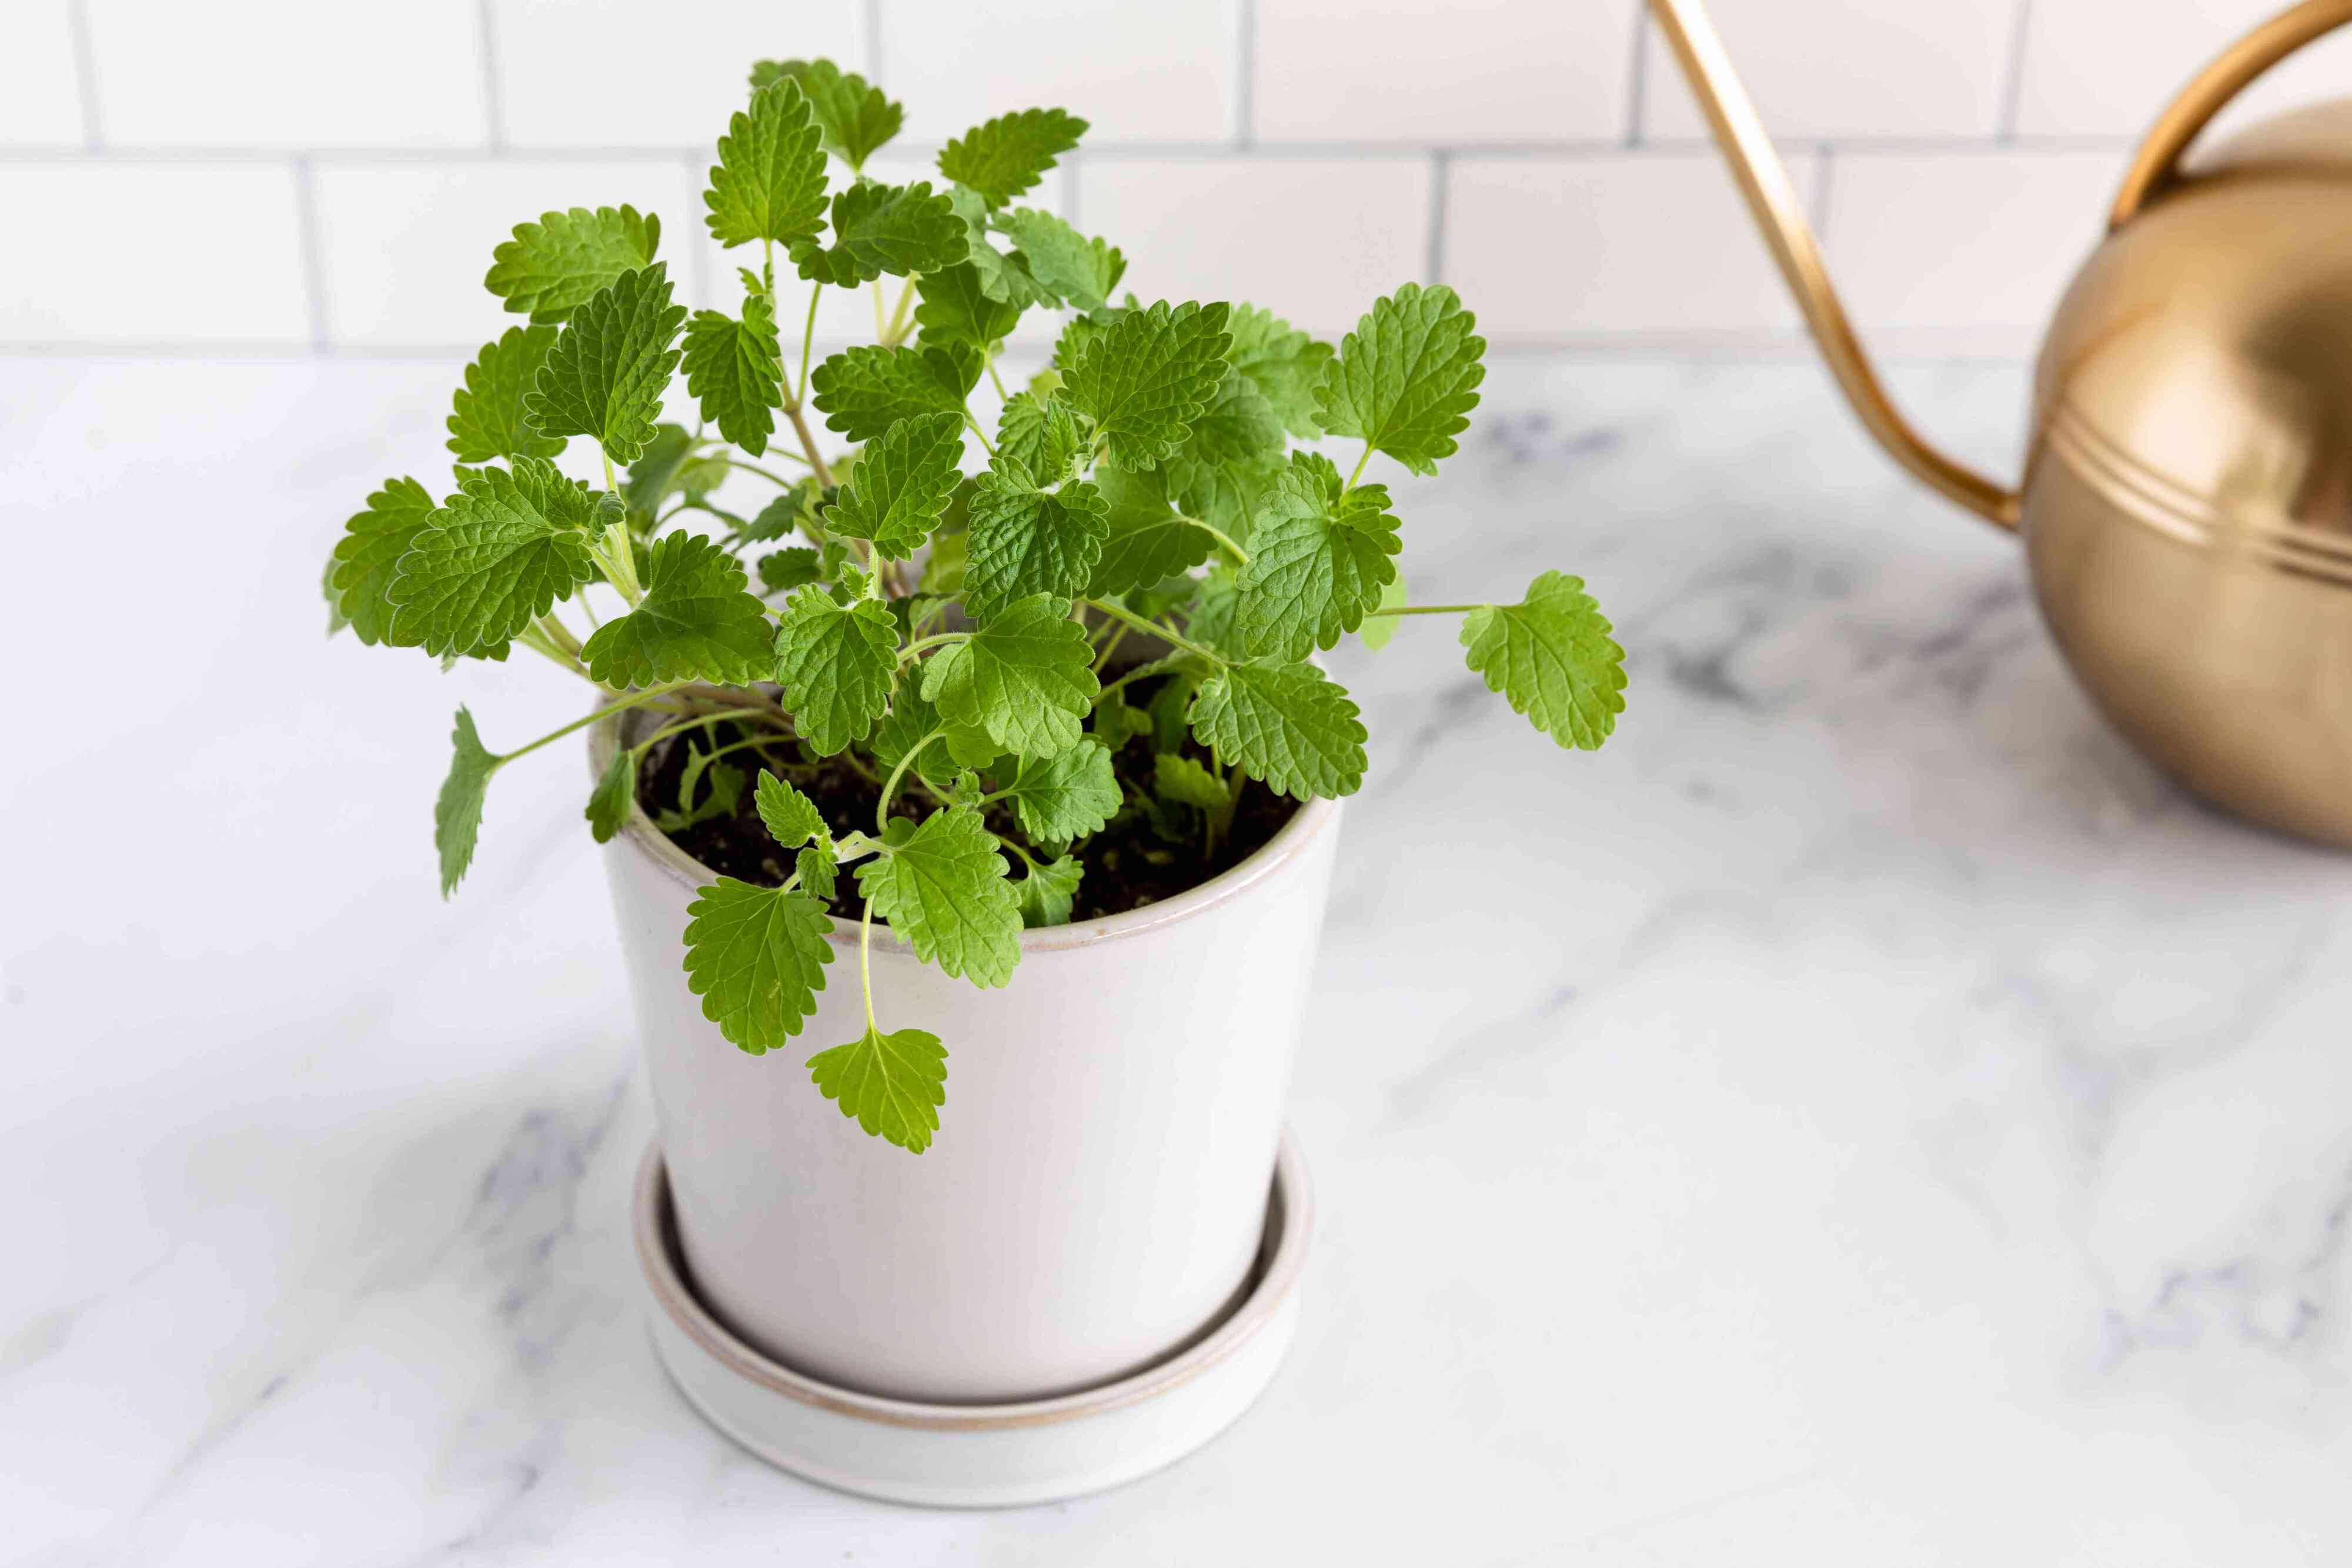
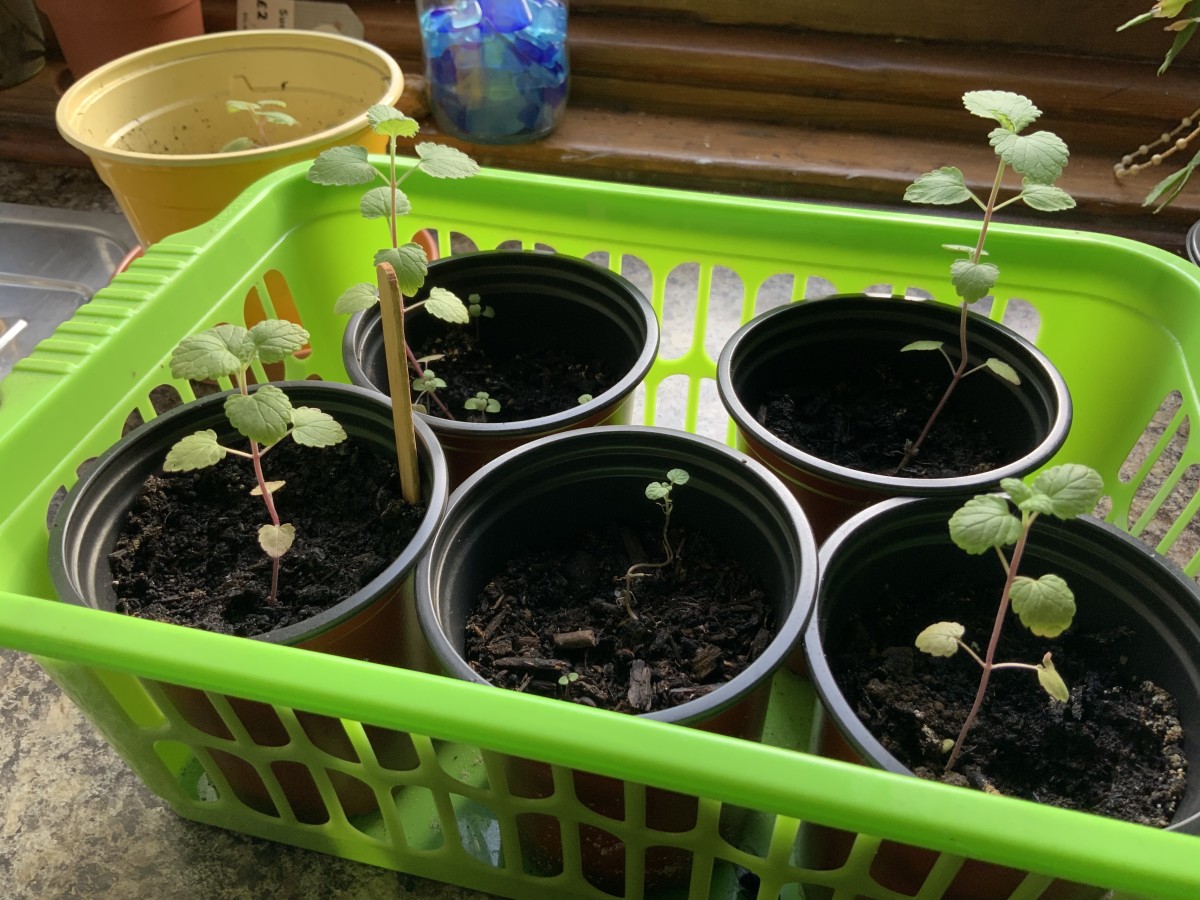
Planting the Seeds
Now that your catnip seeds have successfully germinated and the seedlings have developed a few sets of true leaves, it’s time to plant them in their permanent containers. Follow these steps to ensure proper planting:
- Prepare the containers: Choose larger pots or containers with drainage holes to allow for proper root development. Fill the containers with a well-draining potting mix.
- Transplant the seedlings: Carefully remove the seedlings from the seed trays or pots by gently loosening the soil around them. Be cautious not to damage the delicate roots.
- Plant at the same depth: Dig a hole in the potting mix of the new container, ensuring it is deep enough to hold the seedling at the same depth it was in the seed tray. Place the seedling in the hole, and lightly pat the soil around it to secure it in place.
- Space properly: If you’re planting multiple seedlings, make sure to space them at least 12 inches apart to allow for adequate air circulation and room for growth.
- Water thoroughly: Give the newly transplanted seedlings a good watering to settle the soil. Ensure that the water reaches the roots without saturating the soil.
- Place in a suitable location: Find a location that receives plenty of sunlight, ideally around 6-8 hours a day. Catnip thrives in full sun but can tolerate partial shade.
- Monitor and care for the seedlings: Keep a close eye on the seedlings during the initial days after transplanting. Ensure the soil remains consistently moist but not waterlogged. Watch for any signs of stress or diseases.
By following these planting steps, you’ve set a solid foundation for your catnip plants to grow and flourish. In the next section, we’ll explore the optimal lighting and temperature conditions for catnip growth.
Read more: How To Grow Cilantro From Seed Indoors
Providing Proper Light and Temperature
Proper lighting and temperature are essential for the healthy growth of catnip plants. Here’s what you need to know to provide the optimal conditions:
Light:
Catnip plants thrive in full sun, so it’s important to provide them with ample light. If you’re growing indoors, place your catnip plants near a south-facing window where they can receive at least 6-8 hours of sunlight a day. If natural light is insufficient or inconsistent, consider using fluorescent or LED grow lights. Position the lights about 6-12 inches above the plants, adjusting the height as the plants grow taller.
Temperature:
Catnip plants prefer moderate temperatures for optimal growth. The ideal temperature range is around 70-75°F (21-24°C) during the day and slightly cooler at night, around 60-70°F (15-21°C). Avoid exposing the plants to extreme heat or cold drafts, as they can impact growth and overall plant health. If growing outdoors, ensure that your catnip plants are protected from frost by either covering them or bringing them indoors during cold spells.
Humidity:
Catnip plants prefer average to slightly dry humidity levels. They can tolerate lower humidity without major issues. However, if you notice the leaves wilting or drying out excessively, consider increasing the humidity around the plants. You can mist the leaves with water or use a humidifier in the room where the plants are located.
By providing your catnip plants with the right amount of light and maintaining optimal temperature conditions, you’ll create an environment that promotes healthy growth and robust foliage. The next section will discuss watering and fertilizing techniques to ensure your plants receive the proper nourishment.
When growing catnip from seed indoors, make sure to use a well-draining potting mix and keep the soil consistently moist but not waterlogged. Place the seeds in a warm, sunny spot and cover them lightly with soil. Keep the soil temperature around 70-75°F for best germination.
Watering and Fertilizing
Proper watering and fertilizing are crucial for the overall health and vitality of your catnip plants. Here are some guidelines to help you effectively water and nourish your plants:
Watering:
When it comes to watering catnip plants, it’s important to strike a balance. Overwatering can lead to root rot, while underwatering can cause the plants to become stressed and wilted. Here are a few tips to help you water your catnip plants effectively:
- Check the soil moisture: Before watering, gently touch the soil to determine if it feels dry. If the top inch of the soil feels dry to the touch, it’s time to water.
- Water deeply: When watering, aim to moisten the entire root ball. Pour water at the base of the plant until you see it draining out of the drainage holes. Avoid water splashing on the leaves, as it can lead to fungal diseases.
- Allow proper drainage: Ensure that the containers or pots have proper drainage holes to prevent waterlogging. Standing water can suffocate the roots and lead to plant stress.
- Monitor dry periods: During hot and dry periods, you may need to water your catnip plants more frequently. Keep an eye on the soil moisture levels and adjust the watering schedule accordingly.
Fertilizing:
While catnip plants are relatively low-maintenance, they can benefit from occasional fertilization to promote healthy growth and enhance essential oil production. Here are some tips for fertilizing your catnip plants:
- Use organic fertilizers: Opt for organic fertilizer options, such as compost or well-rotted manure, to provide a slow release of nutrients. Organic fertilizers help improve soil fertility without the risk of burning the plant roots.
- Apply fertilizer sparingly: Catnip plants don’t require heavy fertilization. Apply a balanced organic fertilizer once every 4-6 weeks during the growing season. Follow the package instructions for proper application rates.
- Avoid excess nitrogen: While catnip plants appreciate a moderate amount of nitrogen for leafy growth, excessive nitrogen can result in lush foliage but diminished fragrance. Use a fertilizer with a balanced mix of nutrients to maintain the ideal growth balance.
- Water after fertilizing: After applying fertilizer, water the plants thoroughly to ensure the nutrients are distributed evenly throughout the soil.
By following these watering and fertilizing guidelines, you’ll be able to provide your catnip plants with the necessary hydration and nourishment they need to thrive. The next section will discuss pruning and harvesting techniques to keep your catnip plants in good shape and to enjoy their aromatic benefits.
Pruning and Harvesting
Pruning and harvesting catnip plants are essential for maintaining their health, shape, and ensuring the production of aromatic leaves for your furry companions. Here are some tips on how to properly prune and harvest your catnip plants:
Pruning:
Regular pruning helps to keep catnip plants compact, encourages bushier growth, and prevents them from becoming leggy. Follow these pruning tips to keep your catnip plants in shape:
- Start pruning early: Begin pruning when your catnip plants are around 6-8 inches tall. This will encourage the growth of lateral branches and a denser foliage.
- Trim the stem tips: Using clean and sharp pruning shears, remove the top 2-3 inches of the stems. This will stimulate branching and promote a bushier plant.
- Remove spent flowers: Once the catnip plants start flowering, regularly deadhead them by removing faded or spent flowers. This will prevent seed production and encourage the plant to focus its energy on producing more foliage.
- Remove damaged or diseased leaves: Keep an eye out for any yellowed or damaged leaves and promptly remove them. Pruning off unhealthy foliage not only improves the plant’s appearance but also helps prevent the spread of diseases.
Harvesting:
Harvesting catnip leaves is an exciting and rewarding process. The leaves can be used fresh or dried for various purposes. Here’s how to harvest catnip leaves:
- Wait for the right time: The best time to harvest catnip leaves is in the morning when the essential oil content is at its highest. Avoid harvesting on rainy or humid days, as moisture can affect the quality of the leaves.
- Select mature leaves: Choose leaves that are fully grown and vibrant green. These leaves will have the most potent fragrance and flavor.
- Pinch or cut stems: Pinch or cut the stems just above a leaf node or set of leaves. This encourages branching and allows the plant to continue growing and producing more foliage.
- Drying catnip leaves: To dry the leaves, gather small bunches and tie them together with a rubber band or string. Hang the bunches upside down in a dry, well-ventilated area away from direct sunlight. Once dry, crumble the leaves and store them in an airtight container for future use.
By regularly pruning and harvesting your catnip plants, you’ll not only keep them in optimal shape but also enjoy the aromatic benefits they provide. In the next section, we’ll discuss how to transplant catnip seedlings outdoors for those who want to grow catnip in their garden or outdoor space.
Transplanting Outdoors
If you prefer to grow your catnip plants in an outdoor garden or if you want to transplant your indoor-grown seedlings outside, here’s a step-by-step guide to successfully transplanting your catnip seedlings:
- Choose the right time: Transplant your catnip seedlings outdoors after the last frost date in your area when the soil has warmed up and the risk of frost has passed. This is usually in late spring or early summer.
- Prepare the planting area: Select a location in your garden that receives full sun or partial shade. Catnip prefers well-draining soil, so ensure the planting area has good drainage. If needed, amend the soil with compost to improve its fertility and drainage.
- Dig the planting holes: Dig holes in the prepared area that are slightly larger than the root balls of your catnip seedlings. Space the holes at least 12 inches apart to allow for airflow and growth.
- Remove the seedlings from containers: Gently remove the catnip seedlings from their containers, being careful not to disturb or damage the roots. If the roots are tightly bound, you can lightly tease them apart to encourage healthy growth.
- Place the seedlings in the holes: Set each seedling in a planting hole, ensuring that it is at the same depth it was in its previous container. Backfill the hole with soil, gently firming it around the roots.
- Water the newly transplanted seedlings: Give the transplanted seedlings a thorough watering to settle the soil and help the roots establish. Water the plants regularly, keeping the soil evenly moist but not waterlogged.
- Mulch the area: Apply a layer of organic mulch, such as straw or wood chips, around the base of the catnip plants. Mulching helps retain moisture, suppresses weed growth, and insulates the roots during temperature fluctuations.
- Provide support if needed: If your catnip plants are tall or prone to leaning, you can provide support, such as stakes or small cages, to prevent them from falling over, especially during heavy rain or wind.
Transplanting your catnip seedlings outdoors gives them more space to grow, benefiting from natural sunlight and providing a natural habitat for pollinators. In the next section, we’ll discuss how to maintain and care for your outdoor catnip plants to ensure their continued growth and well-being.
Read more: How To Grow Kale From Seed Indoors
Maintaining and Caring for Outdoor Catnip Plants
Once your catnip plants are established in your outdoor garden, they will require some ongoing maintenance and care to thrive. Here are some essential tips for maintaining and caring for outdoor catnip plants:
Watering:
Outdoor catnip plants require regular watering, especially during dry periods. Water deeply at the base of the plants, ensuring the soil is evenly moist but not waterlogged. Avoid overhead watering to prevent fungal diseases. Monitor the soil moisture levels and adjust the watering frequency based on weather conditions and the plant’s needs.
Weeding:
Regular weeding is essential to keep your catnip plants healthy and prevent competition for nutrients and moisture. Remove weeds by hand or use mulch to suppress weed growth around the base of the plants. Be cautious while weeding to avoid damaging the catnip plants’ shallow root systems.
Pruning:
Outdoor catnip plants benefit from occasional pruning to maintain their shape and encourage branching. Trim back any leggy or sprawling stems to keep the plant compact and encourage fuller growth. Remove any dead, damaged, or yellowing leaves and flowers to maintain overall plant health.
Protecting from Pests:
While catnip plants are relatively resilient to pests, they may occasionally attract aphids, flea beetles, or caterpillars. Monitor your plants regularly and take prompt action if you notice any pest infestations. You can remove pests by hand or use organic pest control methods such as insecticidal soap or neem oil.
Harvesting:
Continue to harvest your catnip leaves as needed throughout the growing season. Regular harvesting promotes new growth and encourages the production of fresh, flavorful leaves. Remember to harvest in the morning when the essential oil content is at its peak for maximum fragrance and potency.
Winter Care:
In colder climates, catnip plants may die back in winter. Cut back the stems to ground level after the first frost, and cover the root area with a layer of mulch to insulate it during the winter months. In spring, the plant will regenerate and resume its growth.
By following these maintenance and care practices, you’ll ensure the continued health and vitality of your outdoor catnip plants. Enjoy the beauty and benefits they bring to your garden.
Now that you have all the information you need to successfully grow and care for catnip plants, you can embark on a rewarding journey of providing joy to your feline companions and enjoying the versatility of this wonderful herb. Happy catnip gardening!
Conclusion
Growing catnip from seed indoors is a fulfilling and rewarding experience that allows you to enjoy the benefits of this versatile herb right at your fingertips. By following the steps outlined in this guide, you’ll be well-equipped to successfully grow healthy catnip plants.
From choosing the right seeds and gathering the necessary materials to preparing the seedlings, planting the seeds, and providing proper light and temperature conditions, every step plays a crucial role in the growth and development of your catnip plants. Likewise, watering and fertilizing techniques, pruning and harvesting practices, and ultimately transplanting the seedlings outdoors are essential for maintaining and caring for your catnip plants.
Whether you’re growing catnip for your furry friends or for various culinary, medicinal, and aromatic purposes, catnip is an incredible herb that offers numerous benefits. Its ability to induce euphoria in cats, its soothing effects for humans, and its versatile uses in teas, culinary dishes, and herbal remedies make catnip a valuable addition to any garden.
Remember to maintain proper care and attention to your catnip plants by regularly watering, fertilizing, pruning, and protecting them from pests. Enjoy the process of harvesting fresh leaves and exploring the various ways to use catnip for your own benefit.
So, don’t hesitate to embark on this exciting journey of growing catnip from seed indoors. With the knowledge and information provided in this guide, you’re well on your way to becoming a successful catnip gardener. Happy growing!
Frequently Asked Questions about How To Grow Catnip From Seed Indoors
Was this page helpful?
At Storables.com, we guarantee accurate and reliable information. Our content, validated by Expert Board Contributors, is crafted following stringent Editorial Policies. We're committed to providing you with well-researched, expert-backed insights for all your informational needs.


0 thoughts on “How To Grow Catnip From Seed Indoors”