Home>Garden Essentials>How To Plant Celery Seeds
Garden Essentials
How To Plant Celery Seeds
Modified: August 27, 2024
Learn how to plant celery seeds in your garden and start growing your own fresh supply of crunchy, nutritious celery stalks. Step-by-step guide for successful cultivation.
(Many of the links in this article redirect to a specific reviewed product. Your purchase of these products through affiliate links helps to generate commission for Storables.com, at no extra cost. Learn more)
Introduction
Welcome to the exciting world of gardening! If you have a green thumb and a love for fresh, homegrown produce, then learning how to plant celery seeds is a great place to start. Celery is a versatile and nutritious vegetable that can be used in a variety of dishes, from soups and salads to stir-fries and juices.
Not only is growing your own celery a rewarding experience, but it also allows you to have control over the quality of your food. By planting celery seeds, you can avoid the pesticides and chemicals often found in store-bought produce, and enjoy the satisfaction of harvesting your very own organic celery stalks.
Before we dive into the process of planting celery seeds, let’s take a moment to understand the basic requirements for successful growth. Celery is a cool-season crop that thrives in moderate temperatures, ideally between 60°F and 70°F (15°C to 21°C). It requires a sunny location with well-drained soil and regular watering to keep the plants hydrated.
In this article, we will guide you through the step-by-step process of planting celery seeds and nurturing them into healthy, vibrant plants. So let’s roll up our sleeves, grab our gardening tools, and get ready to embark on this gardening adventure!
Key Takeaways:
- Growing celery from seeds is a fun and rewarding experience. Choose the right seeds, prepare the soil, and provide proper care to enjoy a bountiful harvest of fresh, organic celery for your favorite dishes!
- Harvesting celery is a satisfying moment in your gardening journey. Selectively pick mature stalks, enjoy the homegrown flavor, and continue to care for your plants to ensure a continuous harvest of delicious celery!
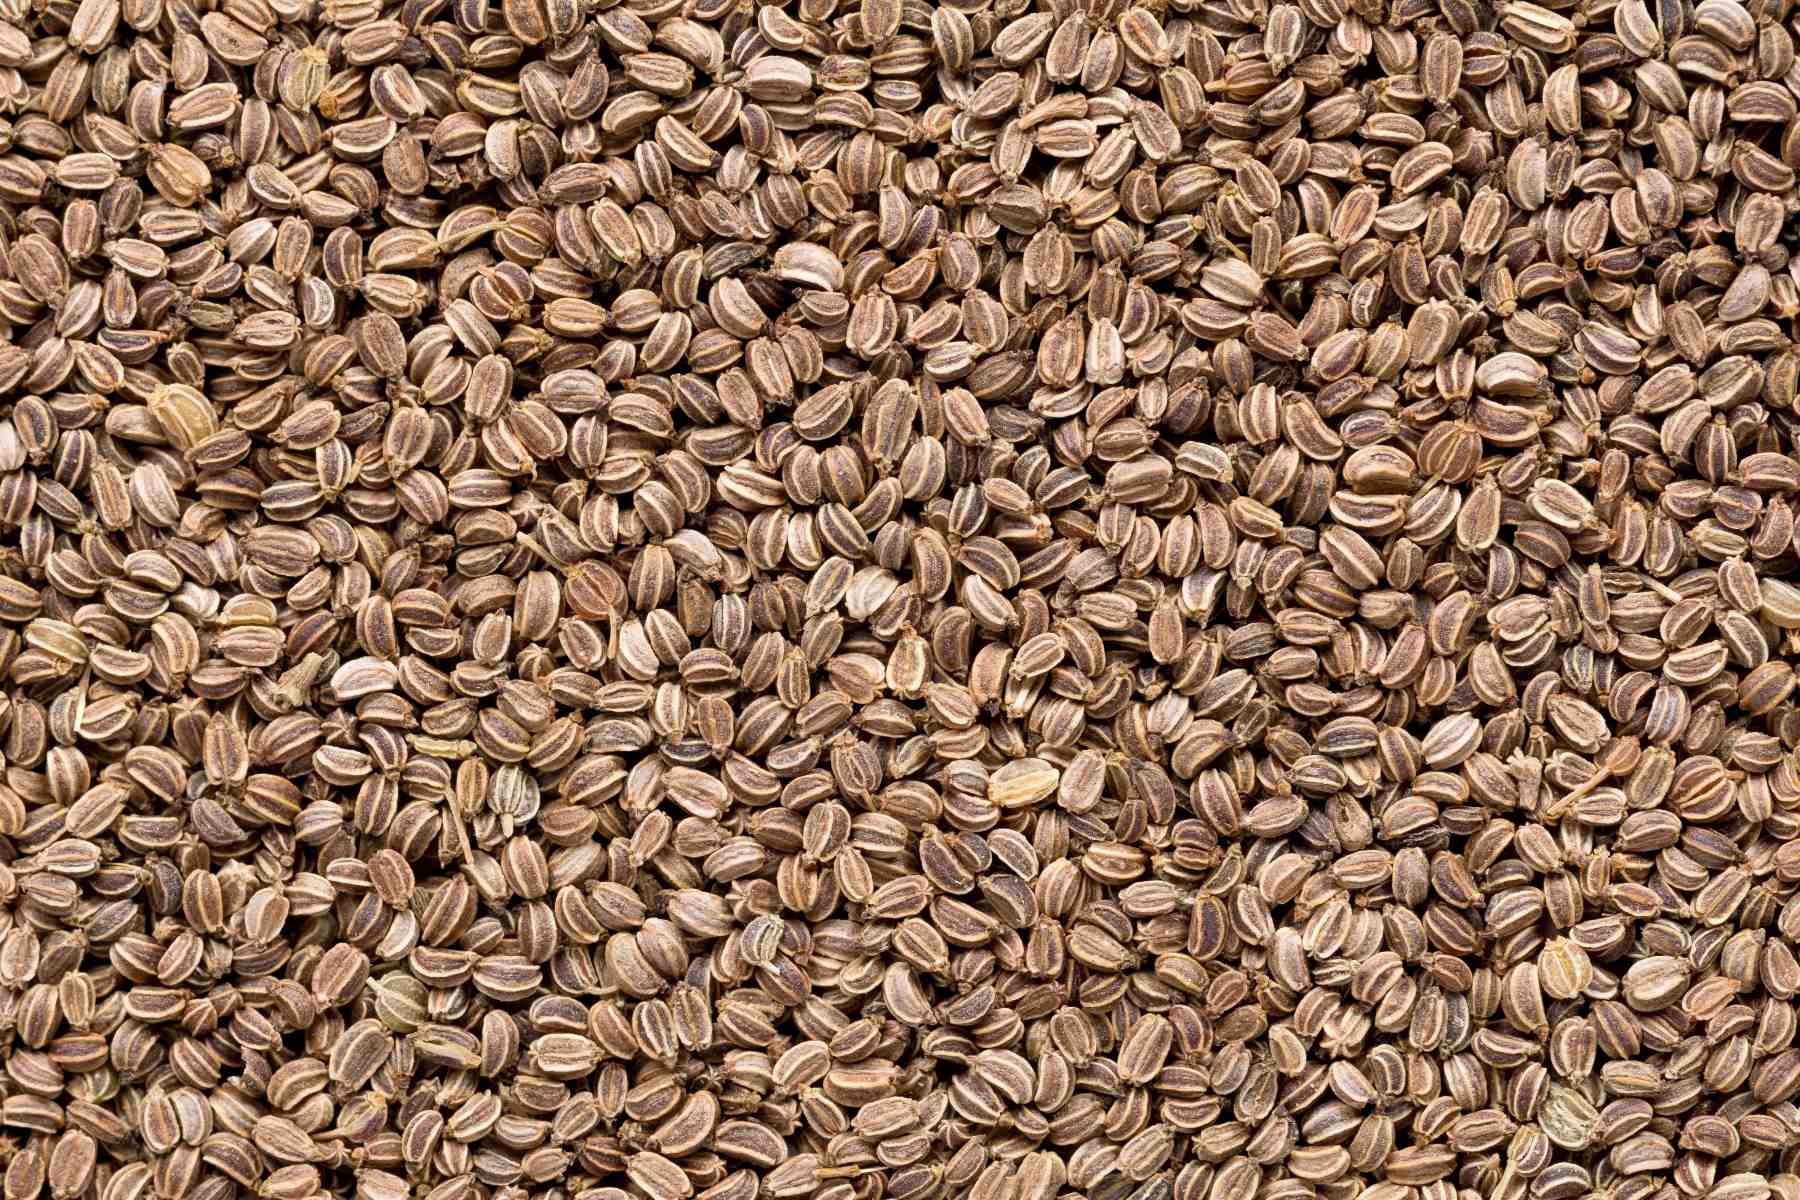
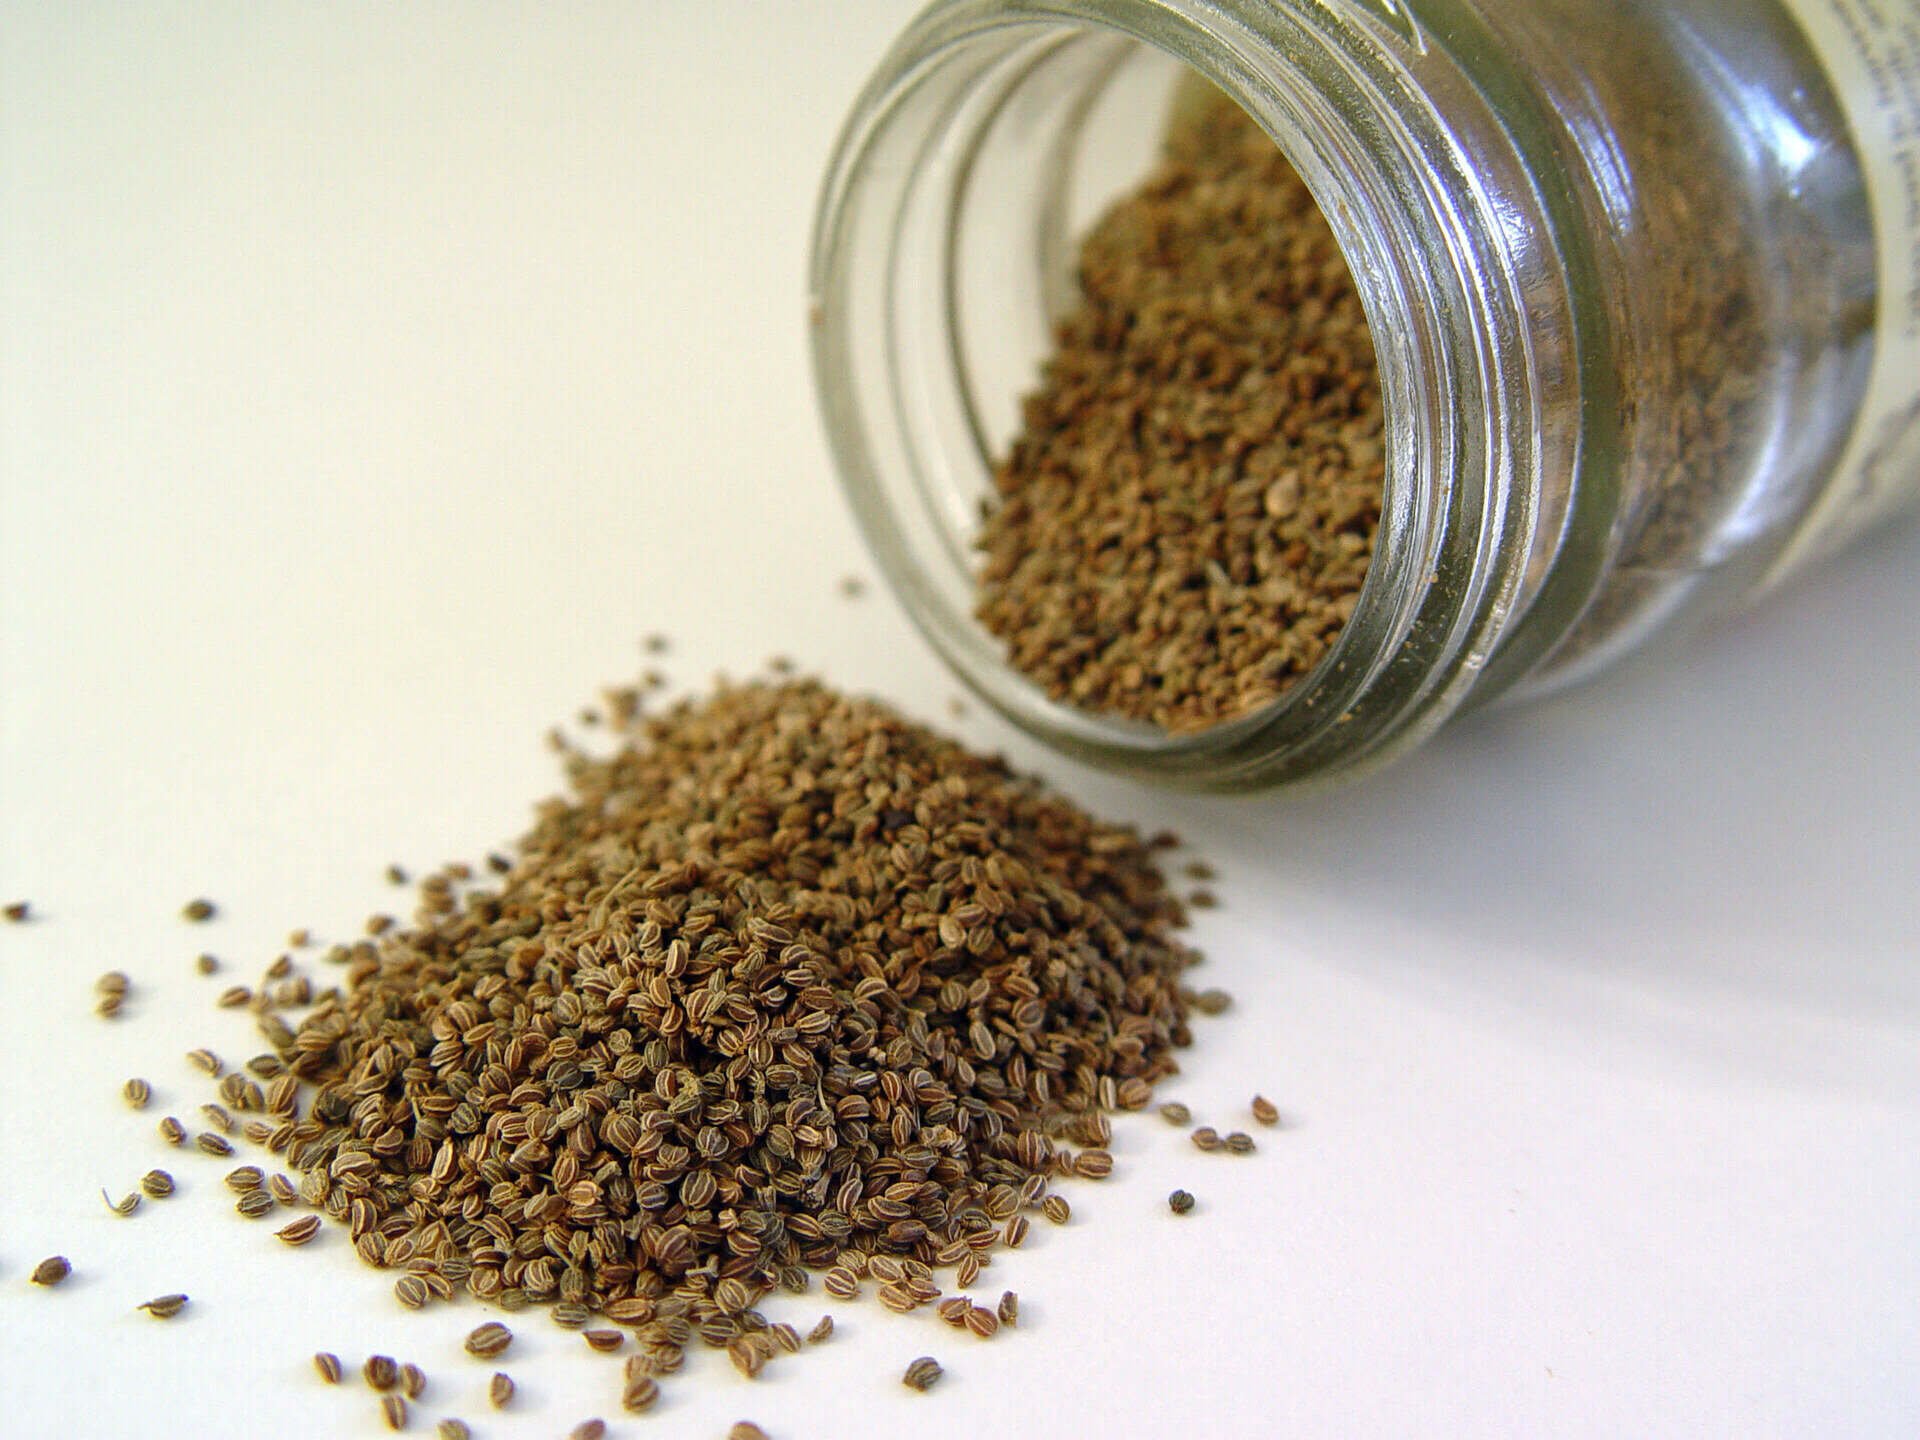
Step 1: Selecting the Right Seeds
The first step in planting celery seeds is selecting the right variety for your garden. There are several types of celery to choose from, including self-blanching varieties and heirloom varieties. Consider factors such as taste preference, growing conditions, and disease resistance when making your selection.
Self-blanching varieties: These varieties are easier to grow because they require less effort to achieve blanched stalks. Self-blanching celery tends to be smaller in size and has a milder flavor compared to other varieties. Some popular self-blanching varieties include ‘Golden Self-Blanching’ and ‘Tango’.
Heirloom varieties: If you’re looking for unique flavors and textures, heirloom celery varieties are a great choice. These varieties have been passed down through generations and often have stronger flavors and more fibrous stalks. Some sought-after heirloom varieties include ‘Giant Red’ and ‘Utah Tall’.
When selecting seeds, look for fresh, high-quality packets from a reputable supplier. Check the expiration date to ensure the seeds are viable. It’s also helpful to read seed packets for additional information about the specific requirements and characteristics of the chosen variety.
Pro tip: If you’re growing celery for the first time, it’s recommended to start with self-blanching varieties, as they are generally more forgiving and easier to grow.
Now that you have selected the right celery seeds for your garden, it’s time to prepare the seedbed and get ready for sowing. So let’s move on to the next step of this gardening journey!
Step 2: Preparing the Seedbed
Preparing a well-prepared seedbed is essential for the successful germination and growth of celery seeds. Here are the key steps to follow when preparing the seedbed:
- Choose a suitable location: Celery plants thrive in full sun, so select a location in your garden that receives at least six hours of direct sunlight each day. Additionally, ensure the area has well-drained soil to prevent waterlogging, which can hinder the growth of celery plants.
- Clear the area: Remove any existing weeds, rocks, or debris from the chosen location. Weeds can compete with celery plants for nutrients and water, so it’s crucial to have a weed-free seedbed.
- Loosen the soil: Use a garden fork or a tiller to loosen the soil in the area. This will improve drainage and allow the celery roots to penetrate the soil more easily. Work the soil to a depth of around 8-10 inches, breaking up any clumps and creating a fine, crumbly texture.
- Add organic matter: Enrich the soil by incorporating organic matter, such as compost or well-rotted manure. This will improve the fertility and structure of the soil, promoting healthy growth. Spread a layer of organic matter over the seedbed and mix it into the soil using the garden fork or tiller.
- Level the surface: Smooth out the soil surface using a rake, ensuring it is level and free of any bumps or depressions. A level seedbed will facilitate uniform germination and growth of the celery seeds.
- Moisten the seedbed: Before sowing the celery seeds, lightly water the seedbed to ensure the soil is evenly moist. Avoid waterlogging, as excessive moisture can lead to seed rot and poor germination.
Once you have prepared the seedbed, you are now ready to move on to the next step – sowing the celery seeds. Let’s continue our gardening journey!
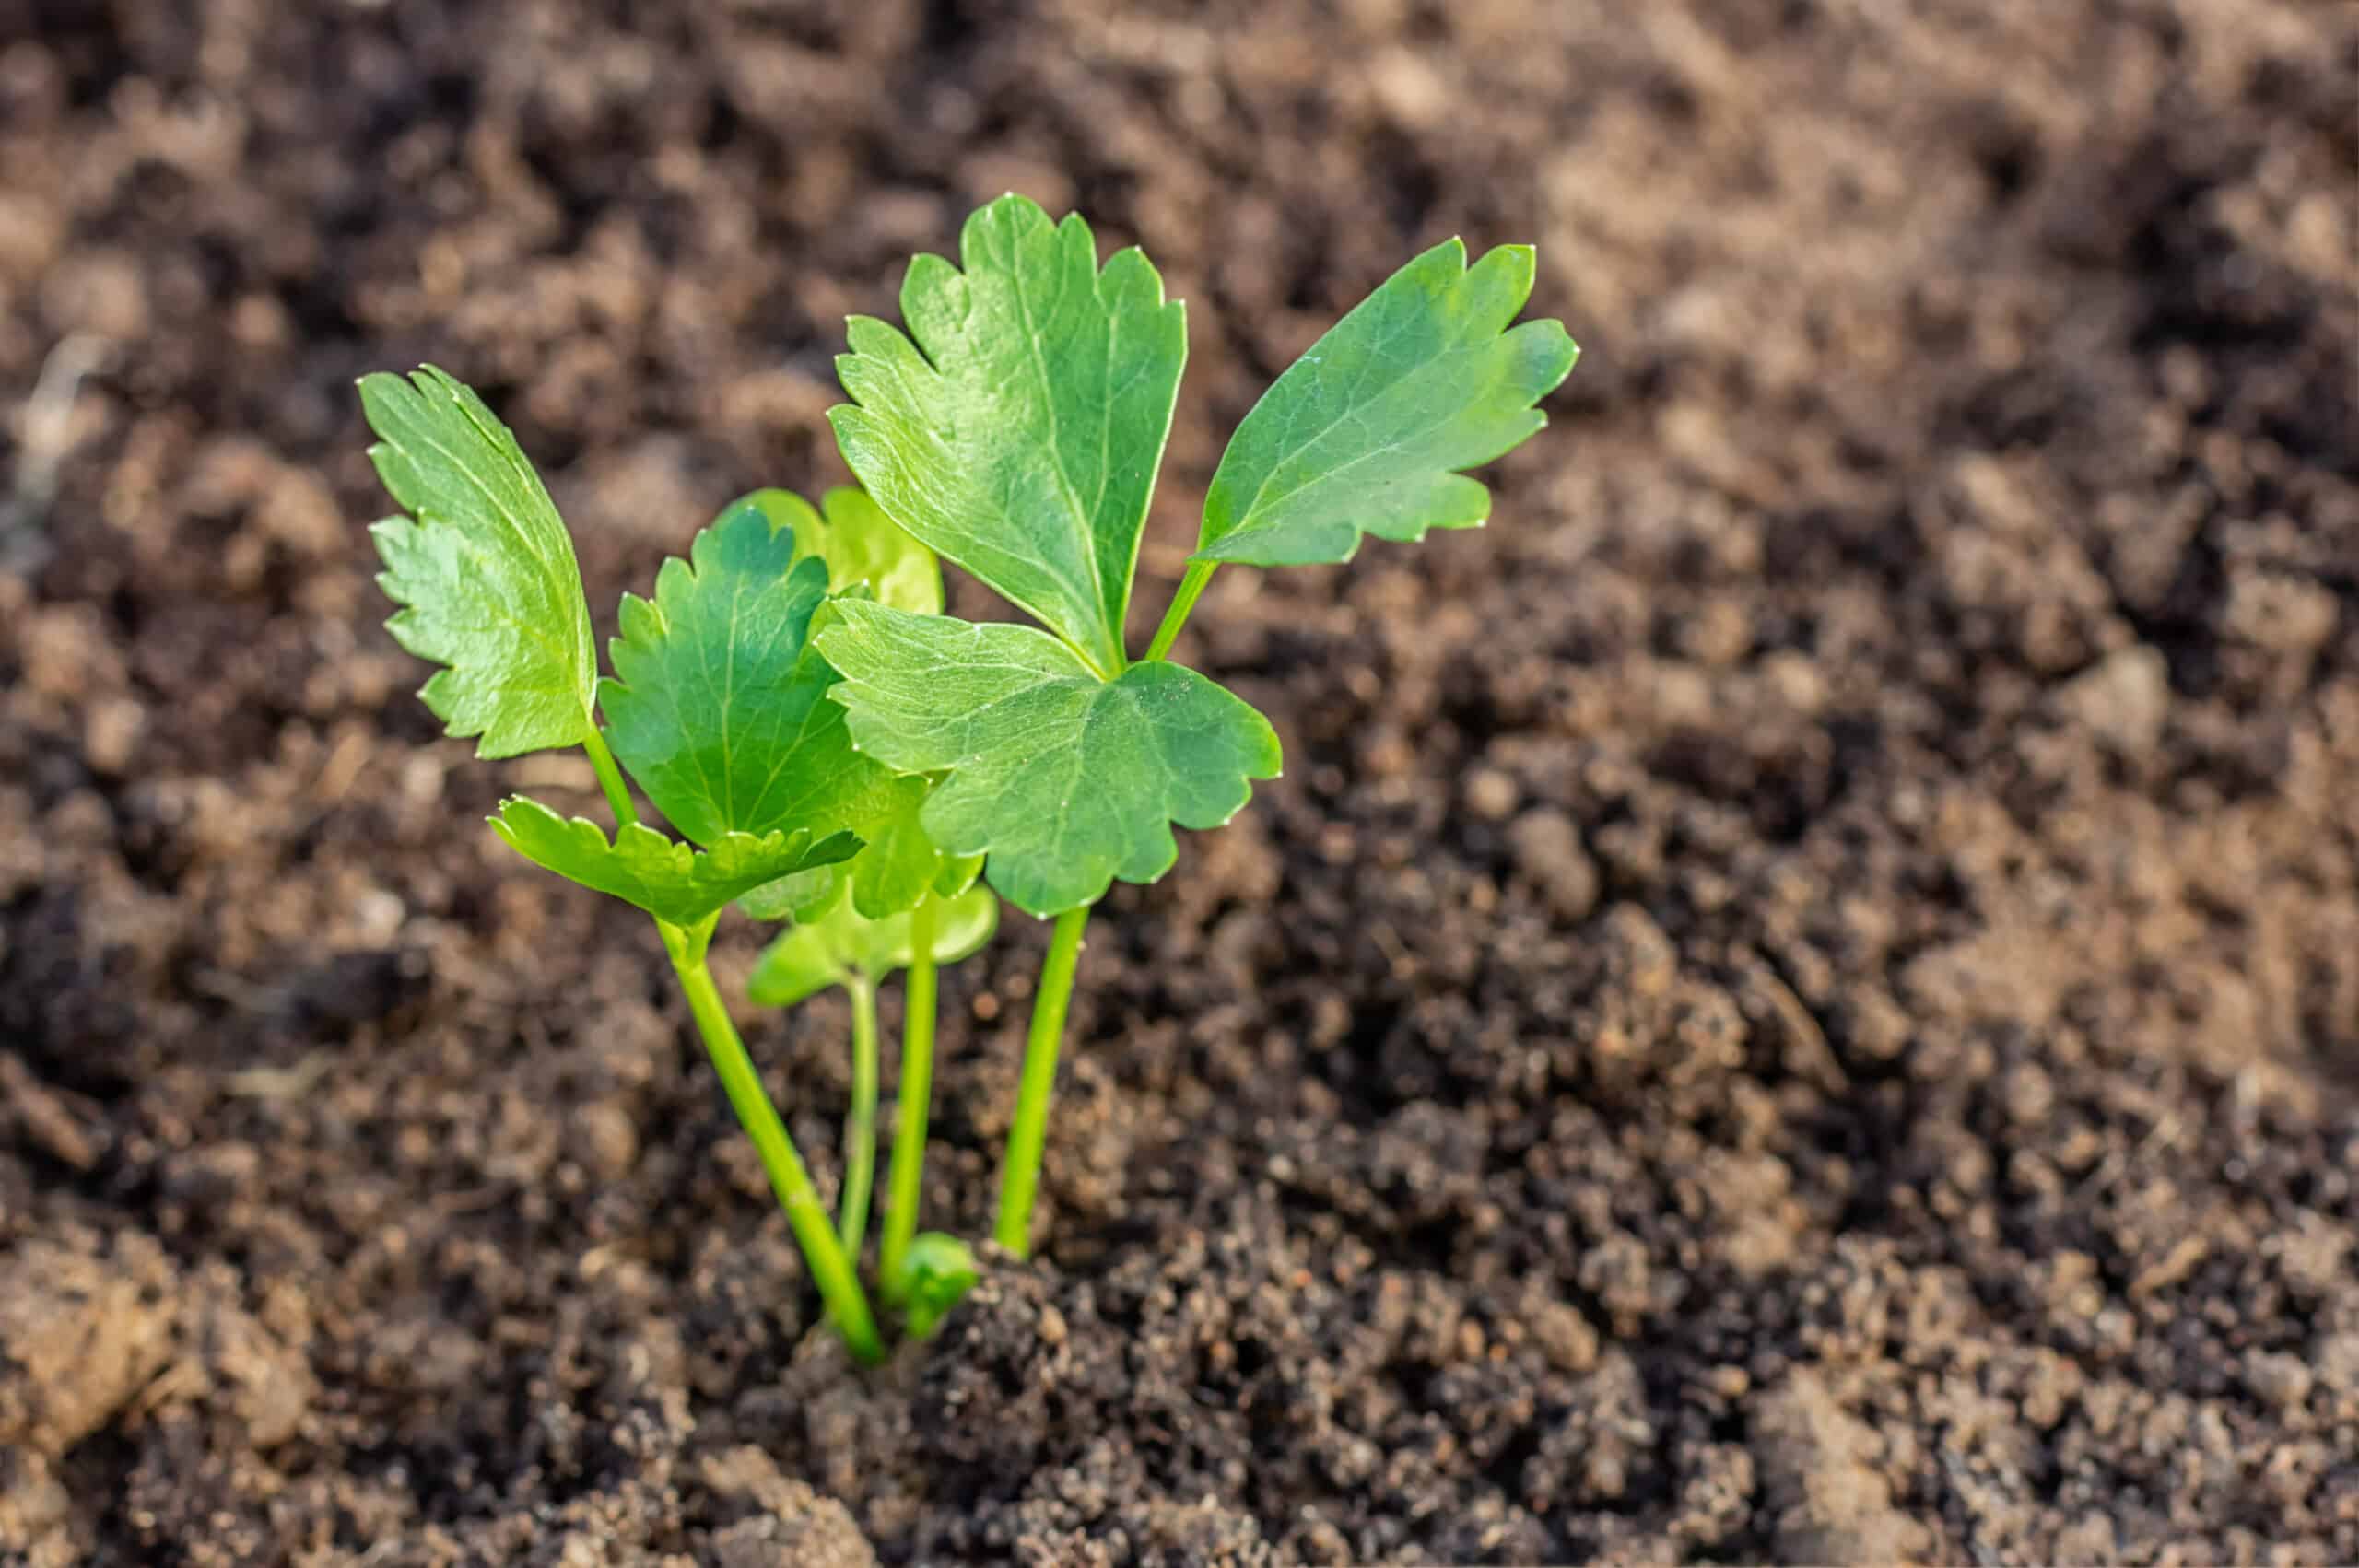
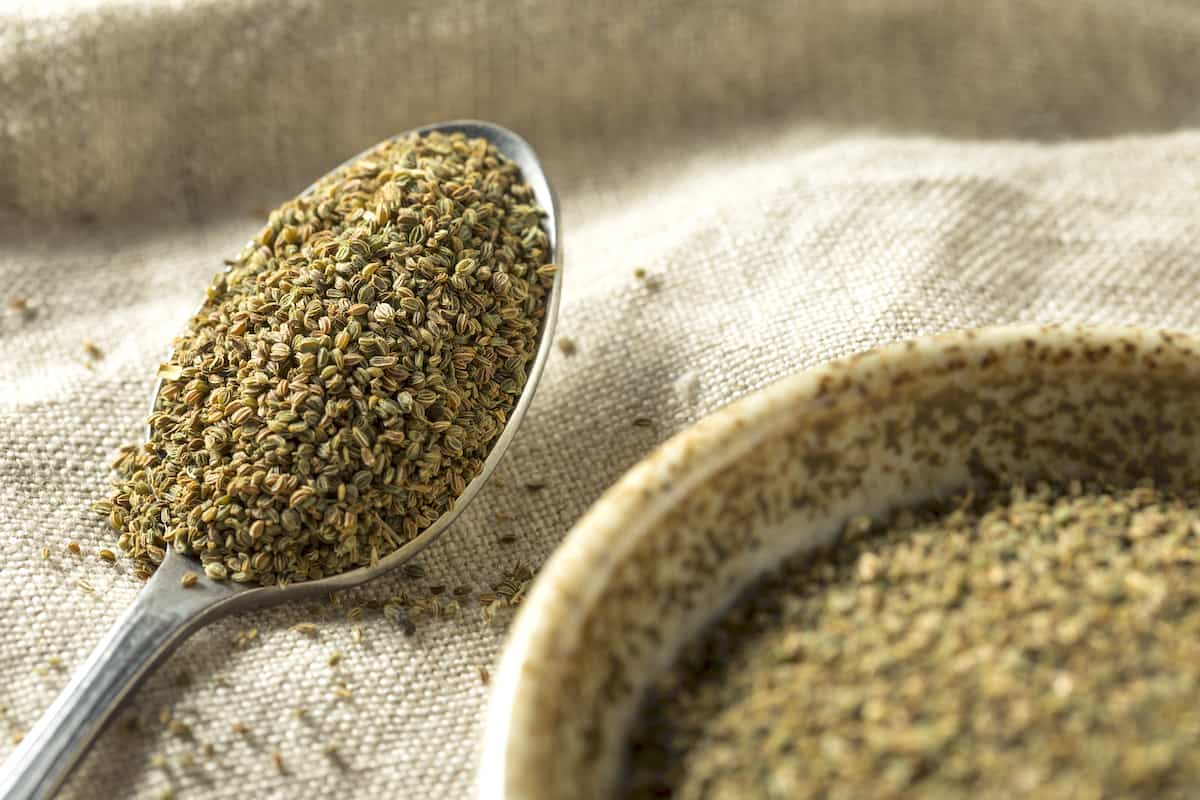
Step 3: Sowing the Seeds
Now that you have prepared the seedbed, it’s time to sow the celery seeds. Follow these steps to ensure successful germination and healthy seedlings:
- Spacing: Celery plants require adequate spacing to grow and develop properly. Leave about 12-18 inches of space between each plant in rows that are around 24 inches apart. This will allow the plants to have enough room for their roots and foliage to spread.
- Seed depth: Celery seeds are tiny and should be sown shallowly. Gently press the seeds into the soil, covering them with a thin layer of soil, approximately 1/8 inch deep. Avoid burying the seeds too deep, as this can inhibit germination.
- Seed spacing: To ensure healthy growth and proper air circulation, aim to sow the seeds about 2 inches apart in the rows. This spacing will allow the plants to develop without overcrowding each other.
- Watering: After sowing the celery seeds, water the seedbed gently. Keep the soil consistently moist but not waterlogged. Using a fine mist or a gentle spray nozzle on your watering can or hose will prevent the seeds from being dislodged or washed away.
- Marking: To keep track of where you have sown the seeds, consider using plant markers or small stakes with labels. This will help you identify the emerging celery seedlings and distinguish them from weeds.
Remember to pay attention to the specific instructions on the seed packet, as different celery varieties may have slightly different requirements for sowing.
Now that you have sown the celery seeds, it’s time to provide the ideal growing conditions for the seedlings. Let’s move on to the next step and continue our gardening journey!
Step 4: Providing the Ideal Growing Conditions
Now that you have sown the celery seeds, it’s important to provide the ideal growing conditions to ensure healthy and robust seedlings. Here’s what you need to do:
- Sunlight: Celery plants thrive in full sun, so ensure they receive at least six to eight hours of direct sunlight each day. If your garden has partial shade, make sure the plants still receive enough sunlight to promote proper growth and development.
- Temperature: Celery is a cool-season crop and prefers temperatures between 60°F and 70°F (15°C and 21°C) during the day. Avoid extreme temperatures, as excessive heat or cold can hamper the growth of celery plants. If the temperature rises above 75°F (24°C), provide some shade or use mulch to keep the soil cool.
- Soil: Celery thrives in loose, well-draining soil that is rich in organic matter. If your soil is heavy or clayey, consider amending it with compost or well-rotted manure to improve its structure and drainage. A pH level of 6.0 to 6.8 is optimal for celery growth.
- Watering: Celery requires consistent moisture throughout its growth cycle. Keep the soil evenly moist but not waterlogged. Water deeply, ensuring the root zone receives adequate hydration. Avoid overhead watering, as wet foliage can promote the development of fungal diseases.
- Mulching: Apply a layer of organic mulch around the celery plants to help maintain moisture, regulate soil temperature, and reduce weed growth. Straw, shredded leaves, or compost make excellent mulch options. Keep the mulch a few inches away from the plant stems to prevent moisture-related issues.
- Weed control: Regularly remove weeds from the celery bed, as they compete with the plants for nutrients, water, and sunlight. Use mulch to suppress weed growth, and hand-pull any weeds that manage to emerge.
- Air circulation: Ensure adequate air circulation around the celery plants to reduce the risk of disease. Avoid overcrowding and thin out the seedlings if necessary, leaving the strongest ones to grow and mature.
By providing the ideal growing conditions, you will create a favorable environment for your celery plants to thrive. Now, let’s move on to the next step and learn about watering and fertilizing techniques for healthy celery growth.
Plant celery seeds in well-draining soil, about 1/8 inch deep. Keep the soil consistently moist and provide plenty of sunlight. Once the seedlings are a few inches tall, thin them to 10-12 inches apart to allow for proper growth.
Step 5: Watering and Fertilizing
Proper watering and fertilization are crucial for the healthy growth and development of celery plants. Here are some guidelines to help you provide the necessary hydration and nutrients:
- Watering: Celery requires consistent moisture, so make sure to water the plants regularly. Aim to keep the soil evenly moist, but not waterlogged. Water deeply, allowing the water to penetrate the root zone. Avoid overhead watering, as wet foliage can promote disease. Consider using a drip irrigation system or watering at the base of the plants to minimize water waste and keep the foliage dry.
- Monitoring soil moisture: Keep an eye on the moisture levels in the soil. Stick your finger into the soil to a depth of about an inch. If it feels dry, it’s time to water. If it feels moist, hold off on watering until the soil dries out a bit. Consistency in moisture levels helps prevent stress on the plants and promotes even growth.
- Fertilizing: Celery plants benefit from regular fertilization to ensure optimal nutrient availability. Prior to planting, incorporate organic matter, such as compost or well-rotted manure, into the soil. This will provide a slow-release source of nutrients. Throughout the growing season, you can supplement with a balanced organic fertilizer or a specific celery fertilizer as directed on the product label.
- Frequency of fertilization: Start fertilizing about four weeks after transplanting the celery seedlings and continue every four to six weeks. Be mindful not to over-fertilize, as this can lead to excess leaf growth and lower celery quality. Follow the instructions on the fertilizer packaging and adjust the application rates based on the specific needs of your plants.
- Foliar feeding: In addition to soil fertilization, you can also apply liquid fertilizers or compost tea as a foliar spray. This allows the plants to directly absorb nutrients through their leaves. Spraying early in the morning or in the evening when the plants are not under direct sunlight provides the best absorption. Be sure to follow the recommended dilution rates and frequency of application for the chosen fertilizer.
- Organic options: If you prefer organic gardening, there are several organic fertilizers available, such as fish emulsion, seaweed extract, and bone meal, that can provide the necessary nutrients for your celery plants.
By providing proper watering and fertilization, you will promote healthy foliage, strong root development, and robust celery plants. Now, let’s move on to the next step and learn about transplanting the celery seedlings.
Step 6: Transplanting the Seedlings
Transplanting celery seedlings is an important step in their growth journey. It allows them to move from the confined space of seed trays or small pots to a larger area where they can spread their roots and continue to flourish. Follow these steps to ensure a successful transplant:
- Timing: Celery seedlings are typically ready for transplanting when they have developed at least four to six true leaves and are about 6-8 inches tall. This usually takes place around 8-10 weeks after sowing the seeds.
- Preparation: Prior to transplanting, prepare the planting area by loosening the soil and incorporating compost or well-rotted manure to improve its fertility and structure. Water the seedlings thoroughly, making it easier to remove them from their containers without damaging the delicate roots.
- Spacing: When planting celery seedlings, make sure to provide adequate spacing between each plant. Leave around 12-18 inches of space between each plant in rows that are approximately 24 inches apart. Giving the plants room to grow and spread will help prevent overcrowding and promote proper airflow.
- Transplanting: Gently remove the seedlings from their containers, taking care not to disturb the roots too much. If the root ball is tightly bound, you can loosen it slightly with your fingers. Dig a hole in the prepared soil that is deep enough to accommodate the root ball. Carefully place the seedling into the hole, ensuring that the base of the stem is at ground level. Fill in the hole with soil and gently firm it around the seedling, eliminating any air pockets.
- Watering: After transplanting, give the seedlings a thorough watering to settle the soil and ensure good root-to-soil contact. Keep the soil consistently moist in the coming days to help the plants establish themselves in their new location.
- Protection: If the weather is hot or windy, provide some shade or protect the seedlings with row covers to prevent stress and wind damage. This will give them time to acclimate to their new environment and minimize transplant shock.
Transplanting celery seedlings is a delicate process, so be gentle and take care not to damage the roots or stems. With proper transplanting techniques, your celery seedlings will continue to grow and thrive in their new home. Now, let’s move on to the next step and learn about caring for the growing celery plants.
Step 7: Caring for the Growing Plants
Once you have transplanted your celery seedlings, it’s time to provide regular care to ensure healthy growth and bountiful harvests. Follow these guidelines to care for your growing celery plants:
- Weed control: Regularly remove weeds from the celery bed to prevent competition for nutrients, water, and sunlight. Hand-pull weeds or use a hoe to carefully remove them, being cautious not to damage the shallow roots of the celery plants.
- Thinning: If your celery seedlings are overcrowded, thin them out to provide adequate space for growth. Gently remove the weaker seedlings, leaving the strongest and healthiest ones in place.
- Earth up: As the celery plants grow, consider “earthing up” or mounding soil around the base of the plants to encourage blanching. This involves gradually adding soil around the stems to cover the lower portion of the plants. Blanched celery stalks have a milder flavor and tend to be more tender.
- Staking: If you’re growing tall or self-blanching varieties of celery, it’s a good idea to provide support to prevent the plants from toppling over. Use stakes or plant supports to gently tie the outer stalks together, creating a more stable structure.
- Pest control: Monitor your celery plants regularly for common pests like aphids, caterpillars, and snails. If you notice any signs of pest infestation, take appropriate action to control them. This can include using organic pest control methods, such as neem oil or insecticidal soap, or handpicking and removing the pests from the plants.
- Disease prevention: Keep an eye out for common celery diseases like powdery mildew, leaf blight, and blackheart. To prevent these diseases, ensure adequate air circulation, avoid overhead watering, and remove any diseased plant material promptly. If necessary, apply organic fungicides according to the instructions on the product label.
- Regular watering: Celery plants require consistent moisture throughout their growing season. Water the plants deeply and regularly, keeping the soil consistently moist. Be cautious not to overwater, as waterlogging can lead to root rot or other water-related issues.
By providing proper care, you will help your celery plants thrive, resulting in healthy foliage and delicious stalks. Now, let’s move on to the final step and discover when and how to harvest celery stalks.
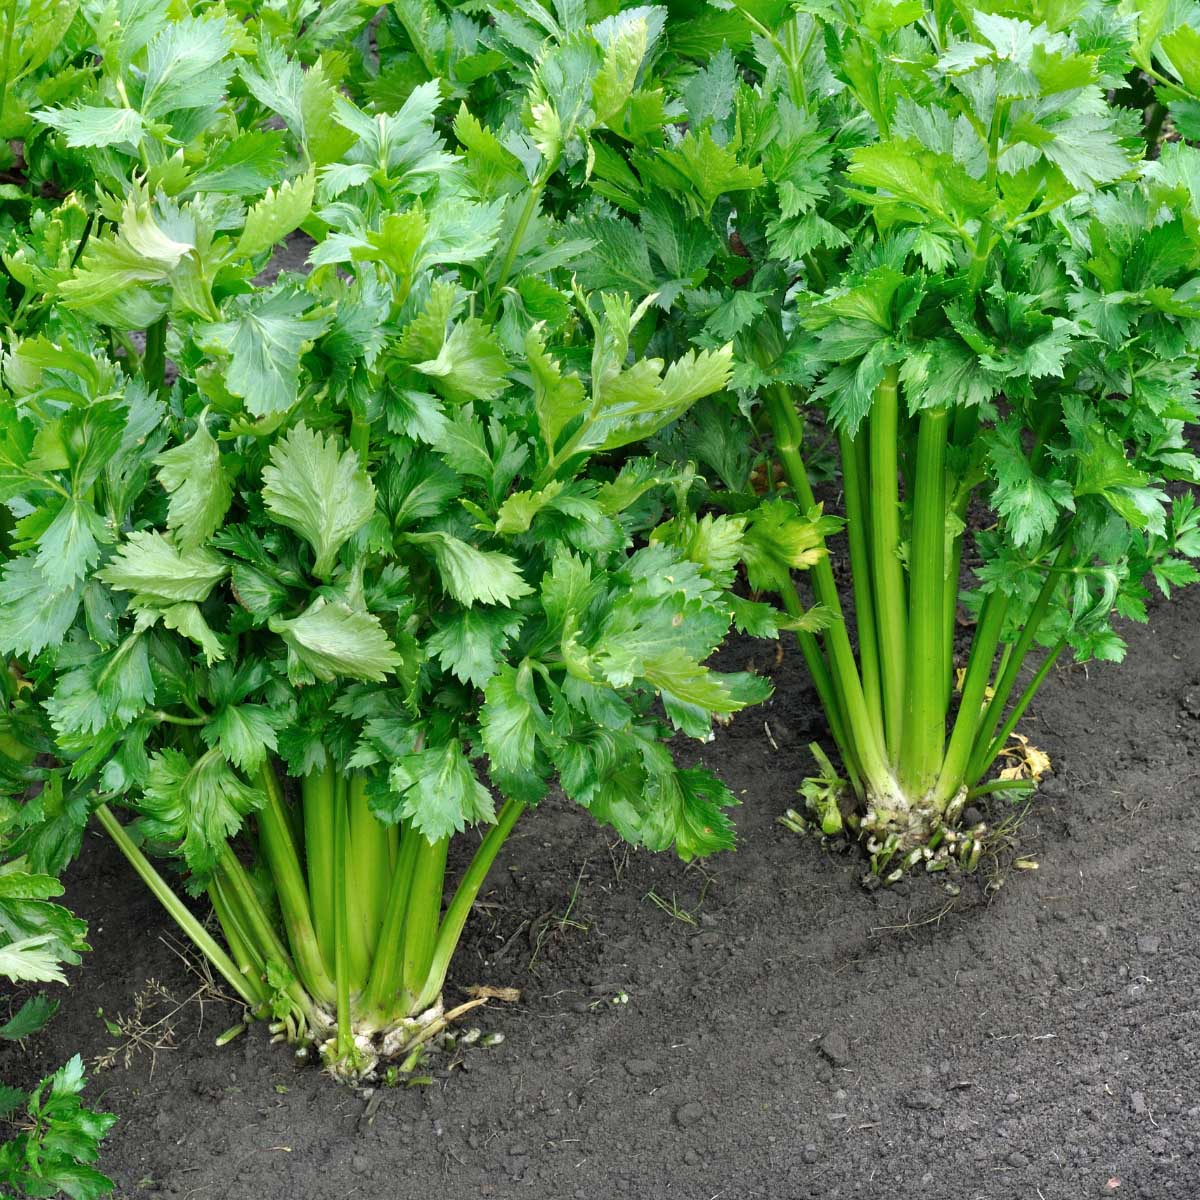
Step 8: Harvesting Celery Stalks
Harvesting celery is an exciting moment that rewards your hard work. When the celery stalks have reached the desired size and maturity, it’s time to harvest them for consumption. Here’s how you can harvest celery stalks:
- Timing: Celery stalks are typically ready for harvest about 85-120 days after sowing the seeds, depending on the variety. The stalks should be thick, crisp, and have a good green color.
- Selective harvesting: Instead of harvesting the entire plant at once, you can selectively harvest individual stalks as needed. This allows the remaining plants to continue growing and producing new stalks.
- Method of harvest: To harvest celery, grasp the base of the stalk near the soil level and give it a gentle twist or snap. The stalk should break away cleanly from the plant. If you encounter resistance, use a sharp garden knife or pruning shears to cut the stalk at the base.
- Harvesting blanched celery: If you have blanched celery plants, carefully remove the outer stalks that have been shielded from the light by earthing up. These stalks typically have a lighter color and a milder flavor.
- Post-harvest care: After harvesting, rinse the celery stalks with water to remove any dirt or debris. If you’re not planning to use them immediately, store the celery in the refrigerator. Wrapping the stalks in a damp paper towel or placing them in a perforated plastic bag helps maintain their freshness for longer.
- Continuous harvest: As long as the celery plants continue to produce new stalks, you can enjoy a continuous harvest. Regularly check the plants for mature stalks that are ready to be picked.
Enjoy the fruits of your labor by incorporating freshly harvested celery into your favorite meals and recipes. The homegrown flavor and crispness will elevate your culinary creations like never before!
Congratulations! You have successfully learned how to plant celery seeds, care for the plants, and harvest celery stalks. Whether you enjoy them raw, cooked, or juiced, your homegrown celery will undoubtedly add a delicious and wholesome touch to your meals.
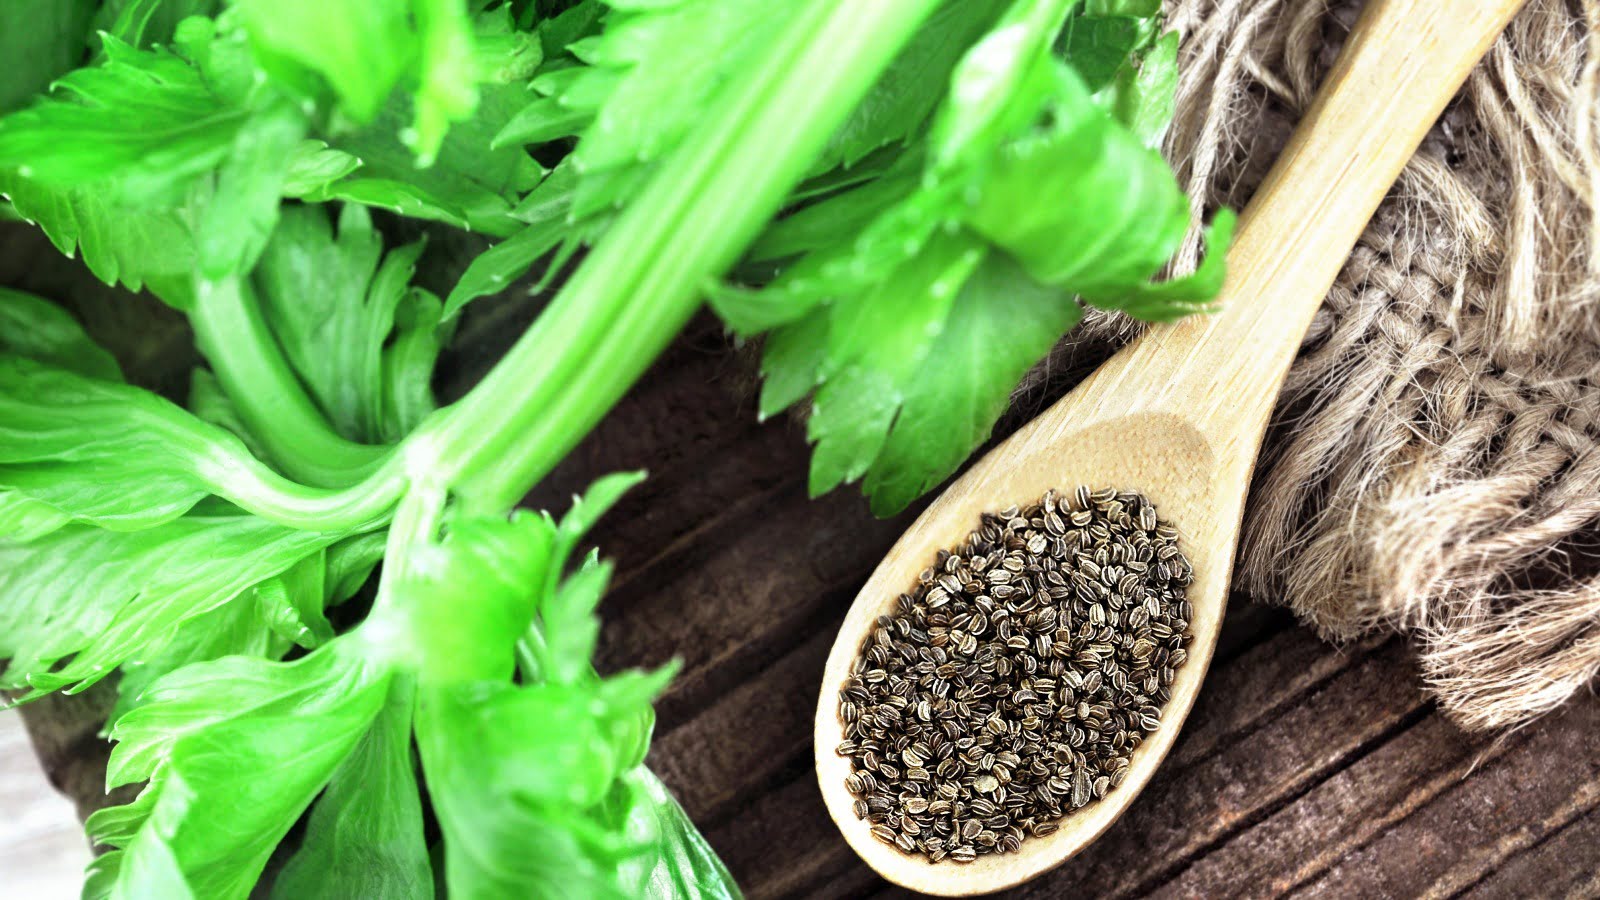
Remember to save some seeds from your healthy plants for future use, allowing you to continue the cycle of growth and harvest season after season. Happy gardening and happy celery-eating!
Read more: How Much Celery Seed Equals A Cup Of Celery
Conclusion
Congratulations! You have successfully learned how to plant celery seeds and nurture them into healthy and productive plants. Growing your own celery can be a fulfilling and rewarding experience, allowing you to enjoy the freshness and taste of homegrown produce. By following the steps outlined in this guide, you have gained the knowledge and skills required to cultivate celery in your own garden.
From selecting the right seeds to transplanting the seedlings and providing the ideal growing conditions, each step plays a crucial role in the success of your celery plants. By giving your celery plants the proper care, including watering, fertilizing, and protecting them from pests and diseases, you are ensuring their healthy growth and development.
When the time comes for harvesting, remember to selectively harvest the celery stalks when they have reached their desired size and maturity. By harvesting selectively and allowing the remaining plants to continue growing, you can enjoy a continuous harvest throughout the growing season.
Growing your own celery not only provides you with a fresh and nutritious vegetable, but it also gives you control over the quality and safety of your food. You can avoid pesticides and chemicals often found in store-bought produce, and instead enjoy the satisfaction of knowing exactly where your food comes from.
So, gather your gardening tools, find a sunny spot in your garden, and embark on your celery-growing adventure. With patience, care, and attention to detail, you can enjoy the delights of homegrown celery in your favorite dishes. Happy gardening!
Now that you've got the hang of planting celery, why not spruce up your garden further with some creative boundaries? Whether you're looking for privacy or just a touch of flair, our guide on garden fence ideas offers a variety of designs to suit any taste or garden size. From classic wooden pickets to modern metal panels, find inspiration and practical tips to transform your garden into a charming and secure oasis.
Frequently Asked Questions about How To Plant Celery Seeds
Was this page helpful?
At Storables.com, we guarantee accurate and reliable information. Our content, validated by Expert Board Contributors, is crafted following stringent Editorial Policies. We're committed to providing you with well-researched, expert-backed insights for all your informational needs.


0 thoughts on “How To Plant Celery Seeds”