Home>Garden Essentials>How To Use Woodland Scenics Grass Mat
Garden Essentials
How To Use Woodland Scenics Grass Mat
Modified: March 7, 2024
Learn how to use Woodland Scenics Grass Mat to create a stunning garden scene. Step-by-step instructions and tips for realistic results.
(Many of the links in this article redirect to a specific reviewed product. Your purchase of these products through affiliate links helps to generate commission for Storables.com, at no extra cost. Learn more)
Introduction
Welcome to the world of DIY landscaping! If you’ve been dreaming of transforming your garden or model railway scenery into a lush and realistic woodland paradise, then you’ve come to the right place. In this article, we’ll guide you on how to use Woodland Scenics Grass Mat to bring your landscaping vision to life.
Woodland Scenics Grass Mat is a versatile and high-quality product that allows you to create stunning grassy areas with ease. Whether you’re working on a miniature village, a railway layout, or a diorama, this grass mat provides a realistic and hassle-free solution.
But before we dive into the step-by-step process, let’s take a closer look at the materials you’ll need to get started.
Key Takeaways:
- Transform your garden or model railway scenery into a lush paradise with Woodland Scenics Grass Mat. Follow the steps to create stunning, realistic landscapes with ease and personalized touches.
- From preparing the surface to adding intricate details, Woodland Scenics Grass Mat allows you to unleash your creativity and bring your landscaping vision to life with vibrant and captivating scenes.
Read more: How To Use A Grass Mat
Materials Needed
Before you begin, gather the following materials:
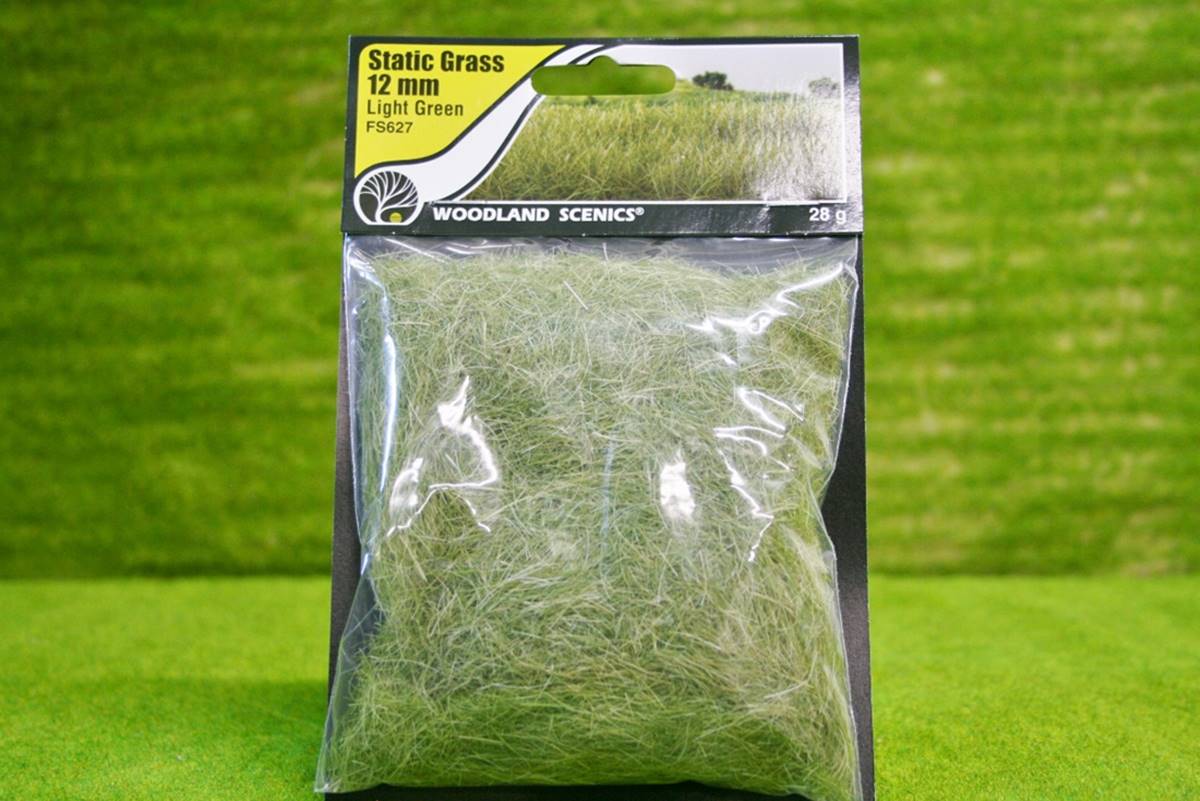
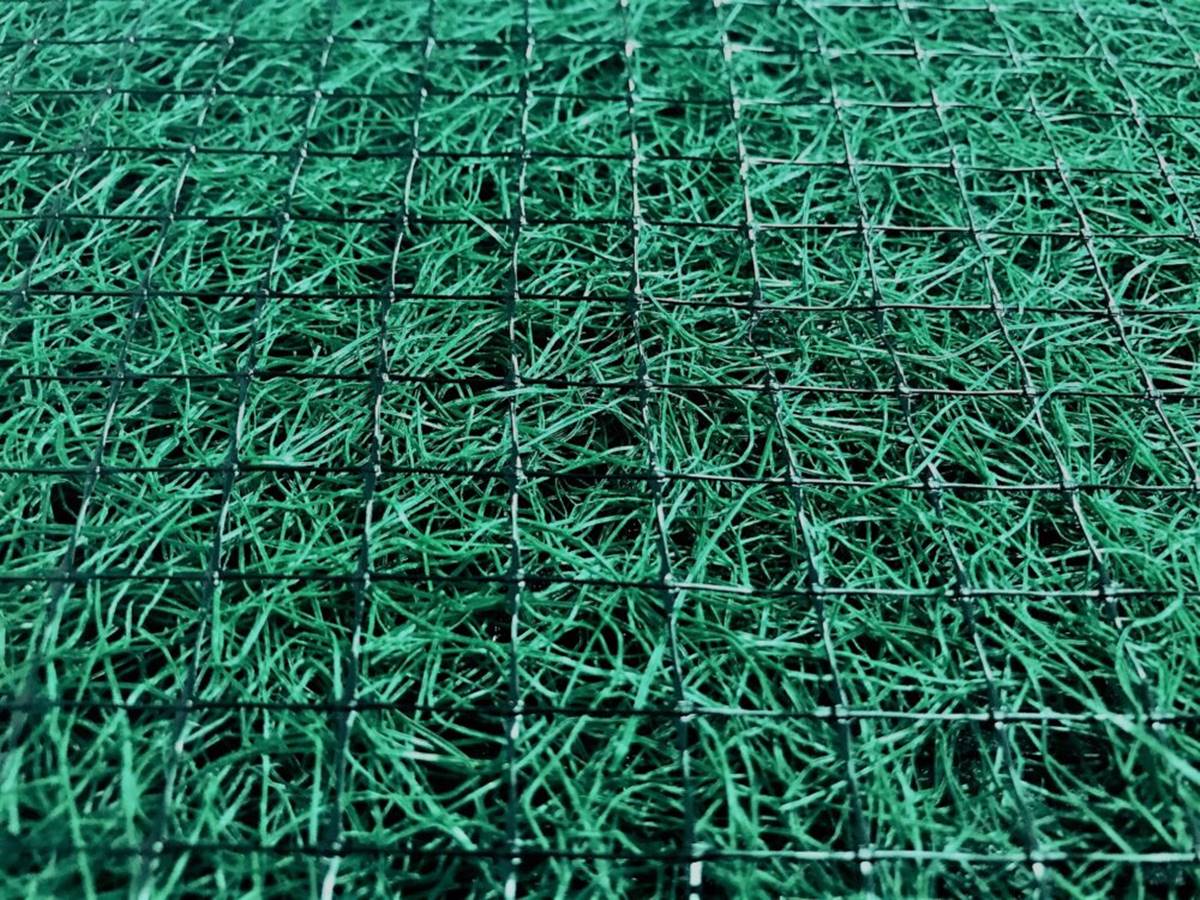
- Woodland Scenics Grass Mat: This is the star of the show! Choose the appropriate size and color to suit your project. Grass mats come in various styles, such as summer, fall, or winter, allowing you to create different seasonal landscapes.
- Surface Prep: Depending on your project, you may need a suitable base, such as plywood, foam board, or a diorama base. Ensure it’s clean and smooth before proceeding.
- Adhesive: To secure the grass mat onto the surface, you’ll need a reliable adhesive. Look for options that are specifically designed for adhering grass mats.
- Utility Knife or Scissors: You’ll need these to trim the grass mat and make any necessary adjustments.
- Paints and Brushes (optional): If you want to add additional colors or blend the grass mat with other elements, have some acrylic paints and brushes handy.
- Detailing Materials (optional): Depending on your project, you might want to enhance the scenery with miniature trees, bushes, rocks, or other elements. Gather any additional detailing materials you wish to use.
Once you have all these materials ready, you’re one step closer to creating a breathtaking landscape.
Step 1: Preparing the Surface
Before you can apply the Woodland Scenics Grass Mat, you need to ensure that the surface is clean and suitable for adhering the mat. Here’s what you need to do:
- Remove any debris: Clear the surface of any dirt, dust, or loose particles. Use a brush or a cloth to gently sweep off any unwanted materials.
- Smooth out the surface: If the surface is rough or uneven, sand it down or use a filler to create a smooth canvas. This step is crucial for achieving a seamless and realistic grass mat installation.
- Prime the surface (optional): Depending on the material of your base, you may want to prime it to improve adhesion. Follow the manufacturer’s instructions for the specific primer you’re using.
Take your time with this step to ensure that the surface is well-prepared. A clean and smooth surface will contribute to the overall quality of your final grass mat installation.
Step 2: Applying Adhesive
Now that your surface is prepared, it’s time to apply the adhesive that will hold the Woodland Scenics Grass Mat in place. Follow these steps:
- Read the instructions: Different adhesives have different application methods. Before you begin, carefully read the instructions provided with the adhesive you have chosen.
- Apply the adhesive: Using a brush or a spatula, apply an even layer of adhesive onto the surface. Make sure to cover the entire area where you plan to lay the grass mat.
- Spread the adhesive: Use the brush or spatula to spread the adhesive evenly, ensuring a thin and consistent layer. This will help the grass mat adhere properly and reduce the risk of lumps or bubbles.
- Work in sections: If your project is large, consider working in small sections. Apply the adhesive to one section at a time to prevent it from drying before you lay the grass mat.
Remember to work efficiently but carefully during this step. The adhesive should still be wet when you move on to the next step of unrolling the grass mat.
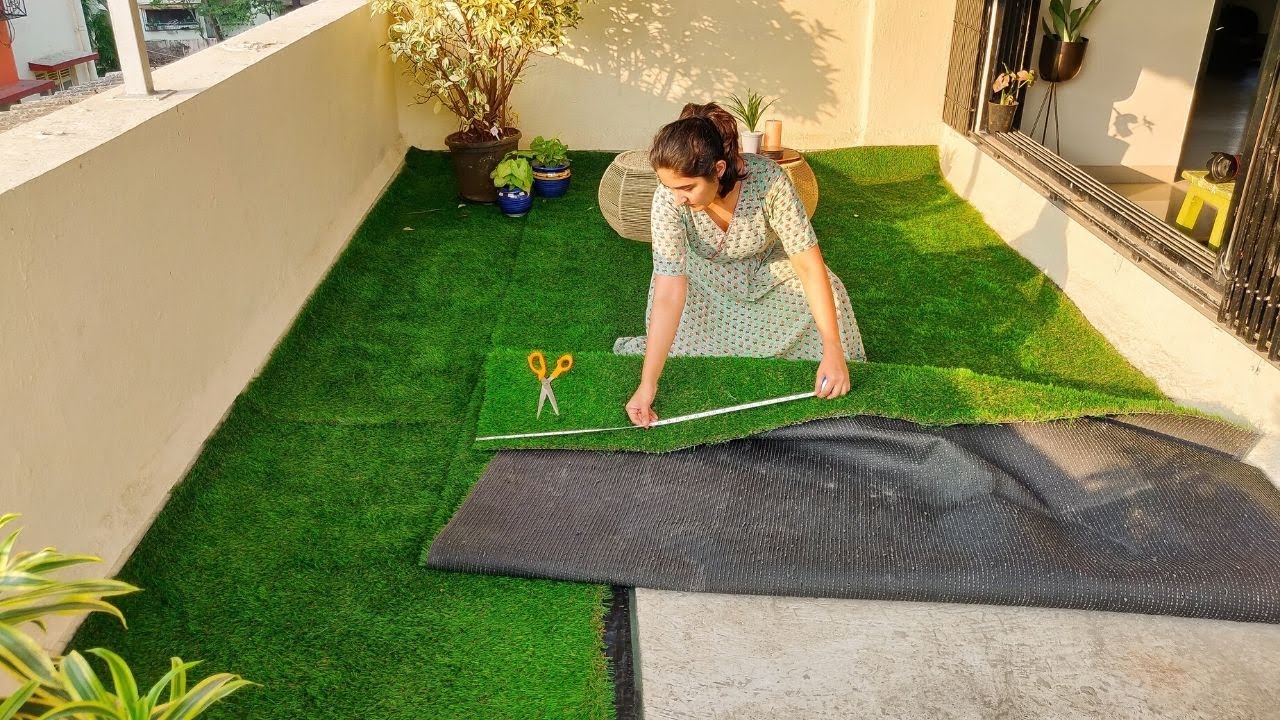
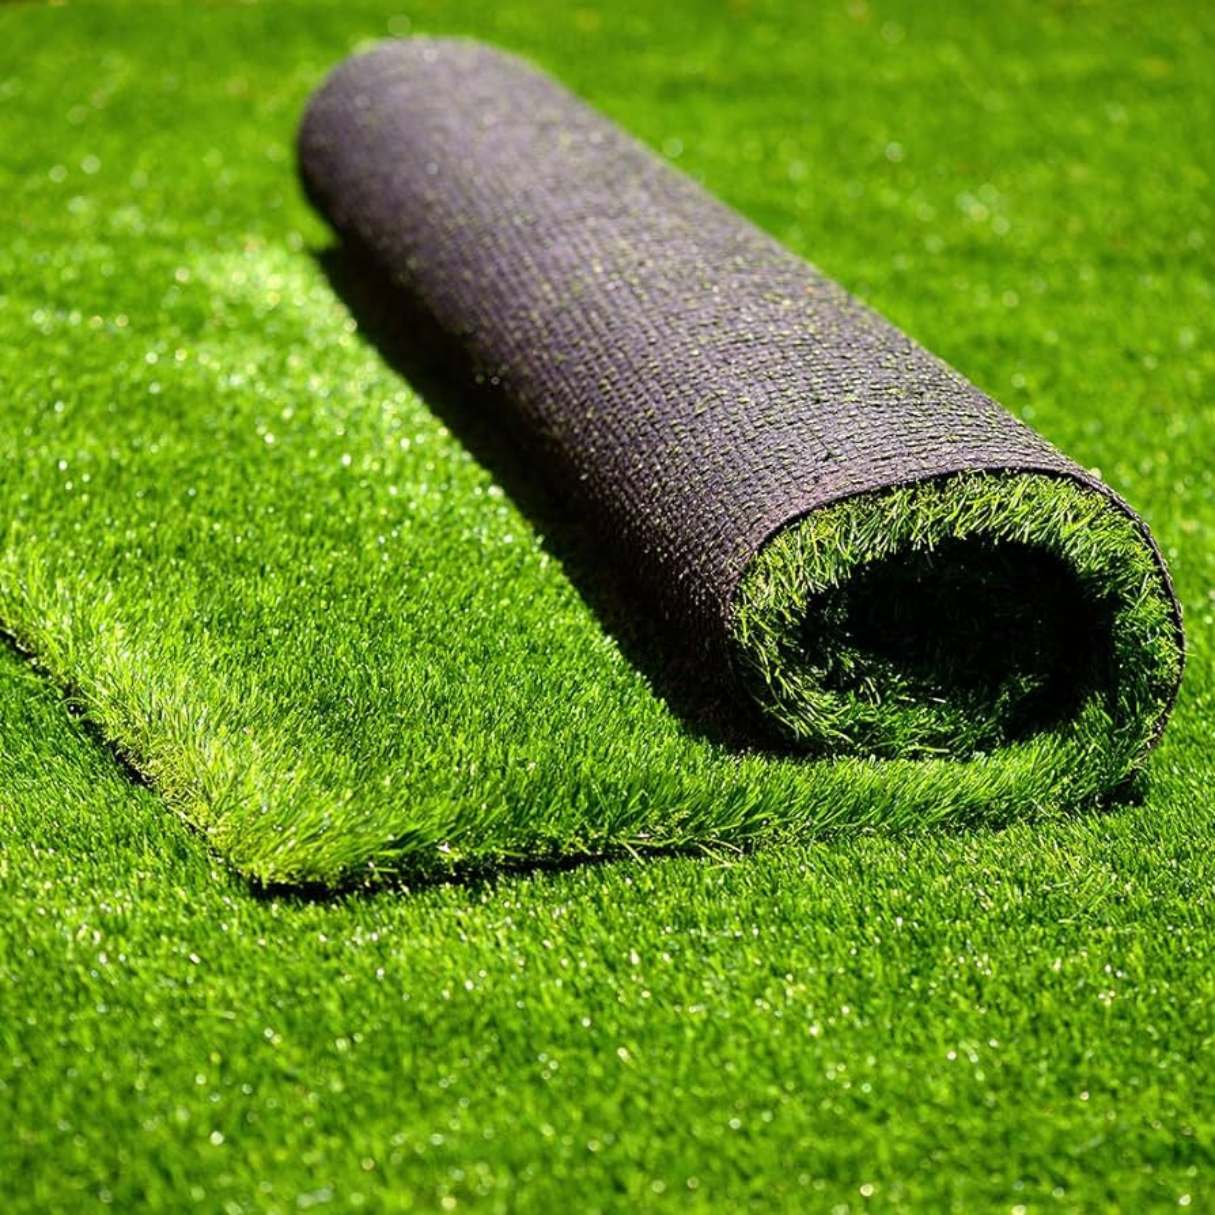
Step 3: Unrolling the Grass Mat
With the adhesive applied, it’s time to unroll the Woodland Scenics Grass Mat onto the prepared surface. Follow these steps:
- Position the grass mat: Gently unroll the grass mat and position it onto the adhesive-coated surface. Ensure that it aligns with the edges and covers the desired area.
- Smooth out the mat: Using your hands or a rolling pin, gently press down on the grass mat to ensure it adheres well to the adhesive. Smooth out any wrinkles or air bubbles that may have formed.
- Overlap multiple mats (if necessary): If you’re covering a larger area and require multiple grass mats, slightly overlap the edges to create a seamless transition between them. Trim any excess overlap once the adhesive is dry.
Take your time with this step to ensure that the grass mat is positioned and smoothed out properly. Pay attention to any specific patterns or textures in the grass mat design, especially if you’re working on a detailed landscape.
Before applying the Woodland Scenics Grass Mat, make sure to clean the surface and apply a thin layer of adhesive. Press the mat firmly onto the surface to ensure a secure bond.
Read more: How To Use Kusha Grass Mat
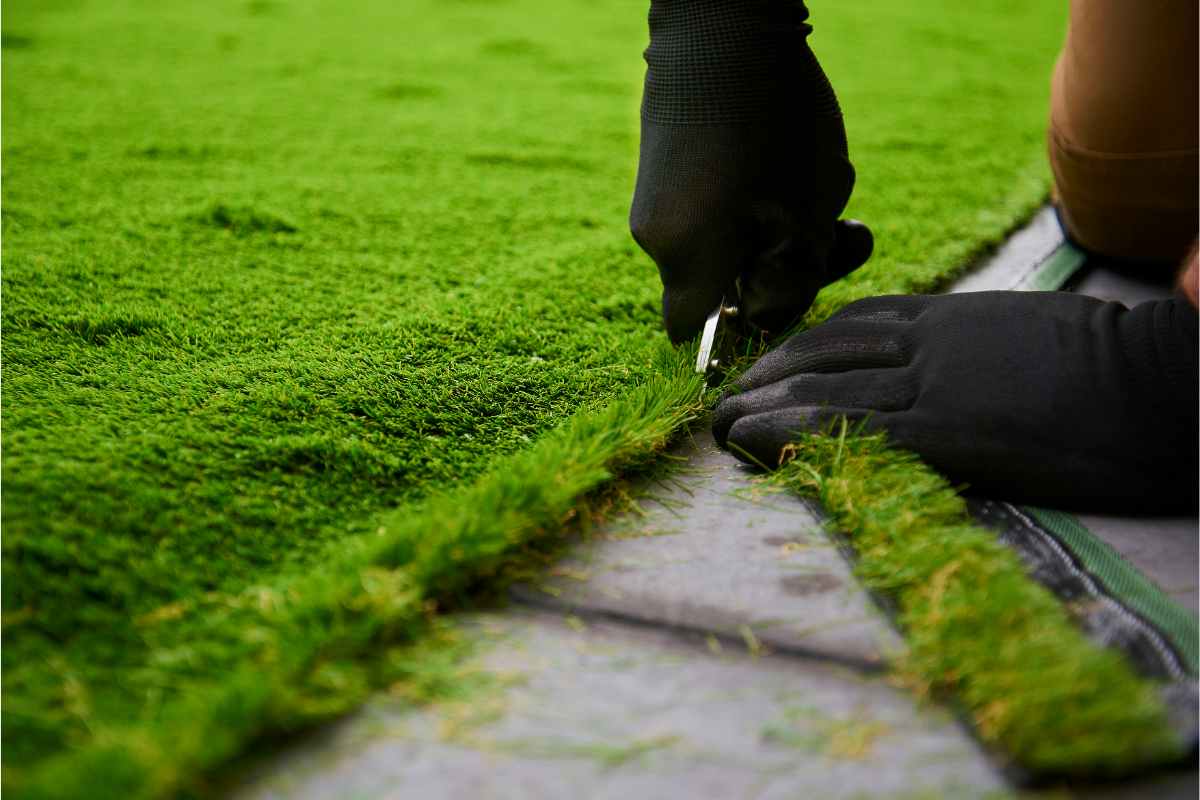
Step 4: Trimming Excess Grass
Once the grass mat is securely attached to the surface, it’s time to trim any excess grass that extends beyond the desired area. Follow these steps to achieve a clean and professional look:
- Allow the adhesive to dry: Before you start trimming, make sure that the adhesive has fully dried. This will prevent any accidental movement or displacement of the grass mat.
- Identify the desired boundary: Decide where you want the edge of the grass to be. This could be the edge of the base or a defined boundary within the project.
- Use a utility knife or scissors: Carefully cut along the marked boundary, trimming away the excess grass. Take your time and make precise cuts to maintain a neat edge.
- Dispose of the trimmed grass: Dispose of the excess grass clippings in a proper manner, whether it’s through composting or disposing of them as instructed by your local waste management guidelines.
By trimming the excess grass, you’ll achieve a polished and professional finish to your project. Remember, it’s always better to trim conservatively at first, as you can always remove more grass if needed.
Step 5: Blending Colors
Now that the Woodland Scenics Grass Mat is in place and trimmed to perfection, it’s time to add some depth and realism by blending colors. Follow these steps to achieve a natural and visually appealing landscape:
- Assess the colors: Take a close look at the grass mat and observe the various shades and tones present. Note any areas that might benefit from additional blending.
- Choose acrylic paints: Select acrylic paints that closely match the colors present in the grass mat. It’s best to choose a few different shades to add depth and dimension.
- Drybrush technique: Dip a dry brush lightly into the paint and remove most of the paint by wiping it on a paper towel. Apply a light, feathery stroke to the grass mat, focusing on areas where you want to enhance the colors or add highlights.
- Blend with a sponge or cloth: For a more subtle effect, dampen a sponge or cloth, lightly dip it in the paint, and gently dab or blend the color onto the grass mat. This technique can help create a natural transition between different shades.
- Experiment and layer: Don’t be afraid to experiment with different colors and techniques. Layering different shades and blending them together can create a more realistic and intricate look.
Remember to take a step back and assess your work as you go along. The goal is to create a harmonious blend of colors that mimics the natural variation found in real grass and foliage.
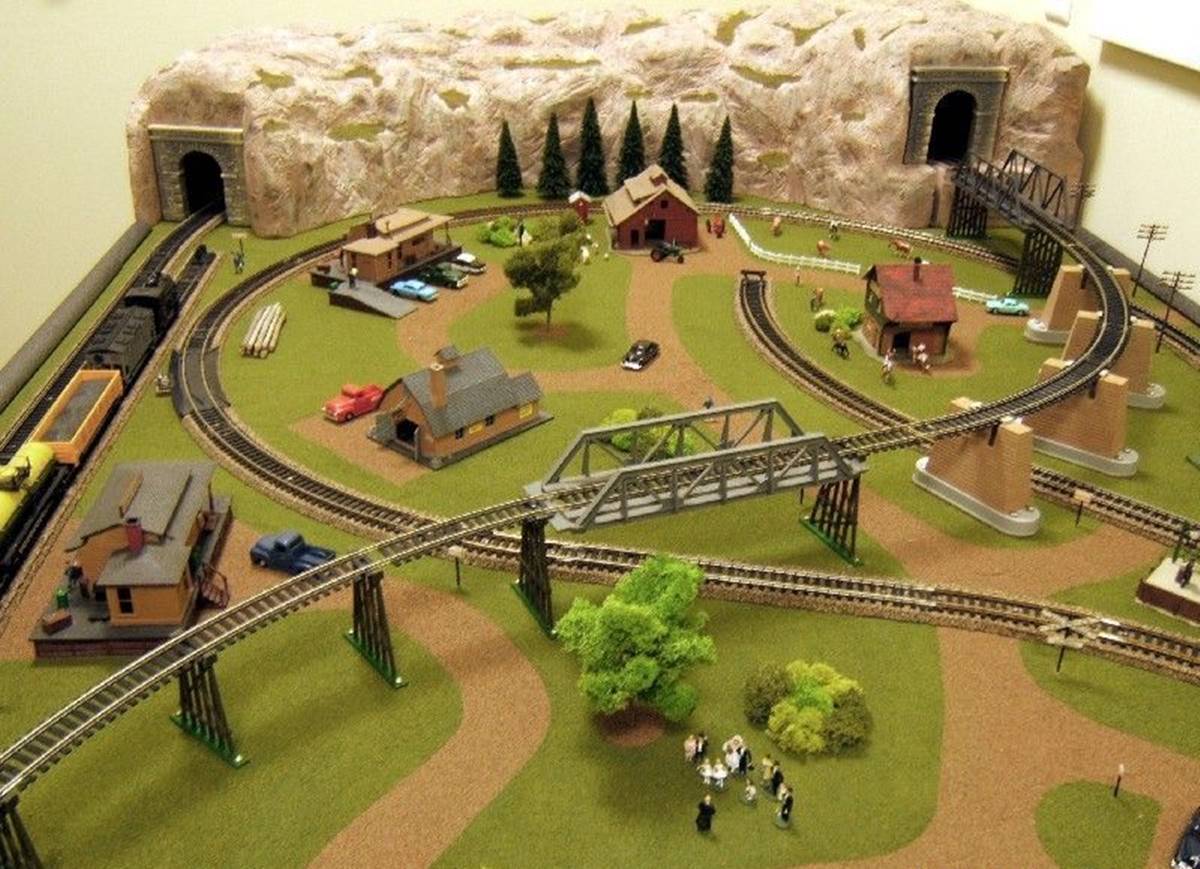
Step 6: Adding Additional Details
With the main grass mat installed and colors blended, it’s time to bring your landscape to life by adding additional details. This step allows you to personalize your project and create a truly unique scene. Here’s what you can do:
- Miniature Trees and Shrubs: Enhance your scenery by adding miniature trees and shrubs. You can find a variety of miniature plants at hobby stores or create your own using materials like wire and foam. Plant them strategically in the grass mat to create depth and visual interest.
- Rocks and Boulders: Create a more natural and rugged look by adding rocks and boulders. Utilize small stones or synthetic rocks available in hobby stores to create realistic formations. Place them creatively throughout the landscape.
- Pathways and Roads: If your project calls for it, add pathways or roads using materials such as sand, gravel, or miniature paving stones. Create defined paths that weave through the grass, giving your scene a sense of purpose and movement.
- Fences or Walls: For added realism, consider incorporating miniature fences or walls. Use craft materials like matchsticks or small strips of wood to create fences, or even foam board or lightweight clay for walls. Position them strategically for added visual interest.
- Water Features: If your scene includes water elements like rivers, ponds, or waterfalls, use materials like resin or clear epoxy to create realistic water effects. Add small details like miniature boats or aquatic plants to enhance the overall look.
- Figurines and Animals: Don’t forget to populate your landscape with figurines and animals. Choose miniature people, animals, or any other elements that fit the theme of your project. Place them in strategic positions to bring your scene to life.
Adding these additional details will take your grass mat to the next level, creating a captivating and immersive landscape that reflects your creativity and vision.
Step 7: Drying and Final Touches
After completing the previous steps, it’s important to allow the project to dry properly and add final touches to perfect the overall look. Here’s what you need to do:
- Allow for drying time: Depending on the adhesive and paint used, it’s crucial to let the project dry completely. Follow the manufacturer’s instructions for recommended drying times.
- Inspect the project: Once everything is dry, carefully inspect your landscape. Look for any areas that may need additional blending, touch-ups, or adjustments.
- Make any necessary adjustments: If you find any areas that need improvement, now is the time to fix them. Blend colors, add or remove elements, and ensure that everything is in its desired place.
- Protect the finished project: To ensure the longevity of your work, consider applying a protective sealant. This will help preserve the colors and protect the grass mat from wear and tear. Choose a sealant specifically designed for use on dioramas or miniature landscapes.
- Add final details: As a finishing touch, consider adding small details that can truly make your project stand out. This could include tiny flowers, fallen leaves, or small insects. These subtle touches add realism and depth to your scene.
Once you’ve completed these final steps, take a step back and admire your finished grass mat project. You’ve successfully transformed a simple surface into a lush and realistic landscape that showcases your creativity and passion.
Remember, every project is unique, and the possibilities for customization are endless. Feel free to experiment, adapt, and let your imagination run wild as you continue exploring the world of Woodland Scenics Grass Mat and creating stunning outdoor scenes.
Read more: How To Lay Grass Mats
Conclusion
Congratulations on completing your journey into the realm of Woodland Scenics Grass Mat landscaping! By following the steps outlined in this guide, you’ve learned how to effectively use this versatile product to create stunning and realistic grassy areas in your garden or miniature projects.
From preparing the surface to blending colors and adding intricate details, each step has contributed to the overall beauty and authenticity of your landscape. Whether you’re an avid model railway enthusiast, a passionate diorama designer, or simply a lover of creative gardening, the possibilities with Woodland Scenics Grass Mat are endless.
With its high-quality materials and user-friendly application, Woodland Scenics Grass Mat has allowed you to bring your vision to life. You’ve transformed a plain surface into a vibrant and captivating scene, complete with realistic grass, textured details, and personalized touches that make it uniquely yours.
Remember to continue exploring and experimenting with different techniques and materials to further enhance your projects. The world of miniature landscapes is vast, and there’s always something new to discover.
So, whether you’re creating a tranquil garden oasis, building an intricate railway layout, or designing an immersive natural diorama, Woodland Scenics Grass Mat is your trusted ally in achieving stunning and lifelike results.
Now, go forth and let your imagination run wild as you embark on your next grass mat adventure, knowing that you have the knowledge and skills to create breathtaking landscapes that will captivate both your own imagination and the admiration of others.
Frequently Asked Questions about How To Use Woodland Scenics Grass Mat
Was this page helpful?
At Storables.com, we guarantee accurate and reliable information. Our content, validated by Expert Board Contributors, is crafted following stringent Editorial Policies. We're committed to providing you with well-researched, expert-backed insights for all your informational needs.

0 thoughts on “How To Use Woodland Scenics Grass Mat”