Home>Garden Essentials>How To Fix A Grass Mat On The Wall
Garden Essentials
How To Fix A Grass Mat On The Wall
Modified: March 7, 2024
Discover how to fix a grass mat on the wall with these simple garden tips and tricks. Transform your space with lush greens and a touch of nature.
(Many of the links in this article redirect to a specific reviewed product. Your purchase of these products through affiliate links helps to generate commission for Storables.com, at no extra cost. Learn more)
Introduction
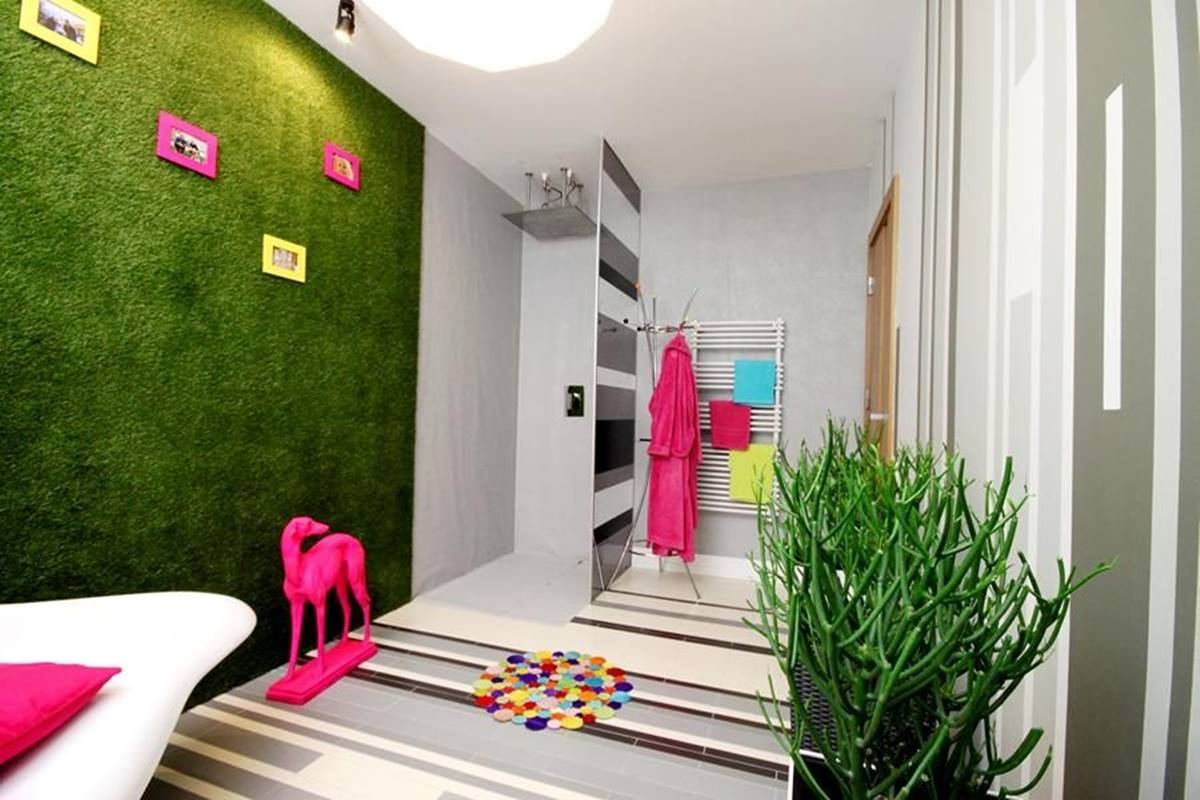
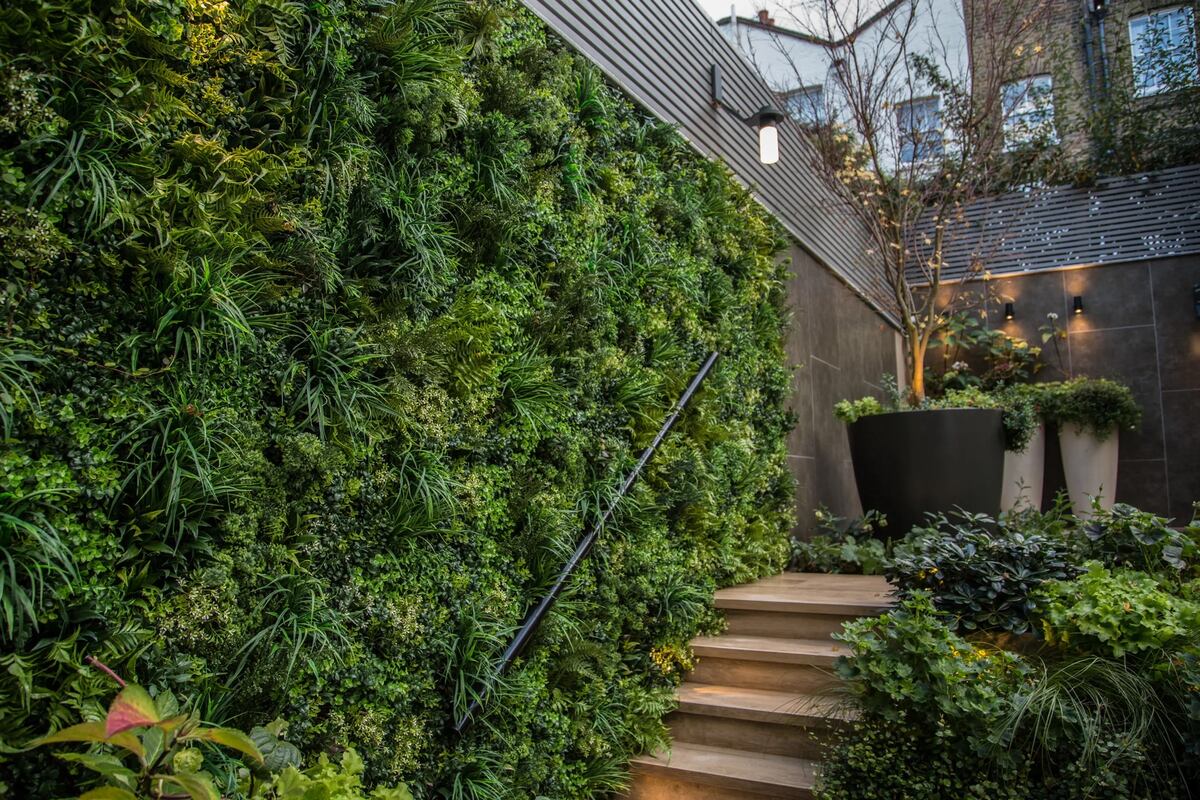
Gardening is not just limited to the outdoors. With the growing popularity of indoor plants and greenery, people are now exploring creative ways to bring the beauty of nature inside their homes. One such trend is using grass mats on walls to create a unique and eye-catching feature.
Whether you want to add a touch of green to your living room or create a cozy and natural ambiance in your workspace, fixing a grass mat on the wall can instantly transform the look and feel of any space. However, if not done properly, the grass mat may not adhere properly or end up looking uneven, ruining the overall aesthetic appeal.
But fear not! In this article, we will guide you on how to fix a grass mat on the wall like a pro. We will take you through the step-by-step process, from gathering the necessary tools and materials to giving your grass mat a flawless finish. So, let’s get started!
Key Takeaways:
- Transform your space with a grass mat on the wall! Gather tools, prep the surface, and secure the mat for a natural and inviting indoor oasis.
- Choose the right adhesive, smooth out wrinkles, and add personal touches for a flawless grass mat installation. Enjoy the beauty of nature indoors!
Read more: How To Lay Grass Mats
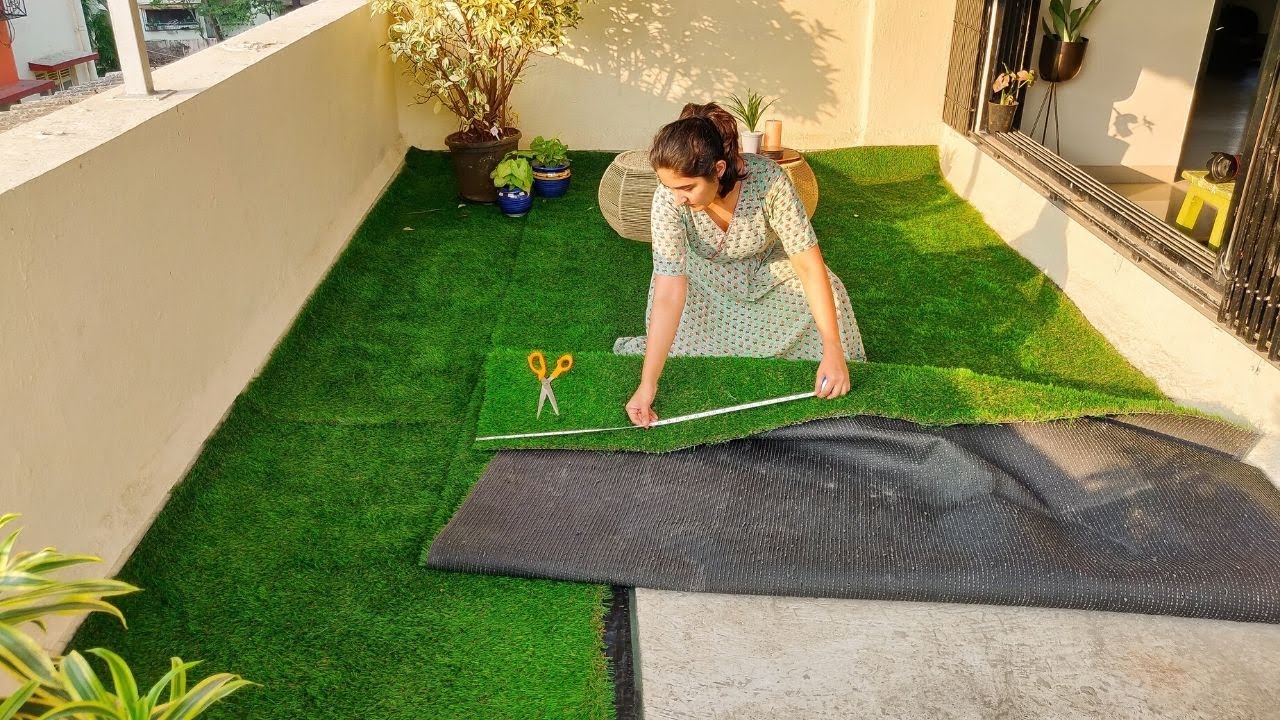
Step 1: Gather the necessary tools and materials
Before you begin fixing a grass mat on the wall, it’s essential to gather all the necessary tools and materials. Having everything prepared beforehand will make the process smoother and more efficient. Here are the tools and materials you will need:
Tools required:
- Measuring tape
- Pencil
- Utility knife
- Paint roller
- Paint tray
- Paintbrush
- Level
- Sandpaper
- Putty knife
Materials needed:
- Grass mat
- Adhesive
- Adhesive spreader
- Primer (if required)
- Paint (if desired)
- Decorative accessories (optional)
The measuring tape and pencil will help you accurately measure and mark the wall for the grass mat installation. The utility knife will be used to trim the grass mat if necessary. The paint roller and tray, along with the paintbrush, will come in handy if you decide to paint the wall or add some color to the mat itself.
The level will ensure that the grass mat is properly installed and aligned. Sandpaper will help in preparing the wall surface for adhesive application, and the putty knife will be used to fill any cracks or holes in the wall.
As for the materials, the grass mat is the main component of this project. You can find artificial grass mats readily available in various sizes and textures. Be sure to choose a high-quality grass mat that suits your desired aesthetic.
Additionally, you will need an appropriate adhesive. Opt for a strong and durable adhesive suitable for the wall surface and the grass mat material. You can find specific adhesives designed for grass or outdoor surfaces that work well for indoor applications as well.
Depending on the condition of your wall and the grass mat you choose, you may need to apply a primer before fixing the grass mat. This will help the adhesive bond better with the wall surface. Lastly, if you want to further customize the look, consider decorative accessories such as artificial flowers or vines to enhance the overall effect.
Once you have gathered all the necessary tools and materials, you are ready to move on to the next step of preparing the wall surface.
Step 2: Prepare the wall surface
Before fixing the grass mat on the wall, it’s crucial to prepare the surface properly. This will ensure better adhesion and a smooth, professional-looking finish. Follow these steps to prepare the wall surface:
Clean the wall:
Start by thoroughly cleaning the wall where you plan to install the grass mat. Use a mild detergent and warm water to remove any dust, dirt, or grease. Wipe the wall surface gently with a clean cloth or sponge. Allow it to dry completely before moving on to the next step.
Fill any cracks or holes:
Inspect the wall carefully for any cracks or holes. Use a putty knife to fill these imperfections with spackling paste or wall filler. Smooth out the surface and let it dry. If necessary, repeat this process until the wall is even and free from any visible damage.
Sand the wall surface:
Once the filled areas are completely dry, use sandpaper to smooth the entire wall surface. Sanding will help remove any rough spots or unevenness, creating a clean and level base for the adhesive and grass mat. Be sure to wipe away any dust or debris with a damp cloth or sponge.
By cleaning the wall and filling any cracks or holes, you are ensuring a clean and even surface for the grass mat installation. Sanding the wall will further enhance the adhesive’s grip and prevent any bumps or imperfections from showing through the grass mat.
With the wall surface now properly prepared, you are ready to move on to the next step of applying adhesive to the grass mat.
Step 3: Apply adhesive to the grass mat
Now that you have prepared the wall surface, it’s time to apply the adhesive to the grass mat. This step is crucial for ensuring proper adhesion and a long-lasting installation. Follow these guidelines when applying adhesive to the grass mat:
Choose the right adhesive:
Use an adhesive that is specifically designed for bonding artificial grass or outdoor surfaces. These adhesives are formulated to provide strong and durable adhesion, even in indoor applications. Read the manufacturer’s instructions carefully to ensure you are using the correct adhesive for your specific grass mat and wall surface.
Apply adhesive evenly on the wall:
Start by pouring a sufficient amount of adhesive into a paint tray for easy accessibility. Use an adhesive spreader or a paint roller to apply the adhesive onto the wall. Begin at one corner or edge of the wall and work your way across, spreading the adhesive evenly in a thin and consistent layer.
It is important to apply the adhesive in a smooth and even manner to prevent lumps or excess adhesive from showing through the grass mat. Work in sections, ensuring that each area is fully covered with adhesive before moving on to the next.
Be mindful of any electrical outlets or switches on the wall, and use a utility knife to carefully cut around these areas, ensuring a neat and precise installation. Remember to follow the manufacturer’s instructions regarding the drying time of the adhesive.
By selecting the appropriate adhesive and applying it evenly on the wall, you are ensuring a secure and long-lasting bond between the grass mat and the wall surface. With the adhesive applied, you are now ready to proceed to the next step, which is securing the grass mat on the wall.
Use a strong adhesive or double-sided tape to fix the grass mat to the wall. Make sure the wall is clean and dry before applying the adhesive. Press firmly and evenly to ensure the mat sticks properly.
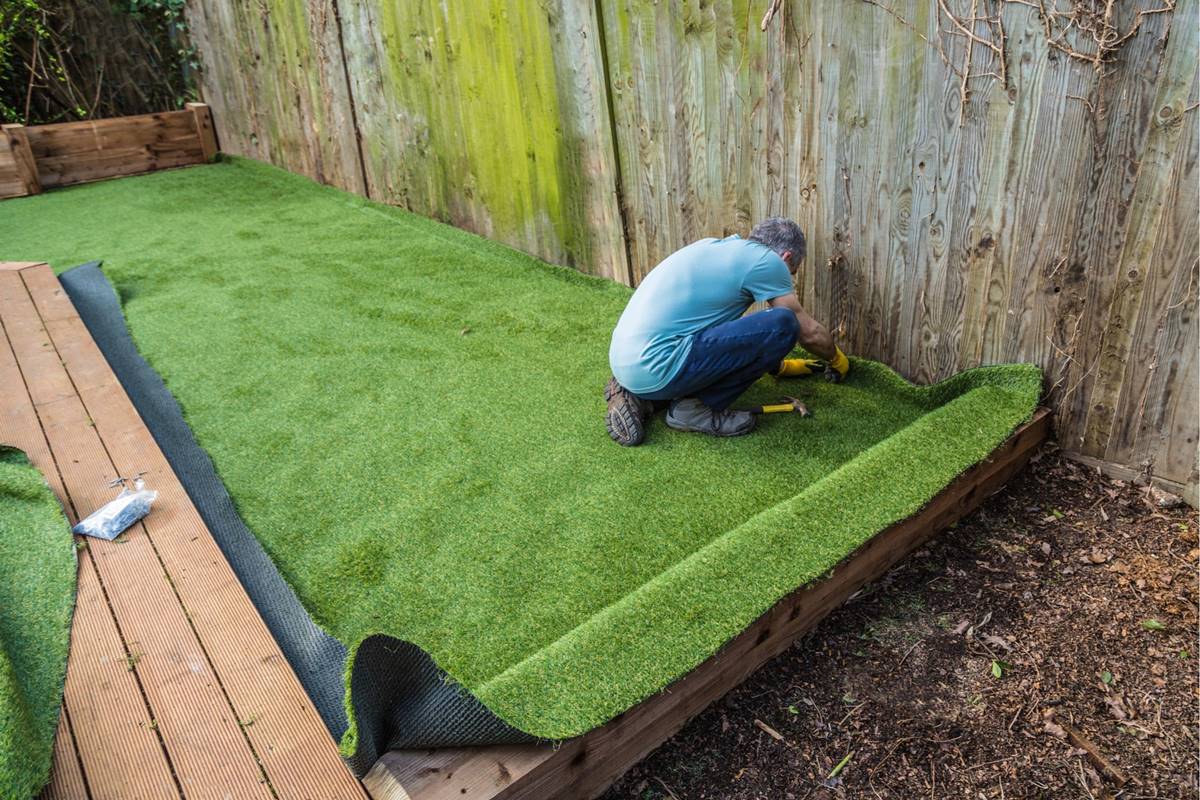
Step 4: Secure the grass mat on the wall
With the adhesive applied to the wall, it’s time to secure the grass mat in place. Follow these steps to ensure a smooth and seamless installation:
Start from the top or bottom?
Decide whether you want to start installing the grass mat from the top or the bottom of the wall. Starting from the top allows you to work your way down, ensuring that the grass mat adheres properly and any excess material can be trimmed at the bottom if needed. Starting from the bottom, on the other hand, can provide better support and alignment as you move upwards.
Smooth out any wrinkles:
As you secure the grass mat to the wall, be mindful of any wrinkles or air pockets that may form. Use your hands or a clean cloth to gently smooth out any wrinkles, ensuring a flat and even surface. Smooth the grass blades in the same direction to maintain a natural and cohesive look.
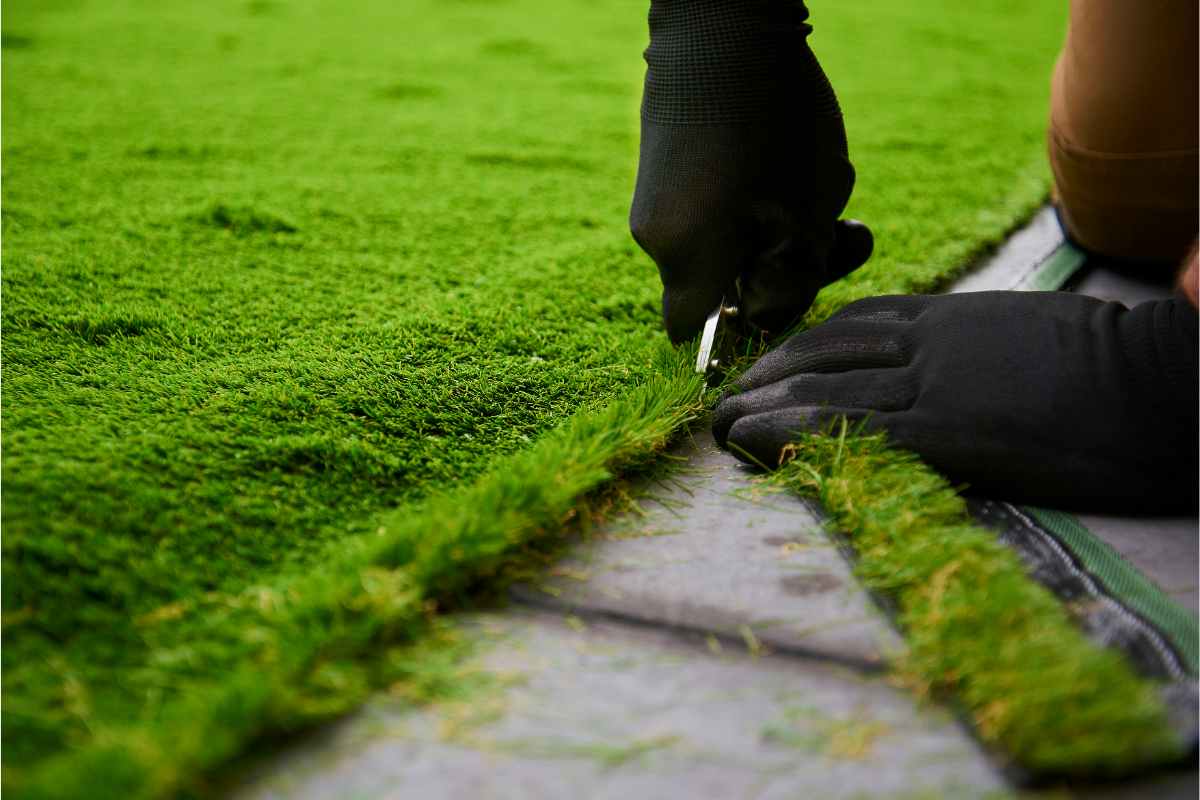
Trim excess grass mat if necessary:
If you find that the grass mat extends beyond the desired area or if there are any uneven edges, use a sharp utility knife to trim the excess material. Take care not to damage the wall or the grass mat while trimming. A steady hand and precision cutting will result in a neat and professional finish.
Work methodically across the wall, gradually securing the grass mat and repeating the process until the entire surface is covered. Take breaks as needed to ensure proper alignment and maintain a consistent level throughout the installation.
By determining whether to start from the top or bottom, smoothing out any wrinkles, and trimming any excess grass mat, you’ll achieve a flawless installation with a professional and seamless appearance. Next, allow the adhesive to dry completely before moving on to the finishing touches.
Read more: How To Use Kusha Grass Mat
Step 5: Allow time for the adhesive to dry
After securing the grass mat on the wall, it is crucial to allow sufficient time for the adhesive to dry completely. This step ensures a strong and durable bond between the grass mat and the wall surface. Follow these guidelines to ensure that the adhesive properly sets:
Follow manufacturer’s instructions:
Refer to the adhesive manufacturer’s instructions for the recommended drying time. The drying time can vary depending on the specific adhesive used and the environmental conditions. It is important to give the adhesive enough time to fully cure and bond before proceeding to the next step.
Avoid touching or disturbing the grass mat:
During the drying period, avoid touching or applying pressure to the grass mat. Any movement or disturbance can compromise the adhesive bond and result in the grass mat coming loose. Be patient and allow the adhesive to dry undisturbed.
Optimize airflow and ventilation:
Ensure that the room is well-ventilated to facilitate the drying process. Open windows or doors to promote air circulation and help the adhesive dry more quickly. If necessary, you can even use a fan to speed up the drying time. However, avoid placing the fan directly on the grass mat, as this can cause displacement or disturbance.
By allowing sufficient drying time for the adhesive, you are ensuring a secure and long-lasting installation. Rushing this step can result in the grass mat not adhering properly to the wall surface, leading to potential issues in the future. Once the adhesive has dried completely, you can move on to the final step of adding the finishing touches to enhance the overall appearance.
Step 6: Finishing touches
Once the adhesive has dried and the grass mat is securely fixed on the wall, it’s time to add the final touches to enhance the overall appearance. Follow these steps to complete your grass mat installation:
Inspect the mat for any loose edges:
Carefully inspect the grass mat to ensure that all edges are secure and properly adhered to the wall surface. If you notice any loose edges or areas where the adhesive may have not fully bonded, apply a small amount of adhesive using a paintbrush or adhesive spreader. Smooth out the edges and press them firmly against the wall to ensure a strong bond. Allow this additional adhesive to dry before proceeding.
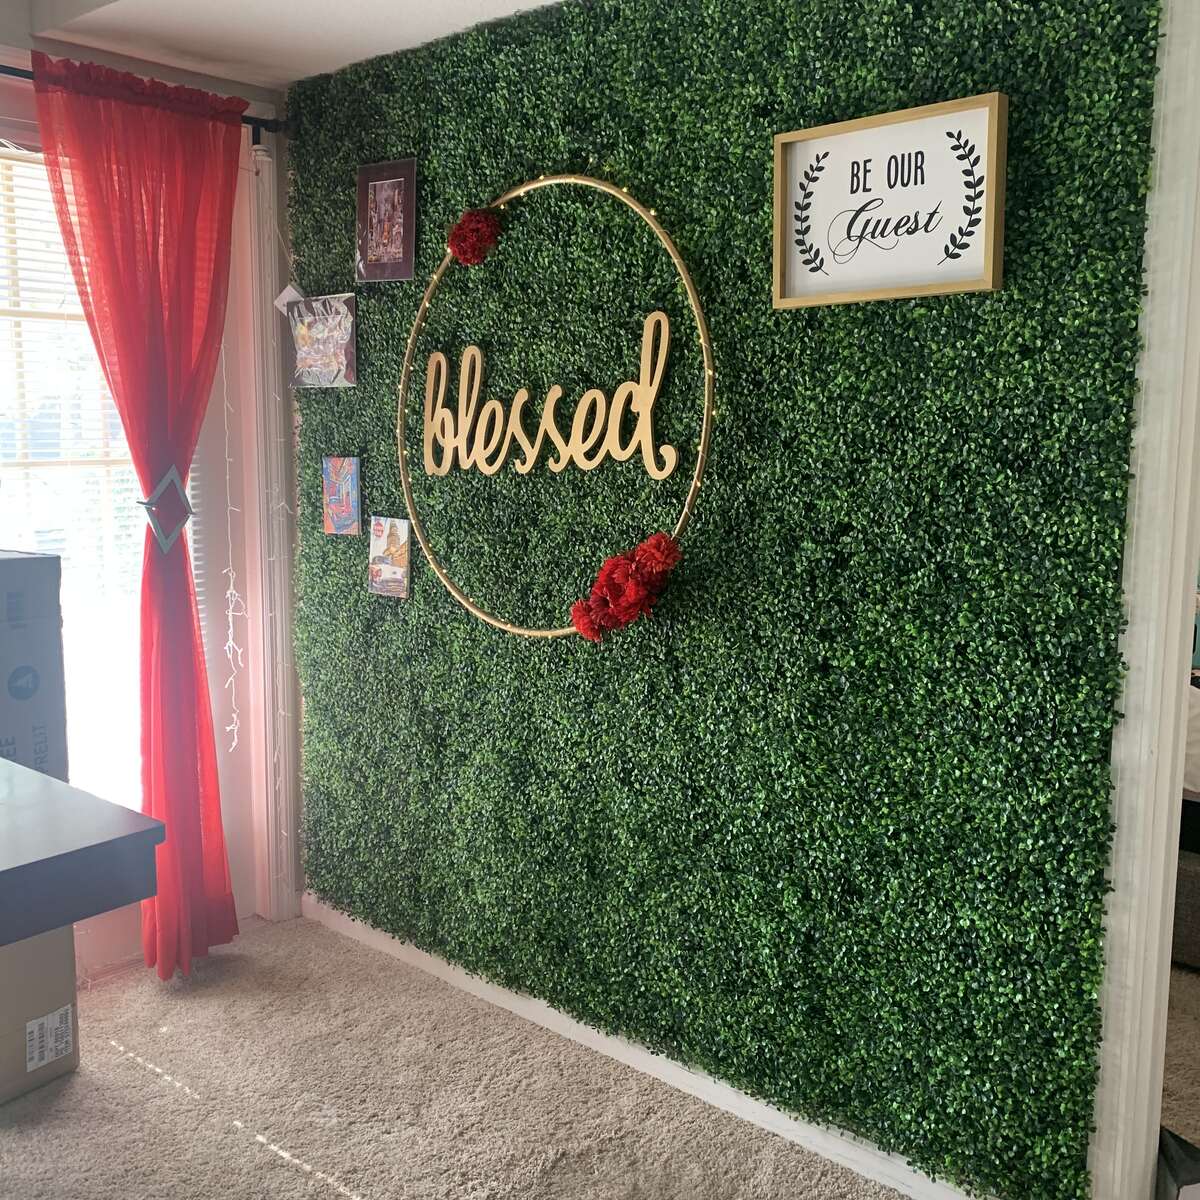
Paint or decorate as desired:
If you wish to further enhance the aesthetics of your grass mat, you can consider painting it or adding decorative elements. With a paint roller or a brush, apply latex paint to the grass blades, mimicking the natural color variations found in real grass. This can create a more realistic and vibrant look. Alternatively, you can attach artificial flowers, vines, or other decorative accessories to the grass mat to add a personal touch according to your taste and preference.
Before painting or decorating, make sure to protect the surrounding areas with painter’s tape or newspaper to avoid any accidental spills or mess. Allow the paint or any attached decorations to fully dry before taking a step back to admire your newly transformed wall.
By inspecting the grass mat for any loose edges and ensuring they are properly secured, you are guaranteeing the longevity of your installation. Adding paint or decorations can further personalize the space and make it truly unique.
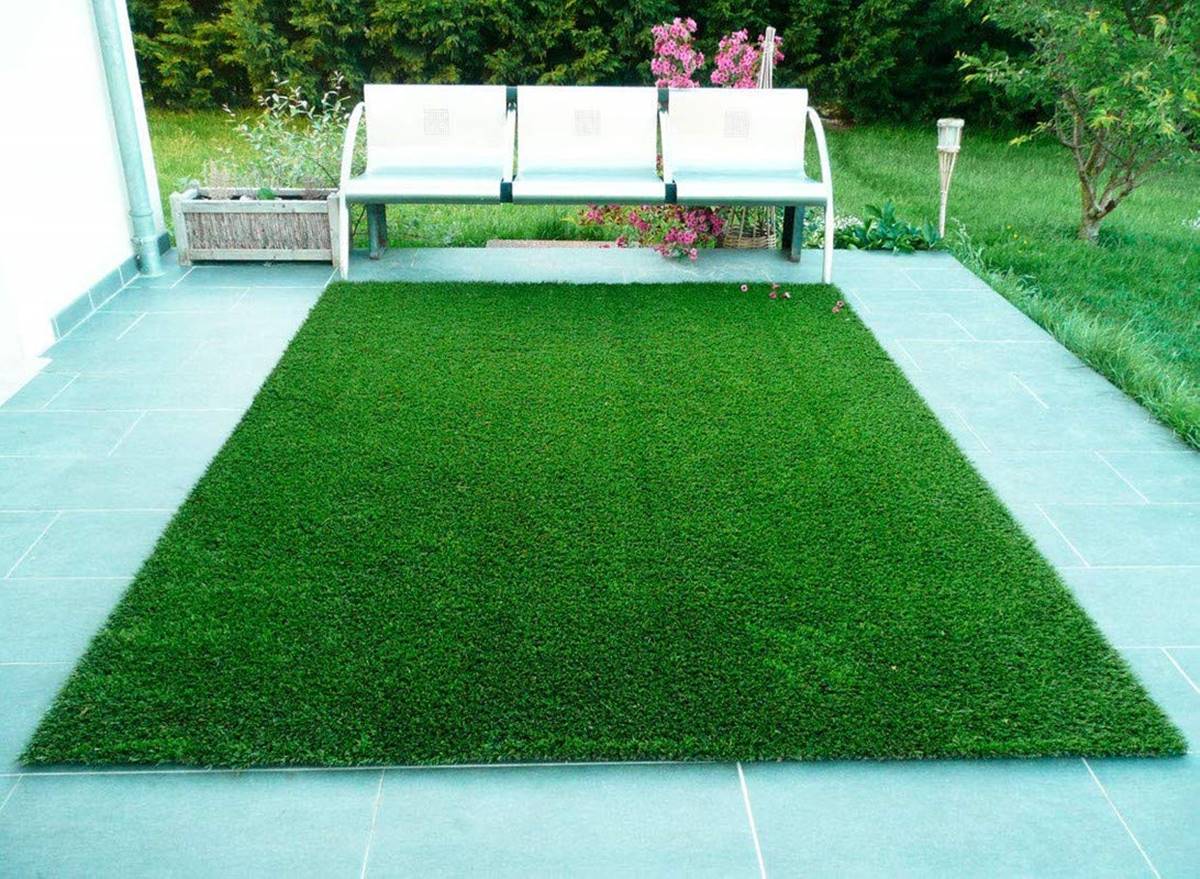
With the finishing touches complete, step back and enjoy the beauty and natural ambiance that the grass mat has brought to your living space.
Congratulations! You have successfully fixed a grass mat on the wall, transforming your room into a fresh and inviting space that invokes the beauty of the outdoors.
Conclusion
Fixing a grass mat on the wall is a creative and engaging way to bring the beauty of nature indoors. By following the step-by-step process outlined in this article, you can achieve a professional and seamless installation that will transform your space.
From gathering the necessary tools and materials to preparing the wall surface, applying adhesive, securing the grass mat, allowing for drying time, and adding the finishing touches, each step plays a crucial role in ensuring a successful grass mat installation.
Remember to choose the right adhesive suitable for both the wall surface and the grass mat material. Take your time to apply the adhesive evenly, ensuring a strong and durable bond. Smooth out any wrinkles or air pockets to achieve a flawless appearance.
Allow sufficient time for the adhesive to dry completely, ensuring a secure and long-lasting installation. Inspect the mat for any loose edges and address them promptly. Consider painting the grass mat or adding decorative elements to personalize the space further.
By adhering to these guidelines, you can create a unique and eye-catching feature that brings a touch of nature and tranquility to any room. Whether it’s in your living room, workspace, or any other area of your home, a grass mat on the wall can instantly transform the ambiance and create a refreshing and inviting atmosphere.
So, don’t be afraid to explore the world of indoor gardening and unleash your creativity by fixing a grass mat on the wall. Now, it’s time to enjoy your newly transformed space and bask in the beauty of nature right at your fingertips.
Frequently Asked Questions about How To Fix A Grass Mat On The Wall
Was this page helpful?
At Storables.com, we guarantee accurate and reliable information. Our content, validated by Expert Board Contributors, is crafted following stringent Editorial Policies. We're committed to providing you with well-researched, expert-backed insights for all your informational needs.


0 thoughts on “How To Fix A Grass Mat On The Wall”