Home>Furniture>Outdoor Furniture>How To Seal A Paver Patio
Outdoor Furniture
How To Seal A Paver Patio
Modified: March 7, 2024
Learn how to properly seal your paver patio to protect it from outdoor elements and enhance the longevity of your outdoor furniture.
(Many of the links in this article redirect to a specific reviewed product. Your purchase of these products through affiliate links helps to generate commission for Storables.com, at no extra cost. Learn more)
Introduction
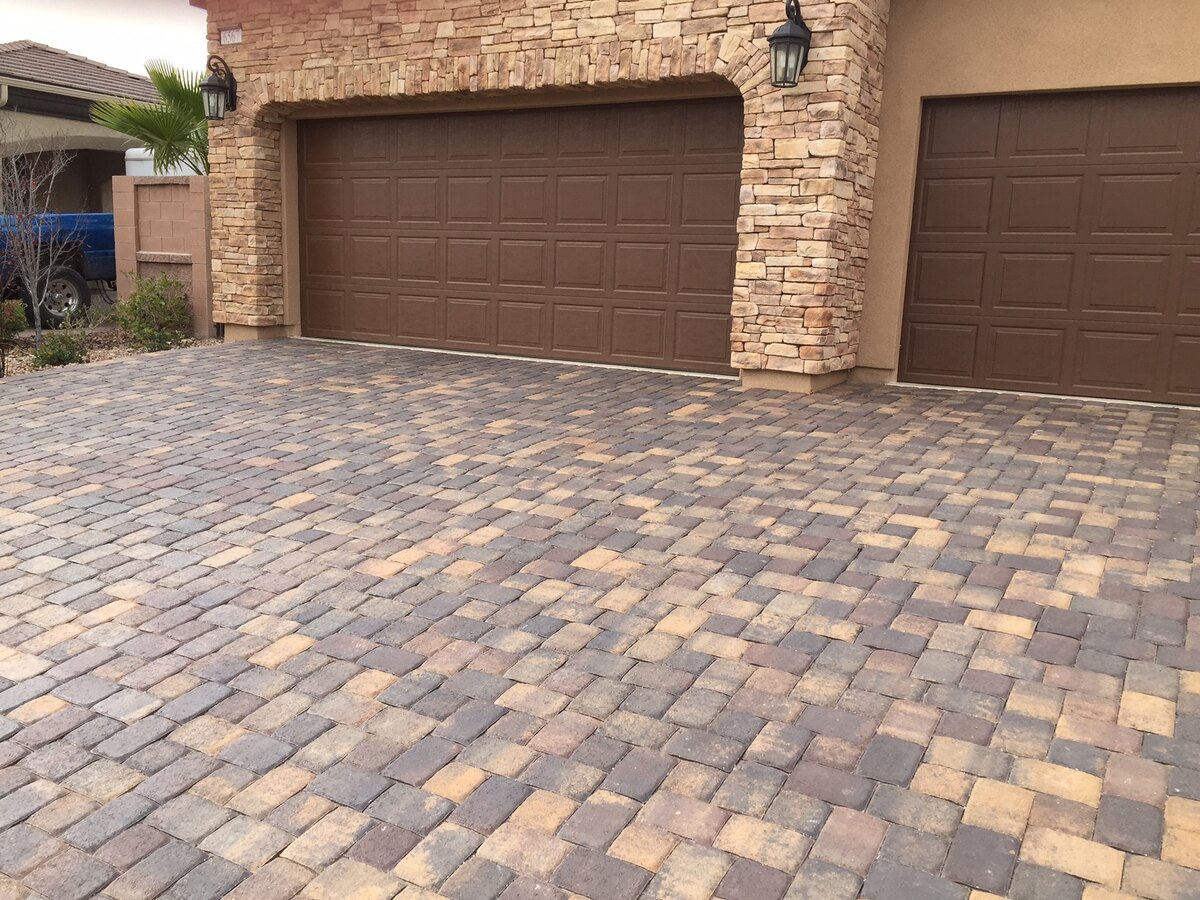
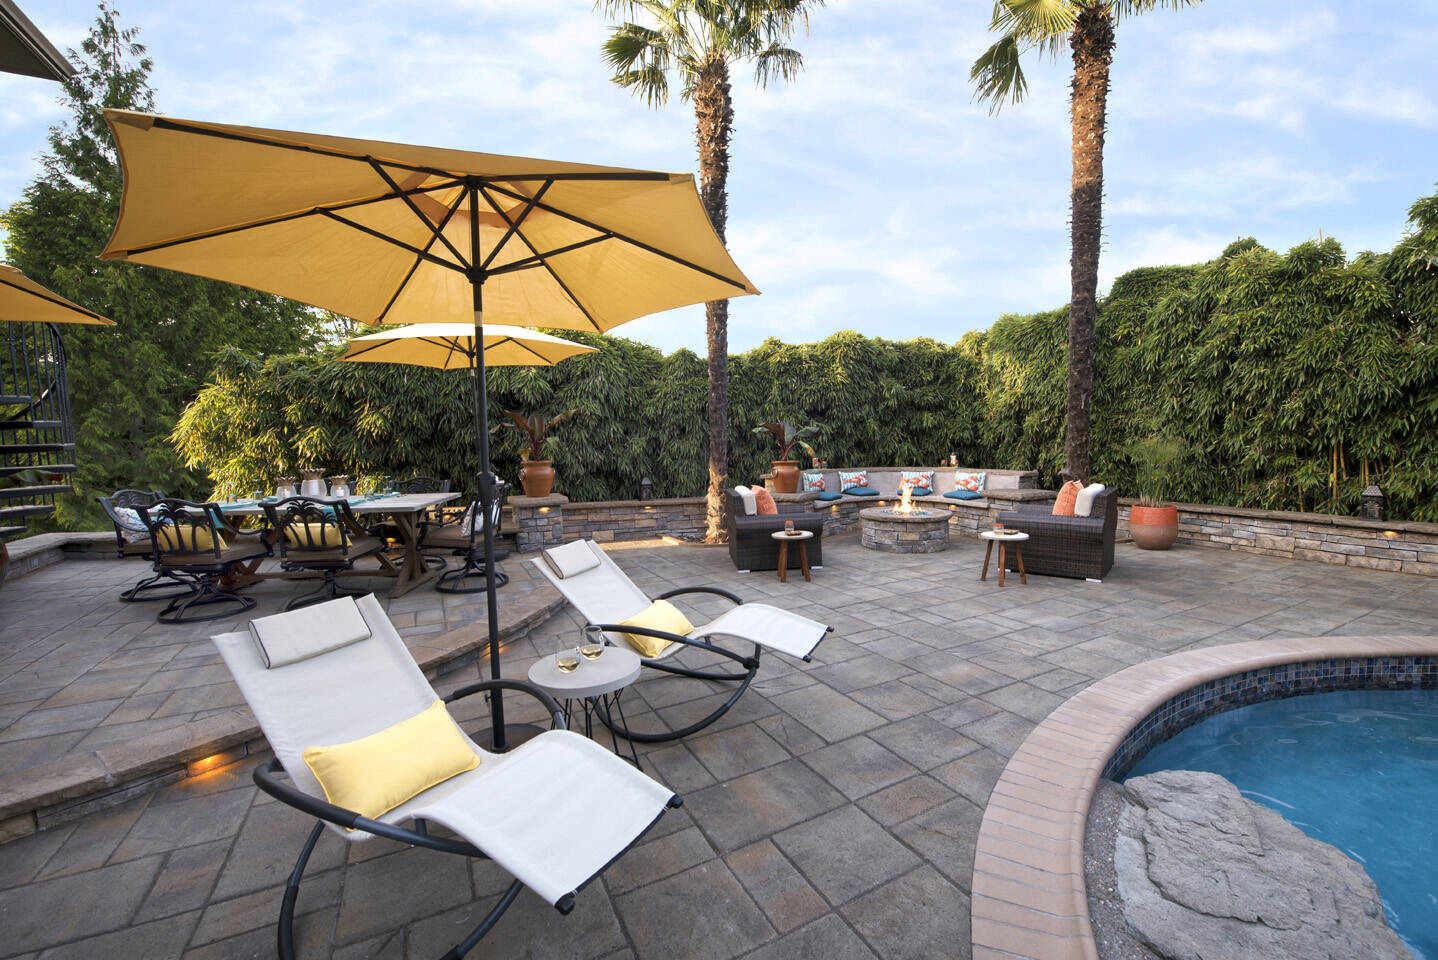
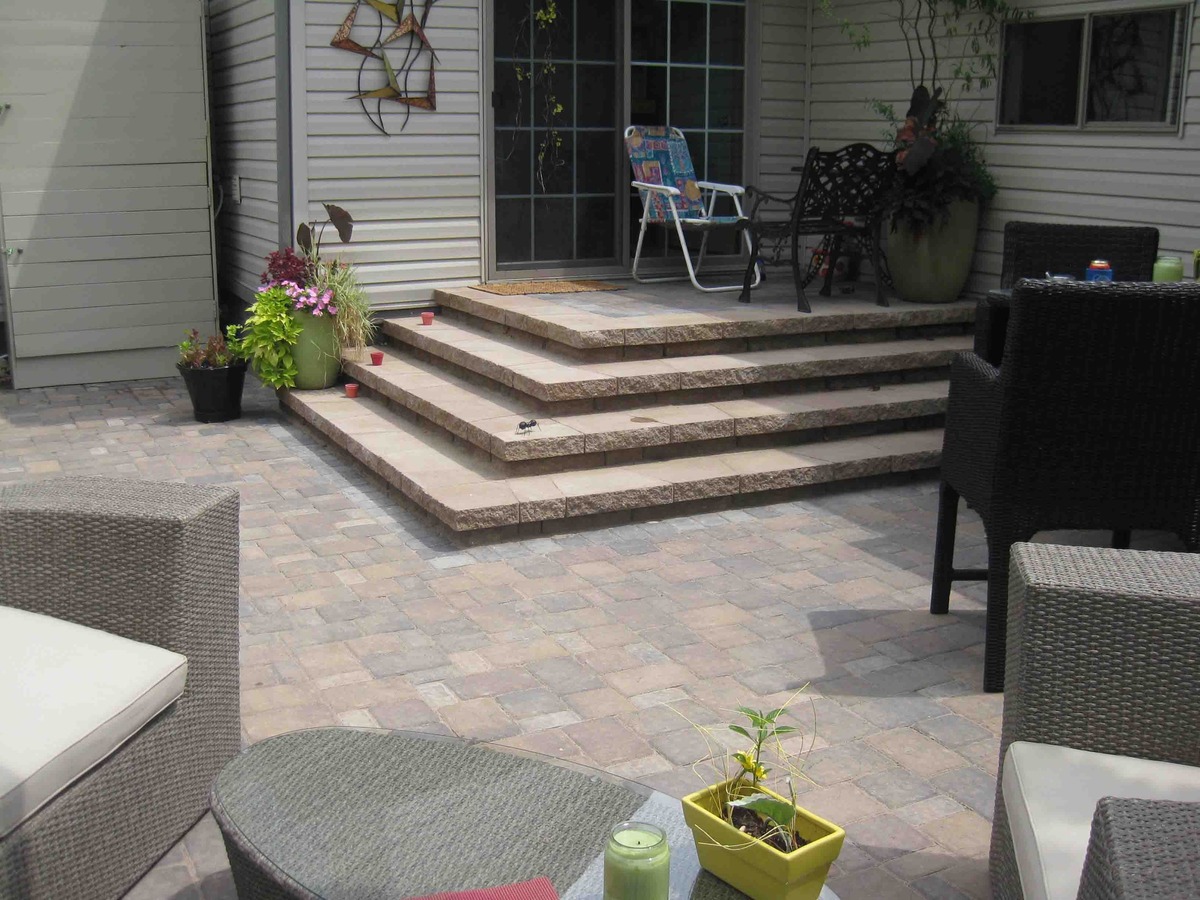
Welcome to the world of outdoor living! There’s nothing quite like enjoying the splendor of nature while relaxing on your very own paver patio. Whether you use your patio for hosting summer barbecues, family gatherings, or simply as a serene space to soak up the sun, it’s important to keep it in pristine condition. One way to do that is by sealing your paver patio.
Sealing a paver patio not only enhances its beauty but also protects it from the damaging effects of the elements. By creating a barrier against UV rays, water, and other contaminants, the sealer helps prevent fading, cracking, and erosion, prolonging the life of your patio. In this article, we’ll guide you through the process of sealing your paver patio, ensuring that it remains a stunning and functional outdoor space for years to come.
Before we dive into the steps, it’s important to note that sealing a paver patio is a DIY project that requires careful attention to detail and some basic tools. While it may seem daunting at first, with the right guidance, you’ll be able to tackle this project with confidence.
So, let’s roll up our sleeves and get started on transforming your paver patio into a long-lasting oasis!
Key Takeaways:
- Sealing your paver patio protects it from damage and enhances its beauty. Follow the steps to clean, repair, choose the right sealer, apply it carefully, and maintain your patio for long-lasting enjoyment.
- Regular maintenance, including cleaning and inspecting for resealing, ensures your sealed paver patio stays beautiful and functional. Invest time and effort to transform your outdoor space into a stunning oasis.
Read more: How Much Does It Cost To Seal A Paver Patio
Step 1: Clean the Paver Patio
Before applying any sealer, it’s crucial to thoroughly clean your paver patio to ensure optimal results. Here are the tools and materials you’ll need for this step:
- Broom or leaf blower
- Stiff-bristle brush
- Pressure washer
- Weed killer
- Moss remover
- Gloves
Start by sweeping the patio to remove any loose debris such as leaves, dirt, and twigs. Use a broom or a leaf blower to make the process faster and more efficient. This will provide a clean surface for the next steps.
Next, inspect the patio for any weeds or moss that may have grown between the pavers. If you spot any, use a weed killer specifically designed for use on pavers. Apply it to the affected areas, following the instructions on the product label. Allow the weed killer to work its magic, which usually takes a few days.
Once the weed killer has done its job, it’s time to remove any remaining weeds or moss. Use a stiff-bristle brush to scrub the pavers and loosen the weed roots. This will make it easier to remove them. Be sure to wear gloves to protect your hands during this process.
After removing the weeds, it’s time to give your paver patio a deep clean using a pressure washer. A pressure washer will help remove embedded dirt, grime, and stains, leaving your patio looking fresh and rejuvenated. Adjust the pressure settings on your washer to a level that won’t damage the pavers, and start cleaning from one end of the patio, working your way to the other end in a sweeping motion.
If you notice areas with stubborn dirt or stains that won’t come off with the pressure washer alone, use a mild detergent or paver cleaner and scrub with a brush. Rinse thoroughly to remove any residue before proceeding to the next step.
Once you’ve finished pressure washing, allow the paver patio to thoroughly dry before moving on to the next steps. This is essential to ensure proper adhesion of the sealer and prevent any moisture from getting trapped beneath the surface.
With your paver patio now clean and free of debris, weeds, and moss, you’re ready to move on to the next step of sealing it. Stay tuned for step 2, where we’ll guide you through repairing any damaged pavers.
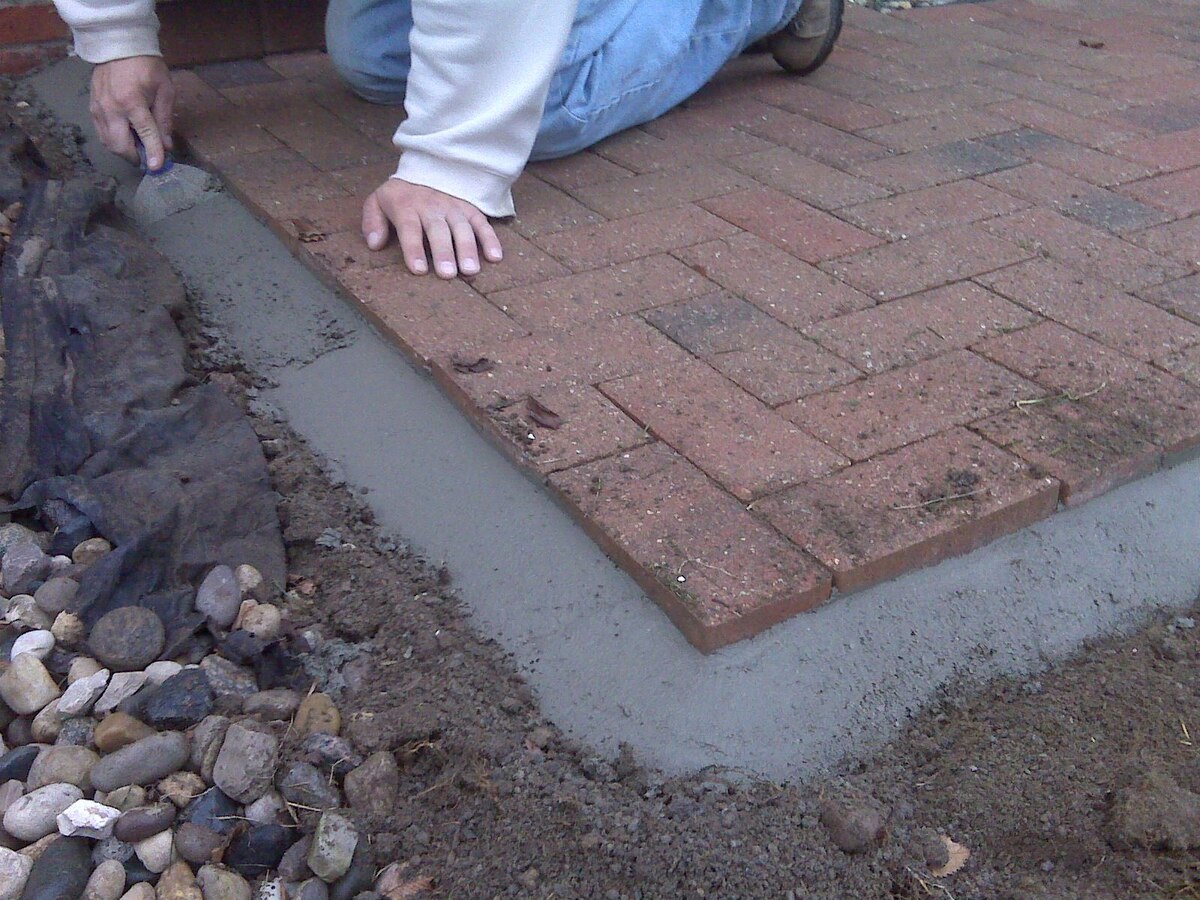
Step 2: Repair any Damaged Pavers
Now that your paver patio is clean and dry, it’s time to inspect the pavers for any cracks or damage. This step is crucial to ensure that your patio is in good condition and that the sealer will adhere properly. Here’s what you need to do:
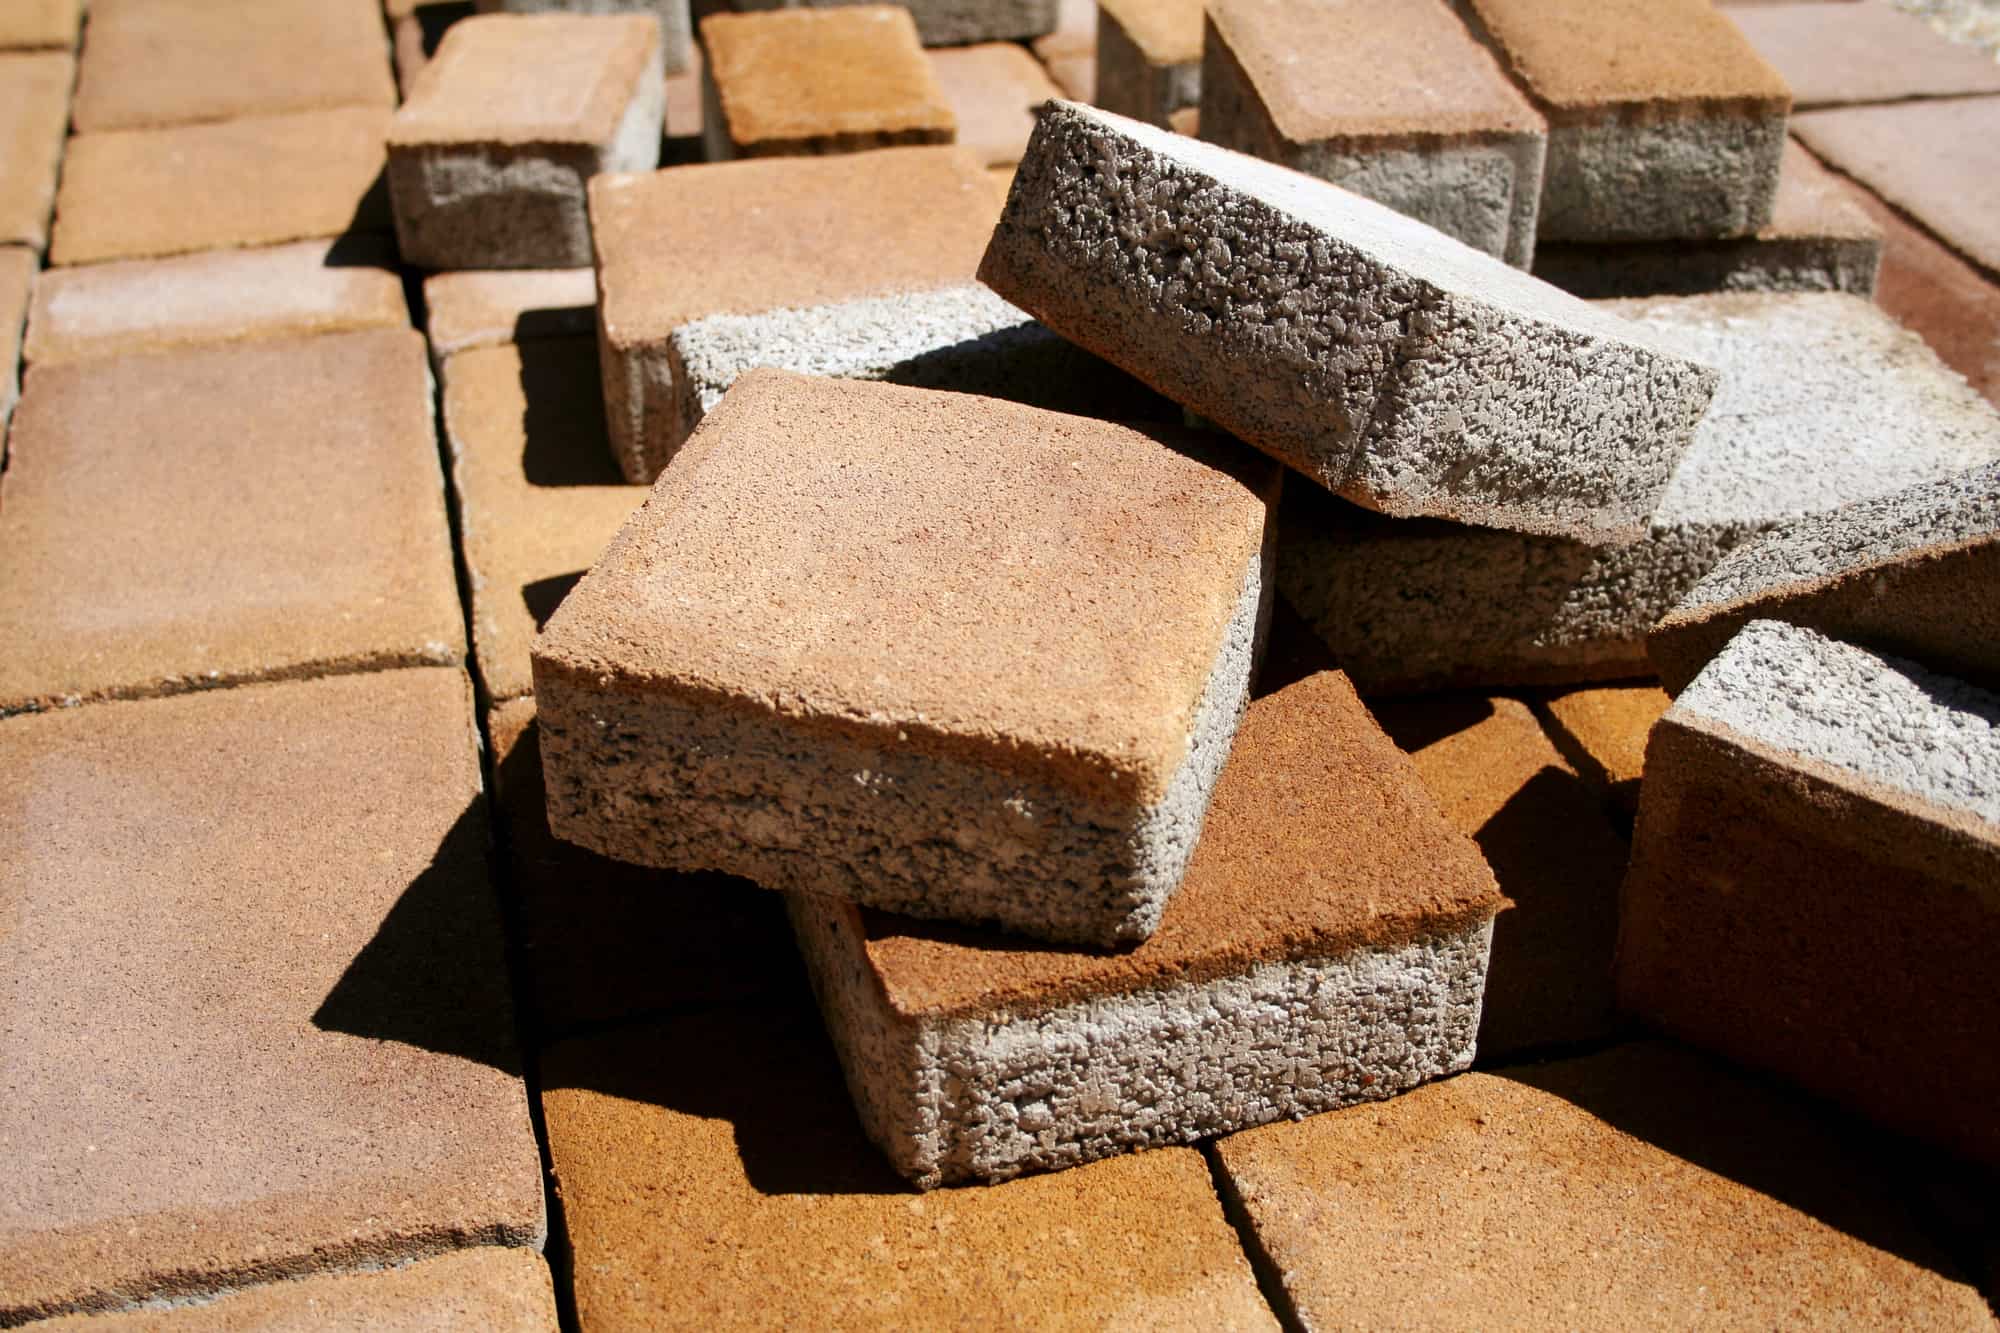
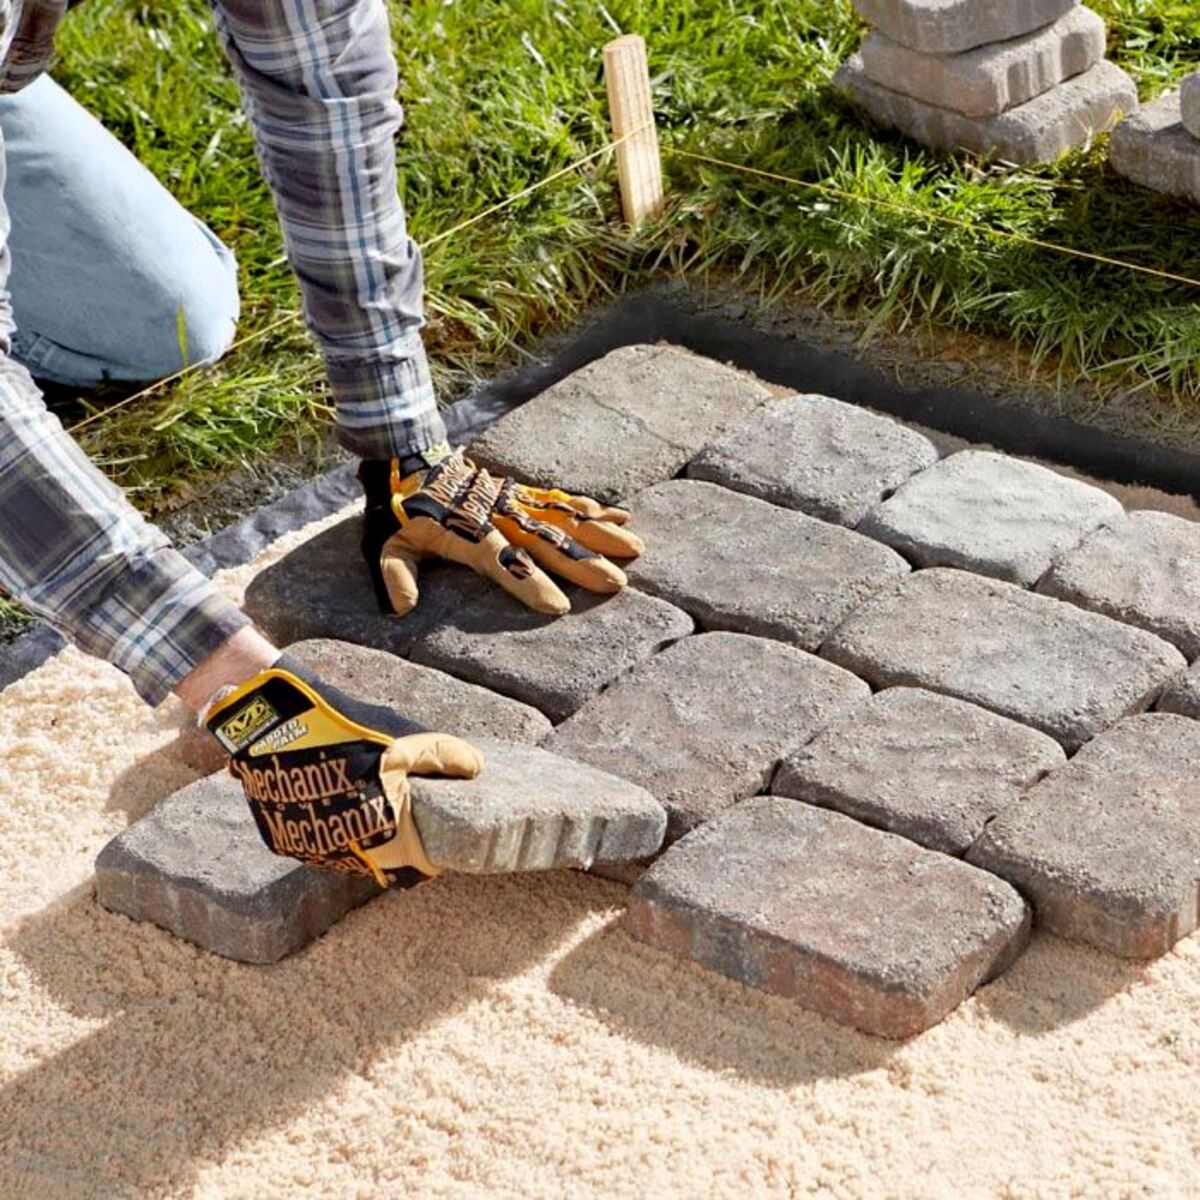
Inspecting the pavers for cracks or damage: Take a close look at each paver on your patio. Look for any visible cracks, chips, or other signs of damage. Pay attention to the edges and corners, as these areas are more prone to wear and tear.
Replacing broken or cracked pavers: If you find any pavers that are broken or severely cracked, it’s best to replace them. Remove the damaged paver by carefully prying it up with a flat-head screwdriver or a paver removal tool. Clean out the area where the paver was installed, ensuring it is free of debris and dirt. Then, insert the new paver into the space, making sure it fits snugly. Tap it gently with a rubber mallet to ensure it is level with the surrounding pavers.
Filling in gaps between pavers: In addition to inspecting for cracks and damage, check for any gaps between the pavers. Over time, these gaps can widen due to settling or erosion. Fill in the gaps with polymeric sand or jointing sand, which helps stabilize the pavers and prevent weed growth. Spread the sand evenly on the entire patio and use a broom to push it into the gaps. Sweep away any excess sand and lightly wet the patio to activate the sand’s binding properties.
By repairing any damaged pavers and filling in gaps, you ensure that your paver patio is structurally sound and ready for the sealing process. In the next step, we’ll discuss how to choose the right sealer for your specific needs. Stay tuned!
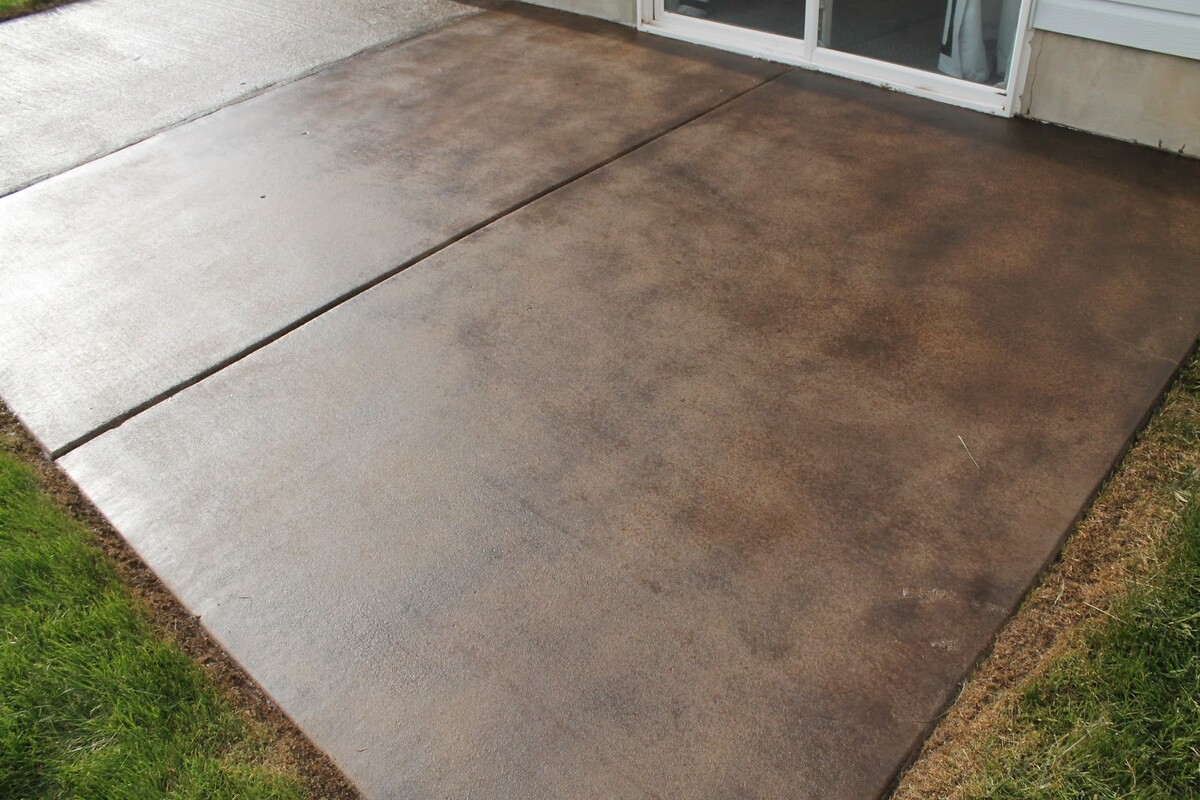
Step 3: Allow the Paver Patio to Dry
After repairing any damaged pavers and filling in gaps, it’s important to allow your paver patio to dry completely before applying the sealer. This step ensures proper adhesion of the sealer and prevents any moisture from becoming trapped between the pavers. Here’s what you need to do:
Waiting for the patio to dry completely: The drying time of your paver patio will depend on several factors, including the weather conditions and the porosity of the pavers. In general, it’s recommended to wait at least 24 to 48 hours for the patio to dry. However, if you live in a humid area or if the weather is particularly damp, it may take longer. Patience is key here, as applying the sealer to a damp surface can result in poor adhesion and a compromised seal.
Ensuring there is no moisture trapped between pavers: Before proceeding with the sealing process, it’s crucial to ensure that there is no moisture trapped between the pavers. Excess moisture can lead to sealer failure and long-term damage to your patio. To check for moisture, conduct a simple test by placing a plastic sheet or piece of foil on the surface of your patio and sealing the edges with tape. Leave it in place for a few hours, then remove it and check for any condensation or moisture. If you notice any, allow the patio to dry further before proceeding.
Remember, proper drying of the paver patio is essential for a successful sealing process. Be patient, monitor the weather conditions, and ensure that there is no moisture trapped between the pavers. In the next step, we’ll discuss how to choose the right sealer for your paver patio. Stay tuned!
Step 4: Choose the Right Sealer
Choosing the right sealer is an important step in the process of sealing your paver patio. There are different types of sealers available, each with its own characteristics and benefits. Understanding these options and considering the specific needs of your patio will help you select the appropriate sealer. Here’s what you need to know:
Understanding different types of sealers: There are primarily two types of sealers used for paver patios: penetrating sealers and topical sealers.
– Penetrating sealers: These sealers penetrate the surface of the pavers, forming a protective barrier that is invisible and doesn’t alter the appearance of the patio. They are typically water-based and allow the patio to breathe, preventing moisture from getting trapped. Penetrating sealers are ideal for protecting against water damage, staining, and the growth of mold and mildew. They are also UV-resistant, helping to prevent fading of the pavers.
– Topical sealers: These sealers sit on the surface of the pavers, forming a protective layer. They are available in various finishes, including glossy, semi-gloss, and matte. Topical sealers provide enhanced color enhancement and can give your patio a more vibrant look. However, they may require periodic reapplication and can be more susceptible to wear and peeling over time.
Considerations for choosing the appropriate sealer: When choosing a sealer for your paver patio, consider the following factors:
– Porosity of the pavers: Some pavers are more porous than others, which affects their ability to absorb the sealer. If you have highly porous pavers, a penetrating sealer is recommended to ensure proper coverage and protection.
– Desired appearance: Consider whether you prefer a natural, unaltered look or a glossy finish for your paver patio. Penetrating sealers maintain the natural appearance of the pavers, while topical sealers offer more aesthetic enhancement.
– Climate and environmental factors: Take into account the climate in your area and any specific environmental factors that may impact your patio. For example, if you live in an area with high humidity or frequent rain, a penetrating sealer with water repellency properties would be beneficial.
– Longevity: Consider the durability and lifespan of the sealer. Some sealers may require more frequent reapplication, while others offer longer protection and may require less maintenance.
By understanding the different types of sealers available and considering the specific needs of your paver patio, you can choose the most suitable sealer. In the next step, we’ll guide you through the process of applying the sealer to your patio. Stay tuned!
Before sealing a paver patio, make sure the surface is clean and dry. Use a high-quality sealer and apply it evenly with a roller or sprayer for best results. Allow the sealer to dry completely before using the patio.
Read more: How To Seal Brick Pavers
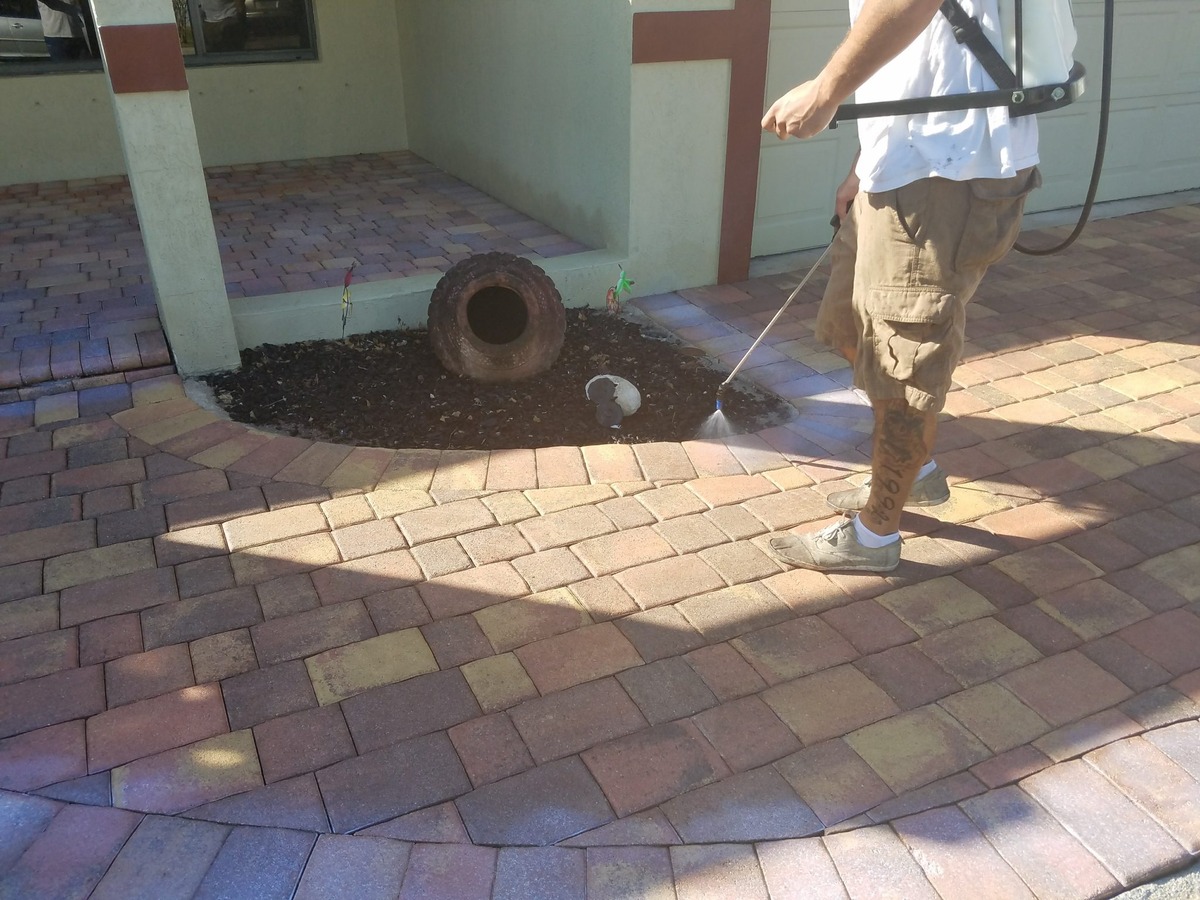
Step 5: Apply the Sealer
Now that you’ve chosen the appropriate sealer for your paver patio, it’s time to apply it and protect your outdoor space. Here’s how you can effectively apply the sealer:
Preparing the sealer: Start by carefully reading and following the manufacturer’s instructions on the sealer container. Ensure that you are working in a well-ventilated area and wear appropriate protective gear, such as gloves and goggles, to prevent any potential skin or eye irritation.
Applying the sealer to the paver patio: Using a roller, sprayer, or brush specifically designed for sealer application, begin at one end of your patio and work your way towards the other end. Apply the sealer in thin, even coats, covering the entire surface of each paver. Take care not to apply too much sealer, as excessive amounts can result in a thick, uneven finish or puddling.
Ensuring even coverage and avoiding puddling: To achieve an even coverage, you may need to back-roll or brush the sealer after applying it with a roller or sprayer. This helps spread the sealer evenly and ensure that all areas of the pavers are coated. Pay special attention to the edges and corners, as these areas may require more attention to avoid missed spots.
It’s important to note that some sealers may require multiple coats for optimal protection. If this is the case with the sealer you’ve chosen, ensure that each coat is allowed to dry completely before applying the next one. Follow the manufacturer’s instructions regarding the recommended drying time between coats.
During the application process, be cautious and avoid walking on the freshly sealed areas. This can lead to footprints and disturb the sealer’s even application. If you need to walk on the patio, place boards or stepping stones to distribute your weight and minimize direct contact with the sealer.
Once you’ve applied the sealer to your paver patio, allow it to dry and cure according to the manufacturer’s instructions. This typically takes a few hours to a full day, depending on the type of sealer and the weather conditions. Avoid subjecting the patio to heavy foot traffic or placing any furniture or objects on it until the sealer has fully dried and cured.
By following these steps, you’ll be able to apply the sealer to your paver patio effectively. In the next step, we’ll discuss the importance of maintaining your sealed paver patio to ensure its longevity and beauty. Stay tuned!
Step 6: Allow the Sealer to Dry and Cure
After applying the sealer to your paver patio, it’s crucial to allow it sufficient time to dry and cure. This step ensures optimal adhesion and durability of the sealer. Here’s what you need to do:
Allowing the sealer to dry according to manufacturer instructions: Different sealers have varying drying times, which are usually specified by the manufacturer. It’s important to carefully read and follow these instructions to ensure that the sealer sets properly. Factors such as temperature, humidity, and air circulation can affect the drying time. In general, the sealer will dry within a few hours, but it’s best to wait for the recommended timeframe to ensure complete drying.
Curing time and avoiding foot traffic: While the sealer may be dry to the touch, it’s essential to allow it sufficient time to cure fully. Curing time refers to the period during which the sealer becomes fully hardened and develops its maximum protective properties. This can vary depending on the type of sealer and environmental conditions. As a general guideline, it’s recommended to avoid foot traffic on the newly sealed patio for at least 24 to 48 hours. This allows the sealer to fully cure without the risk of damage or leaving marks.
During the curing process, it’s crucial to protect the surface from any potential damage. Avoid placing heavy objects, such as furniture or planters, on the patio until the sealer has fully cured. If there is a need to move objects across the patio, use boards or plywood to distribute the weight and prevent indentations on the fresh sealer.
Additionally, be mindful of the weather conditions during the drying and curing process. If rain is forecasted within the drying or curing period, ensure that the patio is covered or temporarily protect it from moisture. Water exposure during this critical phase may affect the quality of the sealer and its ability to provide long-lasting protection.
By allowing the sealer to dry and cure properly, you ensure that your paver patio receives maximum protection and longevity. In the next step, we’ll discuss the importance of maintaining your sealed paver patio to keep it looking its best. Stay tuned!
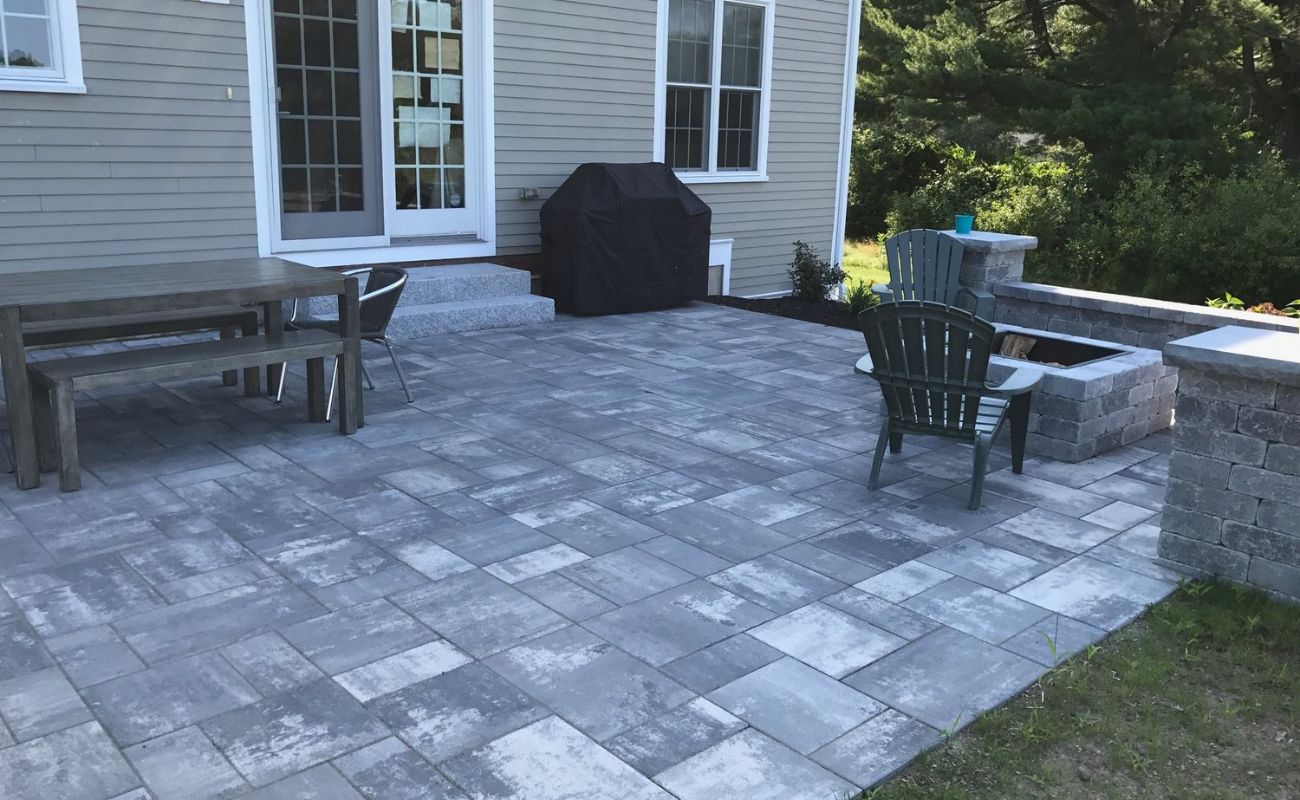
Step 7: Maintain the Sealed Paver Patio
Now that your paver patio is sealed and protected, it’s important to implement a regular maintenance routine to keep it looking its best. Here are the key aspects of maintaining your sealed patio:
Cleaning and maintaining the sealed patio: Regular cleaning is essential to remove dirt, debris, and any potential stains from your sealed paver patio. Sweep the patio regularly to keep it free of leaves, twigs, and other loose particles. For deeper cleaning, use a mild detergent or paver cleaner and scrub the surface with a soft-bristle brush. Rinse thoroughly with water to remove any residue. Avoid using harsh chemicals or bleach, as these can damage the sealer and the pavers. Additionally, be cautious when using a pressure washer, as high pressure can strip away the sealer.
Regular inspections for resealing: Over time, the sealer on your paver patio may begin to wear off due to weather exposure and foot traffic. It’s important to inspect your sealed patio regularly to determine when resealing is necessary. Look for signs such as fading color, increased porosity, water absorption, or loss of the sealer’s protective properties. If you notice any of these signs, it’s time to consider resealing your patio. The frequency of resealing depends on several factors, including the type of sealer, climate conditions, and the level of foot traffic. As a general guideline, plan to reseal your patio every 2-3 years, but adjust this timeline based on your specific circumstances.
By following a regular maintenance routine and conducting inspections for resealing, you’ll ensure that your sealed paver patio remains in top condition. Not only will this prolong its lifespan, but it will also preserve its beauty and functionality for many years to come.
With these seven steps, you now have a comprehensive guide to sealing and maintaining your paver patio. By investing your time and effort into this process, you’ll be rewarded with a stunning outdoor space that you can enjoy and be proud of. So go ahead and transform your patio into a long-lasting oasis of relaxation and beauty!
Conclusion
Sealing your paver patio is a vital step in maintaining its beauty and protecting it from the elements. By following the seven steps outlined in this guide, you can ensure that your outdoor space remains in excellent condition for years to come.
Starting with a thorough cleaning of the patio, removing debris, weeds, and moss, you create a clean surface to work with. Repairing any damaged pavers and filling in gaps ensures a structurally sound foundation for the sealing process.
Choosing the right sealer, whether a penetrating sealer or topical sealer, is key to achieving the desired protection and appearance for your patio. Applying the sealer carefully and evenly, avoiding puddling, allows for proper adhesion and coverage.
Allowing the sealer to dry and cure fully is crucial for its effectiveness, so be patient and avoid foot traffic during this time. Once the sealer has cured, implement a regular maintenance routine, including cleaning the sealed patio and inspecting for resealing needs.
By following these steps and maintaining your sealed paver patio, you can enjoy a beautiful outdoor space that is resistant to fading, staining, and weather damage. A well-maintained patio not only enhances your enjoyment but also adds value to your home.
Remember, each step is important, and attention to detail will ensure the best results. So, roll up your sleeves, grab your tools, and start transforming your paver patio into a long-lasting oasis that will be the envy of your friends and neighbors.
Enjoy the beauty of your sealed paver patio and make lasting memories in your outdoor haven!
Frequently Asked Questions about How To Seal A Paver Patio
Was this page helpful?
At Storables.com, we guarantee accurate and reliable information. Our content, validated by Expert Board Contributors, is crafted following stringent Editorial Policies. We're committed to providing you with well-researched, expert-backed insights for all your informational needs.


0 thoughts on “How To Seal A Paver Patio”