Home>Furniture>Outdoor Furniture>How To Seal A Stone Patio
Outdoor Furniture
How To Seal A Stone Patio
Modified: October 20, 2024
Learn how to properly seal your stone patio to protect it from the elements and keep your outdoor furniture looking beautiful.
(Many of the links in this article redirect to a specific reviewed product. Your purchase of these products through affiliate links helps to generate commission for Storables.com, at no extra cost. Learn more)
Introduction
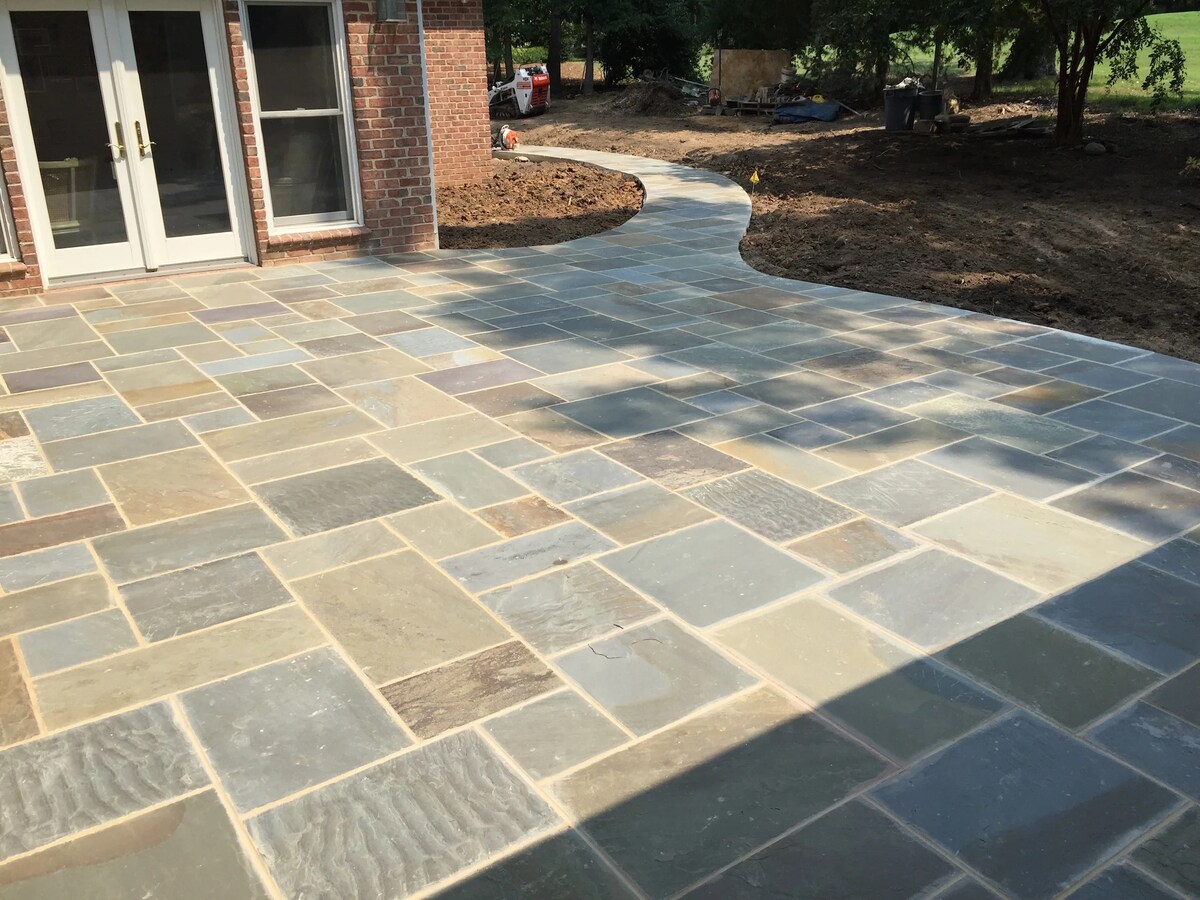
Welcome to this guide on how to seal a stone patio! If you have a stunning stone patio in your outdoor space, it’s important to protect it and keep it looking its best. Sealing your stone patio not only helps to enhance its natural beauty but also provides essential protection against the elements and everyday wear and tear.
Whether your patio is made of flagstone, slate, limestone, or any other type of natural stone, sealing it is a crucial step in its maintenance. This process creates a protective barrier that prevents water, oils, and other substances from penetrating the surface and causing damage.
In this comprehensive guide, we will take you through each step of the process, from cleaning and repairing your patio to choosing the right sealer and applying it correctly. By following these steps, you’ll be able to ensure the long-lasting beauty and durability of your stone patio.
Before we dive into the details, let’s take a look at the tools and materials you’ll need for the job:
Key Takeaways:
- Protect and enhance your stone patio by following these 8 steps to clean, repair, choose the right sealer, apply it correctly, and maintain it for long-lasting beauty and durability.
- Gather essential tools and materials, clean and repair the patio, choose the right sealer, apply it carefully, and maintain the patio regularly to keep it looking its best for years to come.
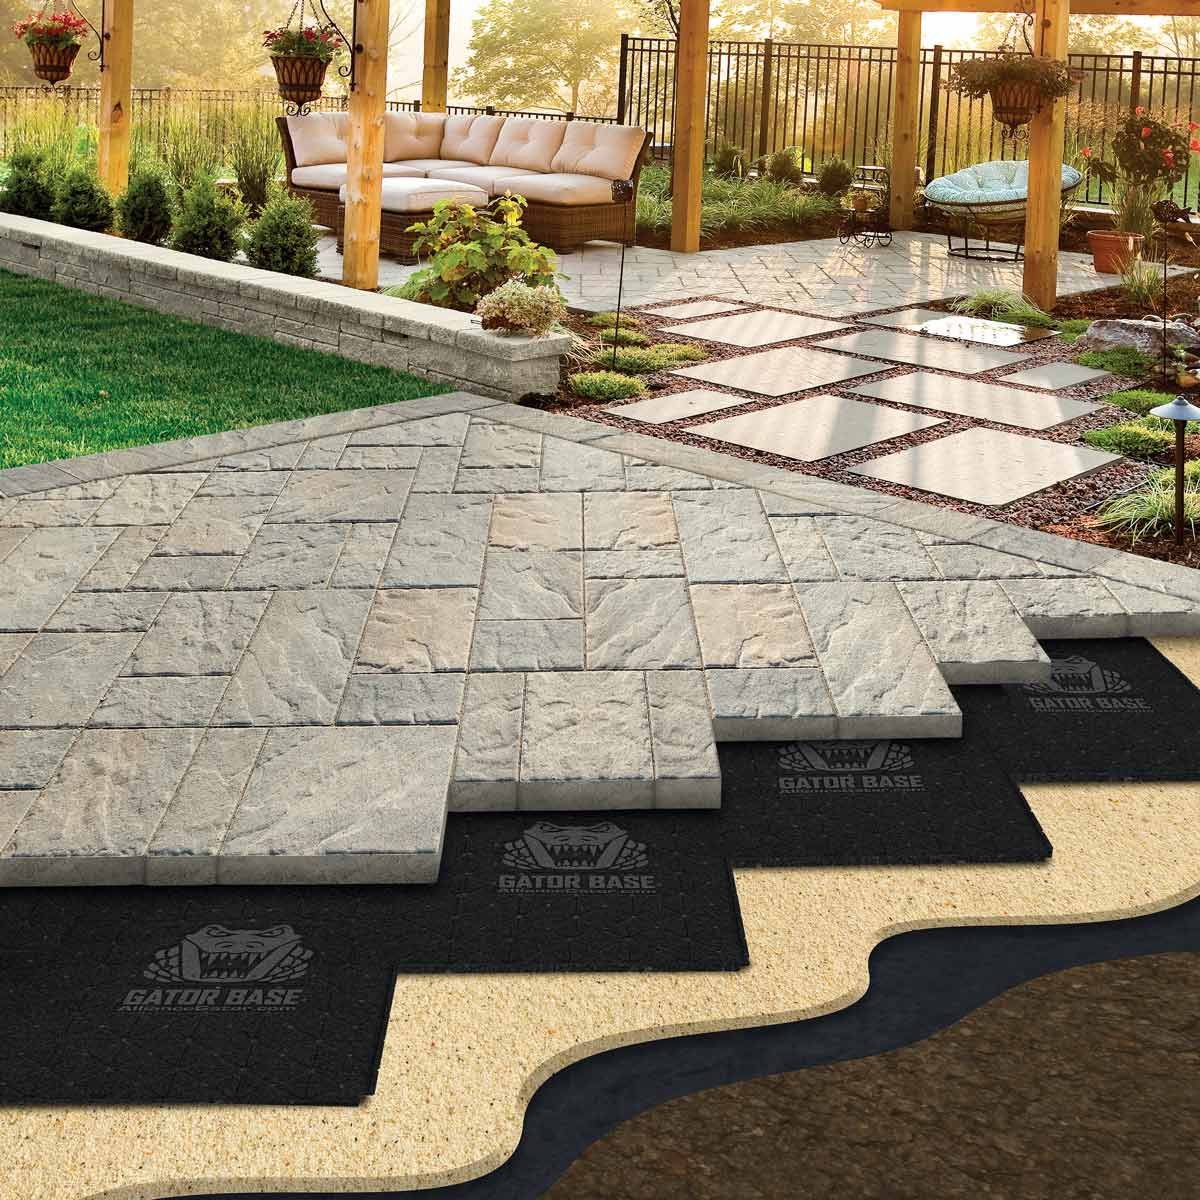
Read more: How To Make A Stone Patio
Tools and Materials Needed
Before you get started with sealing your stone patio, gather the following tools and materials:
- Pressure washer or garden hose with a spray nozzle
- Mild detergent or stone cleaner
- Stiff bristle brush or broom
- Patching compound or stone repair mortar
- Putty knife or trowel
- Stone sealer
- Paint roller or sprayer
- Paint tray or bucket
- Old rags or towels
- Protective gloves and goggles
These tools and materials are essential for ensuring a successful sealing process. The pressure washer or garden hose will help you thoroughly clean the patio, while the detergent or stone cleaner will assist in removing any stubborn dirt or stains.
If your stone patio has any damaged areas, the patching compound or stone repair mortar will come in handy for repairing them. Use the putty knife or trowel to apply the compound or mortar and smooth it out evenly.
Of course, the most important item on the list is the stone sealer. There are various types of sealers available, such as penetrating sealers, enhancing sealers, or topical sealers. Choose the one that is suitable for your specific type of stone and the desired outcome.
For applying the sealer, you can use a paint roller or sprayer. The paint tray or bucket will be used for pouring the sealer into, making it easier to load the roller or sprayer. Keep some old rags or towels nearby for any spills or drips.
Lastly, don’t forget to protect yourself by wearing gloves and goggles. Some sealers may contain harsh chemicals, so it’s important to take necessary precautions to ensure your safety.
Now that you have everything ready, let’s move on to the step-by-step process of sealing your stone patio.
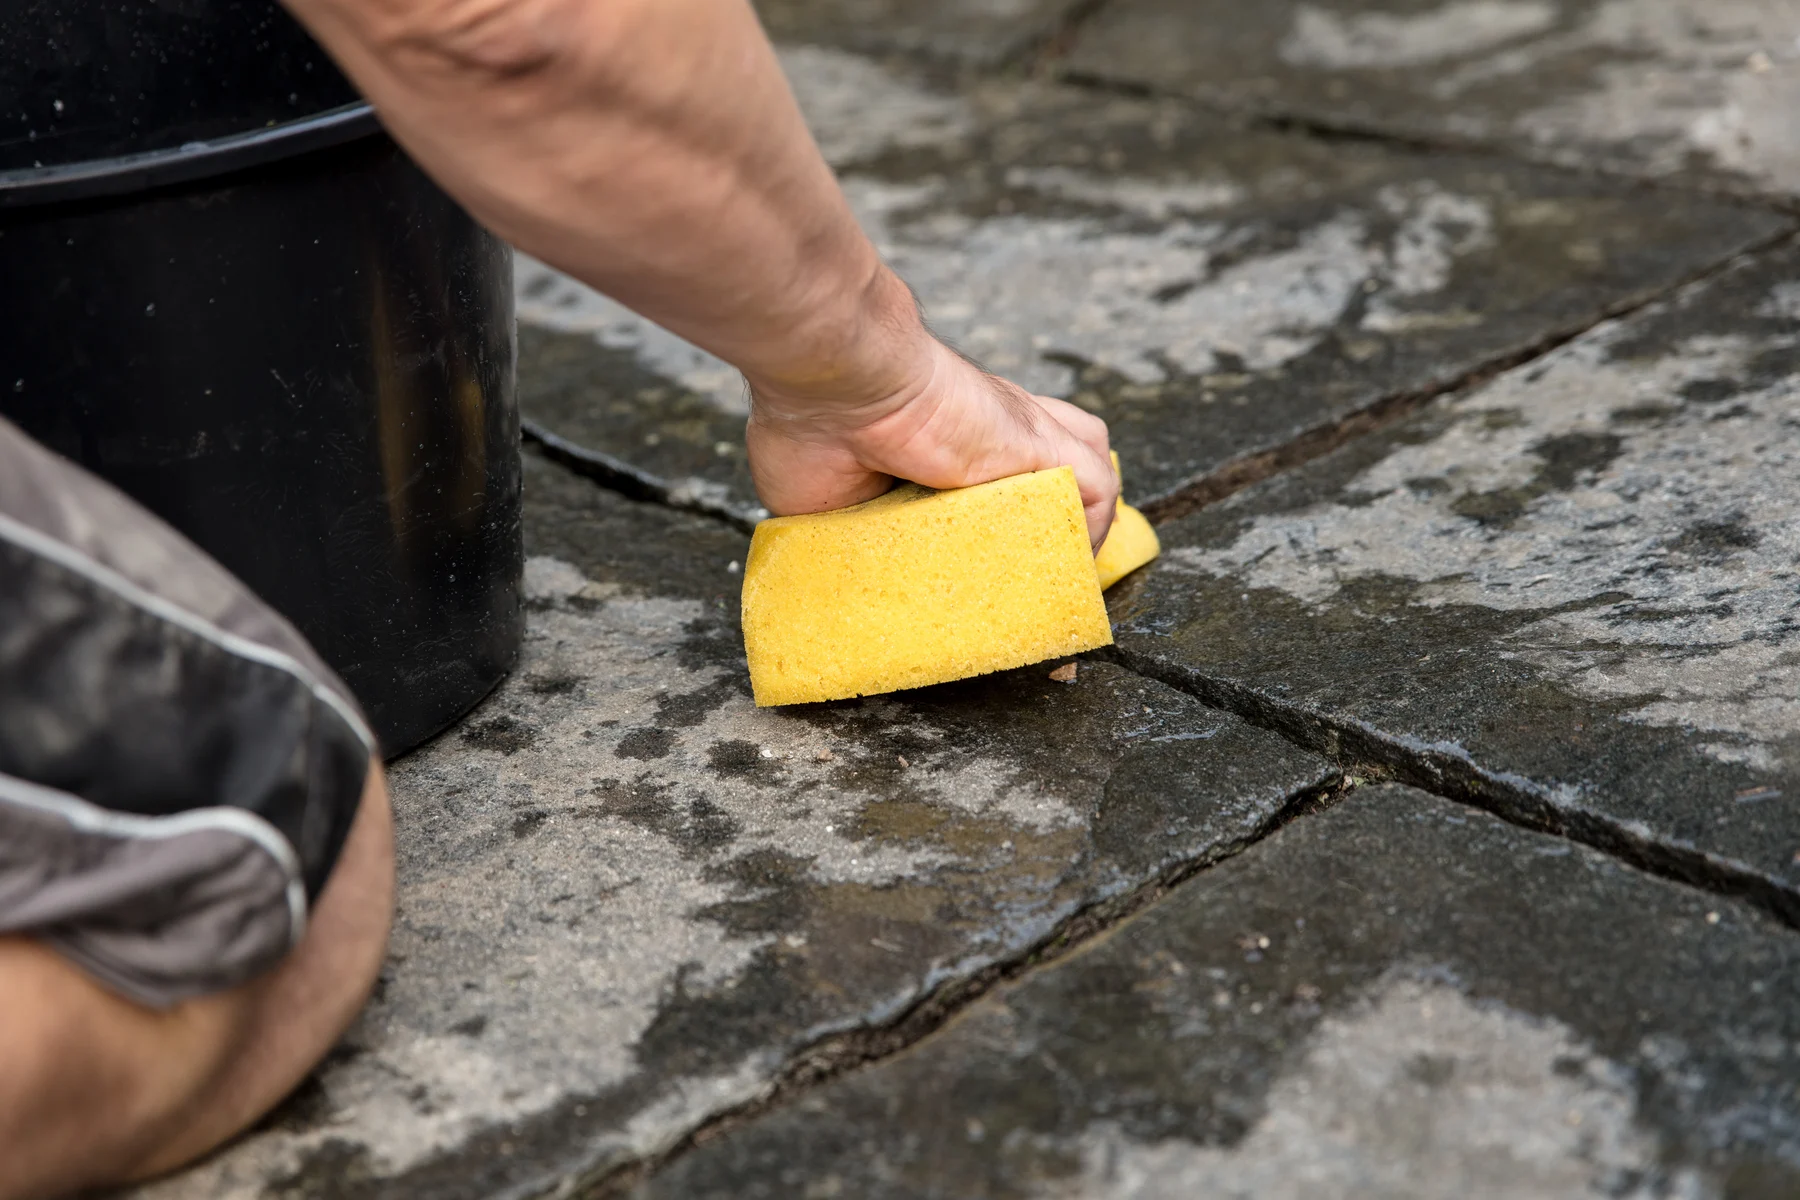
Step 1: Clean the Patio
Before you can seal your stone patio, it’s crucial to start with a clean surface. Over time, dirt, debris, and even mold or mildew can accumulate on the stone, affecting the adhesion and effectiveness of the sealer.
Here’s how to properly clean your patio:
- Remove any furniture, plants, or other items from the patio to create a clear working space.
- If you have a pressure washer, use it to spray the patio with water. Adjust the pressure to a medium setting to avoid damaging the stone. Start from one end and work your way to the opposite end, ensuring thorough coverage.
- If you don’t have a pressure washer, a garden hose with a spray nozzle will suffice. Again, start from one end and work your way across, making sure to spray each stone surface.
- If there are any stubborn stains or dirt, apply a mild detergent or stone cleaner as directed by the manufacturer. Use a stiff bristle brush or broom to scrub the surface gently.
- Rinse the patio thoroughly with water to remove any remaining cleaner or detergent residue.
- Allow the patio to dry completely before proceeding to the next step. This typically takes around 24 to 48 hours, depending on the weather conditions.
By cleaning the patio thoroughly, you’ll remove any dirt, grime, or organic matter that may interfere with the sealer’s effectiveness. A clean surface will ensure optimal adhesion and protection for your stone patio.
Once the patio is dry, you’re ready to move on to the next step – repairing any damaged areas.
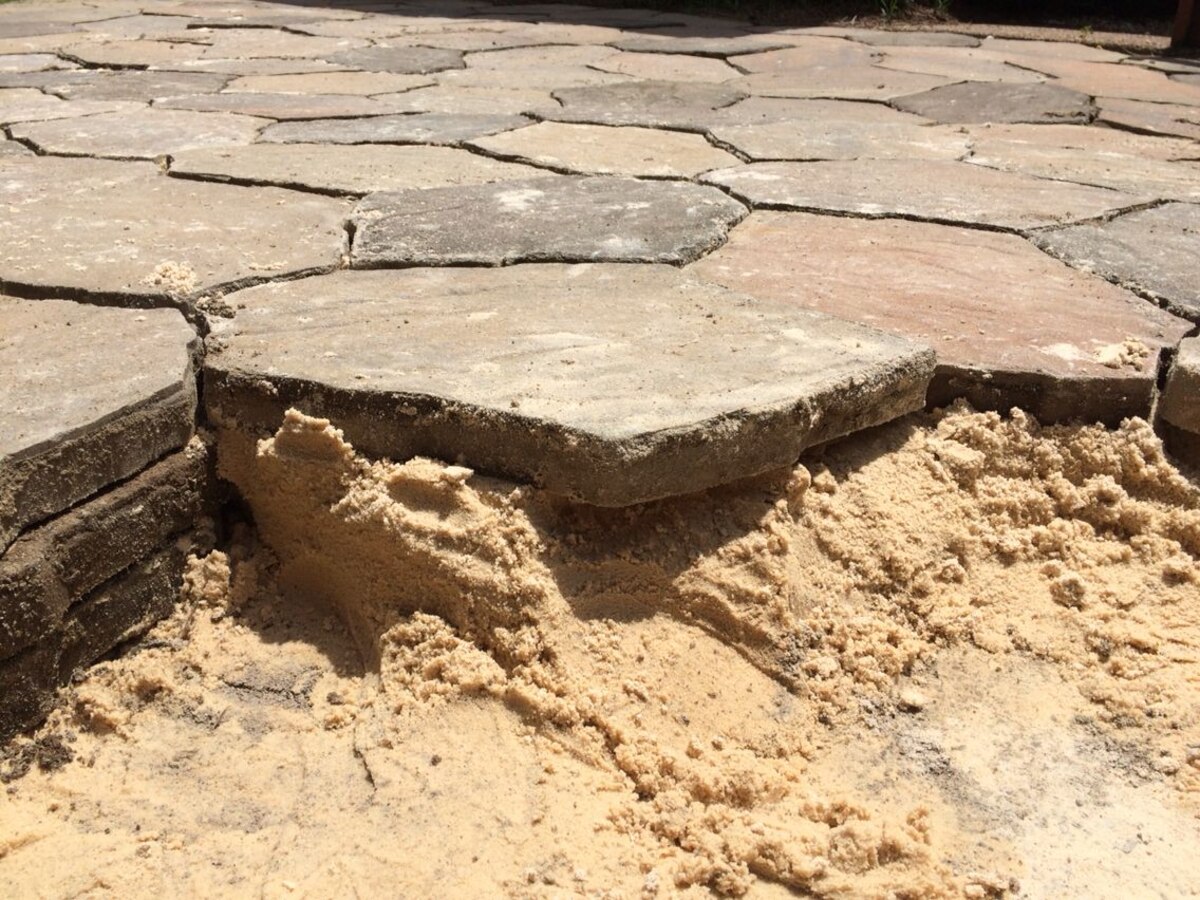
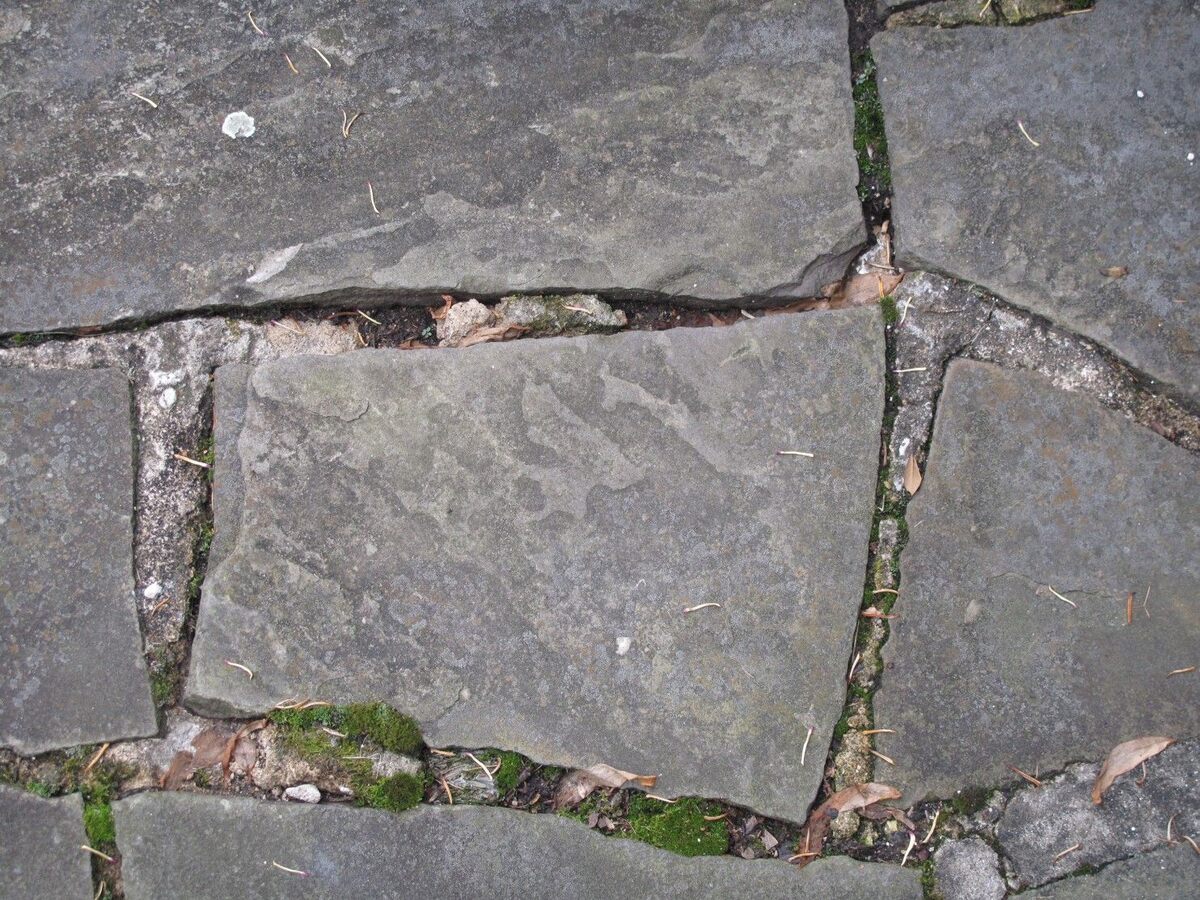
Step 2: Repair Any Damaged Areas
Before you proceed with sealing your stone patio, it’s important to inspect the surface for any damaged areas that may require repair. Cracked or chipped stones can compromise the integrity of the patio and affect the overall appearance.
Here’s how to repair any damaged areas on your stone patio:
- Identify any cracked, chipped, or loose stones on the patio.
- If you notice any loose stones, carefully remove them from the surface.
- Prepare the patching compound or stone repair mortar according to the manufacturer’s instructions. Make sure to choose a repair product that is compatible with your stone type.
- Use a putty knife or trowel to apply the repair product to the damaged area. Fill in the crack or chip, ensuring the compound is level with the surrounding stone surface.
- Smooth out the repair compound with the putty knife or trowel until it blends seamlessly with the rest of the patio.
- Allow the repair compound to dry completely. This may take several hours or overnight, depending on the product you’re using.
- Once the repair is dry, inspect it closely. If necessary, sand down any rough edges or uneven surfaces to achieve a smooth finish.
Repairing any damaged areas on your stone patio is essential to maintain its integrity and aesthetic appeal. By addressing these issues before applying the sealer, you’ll ensure a strong and beautiful patio for years to come.
Now that you’ve repaired any damaged areas, you’re ready to move on to the next step – choosing the right sealer for your stone patio.
Step 3: Choose the Right Sealer
Choosing the right sealer for your stone patio is crucial to achieve the desired level of protection and enhance its natural beauty. There are various types of sealers available, each with its own advantages and considerations.
Here are a few factors to consider when selecting a sealer:
- Stone Type: Different types of stones have varying levels of porosity and characteristics. It’s important to choose a sealer that is specifically designed for your stone type. For example, a penetrating sealer is suitable for porous stones like sandstone, while an enhancing sealer can bring out the natural colors of stones like granite or travertine.
- Finish: Determine the desired finish for your patio. Sealers can provide a gloss, semi-gloss, or matte finish. Consider the overall aesthetic you want to achieve and select a sealer that aligns with your vision.
- Protection: Evaluate the level of protection you need. Some sealers offer water resistance, while others provide protection against stains, UV damage, or chemical spills. Assess the usage and exposure of your patio to determine the appropriate level of protection.
- Application: Consider the ease of application. Some sealers are more user-friendly, requiring a simple application process, while others may require multiple coats or specific techniques. Determine your comfort level with the application process and choose a sealer accordingly.
Research different brands and products, read customer reviews, and consult with professionals if needed to make an informed decision. Remember, choosing the right sealer will ensure optimal protection and longevity for your stone patio.
Once you have selected the sealer that best suits your needs, it’s time to move on to the preparation stage in the next step – preparing the sealer for application.
Before sealing a stone patio, make sure to clean the surface thoroughly to remove any dirt, debris, and stains. Use a high-quality sealant specifically designed for stone surfaces and apply it evenly with a brush or roller for best results.
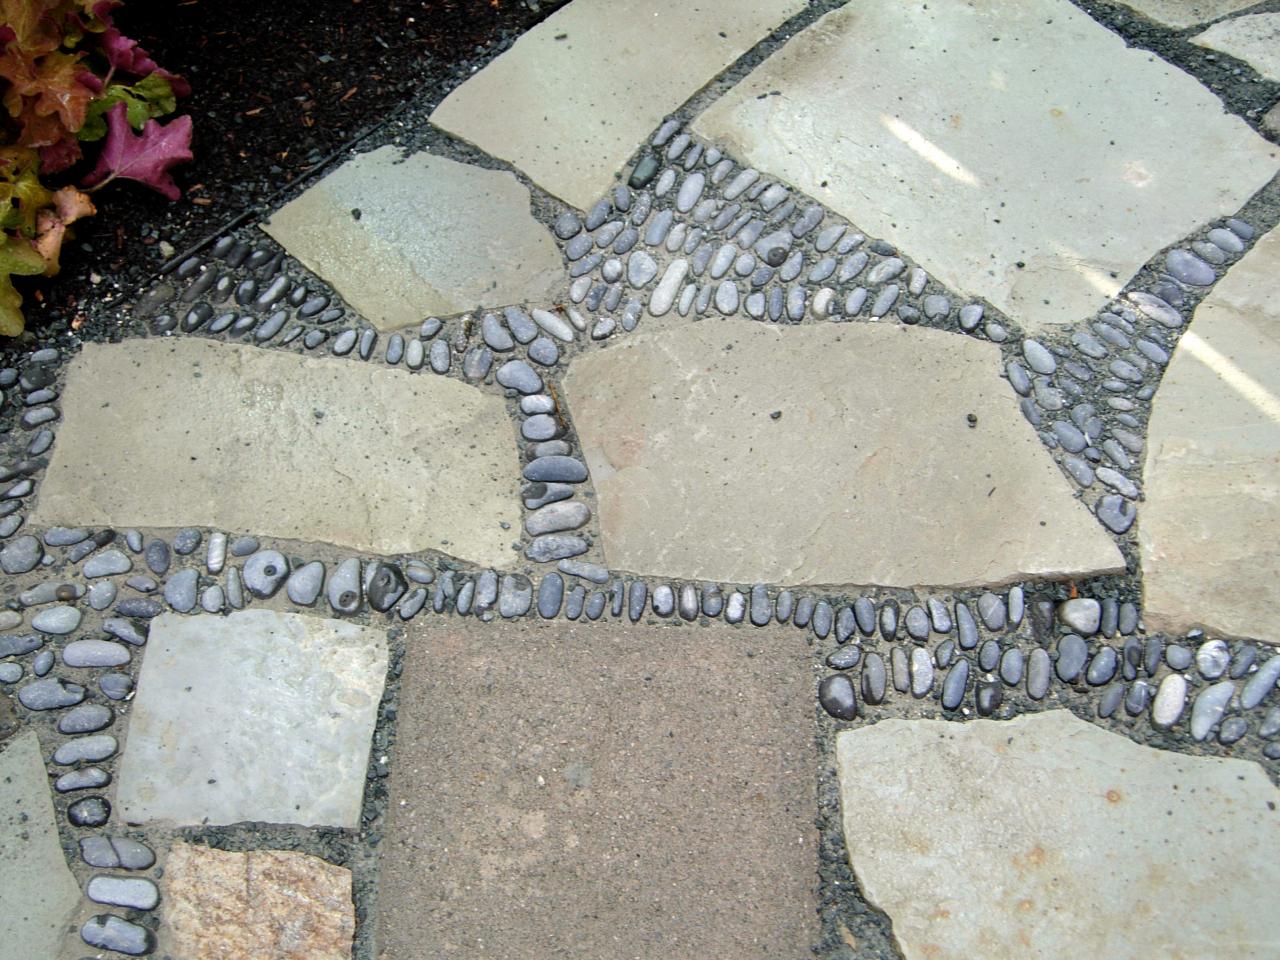
Read more: How To Grout Patio Stones
Step 4: Prepare the Sealer
Before applying the sealer to your stone patio, it’s important to properly prepare the sealer to ensure optimal performance and application. This step involves following the manufacturer’s instructions and taking certain precautions.
Here’s how to prepare the sealer:
- Read the instructions: Carefully read the instructions provided by the sealer manufacturer. Familiarize yourself with the recommended application methods, drying times, and any special considerations.
- Choose the right weather conditions: Ensure that the weather conditions are suitable for sealing. Ideally, select a dry day with moderate temperatures. Avoid sealing your patio in extreme heat or cold, as it can affect the application and drying process.
- Mix the sealer (if required): Some sealers come in a ready-to-use form, while others may require mixing or dilution with water or a specific solvent. Follow the instructions provided by the manufacturer to prepare the sealer correctly.
- Apply a test area (optional): It’s a good practice to apply a small amount of sealer to a test area on your patio before proceeding with the full application. This will allow you to ensure that the sealer is compatible with your stone and achieve the desired result.
- Protect adjacent surfaces: If there are any adjacent surfaces, such as walls or plants, that you want to protect from the sealer, cover them with a plastic sheet or masking tape to prevent any accidental spillage or overspray.
- Stir the sealer: If the sealer has settled or separated, use a stir stick or paddle to mix it thoroughly before application. This will ensure that any additives or pigments are evenly distributed.
Following these steps will help you properly prepare the sealer and ensure its effectiveness on your stone patio. Remember, each sealer may have specific instructions and requirements, so it’s important to carefully read and follow the manufacturer’s recommendations.
Now that the sealer is prepared, it’s time to move on to the exciting part – applying the sealer to your stone patio.
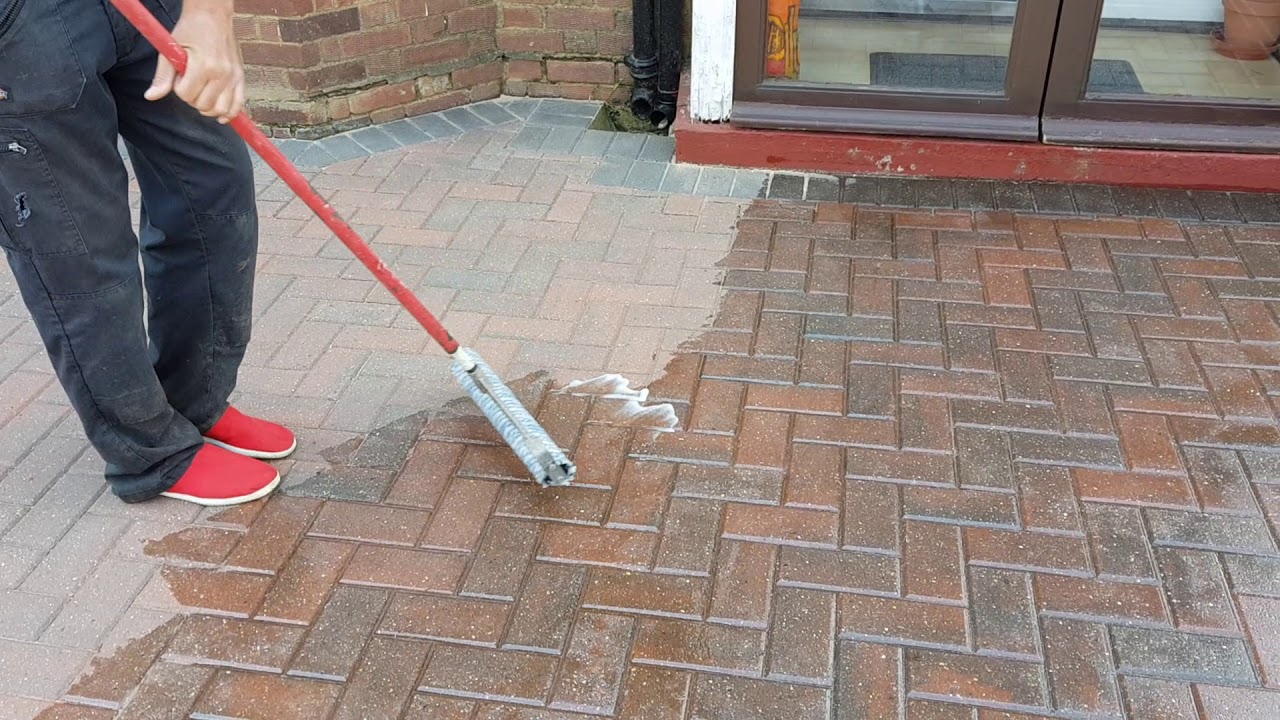
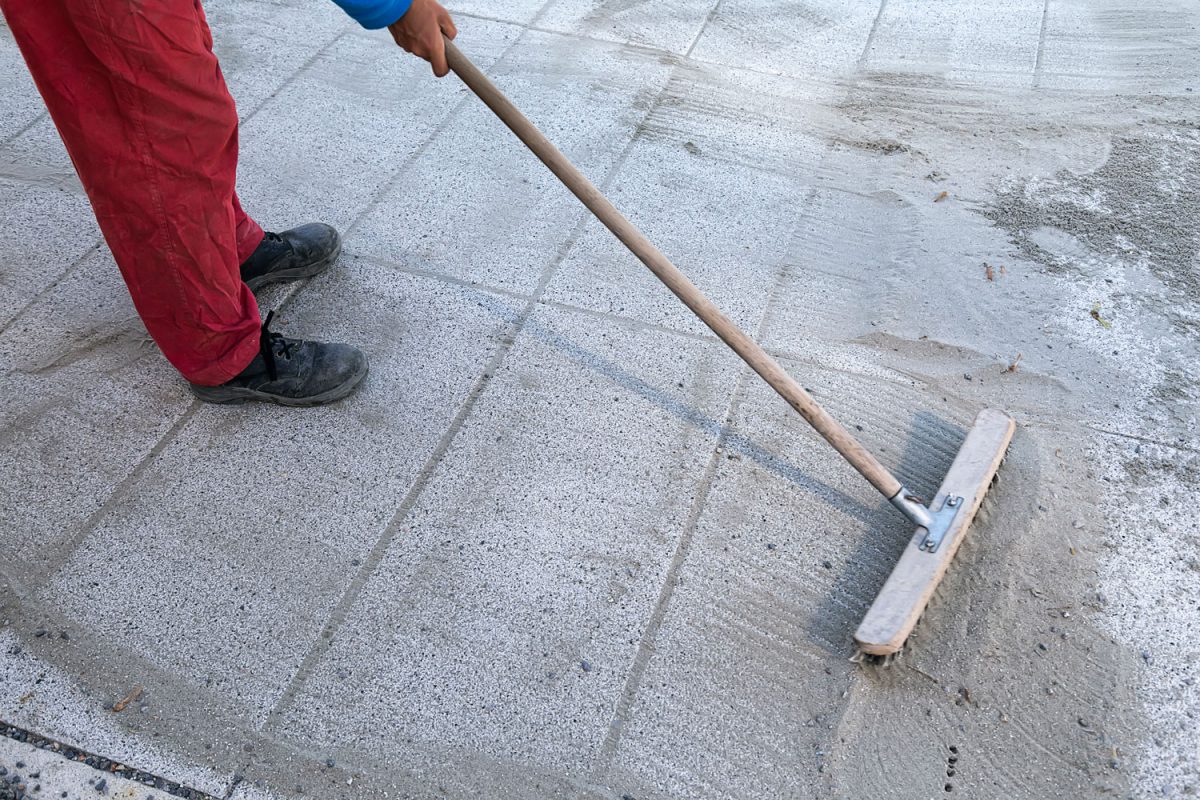
Step 5: Apply the Sealer
Now that you have prepared the sealer, it’s time to apply it to your stone patio. The application process will depend on the type of sealer you have chosen and the manufacturer’s instructions. Here’s a general guide on how to apply the sealer:
- Start by pouring a sufficient amount of sealer into a paint tray or bucket.
- If you are using a roller for application, dip it into the sealer and remove any excess by rolling it onto the ridges of the paint tray or bucket.
- If you are using a sprayer, follow the manufacturer’s instructions regarding proper nozzle settings and application technique.
- Begin applying the sealer onto the stone patio, starting from one corner and working your way across in small, manageable sections.
- Use the roller or sprayer to evenly distribute the sealer across the surface of the stones. Pay attention to any crevices or joints to ensure full coverage.
- Work in overlapping strokes to ensure that the sealer is applied uniformly. Avoid leaving any puddles or thick areas of sealer.
- If you encounter any drips or excess sealer, use a clean rag or towel to wipe them away immediately.
It’s important to note that some sealers may require multiple coats for optimal protection. If this is the case, follow the drying time recommended by the manufacturer between coats. Apply additional coats as needed, following the same application process.
Remember to work efficiently, as some sealers may have a limited working time before they begin to dry. It’s best to complete the application in one session, if possible, to ensure a seamless finish.
Once you have applied the sealer to the entire stone patio, allow it to dry according to the manufacturer’s instructions before proceeding to the next step.
Congratulations! You have successfully applied the sealer to your stone patio. The next step involves allowing the sealer to dry completely for optimal protection and performance.
Step 6: Allow the Sealer to Dry
After applying the sealer to your stone patio, it’s crucial to allow it to dry thoroughly before exposing it to foot traffic or other elements. Drying time can vary depending on the type of sealer and environmental conditions, so it’s important to follow the manufacturer’s instructions.
Here are some general tips for allowing the sealer to dry effectively:
- Avoid walking or placing any objects on the patio until the sealer is completely dry. This will prevent smudges or imprints on the surface.
- Ensure proper ventilation in the area to allow for faster drying. Consider using fans or opening windows if needed.
- Keep pets and children away from the patio during the drying period to avoid any accidental contact with the wet sealer.
- Monitor the weather conditions. Excessive humidity, rain, or extreme temperatures can prolong the drying time. If necessary, consider covering the patio with a tarp to protect it from rain or direct sunlight.
- Consult the manufacturer’s instructions for specific drying times. Some sealers may require a few hours, while others may take several days to fully dry and cure.
Properly drying the sealer is crucial for its effectiveness and longevity. Rushing the drying process can result in an uneven finish or compromised protection. It’s essential to exercise patience and allow ample time for the sealer to cure before proceeding to the next steps.
Once the sealer is completely dry, you can move on to the optional step of applying a second coat, which can provide an extra layer of protection for your stone patio.
Step 7: Apply a Second Coat (Optional)
Applying a second coat of sealer to your stone patio is an optional step that can provide additional protection and enhance the longevity of the sealer. While some sealers may require only a single coat, applying a second coat can offer added durability and ensure optimal coverage.
Here’s a guide on how to apply a second coat of sealer:
- Ensure that the first coat of sealer has dried completely, following the manufacturer’s recommended drying time.
- Inspect the patio for any missed or unevenly coated areas. Pay attention to joints, crevices, and high-traffic areas.
- If necessary, use a clean paint roller or sprayer to apply the second coat of sealer. Again, work in small sections and ensure even coverage.
- Allow the second coat to dry according to the manufacturer’s instructions. This drying time may be similar or slightly shorter than the drying time for the first coat.
- Once the second coat has dried, carefully inspect the patio for any additional touch-ups or areas that may need further attention.
Applying a second coat can enhance the overall protection and appearance of your stone patio. It can provide an extra layer of defense against moisture, stains, and wear, ensuring that your patio remains in top condition for an extended period.
Keep in mind that not all sealers require a second coat, so consult the manufacturer’s instructions to determine if it’s recommended for your specific sealer. Additionally, some sealers may have specific guidelines regarding the application of multiple coats, so it’s important to follow these guidelines for the best results.
After applying the second coat (if desired), proceed to the final step of maintaining and reapplying sealer to keep your stone patio looking its best for years to come.
Read more: How To Seal Patio Door
Step 8: Maintain and Reapply Sealer
After sealing your stone patio, it’s important to properly maintain it to preserve its beauty and effectiveness over time. Regular maintenance and periodic reapplication of sealer will ensure that your patio remains protected and in excellent condition.
Here are some tips for maintaining and reapplying sealer:
- Regular Cleaning: Regularly sweep or use a leaf blower to remove debris from the patio surface. This will prevent dirt and dust from settling into the pores of the stone and compromising the sealer’s effectiveness.
- Gentle Cleaning: When necessary, clean the patio with a mild detergent or stone cleaner and a soft-bristle brush or mop. Avoid using abrasive cleaners or harsh chemicals that can damage the sealer.
- Avoid Heavy Traffic: Minimize heavy foot traffic or the movement of heavy furniture or equipment on the patio. This will reduce the risk of wear and tear on the sealer.
- Monitor for Damage: Regularly inspect the patio for any signs of damage, such as cracks or chips. Promptly repair these areas to prevent further deterioration.
- Reapplication Schedule: The frequency of reapplying sealer will depend on various factors, including the type of sealer, the amount of foot traffic, and exposure to the elements. Generally, it is recommended to reapply sealer every 1-3 years or as indicated by the manufacturer.
- Sealer Compatibility: When reapplying sealer, ensure that the new sealer is compatible with the existing sealer. If in doubt, consider consulting a professional or contacting the sealer manufacturer for guidance.
- Surface Preparation: Before reapplying sealer, thoroughly clean and dry the patio surface following the steps outlined in the earlier sections. Ensure that the surface is free from any dirt, debris, or previous sealer residue.
- Application Process: Follow the same steps as mentioned earlier for applying the sealer, including the use of a roller or sprayer and even coverage. Refer to the manufacturer’s instructions for specific guidance on application techniques.
By properly maintaining your patio and reapplying sealer as needed, you can extend the life of the sealer and keep your stone patio looking beautiful for years to come.
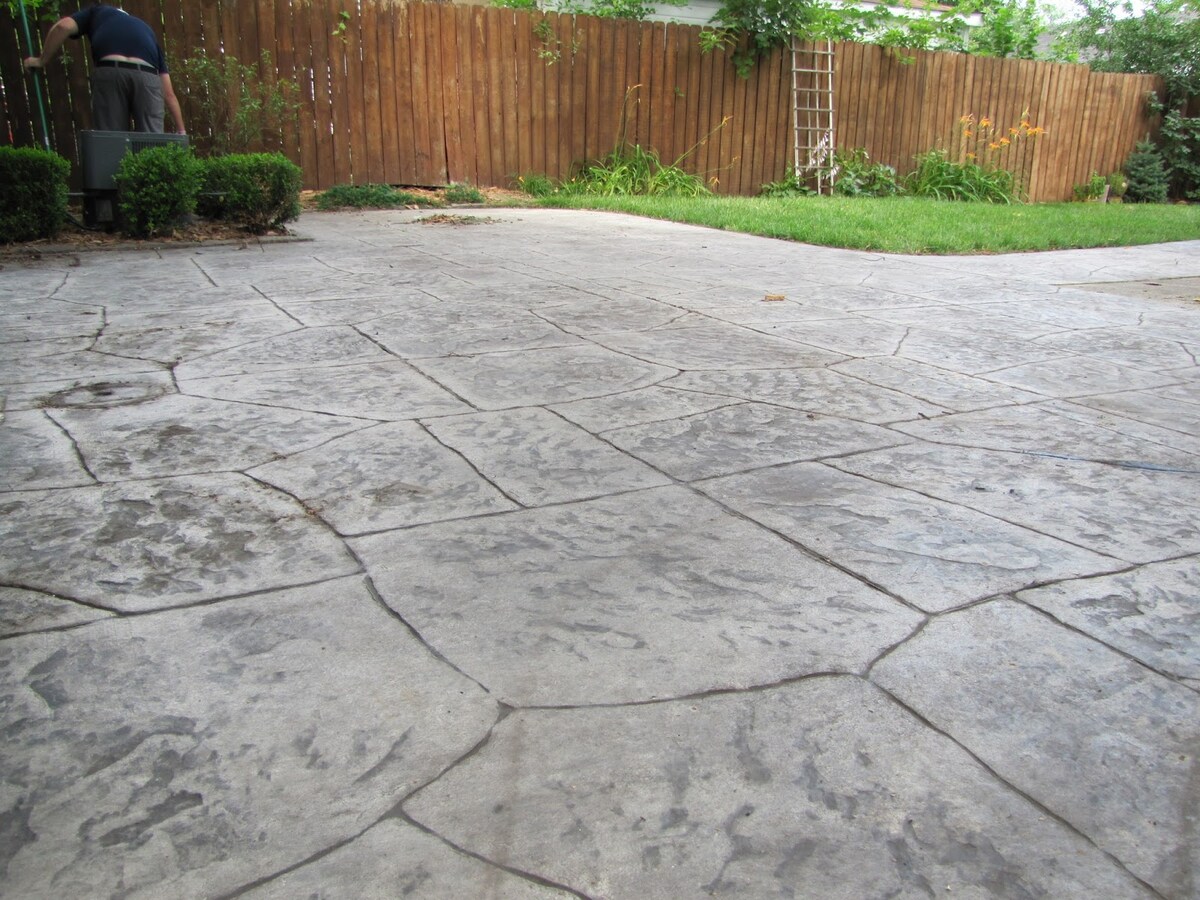
With these eight steps, you have learned how to seal a stone patio effectively. By following these guidelines and taking the necessary precautions, you can ensure the protection and longevity of your stone patio, allowing you to enjoy your outdoor space to the fullest.
Frequently Asked Questions about How To Seal A Stone Patio
Was this page helpful?
At Storables.com, we guarantee accurate and reliable information. Our content, validated by Expert Board Contributors, is crafted following stringent Editorial Policies. We're committed to providing you with well-researched, expert-backed insights for all your informational needs.


0 thoughts on “How To Seal A Stone Patio”