Home>Garden Essentials>How To Start A Nectarine Tree From Seed
Garden Essentials
How To Start A Nectarine Tree From Seed
Modified: March 16, 2024
Learn how to start a nectarine tree from seed in your garden. Grow your own delicious nectarines with our step-by-step guide!
(Many of the links in this article redirect to a specific reviewed product. Your purchase of these products through affiliate links helps to generate commission for Storables.com, at no extra cost. Learn more)
Introduction
Welcome to the exciting world of gardening and discovering how to grow your own nectarine tree from seed! Nectarines are deliciously sweet and juicy fruits that are not only a delight to eat but also a beautiful addition to any garden landscape. Starting a nectarine tree from seed allows you to witness the magical process of growth and have the satisfaction of knowing that you nurtured the tree from its very beginning.
In this article, we will guide you through the steps of successfully starting a nectarine tree from seed. From selecting a ripe nectarine to transplanting the young tree, you’ll learn all the necessary techniques and care requirements to ensure the successful growth of your nectarine tree.
Before we dive into the process, it’s essential to understand that growing a nectarine tree from seed is a time-consuming process. It can take several years for a seed-grown tree to mature and start producing fruits. However, the experience and sense of accomplishment that come with growing your own tree make it all worthwhile.
So, prepare your gardening tools, roll up your sleeves, and let’s get started on this rewarding journey of growing a nectarine tree from seed!
Key Takeaways:
- Growing a nectarine tree from seed is a patient gardener’s journey, from selecting a ripe nectarine to nurturing the tree into a flourishing centerpiece. It’s a rewarding experience that requires time and care.
- Providing proper care, from watering to protecting against pests, ensures the health and productivity of your nectarine tree. Enjoy the beauty of blossoms and the sweetness of homegrown nectarines!
Read more: How To Start A Lemon Tree From Seed
Step 1: Selecting a Ripe Nectarine
The first step in starting a nectarine tree from seed is selecting a ripe nectarine fruit. When choosing a nectarine, look for one that is fully ripe and of good quality. A ripe nectarine should have vibrant color, a firm but slightly yielding texture, and a sweet aroma.
Visit your local farmer’s market or grocery store during the nectarine season, which is typically in the summer months. Take your time in selecting the perfect nectarine by examining its skin color, feel, and scent. Avoid nectarines that have bruises, blemishes, or signs of mold.
It’s important to note that not all nectarine seeds will produce a tree that bears the same quality fruit as the parent tree. However, selecting a ripe nectarine increases the chances of obtaining a viable seed that has the potential to produce a good variety of nectarine.
Remember, the quality of the nectarine you choose will influence the success and outcome of your seed-grown nectarine tree. So, take your time and choose wisely!
Step 2: Extracting the Nectarine Seed
Once you have selected a ripe nectarine, it’s time to extract the seed that will be used to grow your nectarine tree. Extracting the seed requires some patience and delicacy, but it is a relatively simple process.
Begin by gently cutting the nectarine in half using a sharp knife. Take care not to damage the seed inside as you cut. Once the nectarine is cut in half, you will see the seed enclosed in its protective hard shell, often referred to as the pit.
To extract the seed, use a spoon or your fingers to carefully remove it from the flesh of the nectarine. Be gentle to avoid damaging the seed. The seed will be covered in a slimy membrane, which can be rinsed off under cool water if desired.
After extracting the seed, pat it dry with a paper towel. It’s important not to leave any moisture on the seed, as excess moisture can lead to mold or rot. The extracted seed is now ready for the next step in the planting process.
It’s worth noting that there is a chance of the extracted seed being infertile, as nectarine trees are often cross-pollinated with other varieties. However, by following the recommended steps, you increase your chances of successfully germinating a viable seed.
Now that you have extracted the nectarine seed, it’s time to prepare it for planting and ensure its successful growth into a nectarine tree.
Step 3: Preparing the Seed for Planting
Preparing the nectarine seed for planting is a crucial step in ensuring its successful germination and growth into a healthy nectarine tree. Here are the steps to follow:
- Clean the Seed: After extracting the seed from the nectarine, make sure to clean off any remaining fruit flesh or residue. Gently rinse the seed under cool water and pat it dry with a paper towel. This helps prevent the growth of bacteria or fungi that could harm the seed.
- Scarify the Seed: The hard outer shell of the nectarine seed can make it difficult for water to penetrate and initiate germination. To enhance the germination process, you can scarify the seed by gently rubbing its surface with sandpaper or nicking it with a sharp knife. Be careful not to damage the inner seed, as that can hinder germination.
- Soak the Seed: Soaking the nectarine seed overnight can further help to promote germination. Fill a small bowl with room temperature water and place the seed in it. Let it soak for 8 to 12 hours. This process helps to soften the outer shell and kick-start the germination process.
- Perform a Float Test (Optional): If you’re unsure about the viability of the seed, you can perform a float test to check if it is still viable. Fill a glass with water and gently place the seed in it. If the seed sinks to the bottom, it is most likely viable. If it floats, it may not be viable and may not germinate.
- Label and Store: Before moving on to the next step, it’s essential to label the seed with the date and variety. This helps you keep track of the seeds as they progress. Once labeled, store the seed in a sealed plastic bag or airtight container in the refrigerator. This cold storage process, known as stratification, helps simulate winter conditions and prepares the seed for germination.
By following these steps, you ensure that the nectarine seed is clean, properly scarified, and given an optimal environment for germination. Now that the seed is prepared, it’s time to move on to the next step and initiate the germination process through stratification.
Step 4: Stratification Process
Stratification is an essential step in promoting the successful germination of nectarine seeds. This process mimics the natural cold winter conditions that the seeds would typically experience before sprouting in the spring. Follow these steps to stratify the nectarine seed:
- Select a Suitable Container: Choose a container that is deep enough to hold the seed and provides good drainage. Options include a plastic seedling tray with individual cells or a small pot with drainage holes.
- Prepare the Growing Medium: Fill the container with a well-draining growing medium, such as a mix of peat moss and perlite or a seed-starting mix. Moisten the medium without making it too wet or soggy. It should be slightly damp but not waterlogged.
- Sow the Seed: Create a small hole in the growing medium and gently place the nectarine seed in it. Cover the seed with the growing medium, making sure it is completely buried but not excessively deep. Lightly pat down the soil to ensure good contact between the seed and the medium.
- Label the Container: It’s important to label the container with the date of sowing and the variety of the seed. This helps you keep track of the progress and identify the different seeds if you are planting multiple varieties.
- Provide Moisture and Enclose the Container: Water the container gently to moisten the growing medium, ensuring it remains consistently damp throughout the stratification period. Once watered, cover the container with a plastic bag or place it inside a propagator to create a mini greenhouse. This helps maintain a humid environment for the seed.
- Place in the Refrigerator: Transfer the container to the refrigerator, where it will undergo the necessary cold stratification. Find a spot in the refrigerator where the temperature remains consistently between 32-41°F (0-5°C). Avoid placing the container near fruits or vegetables that produce ethylene gas, as it can negatively affect germination.
- Maintain Stratification Period: The nectarine seed typically requires a stratification period of 8-12 weeks to break dormancy and prepare for germination. During this time, periodically check the moisture level in the growing medium and ensure it remains slightly damp. Avoid over-watering, as it can lead to rotting.
By following these stratification steps, you are providing the seed with the necessary conditions to break dormancy and prepare for germination. Now that the seed has undergone stratification, it’s ready to be planted and nurtured into a thriving nectarine tree.
To start a nectarine tree from seed, first remove the seed from a ripe nectarine. Clean the seed and let it dry for a few days. Then, plant the seed in a pot with well-draining soil, and keep it in a warm, sunny spot. Water regularly and wait for the seed to sprout.
Read more: How To Start A Magnolia Tree From Seed
Step 5: Planting the Nectarine Seed
After the stratification period, it’s time to plant the nectarine seed and give it a chance to grow into a beautiful nectarine tree. Follow these steps to properly plant the seed:
- Select a Suitable Container: Choose a container that is at least 12 inches (30 cm) in diameter and has drainage holes in the bottom. This container will serve as the seedling’s temporary home before it’s ready for transplanting.
- Fill the Container with Potting Mix: Fill the container with a well-draining potting mix, enriched with organic matter. Ensure the potting mix is loose and fluffy, as it provides excellent aeration for the seedling’s roots.
- Plant the Seed: Create a small hole in the potting mix and gently place the nectarine seed in it. Cover the seed with a thin layer of potting mix, ensuring it is completely covered but not too deep. Lightly press down the soil to secure the seed.
- Water the Seed: After planting, water the container thoroughly, ensuring the potting mix is evenly moist but not soaking wet. Avoid over-watering, as overly wet conditions can lead to root rot.
- Provide Optimal Growing Conditions: Place the container in a location that receives full sunlight for at least 6 hours a day. Nectarine trees thrive in warm climates, so ensure the temperature remains between 60-85°F (15-30°C).
- Maintain Moisture: Keep the potting mix consistently moist but not saturated throughout the seedling’s growth. Check the soil moisture regularly and water as needed to prevent it from drying out.
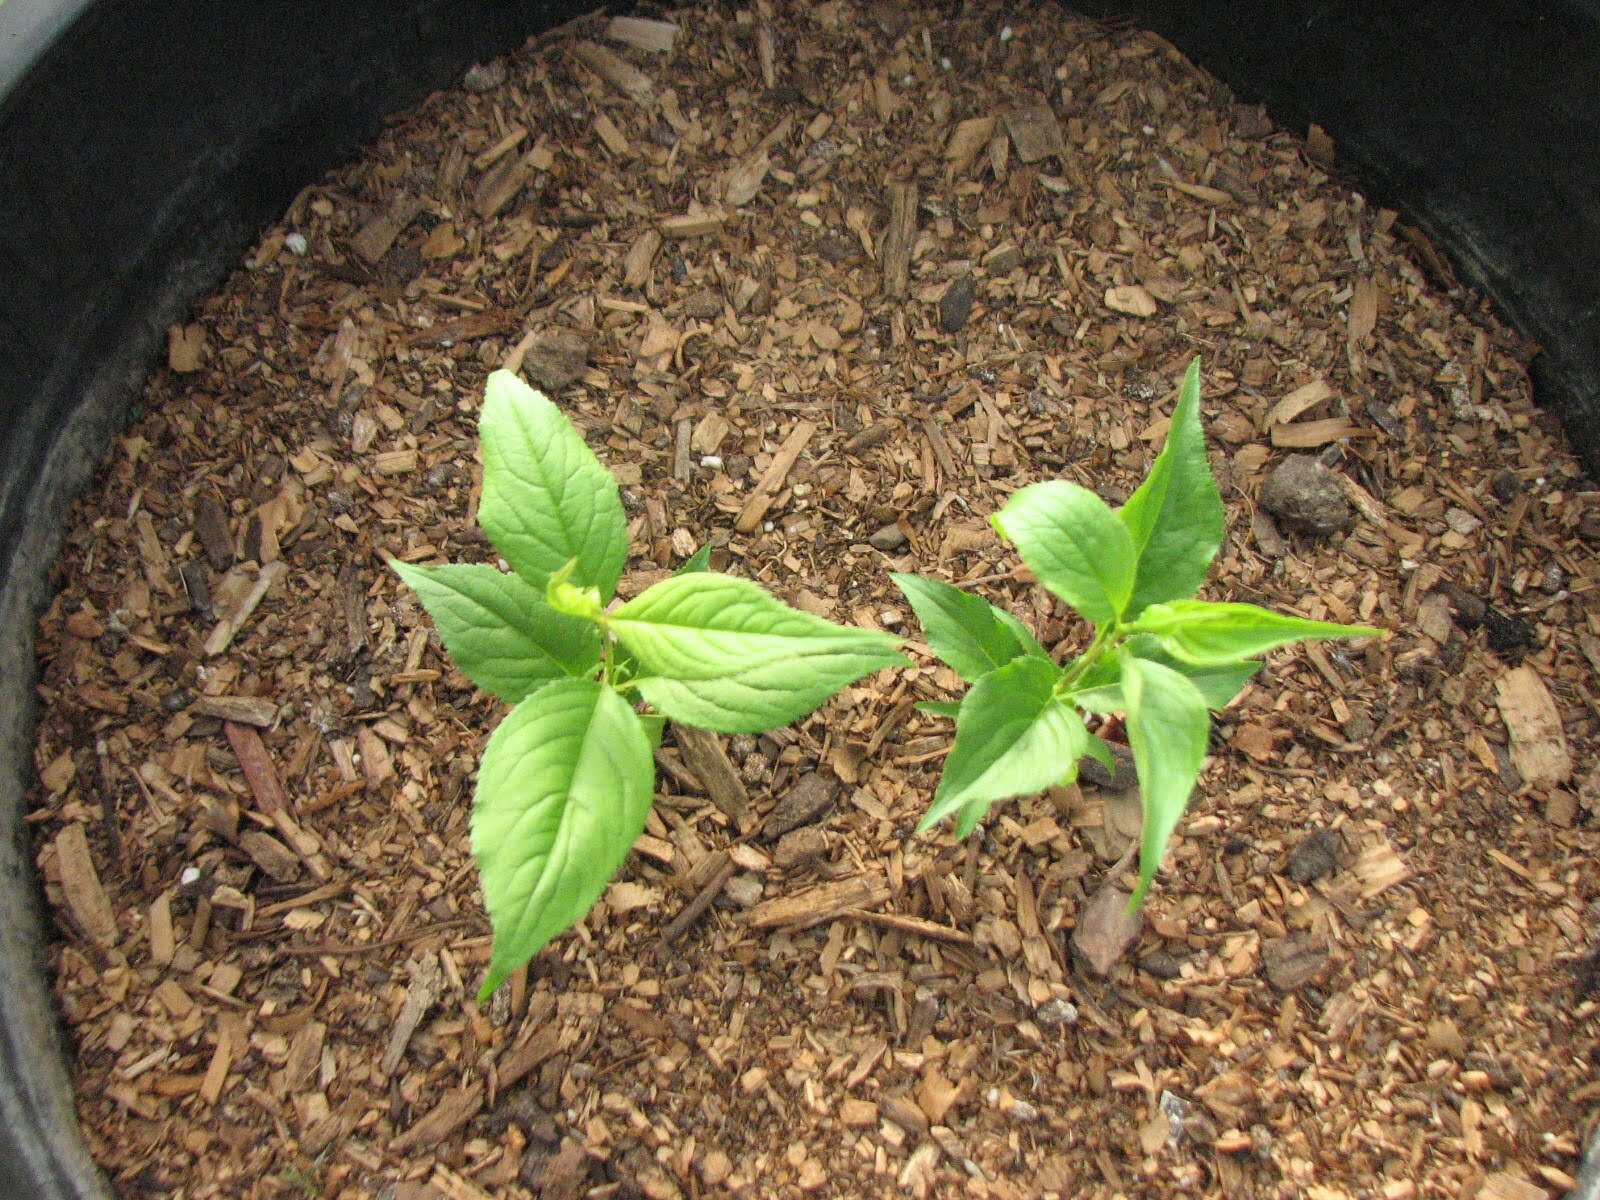
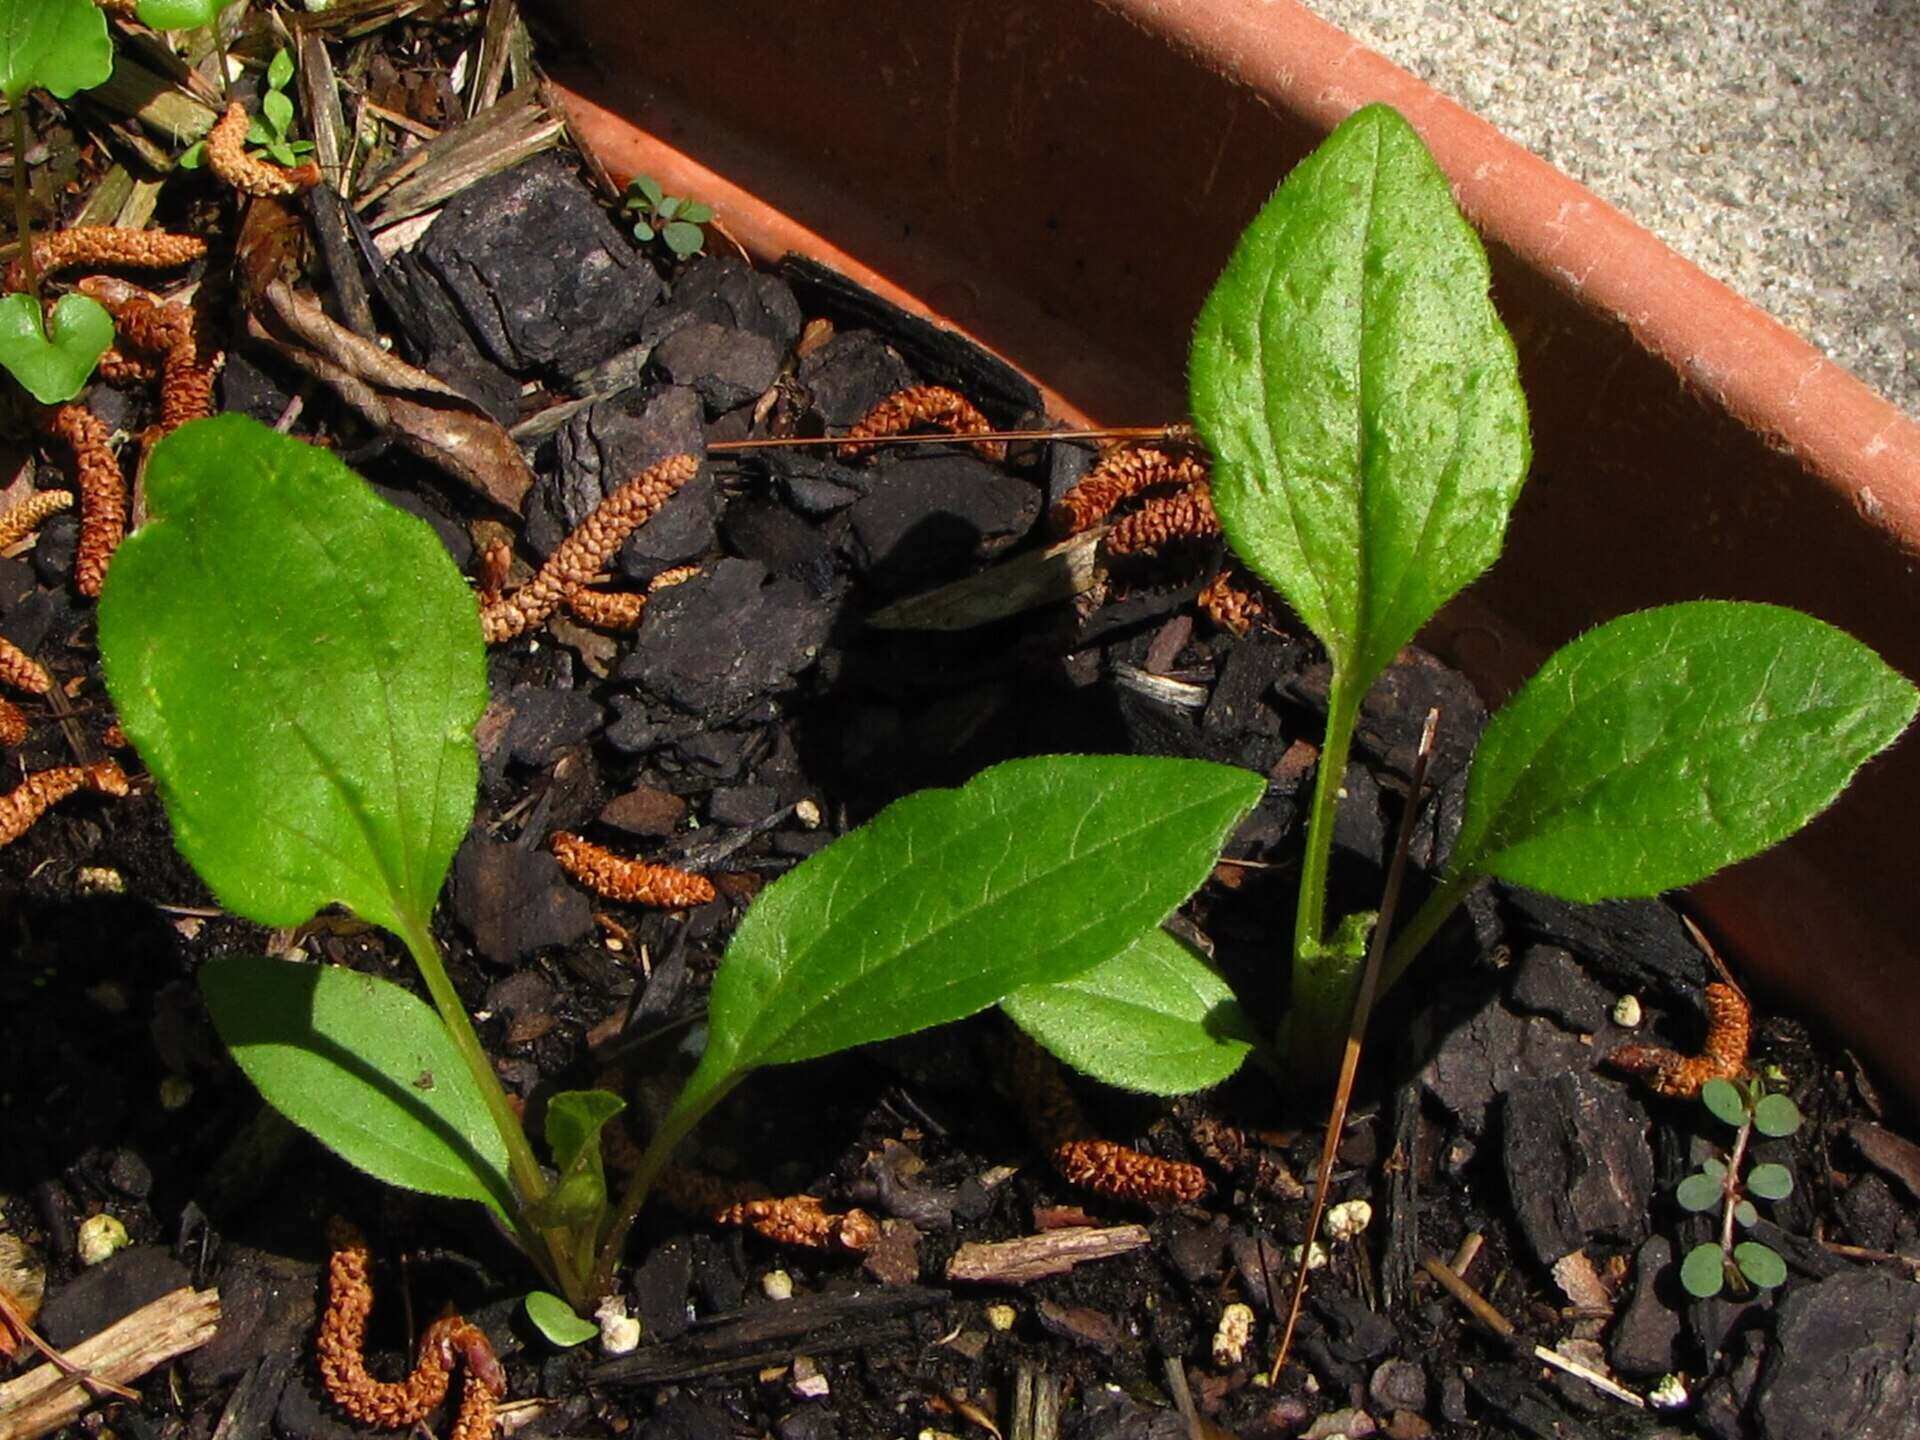
- Monitor and Care for the Seedling: As the seedling emerges from the soil, continue to monitor its growth and health. Protect it from extreme weather conditions, pests, and diseases by providing appropriate care, including regular watering, fertilizing, and pruning as needed.
By following these planting steps, you give the nectarine seed the best possible start for growth and development. As the seedling grows into a healthy tree, continue to provide it with the necessary care and attention it needs to thrive.
Remember, growing a nectarine tree from seed requires patience and time, as it can take several years for the tree to reach maturity and start producing fruits. However, the satisfaction of nurturing a seed into a flourishing tree makes the journey all the more rewarding.
Step 6: Providing Adequate Care and Maintenance
Once the nectarine seedling has sprouted and begins to grow, it’s important to provide it with proper care and maintenance to ensure its health and development into a thriving nectarine tree. Here are some essential care guidelines to follow:
- Watering: Nectarine trees require regular watering, especially during dry periods. Keep the soil consistently moist but not waterlogged. Water deeply at the base of the tree to encourage deep root growth. Avoid over-watering, as it can lead to root rot.
- Fertilizing: Nectarine trees benefit from regular fertilization to provide essential nutrients for growth and fruit production. Apply a balanced, slow-release fertilizer in early spring and again in early summer. Follow the manufacturer’s instructions for dosage and application methods.
- Pruning: Pruning is crucial for shaping the tree, removing dead or diseased branches, and promoting optimal fruit production. Prune during the dormant season, typically in late winter or early spring, before new growth begins. Consult a pruning guide or seek advice from a local horticulturist for proper pruning techniques.
- Protection from Pests and Diseases: Monitor the tree for common pests such as aphids, mites, and fruit flies. Treat any infestations promptly with organic insecticides or follow integrated pest management techniques. Regularly inspect the leaves and fruits for signs of disease, such as leaf spot or brown rot, and take appropriate measures to prevent or address them.
- Support and Training: As the tree grows taller, it may benefit from staking or a trellis system for support. This helps to prevent damage from strong winds and promotes an upright growth habit. Additionally, consider training the branches by pruning and guiding them to ensure a well-structured tree.
- Thinning Fruits: To promote better fruit quality and prevent overcrowding, thin out excess fruits when they are still small. This allows the tree to allocate its resources more efficiently, resulting in larger and healthier fruits.
- Winter Protection: In colder regions, protect the nectarine tree during winter by wrapping the trunk with tree wrap and covering the tree with a frost blanket or burlap. This helps prevent frost damage and keeps the tree protected during the dormant period.
By providing the appropriate care and maintenance, your nectarine tree will thrive and have a greater chance of producing abundant, high-quality fruits. Stay attentive to the tree’s needs throughout the seasons and make adjustments as necessary to ensure its optimal growth and productivity.
Now that you have nurtured and cared for the nectarine tree, it’s time to explore the next step of the process: transplanting the tree into its permanent location.
Step 7: Transplanting the Nectarine Tree
Transplanting the nectarine tree from its temporary container to its permanent location is an exciting step that brings your gardening journey full circle. Follow these steps to ensure a successful transplant:
- Choose the Right Time: Transplant the nectarine tree during the dormant season, ideally in late winter or early spring before new growth emerges. This allows the tree to establish its roots before facing the stress of warmer weather.
- Select a Suitable Location: Choose a sunny location with well-draining soil for your nectarine tree. The soil should be slightly acidic, with a pH level between 6.0 and 6.5. Ensure the area has good air circulation and enough space for the tree to reach its mature size.
- Prepare the Planting Hole: Dig a hole that is wider and slightly deeper than the root ball of the tree. Loosen the soil around the edges of the hole to encourage root penetration and growth.
- Remove the Tree from its Container: Carefully remove the nectarine tree from its temporary container, gently teasing apart any tangled roots. Be cautious not to damage the delicate roots during this process.
- Plant the Tree: Place the tree in the center of the hole, ensuring it is positioned at the same depth as it was in the container. Backfill the hole with the excavated soil, gently firming it around the roots to eliminate air pockets. Avoid over-packing the soil, as it can restrict root growth.
- Water and Mulch: After planting, water the tree thoroughly to settle the soil around the roots. Apply a layer of organic mulch, such as wood chips or compost, around the base of the tree, leaving a few inches of space around the trunk to prevent moisture buildup and potential rot.
- Provide Post-Transplant Care: Keep the newly transplanted nectarine tree well-watered, especially during the first growing season. Monitor the soil moisture regularly and water deeply when needed. Avoid excessive fertilization during the first year, as the tree needs time to establish its root system.
- Maintain Regular Care: Continue to care for the transplanted tree by following the watering, fertilizing, pruning, and pest/disease prevention guidelines mentioned earlier. Stay vigilant and make any necessary adjustments to ensure the tree’s health and productivity.
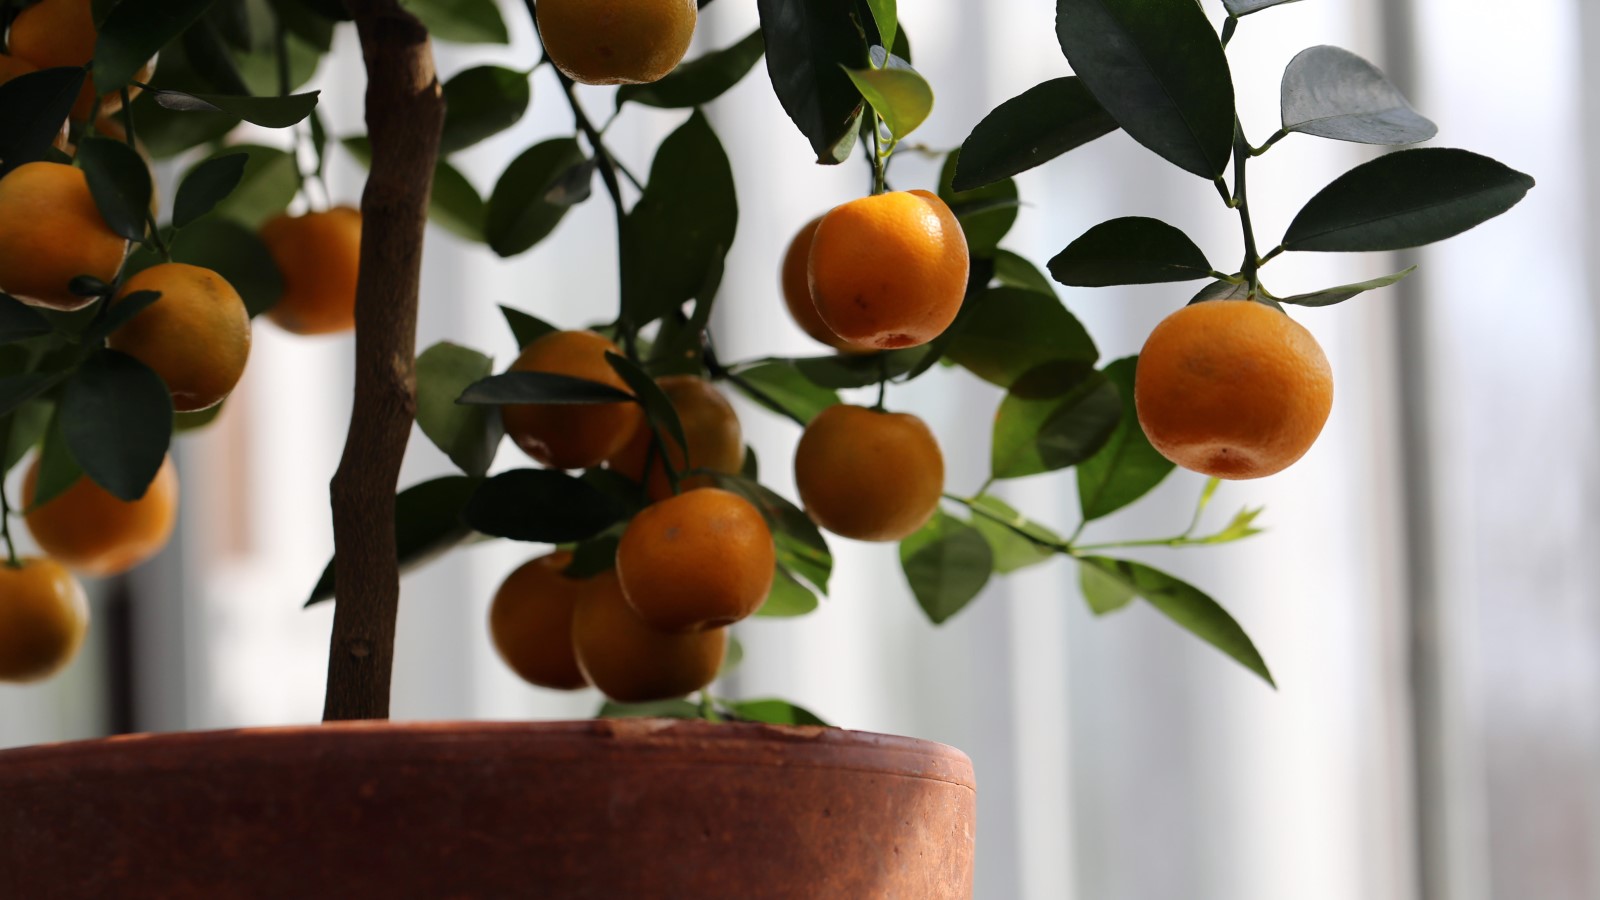
Transplanting the nectarine tree completes the process of growing a nectarine tree from seed. With proper care, your nectarine tree will reward you with beautiful blossoms and, eventually, delicious nectarine fruits to enjoy in the years to come.
Remember that patience is key throughout the gardening process. It may take several years for the tree to reach maturity and produce abundant fruits, but the reward and satisfaction of growing your own nectarine tree make every effort worthwhile.
Now, sit back and watch as your nectarine tree flourishes and becomes a stunning centerpiece in your garden.
Conclusion
Congratulations on successfully completing the journey of growing a nectarine tree from seed! You’ve learned the step-by-step process starting from selecting a ripe nectarine to transplanting the tree into its permanent location. It’s been a rewarding experience, and now you can enjoy the beauty and sweetness of your very own nectarine tree.
Throughout this journey, you’ve gained valuable knowledge on seed extraction, seed preparation, and the importance of stratification for successful germination. You’ve also learned how to provide adequate care and maintenance to ensure the health and growth of your nectarine tree.
Remember, growing a nectarine tree from seed requires patience, as it can take several years for the tree to reach maturity and produce fruits. However, the satisfaction and sense of accomplishment that come with nurturing a seed into a thriving tree are truly priceless.
As your nectarine tree continues to grow and flourish, it’s essential to continue providing it with proper care. Regular watering, fertilizing, pruning, and protection from pests and diseases will ensure that your tree remains healthy and productive.
Whether you’re enjoying the beauty of the tree’s blossoms, the delight of its sweet nectarine fruits, or simply the joy of being close to nature, your efforts will be rewarded throughout the growing seasons.
Now, it’s time to sit back, relax, and enjoy the fruits of your labor. From the moment you selected that perfectly ripe nectarine to the moment you transplant the tree into its permanent location, you’ve taken part in a remarkable journey of growth and beauty.
Thank you for joining us on this adventure of starting a nectarine tree from seed. Happy gardening!
Frequently Asked Questions about How To Start A Nectarine Tree From Seed
Was this page helpful?
At Storables.com, we guarantee accurate and reliable information. Our content, validated by Expert Board Contributors, is crafted following stringent Editorial Policies. We're committed to providing you with well-researched, expert-backed insights for all your informational needs.


0 thoughts on “How To Start A Nectarine Tree From Seed”