Home>Garden Essentials>How To Plant A Cherry Tree From Seed
Garden Essentials
How To Plant A Cherry Tree From Seed
Modified: March 16, 2024
Learn how to plant a cherry tree from seed in your garden and enjoy the fruits of your labor. Step-by-step instructions for a successful and rewarding gardening experience.
(Many of the links in this article redirect to a specific reviewed product. Your purchase of these products through affiliate links helps to generate commission for Storables.com, at no extra cost. Learn more)
Introduction
Welcome to the fascinating world of gardening! If you have ever dreamed of growing your own cherry trees, you’re in for a real treat. Planting a cherry tree from seed can be a rewarding and fulfilling experience. Not only will you witness the miracle of life as the seedlings sprout, but you will also have the satisfaction of nurturing them into healthy, fruit-bearing trees.
In this article, we will guide you through the step-by-step process of planting a cherry tree from seed. From collecting the seeds to caring for the seedlings and eventually transplanting them to a permanent location, we will cover all the essential information you need to know to ensure success.
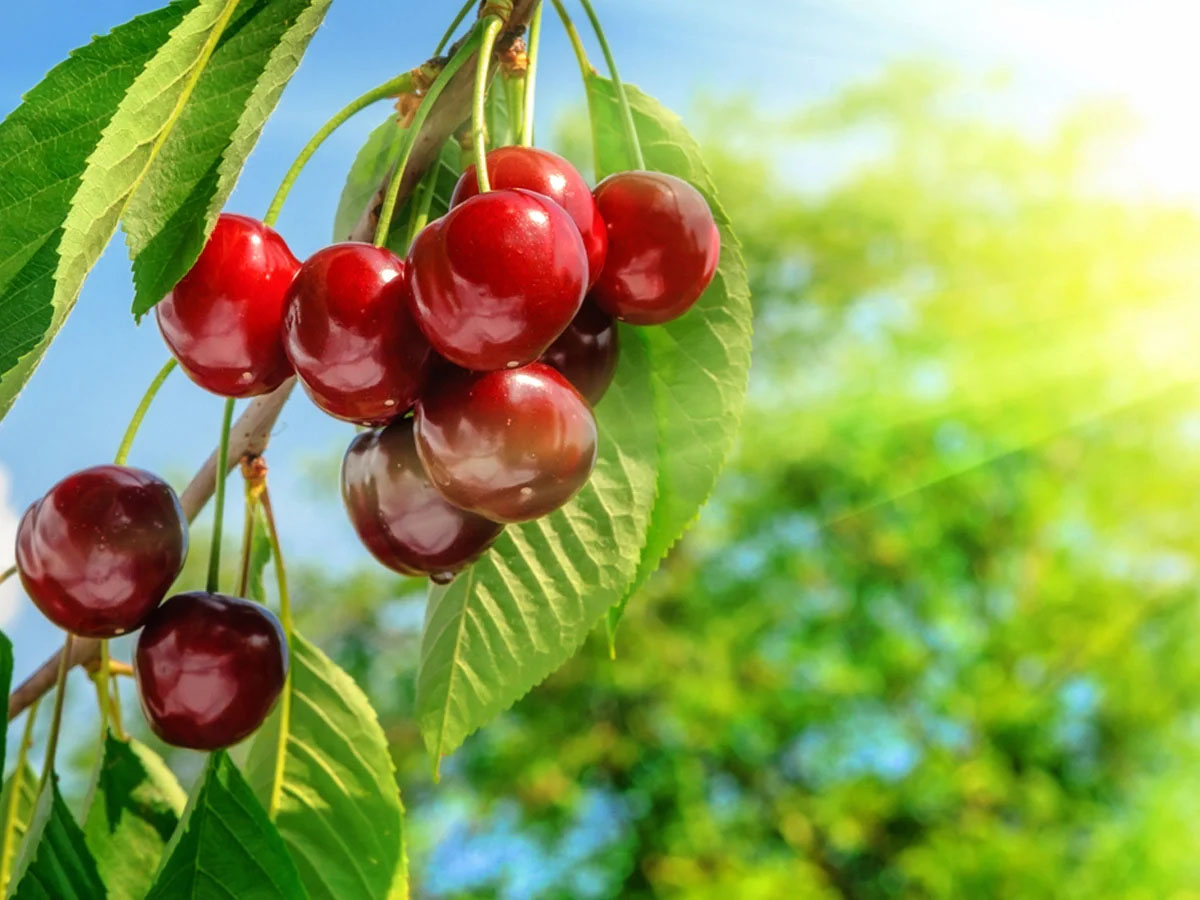
Before we delve into the practical aspects, let’s take a moment to appreciate the beauty and benefits of growing cherry trees. Cherry trees are not only renowned for their delightful blossoms in spring but also for their delicious fruits. These fruits can be enjoyed fresh off the tree or used in a variety of culinary creations.
Furthermore, cherry trees are stunning additions to any garden or landscape. Whether you have a small backyard or a spacious garden, their vibrant foliage and colorful fruits will undoubtedly enhance the aesthetic appeal and create a tranquil and inviting atmosphere.
Now that you’re inspired to embark on this gardening journey, let’s begin by gathering the necessary materials and collecting the cherry seeds.
Key Takeaways:
- Planting a cherry tree from seed is a rewarding journey that requires patience and care. From collecting and preparing the seeds to nurturing the seedlings, each step is essential for the tree’s growth.
- Choosing the right location and providing proper care are crucial for the cherry tree’s healthy development. With dedication and attention, you can enjoy the beauty and delicious fruits of your very own cherry tree.
Read more: How To Grow Cherry Blossom Tree From Seed
Step 1: Collecting Cherry Seeds
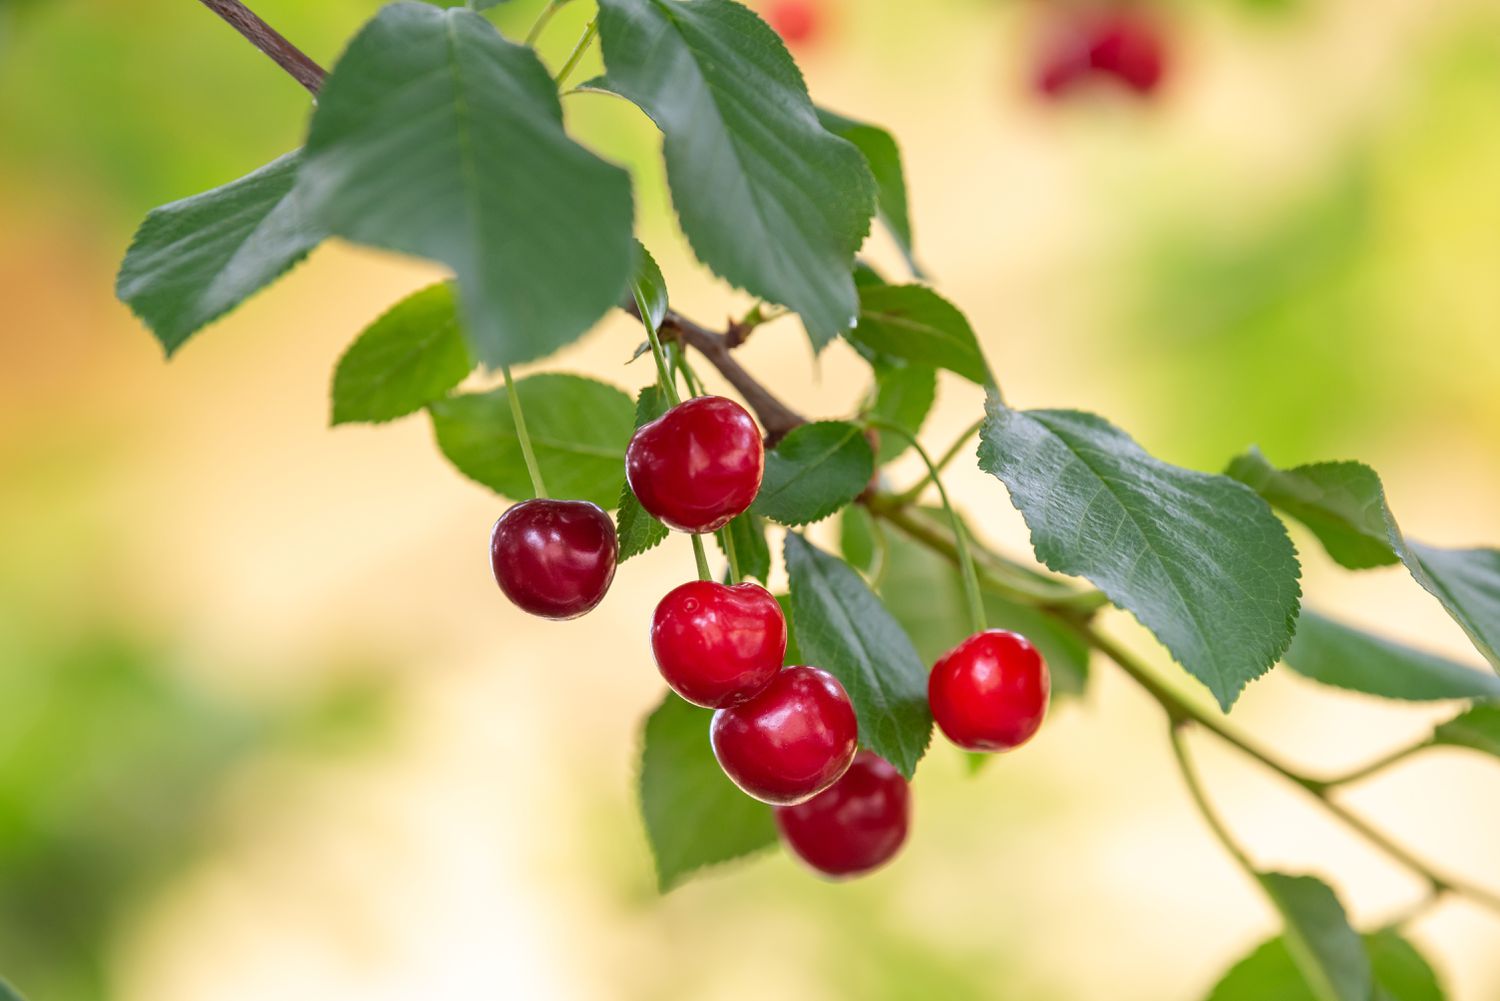
The first step in planting a cherry tree from seed is to collect the cherry seeds. This can be done by gathering cherries from a mature, healthy cherry tree or purchasing cherries from a grocery store.
When selecting cherries, it’s important to choose ripe, undamaged fruits. Look for cherries that are fully colored and firm to the touch. Avoid cherries that are mushy or have signs of rot or decay.
To extract the seeds, gently cut open the cherries and remove the pits. You can do this by using a sharp knife or a cherry pitter, which is a handy tool specifically designed for removing cherry pits.
Once you have collected the cherry pits, it’s crucial to clean them thoroughly. Rinse them under cool water to remove any remaining fruit flesh or debris. Then, place the pits on a paper towel or a clean, dry cloth to air dry. Make sure they are completely dry before proceeding to the next step.
It’s important to note that not all cherry seeds will germinate successfully. This is because some cherry varieties are hybrids or have been subject to various breeding techniques that affect seed viability. However, it’s still worth attempting to plant the seeds, as you might be pleasantly surprised by the outcome.
Now that you have collected and prepared the cherry seeds, it’s time to move on to the next step: preparing the seeds for planting.
Step 2: Preparing the Cherry Seeds for Planting
Preparing the cherry seeds for planting is an important step to ensure successful germination. By providing the seeds with the right conditions, you can increase the chances of them sprouting into healthy seedlings.
The first step in preparing the cherry seeds is to stratify them. Stratification is a process that simulates the natural conditions that cherry seeds go through during winter. This process helps to break the seed’s dormancy and triggers germination.
To stratify the cherry seeds, you will need a moist stratification medium. This can be achieved by placing the seeds in a plastic bag or container filled with slightly moistened peat moss or vermiculite. Ensure that the medium is damp but not soaking wet.
Next, seal the container or bag and place it in a cool location with a temperature around 32-40°F (0-4°C). This can be in a refrigerator or a similar environment that provides consistent cold temperatures.
Leave the cherry seeds in stratification for about 8-12 weeks. During this period, it’s important to regularly check the moisture level of the medium. If it becomes too dry, sprinkle some water to maintain the desired dampness.
After the stratification period, remove the cherry seeds from the cold environment and allow them to come to room temperature. This transition helps the seeds adjust to the warmer conditions and prepares them for planting.
The final step in preparing the cherry seeds is scarification. This is an optional step but can increase the chances of successful germination. By lightly scratching or nicking the seed coat with a file or sandpaper, you can help the seedling emerge more easily.
With the cherry seeds now properly prepared, it’s time to move on to the next step: choosing the right location for planting.
Step 3: Choosing the Right Location for Planting
Choosing the right location for planting your cherry seedlings is essential for their long-term health and productivity. Cherry trees thrive in certain conditions, and by selecting the ideal spot, you can provide them with the best chance of growth and fruit production.
Firstly, cherry trees require full sun exposure, which means they need at least 6-8 hours of direct sunlight per day. Find a location in your garden that receives ample sunlight, preferably in the southern or western direction.
Secondly, cherry trees prefer well-draining soil to prevent waterlogging, which can lead to root rot and other diseases. Ensure that the soil is loamy and fertile, with good drainage. If your soil is heavy or clay-like, consider amending it with organic matter such as compost or well-rotted manure to improve its drainage capabilities.
It’s also important to consider the pH level of the soil. Cherry trees prefer slightly acidic to neutral soil, with a pH range of 6.0-7.0. You can test the pH level of your soil using a soil testing kit available at garden centers or by contacting your local agricultural extension office for a professional soil analysis.
In addition to soil conditions, it’s crucial to consider the available space for the cherry trees to grow. Cherry trees can reach significant heights and spread, so ensure that there is enough room for them to expand without overcrowding other plants or structures.
Another factor to keep in mind when selecting the location is the potential for cross-pollination. Most cherry tree varieties benefit from cross-pollination with another compatible cherry tree variety to ensure optimum fruit production. If space allows, consider planting multiple cherry trees or check with local nurseries or experts to determine suitable pollination partners for your chosen variety.
In summary, choose a sunny location with well-draining, slightly acidic soil, ample space for growth, and consider the potential for cross-pollination. By carefully selecting the right location, you are setting the stage for a healthy and fruitful cherry tree. Now that you have chosen the location, let’s move on to the exciting part – planting the cherry seeds!
After planting the cherry seed, make sure to keep the soil consistently moist but not waterlogged. This will help the seed to germinate and grow into a healthy cherry tree.
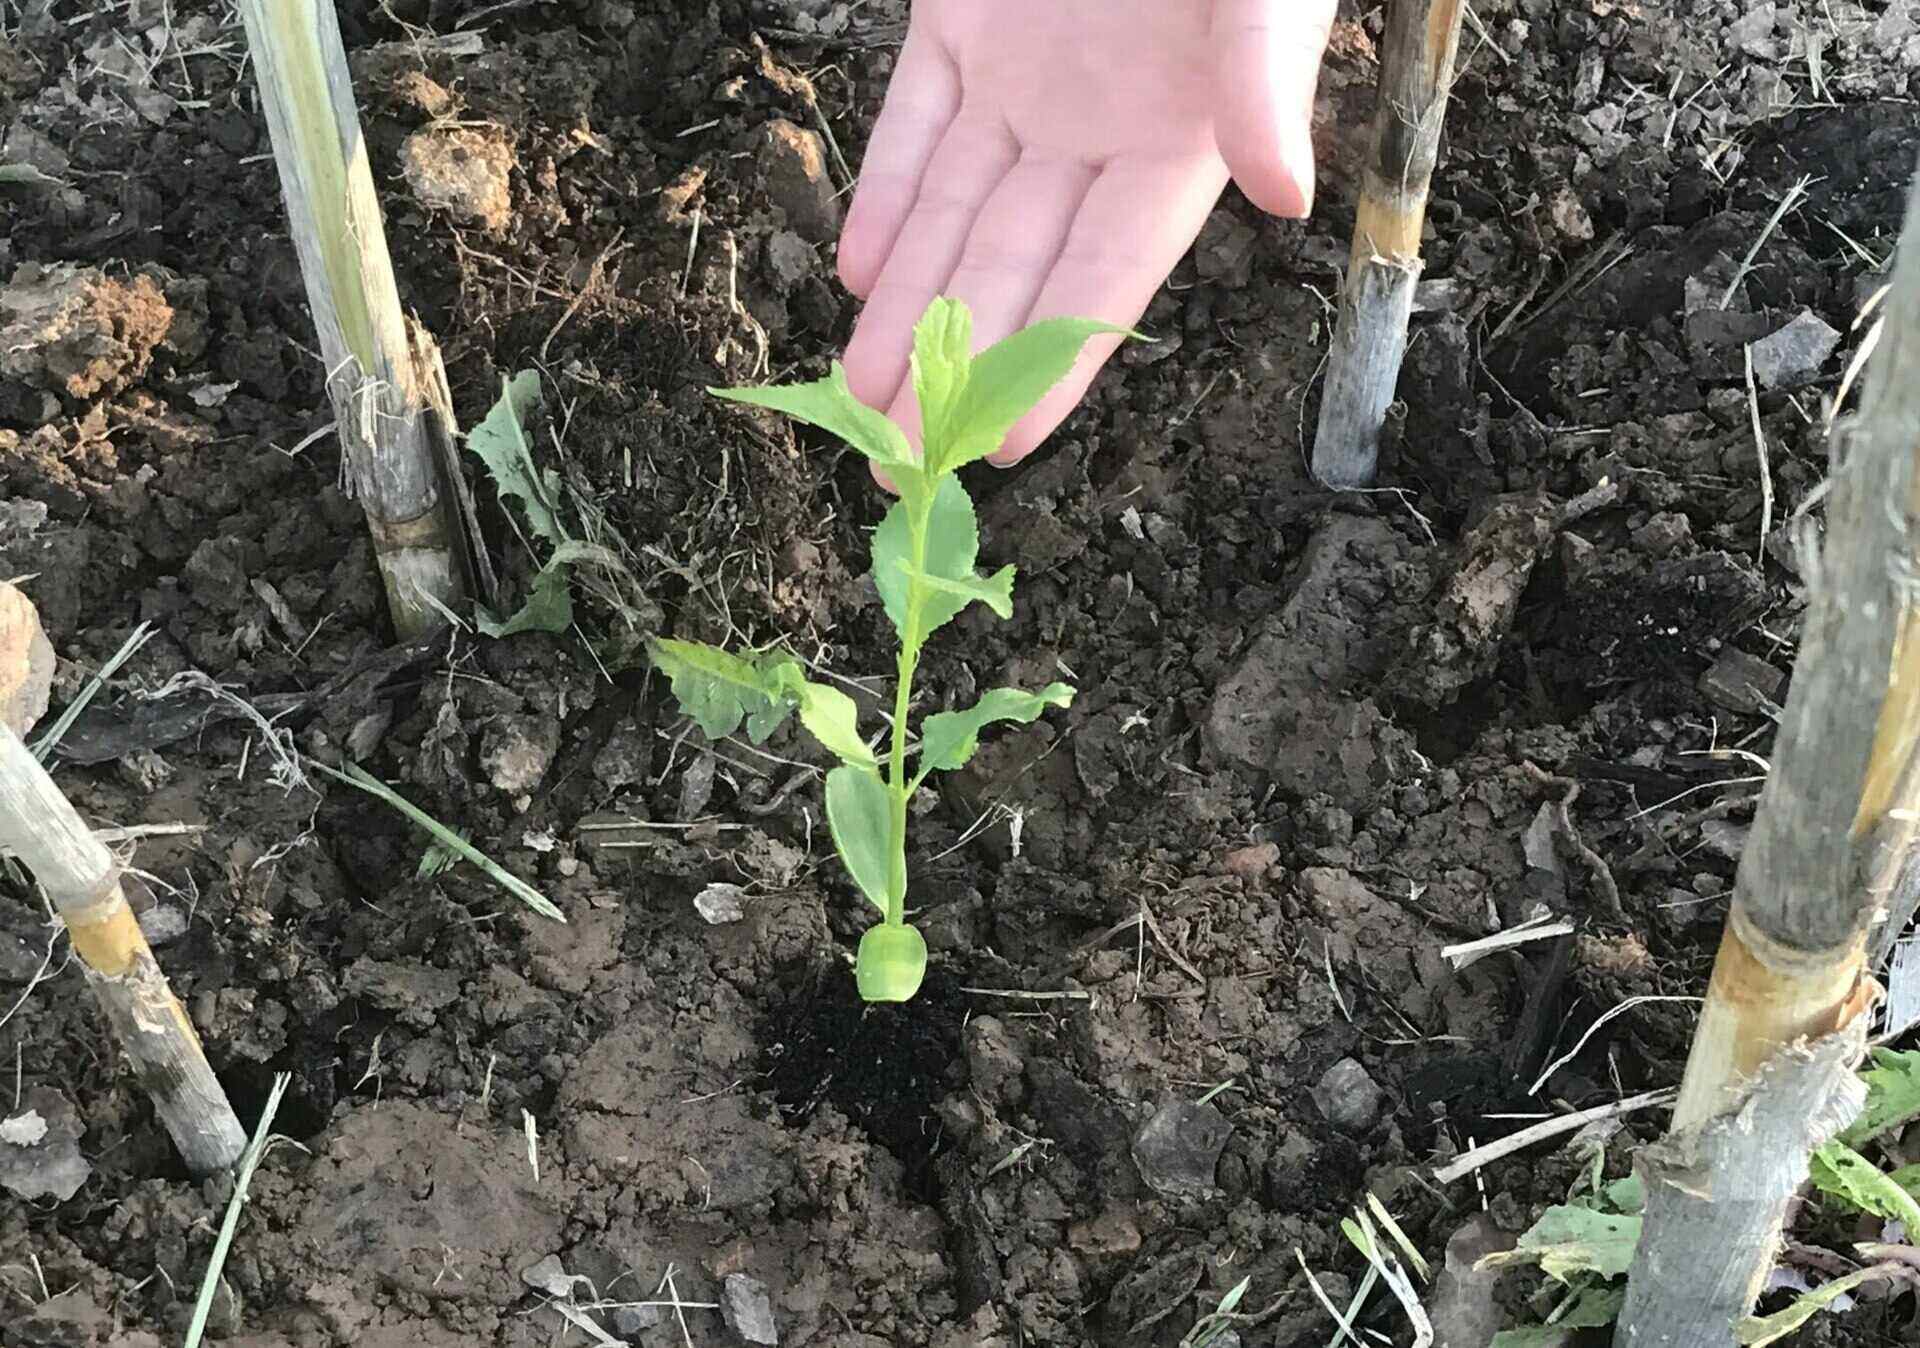
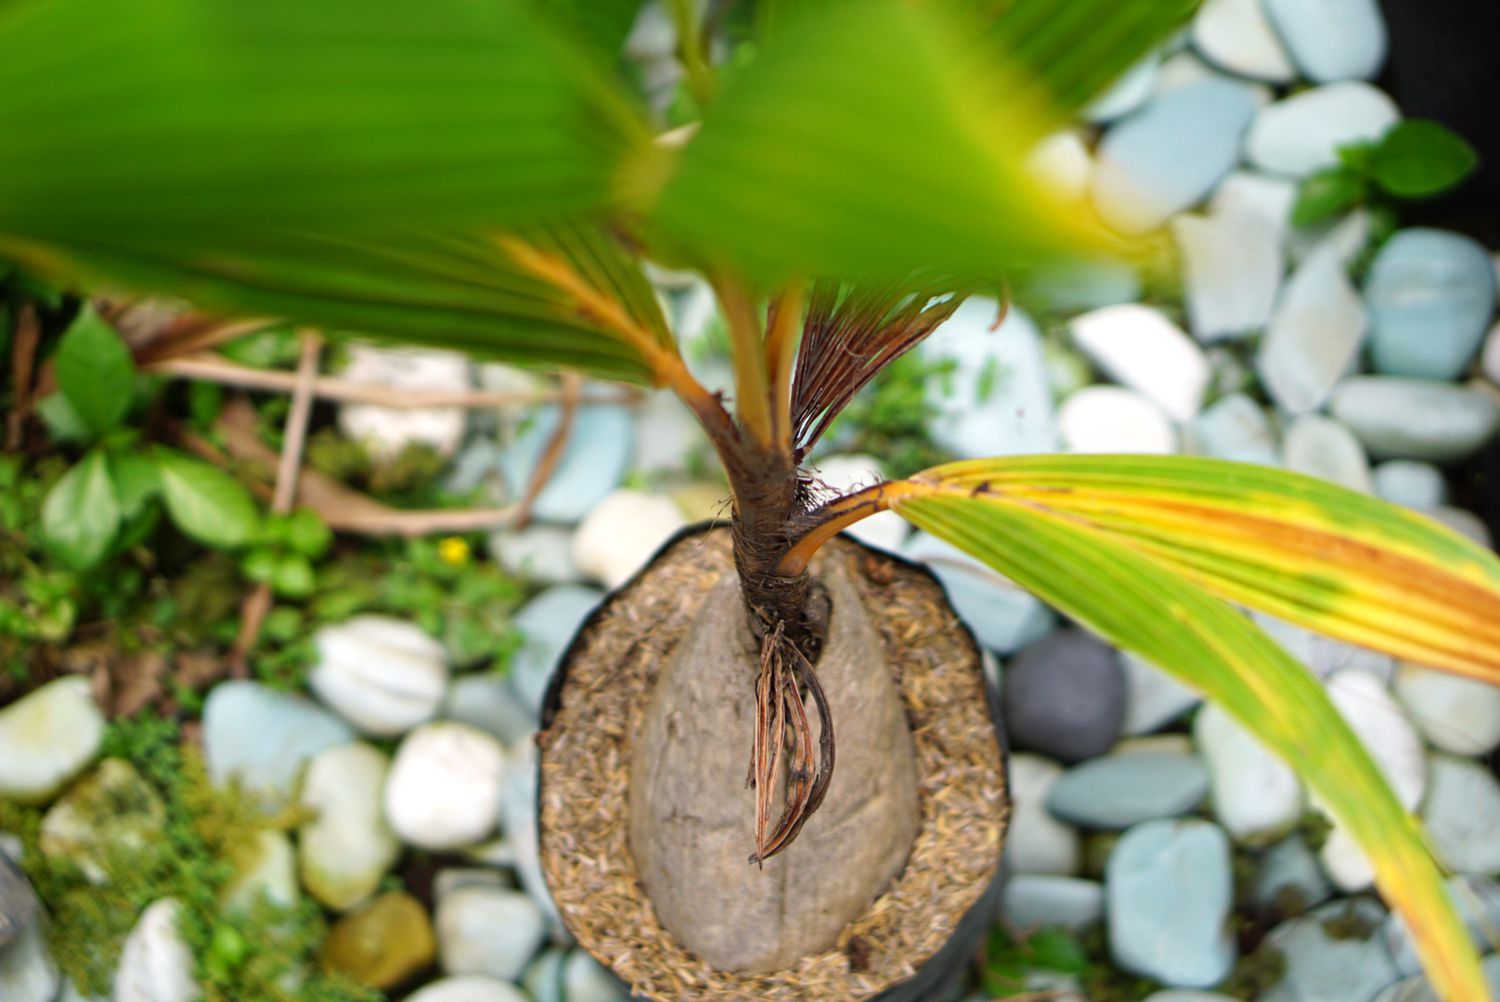
Step 4: Planting the Cherry Seeds
Now that you have collected and prepared the cherry seeds, and selected the ideal location for planting, it’s time to proceed with the actual planting process. Follow these steps to ensure proper planting and give your cherry seeds the best chance of successful germination.
1. Digging the hole: Start by digging a small hole in the prepared soil. The hole should be about 2 inches (5 cm) deep and wide enough to comfortably accommodate the cherry seed.
2. Placing the seed: Carefully place the cherry seed in the center of the hole. Ensure that the flat side of the seed, which is typically the side you nicked during scarification, is facing downwards.
3. Covering the seed: Gently cover the seed with soil, ensuring that it’s not planted too deep. The top of the seed should be just below the soil surface, at a depth of approximately 1/2 inch (1 cm).
4. Watering: After planting the cherry seed, water the area thoroughly to provide moisture for germination. Avoid overwatering, as excessive moisture can cause the seed to rot. Maintain a moist, but not waterlogged, environment as the seed germinates.
5. Mulching: To conserve moisture and suppress weed growth, consider applying a layer of organic mulch around the planted area. This can be wood chips, straw, or compost. Ensure that the mulch is a few inches away from the base of the seedling to prevent rot and fungal issues.
6. Marking the spot: It’s a good idea to mark the spot where you planted the cherry seed. This will help you keep track of the seedling’s progress and avoid accidentally disturbing it during landscaping or other activities.
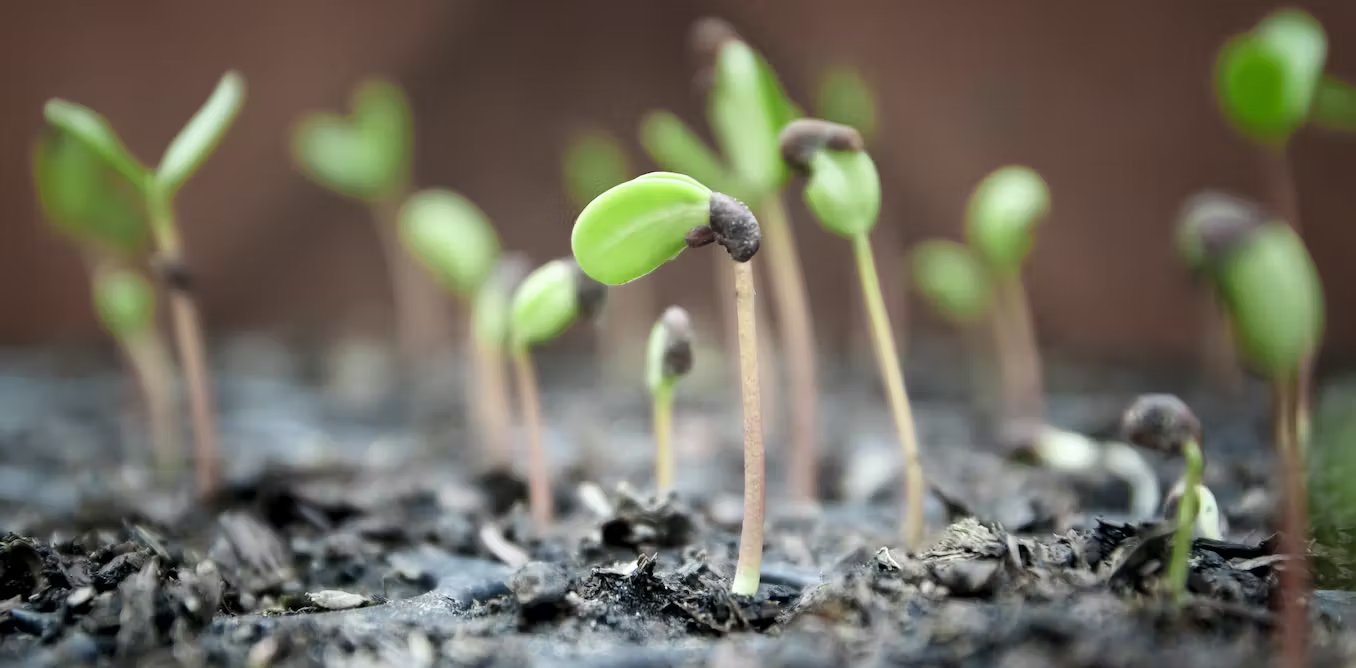
Remember, the germination process can take time, ranging from a few weeks to several months. Be patient and continue to provide proper care and maintenance for the cherry seedling as it develops.
Now that you have planted the cherry seeds, it’s time to move on to the next step: caring for the cherry seedlings as they grow.
Read more: How To Plant A Pomegranate Tree From Seeds
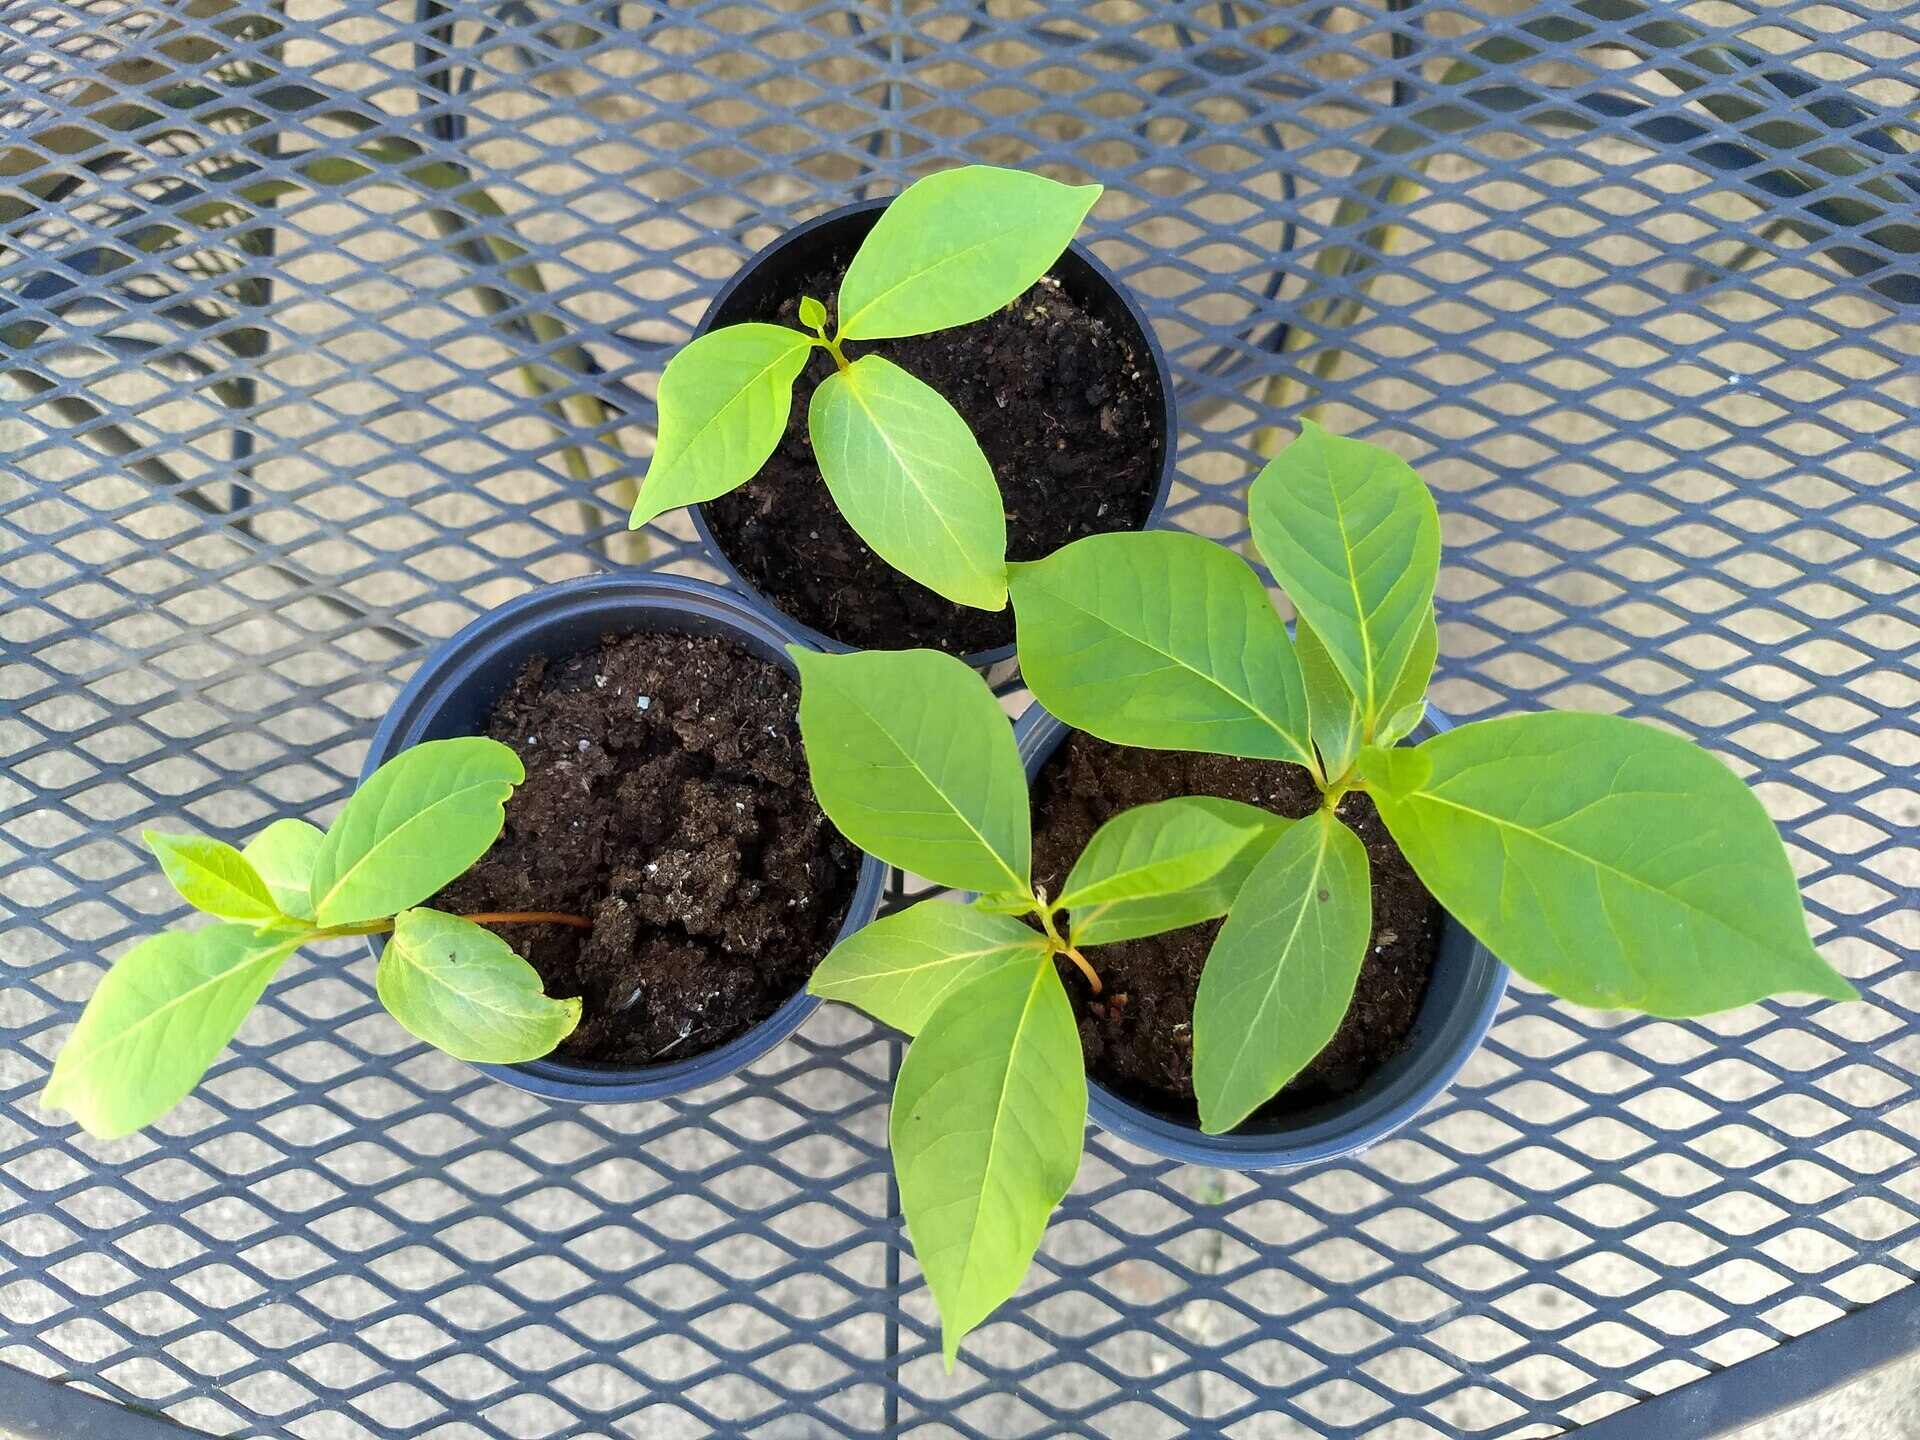
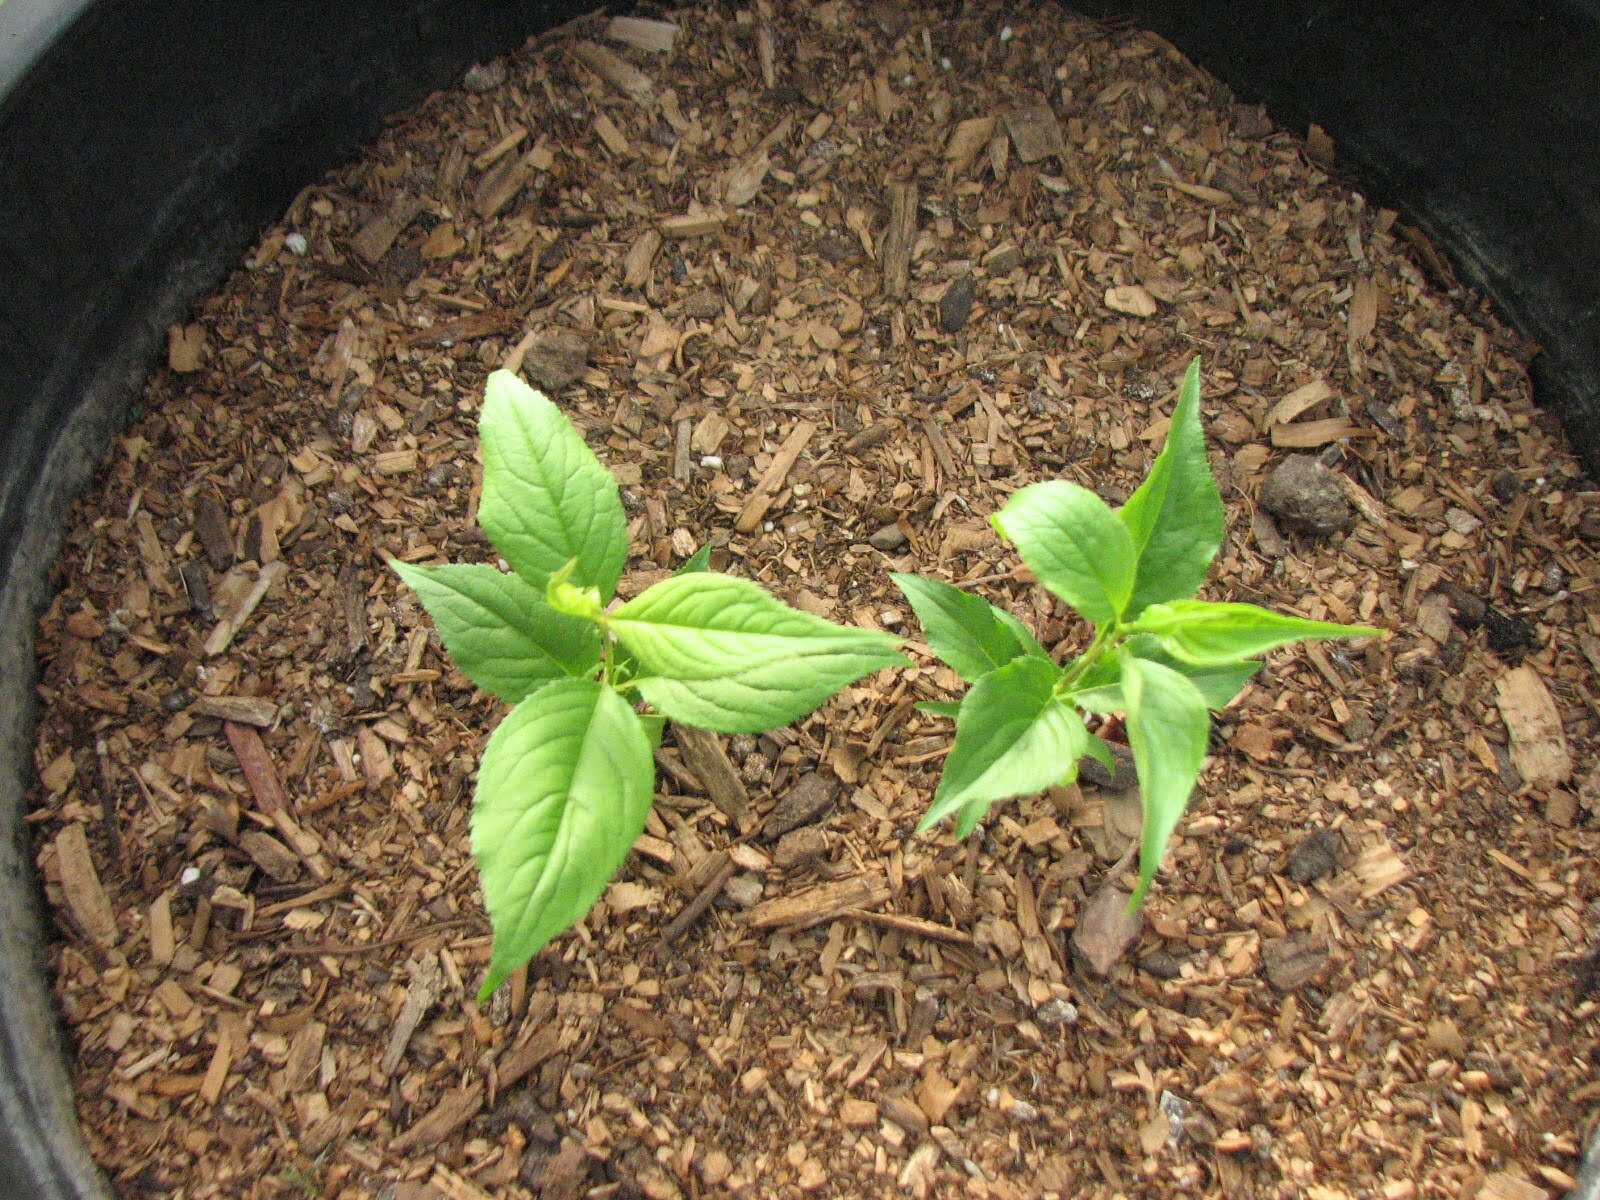
Step 5: Caring for the Cherry Seedlings
Now that the cherry seeds have been planted and are starting to germinate, it’s important to provide proper care and attention to the seedlings as they grow. Here are some essential care tips to ensure the healthy development of your cherry seedlings:
1. Watering: Keep the soil consistently moist but not saturated. Regularly check the moisture level by inserting your finger into the soil. If it feels dry, it’s time to water. Avoid overwatering as it can lead to root rot. Water at the base of the seedling to prevent foliar diseases.
2. Fertilizing: After the cherry seedling has developed a few sets of true leaves, you can start fertilizing. Use a balanced organic fertilizer or a slow-release granular fertilizer specifically formulated for fruit trees. Follow the package instructions for application rates and timings.
3. Pruning: As the cherry seedling grows, it’s important to prune it to promote strong and structured growth. Remove any crossing or crowded branches, and trim back overly long or weak shoots. This will help the tree develop a sturdy and well-shaped framework.
4. Protecting from pests and diseases: Keep a close eye on the cherry seedlings for any signs of pests or diseases. Aphids, caterpillars, and fungal diseases such as cherry leaf spot can affect the growth and health of the seedlings. Use organic pest control methods or consult with a local gardening expert for effective and safe treatments.
5. Providing support: As the cherry seedlings grow taller, they might need support to prevent them from bending or breaking under their own weight. Use stakes or tomato cages to provide support and ensure proper upright growth.
6. Monitoring sunlight: Ensure that the cherry seedlings continue to receive adequate sunlight as they grow. Monitor the area for any potential shading caused by nearby plants or structures and make necessary adjustments to maintain optimal sunlight exposure.
7. Weeding: Regularly remove weeds from the vicinity of the cherry seedlings. Weeds compete for resources and can hinder the growth of the seedlings. Apply mulch to suppress weed growth and conserve soil moisture.
By providing proper care and attention to your cherry seedlings, you are setting the stage for their healthy growth and future fruit production. As they mature, continue to monitor their progress and adjust the care routine accordingly.
Now that you know how to care for the cherry seedlings, let’s move on to the final step: transplanting them to a permanent location.
Step 6: Transplanting the Cherry Seedling to a Permanent Location
Once your cherry seedlings have grown into sturdy young trees, it’s time to transplant them to a permanent location in your garden or landscape. Follow these steps to ensure a successful transplant:
1. Timing: Choose a suitable time for transplanting, ideally in early spring or fall when the weather is mild and the seedling is dormant. Avoid planting during extreme heat or cold.
2. Digging the hole: Dig a hole in the prepared location that is wide and deep enough to accommodate the root ball of the cherry seedling. The hole should be slightly larger than the size of the root ball to allow room for the roots to spread.
3. Watering: Before removing the seedling from its current container or location, water it thoroughly to ensure the roots are well hydrated. This will minimize transplant shock.
4. Removing the seedling: Gently remove the cherry seedling from its container or carefully dig it out from its current location. Be cautious not to damage the roots.
5. Placing the seedling: Lower the tree into the prepared hole, ensuring that the base of the seedling is at ground level or slightly above. Position the tree in a way that it is straight and upright.
6. Backfilling: Gradually fill the hole with soil, pressing it firmly around the roots to eliminate any air pockets. Take care not to bury the trunk too deeply as it may cause rot or other problems.
7. Watering and mulching: After planting, water the seedling thoroughly to settle the soil and help establish good root-to-soil contact. Apply a layer of organic mulch, such as wood chips or straw, around the base of the tree to conserve moisture and suppress weed growth.
8. Staking: If the tree is tall or prone to strong winds, provide support by staking it. Use tree stakes or wooden stakes and secure the tree with soft ties to avoid damaging the trunk. Remove the stakes after the tree has established itself.
9. Continued care: After transplanting, continue to care for the cherry tree by watering it regularly, providing proper sunlight exposure, and monitoring for pests or diseases. Prune as necessary to maintain a well-shaped tree and remove any damaged or diseased branches.
Transplanting the cherry seedling to a permanent location is an exciting milestone in the growth of your cherry tree. With proper care and nurturing, you can look forward to enjoying the beautiful blossoms and delicious fruits from your very own cherry tree.
Congratulations! You have successfully transplanted the cherry seedling to its permanent location, completing the final step in the process. Now, all that’s left is to continue providing care and watch as your cherry tree flourishes for years to come.
Conclusion
Congratulations on completing the journey of planting a cherry tree from seed! You have learned the step-by-step process of collecting cherry seeds, preparing them for planting, choosing the right location, planting the seeds, caring for the seedlings, and finally transplanting them to a permanent location. By following these steps and providing proper care, you have set the foundation for a healthy and fruitful cherry tree.
Gardening and nurturing plants can be a rewarding and fulfilling experience. As your cherry tree grows and matures, it will bring beauty to your garden and provide you with delicious cherries to enjoy. Remember, cherry trees can take several years to bear fruit, so patience is key.
Throughout this process, you have also gained a deeper understanding and appreciation for the wonders of nature. From the miracle of germination to the intricate dance of sunlight, water, and nutrients that sustains plant life, gardening allows us to connect with the natural world on a profound level.
As you continue your gardening journey, don’t be afraid to experiment and learn from your experiences. Every garden is unique, and what works for one person may not work for another. Embrace the joy of discovery and adapt your techniques and strategies to meet the specific needs of your cherry tree and garden.
Remember to stay connected with fellow gardeners, join gardening communities, and seek advice from local gardening experts. Sharing knowledge and experiences can lead to valuable insights and a deeper appreciation for the art of gardening.
Thank you for taking the time to learn about planting a cherry tree from seed. We hope this guide has provided you with the knowledge and confidence to embark on your own gardening adventure. May your cherry tree flourish and bring you years of joy and delicious harvests!
Frequently Asked Questions about How To Plant A Cherry Tree From Seed
Was this page helpful?
At Storables.com, we guarantee accurate and reliable information. Our content, validated by Expert Board Contributors, is crafted following stringent Editorial Policies. We're committed to providing you with well-researched, expert-backed insights for all your informational needs.


0 thoughts on “How To Plant A Cherry Tree From Seed”