Home>Garden Essentials>How To Start Coneflower From Seed
Garden Essentials
How To Start Coneflower From Seed
Modified: April 22, 2024
Learn how to start coneflower from seed in your garden. Step-by-step instructions and tips for successful germination and growth.
(Many of the links in this article redirect to a specific reviewed product. Your purchase of these products through affiliate links helps to generate commission for Storables.com, at no extra cost. Learn more)
Introduction
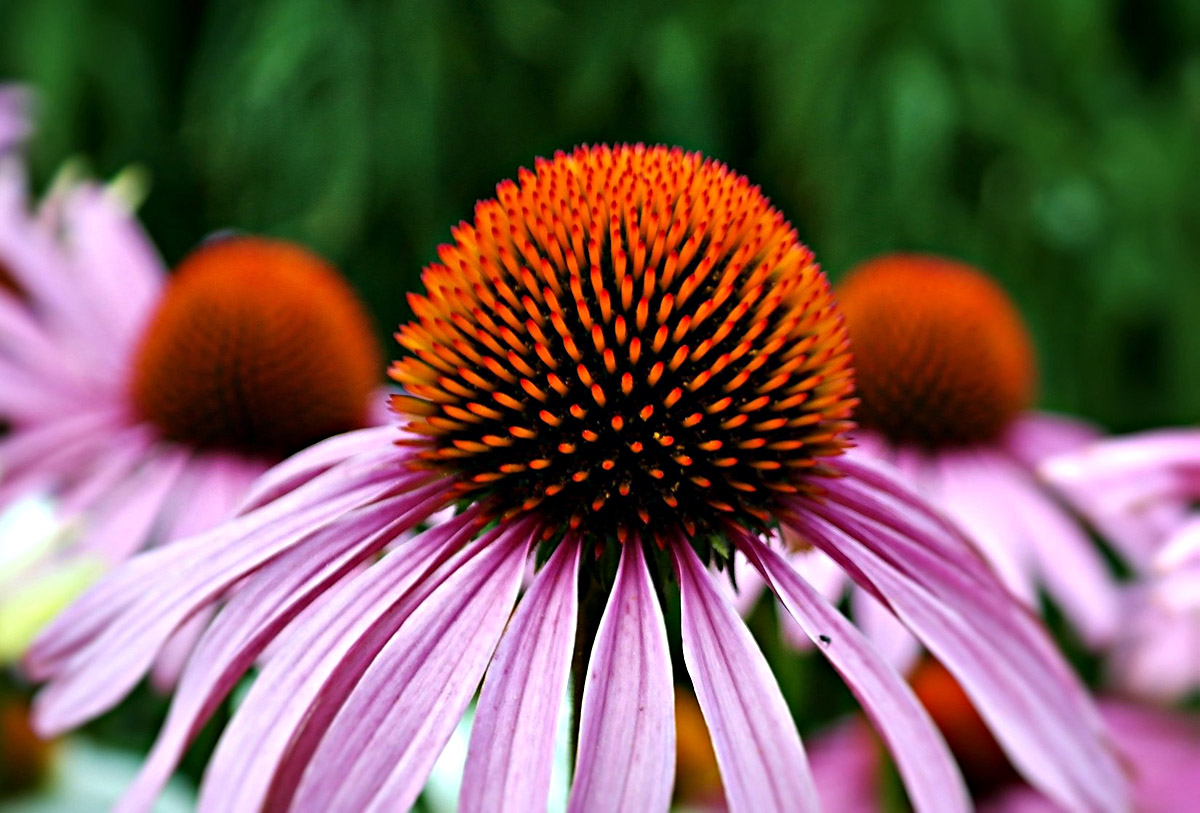
Welcome to the world of gardening! If you’re looking to add a vibrant and beautiful flower to your garden, growing coneflowers from seed is a fantastic option. Coneflowers, also known as Echinacea, are not only visually stunning with their vibrant colors and unique structures, but they also attract pollinators and support biodiversity in your garden.
Rather than purchasing established plants, starting coneflowers from seed allows you to witness the entire growth process, from a tiny seed to a flourishing plant. Plus, it can be a rewarding and budget-friendly way to expand your garden. In this article, we will guide you through the process of starting coneflowers from seed, ensuring that you have all the necessary knowledge to succeed.
Before we dive into the steps, it’s important to note that different varieties of coneflowers may have specific requirements, so it’s wise to research the specific needs of the variety you’ve chosen. However, the basics of starting coneflowers from seed remain relatively consistent across all varieties. So, let’s get started and turn those tiny seeds into stunning coneflowers!
Key Takeaways:
- Starting coneflowers from seed is a rewarding and budget-friendly way to add vibrant and beautiful flowers to your garden, attracting pollinators and supporting biodiversity.
- By following the steps outlined in this guide, you can successfully grow coneflowers from seed, creating an enchanting garden filled with the beauty of nature.
Read more: How To Grow Coneflower From Seed
Step 1: Gathering the Supplies
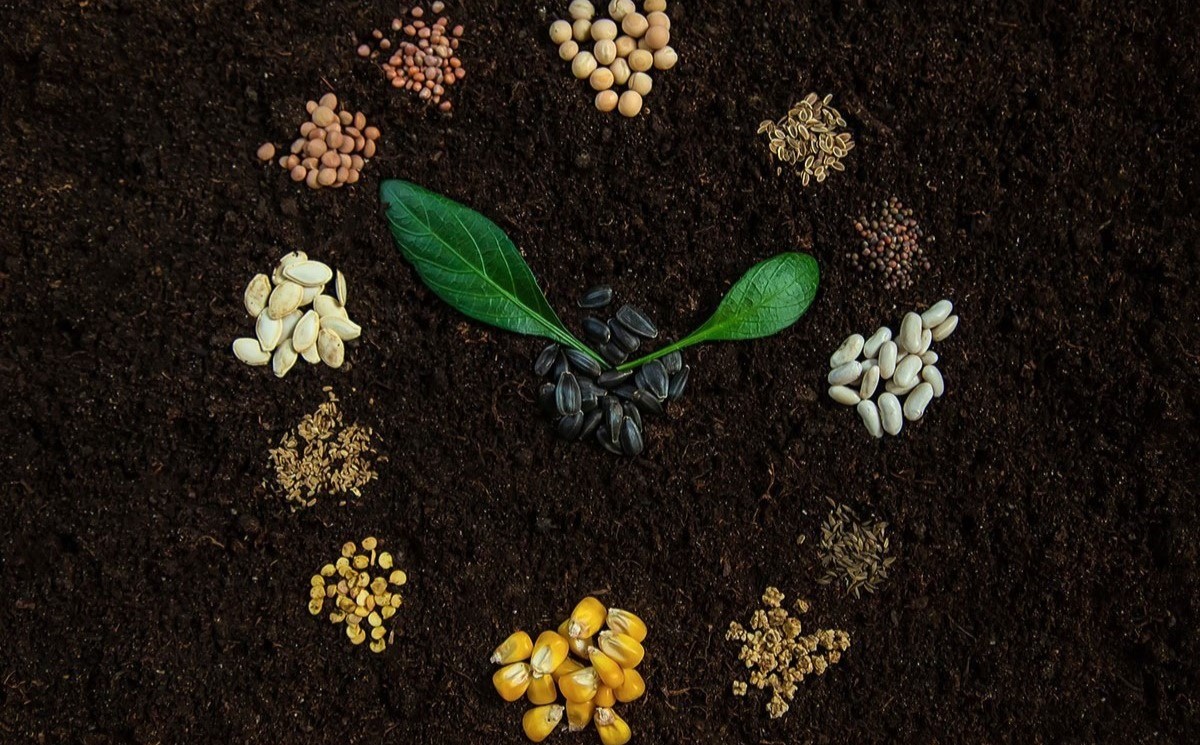
Before you start sowing coneflower seeds, it’s essential to gather all the necessary supplies. Here’s a list of what you’ll need:
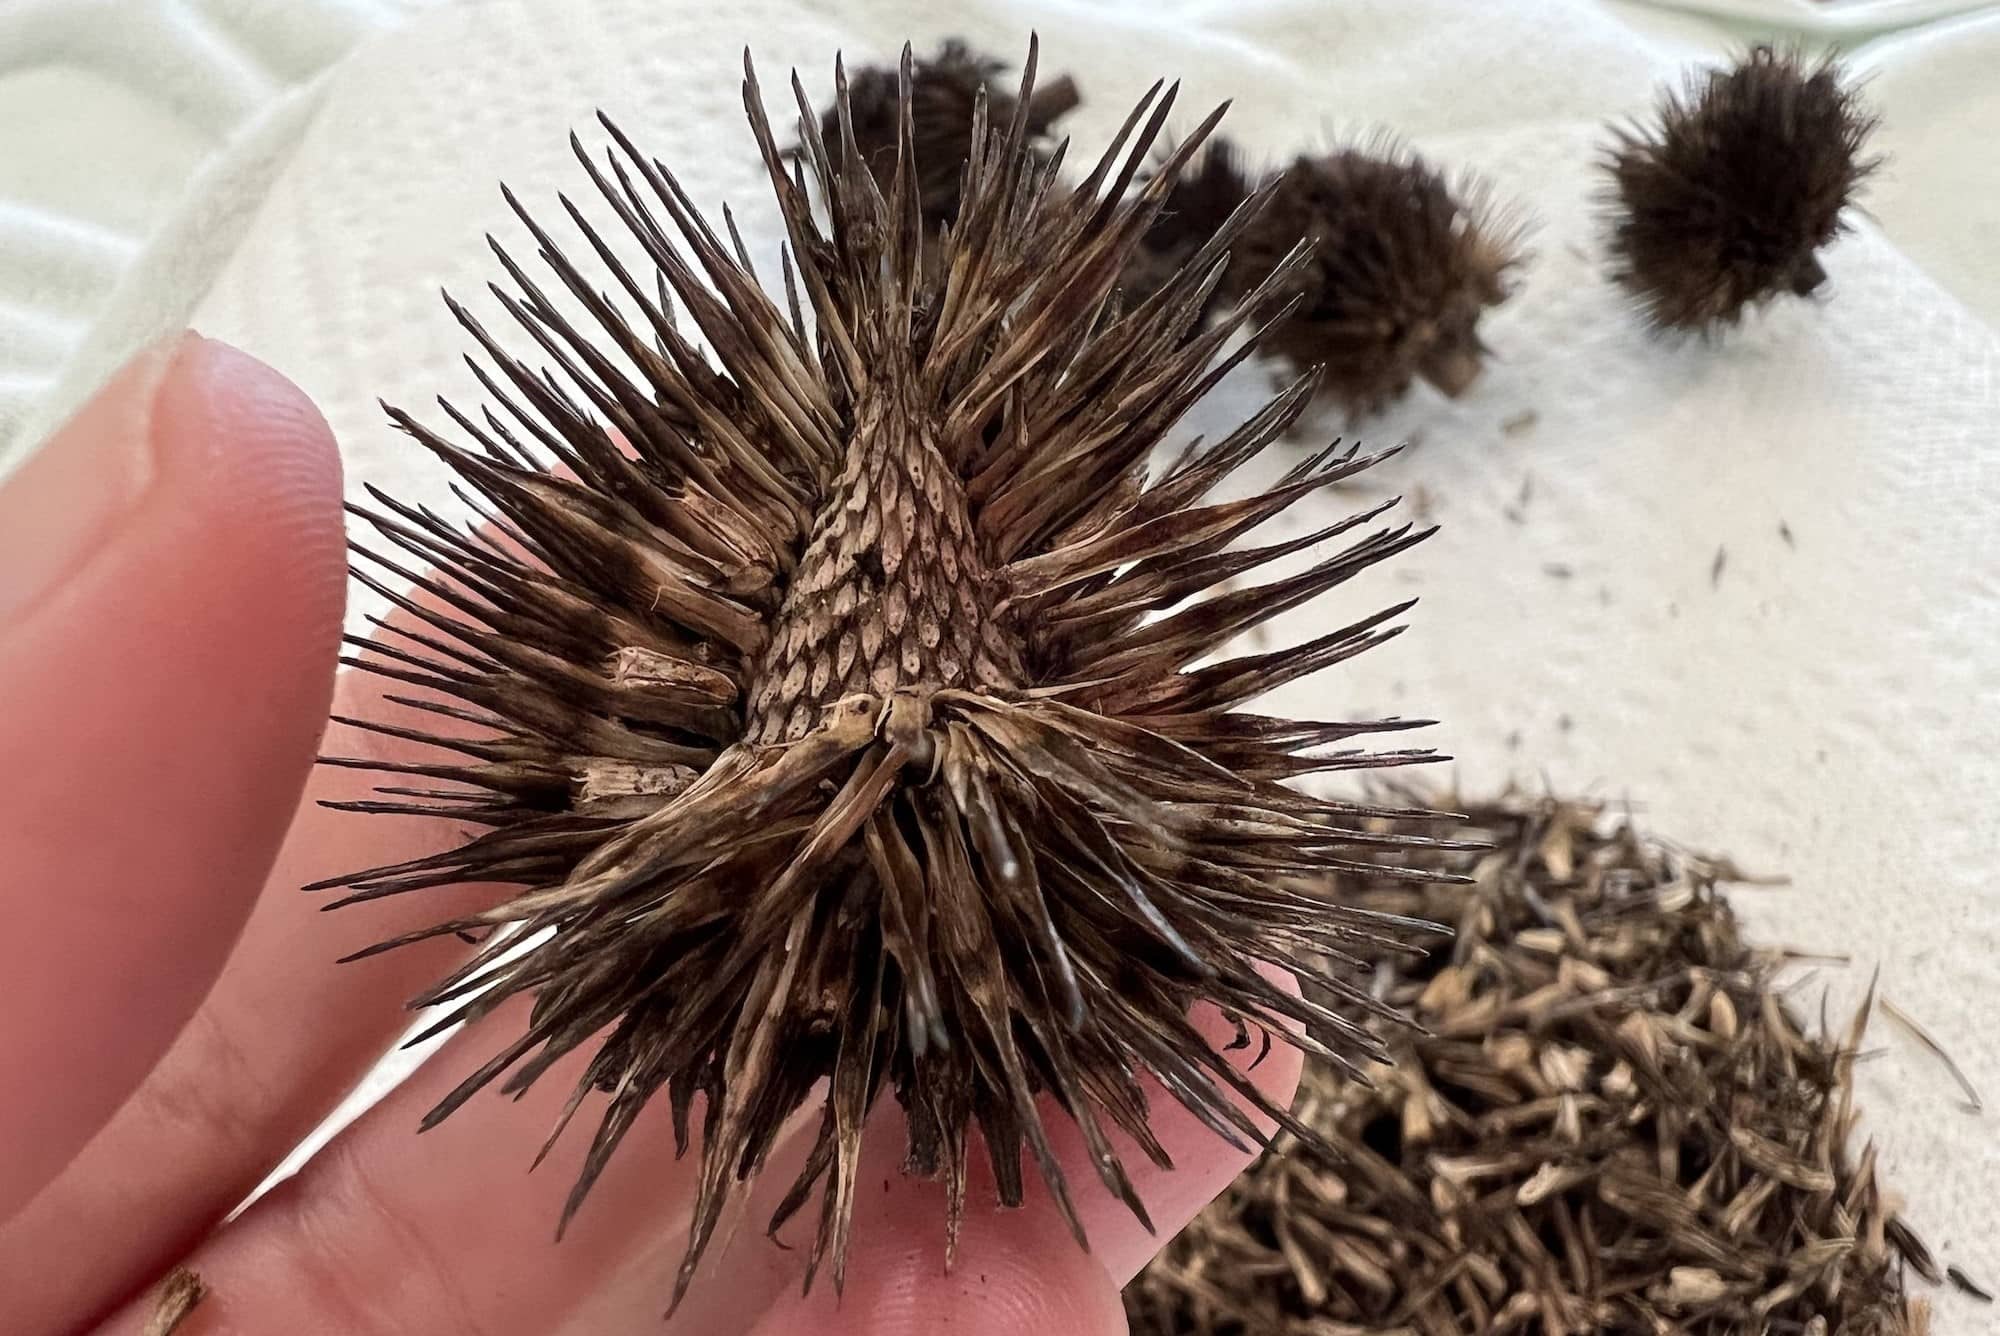
- Seeds: Obtain high-quality coneflower seeds from a reputable source or consider collecting seeds from existing coneflower plants in your garden.
- Potting soil or seed-starting mix: Look for a well-draining mix specifically formulated for starting seeds. Avoid heavy or compacted soils, as they can hinder seedling growth.
- Containers: Use individual pots, seed trays, or cell packs to provide each seed with ample space to grow. Ensure the containers have drainage holes to prevent waterlogging.
- Watering can or spray bottle: Choose a watering can or a spray bottle with a fine mist nozzle for gentle watering.
- Plant markers: Use labels or markers to identify each variety if you are sowing more than one type of coneflower seed.
- Clear plastic covers or plastic wrap: These can help create a mini greenhouse environment to retain moisture and encourage germination.
- Grow lights or a sunny windowsill: Depending on your location and the amount of natural sunlight available, you may need supplemental light to ensure adequate growth.
- Garden gloves and a small hand trowel: These tools will come in handy when handling seeds and transplanting seedlings.
- Optional: Growth hormone: Although not necessary, using a growth hormone can promote faster and healthier seedling development.
Once you have gathered all the supplies, you’re ready to move on to the next step: preparing the soil. Ensuring the right growing environment for your coneflower seeds is crucial for their successful germination and growth.
Step 2: Preparing the Soil
The quality of the soil plays a vital role in the successful germination and growth of coneflower seeds. Here’s how to prepare the soil:
- Choose the right soil: Coneflowers prefer well-draining soil with a pH level of 6.0 to 7.0. If your garden soil is heavy or clay-like, amend it with organic matter such as compost or well-rotted manure to improve drainage.
- Fill the containers: Fill the seed-starting pots or trays with the prepared soil mix, leaving about half-inch space at the top.
- Moisten the soil: Before sowing the seeds, lightly moisten the soil to ensure it’s evenly damp, but not waterlogged.
Once the soil is prepared, you’re ready to move on to the exciting part: sowing the coneflower seeds!
Please note that coneflower seeds may require a period of cold stratification to break dormancy and improve germination. Research the requirements of the specific variety to determine if stratification is needed, and if so, follow the recommended methods before proceeding with the sowing process.
Are you ready to plant those tiny seeds and watch them grow into magnificent coneflowers? Then let’s move on to the next step: sowing the seeds!
Step 3: Sowing the Seeds
Sowing coneflower seeds is an exciting step in the process of growing these beautiful flowers. Follow these steps to ensure successful seed sowing:
- Make small indentations: Using your finger or a small dibber, make small indentations in the soil to the appropriate seed depth. Generally, coneflower seeds should be planted at a depth of 1/8 to 1/4 inch.
- Space the seeds: Depending on the size of the container, space the seeds about 2 to 3 inches apart to allow room for future growth.
- Place the seeds: Gently place one seed in each indentation, ensuring it is not buried too deeply. Lightly cover the seeds with a thin layer of soil or vermiculite.
- Mist the soil: Use a gentle misting spray bottle or a watering can with a fine rose attachment to moisten the soil without disturbing the seeds.
- Label and cover the containers: Place plant markers in each container to identify the variety. Cover the containers with clear plastic covers or plastic wrap to create a mini greenhouse effect and preserve moisture.
- Provide optimal temperature: Place the containers in a warm location with consistent temperatures between 70 to 75°F (21 to 24°C). This will encourage germination.
- Ensure proper lighting: If natural sunlight is insufficient, use grow lights or place the containers in a sunny windowsill to provide the necessary light for seed germination.
- Monitor moisture levels: Check the soil moisture regularly and mist as needed to keep the soil moist, but not overly saturated. Avoid overwatering, as it can lead to fungal diseases.
Now that you have successfully sown the coneflower seeds, it’s time to create optimal growing conditions and provide the necessary care to ensure the healthy development of your seedlings. Let’s move on to step four: providing optimal growing conditions!
Step 4: Providing Optimal Growing Conditions
Now that you have sown the coneflower seeds, it’s important to provide the optimal growing conditions that will support the healthy development of the seedlings. Here’s what you need to do:
- Temperature: Maintain a temperature between 65 to 75°F (18 to 24°C) to promote germination and steady growth. Avoid placing the containers in areas with extreme temperature fluctuations.
- Lighting: Ensure that the seedlings receive ample light, whether it’s from natural sunlight or grow lights. Aim for 12 to 16 hours of light per day, positioning the lights a few inches above the plants.
- Air circulation: Good air circulation is essential in preventing fungal diseases. If the environment is stagnant, consider using a small fan on a low setting.
- Watering: Keep the soil consistently moist but not soggy. Water carefully with a watering can or a misting spray bottle to avoid disturbing the delicate seedlings.
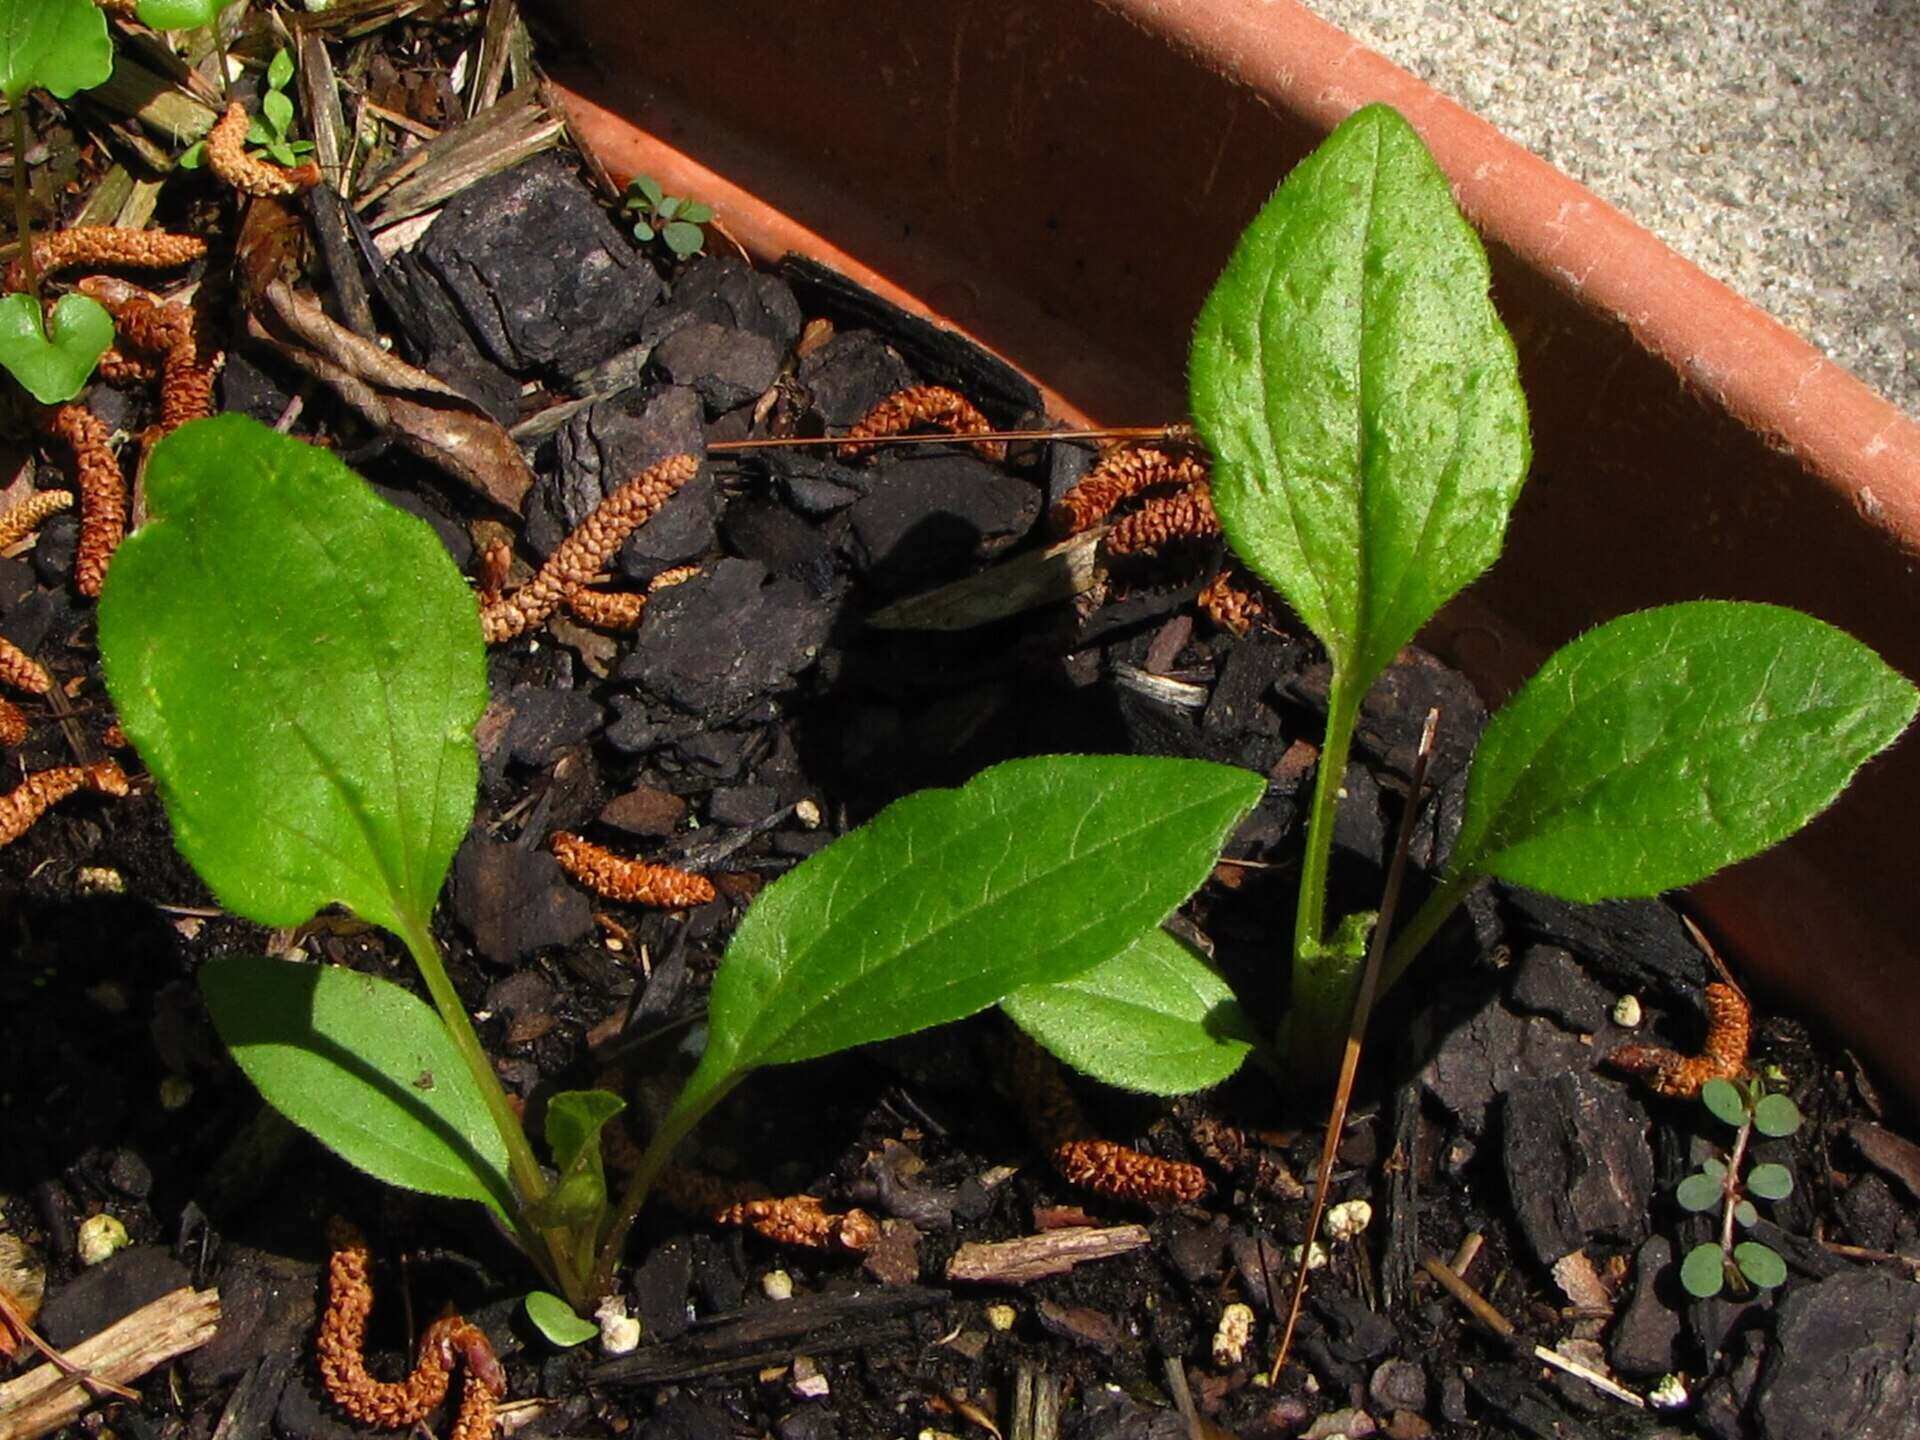
- Thin out seedlings: Once the seedlings have developed their first set of true leaves, thin them out if they are overcrowded. This will allow each seedling enough room to grow and thrive.
- Fertilization: After two to four weeks from germination, provide a diluted balanced liquid fertilizer once a week to support healthy growth. Follow the instructions on the fertilizer packaging for the correct dilution ratio.
As the seedlings grow, it is important to monitor their progress and make adjustments to maintain optimal growing conditions. Regularly observe the seedlings for signs of disease, pest infestation, or nutrient deficiencies, and take appropriate measures to address any issues that arise.
Once the seedlings have grown to a suitable size, it’s time to transplant them into individual pots or the garden. We’ll cover that in the next step: transplanting the seedlings!
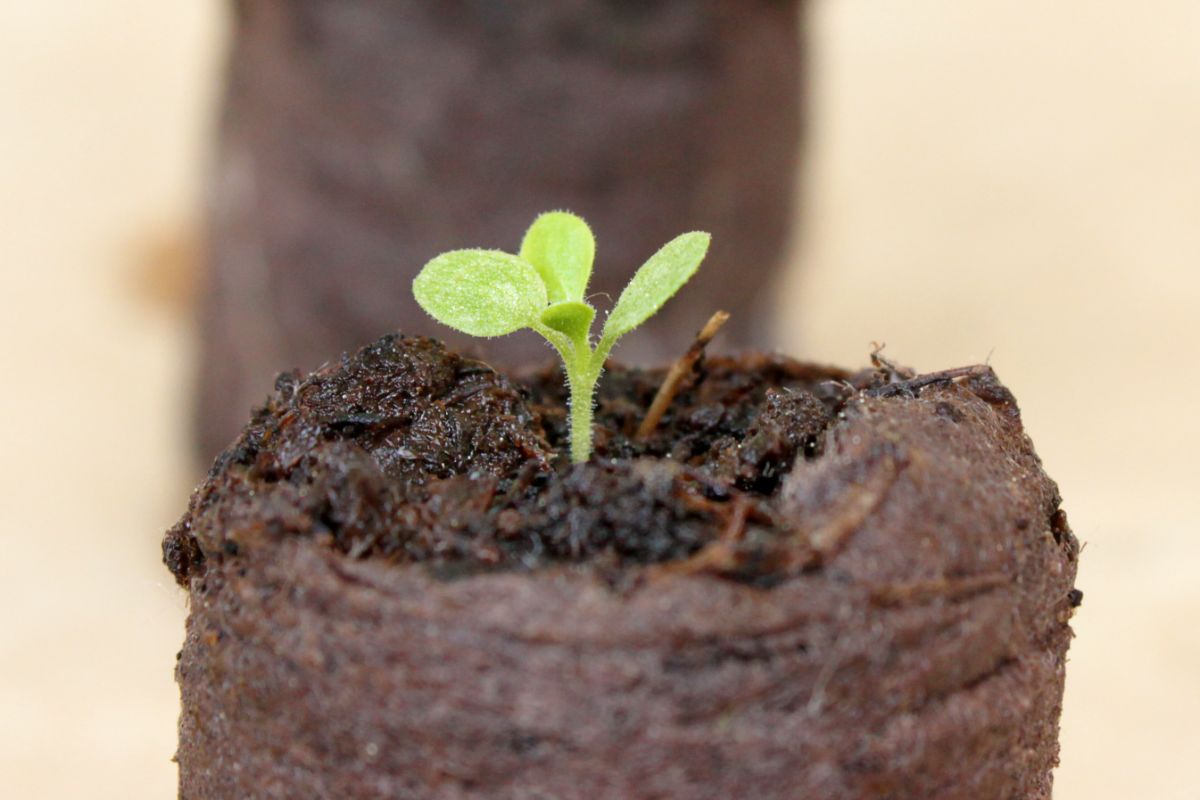
Sow coneflower seeds in early spring in well-draining soil. Lightly cover the seeds with a thin layer of soil and keep them moist. Germination usually takes 10-20 days. Transplant seedlings outdoors after the last frost.
Read more: How Deep To Plant Coneflower Seeds
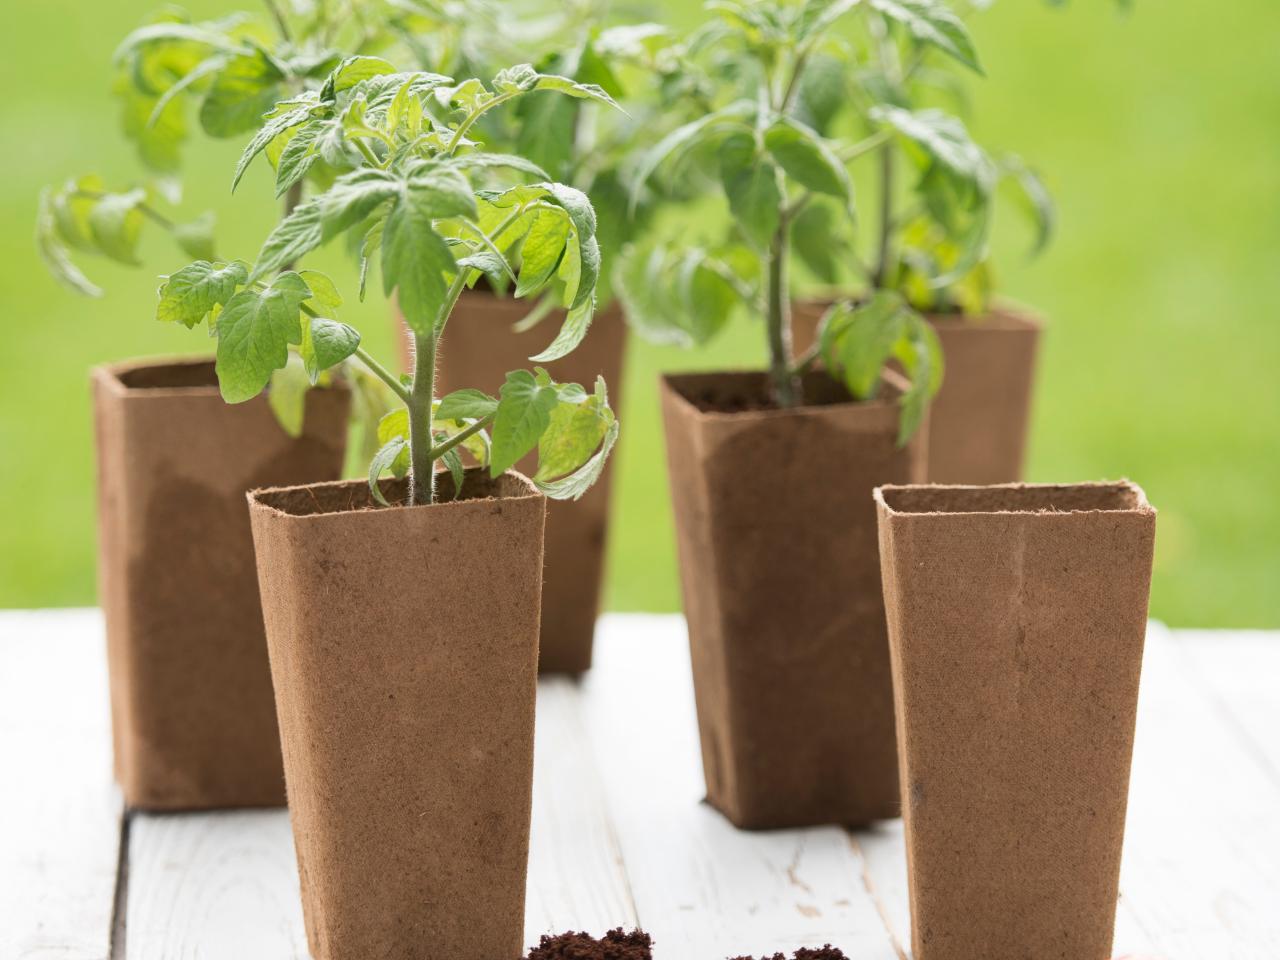
Step 5: Transplanting the Seedlings
As your coneflower seedlings continue to grow, they will eventually outgrow their initial containers and need to be transplanted into larger pots or the garden. Follow these steps to transplant your coneflower seedlings:
- Choose the right time: Wait until the seedlings have developed a strong root system and are at least 3 to 4 inches tall before transplanting them. This usually takes around 6 to 8 weeks after germination.
- Select suitable containers or garden location: If transplanting to individual pots, choose containers that are at least 4 to 6 inches in diameter and have drainage holes. If transplanting to the garden, select a location with well-draining soil and partial to full sun exposure.
- Prepare the new containers or garden bed: Fill new containers or prepare the garden bed by amending the soil with compost or organic matter to improve fertility and drainage.
- Carefully uproot the seedlings: Gently loosen the soil around the seedlings in their original container. Use a small trowel or your fingers to carefully lift the seedlings, taking care not to damage their delicate roots.
- Plant at the appropriate depth: Dig a hole in the new container or garden bed that is slightly larger than the root ball of each seedling. Place the seedlings in the hole and backfill with soil, ensuring that the seedling is planted at the same depth as it was in its original container.
- Water thoroughly: After transplanting, water the seedlings thoroughly to settle the soil and ensure good root-to-soil contact. This will help the seedlings establish themselves in their new environment.
- Maintain proper care: Continue to provide adequate water and monitor the seedlings closely during the first few weeks after transplanting. Protect them from harsh elements, such as strong winds or extreme temperatures, until they have acclimated.
By following these transplanting steps, you will give your coneflower seedlings the space they need to continue growing and flourishing. Next, let’s move on to step six: caring for the young plants to ensure their long-term success!
Step 6: Caring for Young Plants
Now that you’ve successfully transplanted your coneflower seedlings, it’s crucial to provide them with proper care to ensure their long-term success. Follow these guidelines to care for your young coneflower plants:
- Watering: Water the plants deeply but infrequently, allowing the soil to dry slightly between watering sessions. This encourages the development of deep, strong root systems.
- Mulching: Apply a layer of organic mulch, such as wood chips or straw, around the base of the plants. Mulch helps retain moisture, suppresses weed growth, and insulates the soil, providing a favorable environment for the coneflowers to thrive.
- Support if necessary: If you’re growing taller varieties of coneflowers, consider providing support such as stakes or cages to prevent the plants from flopping over and to protect them from winds and heavy rain.
- Deadheading: To encourage continuous bloom and prevent self-seeding, remove faded flowers by cutting the stalks back to a healthy set of leaves or a lateral bud. This promotes new flower production and keeps the plants looking tidy.
- Pest and disease control: Monitor your coneflowers for common pests like aphids or powdery mildew. If necessary, treat with organic pest control methods or consult a local gardening expert for specific recommendations.
- Fertilization: Apply a balanced, slow-release fertilizer once or twice a year during the growing season to provide essential nutrients to the plants. Follow the instructions on the fertilizer packaging for application rates.
- Divide plants when necessary: Coneflowers can become crowded over time, leading to reduced flowering and vigor. Divide mature clumps every 3 to 4 years to maintain plant health and promote better growth.
- Enjoy the beauty: Take time to appreciate the stunning flowers and the pollinators they attract. Not only are coneflowers a joy to behold, but they also play a crucial role in supporting biodiversity in your garden.
With proper care, your young coneflower plants will thrive and provide you with a vibrant and eye-catching display of blooms. Keep up with the maintenance tasks, and before you know it, you’ll have a flourishing coneflower garden.
Now that you know how to care for your young coneflower plants, let’s move on to the final step: ensuring their long-term success.
Step 7: Ensuring Long-Term Success
To ensure the long-term success of your coneflower plants and enjoy their beauty for years to come, follow these essential tips:
- Provide proper spacing: Give each coneflower plant ample space to grow and spread. Crowded plants can lead to poor air circulation, increased risk of diseases, and reduced overall plant health.
- Regularly monitor and maintain: Check your coneflower plants regularly for signs of pests, diseases, or nutrient deficiencies. Address any issues promptly to prevent them from spreading and affecting the health of the entire plant.
- Practice good garden hygiene: Remove any plant debris or fallen leaves from the base of the coneflowers to reduce the risk of disease and pest issues. Keeping the area clean also improves air circulation and fosters a healthier growing environment.
- Water appropriately: Once fully established, coneflowers are generally drought-tolerant. Water deeply but infrequently, allowing the soil to dry out slightly between watering. This encourages the plants to develop deep root systems and become more resilient to dry conditions.
- Protect from extreme weather: Coneflowers are generally hardy, but extreme weather conditions like severe cold or strong winds can stress the plants. Consider providing temporary protection during harsh weather, such as covering them with a light cloth or moving potted plants to a sheltered area.
- Encourage self-seeding: Allow a few spent coneflower blooms to remain on the plants at the end of the season. This will allow the plants to scatter seeds, promoting natural self-seeding for future generations of coneflowers in your garden.
- Divide and rejuvenate: Every 3 to 4 years, divide mature clumps of coneflowers to maintain their vigor and promote better growth. Dig up the clump, gently separate the root sections, and replant them in fresh soil. This will help prevent overcrowding and encourage healthier plants.
- Continued care and maintenance: Regularly fertilize, deadhead faded flowers, and provide proper support as needed. By consistently caring for your coneflowers, you’ll ensure their ongoing health and longevity.
By following these tips, you can ensure that your coneflower plants flourish and continue to bring beauty and vibrancy to your garden year after year.
As you enjoy the long-term success of your coneflowers, take pride in the effort and care you have invested in creating a thriving garden. Whether you grow them for their stunning blooms, their role in attracting pollinators, or simply for the joy of gardening, coneflowers are sure to bring delight and beauty to your outdoor sanctuary.
With the completion of these seven steps, you now have the knowledge and guidance to successfully start coneflowers from seed. Get ready to witness the growth, beauty, and cascades of color that these enchanting flowers will bring to your garden!
Happy gardening and may your coneflowers bloom abundantly!
Conclusion
Congratulations on completing the journey of starting coneflowers from seed! By following the steps outlined in this guide, you have gained the knowledge and skills necessary to successfully grow these beautiful and vibrant flowers in your garden.
From gathering the necessary supplies to sowing the seeds, providing optimal growing conditions, transplanting the seedlings, and caring for the young plants, you have taken each step with care and dedication. The efforts you put into creating the ideal environment for your coneflowers will be rewarded with a display of stunning blooms and a thriving garden.
Remember, while the steps provided offer a general guideline for growing coneflowers from seed, it’s important to research the specific needs of the variety you’re growing. Each type of coneflower may have unique requirements and preferences for light, water, and soil conditions. Take the time to understand and cater to these needs to ensure the best possible results.
As you continue your journey as a gardener, don’t forget to enjoy the process and embrace the beauty of nature. Coneflowers are not only visually captivating with their array of colors and intricate structures, but they also attract a variety of pollinators, promoting biodiversity and creating a vibrant ecosystem in your garden.
Whether you choose to grow coneflowers for their aesthetic appeal, their ecological significance, or the joy of tending to your garden, you have embarked on an enriching experience. The sight of flourishing coneflowers in your garden will serve as a testament to your hard work and dedication.
As you nurture your coneflowers, be open to learning and adapting your gardening practices. Gardening is a continual journey of discovery, and with each season, you’ll gain new insights and refine your skills.
Now, armed with the knowledge and confidence to start coneflowers from seed, go forth and create an enchanting garden that will captivate both your senses and the hearts of visitors. Embrace the wonders of nature, the joy of nurturing life, and the beauty of coneflowers blooming in all their glory.
Happy gardening and may your coneflowers bring you endless delight!
Frequently Asked Questions about How To Start Coneflower From Seed
Was this page helpful?
At Storables.com, we guarantee accurate and reliable information. Our content, validated by Expert Board Contributors, is crafted following stringent Editorial Policies. We're committed to providing you with well-researched, expert-backed insights for all your informational needs.


0 thoughts on “How To Start Coneflower From Seed”