Home>Garden Essentials>How To Strain Blackberry Seeds

Garden Essentials
How To Strain Blackberry Seeds
Modified: March 16, 2024
Learn how to strain blackberry seeds and get the most out of your garden. Follow our step-by-step guide to ensure a successful harvest and enjoy delicious blackberries, seed-free.
(Many of the links in this article redirect to a specific reviewed product. Your purchase of these products through affiliate links helps to generate commission for Storables.com, at no extra cost. Learn more)
Introduction
Welcome to our comprehensive guide on how to strain blackberry seeds! Blackberries are a delightful and versatile fruit, packed with antioxidants and bursting with flavor. Whether you’re making jam, sauce, or a delectable pie filling, removing the pesky seeds can greatly enhance the texture and overall enjoyment of your culinary creations.
In this article, we will walk you through the step-by-step process of straining blackberry seeds, ensuring that you achieve a smooth and seedless blackberry puree. We will also provide tips and recommendations on gathering the necessary supplies, preparing the blackberries, straining the seeds, and storing the resulting puree properly for long-lasting freshness.
So, let’s grab our aprons and get ready to delve into the world of blackberry seed straining!
Key Takeaways:
- Say goodbye to pesky blackberry seeds by following our guide to create smooth and seedless blackberry puree for all your culinary adventures!
- Gather your supplies, prepare the blackberries, strain out the seeds, and store the puree for long-lasting freshness. Happy straining and cooking!
Read more: How To Grow Blackberries From Seed
Gathering the Supplies
Before embarking on your blackberry seed straining adventure, it’s essential to gather all the necessary supplies. By having everything at your fingertips, you can streamline the process and ensure a smooth and efficient experience.
Here is a list of supplies you will need:
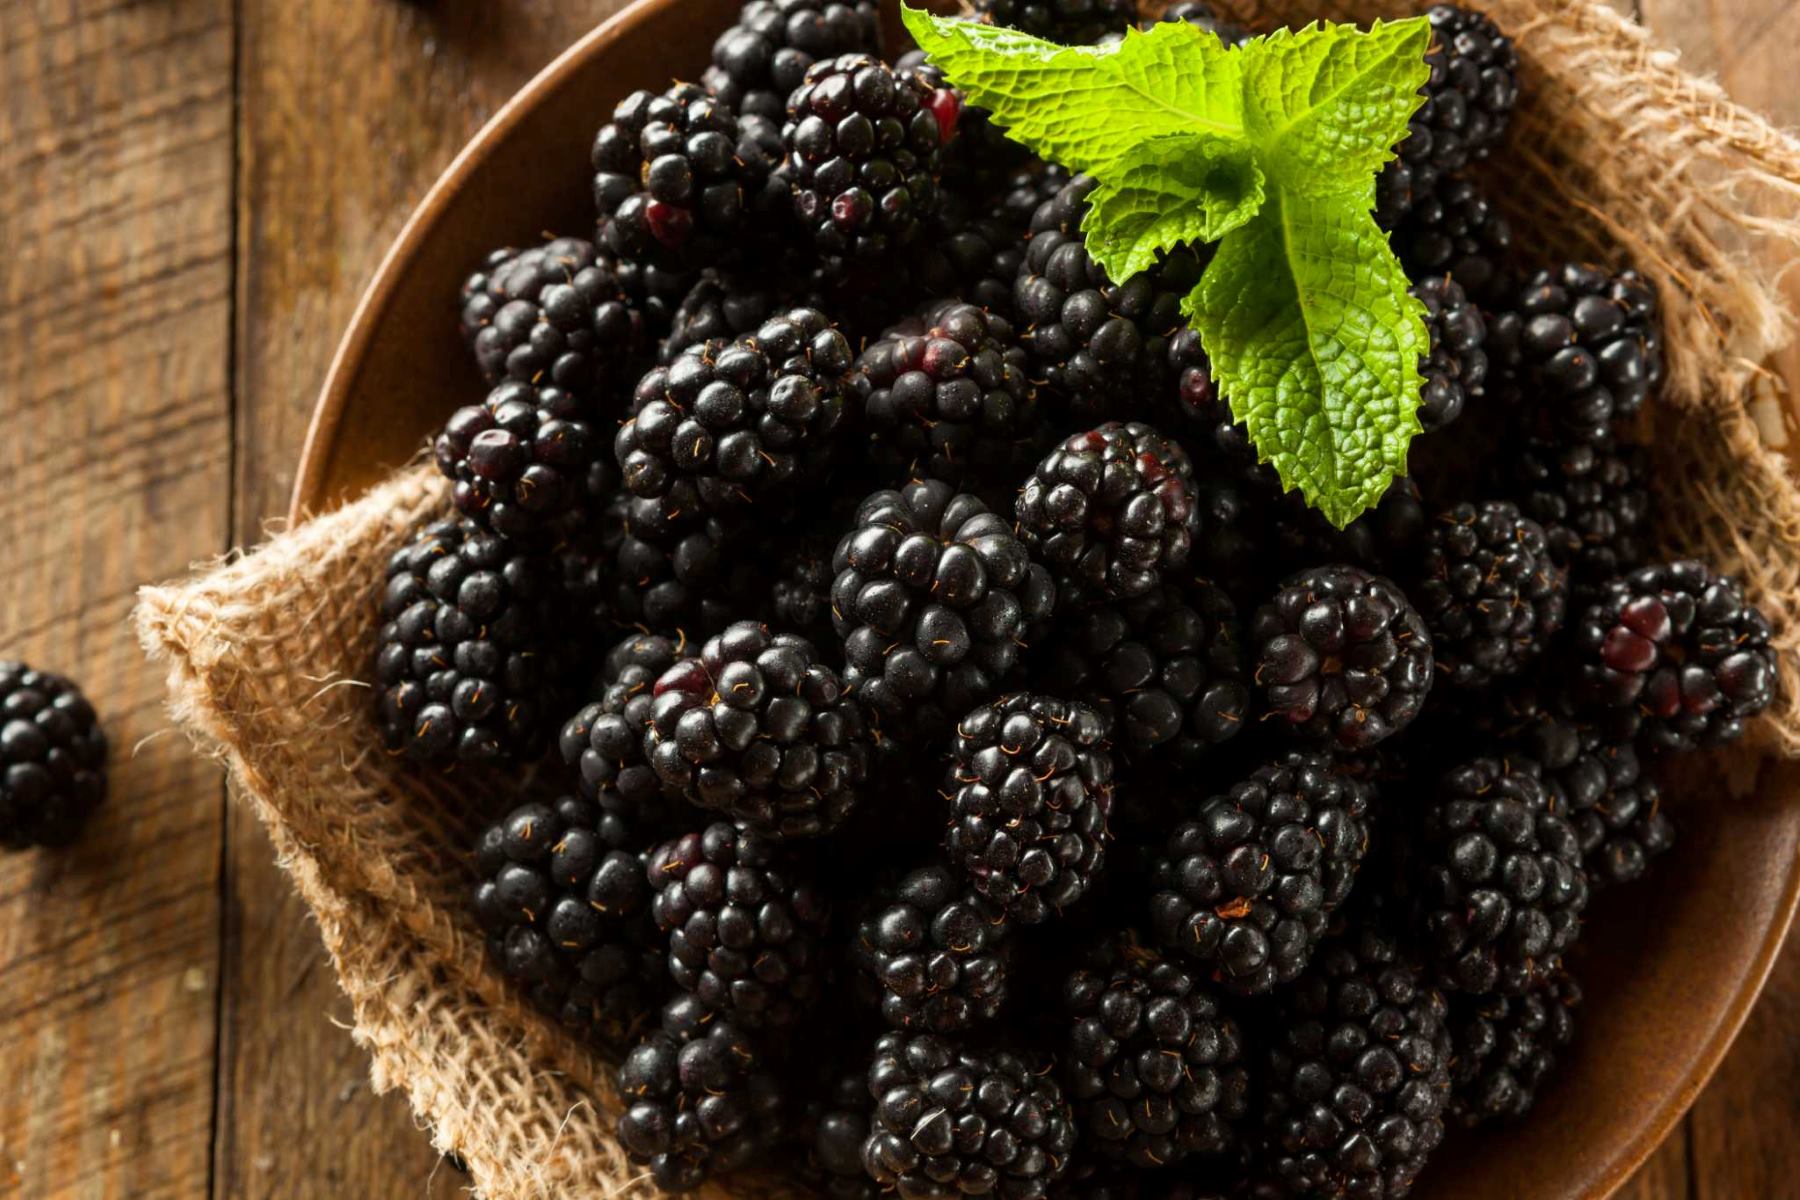
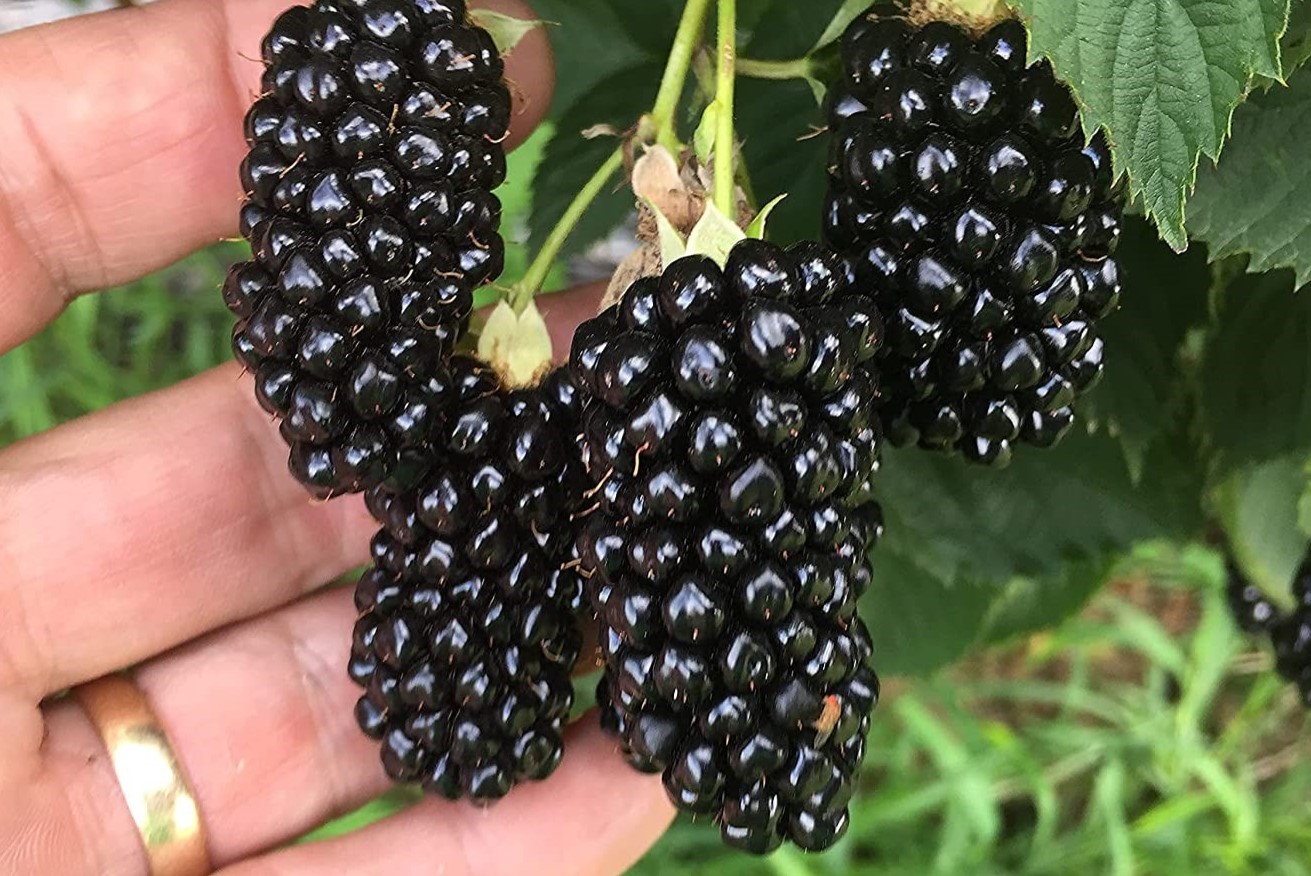
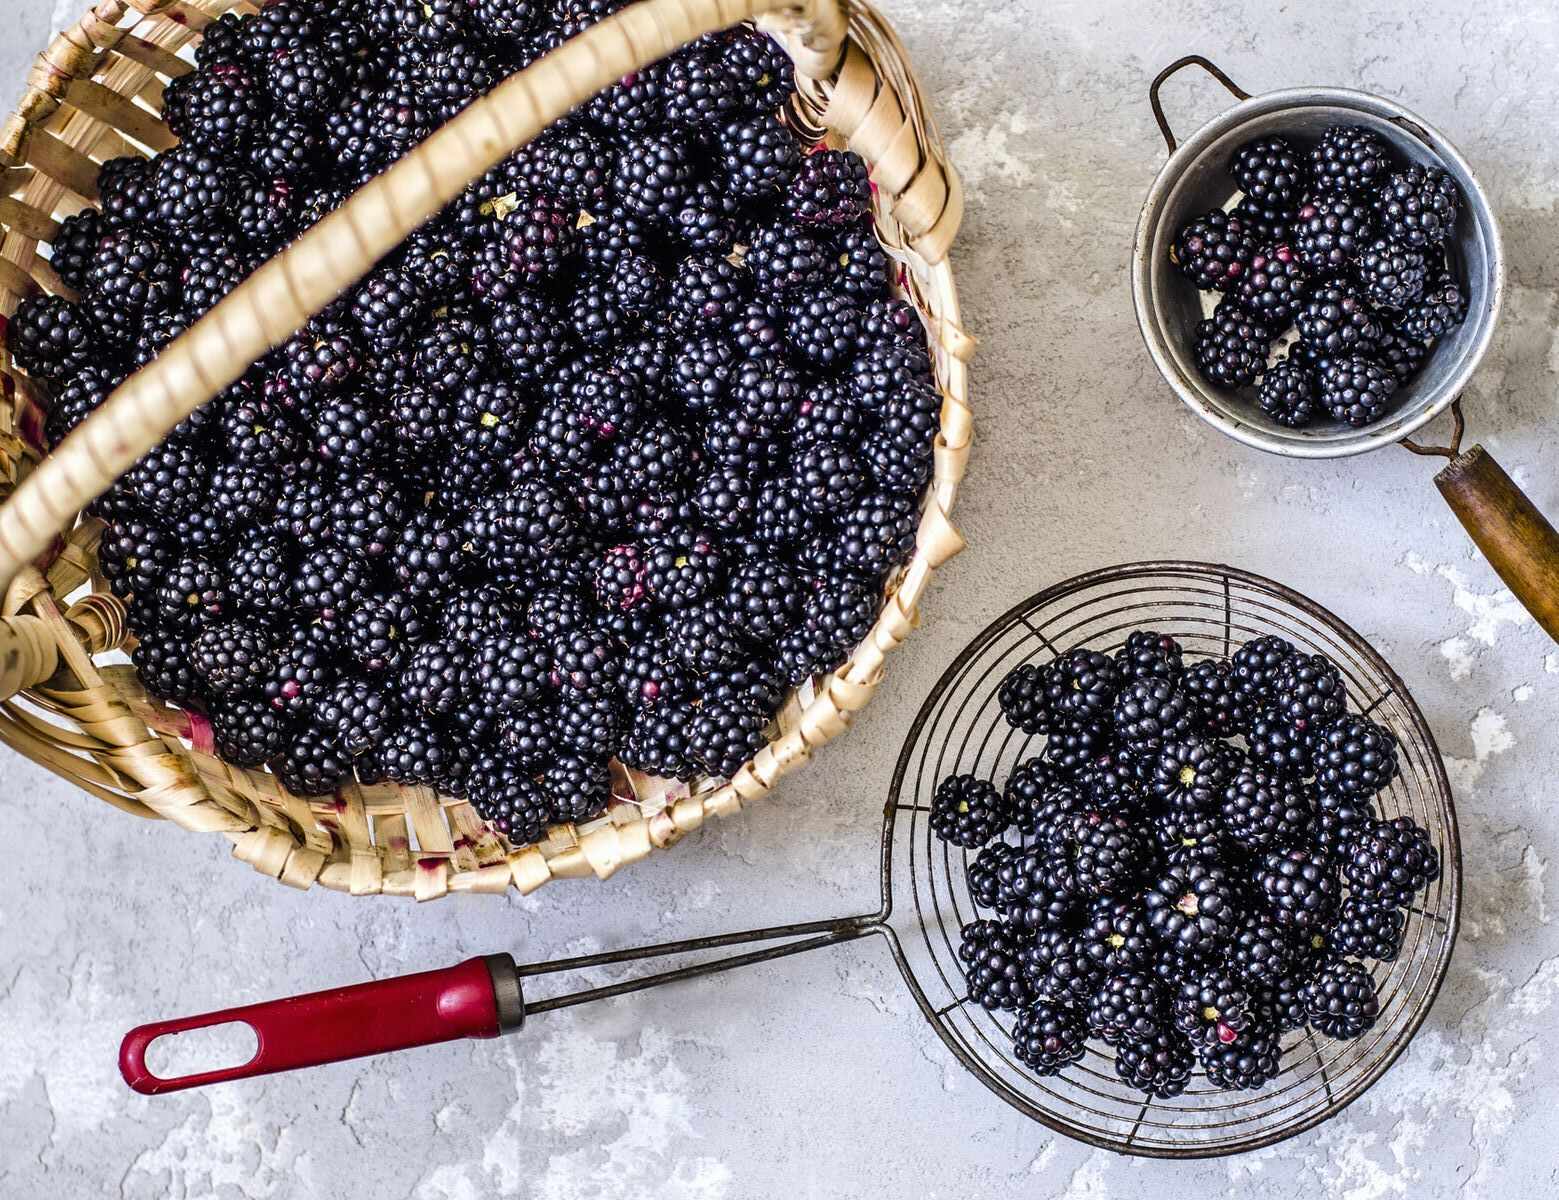
- Fresh Blackberries: Start with ripe and juicy blackberries. Look for berries that are plump, dark, and free from any signs of mold or overripeness.
- Bowl or Colander: You’ll need a bowl or colander to hold the blackberries while you work on removing the seeds. Make sure the bowl or colander is large enough to accommodate the quantity of blackberries you plan to strain.
- Blender or Food Processor: A blender or food processor will be your trusty ally in pureeing the blackberries. It will help break down the fruit and separate the seeds from the pulp.
- Cheesecloth or Fine-Mesh Sieve: To strain out the seeds, you’ll need a cheesecloth or a fine-mesh sieve. Cheesecloth is a great option if you prefer a finer texture, while a fine-mesh sieve works well for a slightly chunkier puree.
- Bowl or Container: You’ll need a clean bowl or container to collect the strained blackberry puree.
- Spatula or Spoon: A spatula or spoon will come in handy for pushing the blackberry mixture through the cheesecloth or sieve, ensuring that you extract as much puree as possible.
- Jar or Storage Containers: If you plan to store the seedless blackberry puree for later use, you’ll need suitable jars or storage containers. Make sure they are clean and airtight to maintain freshness.
Once you have gathered all the necessary supplies, you’re all set to dive into the process of preparing and straining the blackberries. So, let’s move on to the next step: preparing the blackberries!
Preparing the Blackberries
Now that you have all the supplies ready, it’s time to prepare the blackberries for straining. This step is crucial in ensuring a smooth and efficient process, as well as maximizing the flavor and texture of the resulting puree.
Here’s a step-by-step guide on preparing the blackberries:
- Washing the Blackberries: Begin by gently rinsing the blackberries under cold water. This helps remove any dirt, debris, or pesticide residue. Pat them dry with a clean kitchen towel or paper towels.
- Removing Any Stems and Leaves: Inspect each blackberry and pluck off any remaining stems or leaves. It’s essential to ensure that only the ripe fruit is used for straining.
- Optional: Pre-Soaking the Blackberries: If the blackberries are a bit firm or not as juicy as desired, you can opt to pre-soak them for about 15 minutes in cold water. This will help plump them up and increase their juiciness.
- Pureeing the Blackberries: Place the cleaned and prepped blackberries in a blender or food processor. Blend until you achieve a smooth and uniform consistency. Be careful not to overprocess, as this can heat the mixture and affect the flavor.
- Inspecting the Puree: Once pureed, take a moment to inspect the mixture for any remaining stems, leaves, or undesirable particles. If you spot any, remove them using a spatula or spoon.
With the blackberries prepared and pureed, you’re now ready to move on to the exciting process of straining out those pesky seeds. So, let’s dive into the next step: straining the seeds!
To strain blackberry seeds, press the blackberries through a fine mesh strainer with a spoon. This will separate the seeds from the pulp, leaving you with a smooth puree.
Straining the Seeds
Now that you have a smooth and luscious blackberry puree, it’s time to remove those tiny but pesky seeds. This step is crucial in achieving a seedless blackberry puree with a velvety texture.
Here’s how to strain the seeds from the blackberry puree:
- Choose Your Straining Method: Depending on the texture you desire for your puree, you can choose either a cheesecloth or a fine-mesh sieve for straining. The cheesecloth will yield a smoother texture, while the fine-mesh sieve allows for a slightly chunkier puree.
- Set Up Your Straining Device: Place the cheesecloth or fine-mesh sieve over a clean bowl or container. Make sure it is securely fitted, preventing any leakage.
- Pour the Blackberry Puree: Gently pour the blackberry puree onto the cheesecloth or sieve. Let it sit for a few minutes, allowing the puree to strain naturally.
- Pressing and Straining: Using a spatula or the back of a spoon, gently press down on the puree to encourage it to pass through the cheesecloth or sieve. Continue this process until you have extracted as much puree as possible, leaving behind only the seeds.
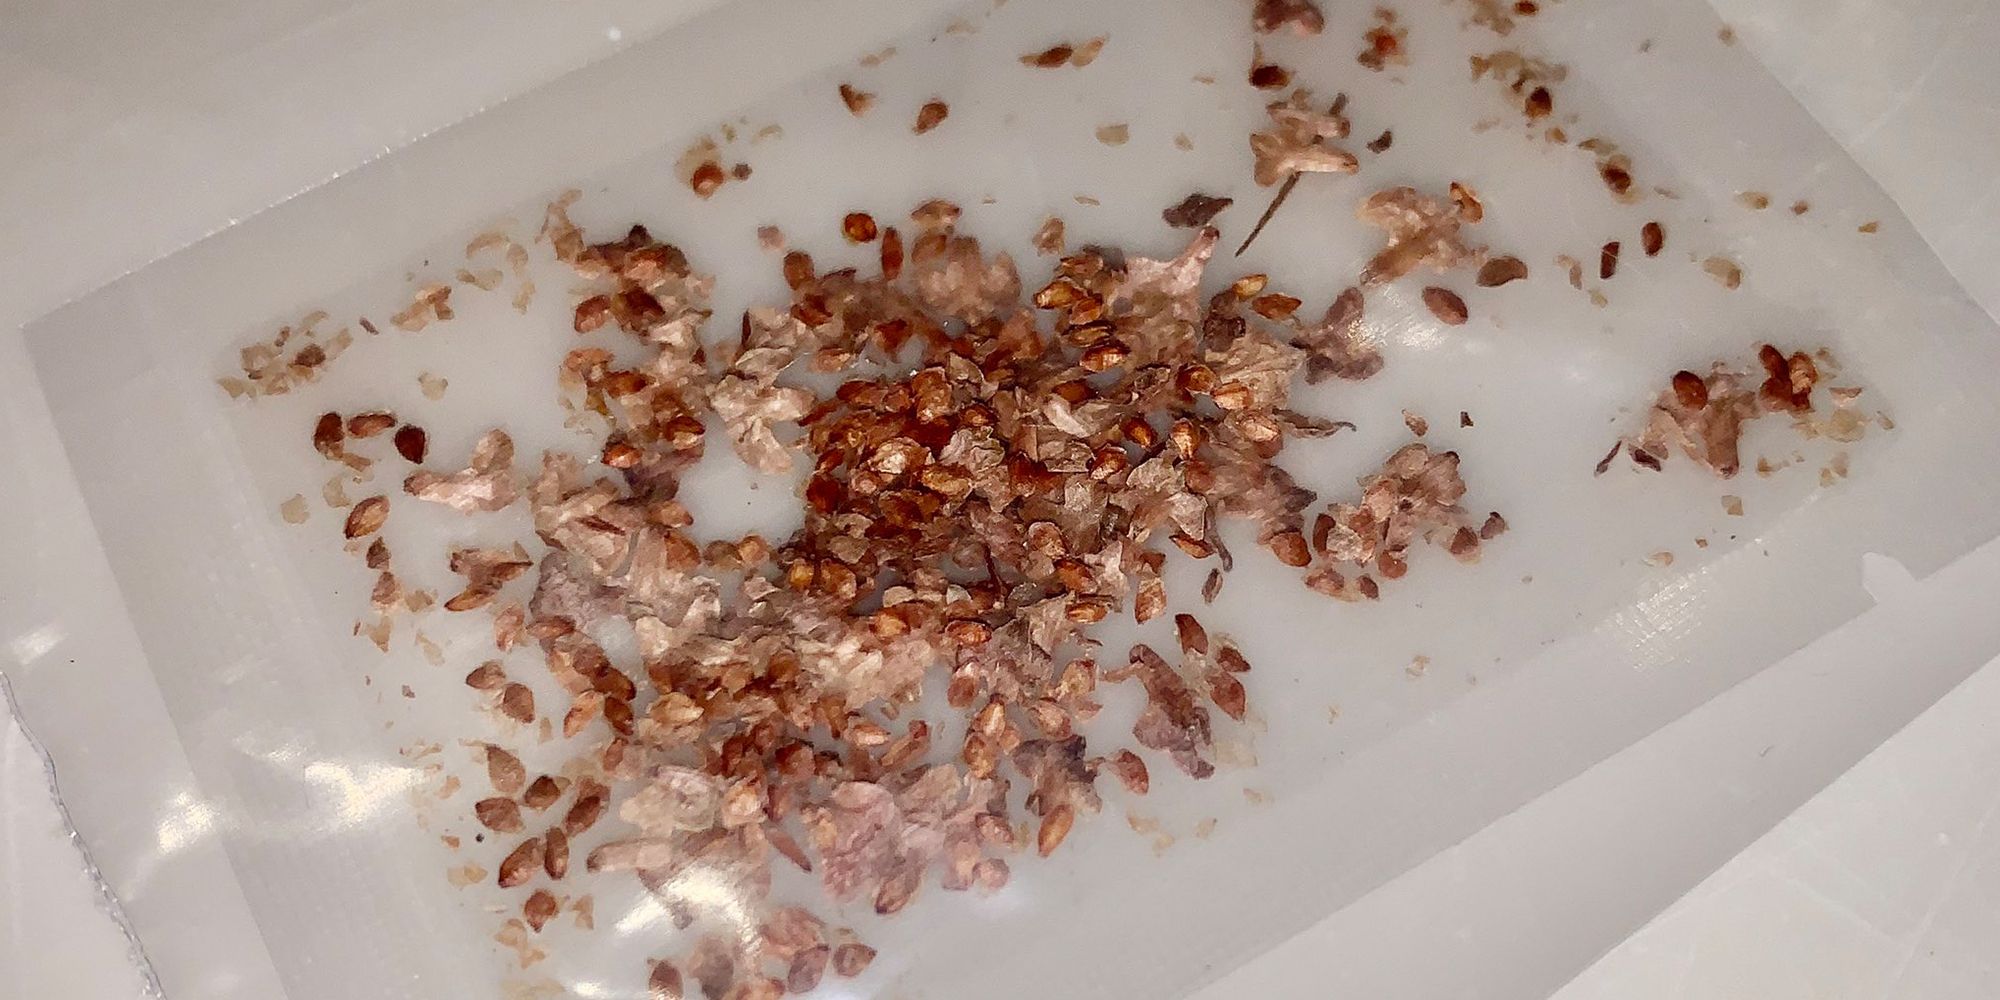
- Discard the Seeds: Once you have strained all the puree, discard the remaining seeds. You can compost them or dispose of them in an appropriate manner.
Repeat this process for the remaining blackberry puree if you have a large batch to strain. Patience and gentle pressure are key to a successful straining process. Take your time, allowing the puree to pass through gradually.
With the seeds strained out, you now have a wonderfully smooth and seedless blackberry puree, ready to be used in your favorite recipes. But wait, how do you store this delicious creation to preserve its freshness? Let’s find out in the next step: storing the seedless blackberry puree!
Storing the Seedless Blackberry Puree
Now that you have successfully strained out the seeds from the blackberry puree, it’s important to store it properly to maintain its freshness and flavor. Here are some tips on storing your seedless blackberry puree:
- Cooling the Puree: Allow the freshly strained blackberry puree to cool completely before storing. This will prevent condensation and maintain the integrity of the puree.
- Choosing Storage Containers: Select clean, airtight jars or storage containers for storing the puree. Mason jars or food-grade plastic containers with tight-fitting lids work well for this purpose.
- Fill the Containers: Transfer the seedless blackberry puree into the chosen containers, leaving about half an inch of headspace at the top. This space allows for any expansion that may occur during freezing or refrigeration.
- Label and Date: It’s important to label each container with the date of preparation. This will help you keep track of the freshness and know when it’s time to use or consume the puree.
- Refrigeration: If you plan to use the seedless blackberry puree within a week, store it in the refrigerator. It can stay fresh for up to seven days when properly refrigerated.
- Freezing: For longer-term storage, freezing is the best option. Ensure that the containers are freezer-safe and leave enough headspace for expansion. Frozen blackberry puree can stay fresh for up to six months.
- Thawing the Frozen Puree: When you’re ready to use the frozen puree, transfer it to the refrigerator and allow it to thaw slowly overnight. Avoid thawing at room temperature, as this can cause uneven thawing and compromise the quality of the puree.
Remember, proper storage is essential for maintaining the taste and quality of your seedless blackberry puree. Whether you choose refrigeration or freezing, follow these guidelines to ensure long-lasting freshness.
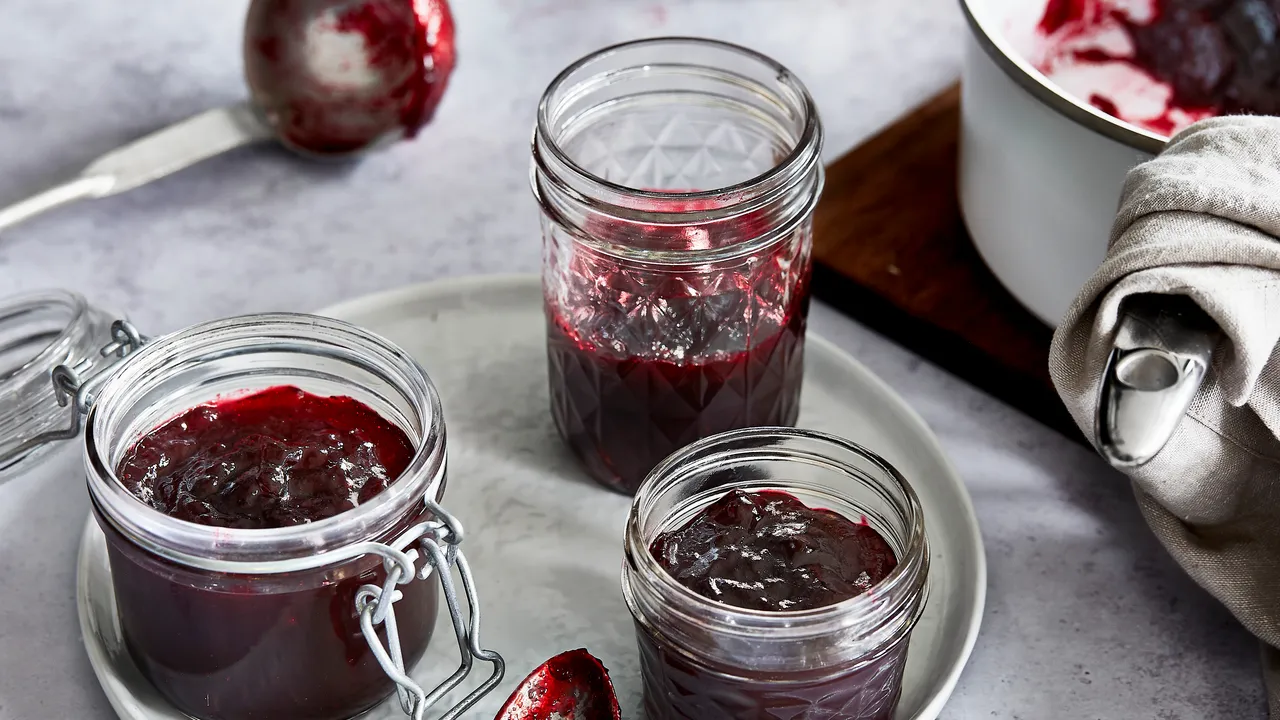
Now that you know how to store your seedless blackberry puree, you’re ready to explore a world of delicious possibilities. Use it in jams, sauces, smoothies, desserts, or simply enjoy it as a delightful topping. The choice is yours!
With these steps and tips in mind, you are now equipped with the knowledge and expertise to strain blackberry seeds and create flavorful, smooth, and seedless blackberry puree. So go ahead, get your hands on some fresh blackberries, and enjoy the process of transforming them into a culinary delight!
Happy straining and happy cooking!
Read more: How To Grow Blackberries From Seeds
Conclusion
Congratulations! You have reached the end of our comprehensive guide on how to strain blackberry seeds. By following the steps outlined in this article, you are now equipped to create smooth and seedless blackberry puree, perfect for a wide range of culinary endeavors.
We started by gathering the necessary supplies, including fresh blackberries, a blender or food processor, a cheesecloth or fine-mesh sieve, and suitable containers for storage. Preparing the blackberries involved washing, removing stems and leaves, and pureeing them to achieve a smooth consistency.
Next, we delved into the exciting process of straining the blackberry seeds. Whether you opted for a cheesecloth or a fine-mesh sieve, the goal was to separate the seeds from the puree to achieve a velvety texture. With patience and gentle pressure, you successfully removed the seeds, leaving behind a delightful seedless blackberry puree.
To ensure the longevity of your seedless blackberry puree, we discussed proper storage techniques. Whether refrigerating for short-term use or freezing for long-term storage, using clean, airtight containers and labeling each batch will help maintain freshness and allow you to enjoy the puree at your convenience.
Now that you possess the knowledge and skills to strain blackberry seeds and create a smooth and delectable puree, it’s time to embrace your creativity in the kitchen. Experiment with the seedless blackberry puree in jams, sauces, smoothies, desserts, or any recipe that calls for a burst of blackberry flavor.
Remember, the process of straining blackberry seeds not only enhances the texture of your culinary creations but also removes any unwanted bitterness or grittiness. By straining the seeds, you elevate the overall dining experience and create a more enjoyable end result.
So, go ahead and embark on your blackberry-seed-straining adventure. Use the knowledge and techniques from this guide to unleash the full potential of blackberries, delighting your taste buds and impressing your family and friends with your culinary skills.
Thank you for joining us on this journey, and we hope you find great joy and satisfaction in creating your own delicious seedless blackberry puree. Happy straining and happy cooking!
Frequently Asked Questions about How To Strain Blackberry Seeds
Was this page helpful?
At Storables.com, we guarantee accurate and reliable information. Our content, validated by Expert Board Contributors, is crafted following stringent Editorial Policies. We're committed to providing you with well-researched, expert-backed insights for all your informational needs.


0 thoughts on “How To Strain Blackberry Seeds”