Home>Garden Essentials>How To Plant Canna Lily Seeds
Garden Essentials
How To Plant Canna Lily Seeds
Modified: March 16, 2024
Learn how to plant Canna Lily seeds in your garden and create a vibrant and colorful display. Follow our step-by-step guide for successful cultivation and blooming.
(Many of the links in this article redirect to a specific reviewed product. Your purchase of these products through affiliate links helps to generate commission for Storables.com, at no extra cost. Learn more)
Introduction
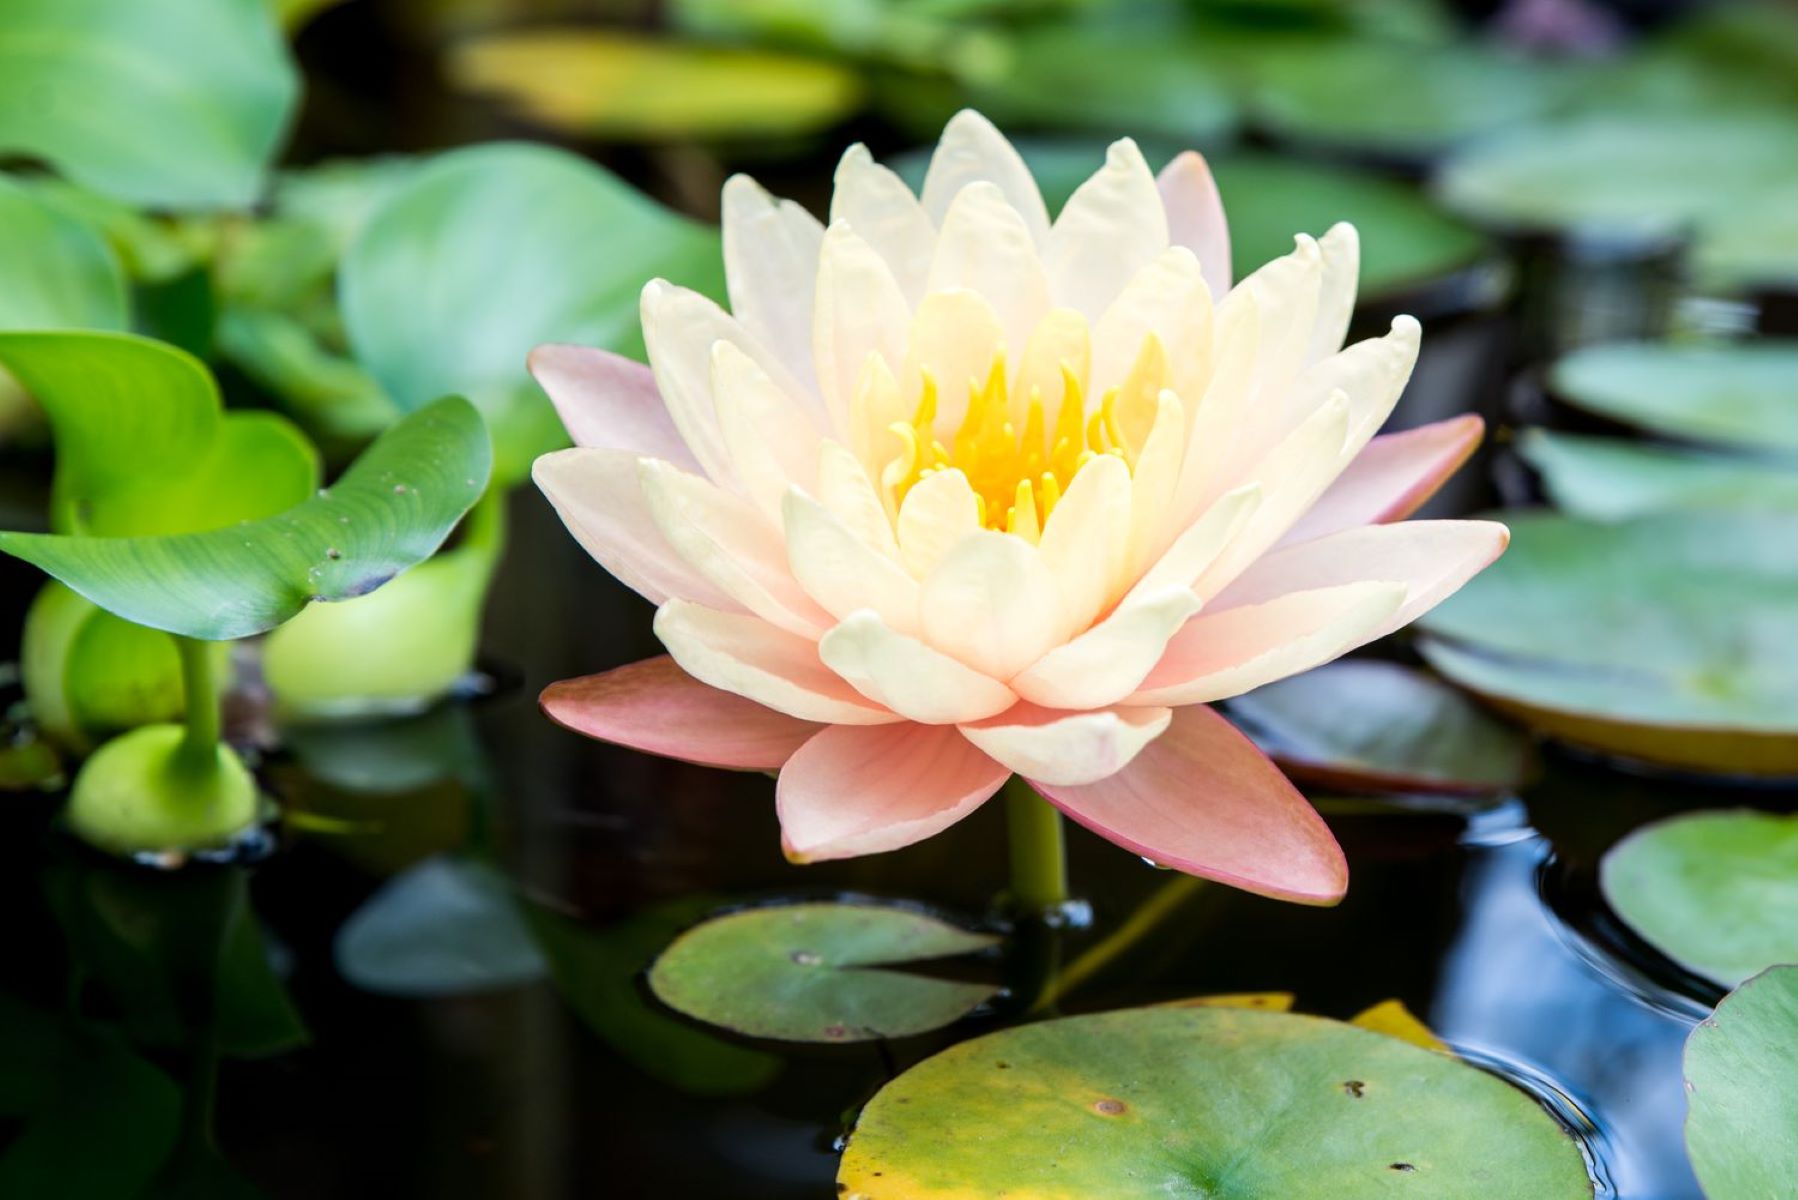
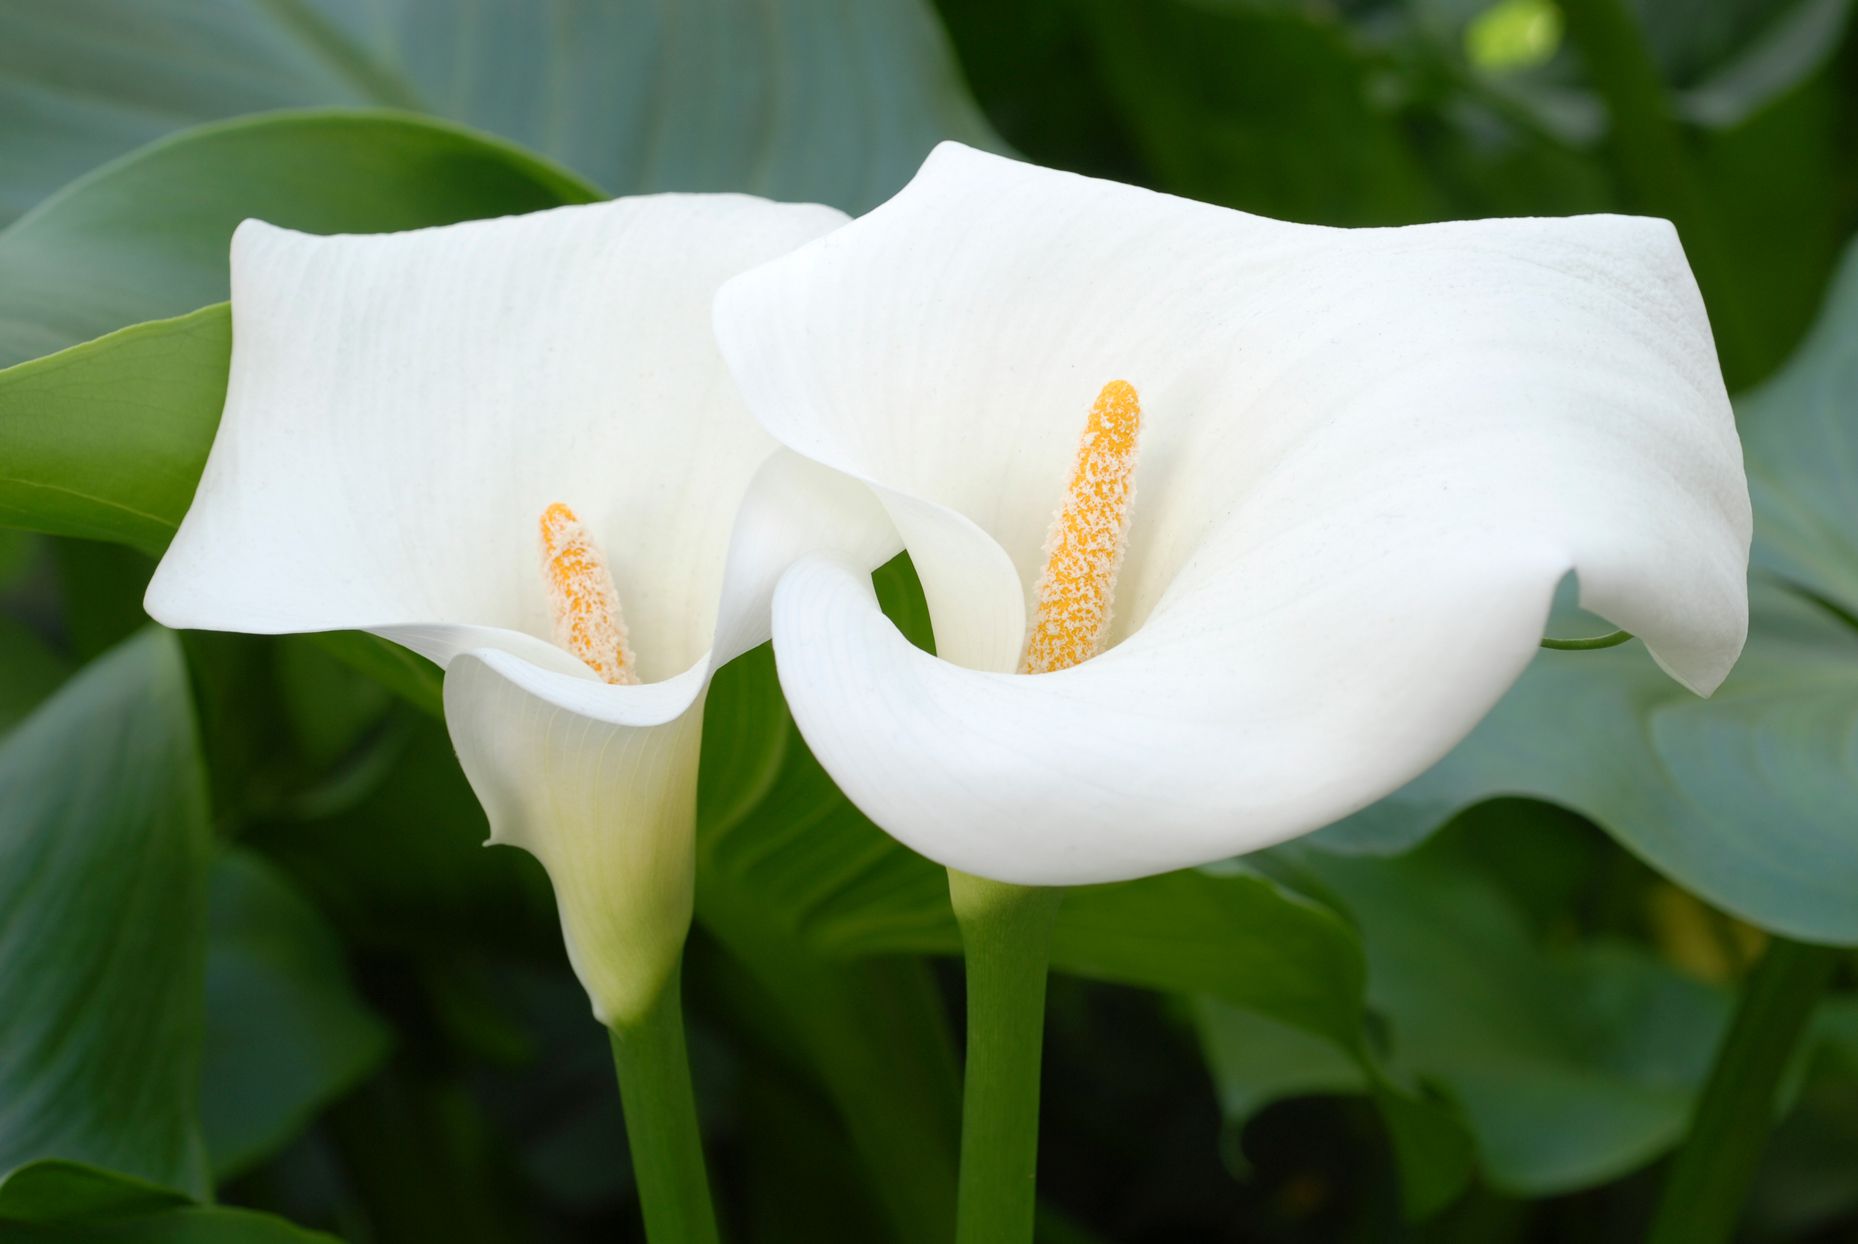
Welcome to the world of canna lilies! These vibrant and majestic flowers are a beautiful addition to any garden. With their bold colors and tropical foliage, canna lilies can bring a touch of exotic beauty to your outdoor space.
If you’ve ever wondered how to plant canna lily seeds and grow your own thriving canna plants, you’ve come to the right place. In this article, we will guide you through the process step by step, ensuring that you have all the information you need to successfully cultivate canna lilies from seeds.
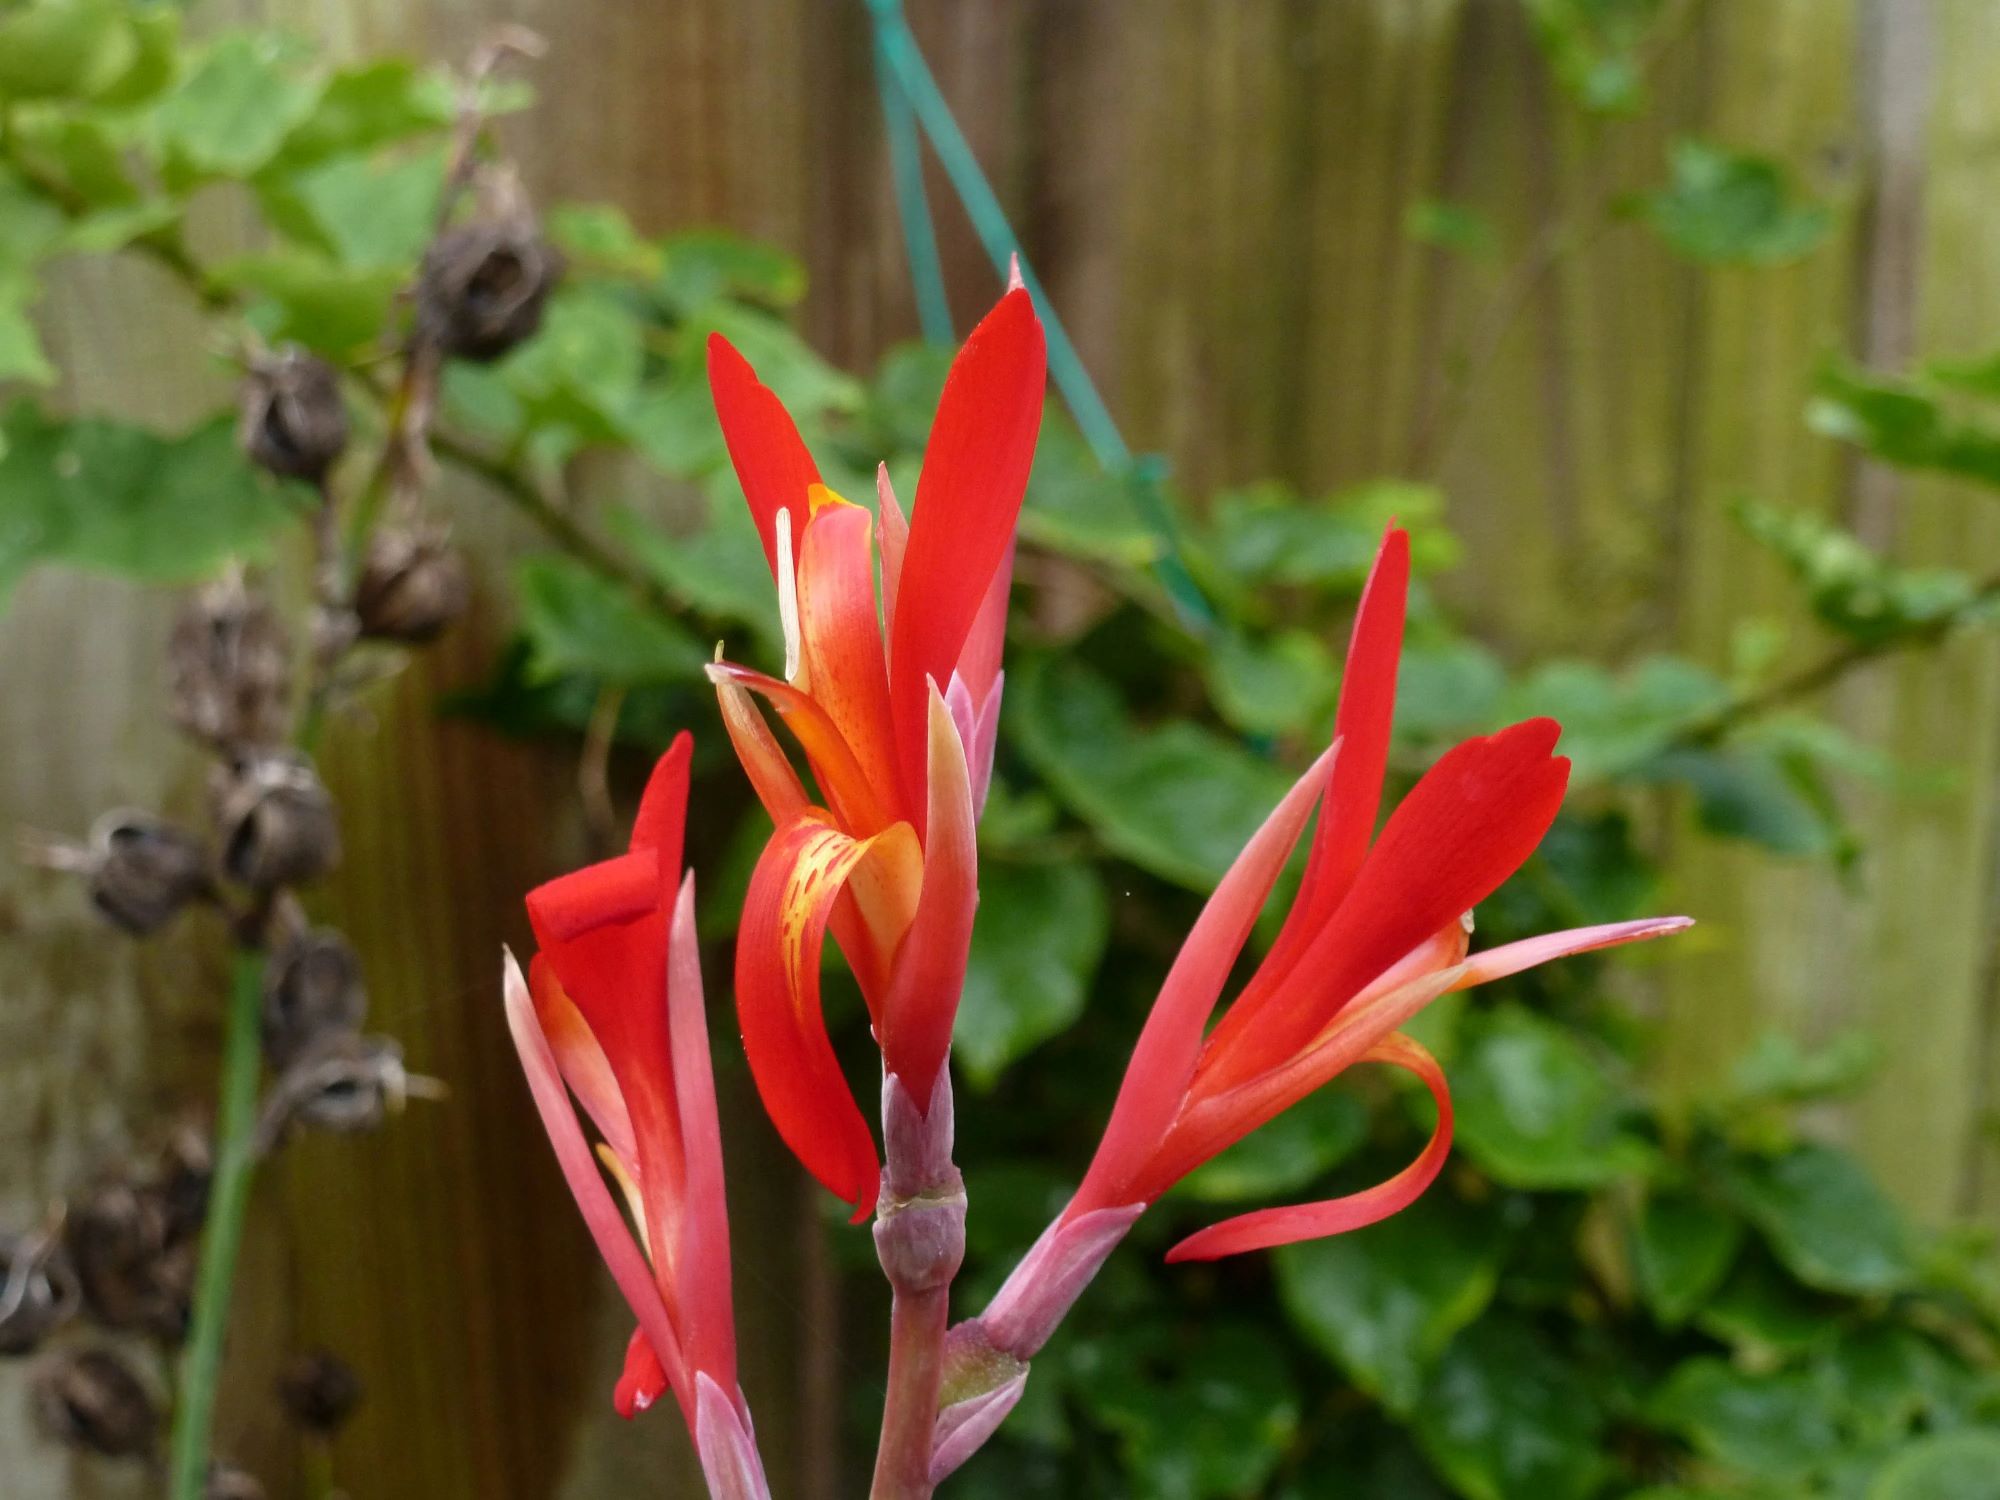
Canna lilies, also known as Canna indica, are native to tropical and subtropical regions. They are not true lilies, but rather a member of the Cannaceae family. The flowers of canna lilies come in various colors, including shades of red, orange, yellow, and pink. Their dramatic foliage adds an extra layer of appeal, with leaves that can be green, bronze, or even variegated.
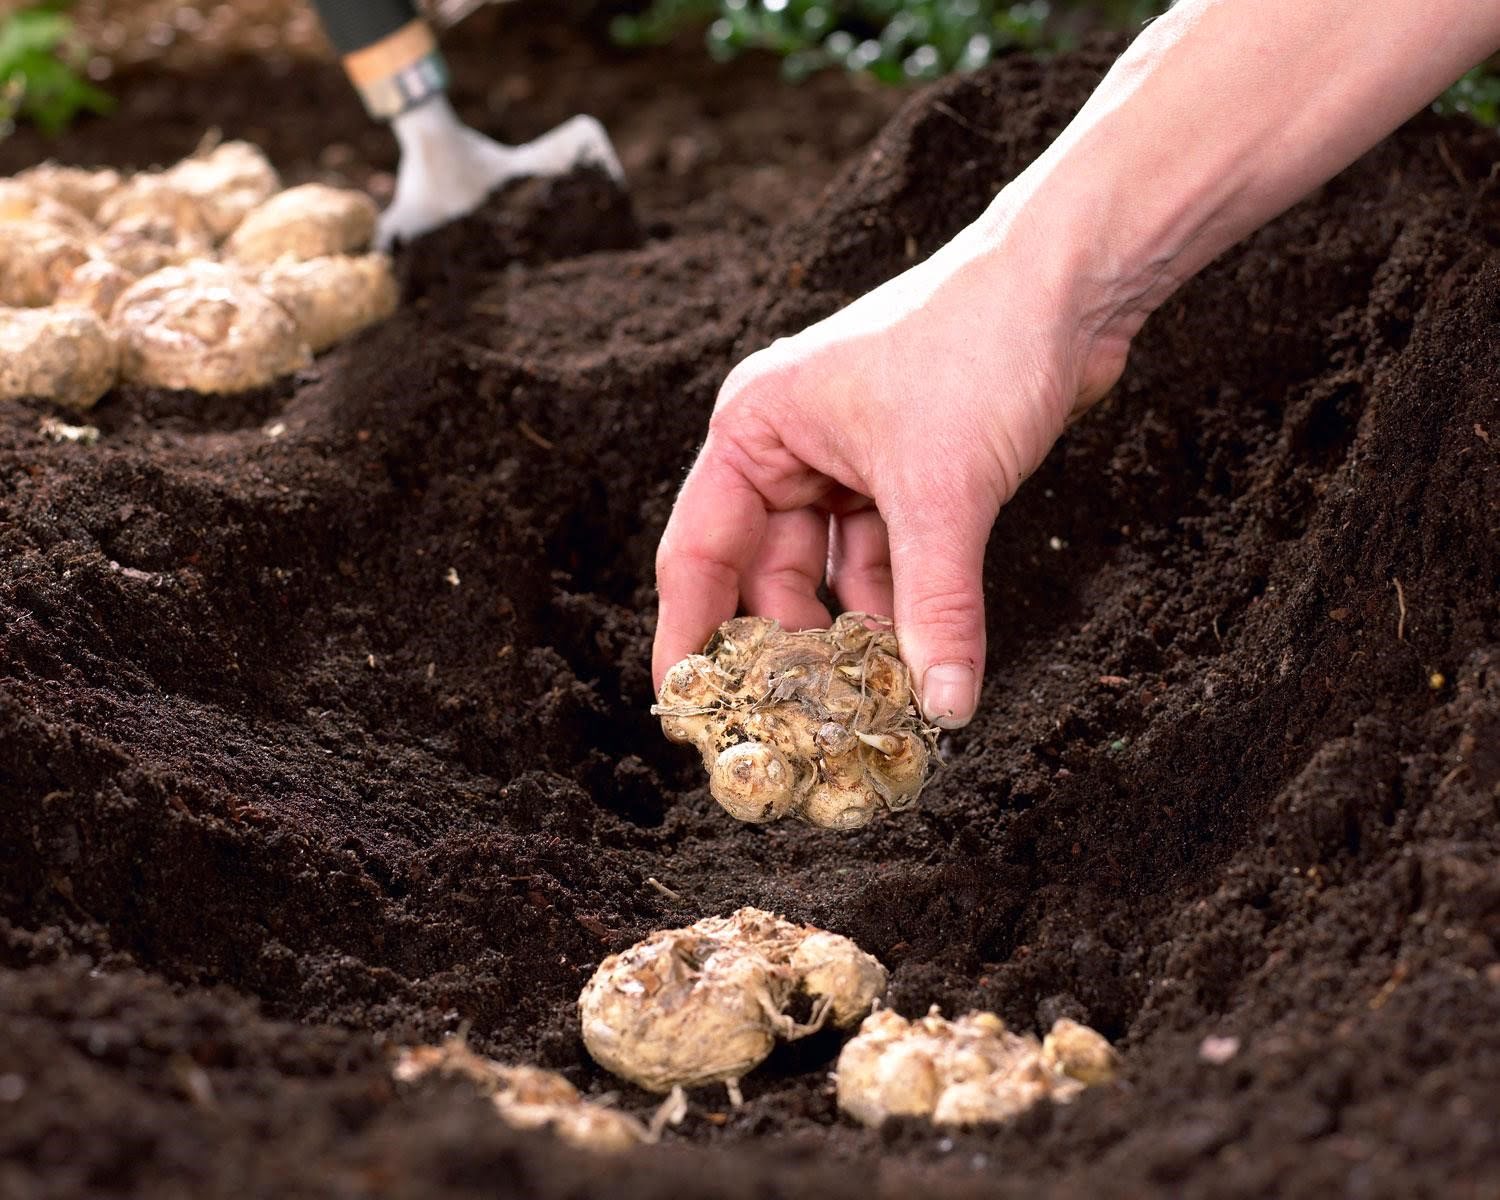
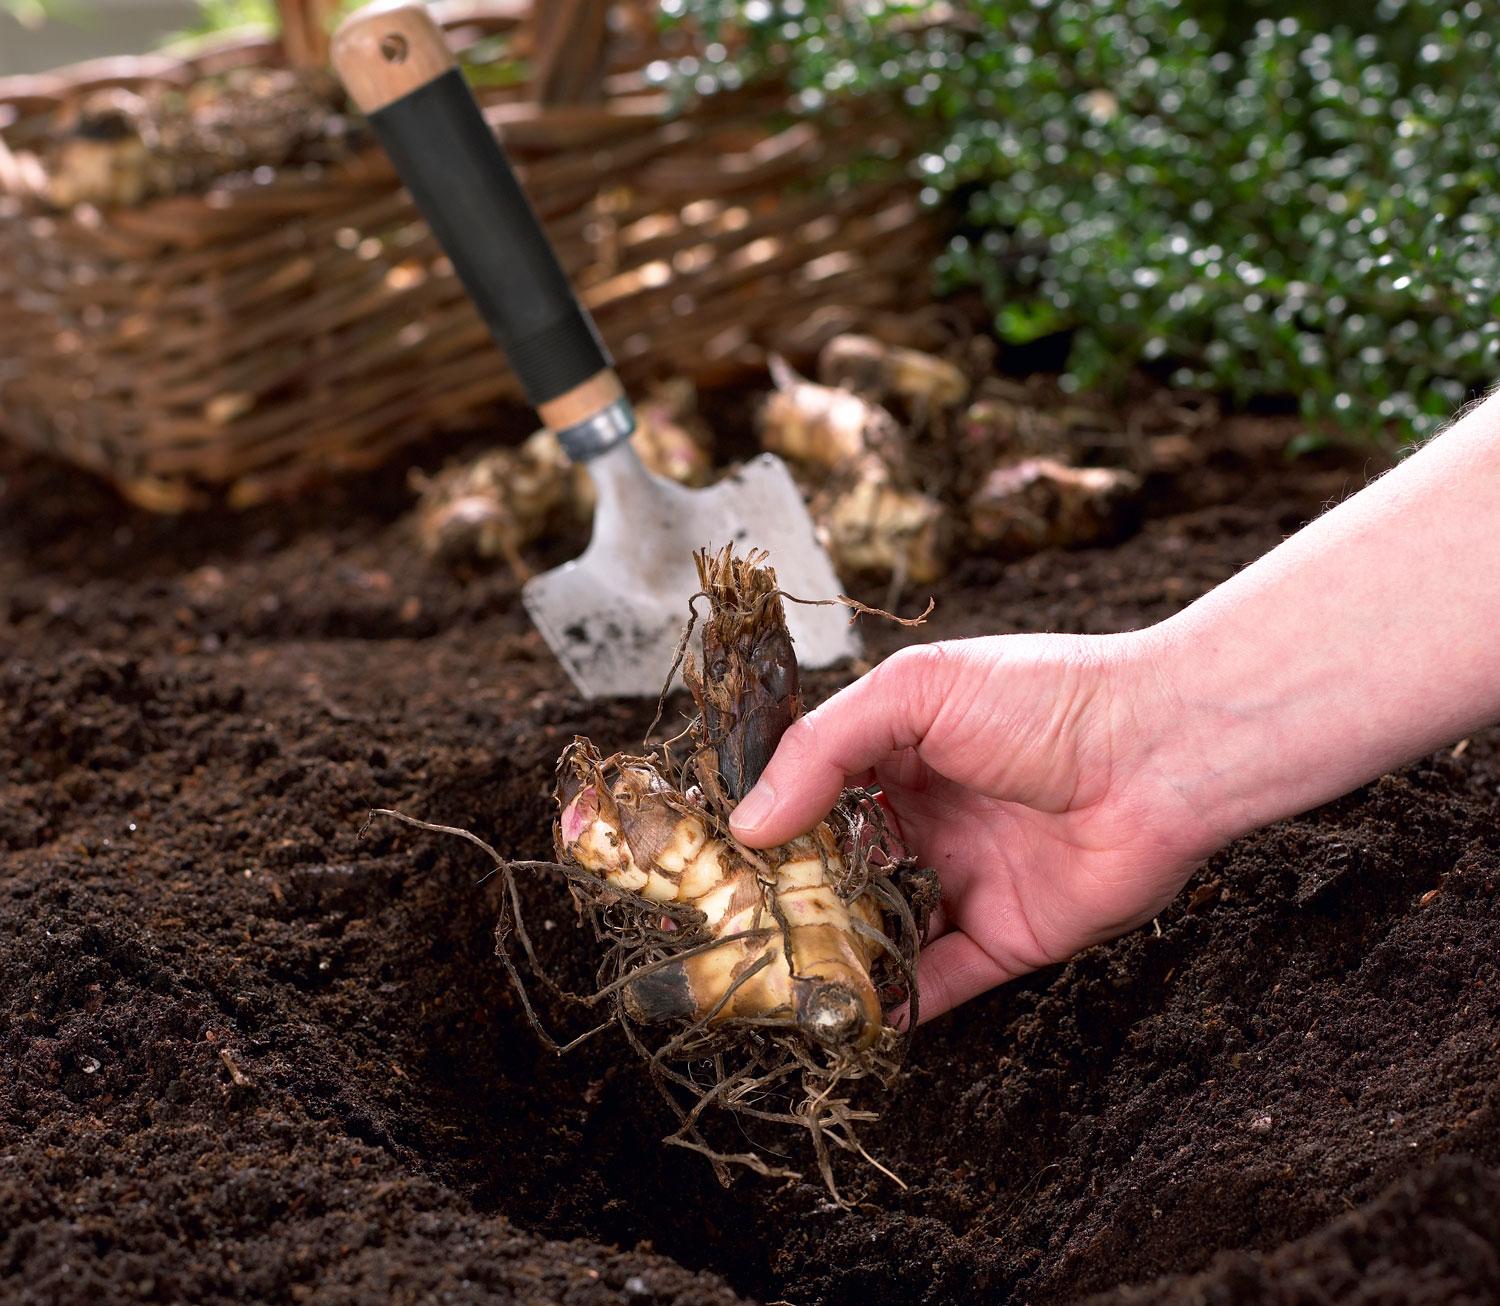
Before we jump into the planting process, it’s important to understand that canna lilies can be grown from both seeds and bulbs. While planting bulbs is a more common method, growing canna lilies from seeds can be rewarding and is a great option for those who want to start from scratch.
So, if you’re ready to embark on the journey of planting canna lily seeds and watching them blossom into stunning flowers, let’s begin by gathering the necessary materials.
Key Takeaways:
- Planting canna lily seeds requires gathering materials like seeds, trays, soil, and light. Soak the seeds, plant them, and provide proper care to watch them grow into vibrant plants.
- Harvest and store canna lily seeds for future propagation by collecting mature seed pods, extracting the seeds, and testing their viability. Enjoy the process and the beauty of canna lilies in your garden!
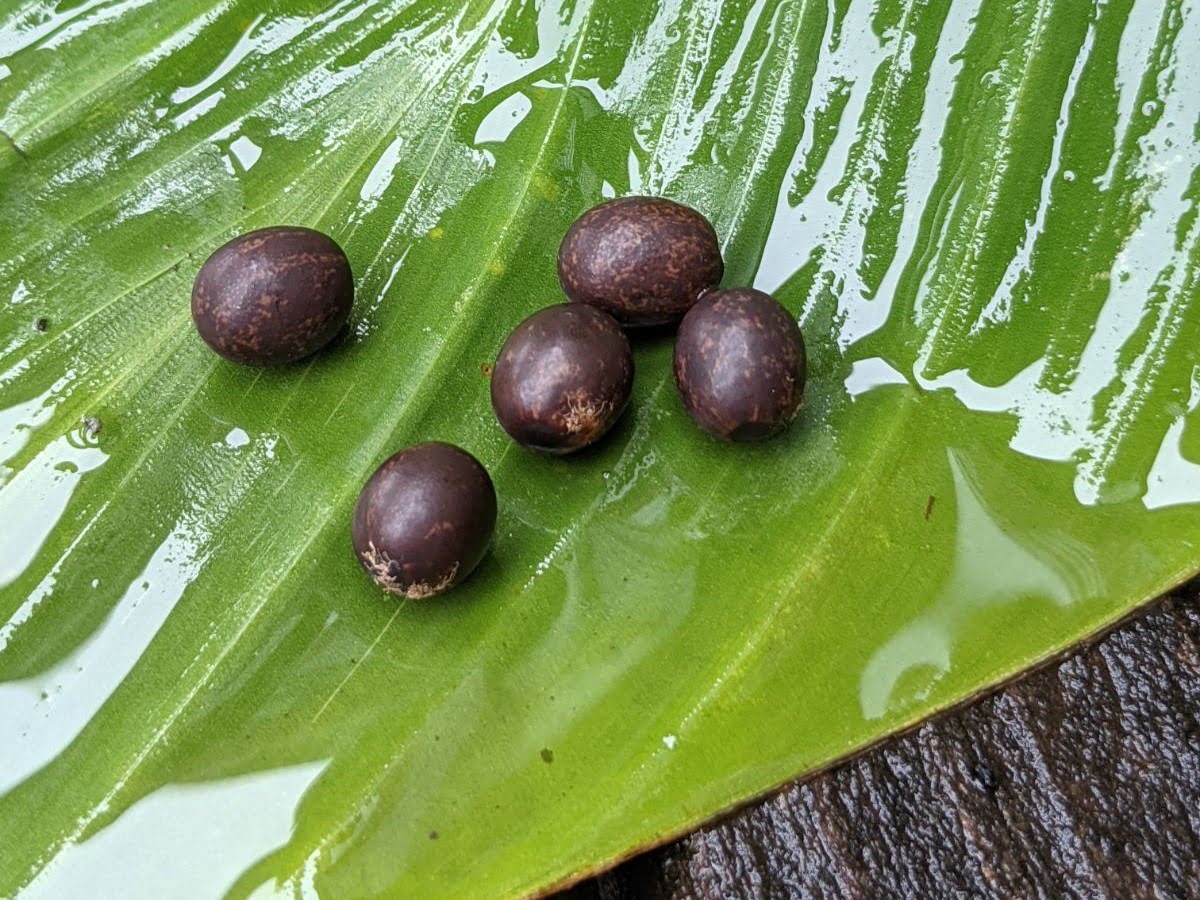
Read more: What Do Canna Lily Seeds Look Like
Step 1: Gathering the necessary materials
Before you start planting canna lily seeds, it’s essential to gather the necessary materials. Having everything prepared in advance will make the process smoother and more enjoyable. Here are the items you’ll need:
- Canna lily seeds: You can purchase canna lily seeds from your local nursery or online. Look for a reputable source to ensure the seeds are of high quality and viability.
- Planting trays or pots: Choose trays or pots that have drainage holes at the bottom to prevent waterlogging. Alternatively, you can use biodegradable peat pots, which can be directly planted into the soil to avoid disturbing the roots during transplanting.
- Seed-starting soil: Use a well-draining, sterile seed-starting mix to provide a healthy environment for the seeds to germinate. Avoid using regular garden soil, as it may contain pathogens that can harm the delicate seedlings.
- Watering can or spray bottle: You’ll need a watering can or spray bottle to provide moisture to the seeds and seedlings without disturbing them.
- Plastic wrap or a humidity dome: To create a controlled and humid environment for the seeds, cover the trays or pots with plastic wrap or use a humidity dome. This helps to retain moisture and promote germination.
- Grow lights or a sunny location: Canna lily seeds require ample sunlight or artificial grow lights to thrive. If you don’t have a sunny location, invest in full-spectrum grow lights to provide the necessary light energy for healthy growth.
- Heat mat (optional): If you live in a cooler climate or want to speed up the germination process, a heat mat can be used to maintain a consistent temperature around the seeds.
- Plant labels: It’s important to label each tray or pot with the variety of canna lily seeds you’re planting. This will help you keep track of different types and ensure proper care and identification after germination.
With all the materials ready, you are now one step closer to growing your own beautiful canna lilies from seeds. Let’s move on to the next step: preparing the soil.
Step 2: Preparing the soil
Creating the right growing conditions for your canna lily seeds is crucial for their success. Before planting, it’s important to prepare the soil to provide a nutrient-rich and well-draining environment. Follow the steps below to prepare the soil:
- Select the planting location: Choose a sunny spot in your garden with well-draining soil. Canna lilies thrive in full sunlight and require at least six to eight hours of direct sunlight each day.
- Clear the area: Remove any weeds, rocks, or debris from the planting area. This will ensure that the canna lilies have unobstructed access to nutrients and space to grow.
- Loosen the soil: Use a garden fork or tiller to loosen the soil to a depth of about 12 to 15 inches. This will help improve drainage and allow the roots to penetrate easily into the soil.
- Amend the soil: If your soil is heavy clay or sandy, you may need to amend it with organic matter to improve its texture and fertility. Add well-rotted compost, aged manure, or peat moss to enrich the soil and provide essential nutrients.
- Level and rake: Smooth out the soil surface and remove any large clumps or stones. Use a rake to create a level and even surface for planting the canna lily seeds.
By preparing the soil properly, you are creating an optimal environment for your canna lily seeds to establish strong roots and grow into healthy plants. The next step is to soak the canna lily seeds before planting them.
Step 3: Soaking the canna lily seeds
Before you plant the canna lily seeds, it’s beneficial to soak them for a brief period. Soaking the seeds helps to soften the outer seed coat, allowing for easier germination. Follow these steps to soak your canna lily seeds:
- Fill a container with water: Choose a shallow container or a glass and fill it with room temperature water. Make sure there is enough water to submerge the seeds fully.
- Add the seeds: Gently place the canna lily seeds into the water. Ensure that all the seeds are fully immersed.
- Let them soak: Allow the seeds to soak for about 24 to 48 hours. This will give enough time for the water to penetrate the seed coat and initiate the germination process.
- Check for sinking seeds: After soaking, check for any seeds that have sunk to the bottom of the container. These are likely viable seeds that are ready for planting. Discard any floating seeds as they are likely not viable.
Soaking the canna lily seeds before planting increases their chance of successful germination. The water absorption softens the seed coat and encourages the seeds to begin sprouting. Once your canna lily seeds are soaked, it’s time to move on to the exciting part: planting the seeds!
Step 4: Planting the seeds
Now that your canna lily seeds have been soaked, it’s time to plant them and watch them grow into beautiful plants. Follow these steps to ensure successful planting:
- Prepare the planting trays or pots: Fill your planting trays or pots with a well-draining seed-starting mix. Moisten the soil gently to ensure it’s evenly moist but not waterlogged.
- Plant the seeds: Make small indentations in the soil, about 1 inch deep. Place the soaked canna lily seeds in the indentations, spacing them about 2 to 3 inches apart. Cover the seeds gently with a thin layer of soil.
- Keep the soil moist: It’s important to keep the soil evenly moist throughout the germination period. Use a spray bottle or mist the soil gently to avoid disturbing the seeds. Avoid overwatering, as this can lead to rotting of the seeds.
- Provide warmth and light: Place the planting trays or pots in a warm location with temperatures around 70 to 85°F (21 to 29°C). Ensure that the seeds receive ample sunlight or provide artificial grow lights for at least 12 to 16 hours a day.
- Cover the trays: To create a controlled and humid environment, cover the trays or pots with plastic wrap or use a humidity dome. This helps to retain moisture and enhance germination.
- Monitor and care for the seeds: Check the trays or pots regularly to ensure that the soil remains moist. Keep an eye out for any signs of germination, such as seedlings emerging from the soil.
It’s important to note that the germination time for canna lily seeds can vary and may take anywhere from 1 to 3 weeks. Be patient and continue to provide the necessary care for the seeds. Once the seedlings have emerged, you can gradually remove the coverings and continue to care for them as they grow.
With the seeds planted and the germination process underway, you’re now one step closer to enjoying the beauty of canna lilies in your garden. The next step is to provide proper care and maintenance to ensure the healthy growth of your canna lily seedlings.
Plant canna lily seeds in well-draining soil, 1/4 inch deep, and keep them moist. Place in a warm, sunny spot and they should sprout in 1-2 weeks.
Read more: How To Plant Lily Seeds
Step 5: Providing proper care and maintenance
Now that your canna lily seedlings have emerged, it’s important to provide them with the proper care and maintenance to ensure their healthy growth. Follow these guidelines to nurture your canna lilies:
- Watering: Keep the soil consistently moist, but avoid overwatering. Water the seedlings whenever the top inch of soil feels dry. Use a watering can or a gentle spray bottle to water the plants, ensuring that the water reaches the roots without causing waterlogging.
- Fertilization: Once the seedlings have developed a few sets of true leaves, you can start fertilizing them. Use a balanced liquid fertilizer diluted to half strength and apply it every two weeks. This will provide the necessary nutrients for healthy growth.
- Light requirements: Canna lilies thrive in full sunlight. If you’re growing them indoors, ensure they receive at least six to eight hours of direct sunlight per day. If growing outdoors, find a location that receives ample sunlight throughout the day.
- Temperature: Canna lilies prefer warm temperatures, ideally between 70 and 85°F (21 and 29°C). Protect them from frost or extreme cold by bringing them indoors or providing a protective covering if the temperature drops.
- Support for tall varieties: If you’re growing tall canna lily varieties, it’s important to provide support to protect them from strong winds or damage. Use stakes or plant supports to keep the plants upright as they grow taller.
- Pruning: As the canna lilies grow, you may need to prune away any dead or damaged leaves to maintain the overall health and appearance of the plants. Pruning also helps to improve air circulation and prevent disease.
- Watch for pests and diseases: Keep an eye out for common pests like aphids, spider mites, or slugs, and take appropriate measures to control them. Additionally, monitor the plants for any signs of diseases, such as leaf spots or wilt, and treat promptly if necessary.
By providing proper care and maintenance, you’ll ensure that your canna lilies thrive and reach their full potential. Enjoy the process of watching them grow and get ready for a stunning display of colorful flowers in your garden!
Next, we’ll explore the optional step of transplanting your canna lily seedlings to their permanent location, if desired.
Step 6: Transplanting the seedlings (optional)
If you started your canna lily seeds indoors or in a controlled environment, you may choose to transplant the seedlings to their permanent location once they have grown a few inches tall. Transplanting canna lily seedlings allows them to establish stronger roots and have more space to grow. Here’s how you can transplant your seedlings:
- Choose the right time: Wait until the seedlings have at least two to three sets of true leaves and are approximately 4 to 6 inches tall before transplanting them. This is typically around 4 to 6 weeks after germination.
- Prepare the planting holes: Select a well-draining location in your garden with full sunlight. Dig holes that are slightly larger than the root ball of the seedlings, spacing them about 1 to 2 feet apart to allow for proper growth and airflow.
- Transplant the seedlings: Gently loosen the soil around the seedlings to minimize damage to the roots. Carefully lift each seedling from the tray or pot, holding it by the leaves or the root ball. Place the seedling in the planting hole and backfill with soil, firming it gently around the base of the plant.
- Water thoroughly: After transplanting, water the seedlings generously to help settle the soil and provide moisture to the roots. Continue to water regularly, keeping the soil evenly moist as the seedlings adjust to their new environment.
- Provide post-transplant care: Monitor the transplanted seedlings closely for the first few weeks. Protect them from extreme weather conditions, such as strong winds or heavy rainfall, by providing temporary shade or a protective covering if needed.
- Maintain proper care: Once the seedlings have been successfully transplanted, continue following the care and maintenance guidelines mentioned in Step 5 to ensure the healthy growth of your canna lilies.
Remember, transplanting is an optional step and can be skipped if you started your canna lily seeds directly in their permanent location. However, if you choose to transplant, it can help your seedlings establish and grow into beautiful, mature plants.
Finally, we will explore the process of harvesting and storing canna lily seeds in the last step of this guide.
Step 7: Harvesting and storing canna lily seeds
Harvesting and storing canna lily seeds allows you to propagate and grow new plants in the future. Here’s how you can harvest and store canna lily seeds:
- Wait for seed pod maturity: After the canna lily flowers have bloomed and faded, seed pods will begin to develop. Allow the seed pods to mature fully on the plant. They will turn brown and dry out when they are ready for harvest. This can take several weeks after flowering.
- Collect the seed pods: Once the seed pods are dry and brittle, gently remove them from the plant. Use pruning shears or scissors to cut the stalks just below the seed pods. Place the seed pods in a paper bag or a container to catch any seeds that may fall out during the collection process.
- Extract the seeds: To extract the canna lily seeds, crush the dry seed pods gently using your fingers or a mortar and pestle. Be careful not to damage the seeds in the process. Empty the contents of the seed pods into a clean, dry container.
- Remove chaff: The seed pods will contain chaff, which consists of dried flower bits and debris. Separate the seeds from the chaff by gently blowing air over the container or using a fan. The lighter chaff will blow away, leaving the seeds behind.
- Store the seeds: Once you have extracted and separated the canna lily seeds, transfer them to a clean, dry container such as a paper envelope or a small glass jar. Label the container with the variety and date of collection. Store the seeds in a cool, dark, and dry place, such as a pantry or a refrigerator, until you are ready to plant them.
- Testing seed viability (optional): If you want to test the viability of the canna lily seeds before planting, you can perform a simple germination test. Moisten a paper towel and place a few seeds on it. Fold the paper towel and place it in a sealed plastic bag. Keep it in a warm location and check after a week to see if the seeds have sprouted.
By following these steps, you can successfully harvest and store canna lily seeds for future propagation. Remember to label and date your seeds to keep track of their viability. When it’s time to plant the stored seeds, you can follow the planting process mentioned in Step 4.
Congratulations! You’ve completed all the steps to plant canna lily seeds and nurture them into vibrant and beautiful plants. Enjoy the process of growing and caring for these stunning flowers, and may your garden be filled with the vibrant colors and lush foliage of canna lilies!
Happy gardening!
Conclusion
Congratulations on learning how to plant canna lily seeds and grow your own stunning canna lily plants! By following the steps outlined in this guide, you have gained the knowledge and skills to successfully cultivate canna lilies from seeds.
From gathering the necessary materials to harvesting and storing canna lily seeds, each step in the process is important in ensuring the healthy growth and blooming of these tropical beauties. By choosing quality seeds, providing proper care and maintenance, and creating the perfect growing conditions, you can enjoy a bountiful display of colorful canna lilies in your garden.
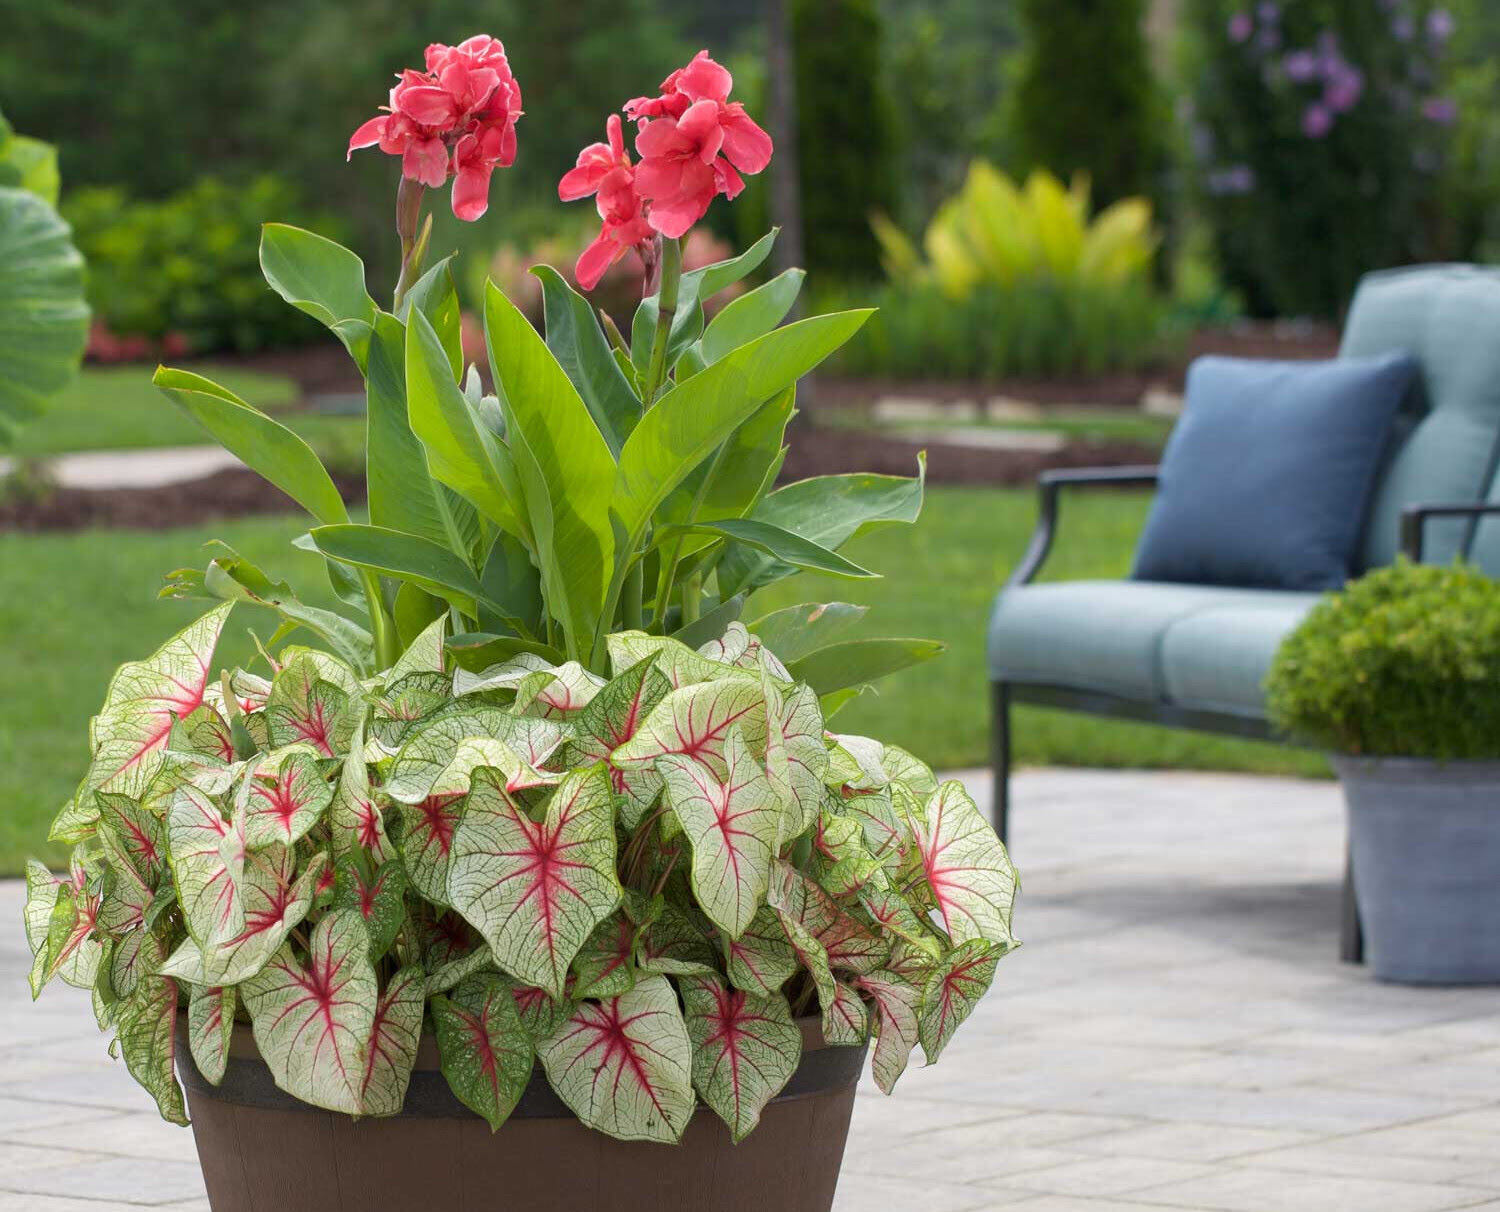
Canna lilies are sure to captivate with their vibrant flowers and tropical foliage, adding an exotic touch to any outdoor space. Whether you’re planting them in flower beds, borders, or containers, canna lilies make a bold statement and attract attention with their nature-inspired splendor.
Remember to experiment with different varieties and colors to create a diverse canna lily collection in your garden. With proper care, you can enjoy the beauty of canna lilies year after year, and even propagate new plants from harvested seeds.
Now that you have the knowledge and confidence to embark on your canna lily planting journey, it’s time to get your hands dirty and start creating your very own haven of canna lilies. Enjoy the process, embrace the joy of gardening, and witness the transformation of tiny seeds into magnificent flowering plants.
Happy planting and may your garden be filled with the vibrant splendor of canna lilies!
Frequently Asked Questions about How To Plant Canna Lily Seeds
Was this page helpful?
At Storables.com, we guarantee accurate and reliable information. Our content, validated by Expert Board Contributors, is crafted following stringent Editorial Policies. We're committed to providing you with well-researched, expert-backed insights for all your informational needs.


0 thoughts on “How To Plant Canna Lily Seeds”