Home>Garden Essentials>What Is A Good Infill Speed In Cura
Garden Essentials
What Is A Good Infill Speed In Cura
Modified: August 16, 2024
Discover the ideal garden infill speed in Cura for optimal results. Learn how to maximize efficiency while maintaining precision in your 3D printed garden designs.
(Many of the links in this article redirect to a specific reviewed product. Your purchase of these products through affiliate links helps to generate commission for Storables.com, at no extra cost. Learn more)
Introduction
When it comes to 3D printing, achieving the perfect balance between print speed and quality is crucial. One of the key parameters that can significantly impact the printing process is the infill speed. Infill speed refers to the speed at which the printer fills the internal structure of a 3D printed object. It determines the speed at which the material is deposited between the outer walls, forming a strong and stable structure.
In this article, we will delve into the concept of infill speed and its importance in 3D printing. We will explore the factors to consider when setting the infill speed and provide recommended values for different scenarios. Additionally, we will discuss the advantages of using a good infill speed and provide tips for adjusting infill speed in Cura, one of the most popular slicing software for 3D printers.
Whether you are a beginner or an experienced 3D printer enthusiast, understanding and optimizing your infill speed can help you achieve better print quality, reduce print time, and save on material costs. So let’s dive in!
Key Takeaways:
- Finding the right infill speed in 3D printing is like finding the perfect balance between speed and strength. It’s crucial for strong, efficient, and cost-effective prints.
- Experimenting with different infill speeds in Cura can lead to better 3D prints. Start with default settings, consider filament recommendations, and fine-tune for optimal results.
Read more: What Is An Infill Speed
Understanding Infill Speed
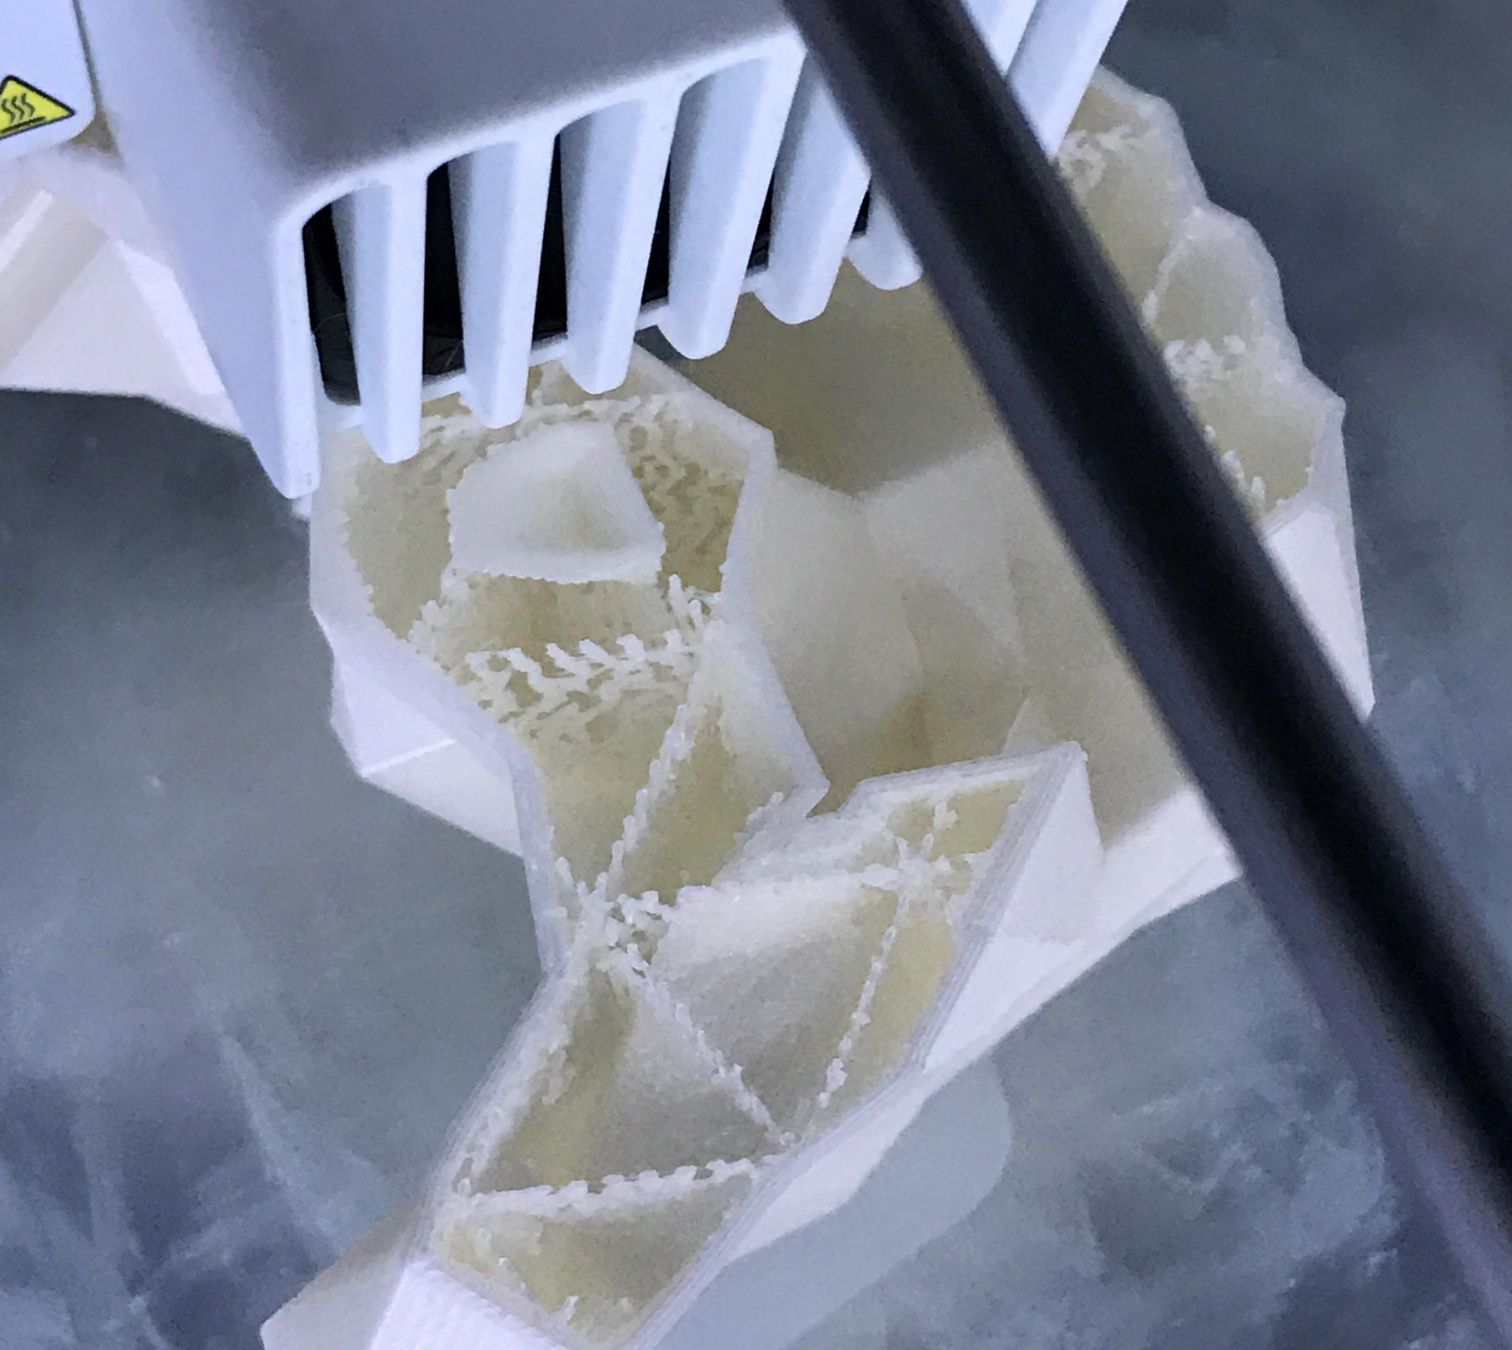
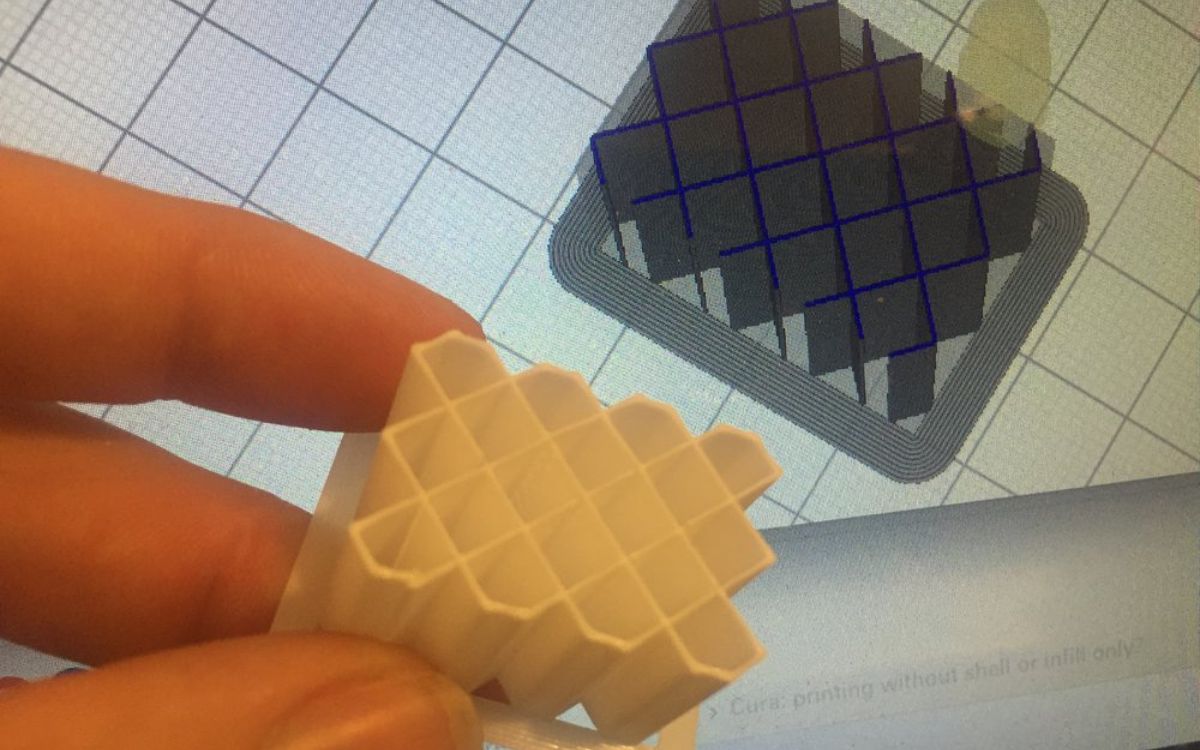
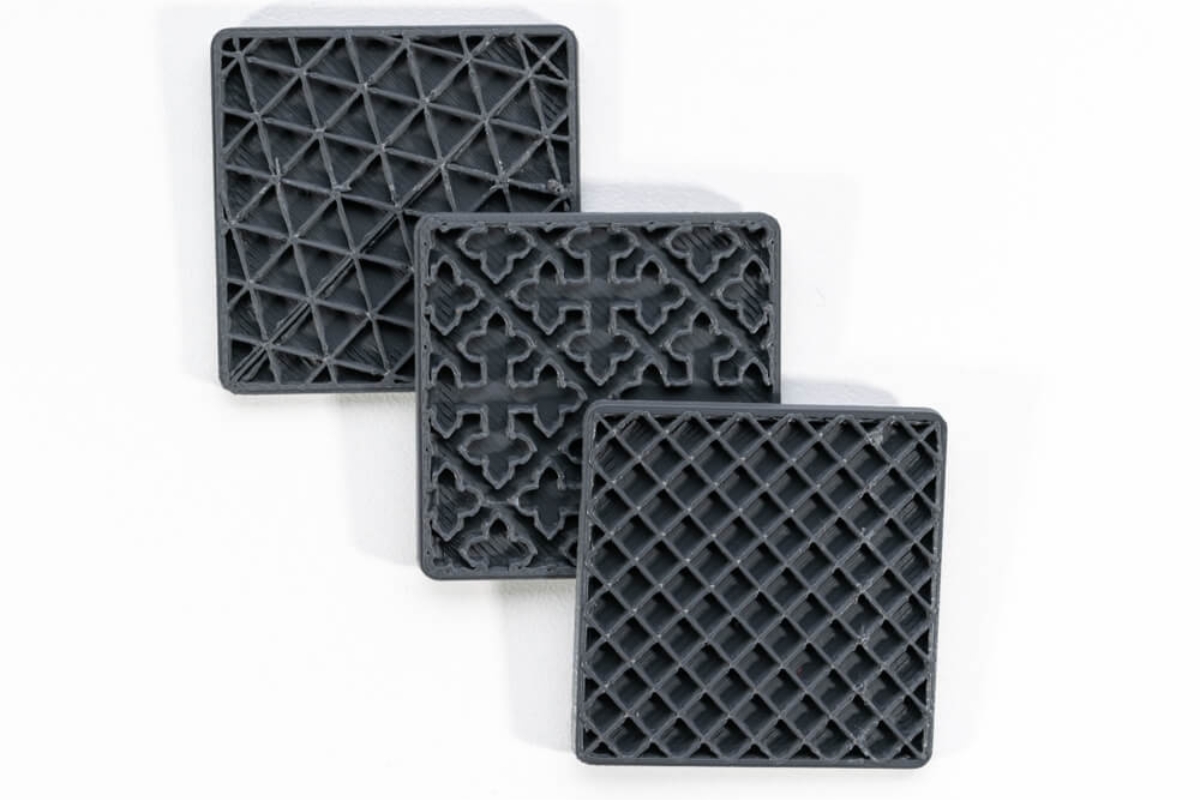
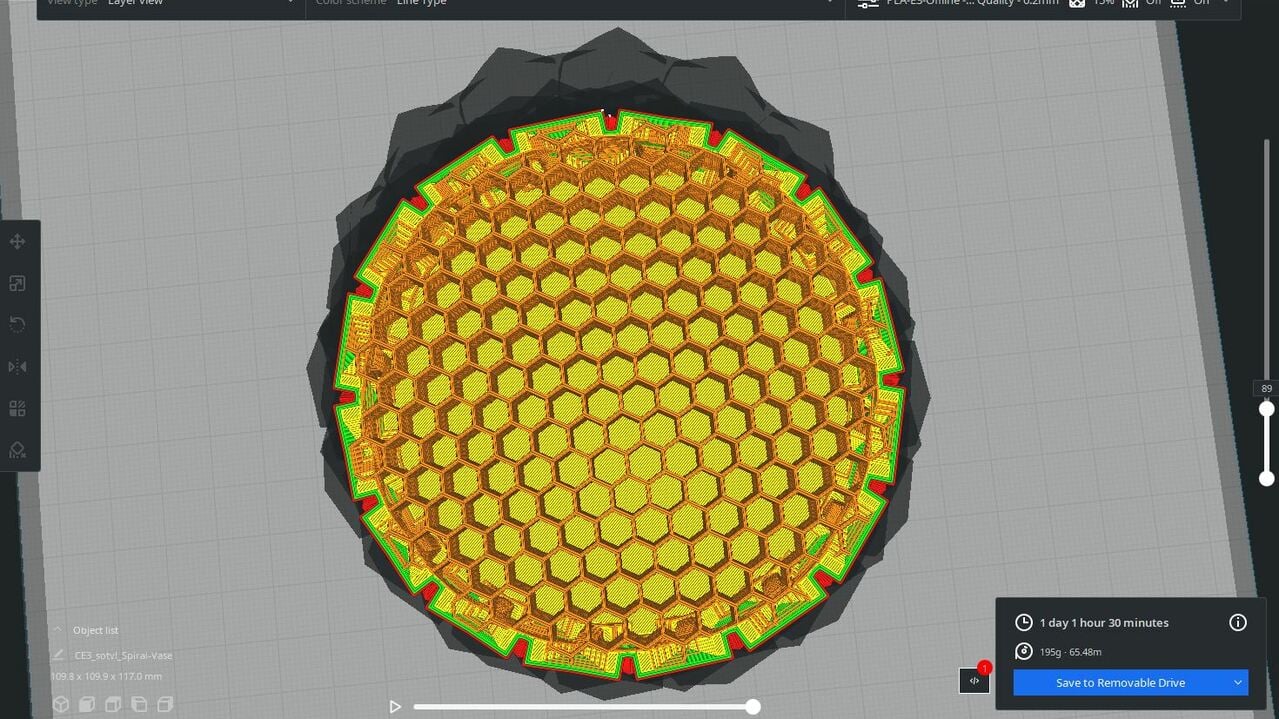
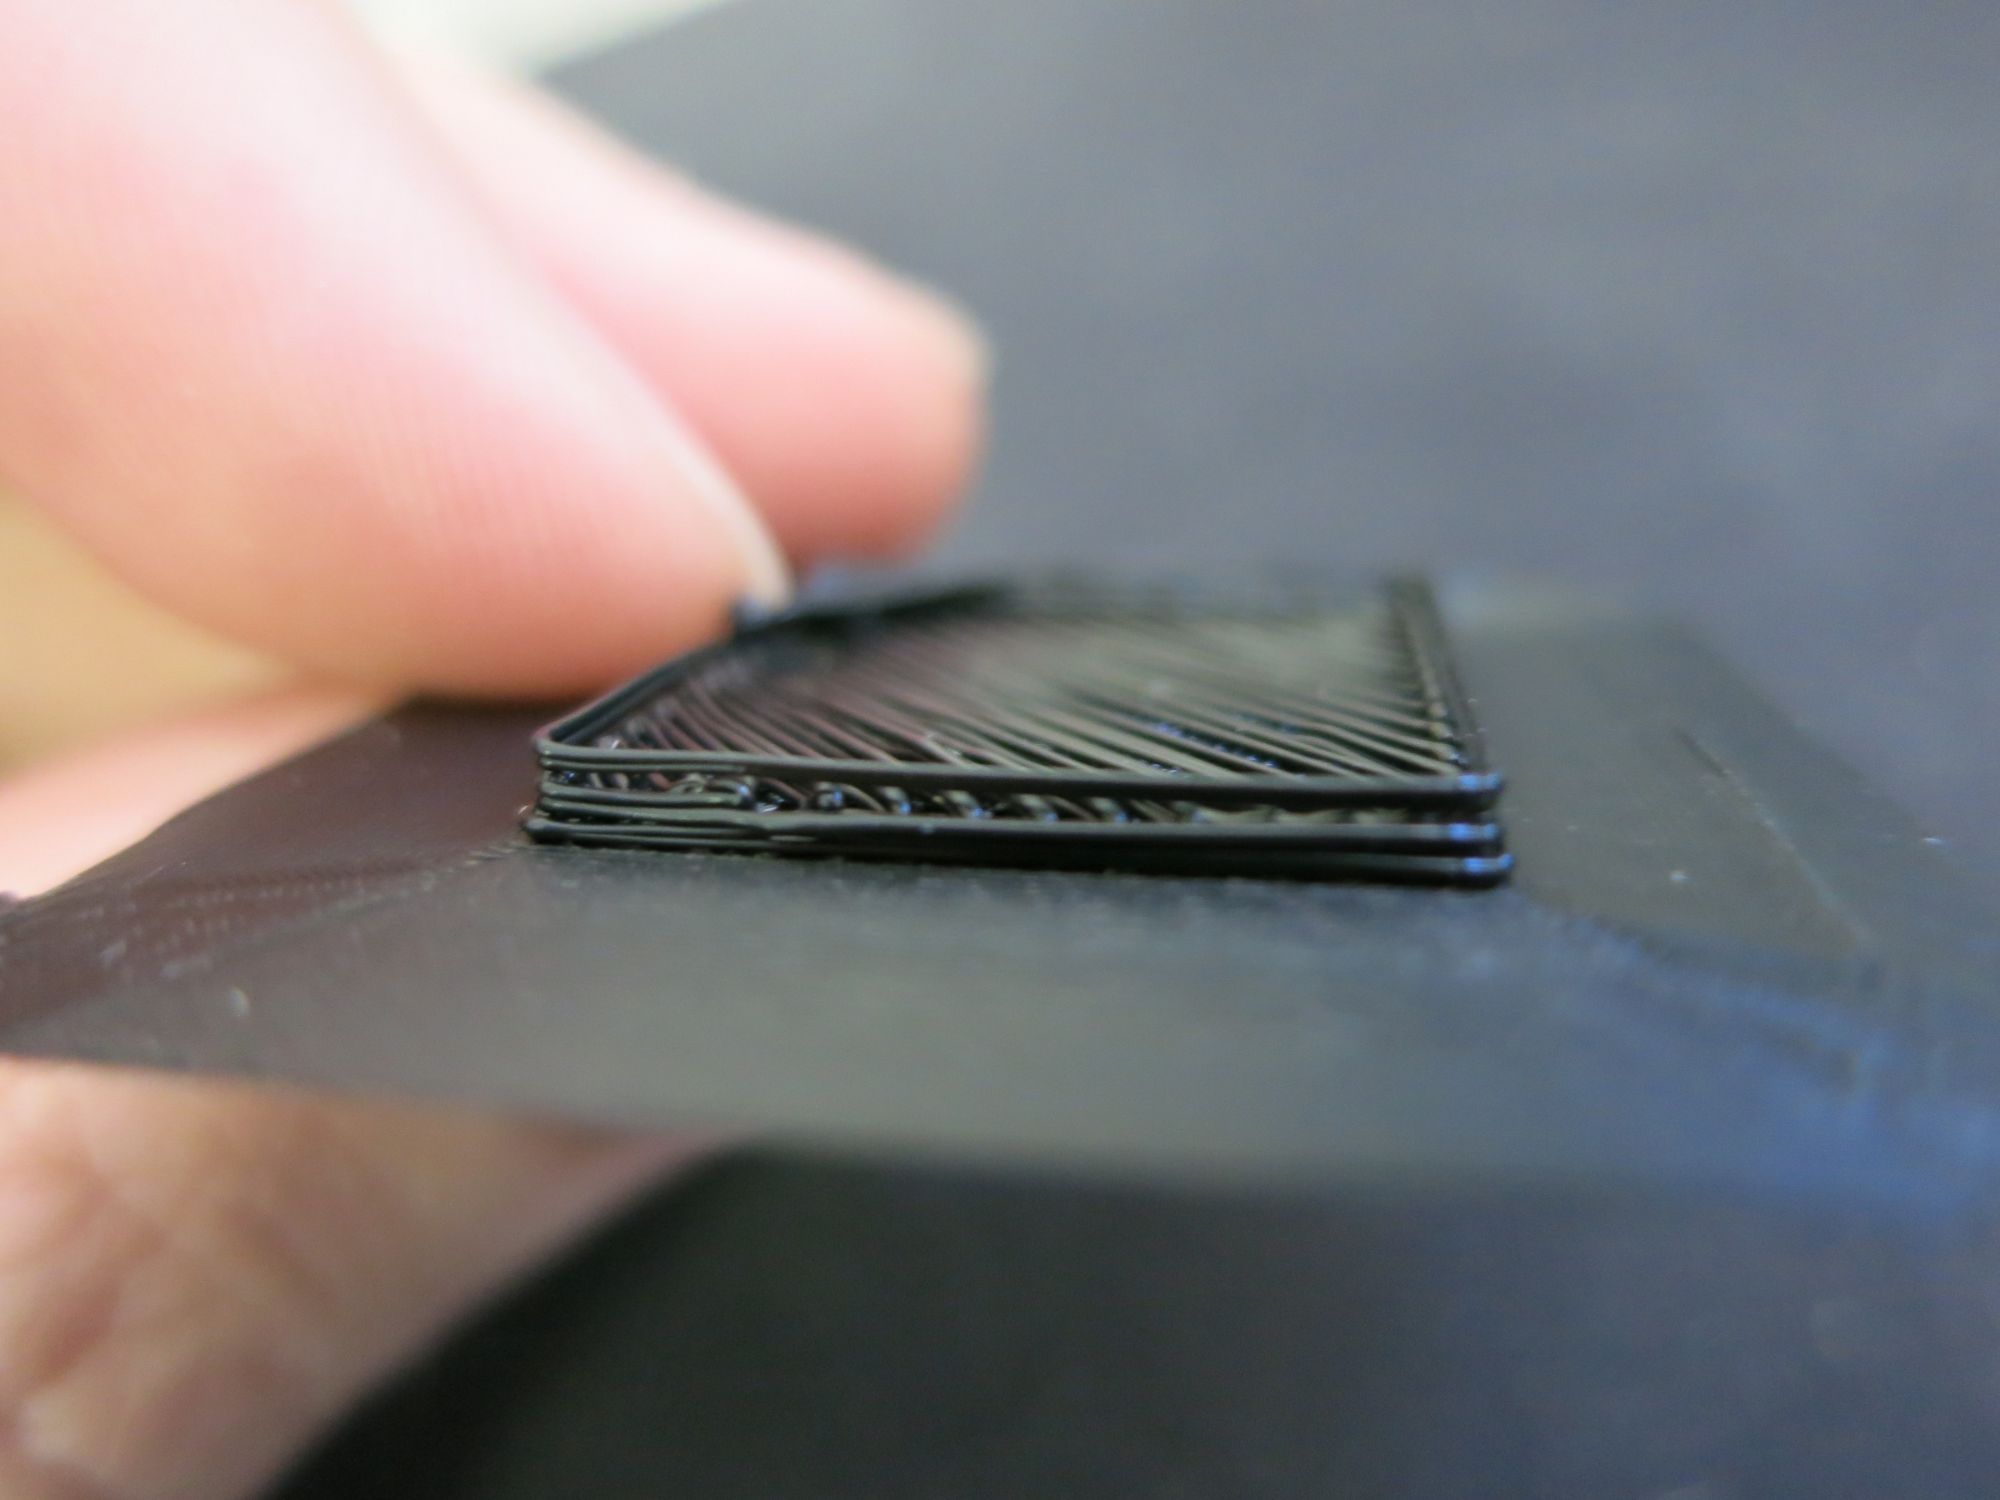
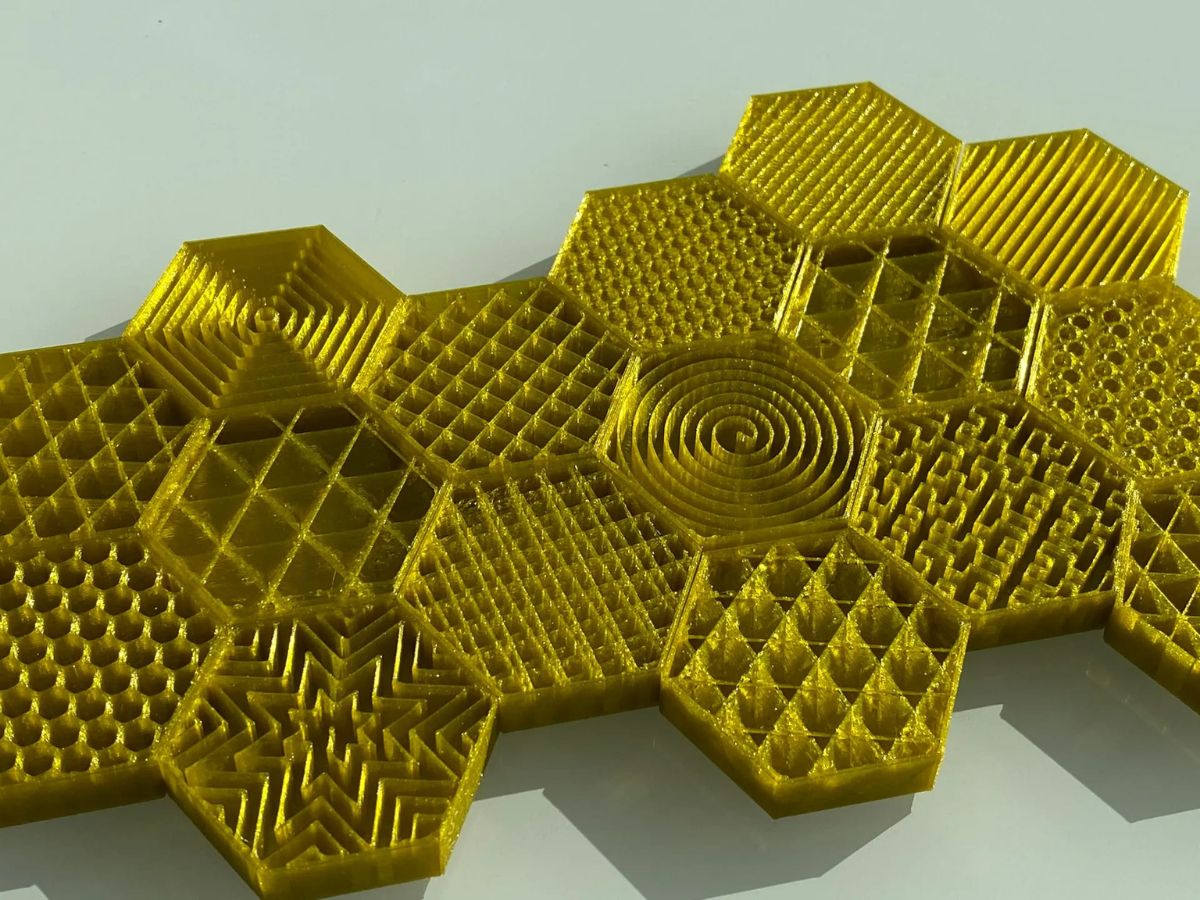
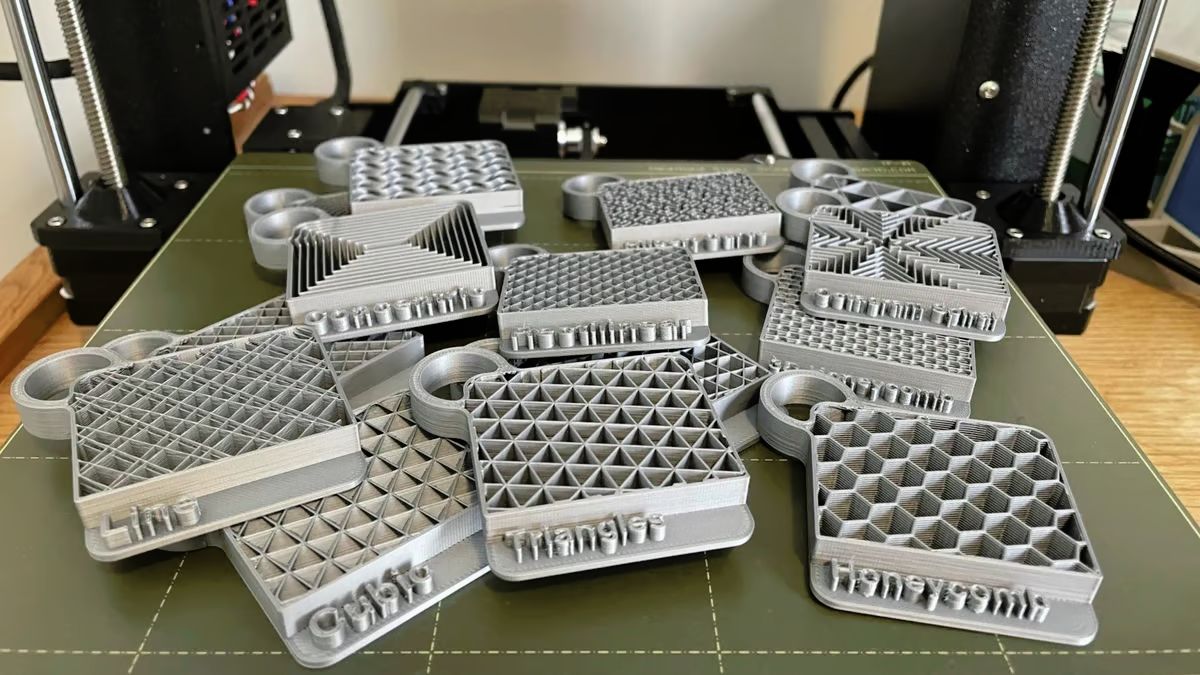
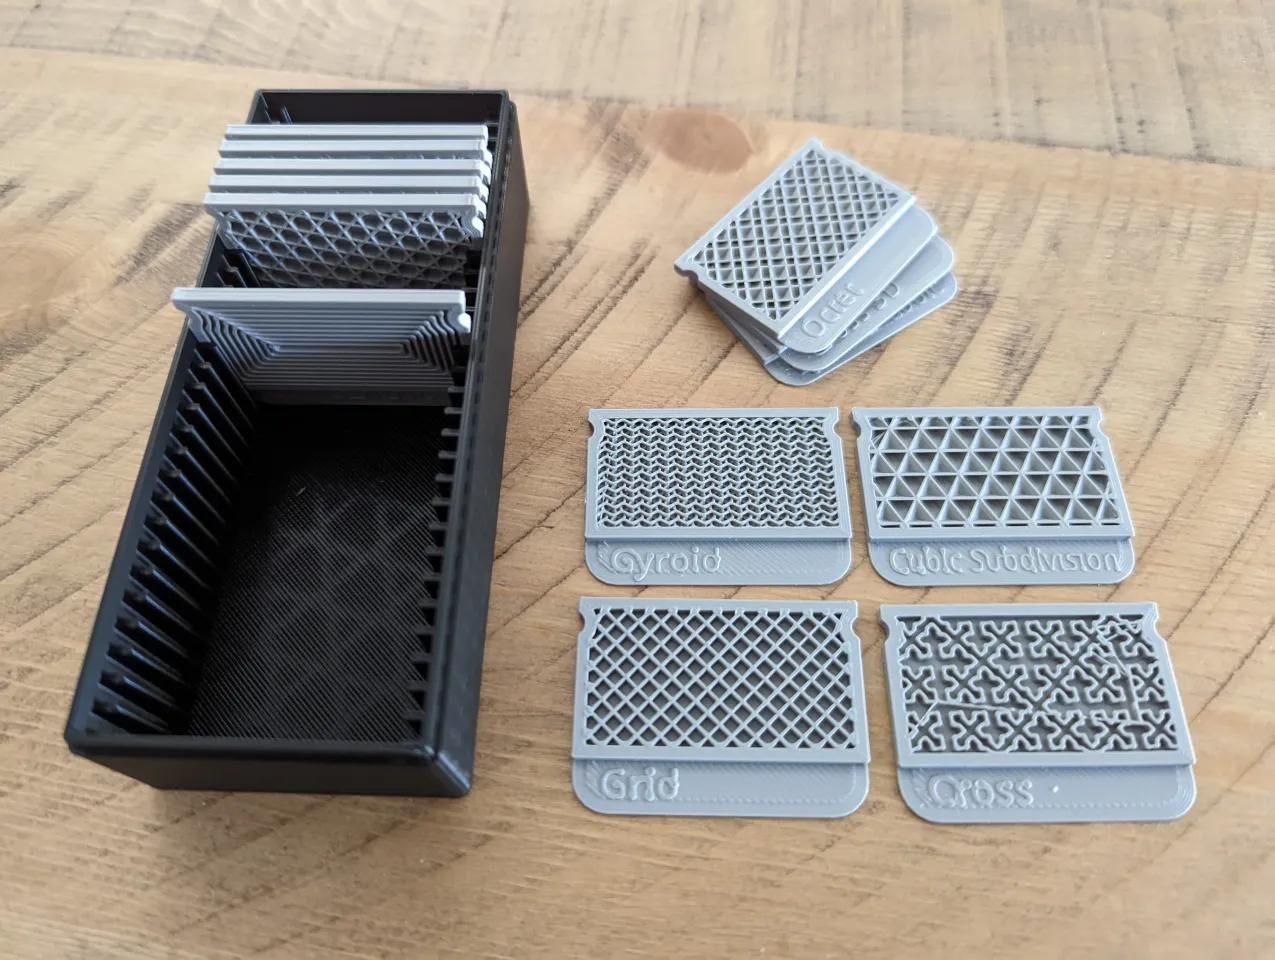
Infill speed plays a crucial role in 3D printing as it affects both the strength and the overall print time. The infill speed determines how quickly the printer fills the internal structure of the printed object, which is typically done using a honeycomb or grid pattern.
When adjusting the infill speed, it’s important to strike a balance between printing speed and producing a solid and stable internal structure. If the infill speed is too high, it may result in a weaker infill, as the material may not have enough time to bond properly. On the other hand, if the infill speed is too low, the printing process can become excessively slow, increasing print time and wasting precious resources.
The appropriate infill speed will depend on various factors, including the type of filament, the complexity of the model, and the desired strength of the printed object. Different filaments have different flow properties, meaning they may require different speeds to achieve optimal results. Models with intricate designs or thin walls may require slower infill speeds to ensure better material deposition and bonding.
It’s worth noting that infill speed is different from print speed. Print speed refers to the speed at which the printer moves while extruding the plastic material, whereas infill speed specifically relates to the speed at which the internal structure is filled.
Now that we have a good understanding of infill speed and its significance in 3D printing, let’s dive into the factors to consider when determining the ideal infill speed for your prints.
Factors to Consider
When determining the appropriate infill speed for your 3D prints, several factors should be taken into consideration:
- Filament Type: Different filaments have different properties, including flow characteristics and melting points. Some filaments, like PLA, may require higher infill speeds, while others, like ABS, may perform better with slower speeds. It’s essential to consult the manufacturer’s guidelines or conduct some test prints to determine the optimal infill speed for a specific filament.
- Print Quality: The desired level of print quality is another factor to consider. If you prioritize high-quality prints with intricate details, a slower infill speed may be necessary. Slower infill speeds allow for better material deposition and bonding, resulting in a stronger internal structure.
- Print Time Constraints: Sometimes, meeting tight deadlines is crucial, and reducing print time takes precedence over achieving the highest print quality. In these cases, a higher infill speed can help expedite the printing process while sacrificing some strength and material bonding.
- Model Complexity: The complexity of the 3D model can also impact the infill speed. Models with intricate designs, thin walls, or small features may require slower infill speeds to ensure proper material deposition and bonding, preventing potential print failures or weak internal structures.
- Printer Capability: The capabilities of your 3D printer, such as the extrusion system and hot end temperature, can influence the infill speed. Higher-end printers with better extrusion systems and temperature control may handle higher infill speeds more effectively, while entry-level printers may benefit from slower speeds to maintain print quality.
It’s important to experiment with different infill speeds and find the right balance between print quality, strength, and print time. Conducting small test prints with varying infill speeds can provide valuable insights and help determine the optimal setting for your specific requirements.
Now that we understand the factors to consider when determining the infill speed, let’s move on to recommended infill speed values for different scenarios.
Recommended Infill Speeds
While the optimal infill speed will vary depending on the factors mentioned earlier, here are some general recommended guidelines to consider:
- Standard Filaments: For standard filaments like PLA or PETG, an infill speed in the range of 50-80 mm/s is commonly recommended. This speed allows for efficient material deposition while maintaining a good balance between print quality and print time.
- High-Strength Filaments: When using high-strength filaments like ABS or Nylon, it is recommended to decrease the infill speed to 30-50 mm/s. These filaments require slower speeds to ensure proper bonding and improve the overall strength of the printed object.
- Intricate Models: For models with intricate designs or thin walls, it’s advisable to lower the infill speed to 30-50 mm/s. Slower speeds allow for better material deposition and bonding in complex areas, reducing the risk of print failures or weak internal structures.
- Quick Prints: If you prioritize faster print times over high print quality, you can increase the infill speed to 80-100 mm/s. This speed range allows for quicker material deposition and faster printing without compromising structural integrity too much.
These recommended infill speed ranges can serve as starting points for your prints. However, keep in mind that these are general guidelines, and you may need to fine-tune the infill speed based on your specific filament, model complexity, and desired print quality.
Next, let’s explore the advantages of using a good infill speed in your 3D prints.
A good infill speed in Cura is typically around 50-80 mm/s. This speed allows for efficient printing without sacrificing the strength and stability of the infill structure. Adjust based on your specific printer and material.
Advantages of Using a Good Infill Speed
Utilizing an appropriate infill speed in your 3D prints offers several advantages:
- Structural Integrity: A good infill speed ensures proper material deposition and bonding within the internal structure of the printed object. This leads to a stronger and more stable result, which is crucial for functional prints or objects that require structural integrity.
- Reduced Print Time: By optimizing the infill speed, you can significantly reduce the overall print time. Faster infill speeds allow for quicker material deposition, resulting in shorter print durations. This is particularly beneficial when printing large objects or when time constraints are a factor.
- Material Savings: Using an appropriate infill speed can help save on material costs. With efficient and well-bonded infill patterns, less material is wasted, reducing filament consumption and minimizing the overall material expenses associated with 3D printing.
- Improved Print Quality: A good infill speed contributes to better overall print quality. Slower infill speeds allow for finer material deposition, resulting in smoother and more precise prints, especially for models with intricate details. This is particularly important for aesthetic prints or when high print quality is a priority.
- Enhanced Layer Adhesion: The infill speed influences the bonding between layers in the printed object. Optimal infill speeds create solid layer adhesion, ensuring excellent strength and preventing delamination between the layers. This is essential for prints that require durability and reliability under stress.
By understanding the benefits of using a good infill speed, you can harness its advantages to achieve better prints in terms of strength, time efficiency, material savings, and overall quality.
Now that we’ve discussed the advantages of optimal infill speed, let’s move on to some helpful tips for adjusting the infill speed in Cura.
Tips for Adjusting Infill Speed in Cura
Cura is a widely used slicing software that offers various settings to customize your 3D prints, including infill speed. Here are some tips to help you adjust the infill speed in Cura:
- Start with Default Settings: When you’re new to adjusting infill speed, it’s best to start with the default settings in Cura. This will provide a baseline for your prints, and you can gradually make adjustments based on your specific requirements.
- Experiment with Different Values: To determine the optimal infill speed for your prints, conduct test prints with different infill speed values. Start by varying the infill speed in increments of 10 mm/s and evaluate the results. Keep track of the print quality, strength, and print time for each test to find the sweet spot.
- Consider Filament Recommendations: Take into account the recommended infill speed range for the filament you’re using. Consult the manufacturer’s guidelines or do some research to identify the ideal speed range for your specific filament. Adjust the infill speed accordingly to ensure optimal results.
- Balance Print Speed and Infill Speed: Remember that the print speed and infill speed are interconnected. If you increase the print speed, you may need to increase the infill speed as well to maintain a good balance. Similarly, if you decrease the print speed for better print quality, consider lowering the infill speed accordingly.
- Check Layer Time Estimates: Cura provides an estimated print time for each layer. Pay attention to layers with longer print times. If the infill speed is significantly slowing down the print time, consider adjusting it to achieve a better balance between speed and quality.
- Consider Print Geometry: The geometry of the print can influence the infill speed. For models with intricate details or thin walls, it’s advisable to reduce the infill speed to allow for better material deposition and bonding. Experiment with slower speeds in these cases to achieve more precise prints.
- Iterate and Fine-Tune: 3D printing is often an iterative process. Don’t be afraid to make multiple adjustments to the infill speed and perform several test prints to find the ideal setting. Take note of the results and make gradual refinements until you achieve the desired balance between speed, strength, and print quality.
By following these tips and experimenting with different settings in Cura, you can optimize the infill speed and achieve the best possible results for your 3D prints.
Now that we have covered the tips for adjusting the infill speed in Cura, it’s time to wrap up our article.
Conclusion
Infill speed is a critical parameter in 3D printing that determines the speed at which the internal structure of a printed object is filled. It plays a vital role in achieving a balance between print speed, strength, and overall print quality. By understanding and optimizing the infill speed, you can achieve better results in your 3D prints.
When adjusting the infill speed, consider factors such as filament type, print quality requirements, print time constraints, model complexity, and the capabilities of your 3D printer. Different filaments may require different infill speeds, and intricate models may need slower speeds to ensure proper material deposition and bonding.
Recommended infill speed ranges can serve as a starting point for your prints, with standard filaments typically ranging from 50-80 mm/s, while high-strength filaments may require slower speeds of 30-50 mm/s. Models with intricate designs or thin walls may benefit from slower speeds as well.
Using a good infill speed offers several advantages, including improved structural integrity, reduced print time, material savings, enhanced print quality, and better layer adhesion. Finding the optimal infill speed can result in stronger, more efficient, and cost-effective 3D prints.
When adjusting the infill speed in Cura, start with default settings and conduct test prints with different values to find the optimal setting for your specific requirements. Take into account filament recommendations, balance print speed with infill speed, and consider the geometry of your model.
Remember, 3D printing is an iterative process, and it may take several test prints and adjustments to find the ideal infill speed. Keep experimenting, fine-tuning, and evaluating the results to achieve the best balance of speed, strength, and print quality.
By optimizing the infill speed, you can unlock the full potential of your 3D printer and produce high-quality prints with efficiency and precision. So, go ahead, experiment, and enjoy the journey of creating amazing 3D prints!
Frequently Asked Questions about What Is A Good Infill Speed In Cura
Was this page helpful?
At Storables.com, we guarantee accurate and reliable information. Our content, validated by Expert Board Contributors, is crafted following stringent Editorial Policies. We're committed to providing you with well-researched, expert-backed insights for all your informational needs.


0 thoughts on “What Is A Good Infill Speed In Cura”