Home>Garden Essentials>How To Give Two Objects Different Infill Percentages In Cura
Garden Essentials
How To Give Two Objects Different Infill Percentages In Cura
Modified: March 7, 2024
Learn how to customize the infill percentages for two different objects using Cura, a popular 3D printing software. Create unique designs for your garden with varying density.
(Many of the links in this article redirect to a specific reviewed product. Your purchase of these products through affiliate links helps to generate commission for Storables.com, at no extra cost. Learn more)
Introduction
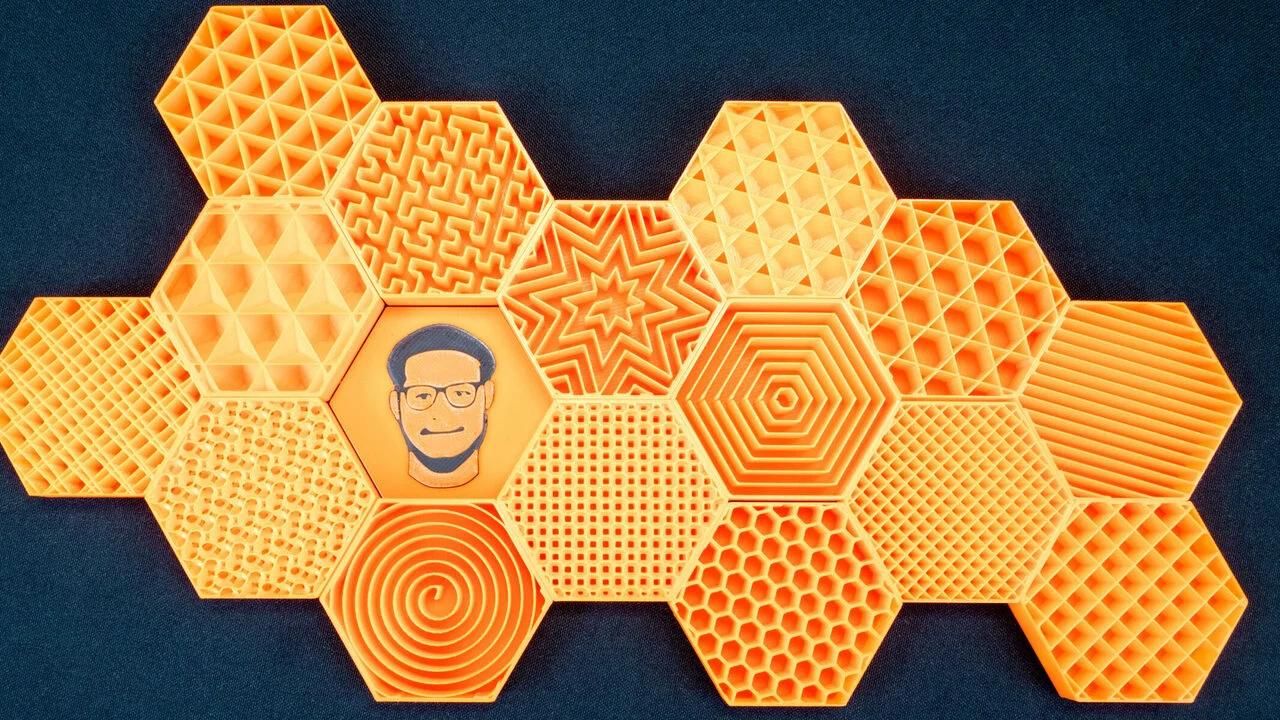
Welcome to the world of 3D printing, where imagination and creativity collide to bring your designs to life. When it comes to 3D printing, one important aspect to consider is the infill percentage. Infill refers to the internal structure of the printed object, which provides strength and support while minimizing material usage. By adjusting the infill percentage, you can control the density and solidity of the object. This is particularly useful when you want to optimize printing time and material consumption.
In this article, we’ll explore how you can give two objects different infill percentages in Cura, one of the most popular slicing software used in 3D printing. Whether you want to vary the strength of different parts of a model or experiment with different infill patterns, Cura provides you with the flexibility to achieve your desired results.
Before we dive into the step-by-step process, let’s first understand the concept of infill percentage in Cura and why it plays a crucial role in the 3D printing process.
Key Takeaways:
- Customize infill percentages in Cura to control strength and material usage. Use multiple processes or separate models for precise control over each object’s characteristics.
- Experiment with infill patterns and percentages in Cura to optimize strength, material usage, and print time. Unleash your creativity and bring your designs to life!
Read more: How To Do Infill Mask In Cura
Understanding Infill Percentage in Cura
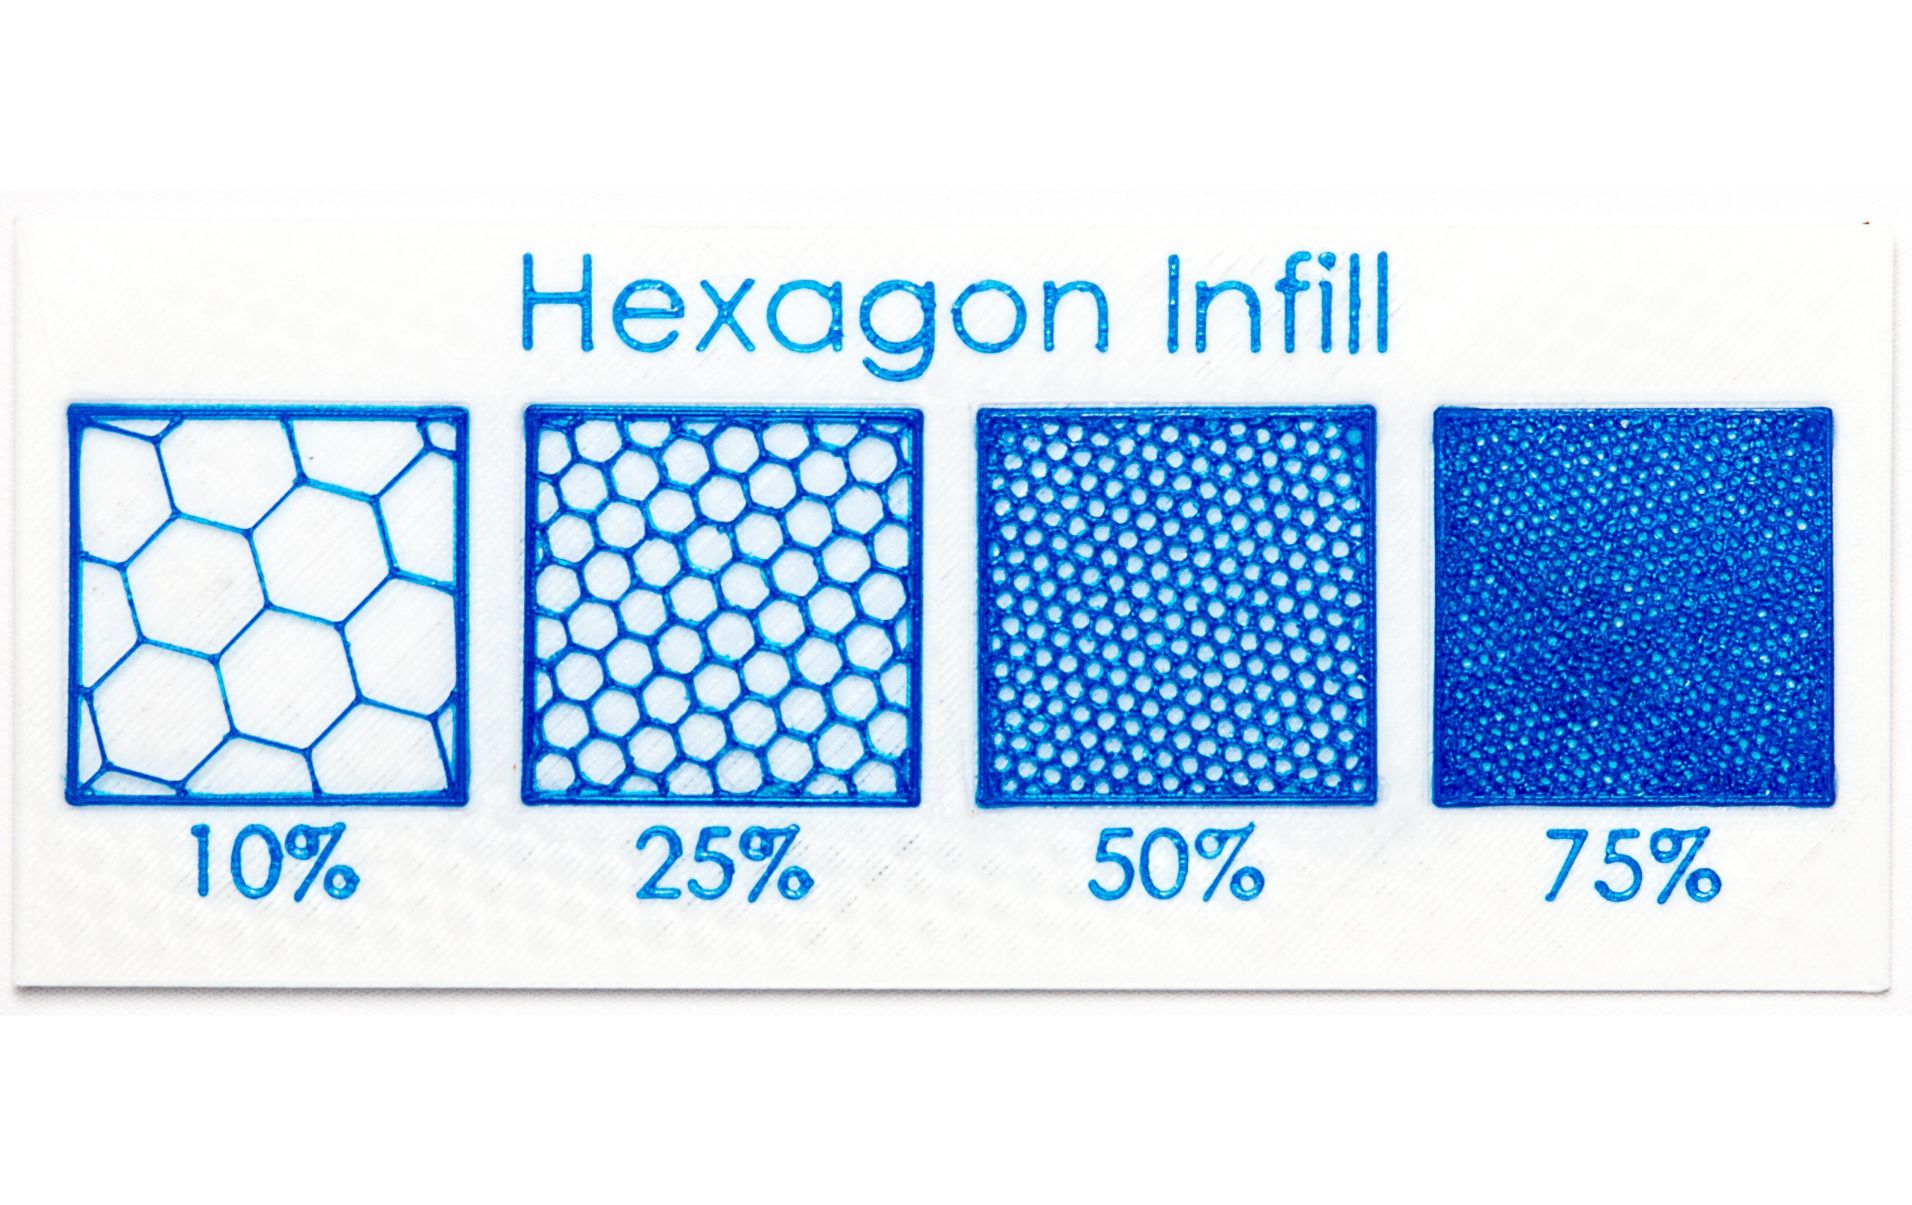
Infill percentage refers to the amount of internal structure that is printed inside an object. It determines the density and strength of the printed part. When a higher infill percentage is set, more material is used to create a solid, dense interior. On the other hand, a lower infill percentage results in a more hollow, lightweight structure, which can reduce material usage and print time.
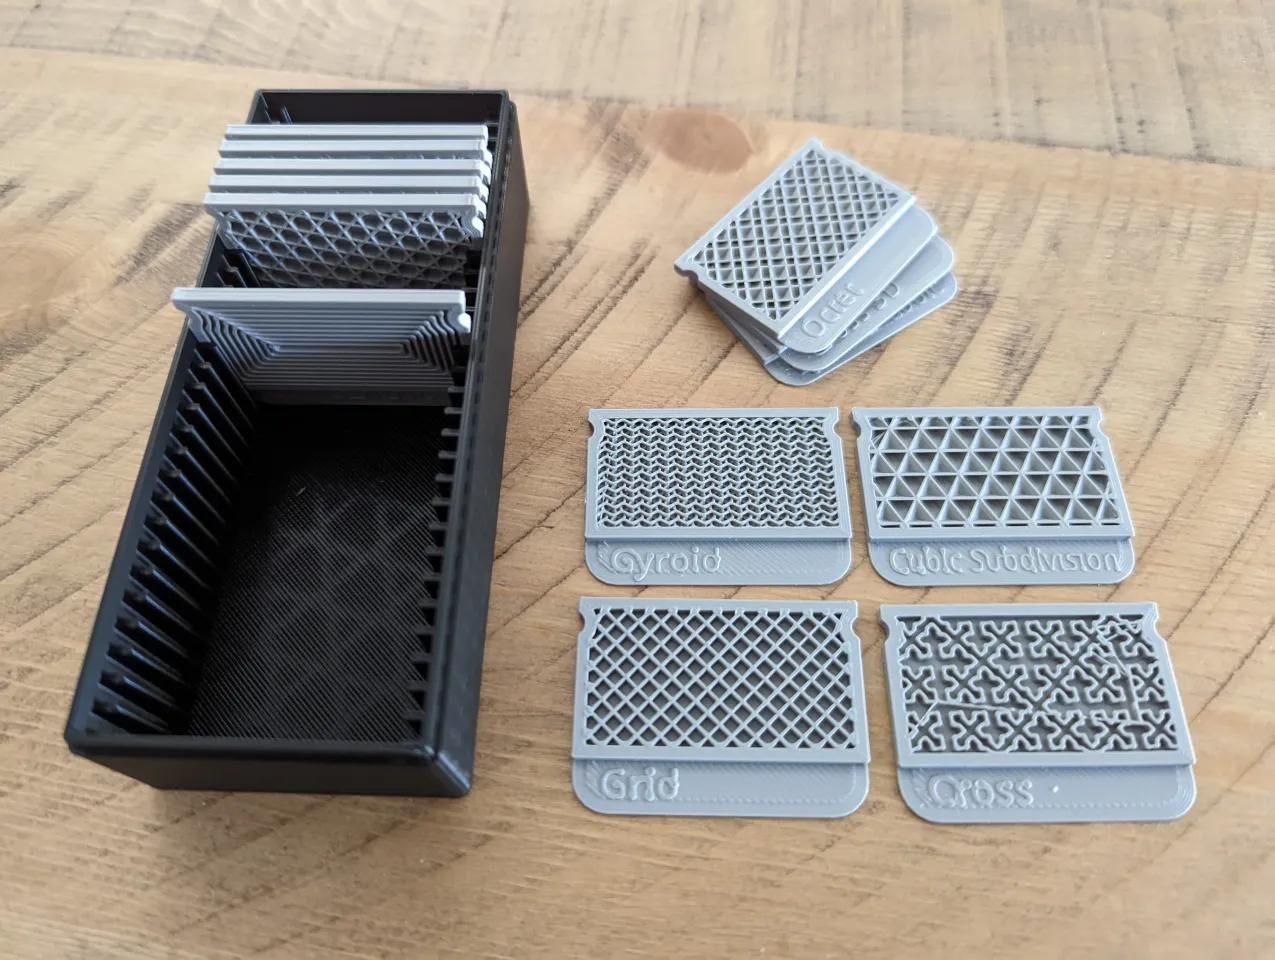
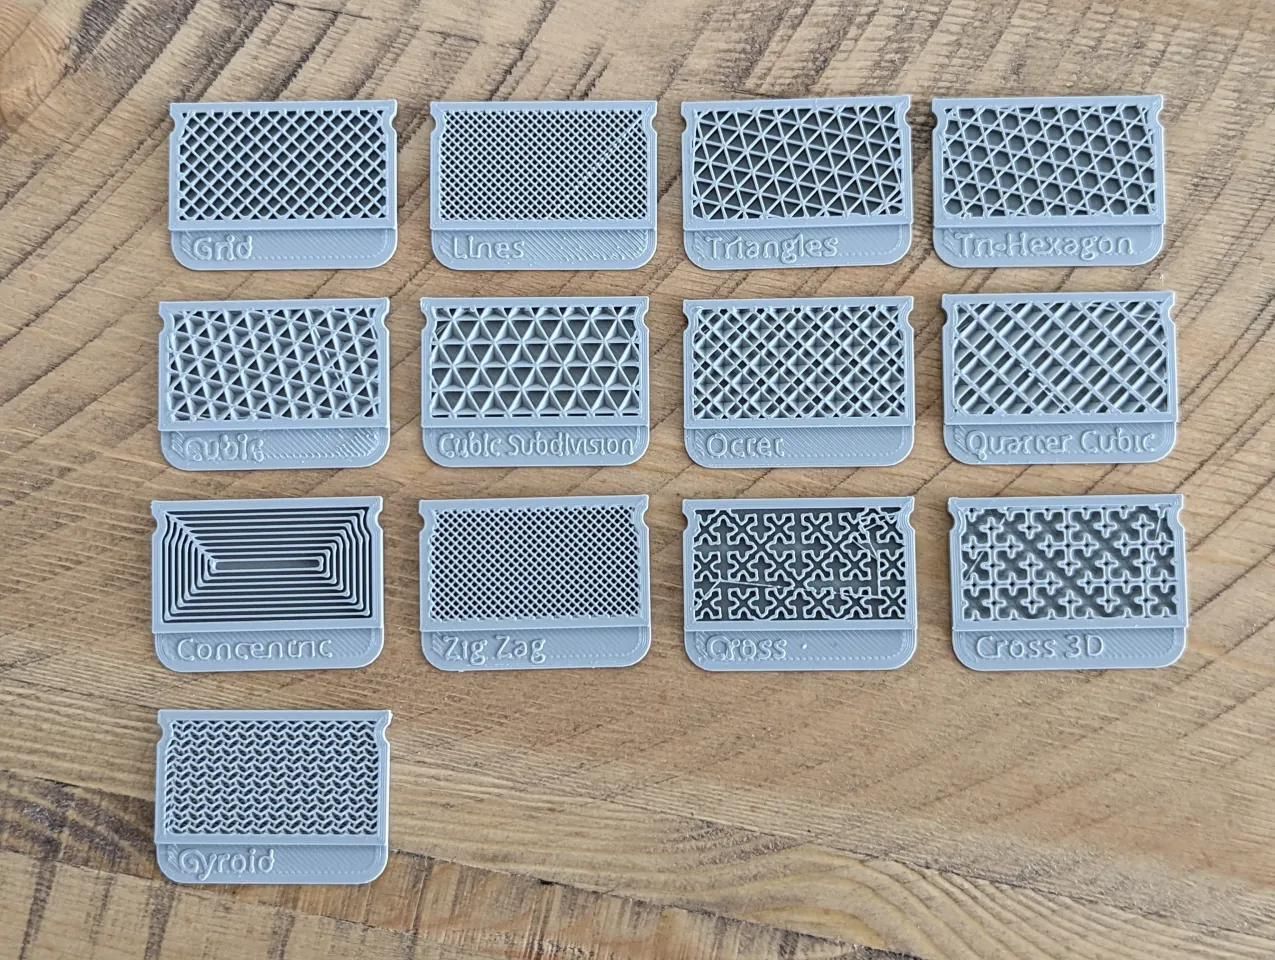
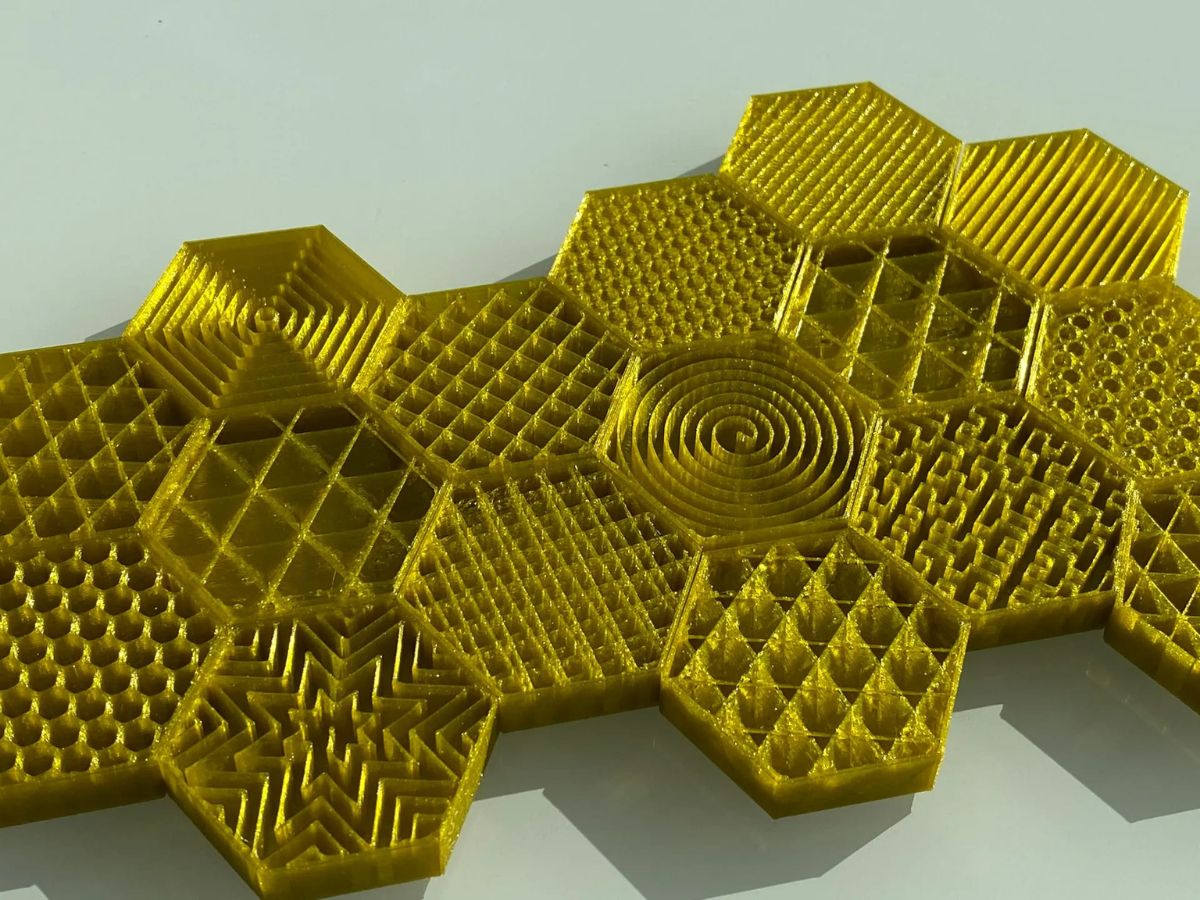
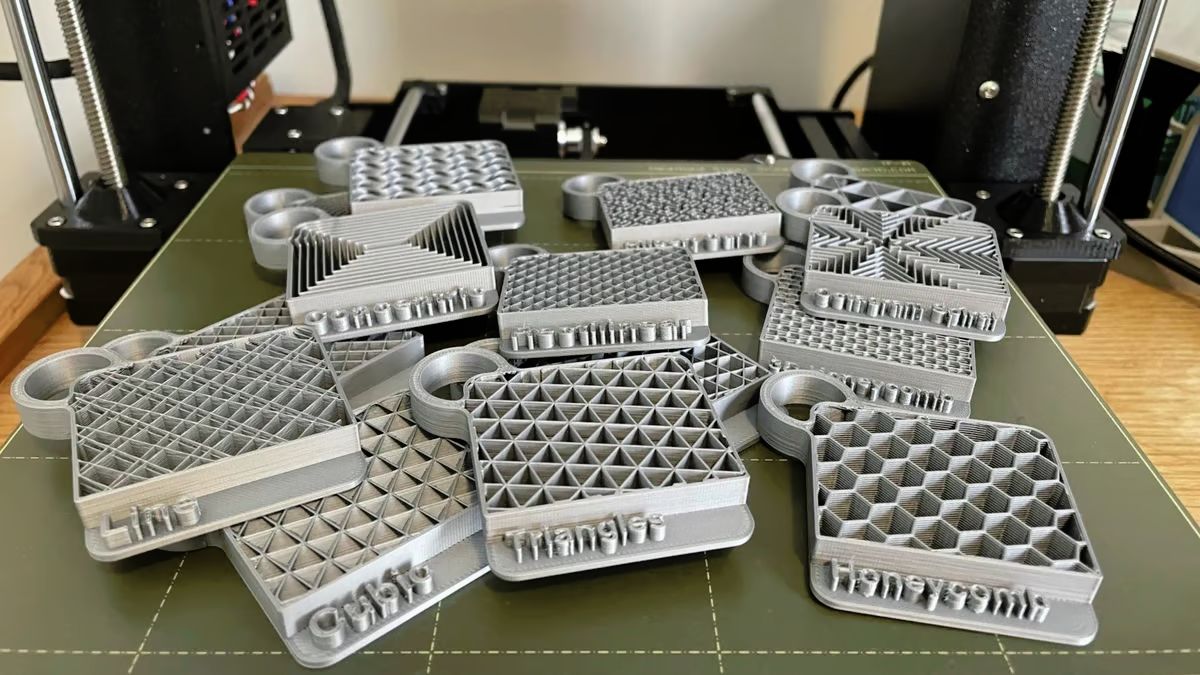
Cura, a widely used slicing software in the 3D printing community, offers various infill patterns and allows users to adjust the infill percentage to meet their specific requirements. The infill percentage can range anywhere from 0% (completely hollow) to 100% (fully solid), with increments of 5% or 10%, depending on the software version.
Choosing the right infill percentage depends on several factors such as the desired strength, weight, and print time. For example, if you’re printing a decorative object, a low infill percentage may be sufficient. However, if you’re printing functional parts that require more strength or support, a higher infill percentage would be recommended.
It’s worth noting that increasing the infill percentage will result in longer print times and higher material usage. Therefore, finding the right balance between strength and efficiency is important.
Now that we have a basic understanding of infill percentage, let’s explore the steps to give two objects different infill percentages in Cura.
Steps to Give Two Objects Different Infill Percentages in Cura
When you have multiple objects in a 3D model that you want to print with different infill percentages in Cura, there are two methods you can use to achieve this. Let’s explore both methods in detail:
Method 1: Using Multiple Processes in Cura
- Import your 3D model into Cura and position it as desired.
- Select one of the objects from the model that you want to assign a specific infill percentage to.
- Right-click on the selected object and choose “Split Object Into Parts” to separate it into a new model.
- With the new model selected, navigate to the “Prepare” tab in Cura.
- In the “Print Settings” section, click on the “Add” button next to “Processes” to create a new process.
- In the new process window, adjust the infill percentage to the desired value for that specific object.
- Click “OK” to save the new process.
- Repeat steps 2-7 for the other object, adjusting the infill percentage accordingly.
- Once you have assigned different infill percentages to each object, you can proceed to slice the models and export the G-code for printing.
Method 2: Separating the Objects in Different Models
- Import your 3D model into Cura and position it as desired.
- Select one of the objects from the model that you want to assign a specific infill percentage to.
- Right-click on the selected object and choose “Separate Instances” to create a new model with only that object.
- Repeat steps 2-3 for the other object, creating a separate model for it as well.
- For each new model, adjust the infill percentage to the desired value.
- Once you have assigned different infill percentages to each object, you can proceed to slice the models individually and export the G-code for printing.
Both methods provide a convenient way to give two objects different infill percentages in Cura. It’s important to note that the specific steps may vary slightly depending on the version of Cura you are using. It’s always a good practice to refer to the official documentation or community forums for any software-specific guidance.
Read more: How To Change Infill Pattern In Cura
Method 1: Using Multiple Processes in Cura
When you want to assign different infill percentages to two objects in Cura, using multiple processes is an effective method. This allows you to have precise control over each object’s infill settings. Follow these steps to achieve this:
- Import your 3D model into Cura and position it as desired.
- Select one of the objects from the model that you want to assign a specific infill percentage to.
- Right-click on the selected object and choose “Split Object Into Parts” to separate it into a new model.
- With the new model selected, navigate to the “Prepare” tab in Cura.
- In the “Print Settings” section, click on the “Add” button next to “Processes” to create a new process.
- In the new process window, adjust the infill percentage to the desired value for that specific object.
- You can also customize other print settings, such as layer height, print speed, or support structures, if needed.
- Click “OK” to save the new process.
- Repeat steps 2-7 for the other object, adjusting the infill percentage and other settings accordingly.
- Once you have assigned different infill percentages to each object and customized the desired print settings, you can proceed to slice the models and export the G-code for printing.
By using multiple processes in Cura, you can easily control the infill percentage for each object within a single 3D model. This method offers flexibility and precision in producing objects with varying characteristics, such as strength, weight, and print time.
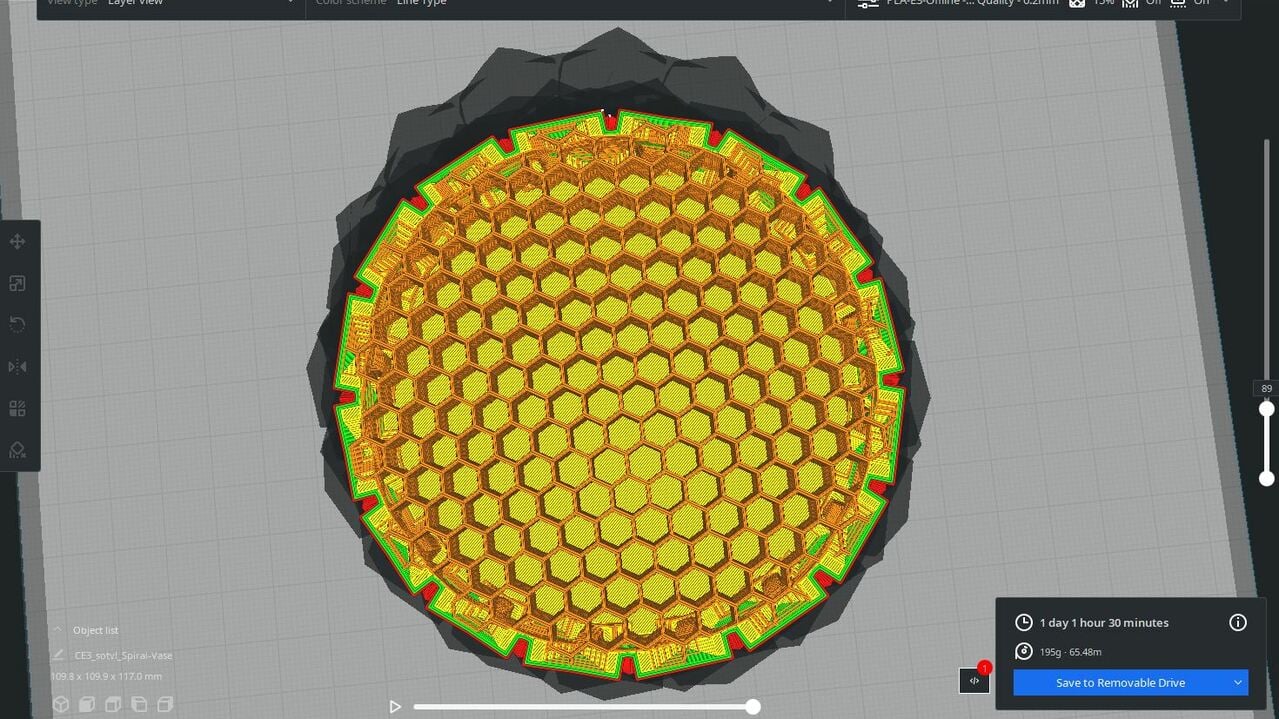
Remember to review the print preview and ensure that the infill percentages are correctly assigned to each object before initiating the printing process.
Now that you have learned how to use multiple processes in Cura for assigning different infill percentages, let’s explore an alternative method in the next section.
In Cura, you can give two objects different infill percentages by selecting each object individually and adjusting the infill percentage in the settings for each object. This allows you to customize the infill for each object in your 3D print.
Method 2: Separating the Objects in Different Models
If you prefer to assign different infill percentages to two objects in Cura by separating them into different models, you can follow this method. Here are the step-by-step instructions:
- Import your 3D model into Cura and position it as desired.
- Select one of the objects from the model that you want to assign a specific infill percentage to.
- Right-click on the selected object and choose “Separate Instances” to create a new model with only that object.
- Repeat steps 2 to 3 for the other object, creating a separate model for it as well.
- For each new model, adjust the infill percentage to the desired value using the normal settings panel.
- If needed, you can customize other print settings, such as layer height, print speed, or support structures, for each individual model.
- After adjusting the infill percentages and relevant settings, you can proceed to slice each model individually.
- Export the G-code for printing with the appropriate settings and repeat the process for the other model.
- Once you have successfully sliced both models, you can initiate the printing process using the generated G-codes.
By separating the objects in different models, you have the flexibility to adjust the infill percentage and other settings individually for each object. This method is especially useful when you want to have complete control over the print characteristics of each object—fine-tuning their strength, weight, and print time according to your specific needs.
Always double-check the print preview to ensure that the infill percentages and settings are correctly assigned to each individual model before starting the printing process.
Now that you’ve learned how to separate objects into different models and assign different infill percentages in Cura, you are ready to unleash your creativity and explore the full potential of 3D printing.
Conclusion
Diversifying the infill percentages of different objects in a 3D model can greatly enhance the functionality and efficiency of your prints. In Cura, you have two effective methods to achieve this—using multiple processes or separating objects into different models. Each method provides unique advantages depending on your specific needs.
Using multiple processes in Cura allows you to assign different infill percentages and other settings to individual objects within a single model. This method provides precise control over the characteristics of each object, allowing you to optimize strength, weight, and print time based on their specific requirements.
On the other hand, separating objects into different models gives you a higher level of flexibility and control. You can customize the infill percentage and other settings individually for each object, tailoring them to your desired specifications. This method is a great choice when you want complete independence and precision in customizing the attributes of each object.
Regardless of the method you choose, always review the print preview to ensure that the infill percentages and settings are accurately assigned to each object. This step helps you avoid any potential errors before initiating the printing process.
With these techniques at your disposal, you can unlock an array of possibilities for your 3D printing projects. From functional prototypes to artistic creations, optimizing the infill percentages of different objects in Cura ensures the best outcome for every print.
Experiment with various infill patterns and percentages to find the optimal balance between strength, material usage, and print time. Embrace the versatility of Cura and let your imagination run wild as you bring your designs to life.
Remember to stay up-to-date with the latest developments in Cura and explore the vibrant 3D printing community for inspiration and guidance. Happy printing!
Frequently Asked Questions about How To Give Two Objects Different Infill Percentages In Cura
Was this page helpful?
At Storables.com, we guarantee accurate and reliable information. Our content, validated by Expert Board Contributors, is crafted following stringent Editorial Policies. We're committed to providing you with well-researched, expert-backed insights for all your informational needs.


0 thoughts on “How To Give Two Objects Different Infill Percentages In Cura”